project deskcomp

at current rate about 2/3 weeks (hopefully) while squeezing in cutting of materials, painting/lacquering, then brother has to drive it down to me from leeds!
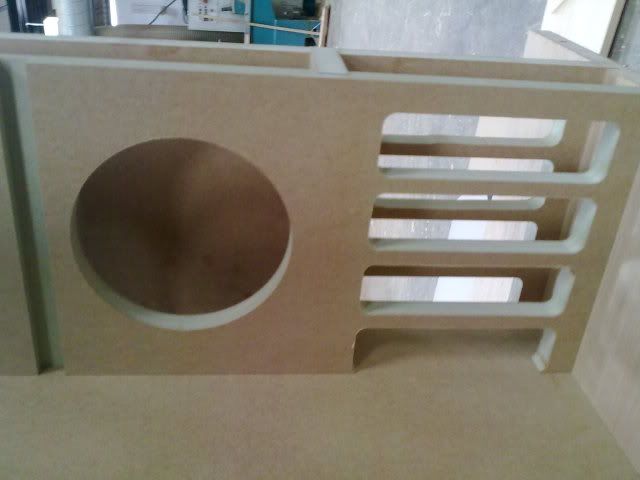
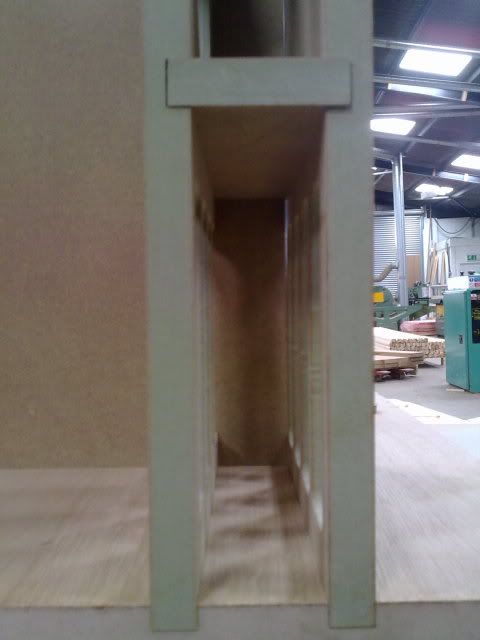
put together components while cutting out holes for io ports,fans etc etc

trouble is we are about 200 miles apart and need to get parts to each other
 
Looks good, but I'd be tempted to have the drives and front panel connectors mounted on the surface of the desk. Mount the optical drive at an angle then put a wedge of wood on the end of the tray to level the surface out when its retracted.

How easy is it going to be once it's put together? I'd hate to have to clear my desk every time I wanted to give the insides a dusting!

PK!
 
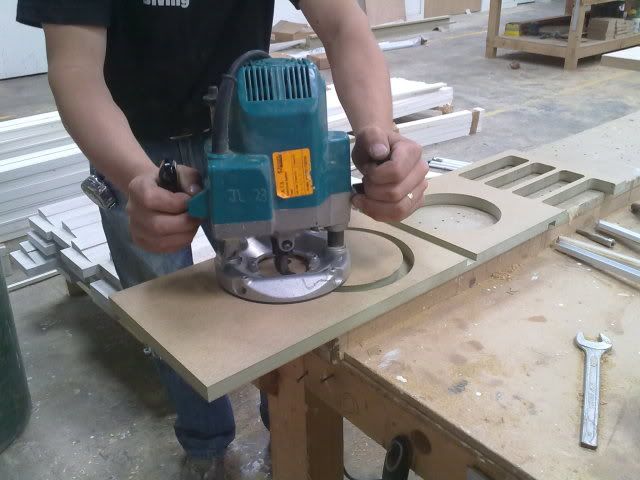
my brother started on the wood today, programing the machine to do the cams/dowels for holding the top down thus making it easier to take on/off when needing to get inside pc.
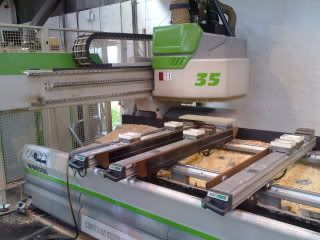
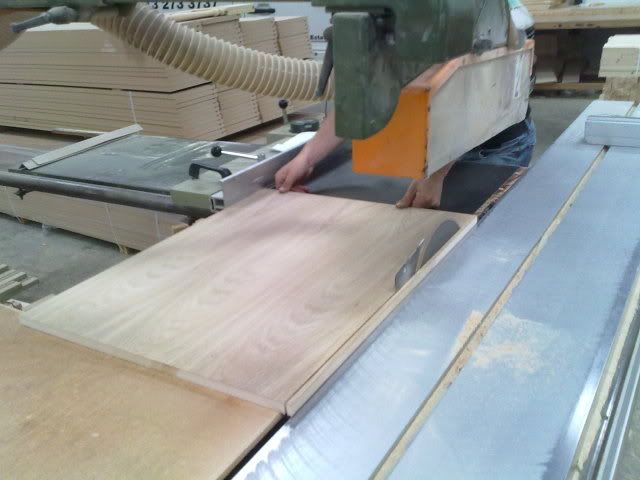
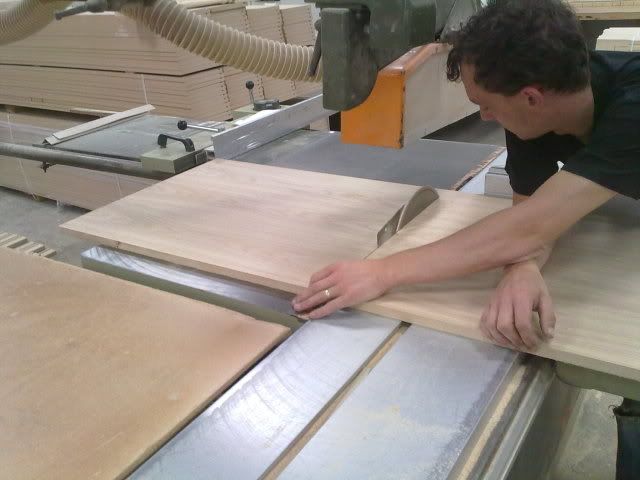
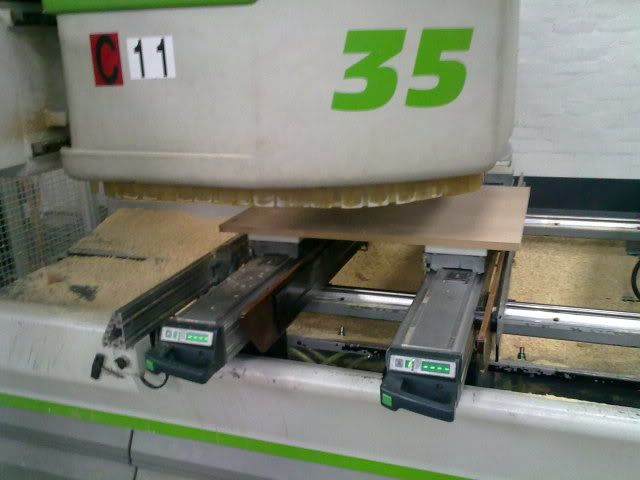
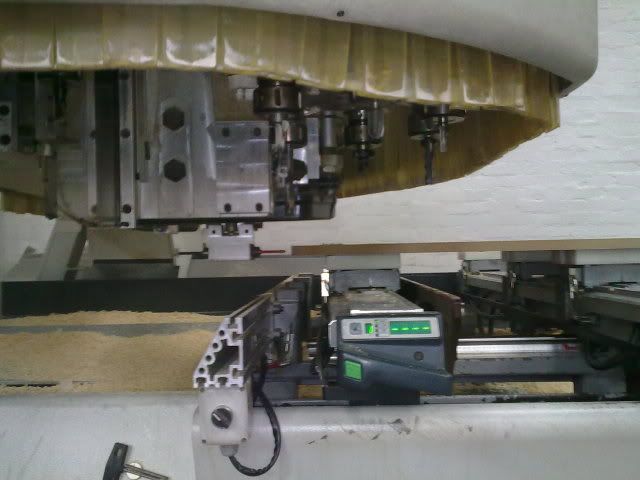
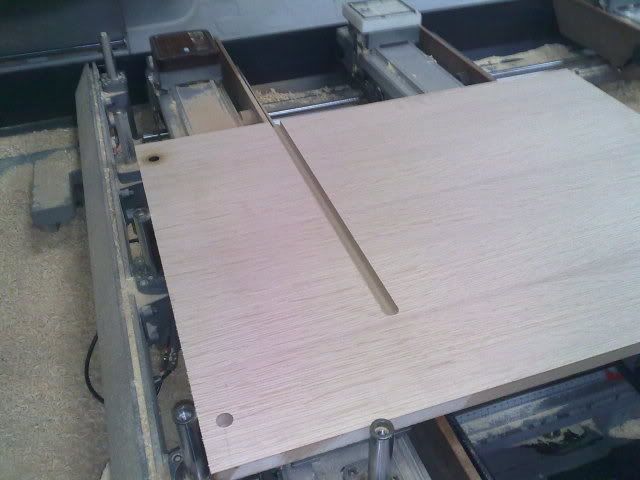
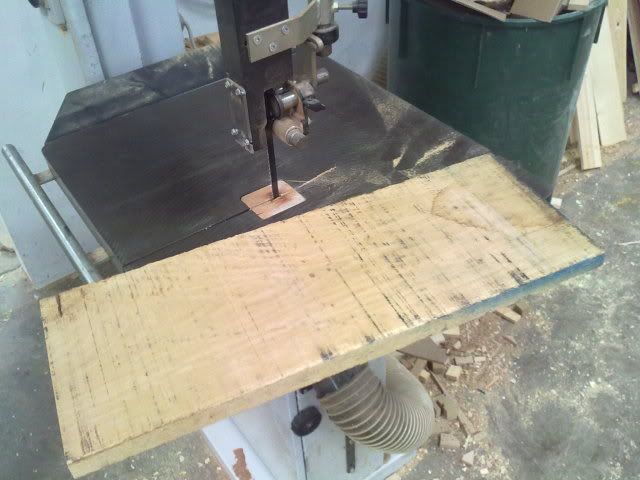
heres a pic of the machine with a test peice of wood which is actually about 1m x 500mm
02072010275.jpg

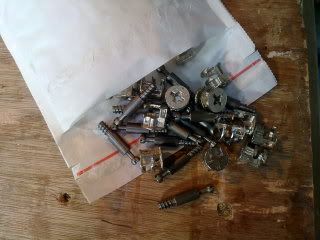
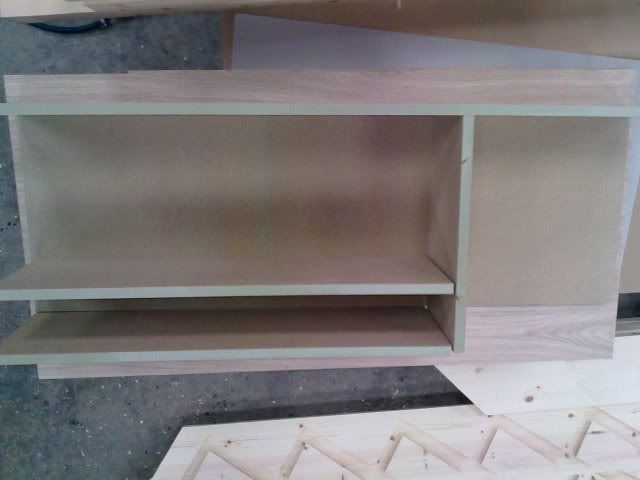
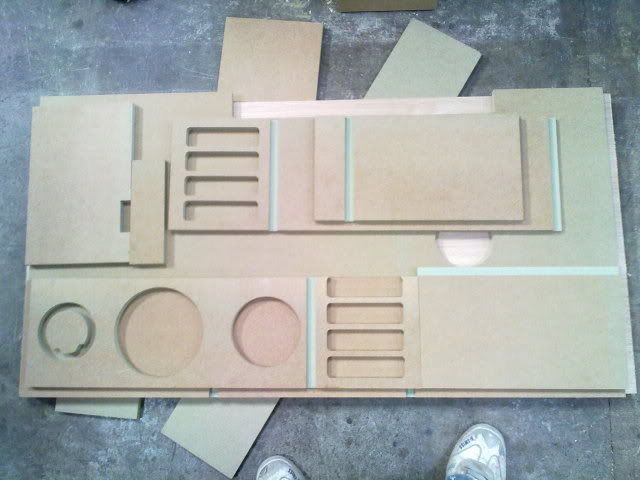
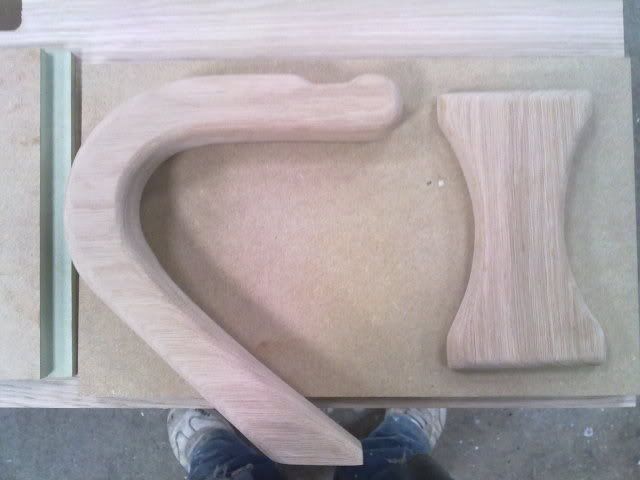
heres the cams/dowels
02072010266.jpg

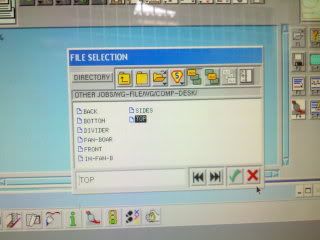
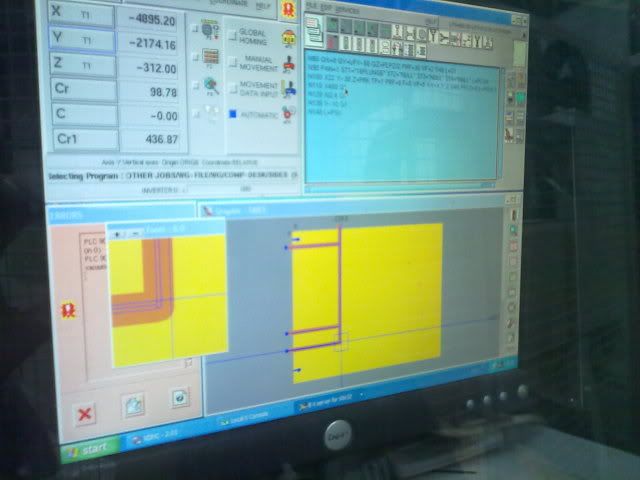
quick screenshot of the files for the desk.
02072010267.jpg


all this is getting down between jobs/lunch breaks, most of the time is writing the program to do the cuts.

thats it for now! more soon as we get there!
 
was playing around with lighting for inside and found using cold cathodes was annoying as cant dim the light easy without doing damage to the cathode, so played around with led strips 12v.
discovered that using the zalman fan controller we can dim the led's from full brightness to no light at all.
 
was playing around with lighting for inside and found using cold cathodes was annoying as cant dim the light easy without doing damage to the cathode, so played around with led strips 12v.
discovered that using the zalman fan controller we can dim the led's from full brightness to no light at all.
Usefull to know.

Anywho the project sounds awsome, I want one soo much.
 
started cutting the wood today, few sheets later ! and we are at 50% finished, few more holes/spaces to cut out for pci slots etc, need to lacquere/paint.
but as you can see from pics below its coming along nicely.

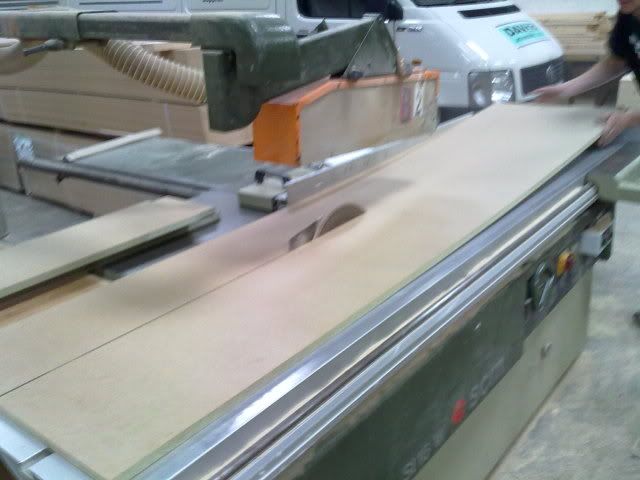
cutting down to length
10072010292.jpg

10072010290.jpg

10072010289.jpg


dry fit just to make sure!!
10072010293.jpg


more programming !
10072010297.jpg


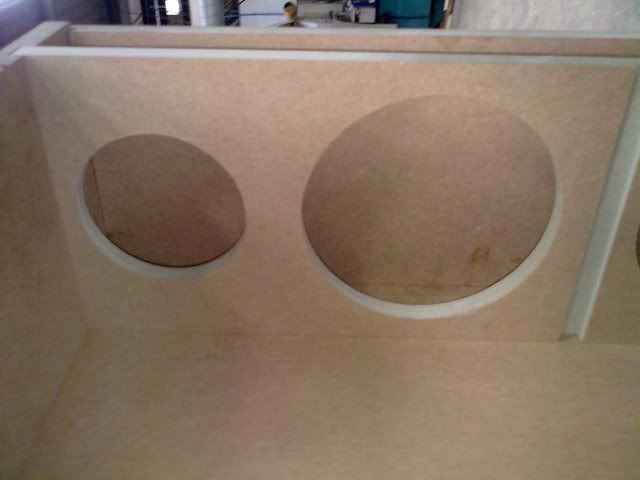
after running programs and cutting the holes etc etc
10072010301.jpg


heres the peices "flat packed"
10072010314.jpg


now for putting peices together and sorting a few things like cams/dowels

10072010294.jpg

10072010295.jpg

10072010296.jpg


a few coffee's and fags later !!.........

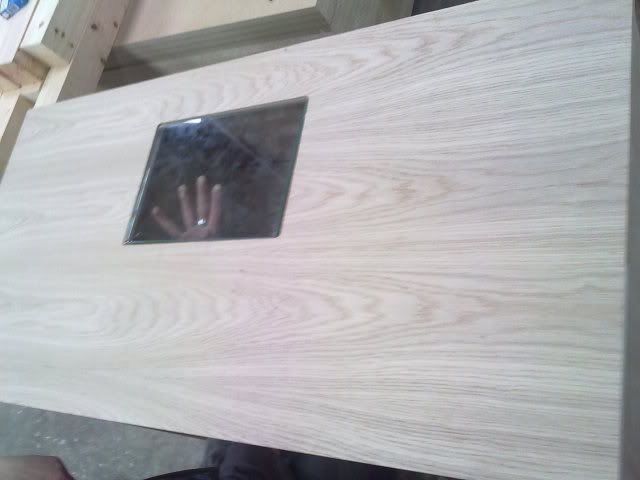
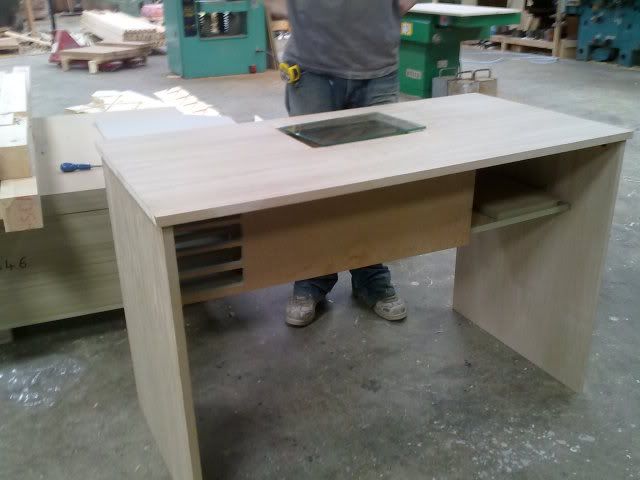
the top with the glass where you will be able to see the motherboard area.

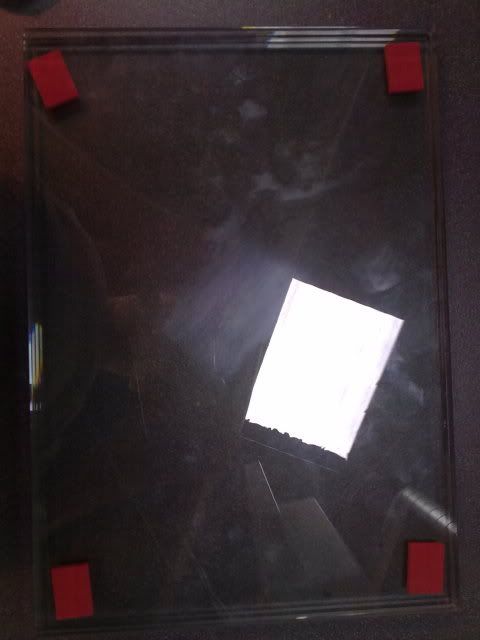
the glass
08072010282.jpg

10072010312.jpg


cracking on with it so didnt get many pics of the actual work!
most of the afternoon was putting it all together
10072010302.jpg

10072010303.jpg

10072010305.jpg

10072010319.jpg

10072010309.jpg


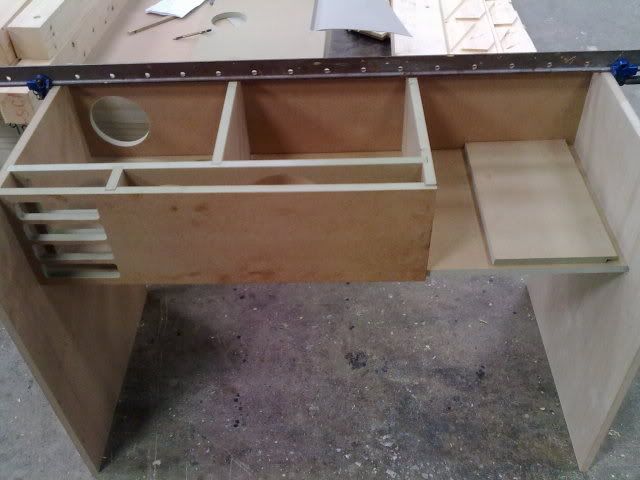
desk put together dry held with clamps
10072010313.jpg


so thats it for now, as you can see its coming together.

also told brother about how ive seen people on the forums using a banana stand/rack for holding headphones.
so he thought he would make his own!!!

started of like this, one big peice of pure oak
10072010287.jpg


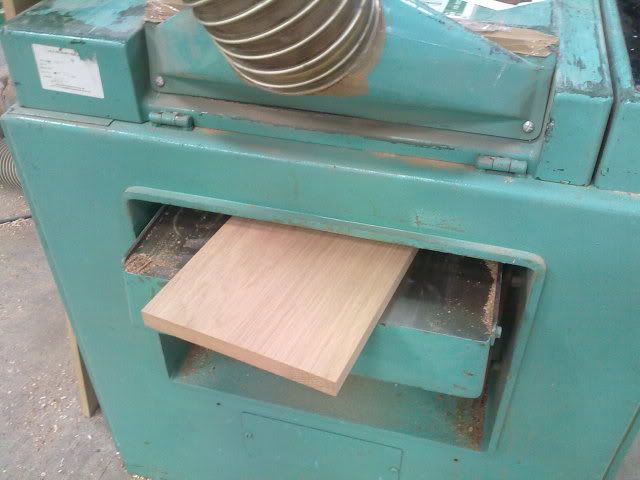
plain it down abit
10072010284.jpg


abit of shaping,sanding etc
10072010320.jpg


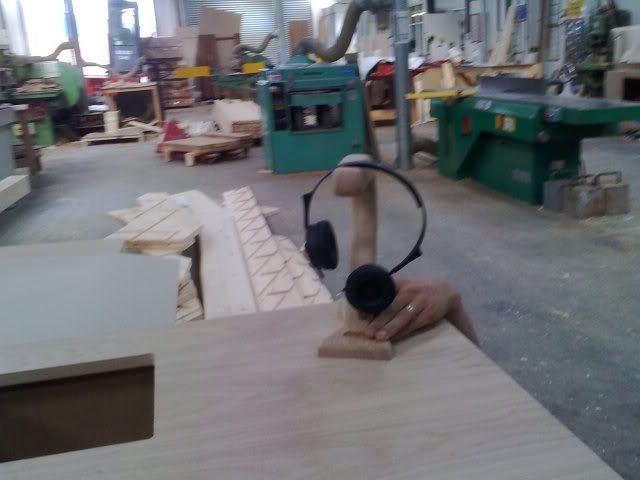
almost done!
10072010316.jpg


the plan is he said "cut down middle fit led's inside and turn it into a desk lamp".
thus being 2in1 lamp and headphone holder!!
 
That is absolutely awesome. I cant wait to see it finished. Im not sure what you had planned for the power switches position, but that build just screams at me to see the switches and USB ports/esata/mic/headphone jacks (pulled out of the I/Obay) and placed on the top of the desk like at the near left side as you sit at it. Switching on my PC by pressing a nice button built into the top of the desk and inserting USB/headphones devices directly into the desk would be so cool.

Hawker
 
Interesting indeed, I want that machine your brother used, I have no idea how to use it or what I would do with it ...I just want it so I ...make stuff :p
 
That is absolutely awesome. I cant wait to see it finished. Im not sure what you had planned for the power switches position, but that build just screams at me to see the switches and USB ports/esata/mic/headphone jacks (pulled out of the I/Obay) and placed on the top of the desk like at the near left side as you sit at it. Switching on my PC by pressing a nice button built into the top of the desk and inserting USB/headphones devices directly into the desk would be so cool.

Hawker

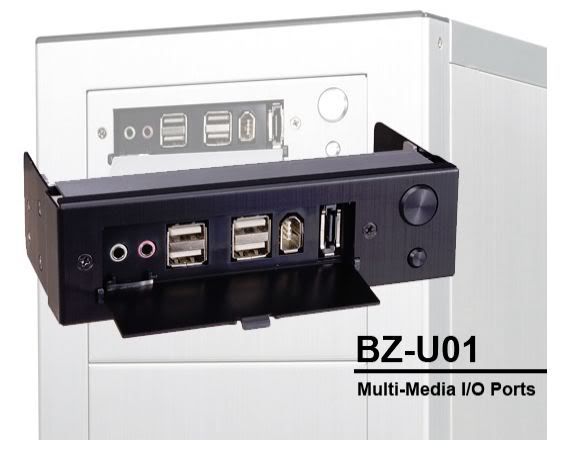
we are using these
lianli.jpg


why have it ontop of desk using more space when we have cut out 4 holes for them along with dvd drive/scythe kro amp/zalman fan controller and lian li power button/io ports.
 
Not a critisism in any way, it all looks amazing. I saw the bay in your picture and figured that was your plan for it, I just thought it would be cool to be able to boot the PC without reaching under the desk.

Hawker
 
Not a critisism in any way, it all looks amazing. I saw the bay in your picture and figured that was your plan for it, I just thought it would be cool to be able to boot the PC without reaching under the desk.

Hawker

hey dont worry wasnt digging at you!
more to show others how and what we using.
brothers done more on the desk today at work yet to send me photos.

hes also been playing around with the headphone holder/light. as we speak hes soldering all the wires etc .
 
Back
Top Bottom