You are using an out of date browser. It may not display this or other websites correctly.
You should upgrade or use an alternative browser.
You should upgrade or use an alternative browser.
project deskcomp
- Thread starter adbp1
- Start date
More options
Thread starter's postsok heres some more work been done.
started of this morning dismantling the whole pc and taking it apart
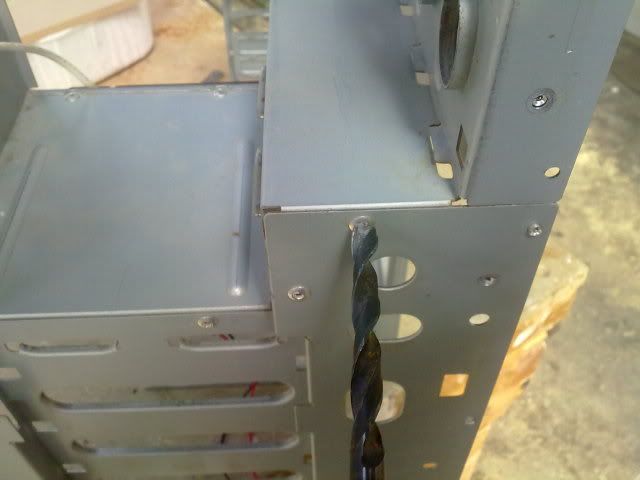
cutting the motherboard tray out so we can mount motherboard and use io back plate/pci slots
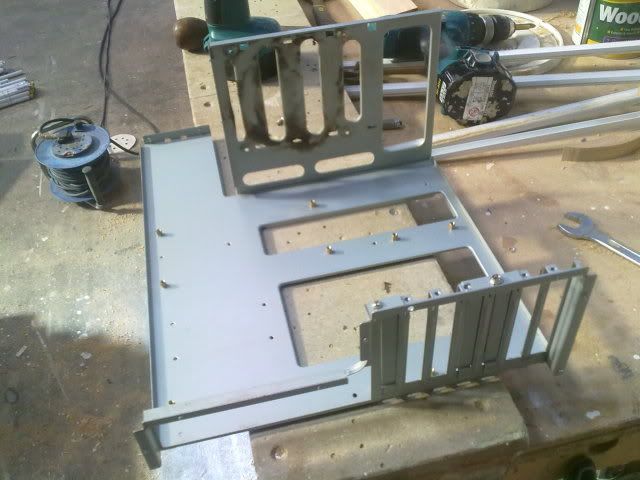
a few cuts and clean up and were sorted!
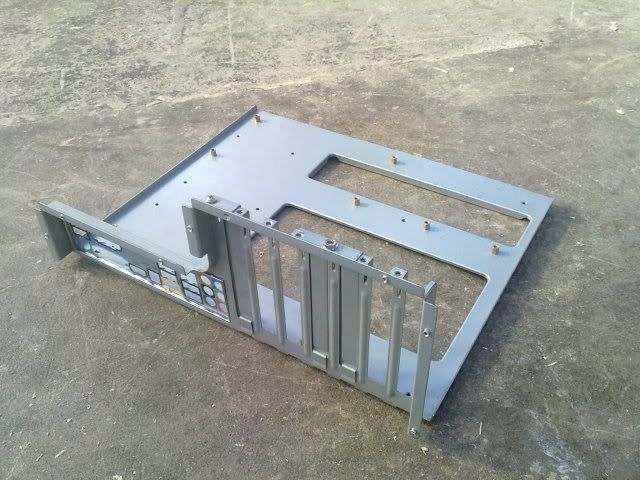
a quick check and see it all lines up and psu leads actually fit !!!
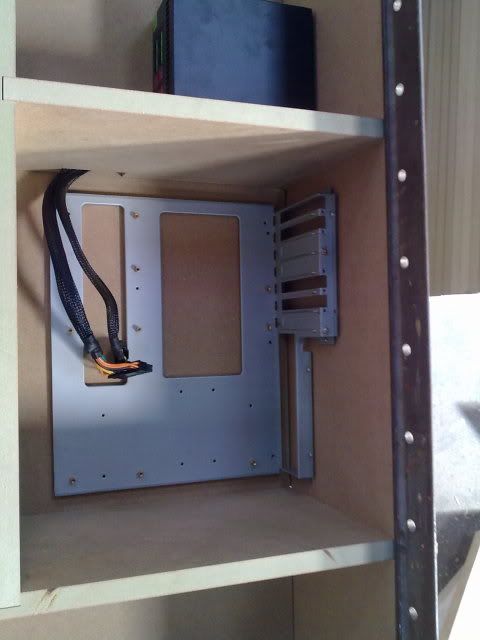
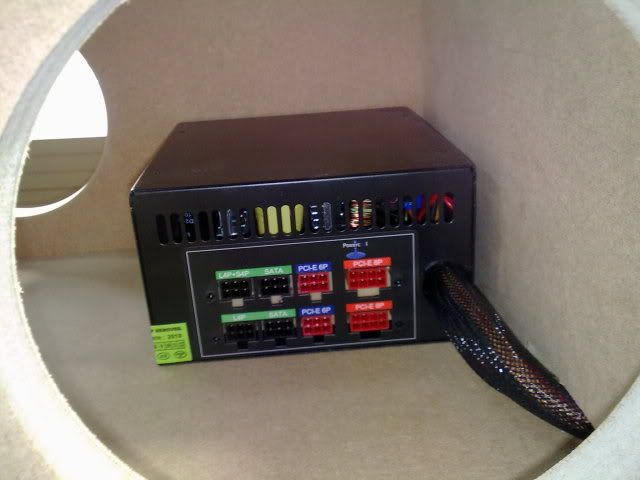
started of this morning dismantling the whole pc and taking it apart

cutting the motherboard tray out so we can mount motherboard and use io back plate/pci slots

a few cuts and clean up and were sorted!

a quick check and see it all lines up and psu leads actually fit !!!


now for cutting holes out for the io plate/pci slots, psu and rear fan
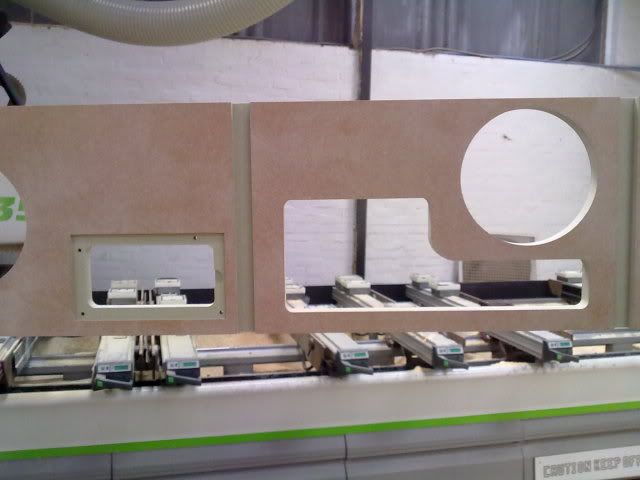
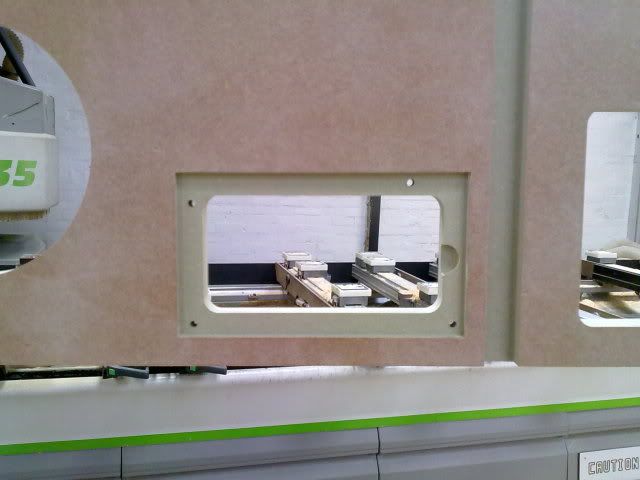
ok with the back board done and were happy everything lines up and fits, we move onto the whole for the glass to sit in.
making the beading for the glass to sit on
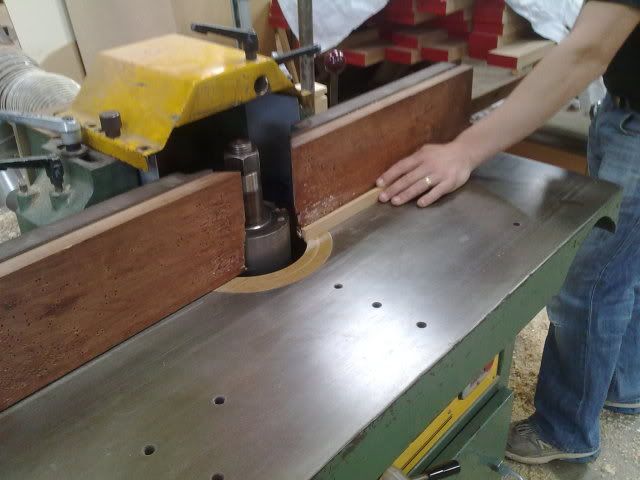
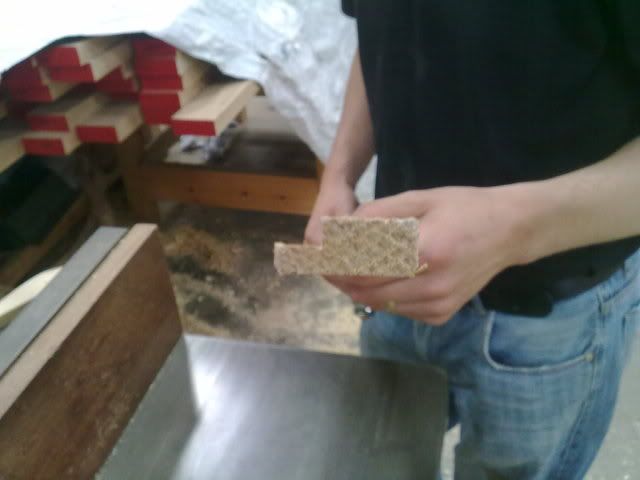
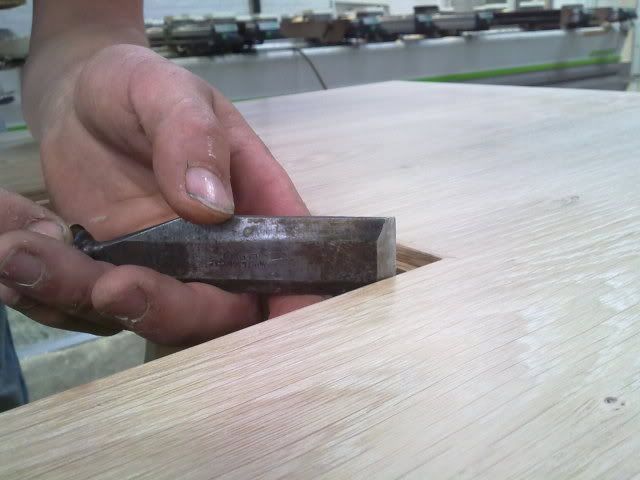
just a quick check to make sure its sitting flush with the top
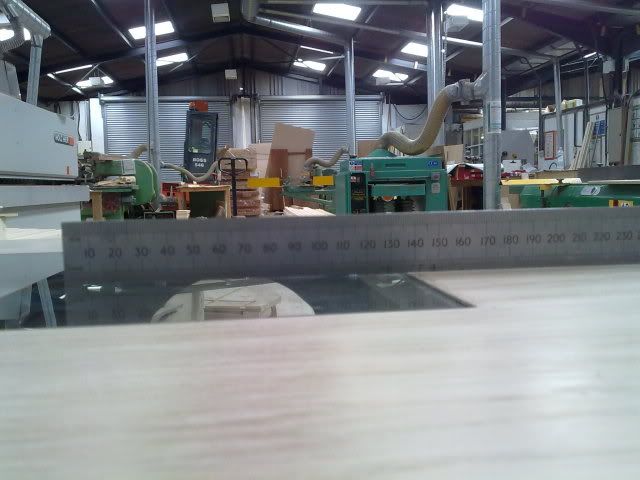
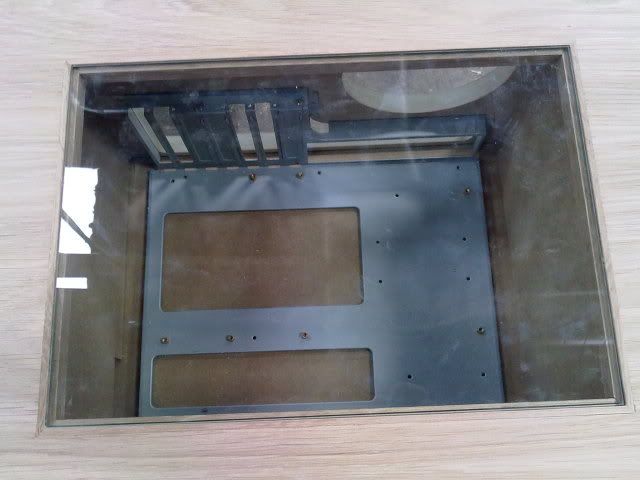
here is the glass sitting in place with motherboard tray sitting in place


ok with the back board done and were happy everything lines up and fits, we move onto the whole for the glass to sit in.
making the beading for the glass to sit on


just a quick check to make sure its sitting flush with the top

here is the glass sitting in place with motherboard tray sitting in place

Last edited:
now for the edge of the desk to complete the sides so its not rough edges and looks good!!
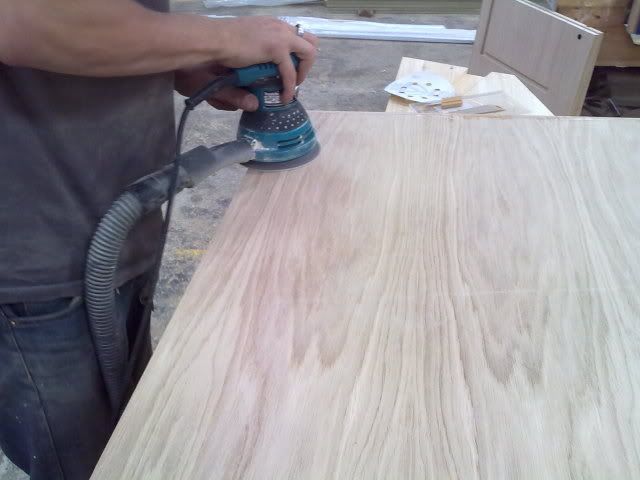
started with the edge banding machine, feeding in
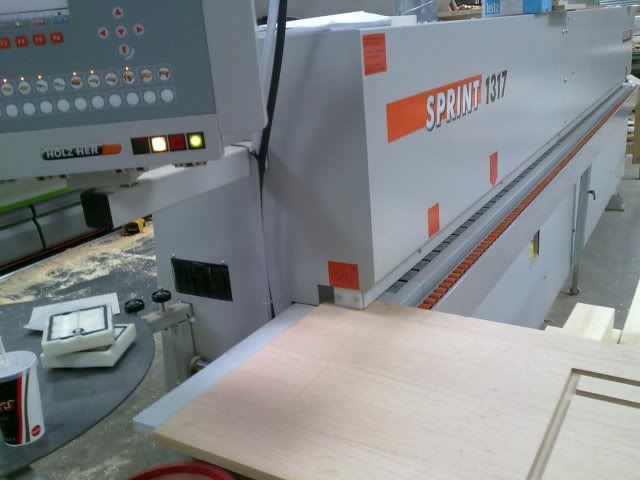
and coming out the other end, as you can see the edging is about 8mm thick.
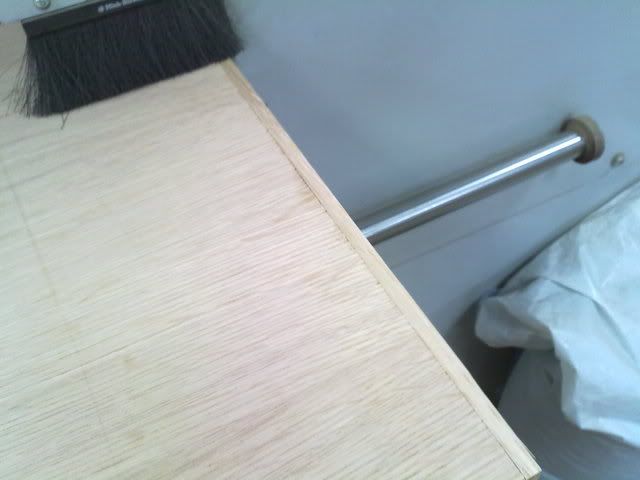
with the edging on, abit of rounding on the corners to make it neat and to make it comfy for your wrist if it leans on edge!!
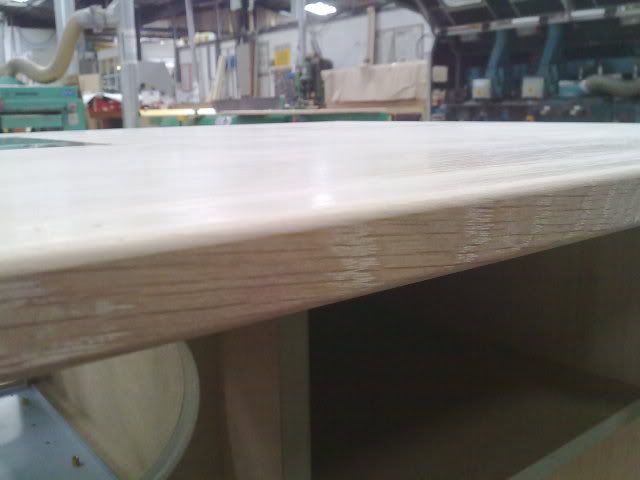
a quick side view to see the edge rounded of
started with the edge banding machine, feeding in

and coming out the other end, as you can see the edging is about 8mm thick.

with the edging on, abit of rounding on the corners to make it neat and to make it comfy for your wrist if it leans on edge!!

a quick side view to see the edge rounded of

well it was my idea !! started of with an idea to build a pc case out of wood but with a few ideas thrown around we both came up with the idea of putting inside the desk.
by the end of this project we will have a desk each....yes thats right we are making 2 of these not just 1!!!
btw welcome to the forums finally!!!!
by the end of this project we will have a desk each....yes thats right we are making 2 of these not just 1!!!
btw welcome to the forums finally!!!!
Associate
- Joined
- 5 Jul 2009
- Posts
- 844
- Location
- DONcaster
good little buisness idea for you guys there
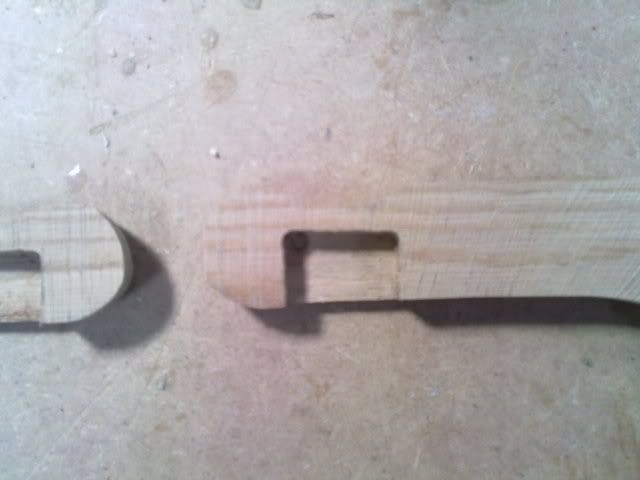
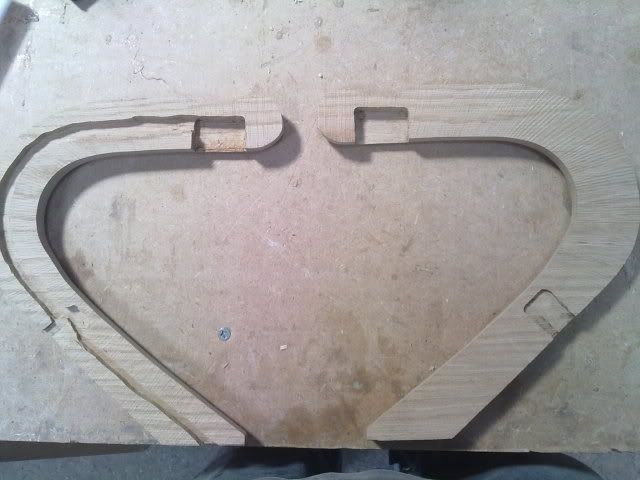
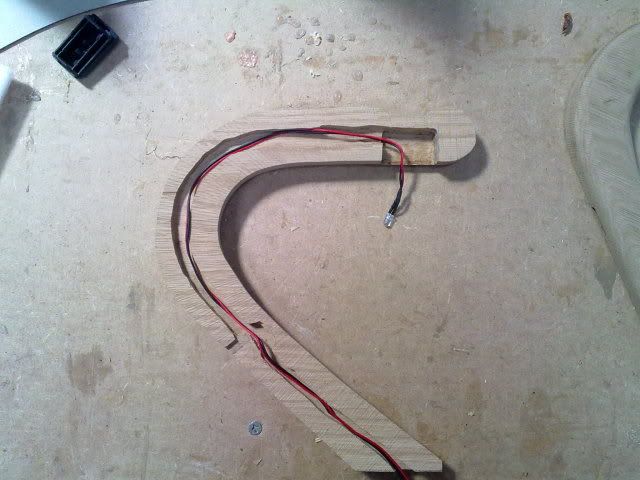
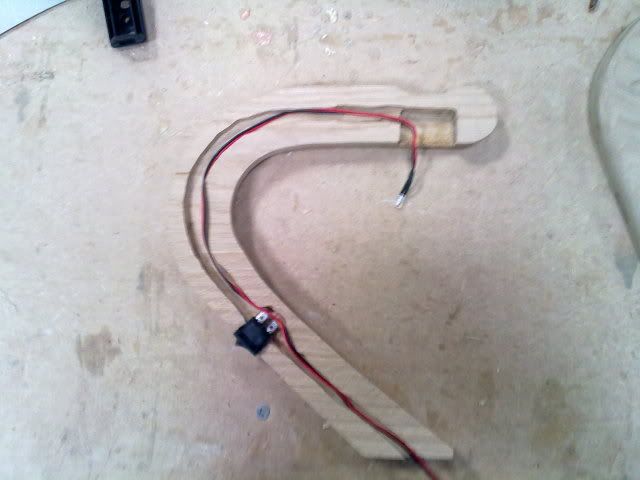
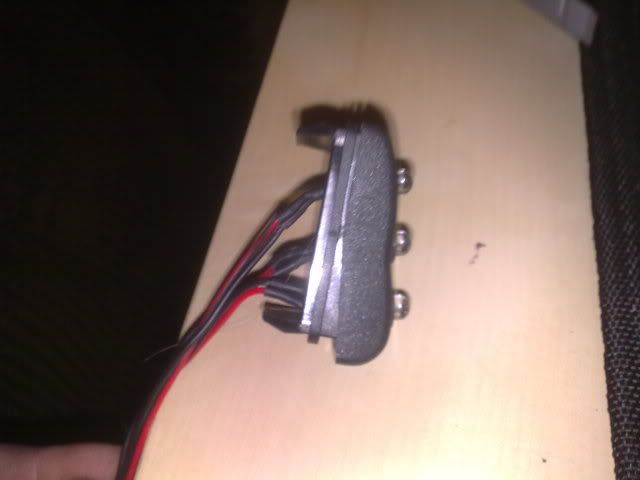
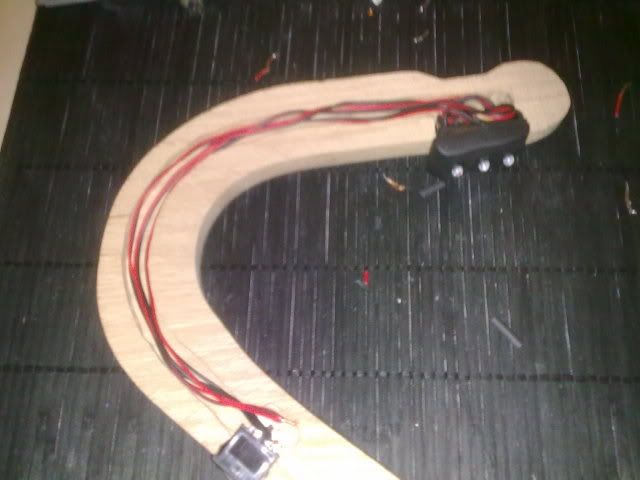
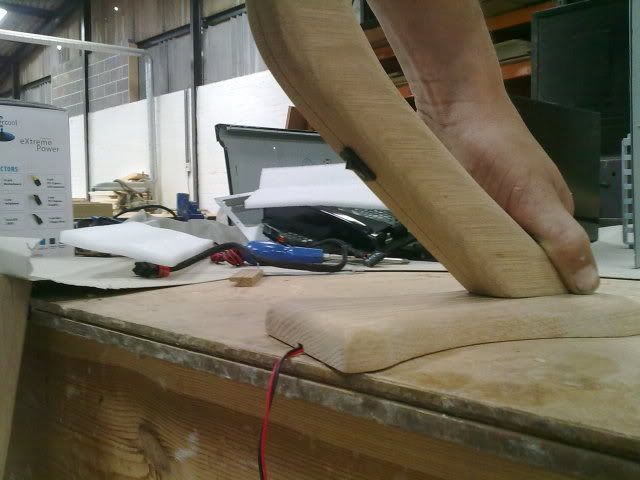
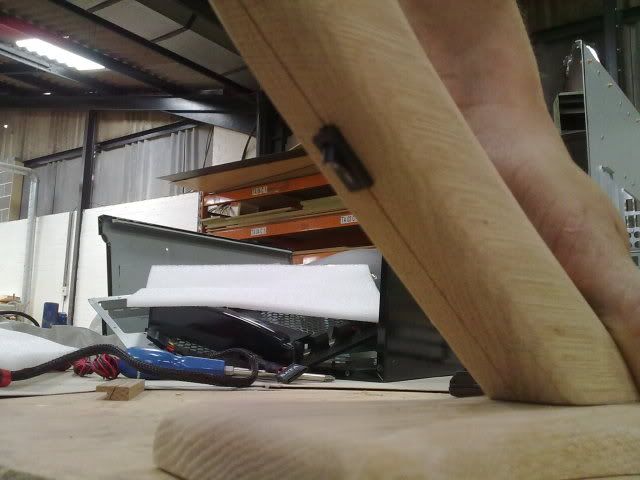
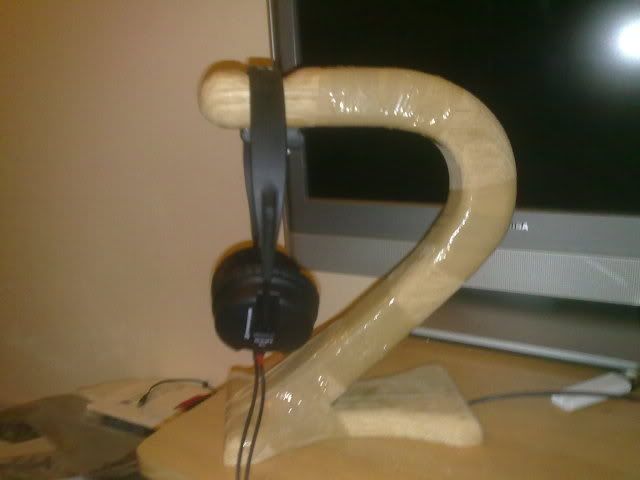
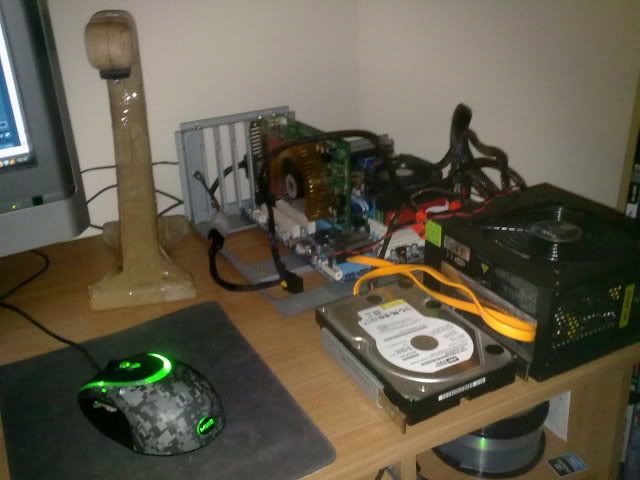
i would love one of those headphone stands.
im sure if you made a dozen or so people on here would buy them of you.
there is always a thread about a headphone stand going on on ocuk.
wouldnt even know how much to sell them for !!
take in account that its a solid peice of oak and hand crafted!
parts alone have cost around £18 and that doesnt inc the oak
Soldato
- Joined
- 22 Aug 2005
- Posts
- 9,096
- Location
- Clydebank
Could sell for 49.95 How long to make? an hour? That's a nice little earner
wouldnt even know how much to sell them for !!
take in account that its a solid peice of oak and hand crafted!
parts alone have cost around £18 and that doesnt inc the oak
im not worried about what wood it is.
it's the design im interested in and i could always paint/stain/varnish to my liking.
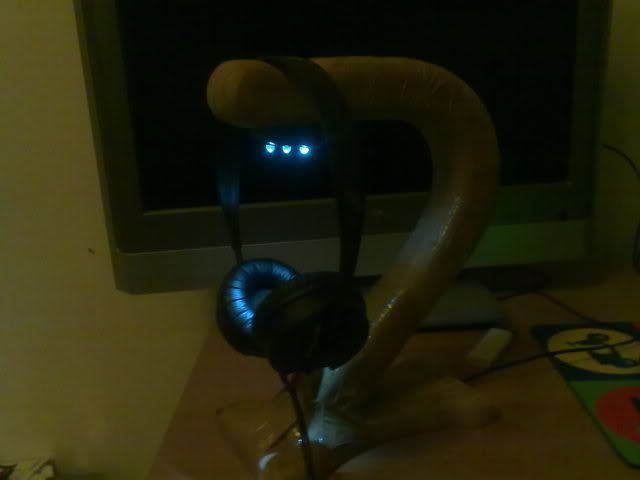
how much would you do me one for including the light's ?


