Project Dianoga

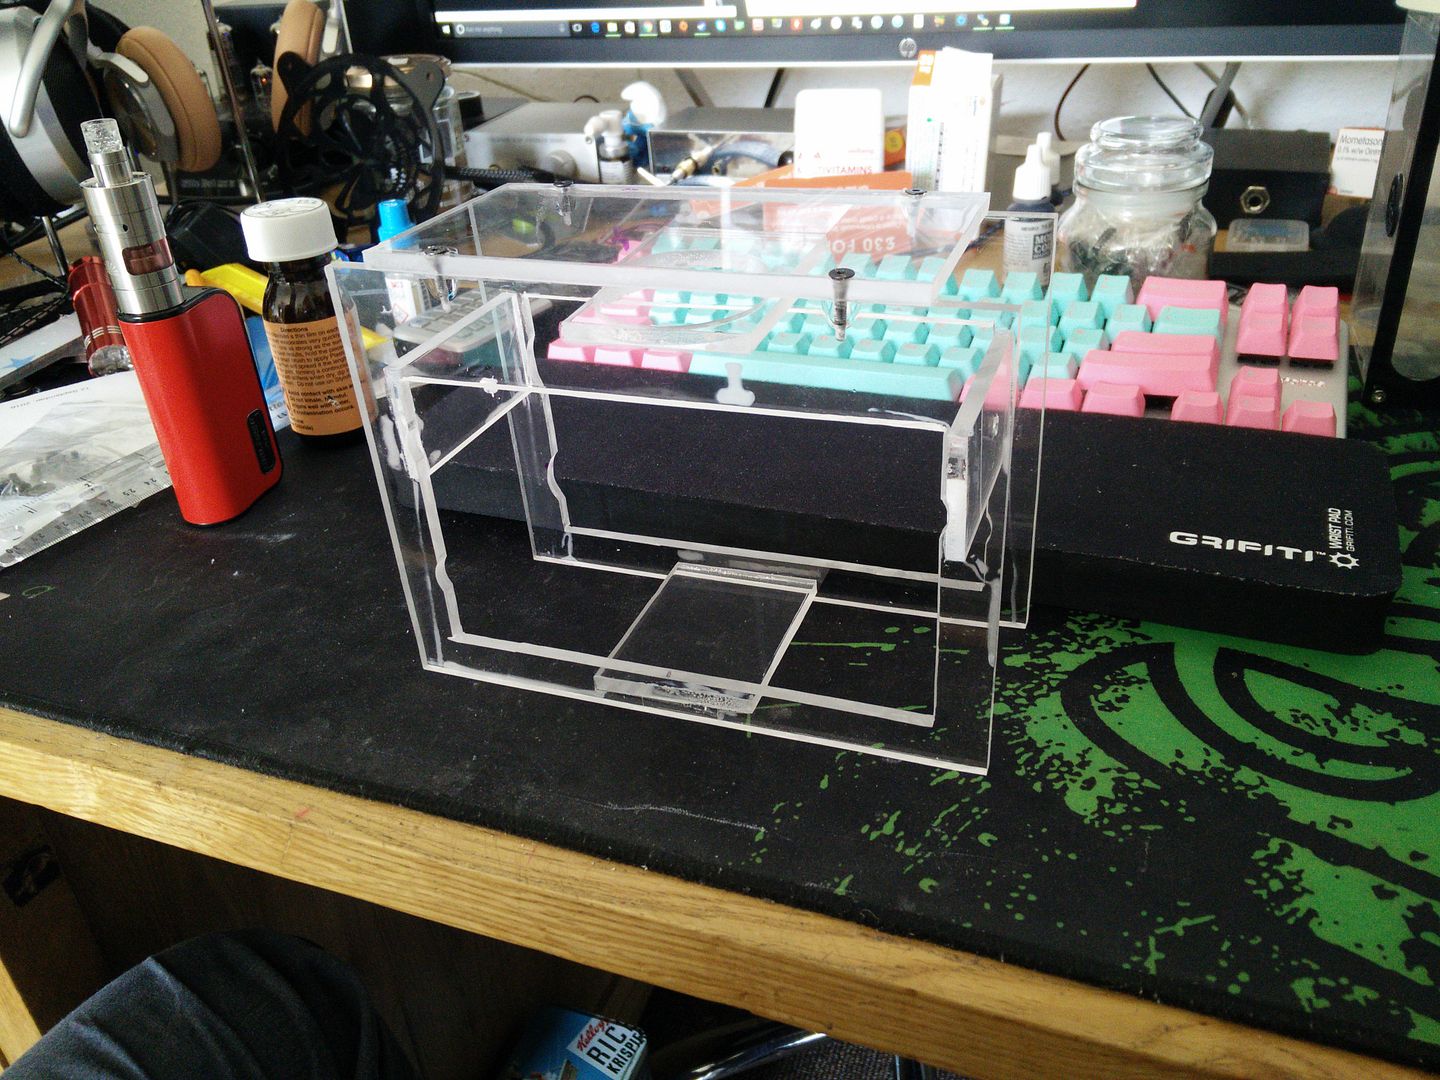
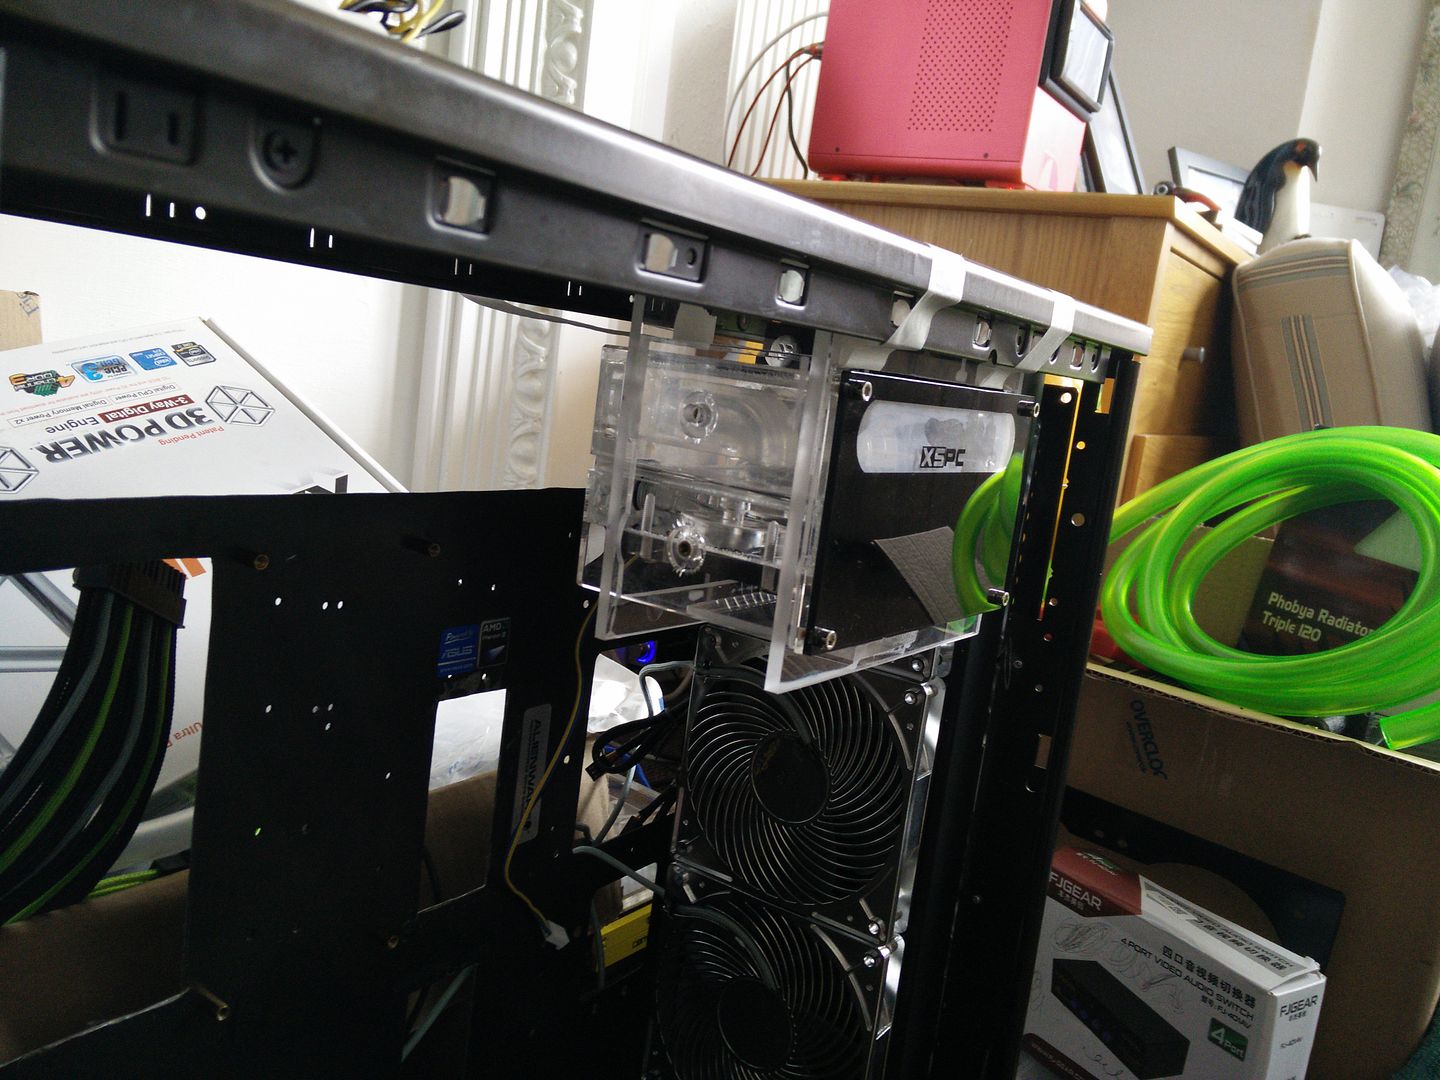
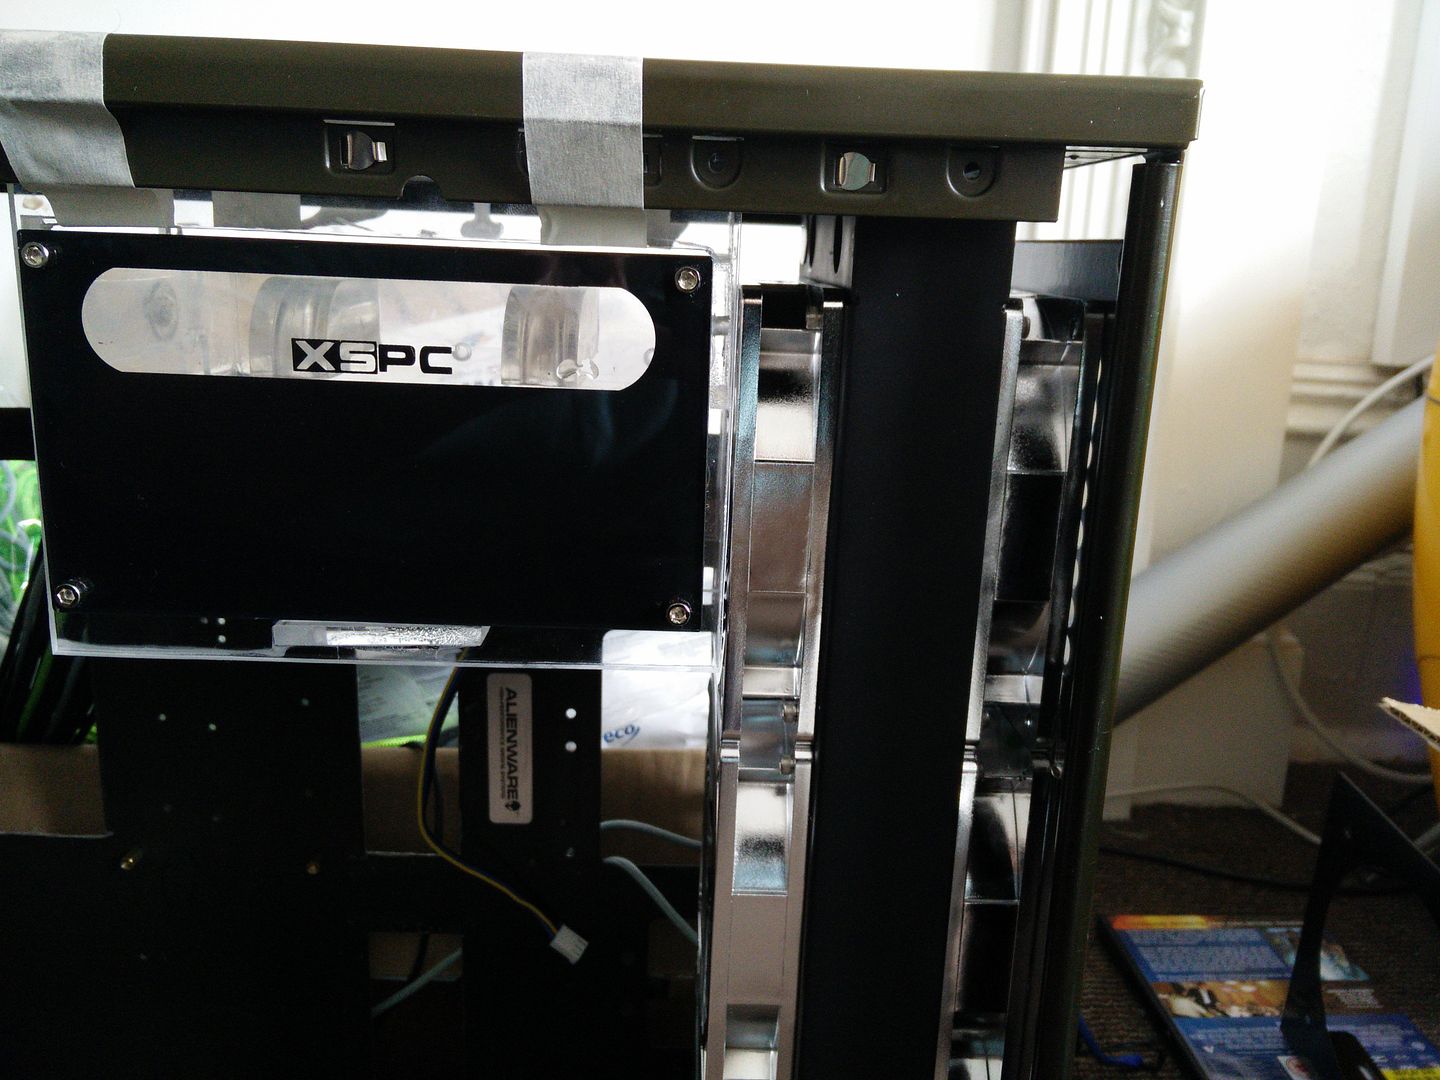
OK so the res bay is nearly complete :)


As you can see I have fitted the top now and heat welded in four bolts for extra strength. This unit will be sanded, painted and become part of the case (there will be a filling hole cut in the case roof that lines up with the ones on the res holder).

You will not see hardly any of it when it is done, hence why I have only really been accurate on the opening and where the bolts go in. The rest was pretty much done by eye, given you won't see it.
 
You're not actually that far off of having made the res itself! :D

haha yeah I figured afterwards that maybe I had made it a tad too sturdy :D

I'm just worried about it because once the liquid goes in and with the pump and all it's quite heavy.
 
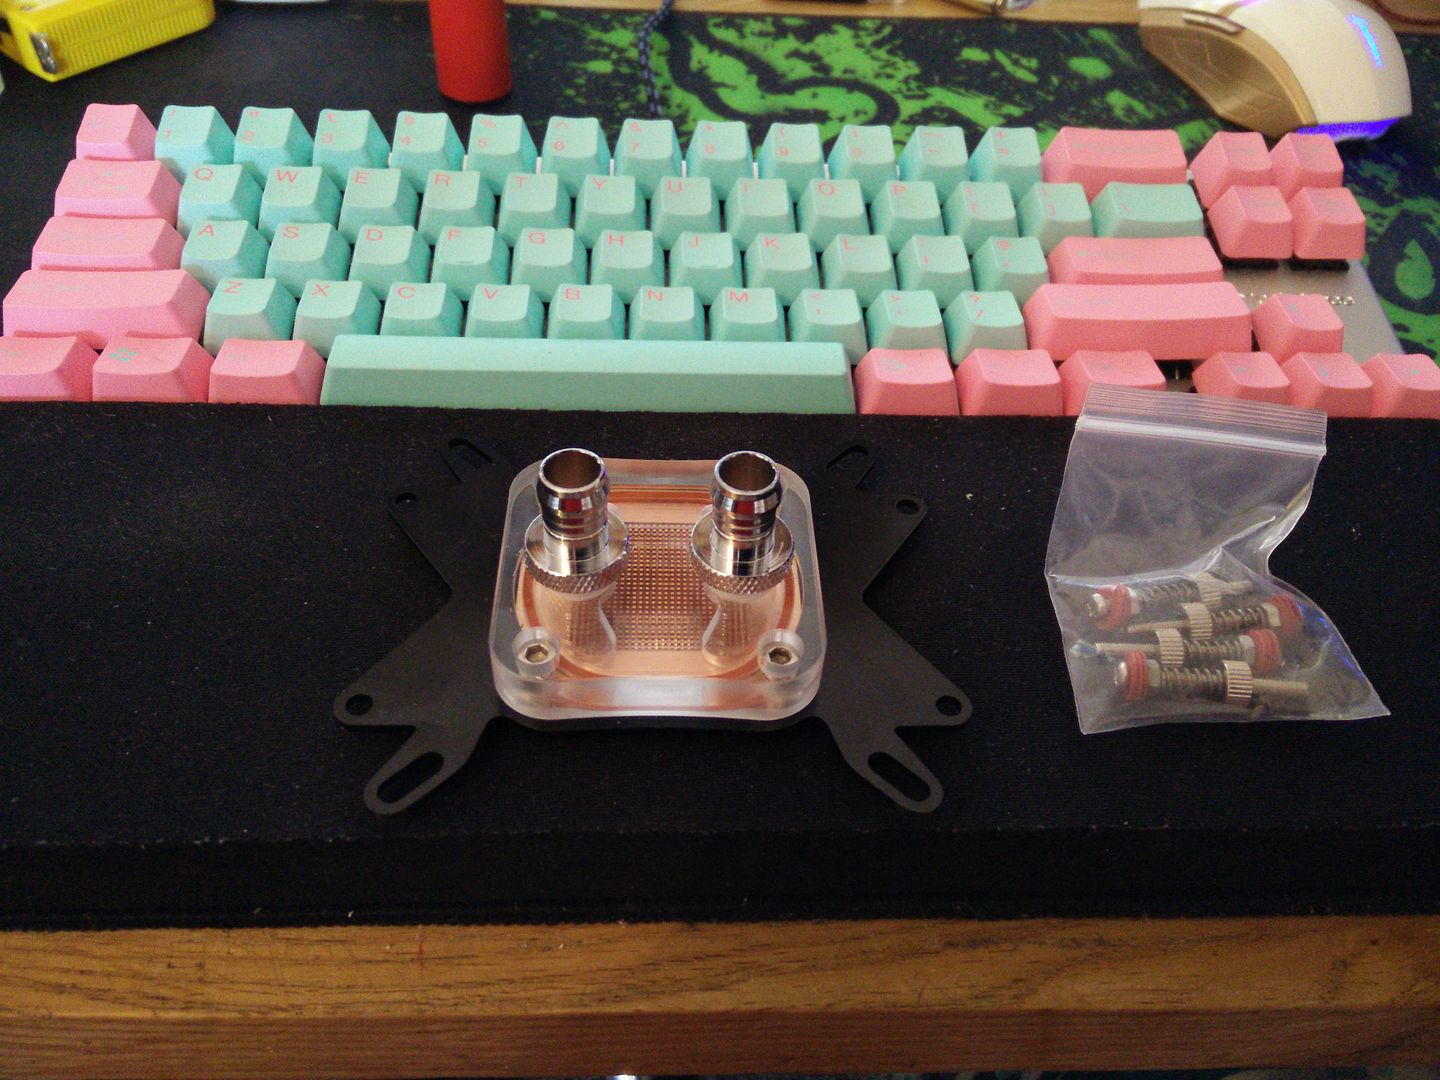
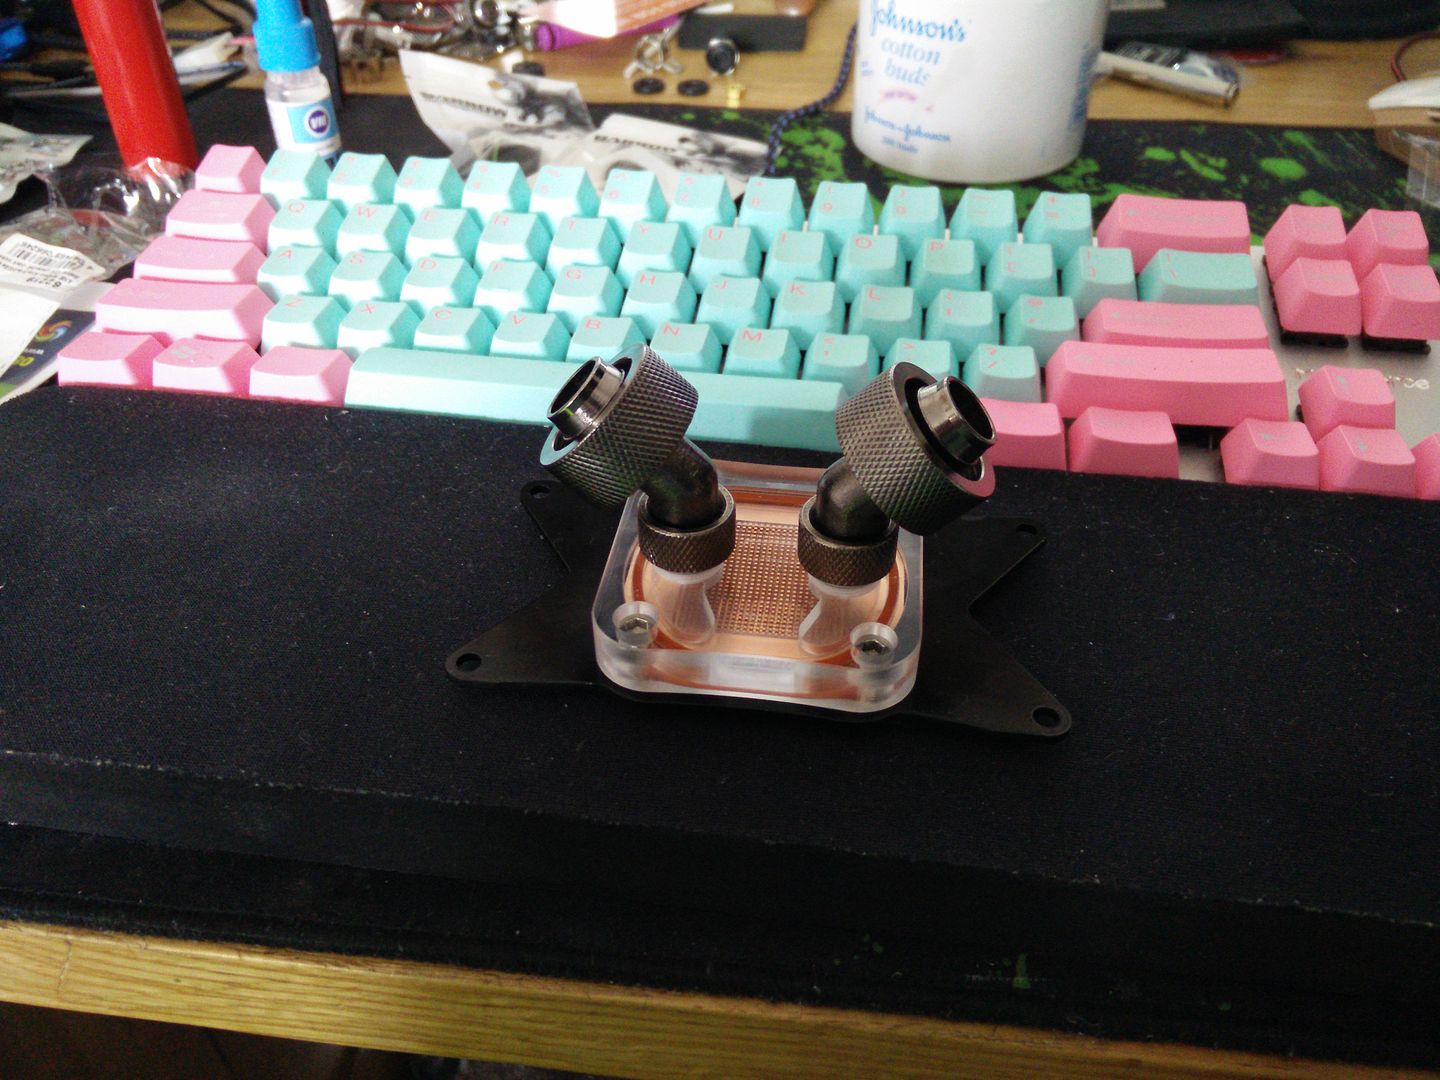
CPU block arrived. I've had stuff from England arrive slower.


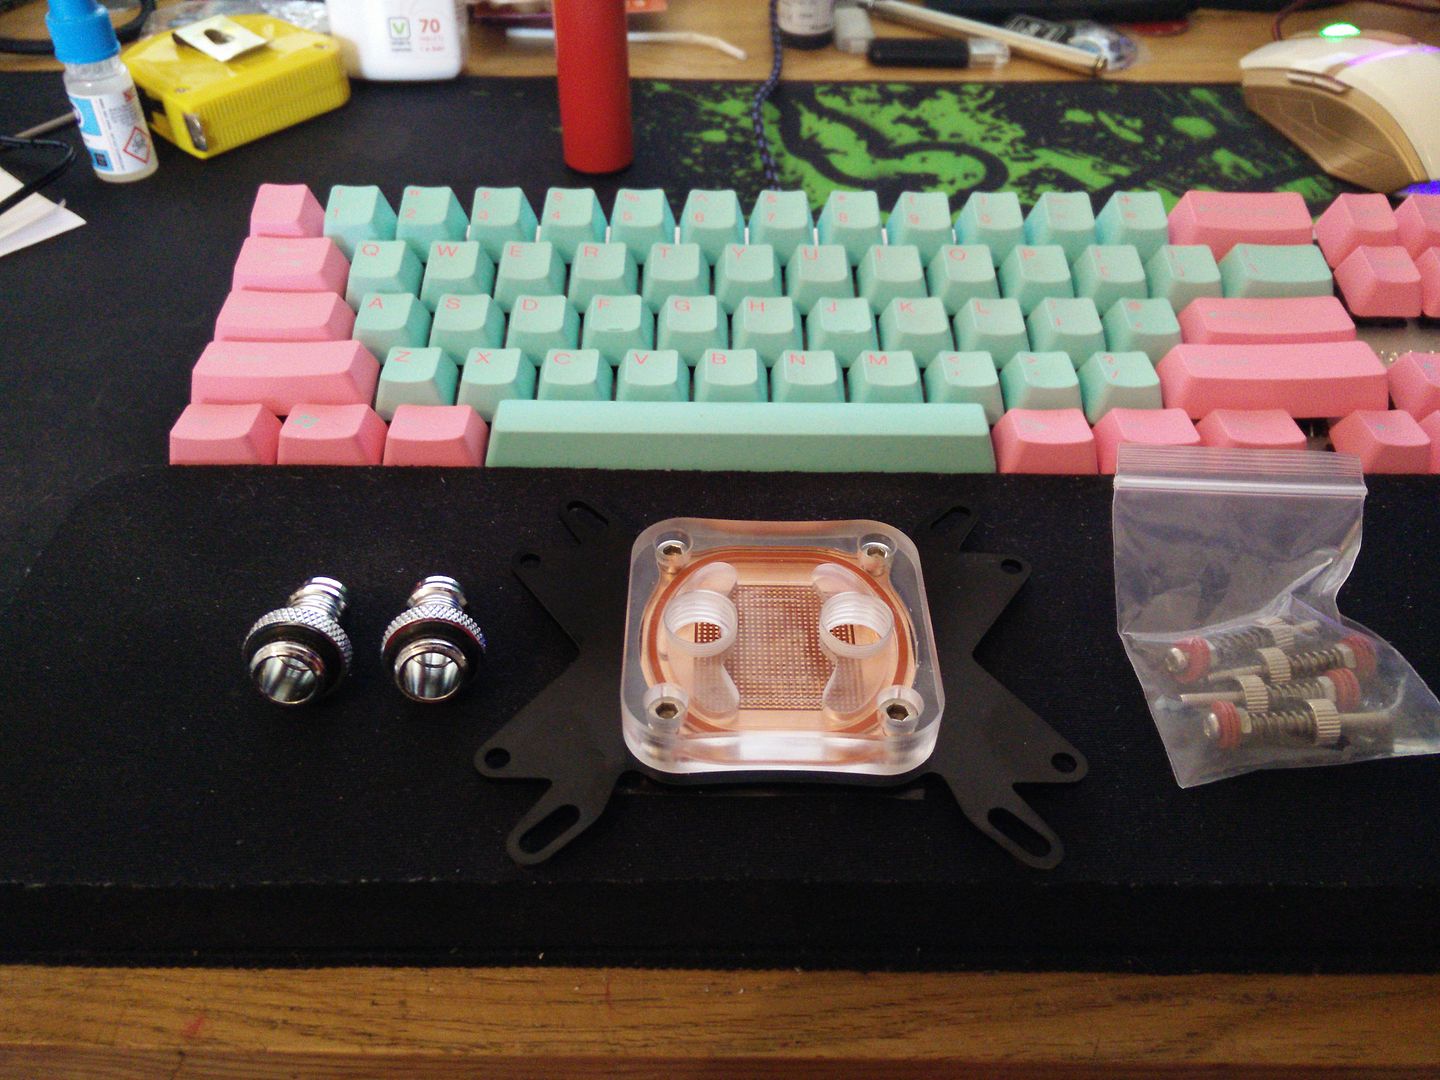
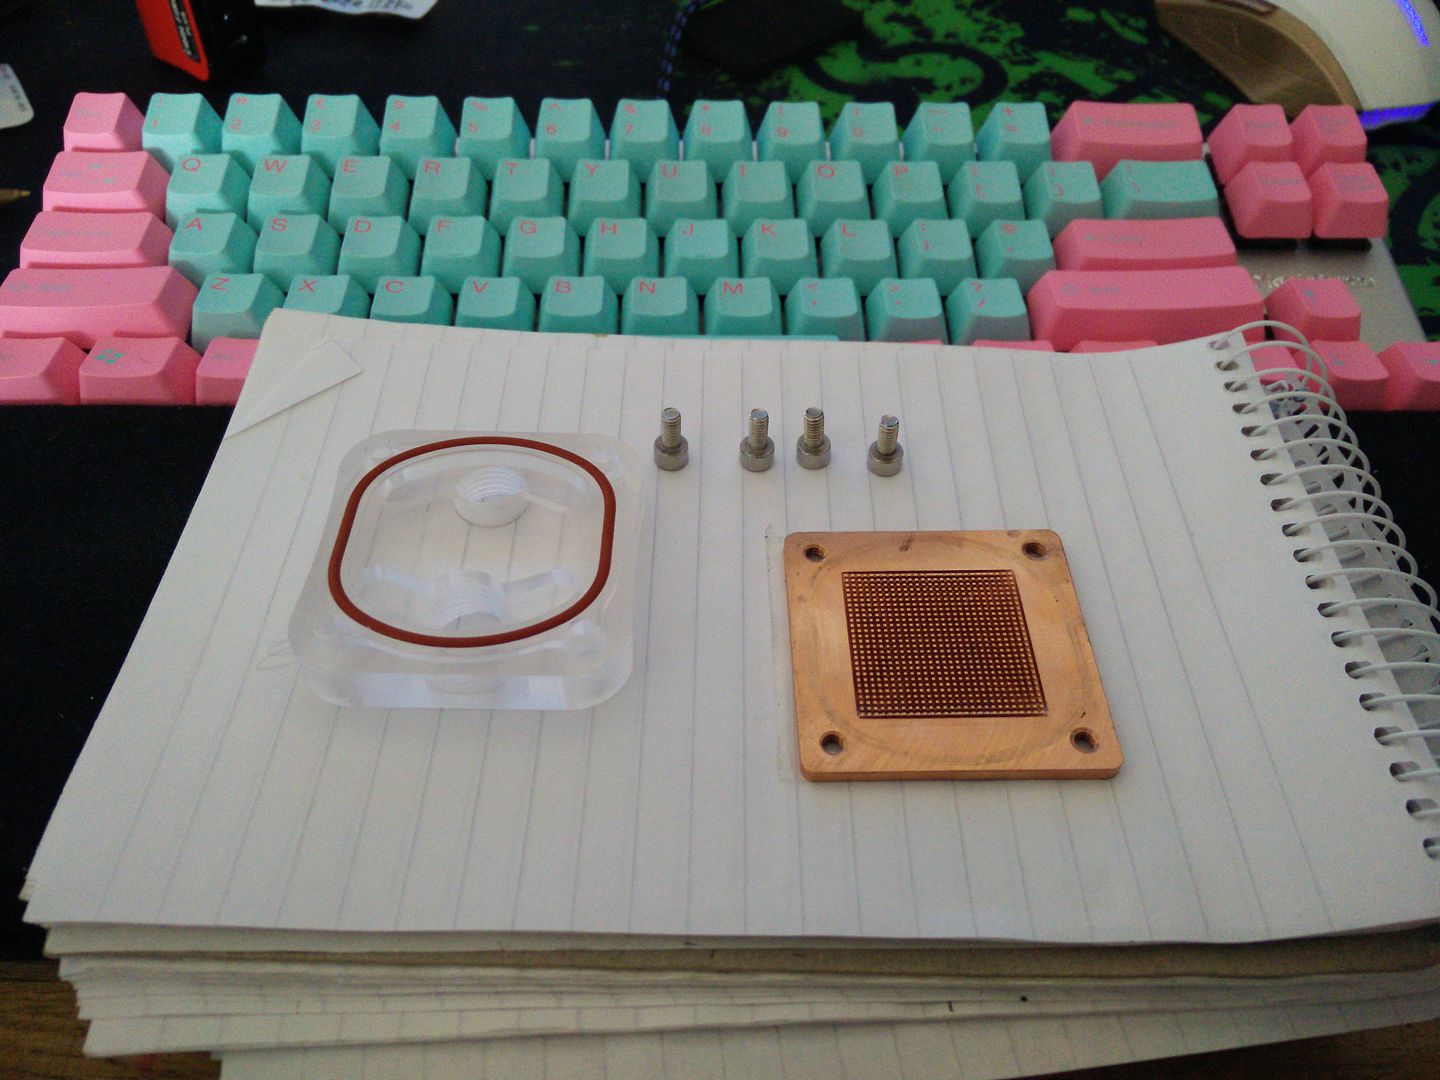
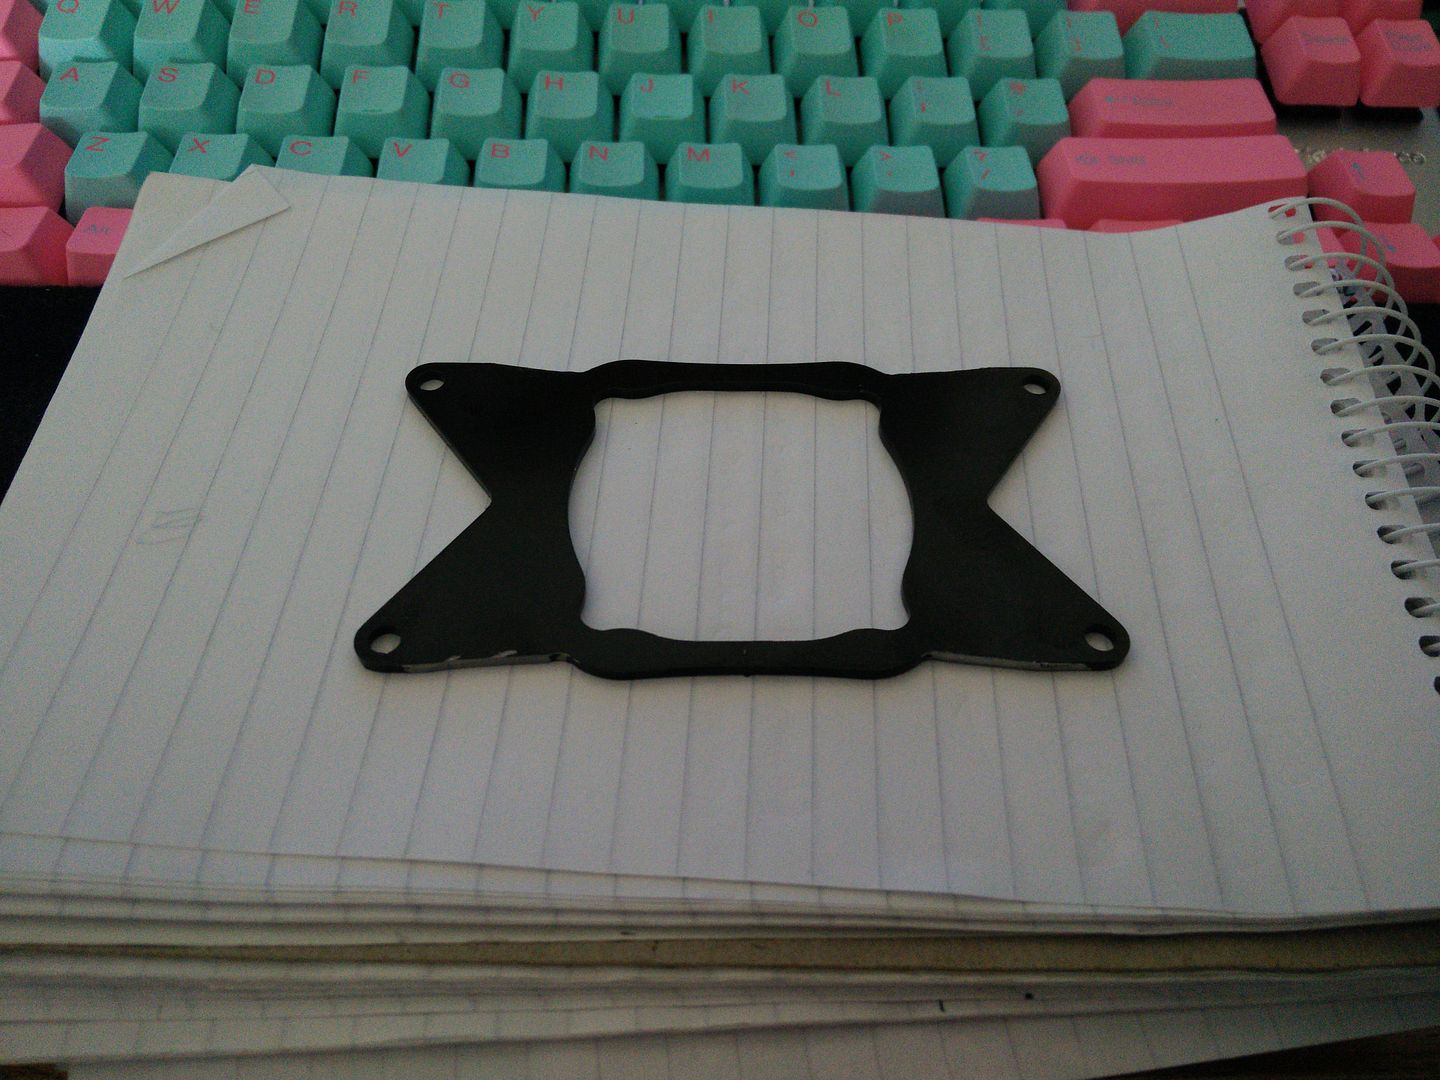
Very pleasantly surprised by the actual quality of it. Not happy with the "wings" though, they will be coming off. I've removed the barbs as I will be using my own. Ignore the condensation in there I saw a bit of dust and blew it out :D


Nothing else arrived but it's not a problem because it seems I have sprained my wrist :( The drill dug in and span the other day and it seems I've injured my wrist which is steadily getting more painful.
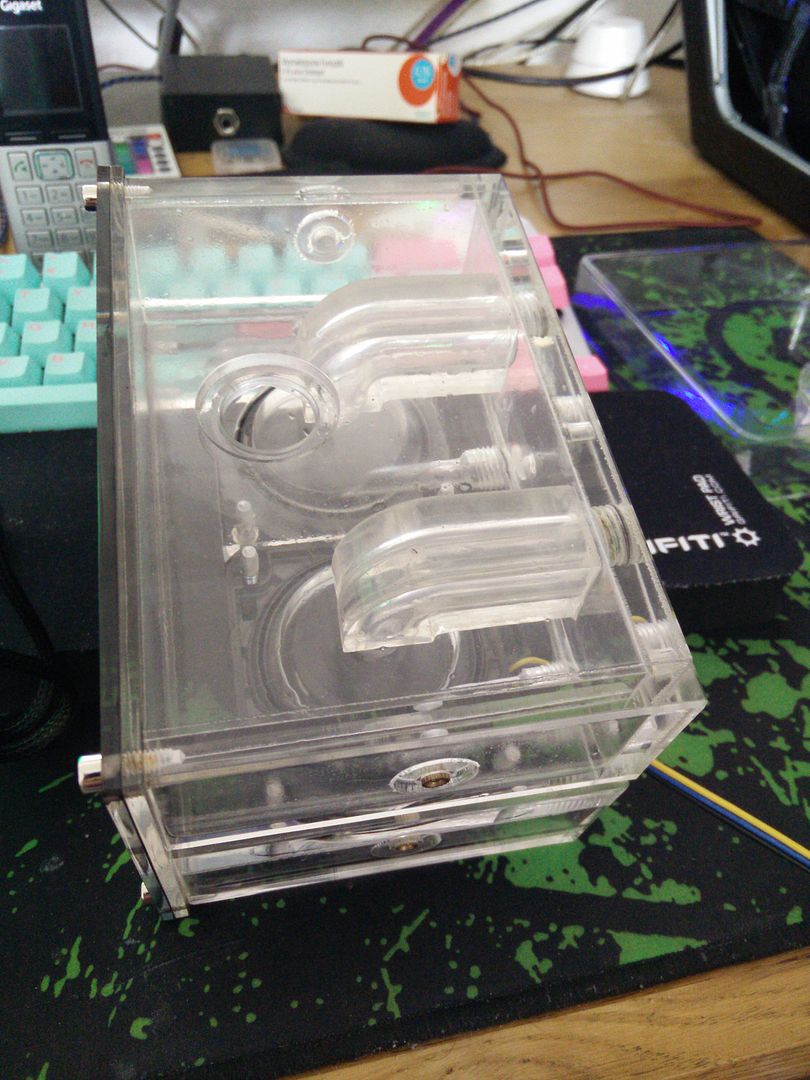
 
OK two more things completed :) firstly I filled the res with white vinegar and this gave me the opportunity to leak test it too. It passed with flying colours and now the limescale is literally no more.


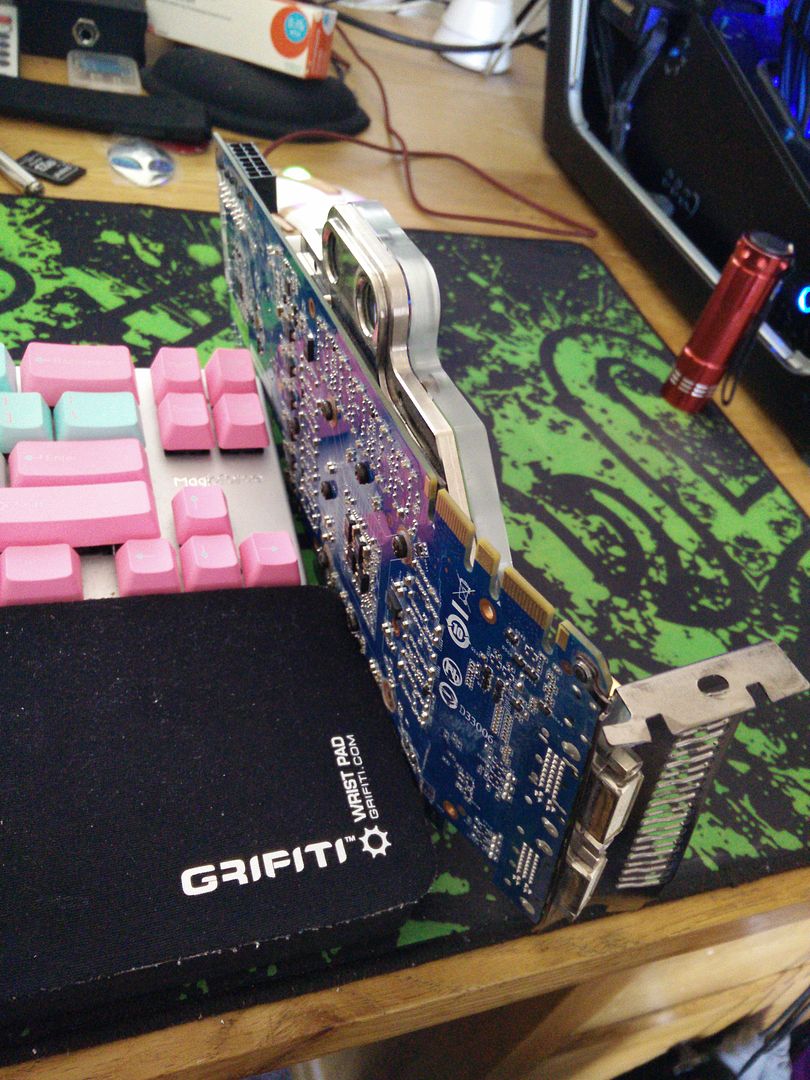
Totally minging but totally worth it :D I managed to seal it up using the shut off caps from the GTX 580 I was given. Talking of the GTX 580 I bet you've never had one arrive like this...


Viva Parcel Farce ! Sadly as it was a special edition XOC 580 by Gigabyte (huge ass thing) the block was useless so it all went in the bin. *sigh*. Thankfully I have a better card (even though it looks nowhere near as good) but yeah, had I been depending on that I would have been even more gutted. However, it performed one last duty and that was to give me the caps I needed. I will be using them when I descale/flush/leak test the rad tomorrow.

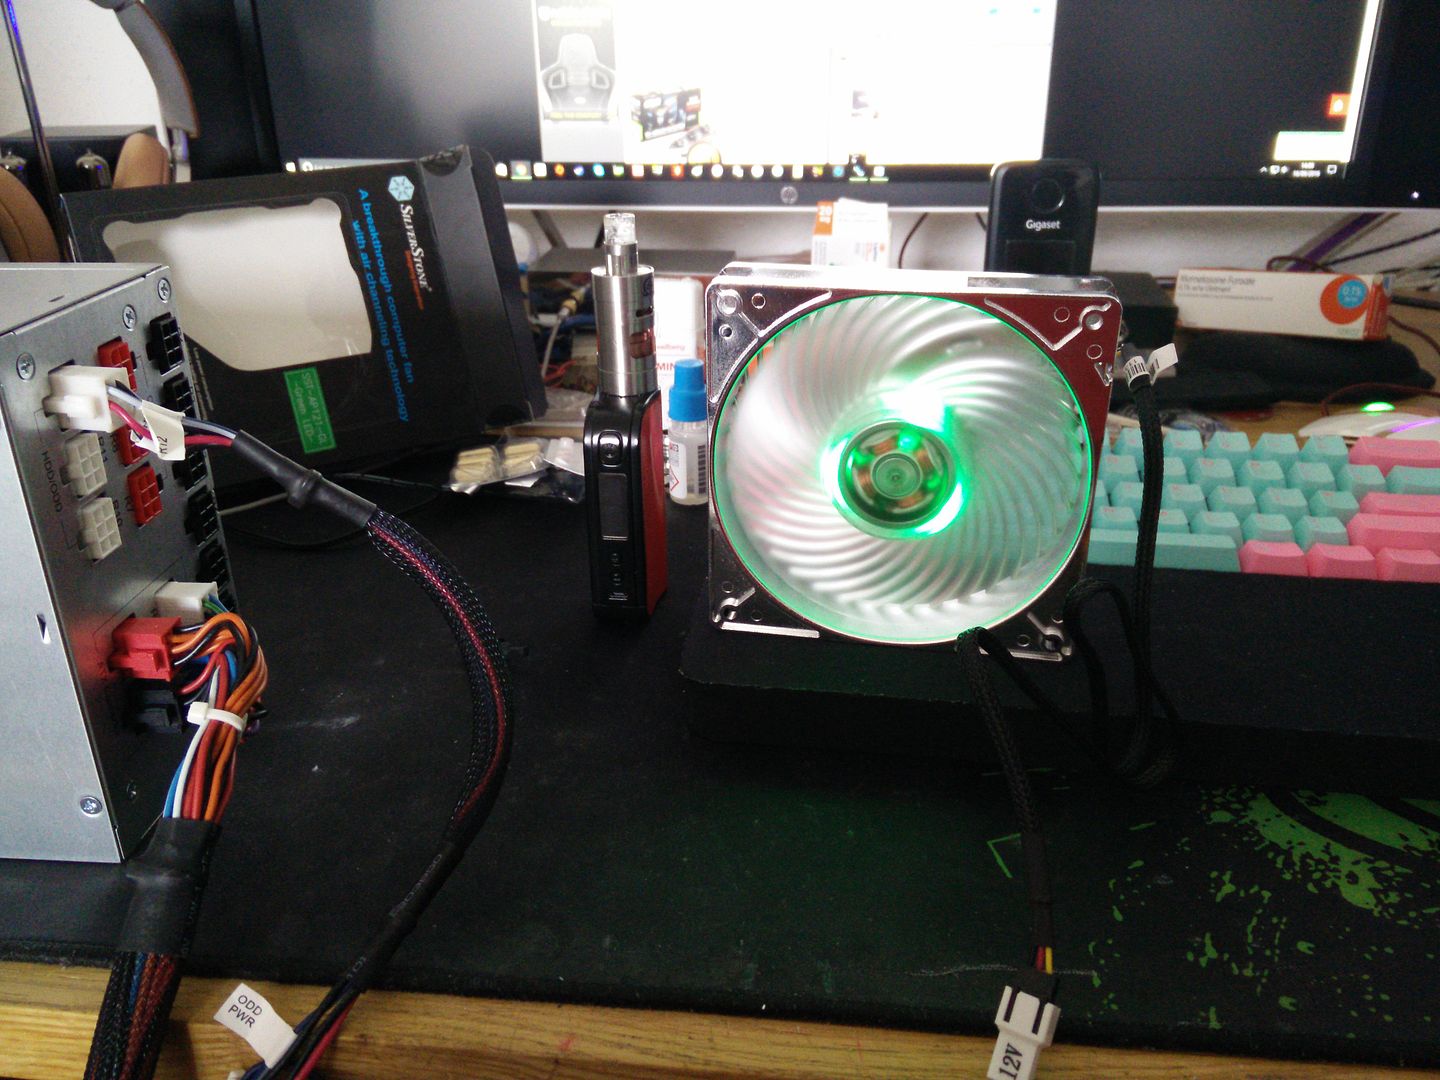
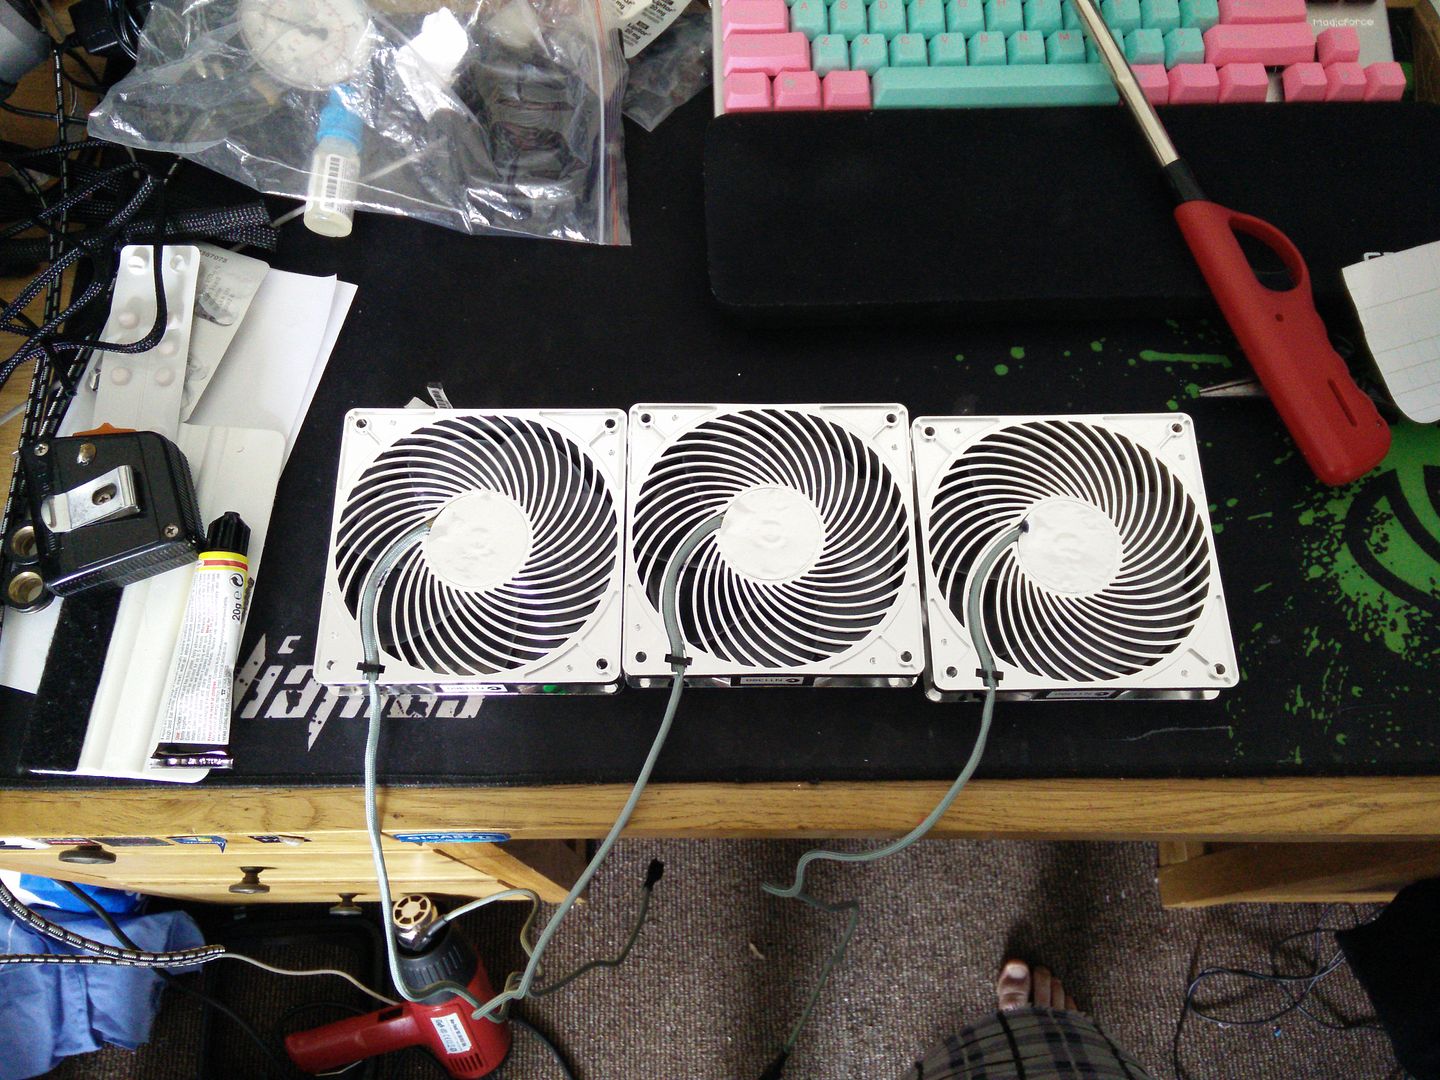
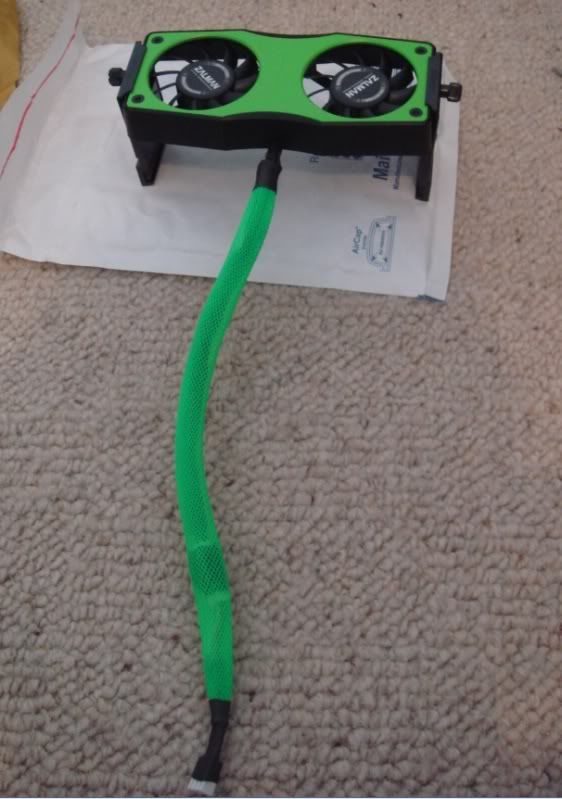
So for today's fun bit I connected up my test power supply and had a play with the fans.


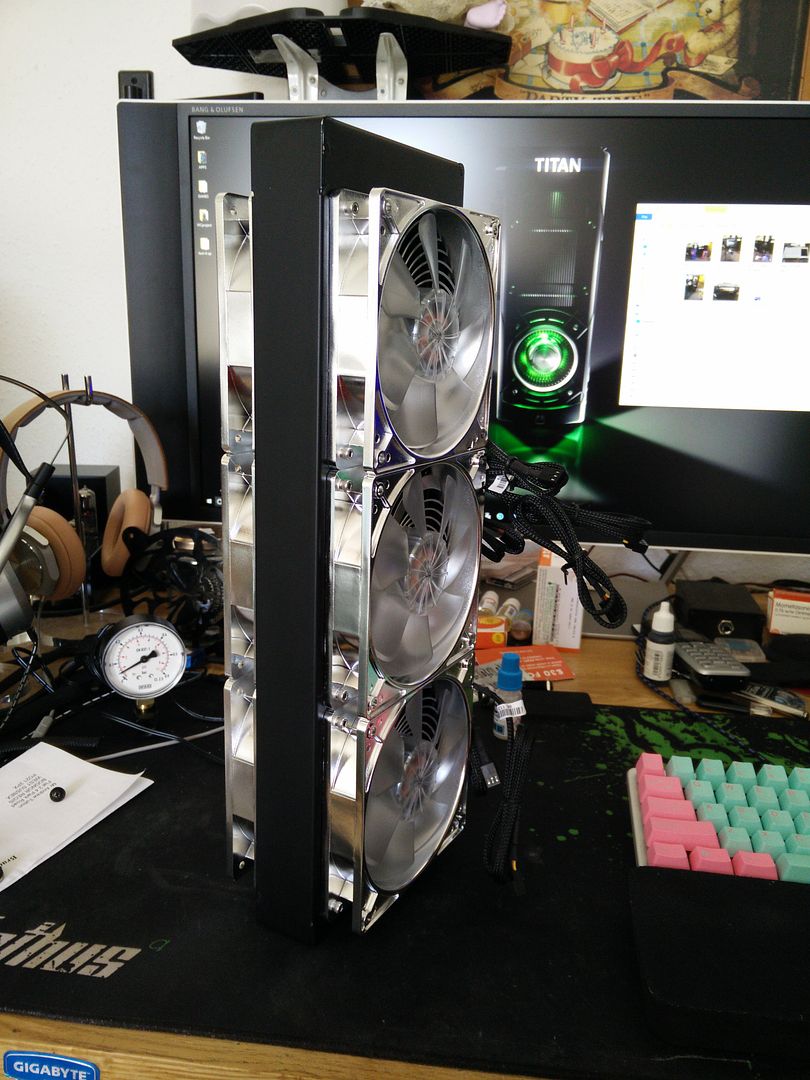
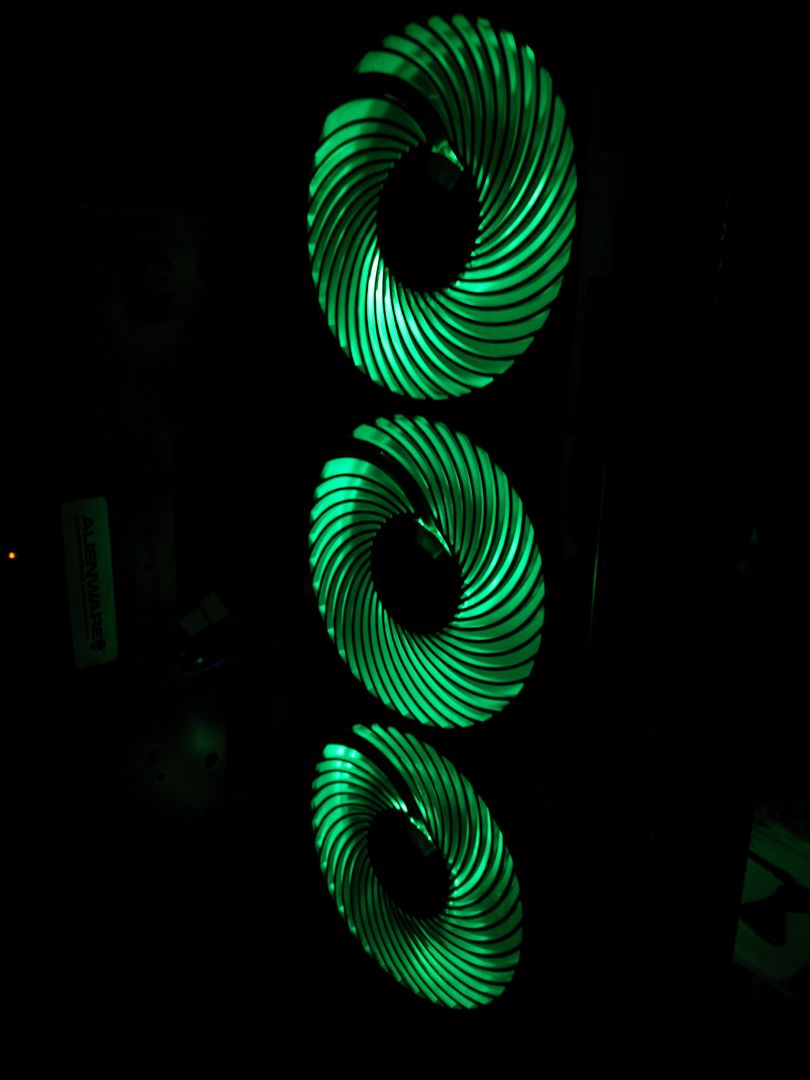
And I was (pardon the obvious pun here) blown away. They come with a special adapter that allows you to run them at 5v, 7v or 12v. However, I had to stick my ear next to it when it was on 12v to even be able to tell it was working. Due to this lack of noise I was worried it may not be shifting any air, but man, I was wrong.

So so chuffed with these @ £4.99 each and love the green ring that appears around the fan body when they're running :)

Viva OCUK (with absolutely no sarcasm and a slightly fatter back side for eating all of the Haribo :D )
 
Shame about that 580 getting tanked mate. I admit I packed it all in a rush but I never expected any breakages like that. Good to see you are getting some use out of the gear tho. Might have to get some of those fans myself to replace the boring NZXT ones I have :)

Yeah it sucks but hey, what can you do? it's a shame we didn't have the foresight to insure it really because that particular card cost an arm and a leg at launch. Would've served the red gits right.

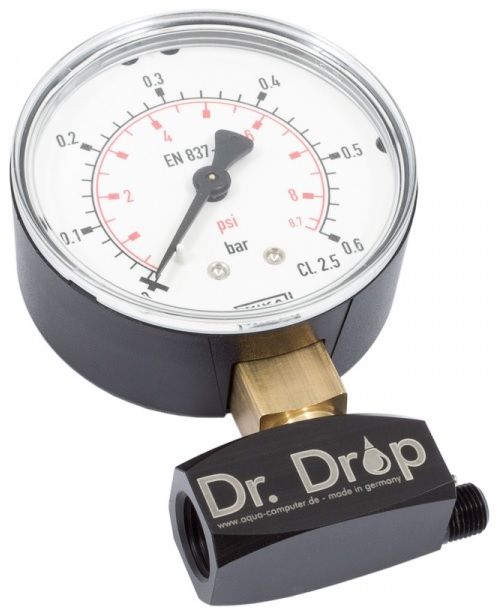
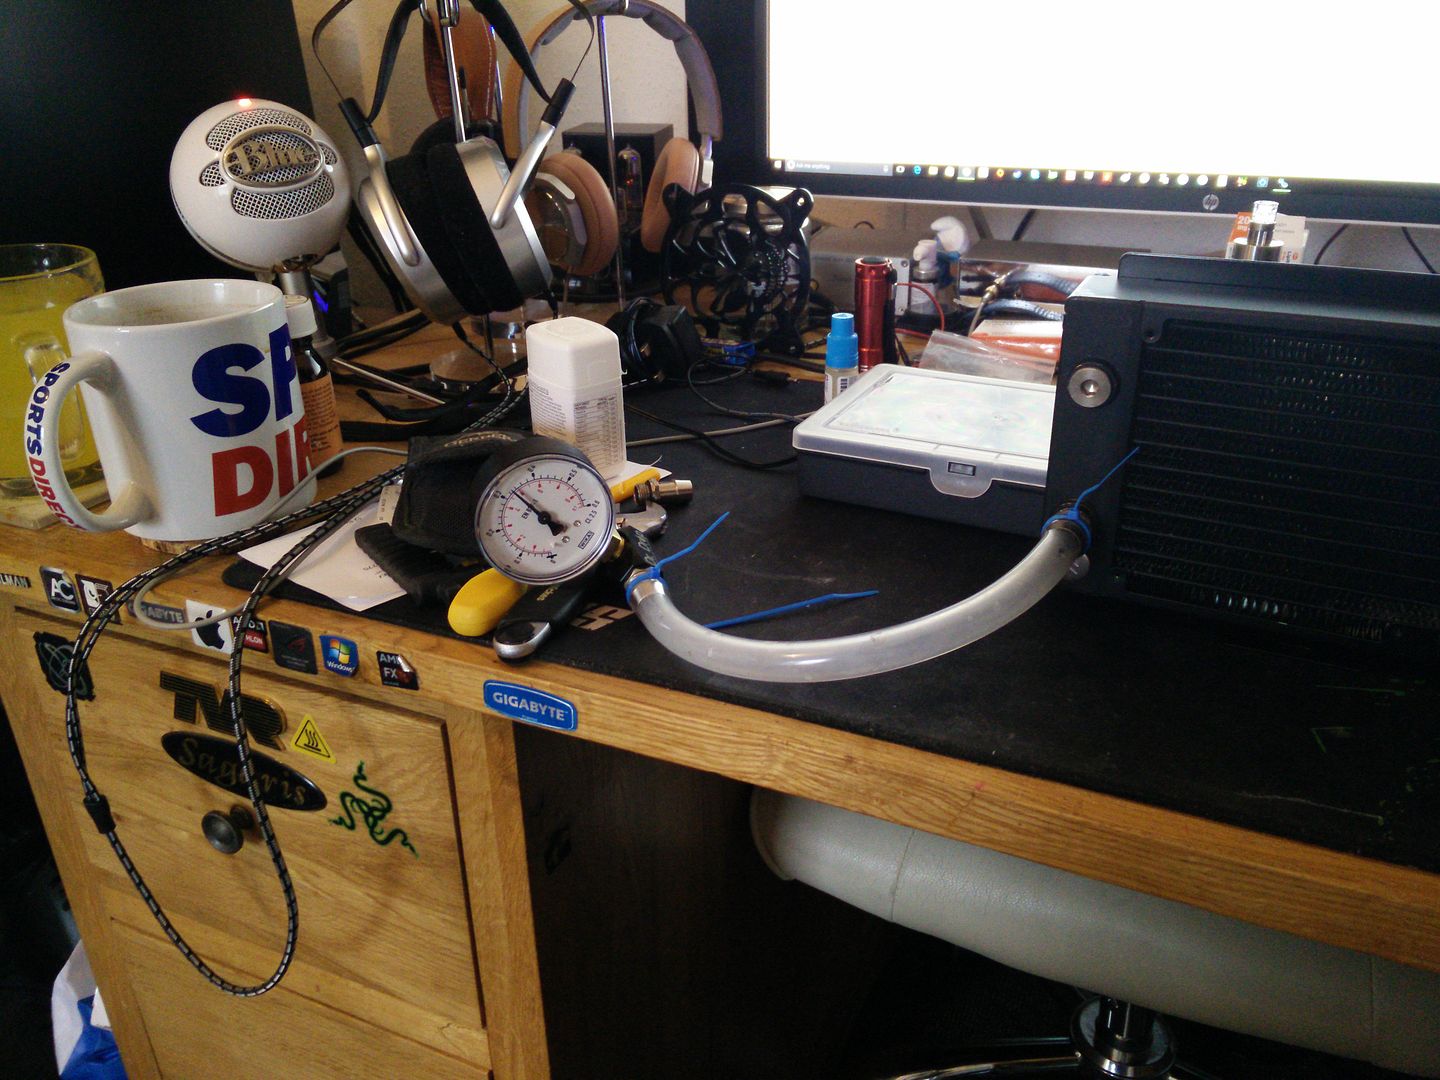
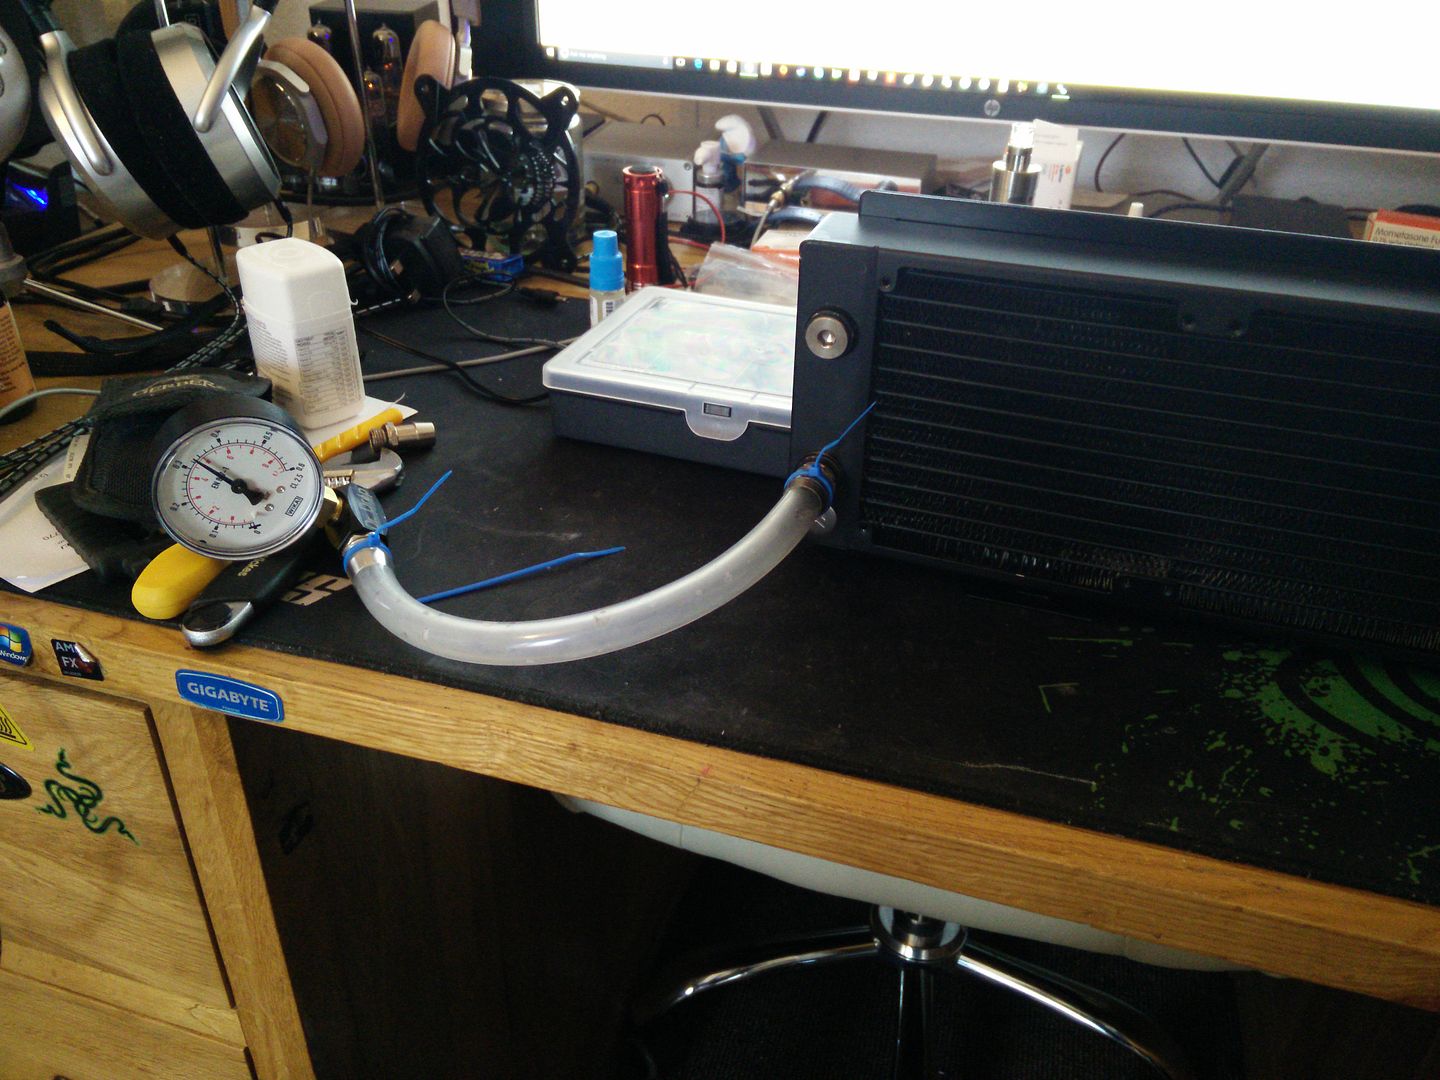
So the only other thing I really needed to test before filling it with water was the radiator. Another enormously kind gesture meant I could go and see the doctor. Let me introduce you to Dr Drop.


Now the website says to put up to 0.5 into the rad (8.7 PSI) but I was a little worried with this rad being quite old and having damage on the fins. So I decided instead on 0.3 bar because the pump I have could not deliver any more than that any way due to the layout. It kept leaning on the release nipple.


I also did not want to just walk away and forget about the amount of pressure in there either so I sat and stared into space for ten minutes. Lo and behold, no pressure drop.


Phew.

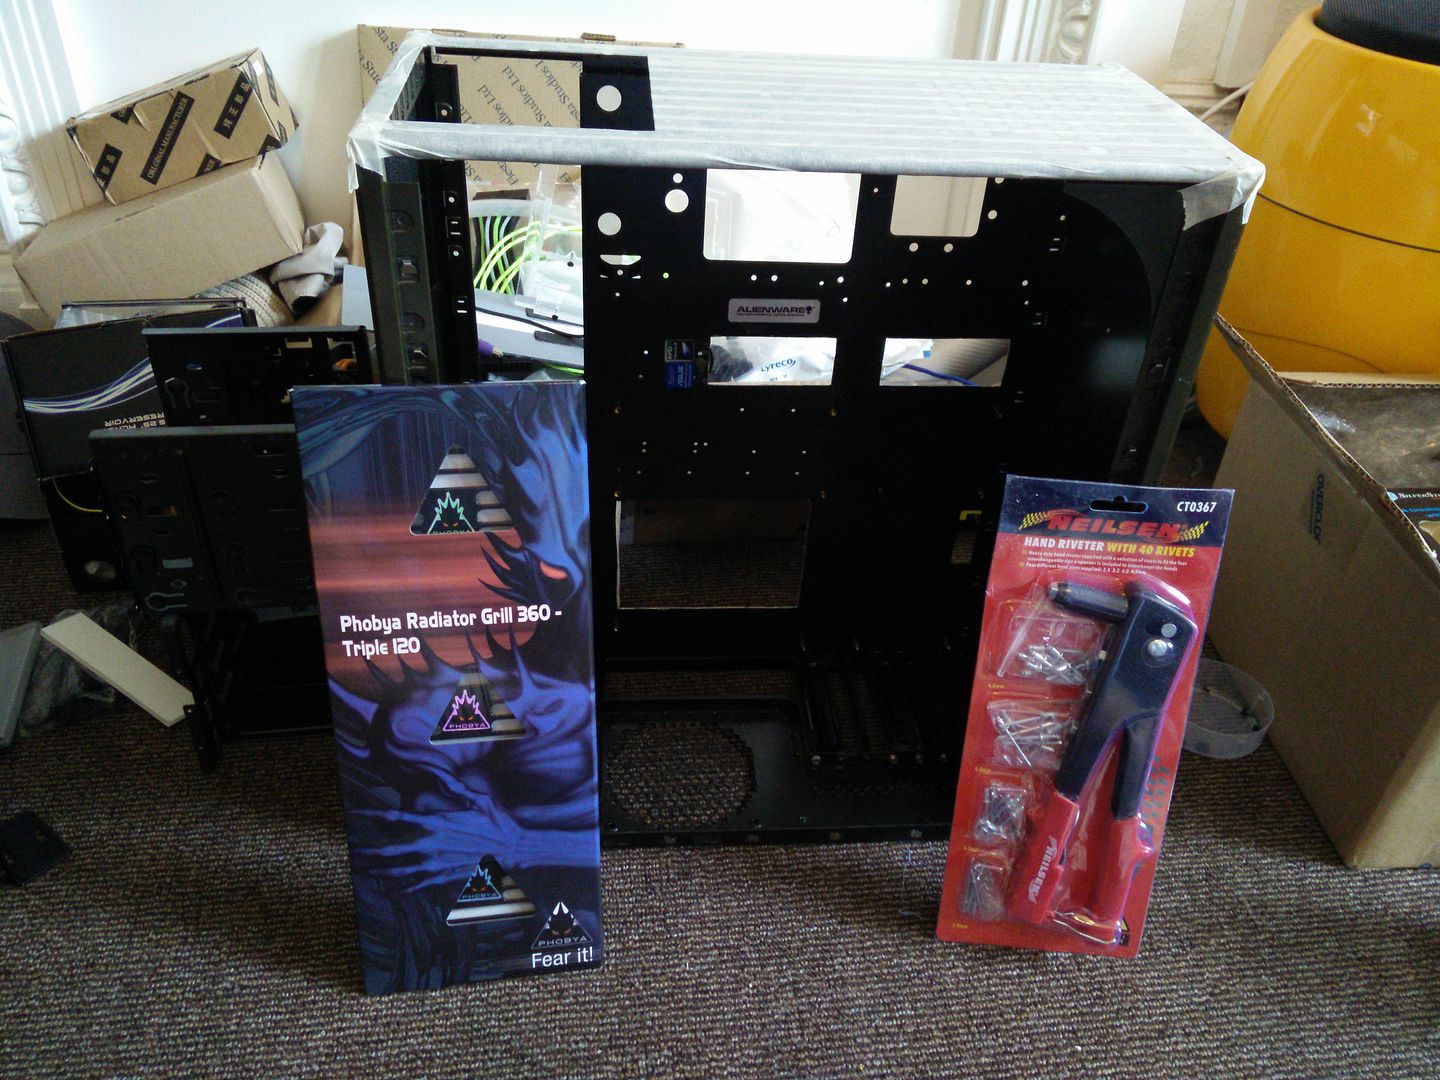
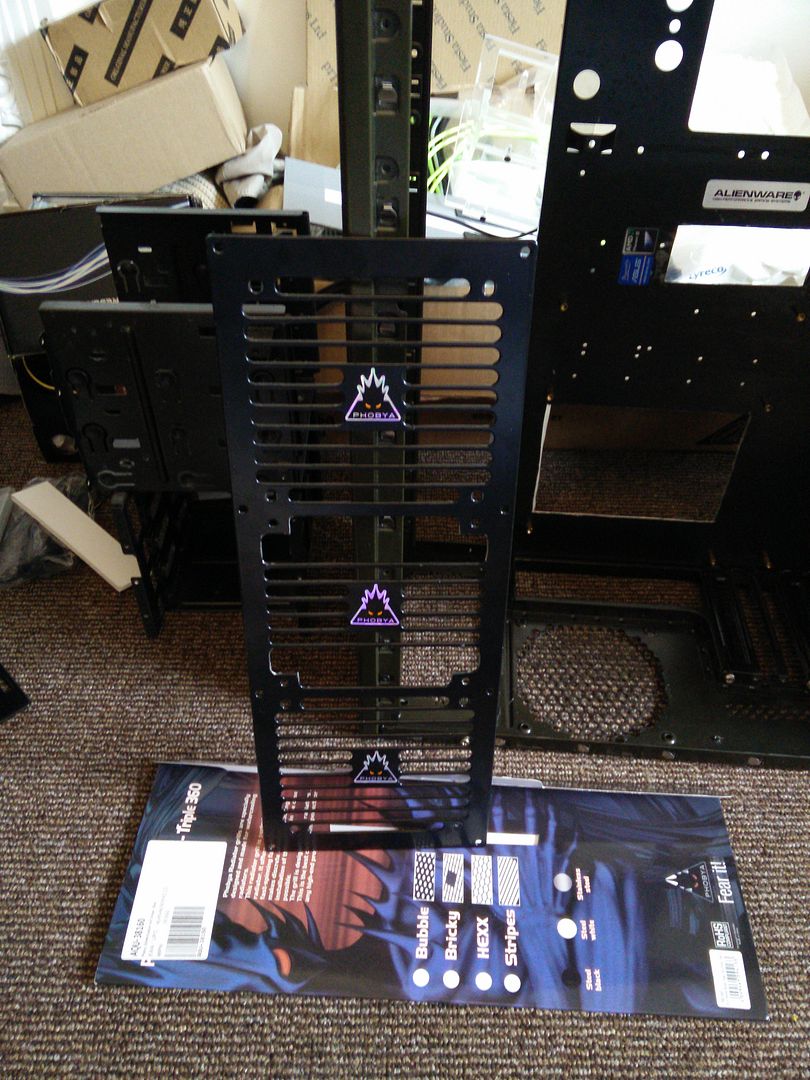
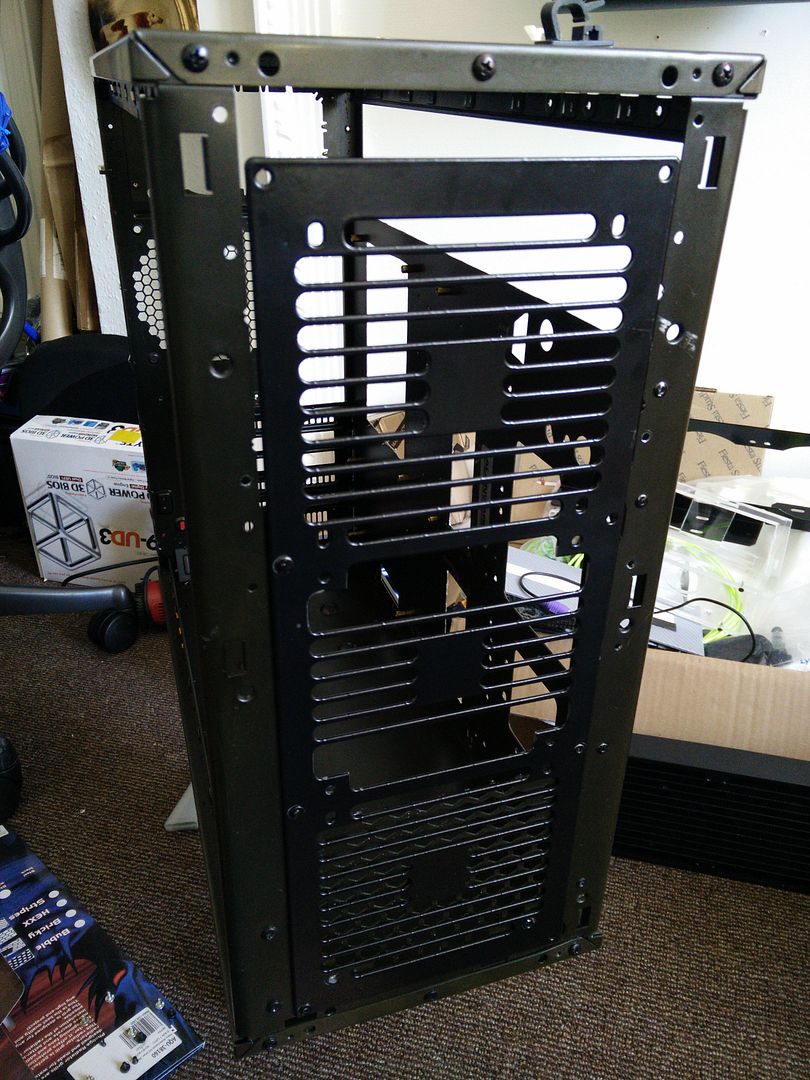
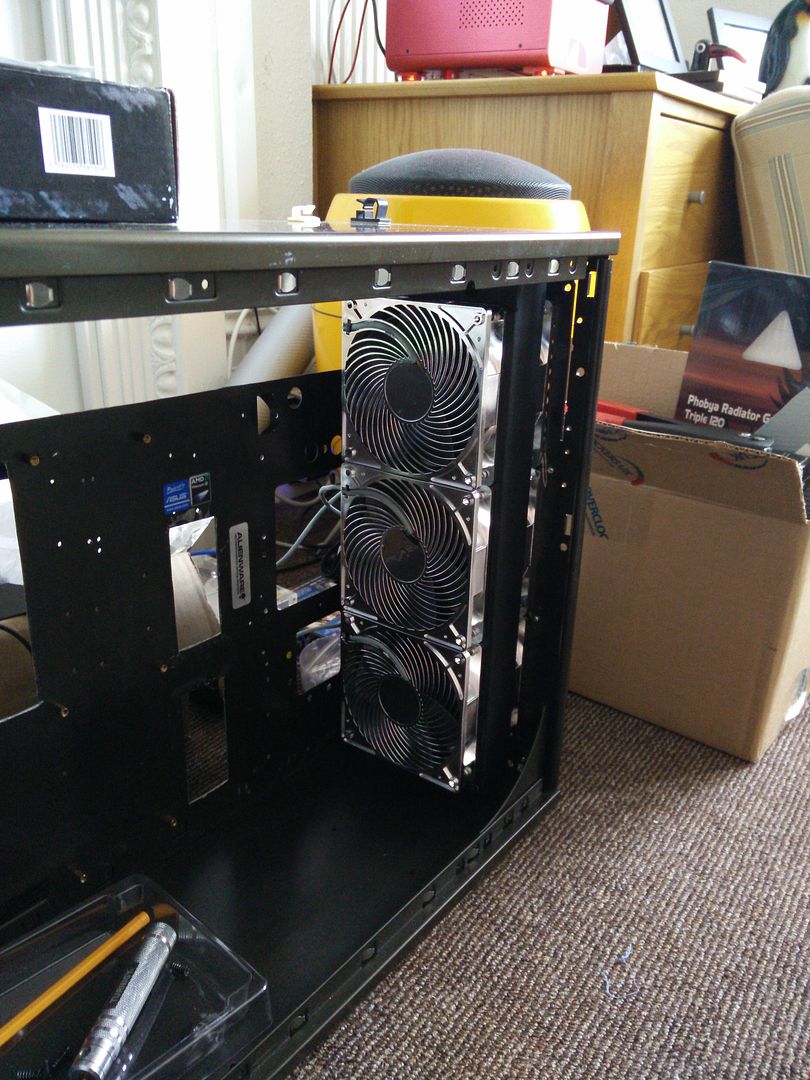
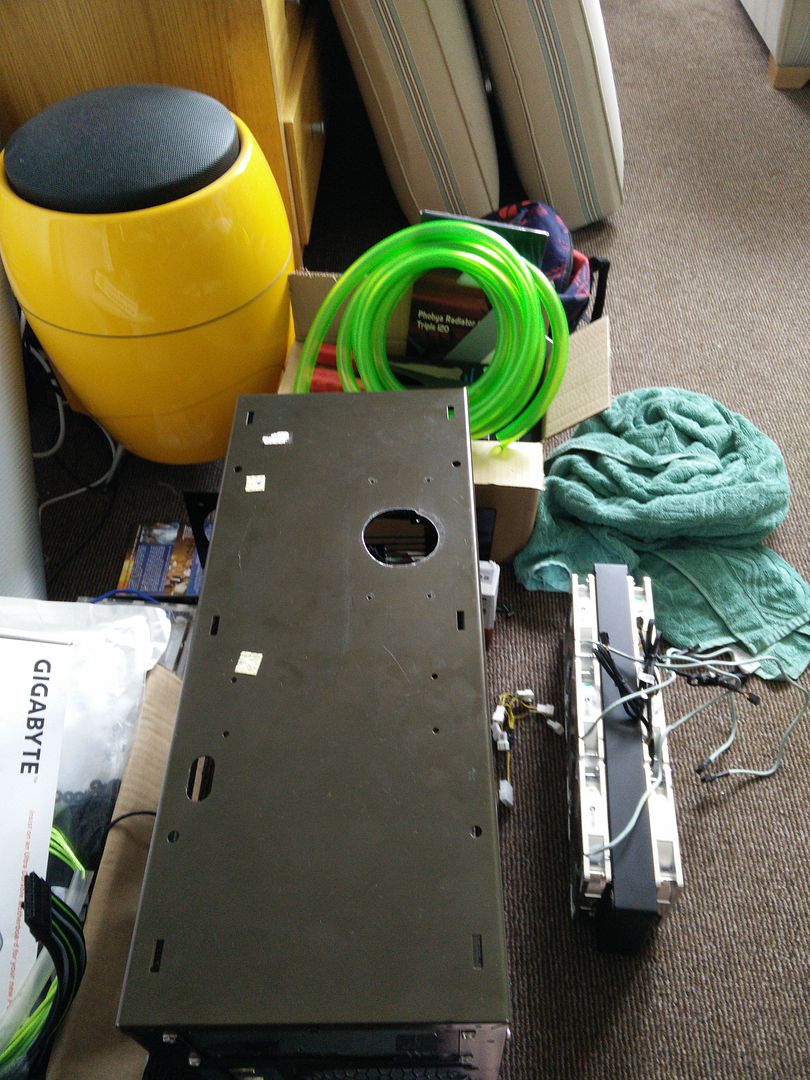
The radiator bolts came today also, so I can get them on and buttoned up. I have also completely changed the design of the rig too. Instead of using that radiator stand I am just going to rivet a 360 fan grille onto the front of the rig. Firstly it will allow me to mount the rad and fans right onto the front of the rig (gaining me about 10mm in space) and secondly there was pretty much no way to bolt the rad stand down and then assemble it. I could assemble it but then I could not get to the bolts, and after three days of trying to think of a solution I just gave up :D


Say hello to my little friend.


OK so this is what I am going to be using. I have had it forever.


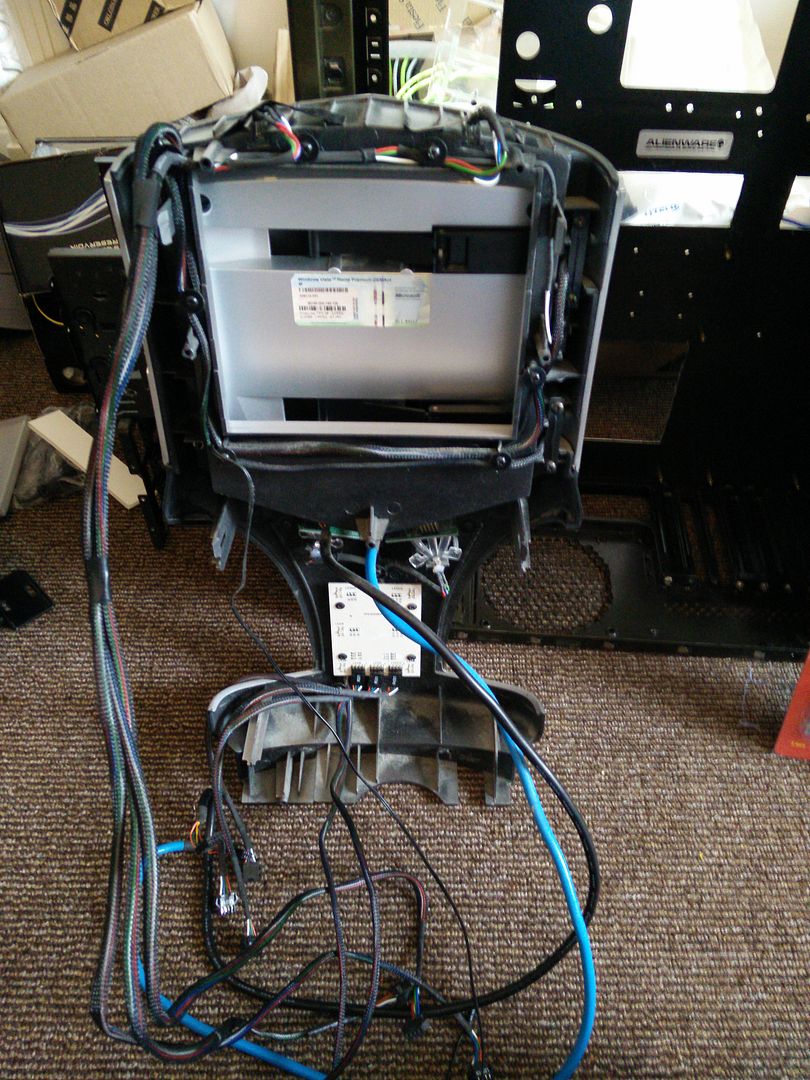
OK so I needed the front so that I could map out where it attaches to the chassis.


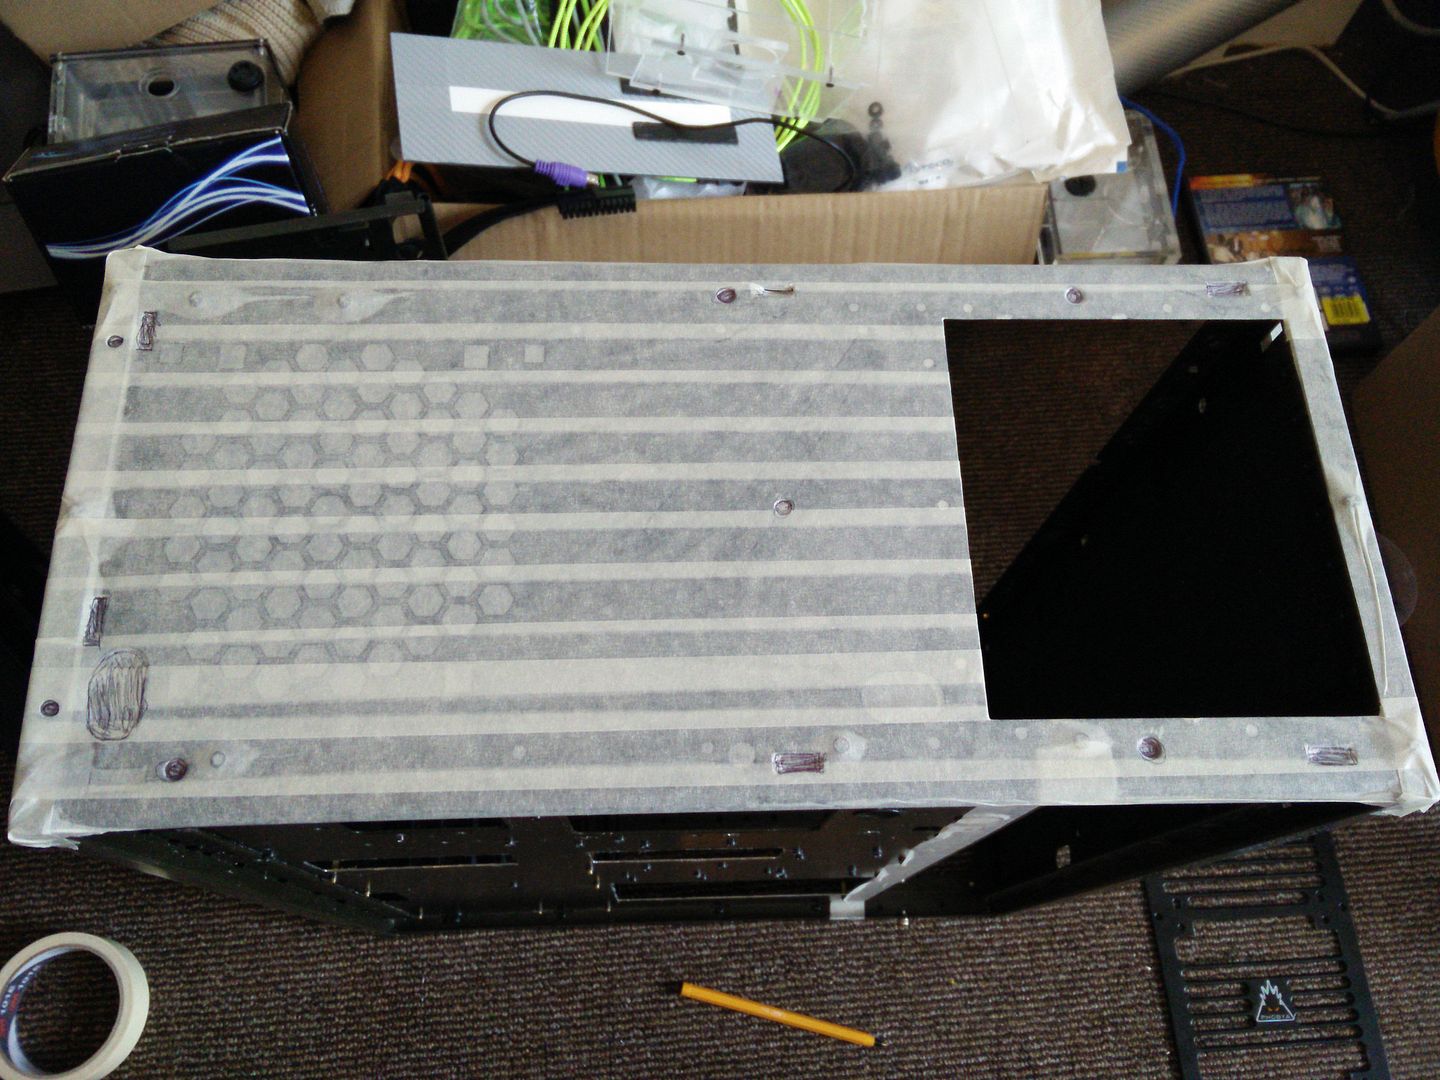
Map everything out.


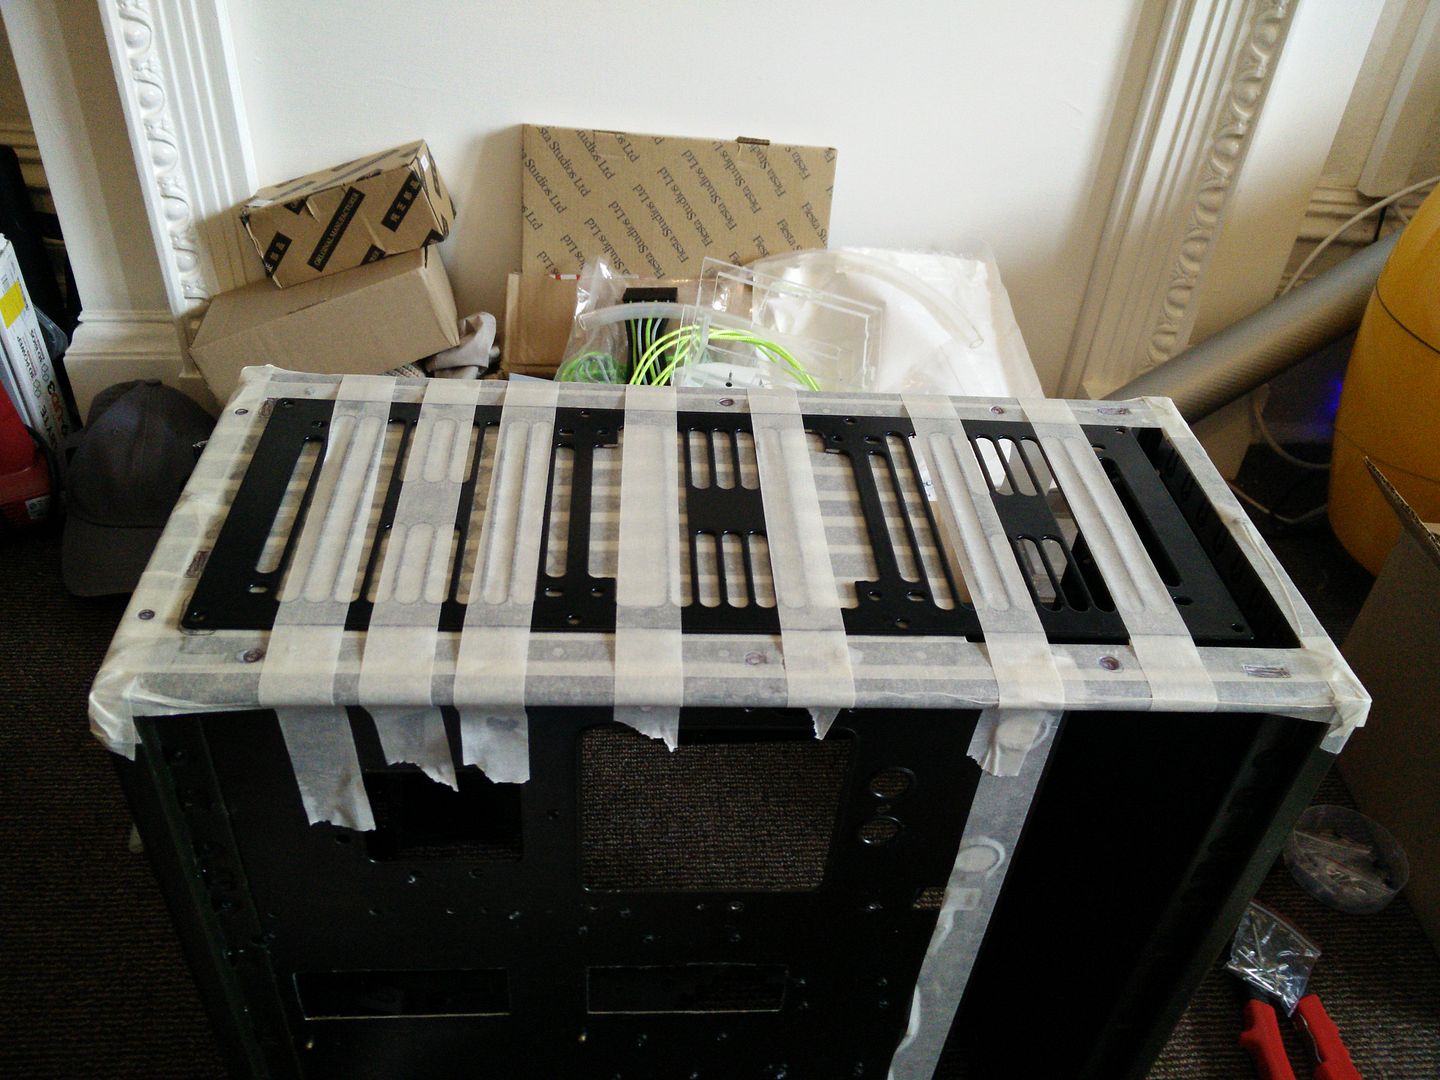
Then tape down.


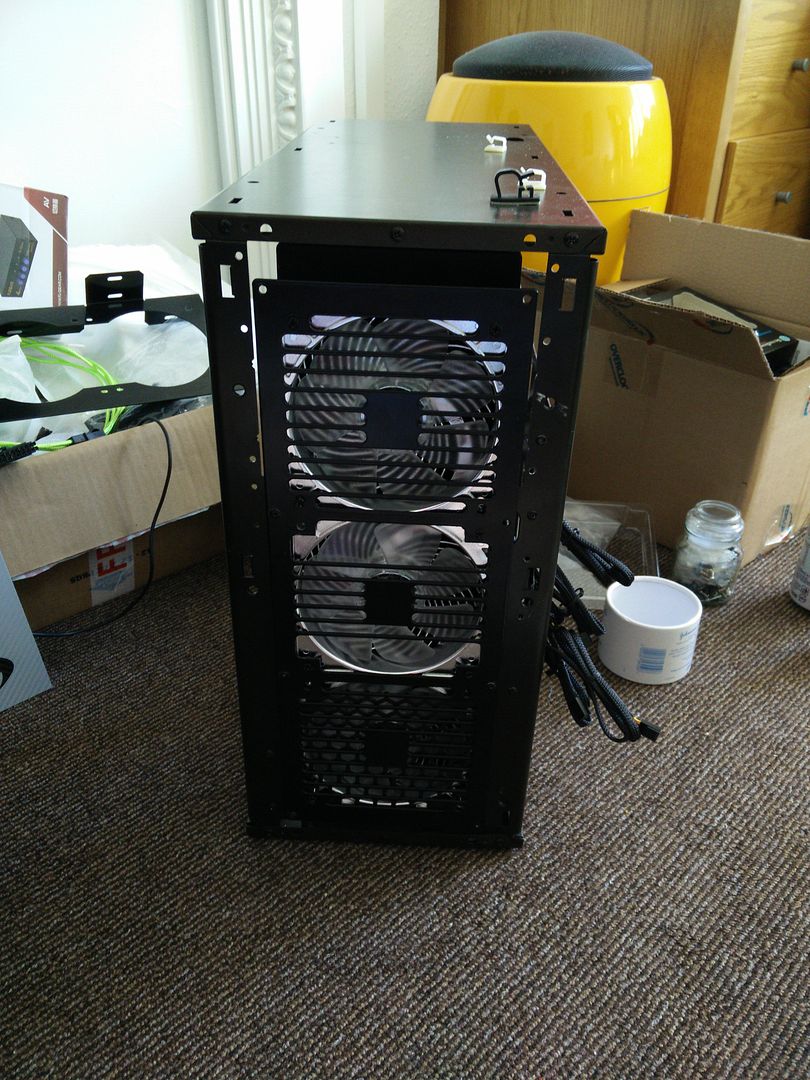
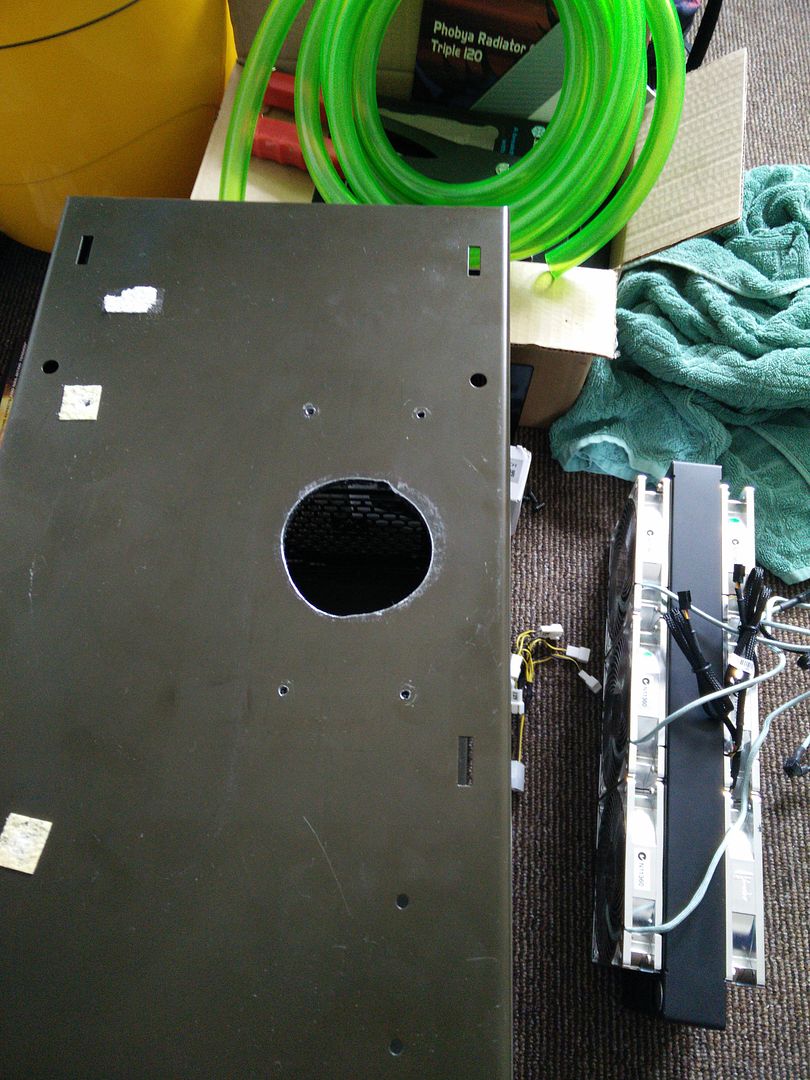
Then take it to the kitchen, drill the rivet holes, cut out the face panel, clean, paint edges that were cut, rivet on, paint rivets (need another coat). And.


And the other side.


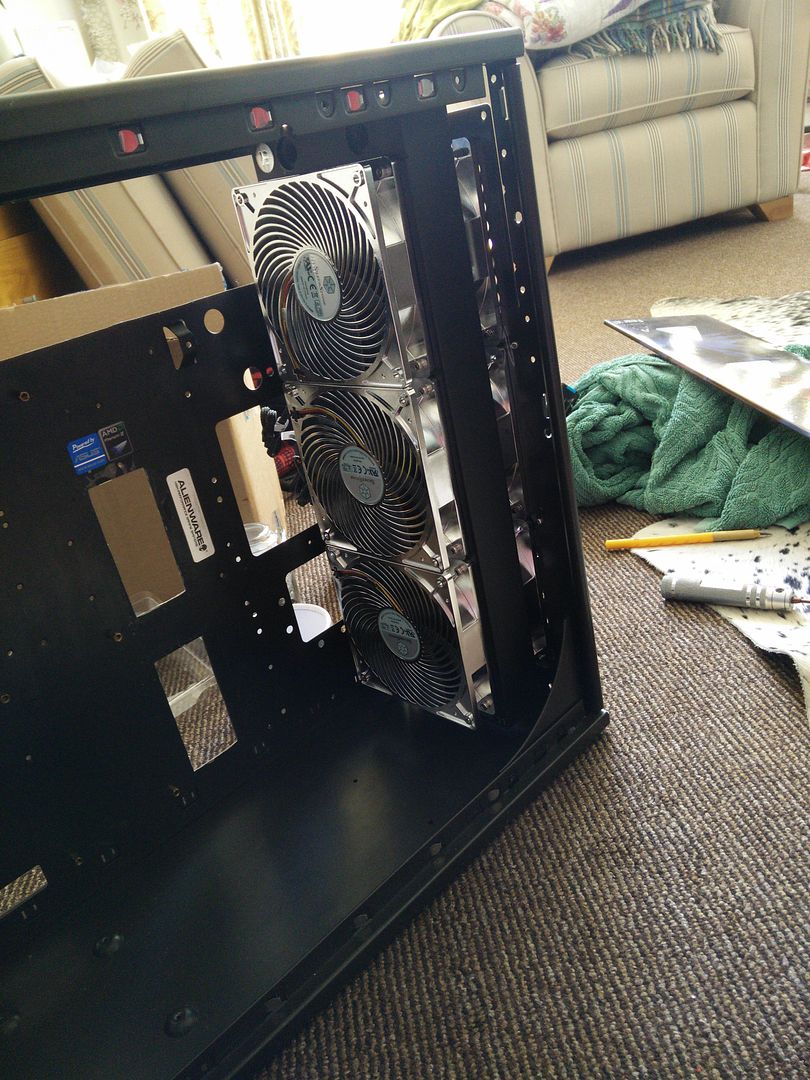
OK so as you can see all I need to do now is basically fit the fans on the rad (short screws) and then use those self tapping fan screws to attach it to the new front panel. Much easier than buggering around with that rad stand.

I also cut off the 90' lip that was running all the way through the case. I will paint this edge later though there's little point tbh.

 
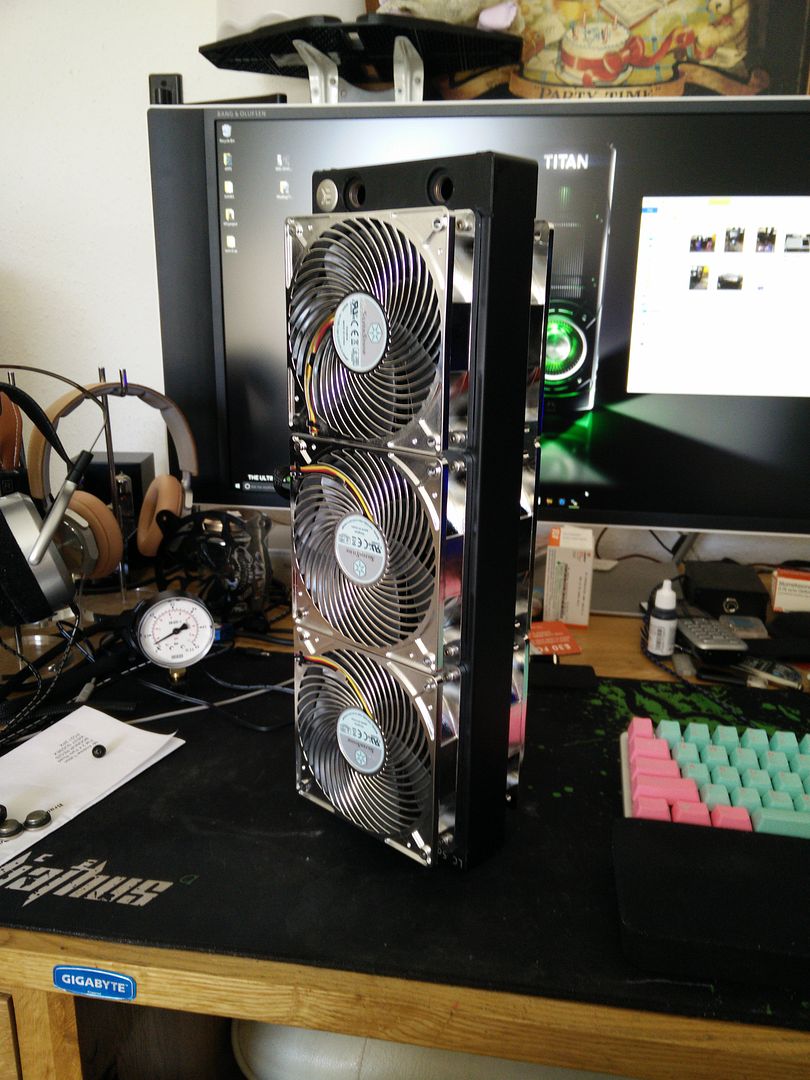
I just had to ! The E-peen was strong on this one, I'd only ever had push pull on a 240mm AIO before. It's darned heavy though !


This side will need some work, but nothing the plotter can't handle. Wondering whether to cut them out of chrome so they merge into the fans...


/Kevin Bloody Wilson - From the Featherbrain Championship..."now there's a doorway where there weren't one there before"


Quite pumped up for the Acrylic phase now :)
 
I did a stock check earlier and I may just have enough chrome wrap to do the centre circles. However, I wanted to put one under the scanner and scan the centre circle and the area that follows down with the cables in. So that it's all covered.

Just one issue. I set an absolute 100% limit on this of £150 and I'm all spent up. I already had to spend £4 more on some nozzles for the paint because I seem to have lost the one I had so yeah, not sure..

If I braid the cables all the way into the centre it would look better, but that's kinda like a nose/face scenario. Why spend like two hours braiding wires when I can spend about £4 and have it all done in mere seconds.
 
But it doesn't count if you buy the materials for another project and have some 'left over', right?! Does the Mrs need something pretty made that happens to require chrome vinyl?

lmao unfortunately not mate :D

I should braid the fans really.
 
Take apart the water block.


And.


I can either touch it up with a cotton bud or spray it. Not sure which I want to do yet, but at least it doesn't look like some spazzy multi use block and looks more like an AMD one now :)
 
I decided that for now I was going to touch up the block and keep it black. This may change yet, but for right now I just touched it in :)


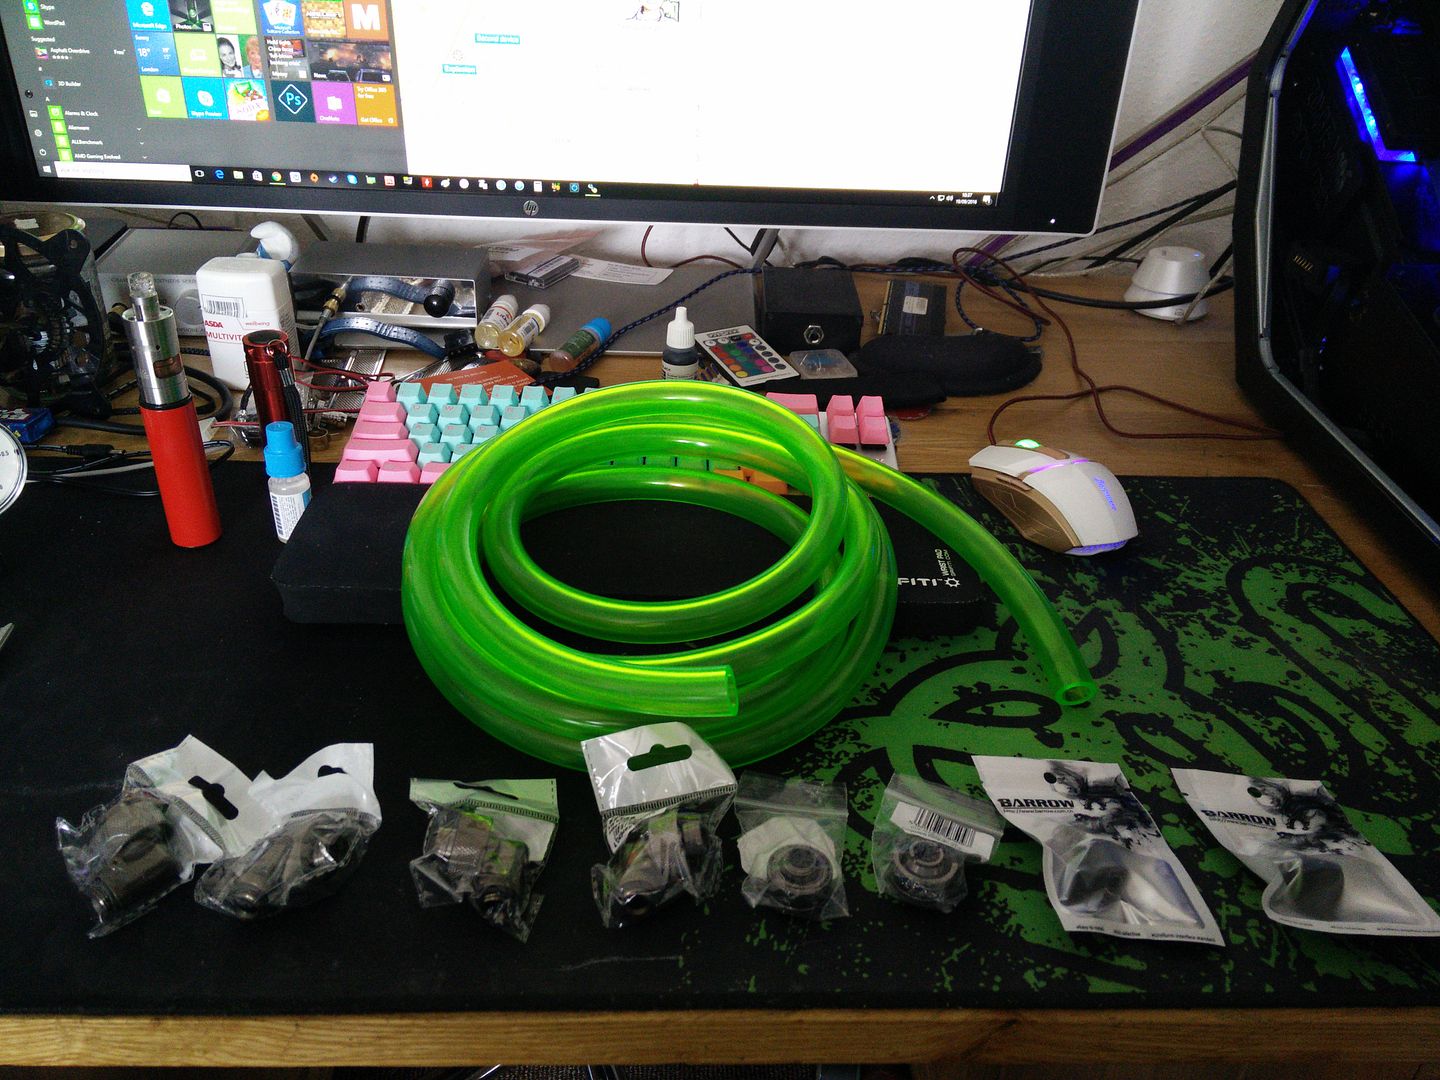
As you can see the fittings have arrived, along with the hose.


Must admit I did LOL at the size of the fittings and sheer massiveness of the hose :D

I also had a bit of a problem. The only thing left that would look like sack is the RAM. I thought it was single sided, so dug out four old OCZ chrome heatsinks (from a pair of ram). I was hoping my DDR2 was single sided so I could put the sinks on the chips and then just use some vinyl on the back. Sadly though it is double sided, so that idea was a fail. So after much deliberation I found one of these brand new for £13 and figured that it would look better than stock ram and offer some cooling, given everything else was going to be under water.


Don't worry about it being red. I just so happen to have a brand new unused one of these in my tool box :D

 
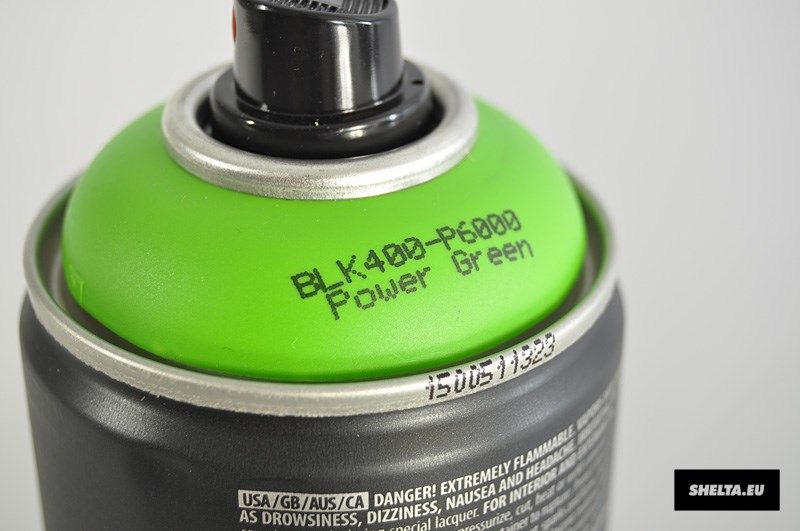
I've used the paint before :)


Actually thinking back to that I also painted a ram fan cooler on that project too lol.


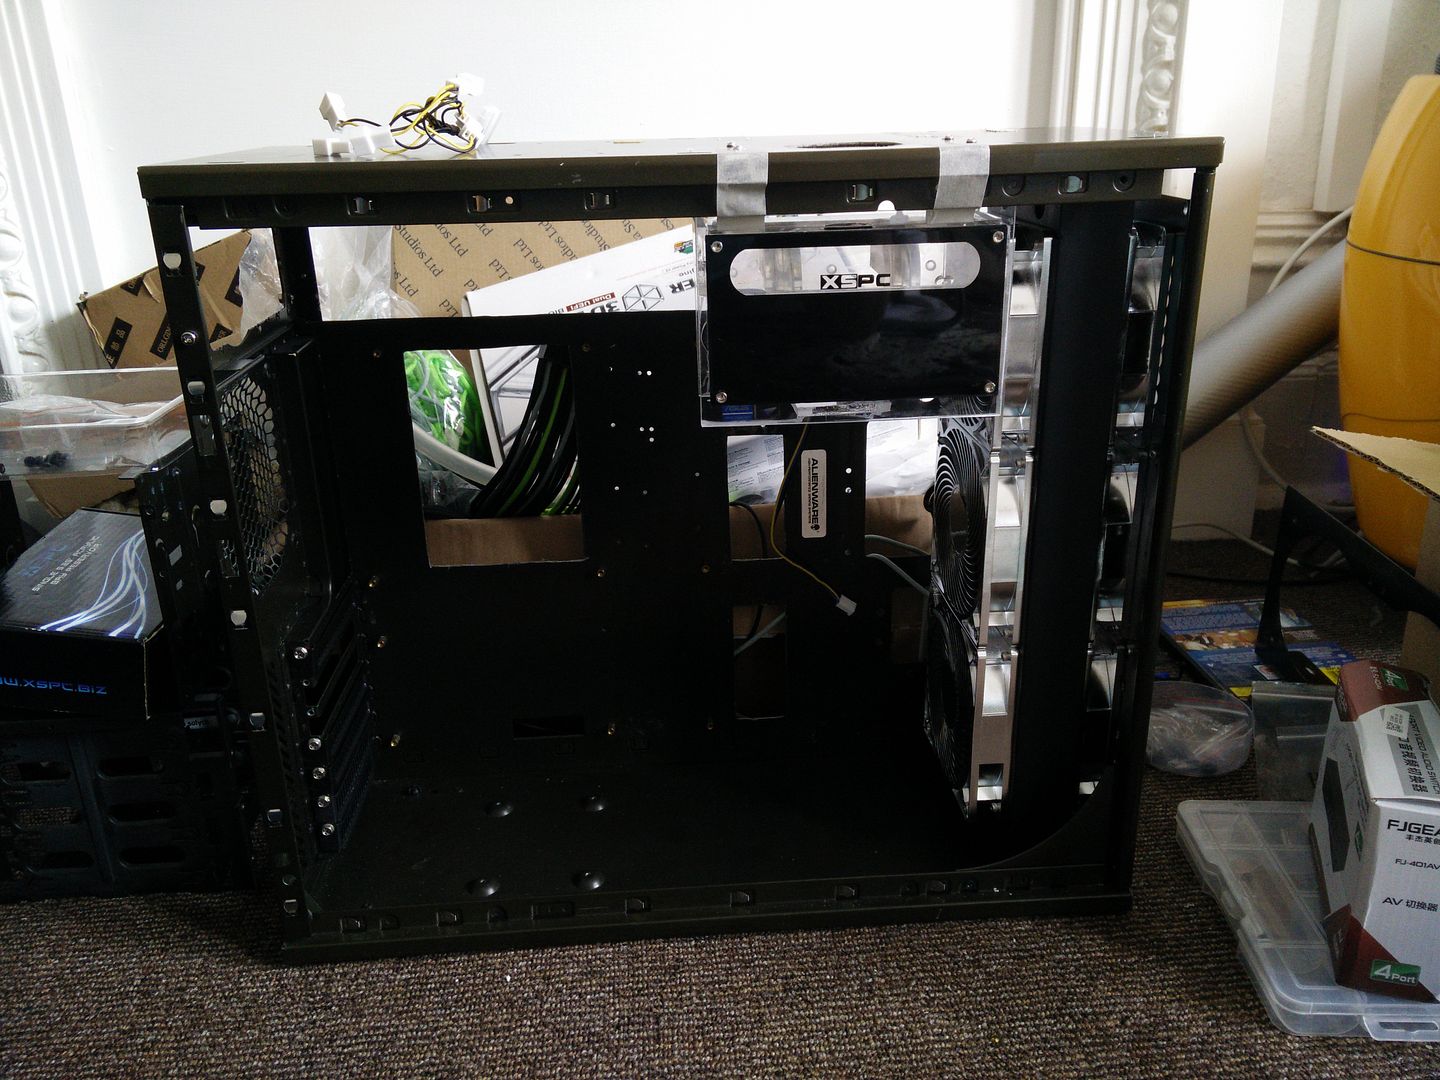
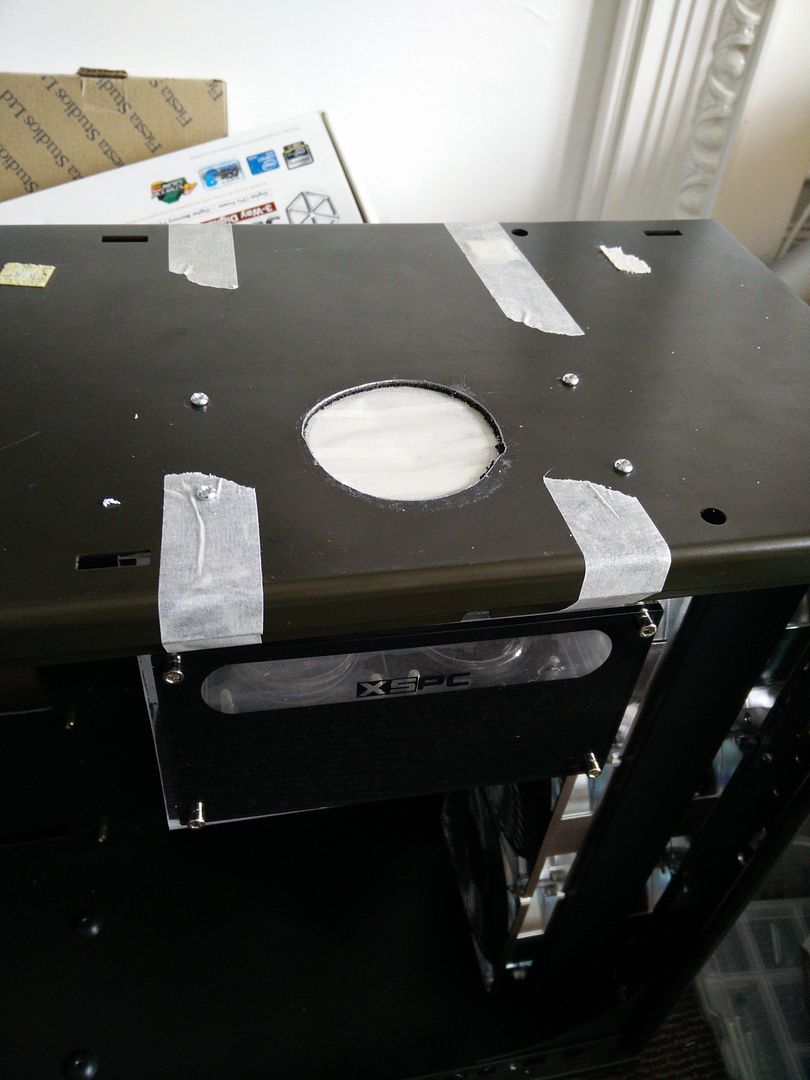
OK so I just spent the last hour or so chopping down the res bay and finishing it off (I had to cut a hole in the top). I've now marked out the case to take it, so at some point today I am going to go and get the case cut and prepped so that it can be fitted and removed easily :)
 
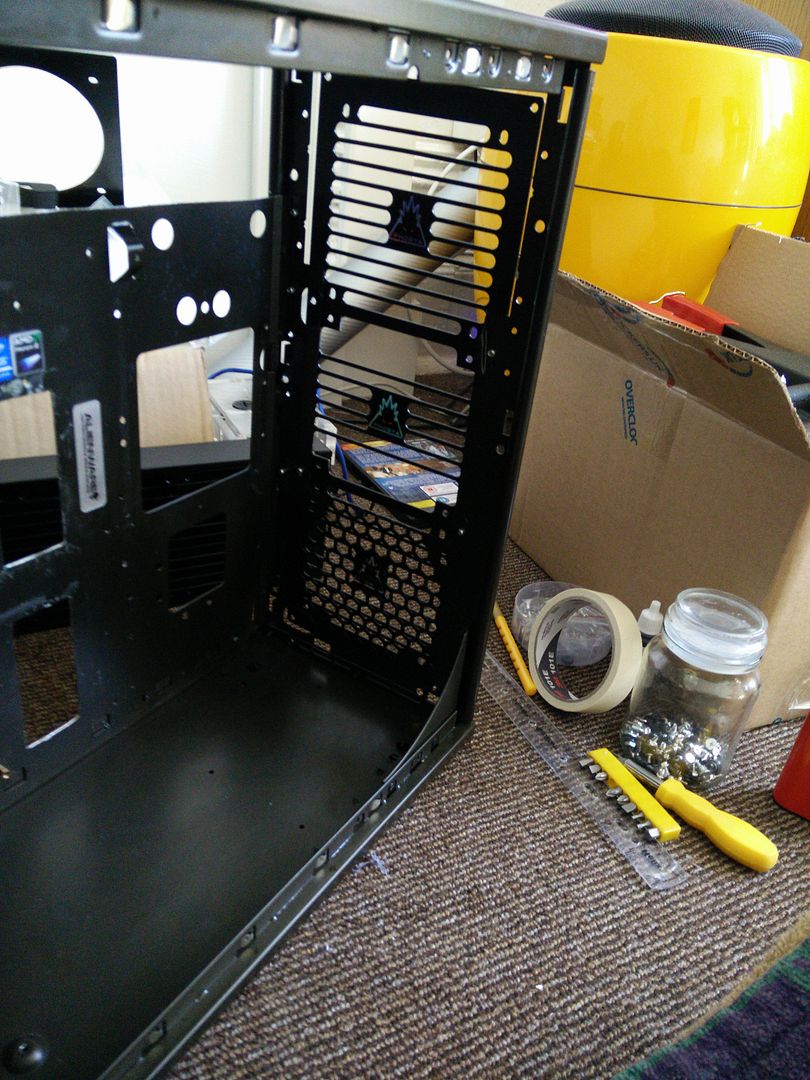
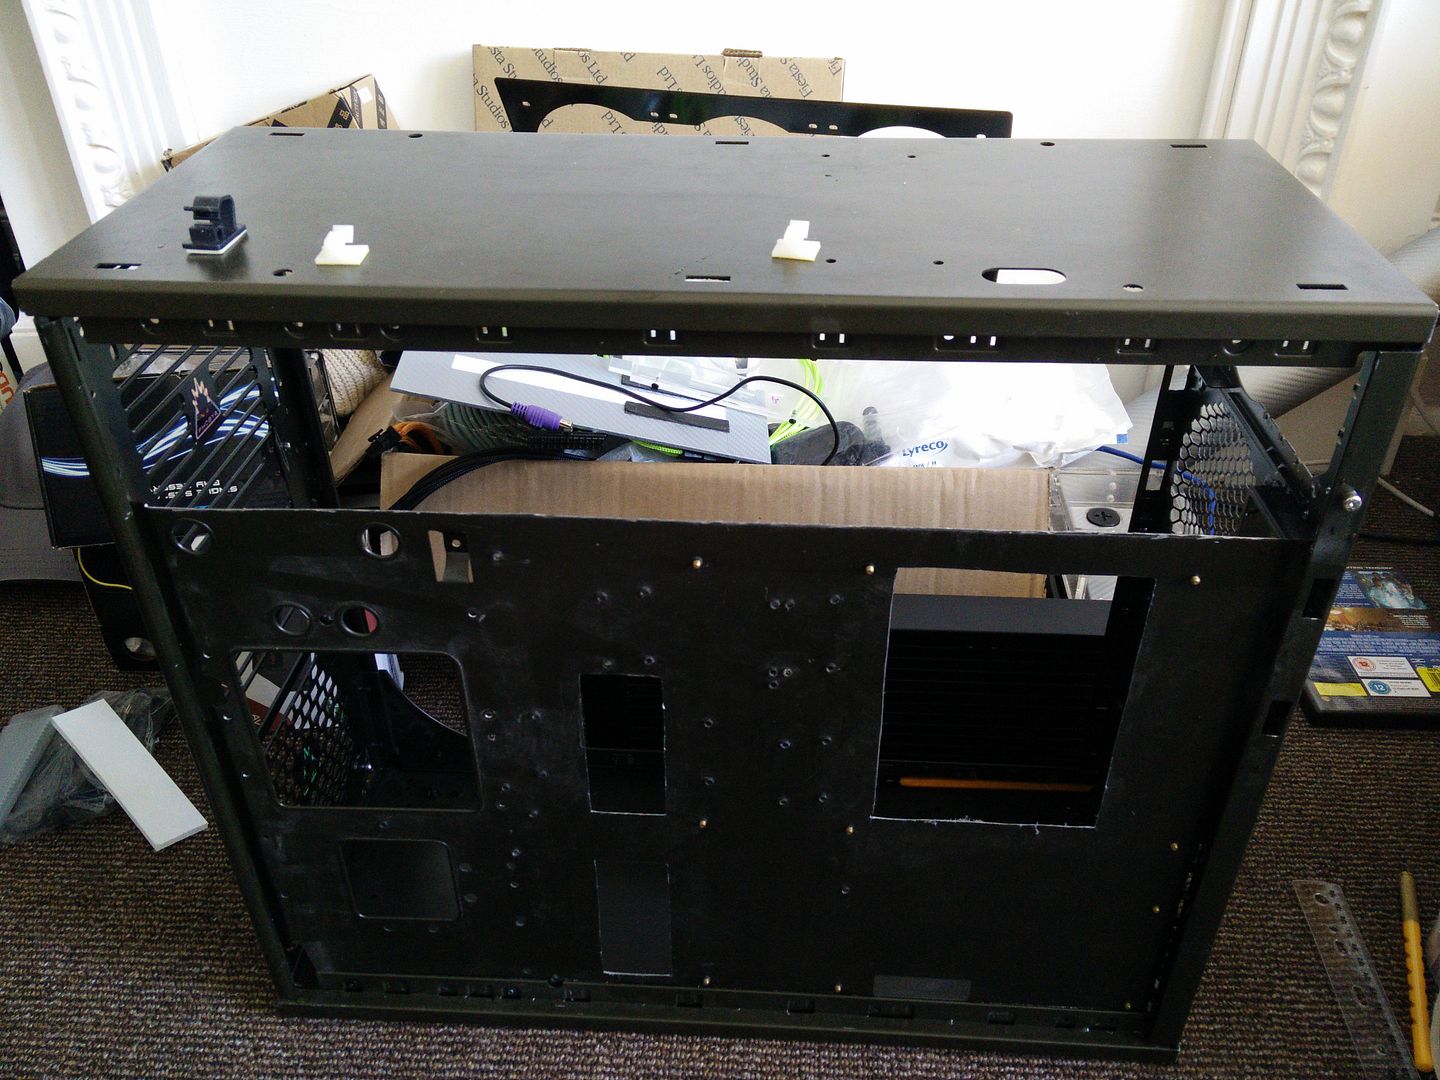
OK so it was time for a bit I had been dreading. Fitting the res bay and cutting a hole in the top of the case that will act as a filling hole. I kinda knew that the hole saw I had was useless for metal but in true "try it and see" style I completely ruined my 40mm bit lol. I was then only really left with one option - the jigsaw. I had forgotten that I own a rather lovely Bosch one and it was right where I left it with a genuine Bosch blade in it.


I'll admit, I've done better work. The screw holes are perfect, mind.


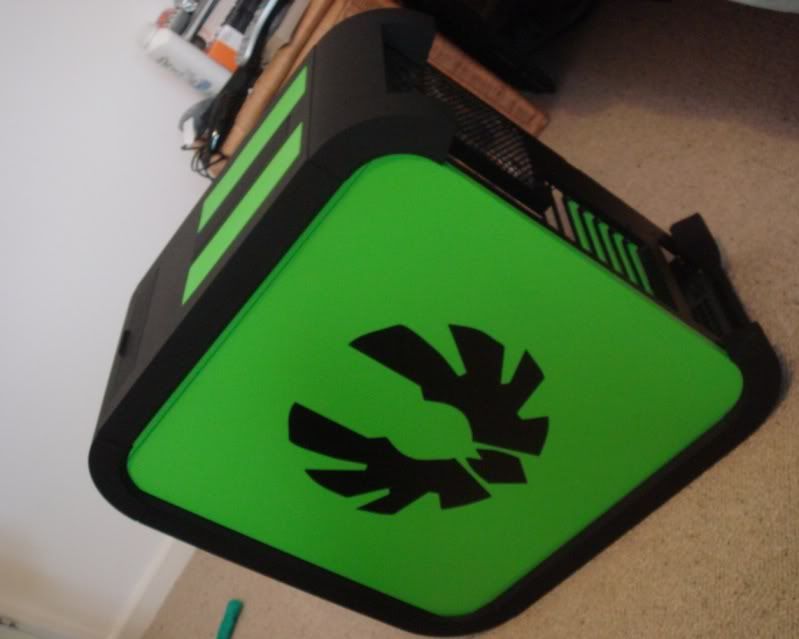
About half an hour later and finally I can solemnly declare that this case is water cooling ready :)


It's 'snug' lol

 
looking epic man

Thanks fella ! it's a total shell ATM still. No idea what's going on with the acrylic, might have to light a fire up their bums tomorrow if I don't hear anything.

I might do some mock ups later using Photoshop to show how it should look when finished, but really don't want to ruin the surprise.

I'm working off of plans that are in my head only. I have written a to do list in case I forget any of my ideas but the vision is all in my head ATM.

For example the res bay is not only designed to hold the res but to also route the hoses. Just annoyed I forgot to order a shut off valve, though it will be ages before I go anywhere near it with water :D
 
Love a good budget build, means ya have to use your imagination a bit more.

Are you gonna start attacking everything with that spray can or just doing a few highlights?

The only thing that really needs to be painted (so far) is the ram cooler. TBH I want to paint as little as I can as I'm really anal about it and the paint I like using is cellulose and takes about two weeks to fully harden. It's OK after a couple of days as long as you don't over handle it. If you do you end up with finger prints.

I've got plans for the rest but it's all top secret ATM (in other words I'm not sure if my ideas will look poo or not so I'm staying quiet)

:D
 
Back
Top Bottom