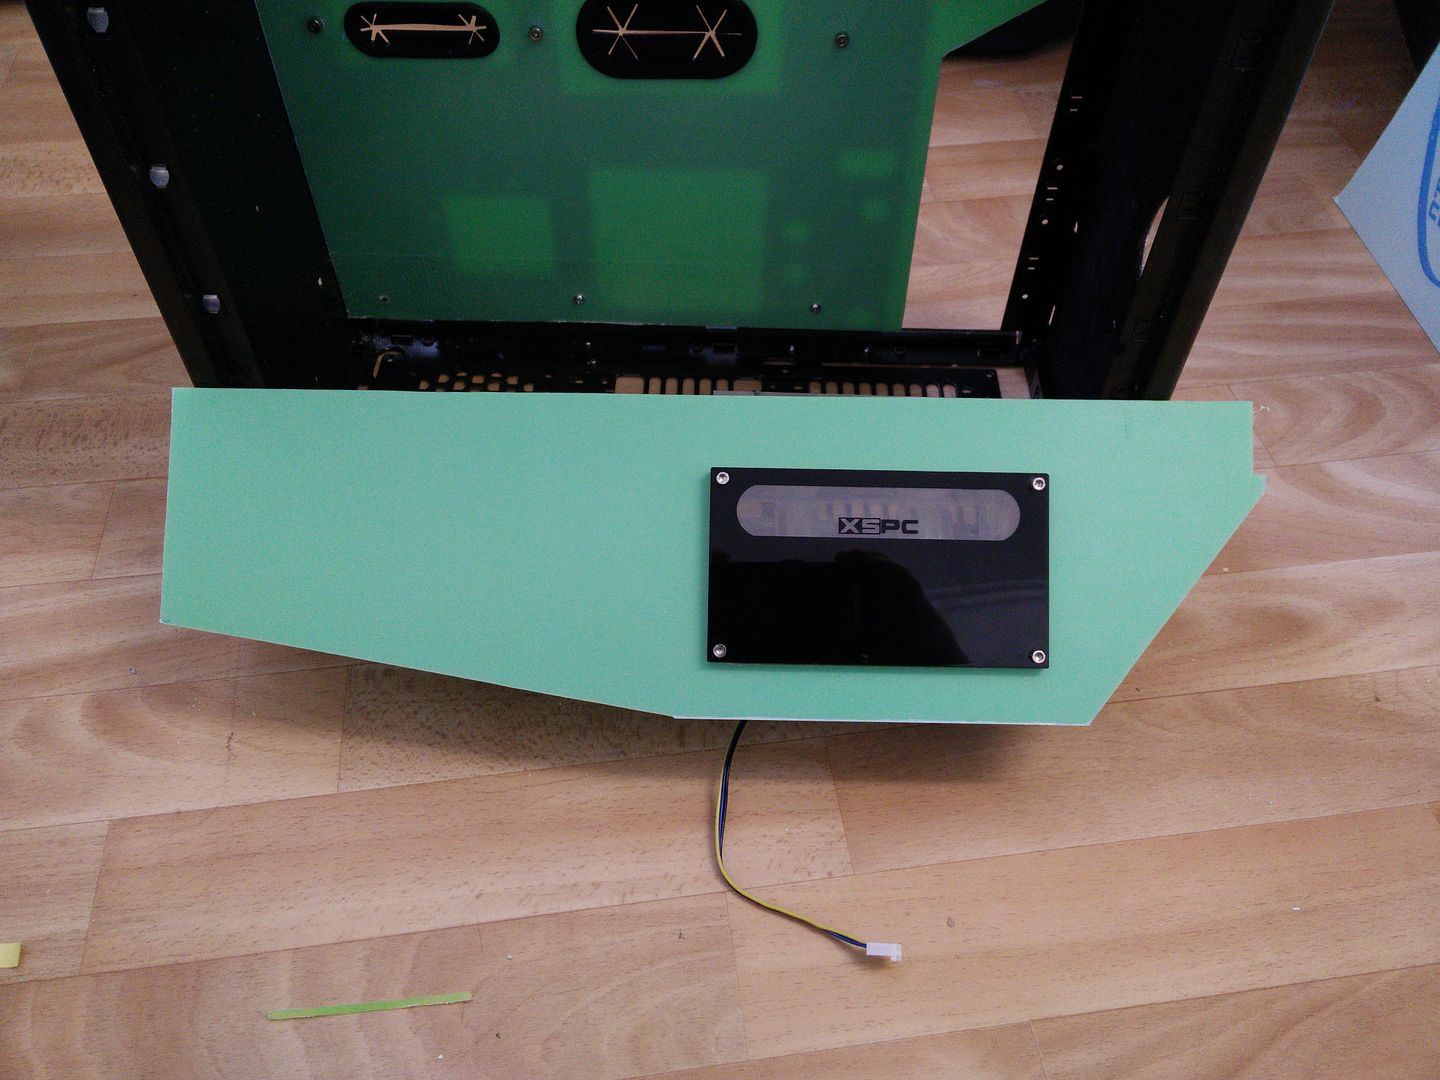
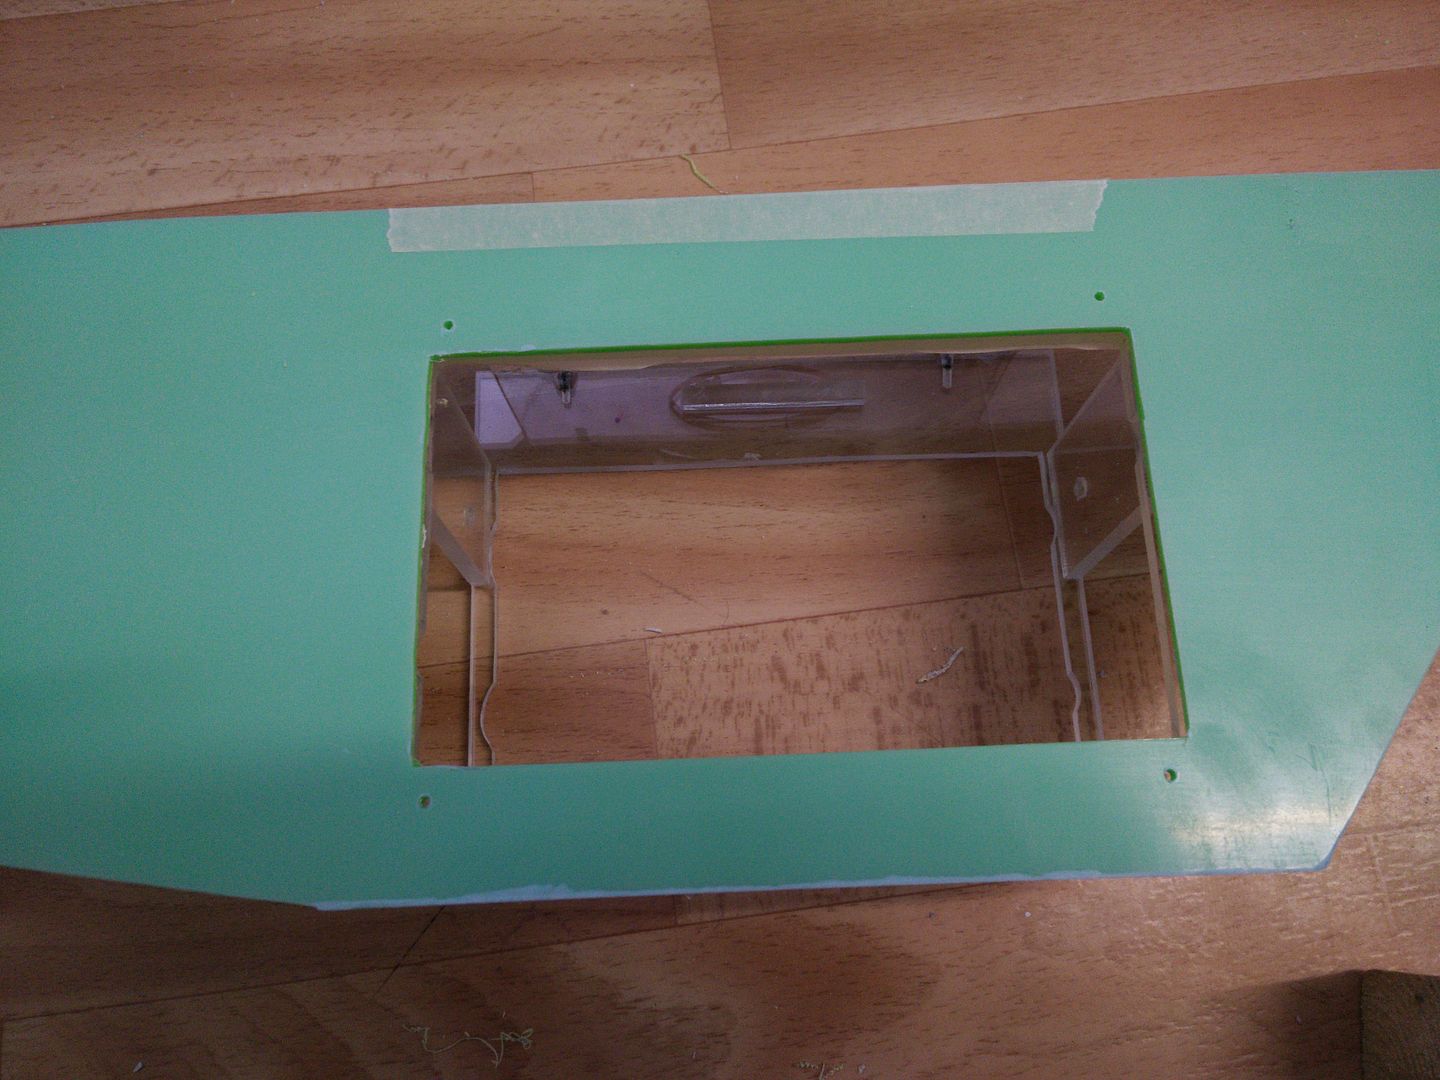
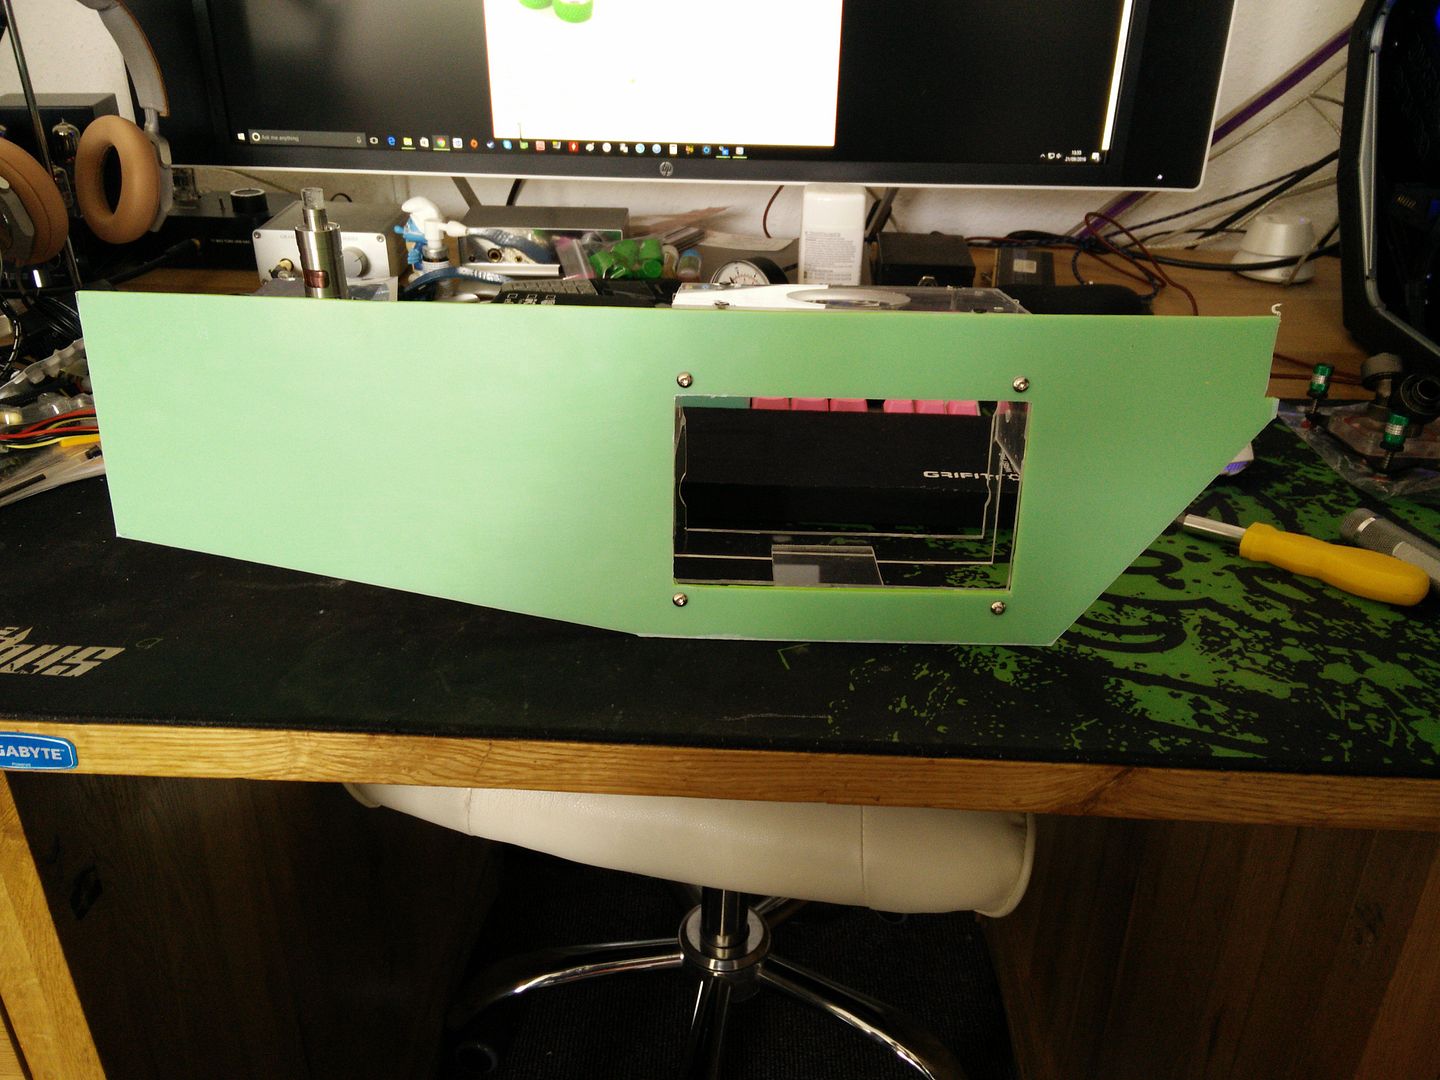
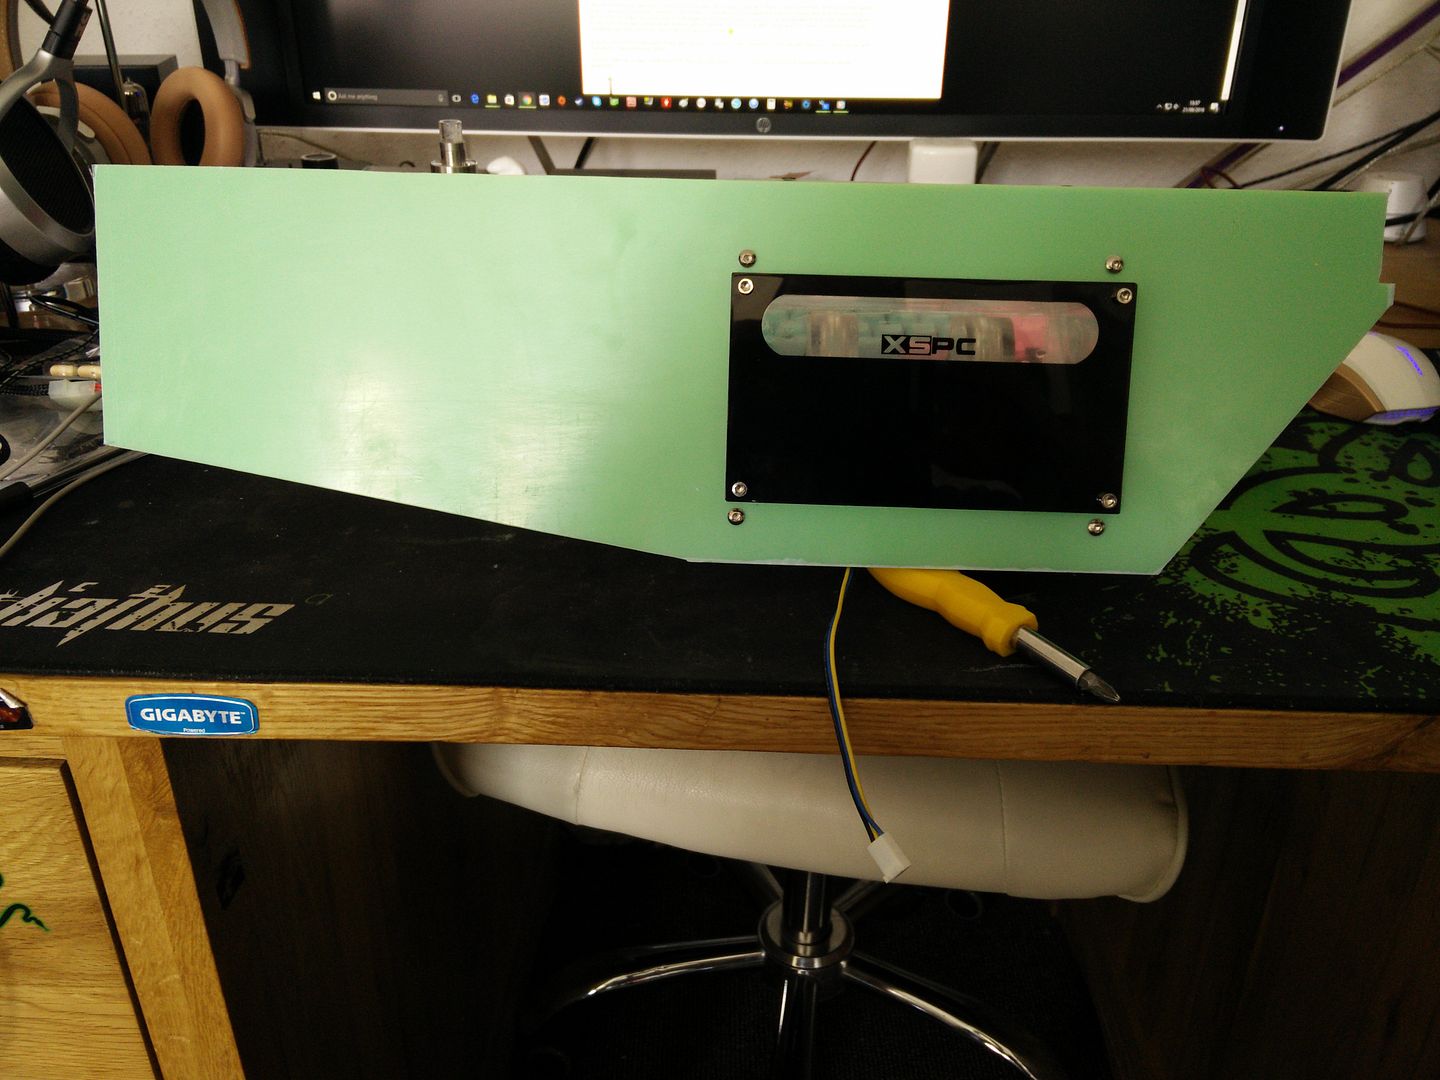
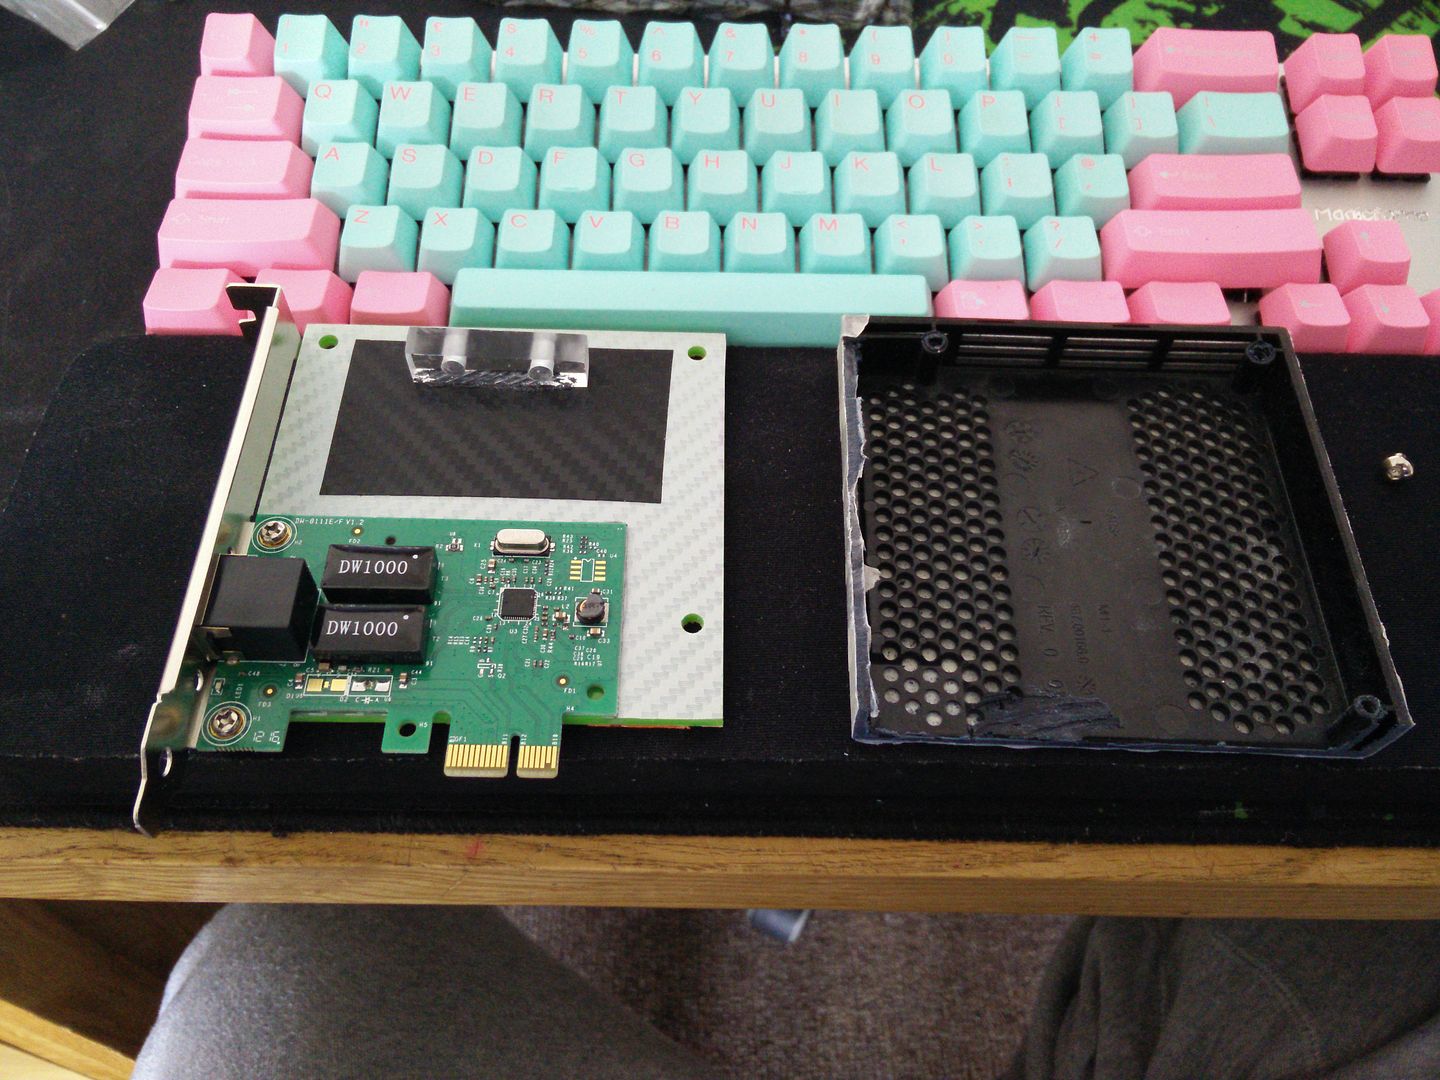
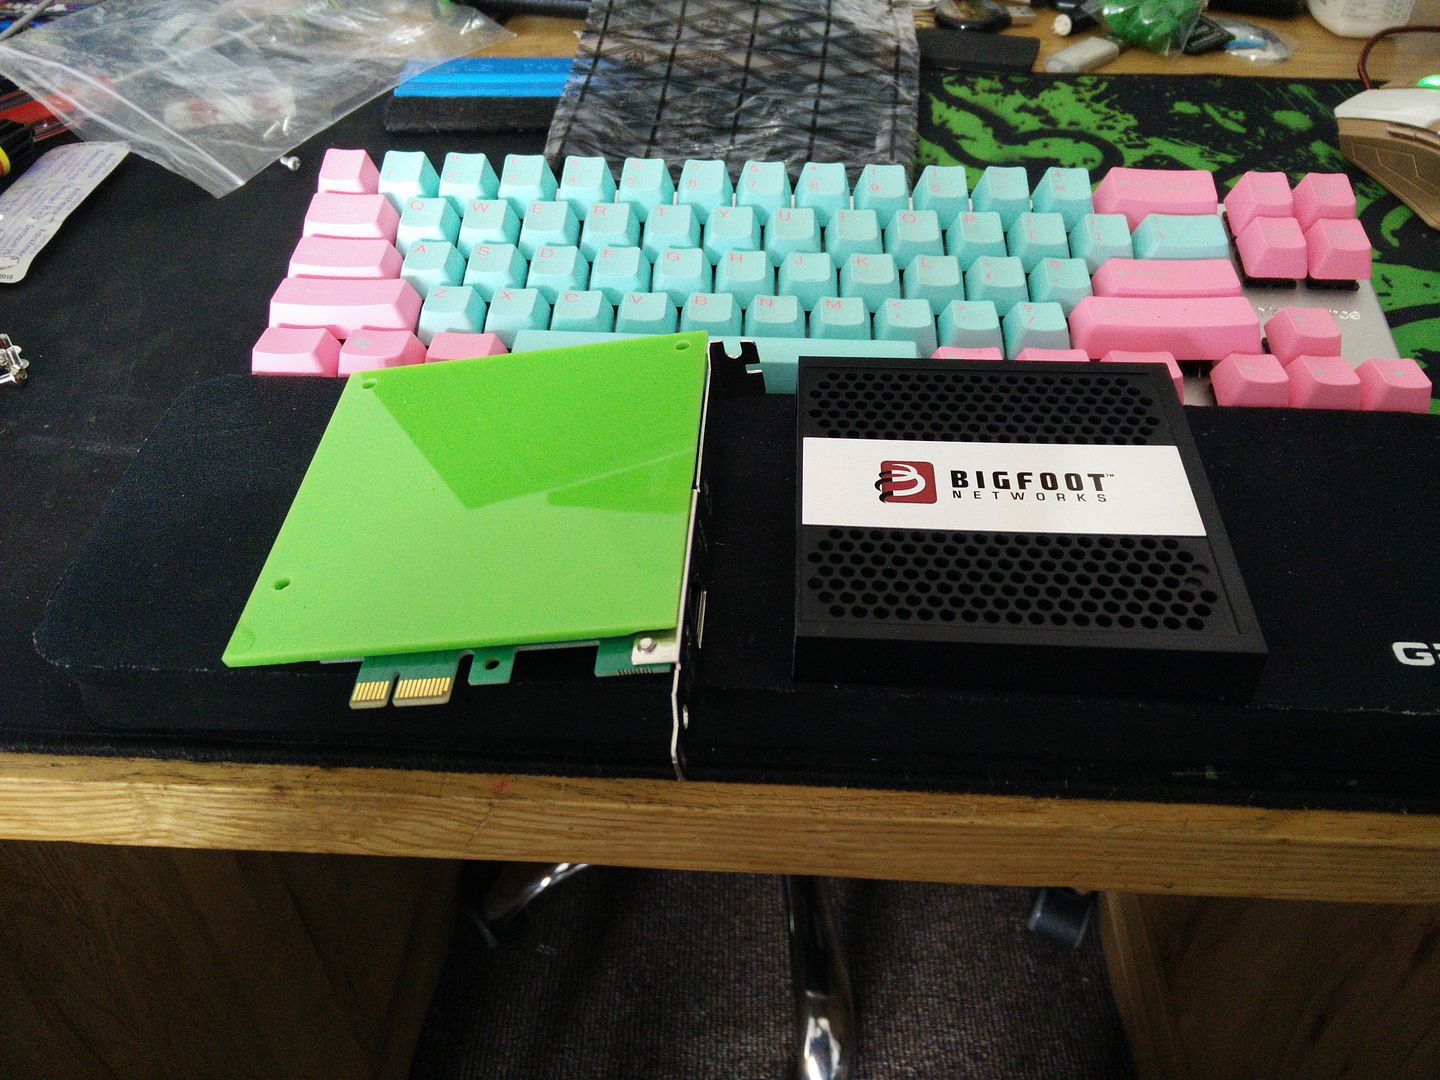
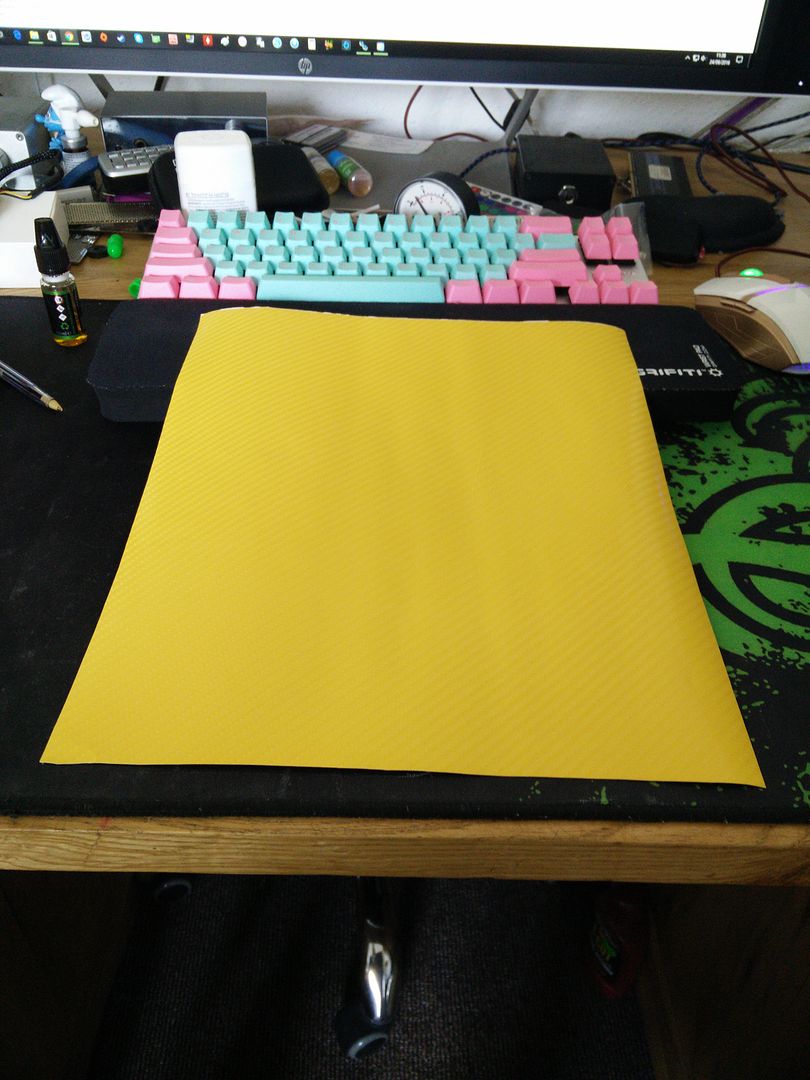
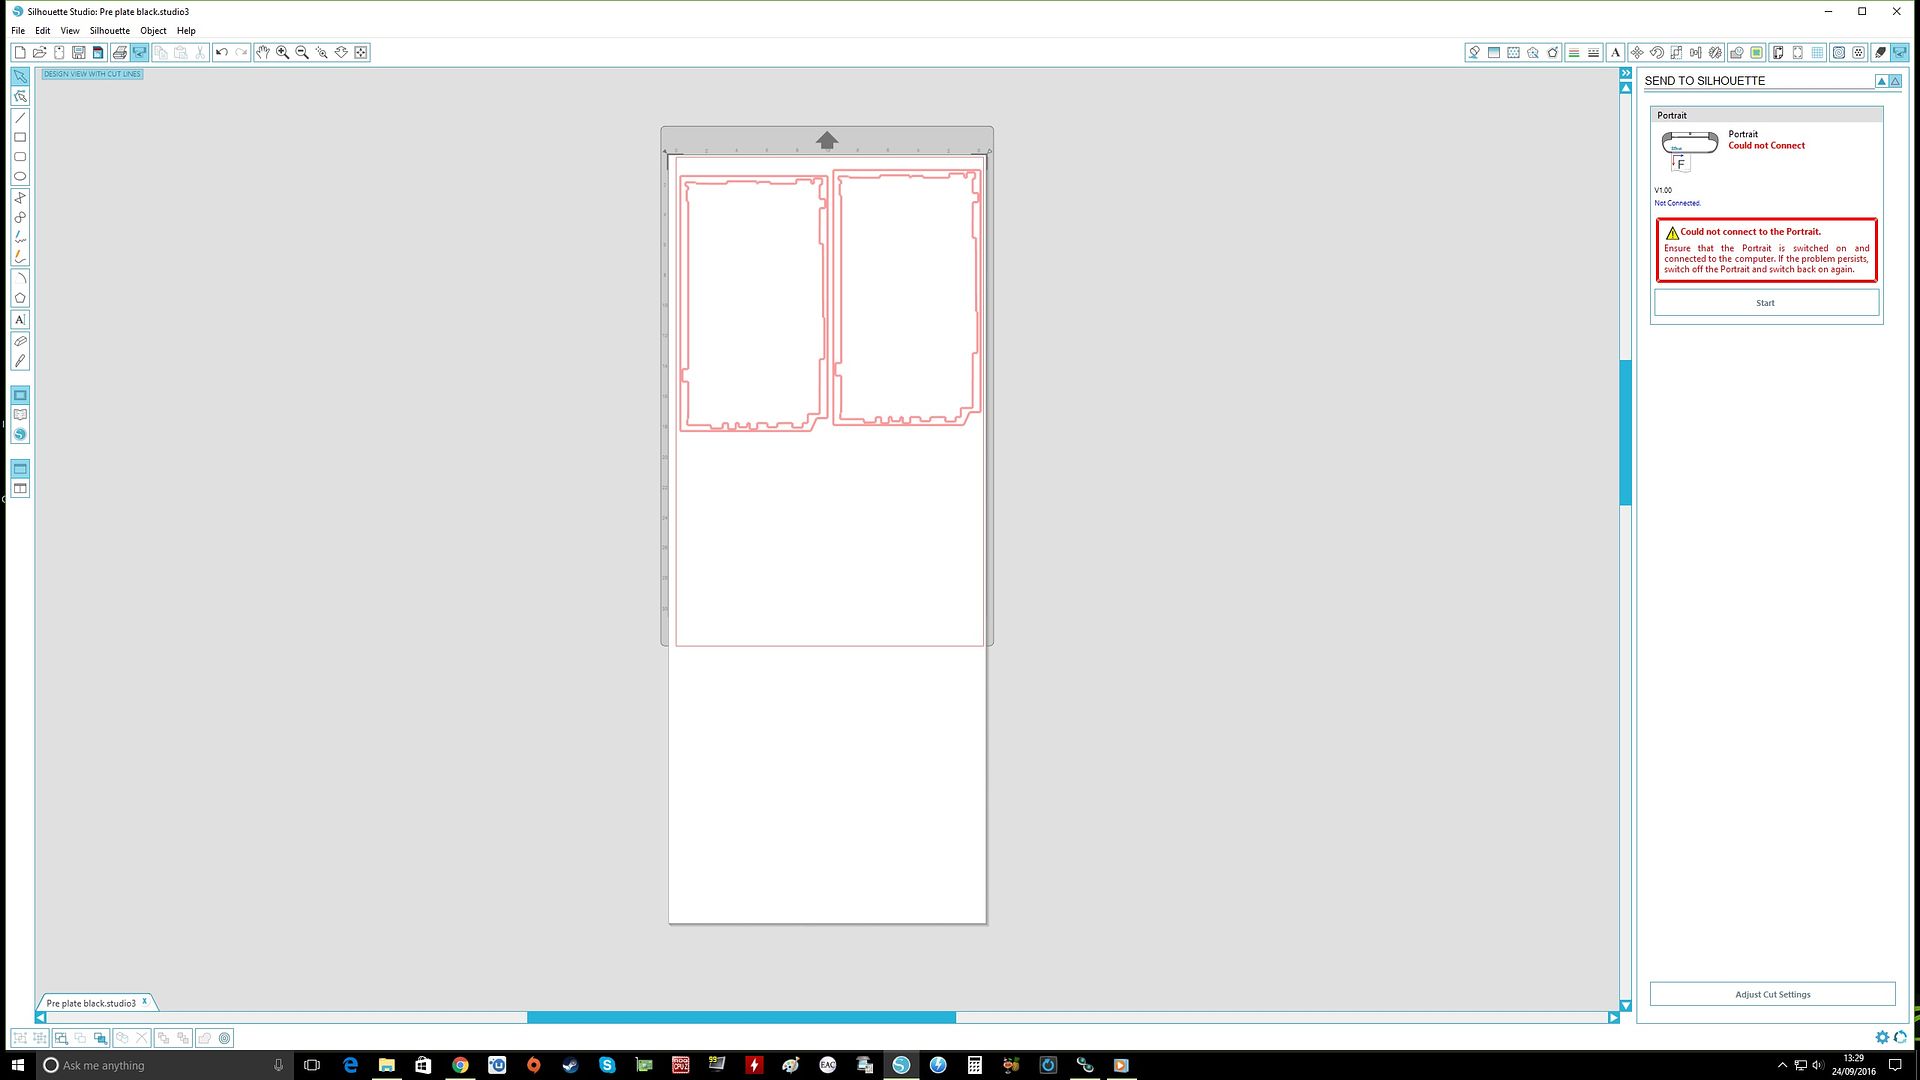
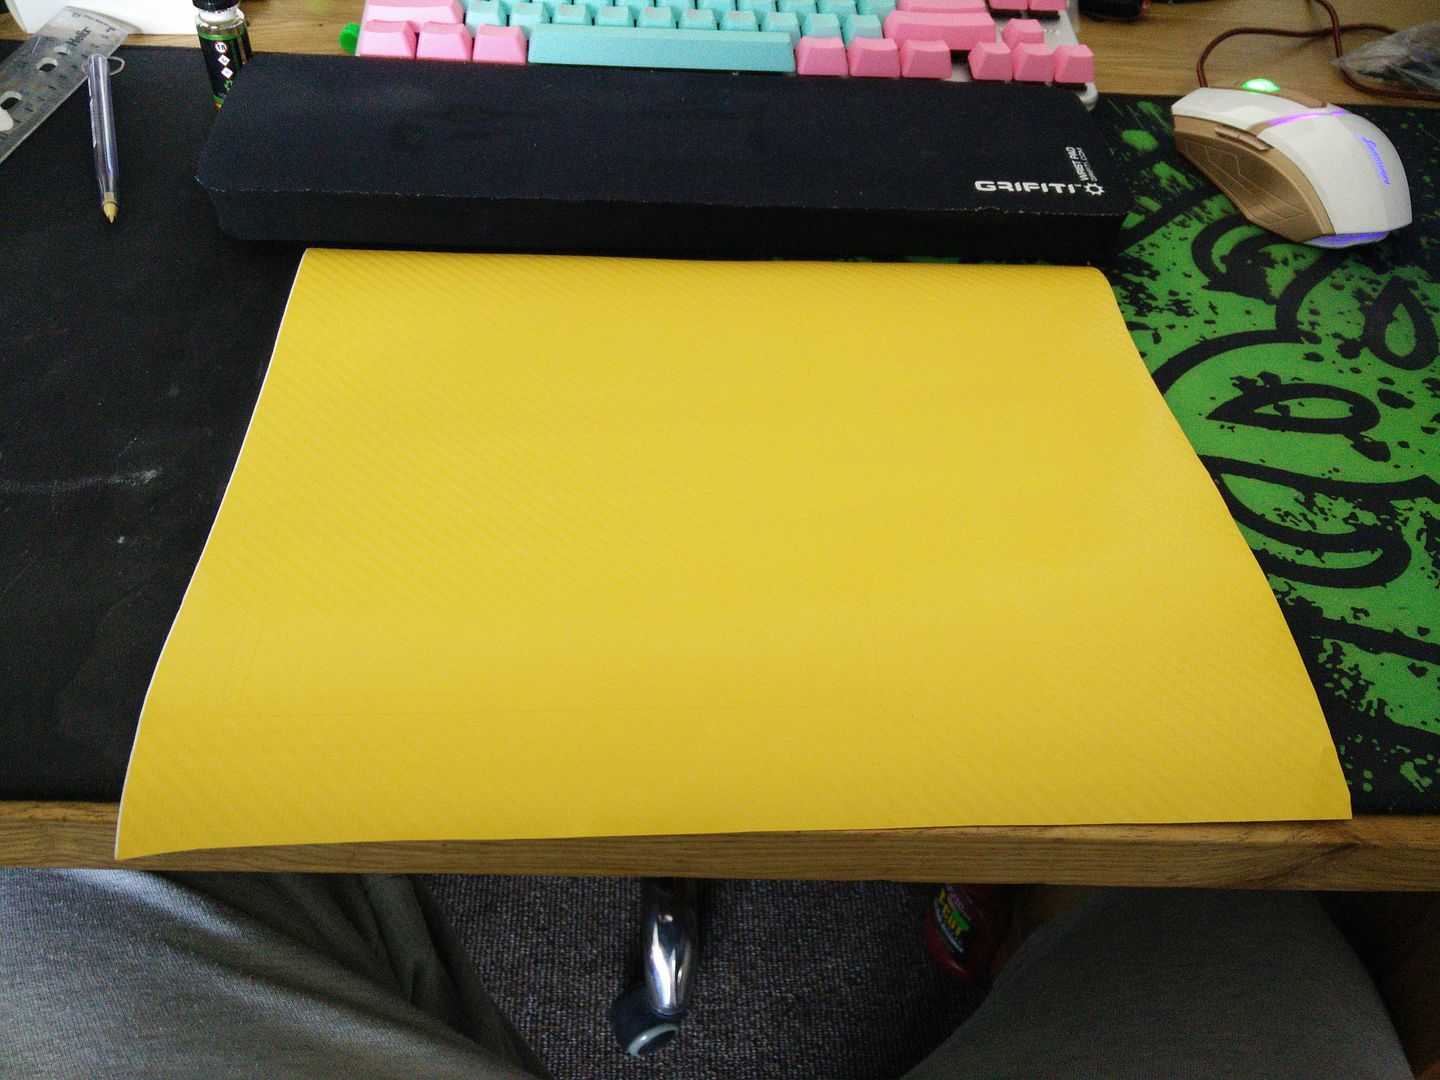
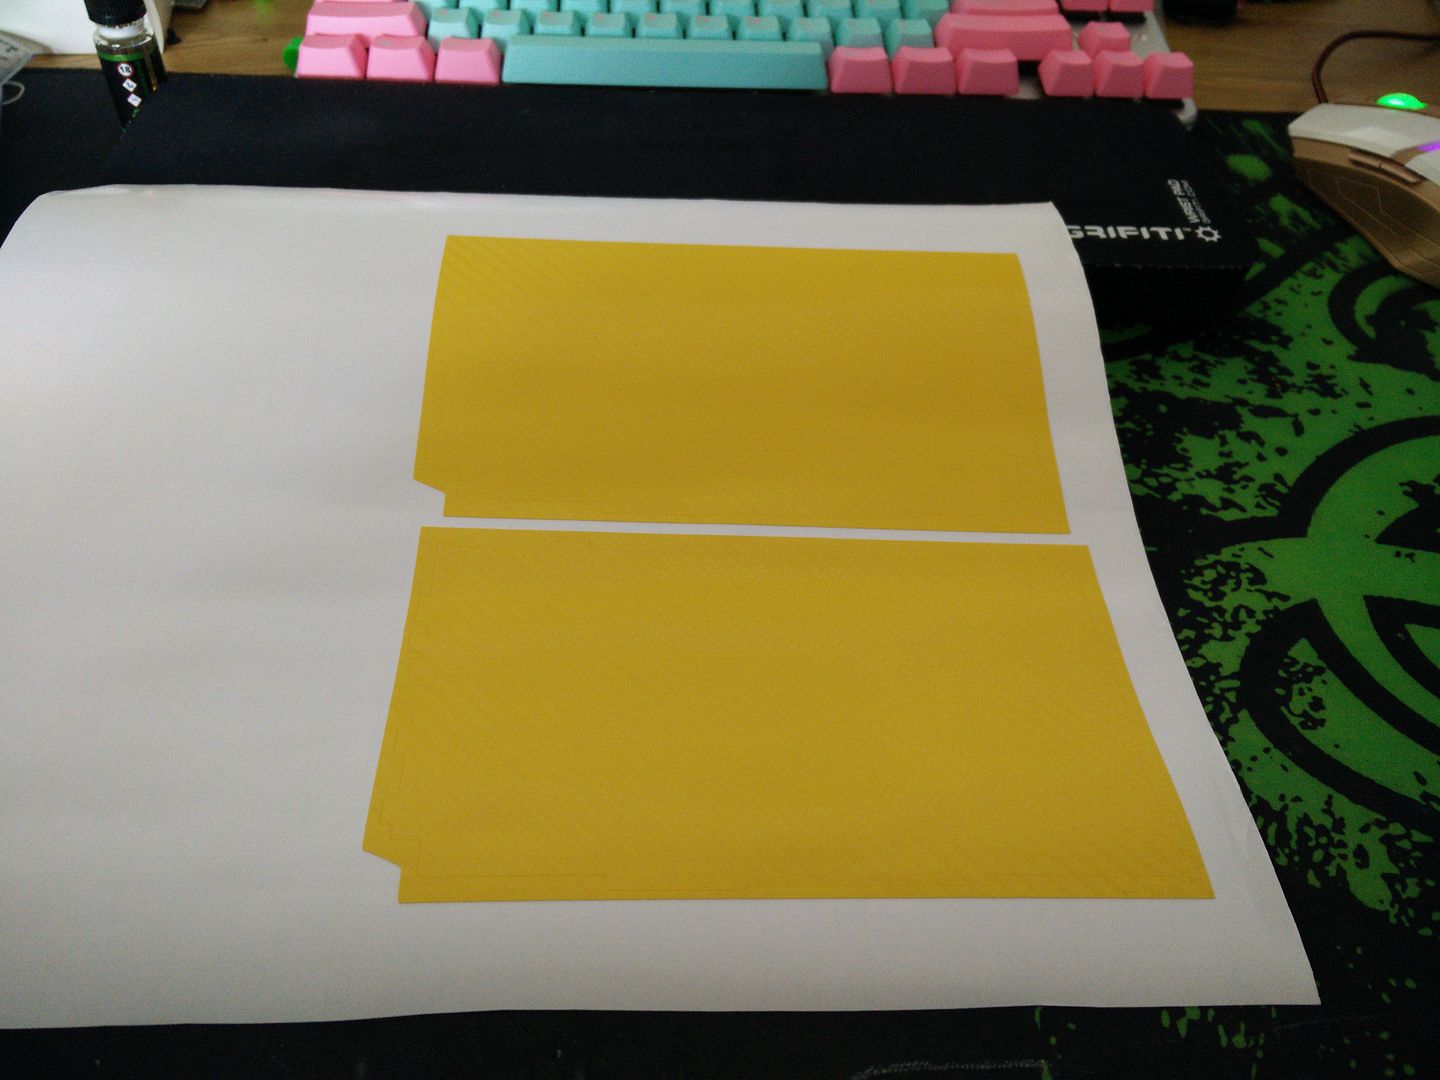
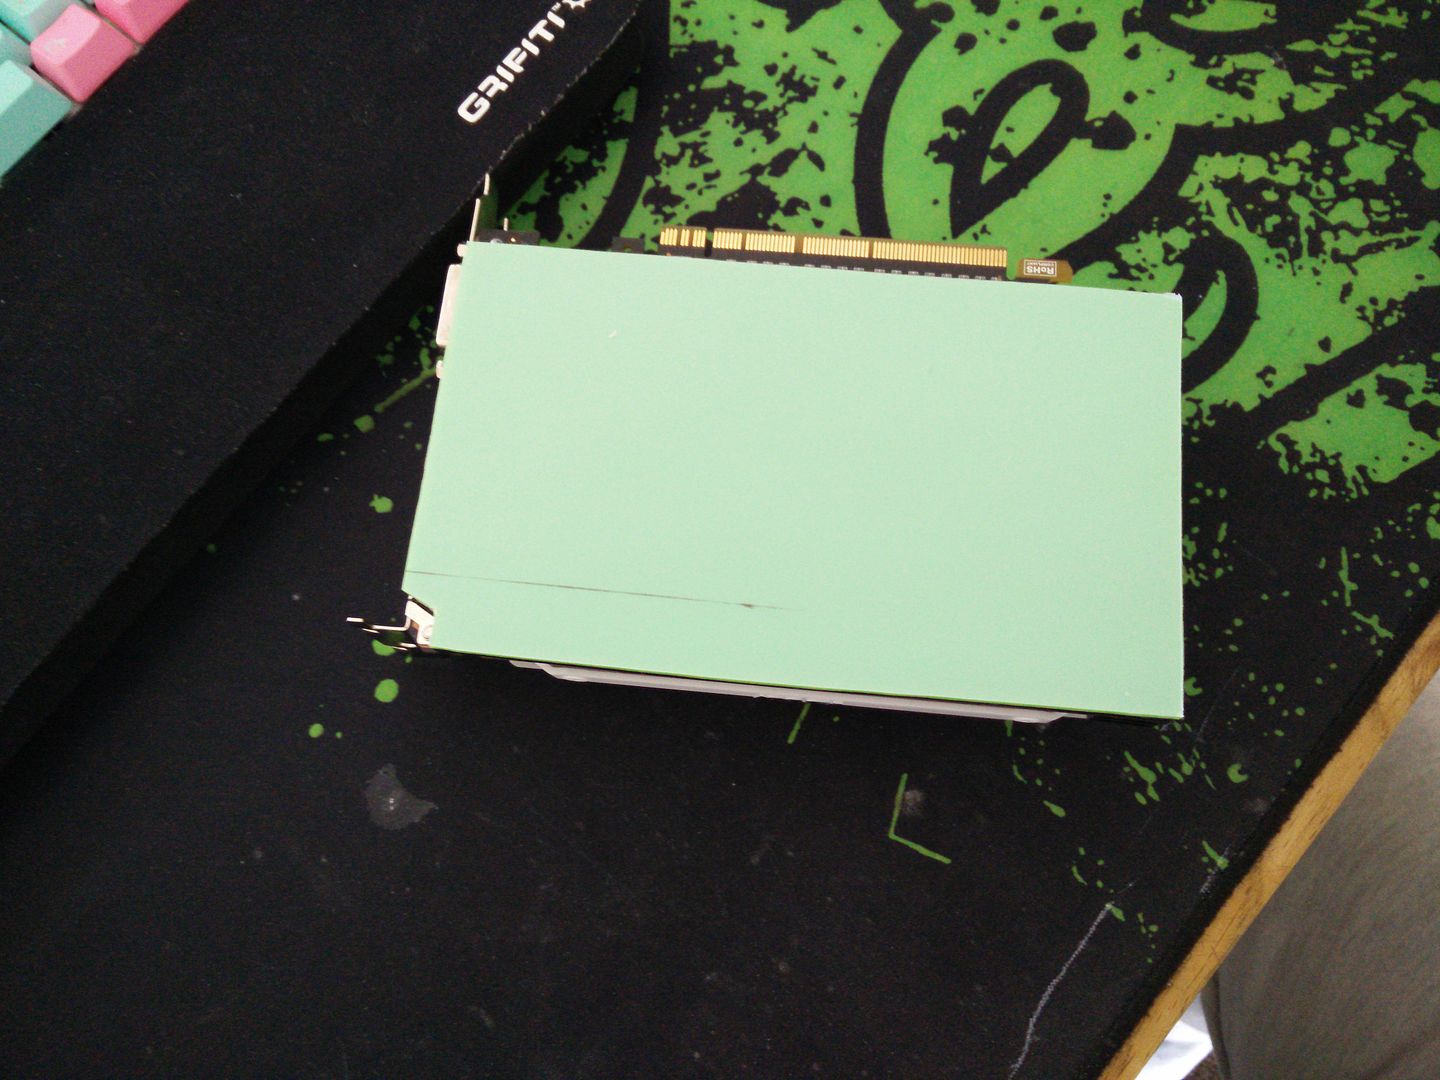
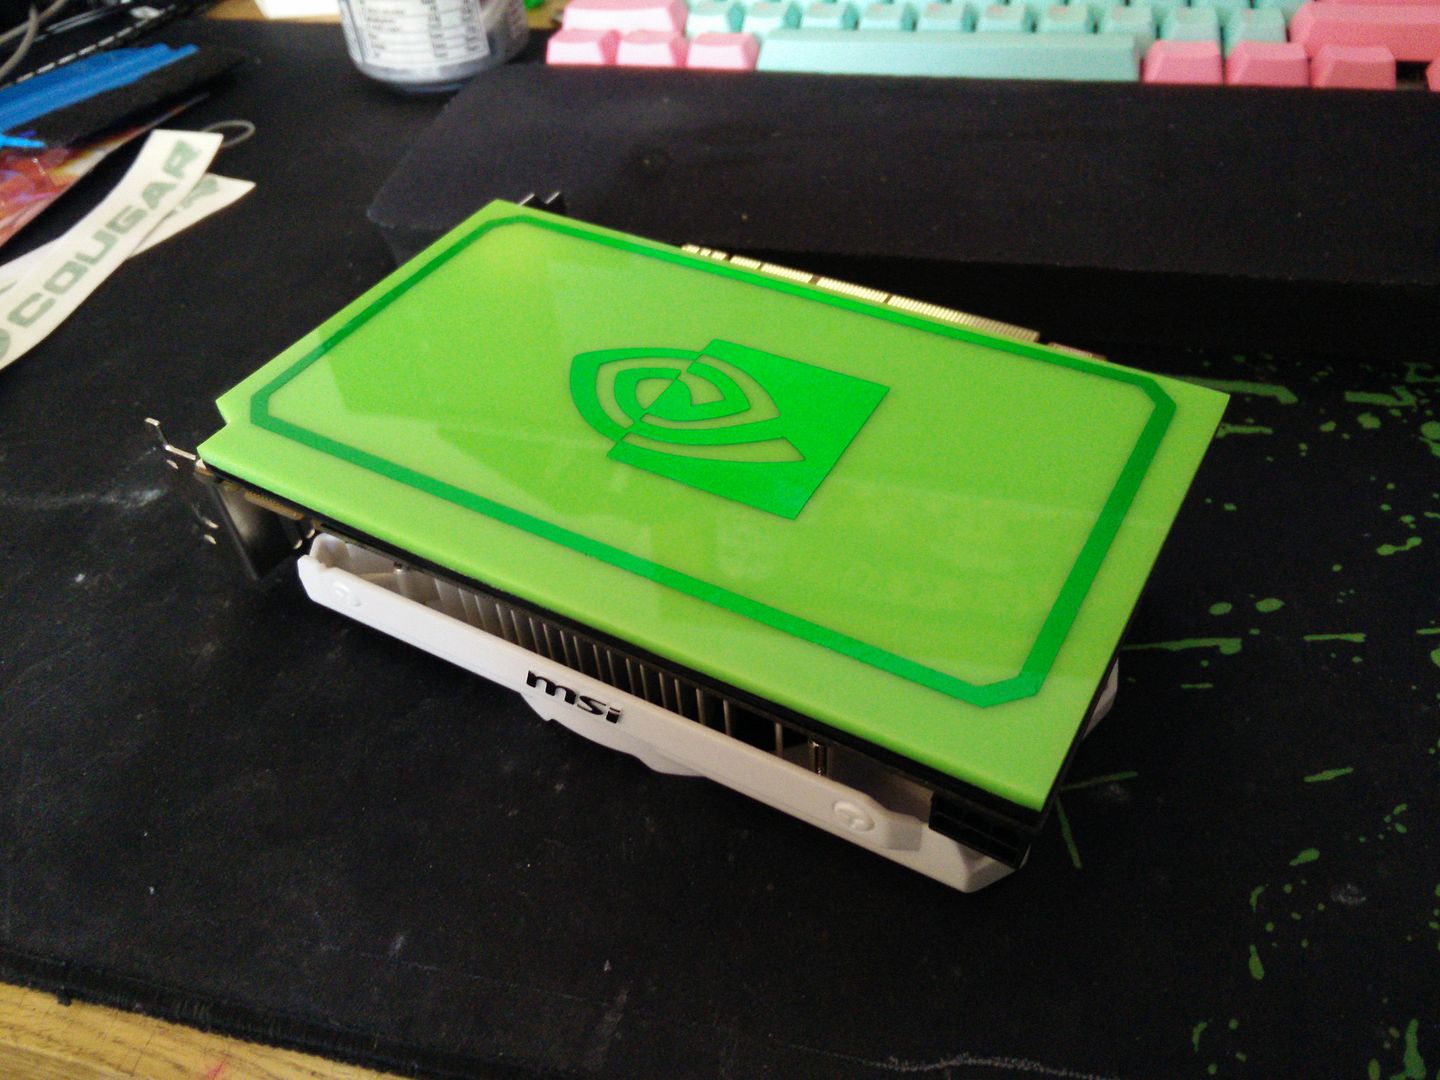
Let's Marvin Gaye and get it on.
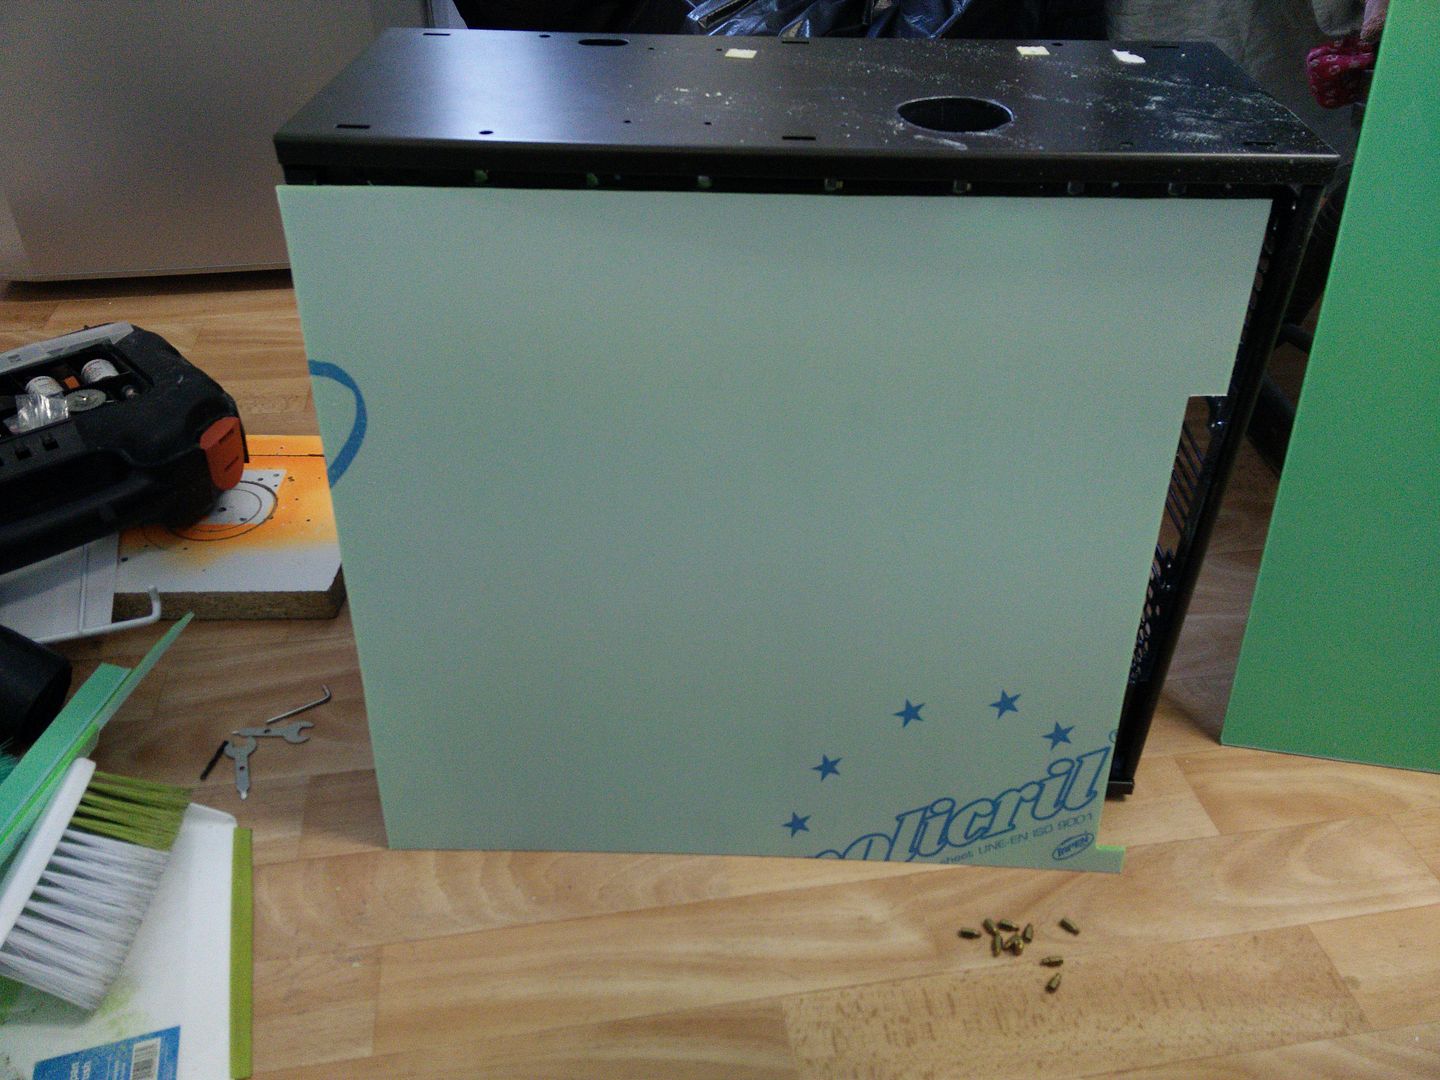
Pop round the back
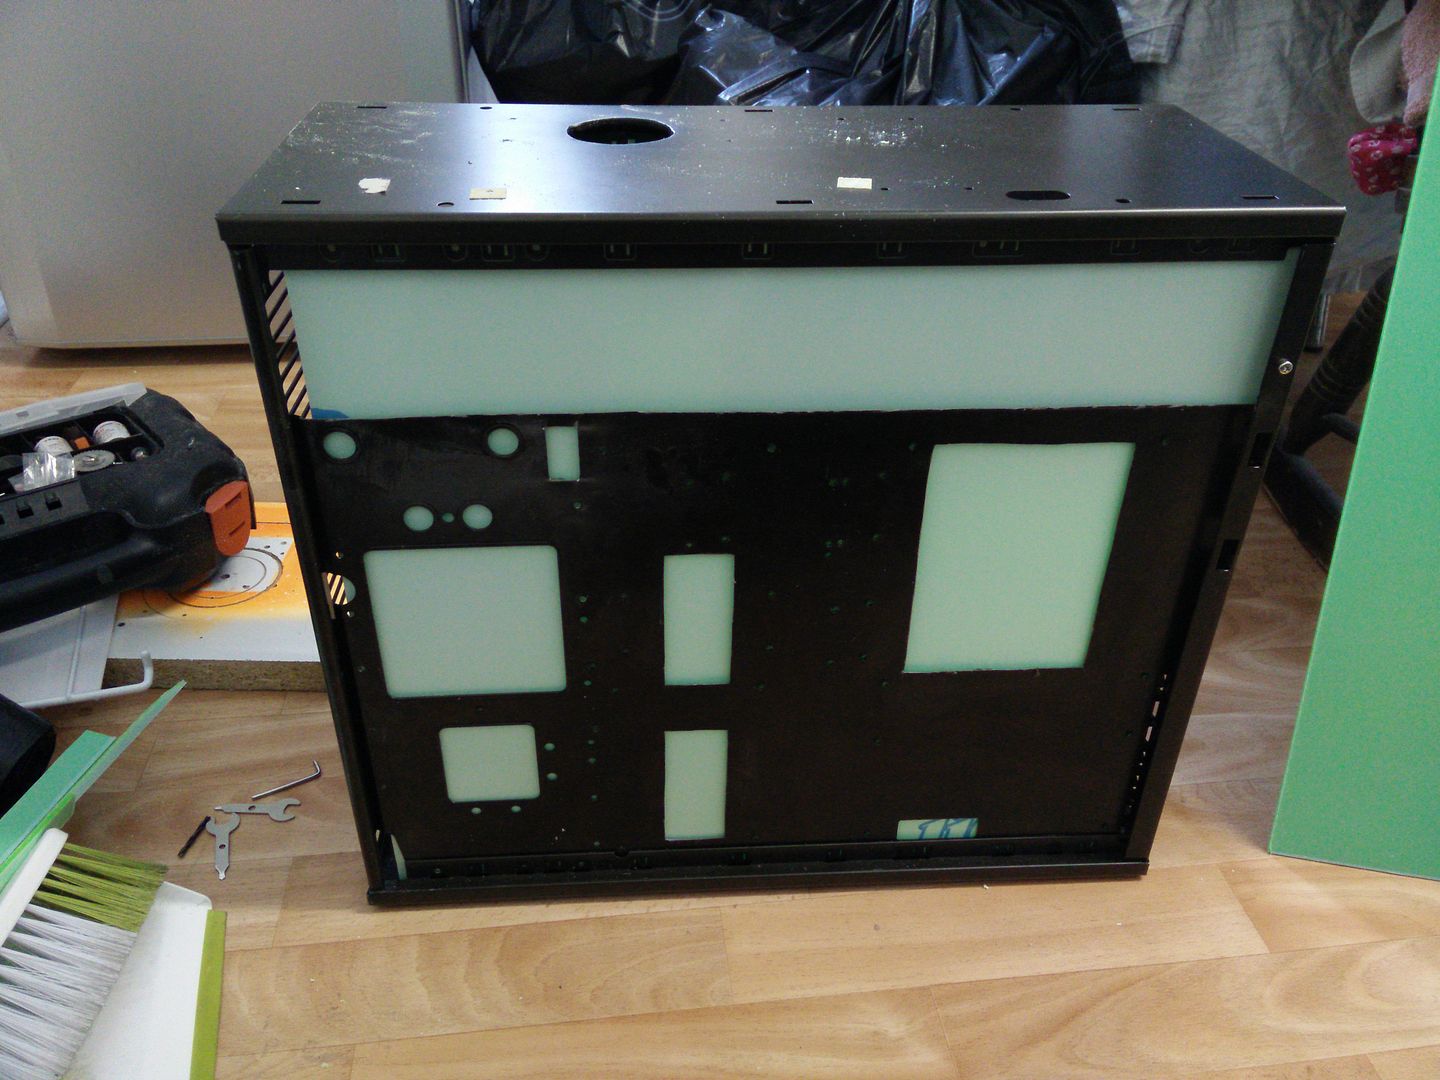
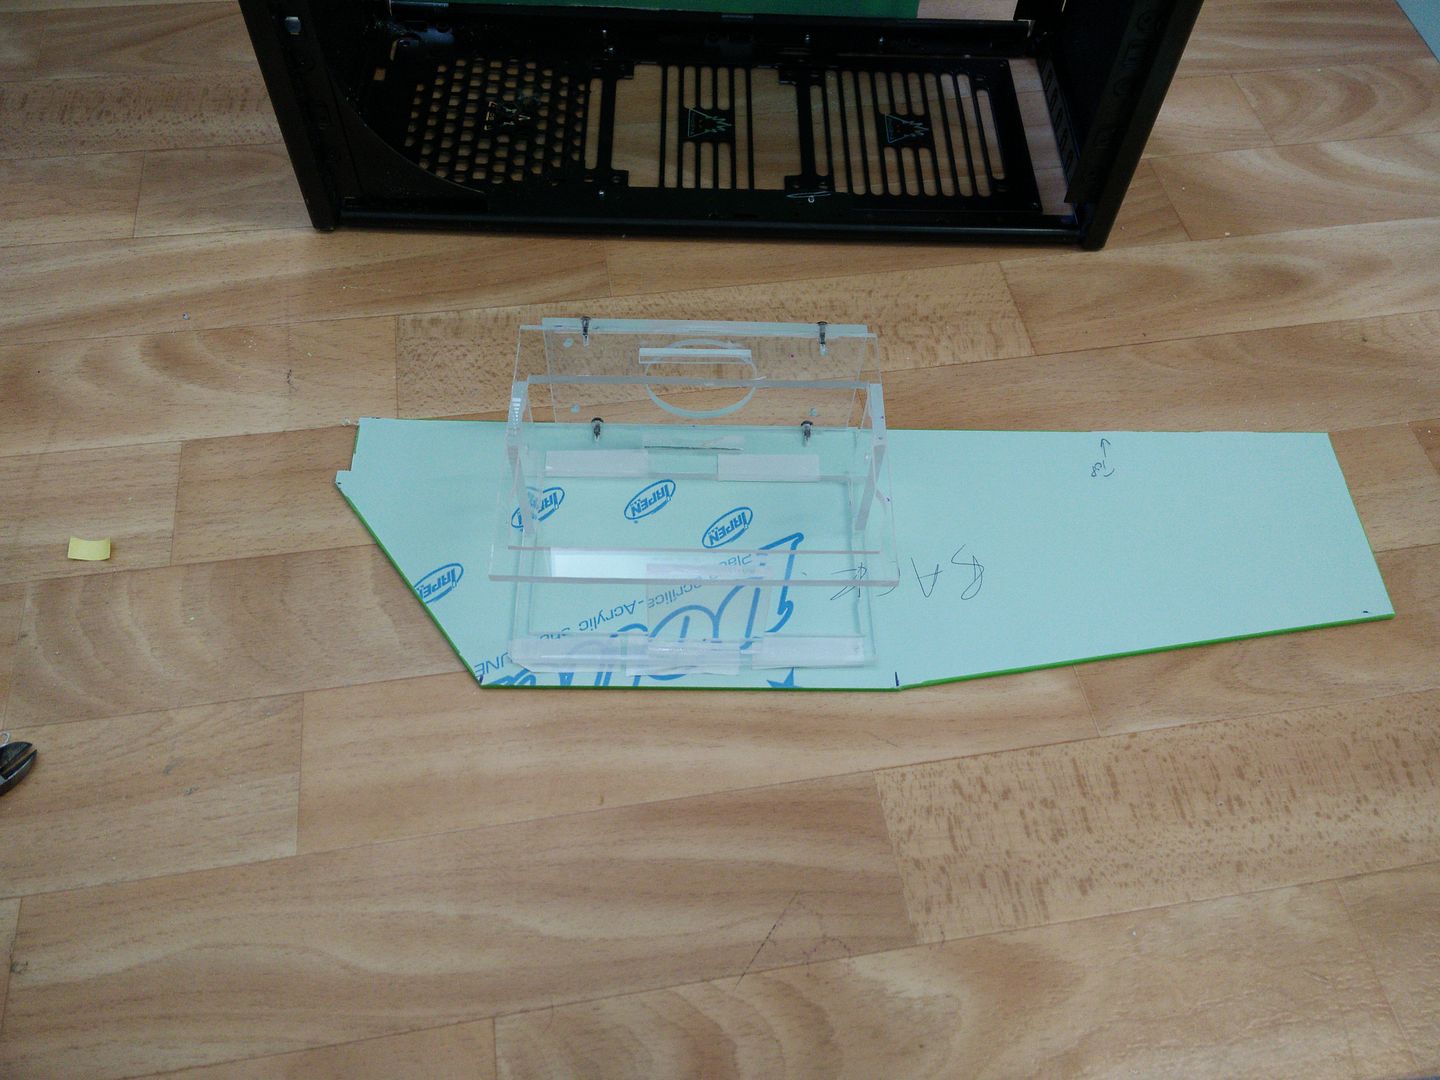
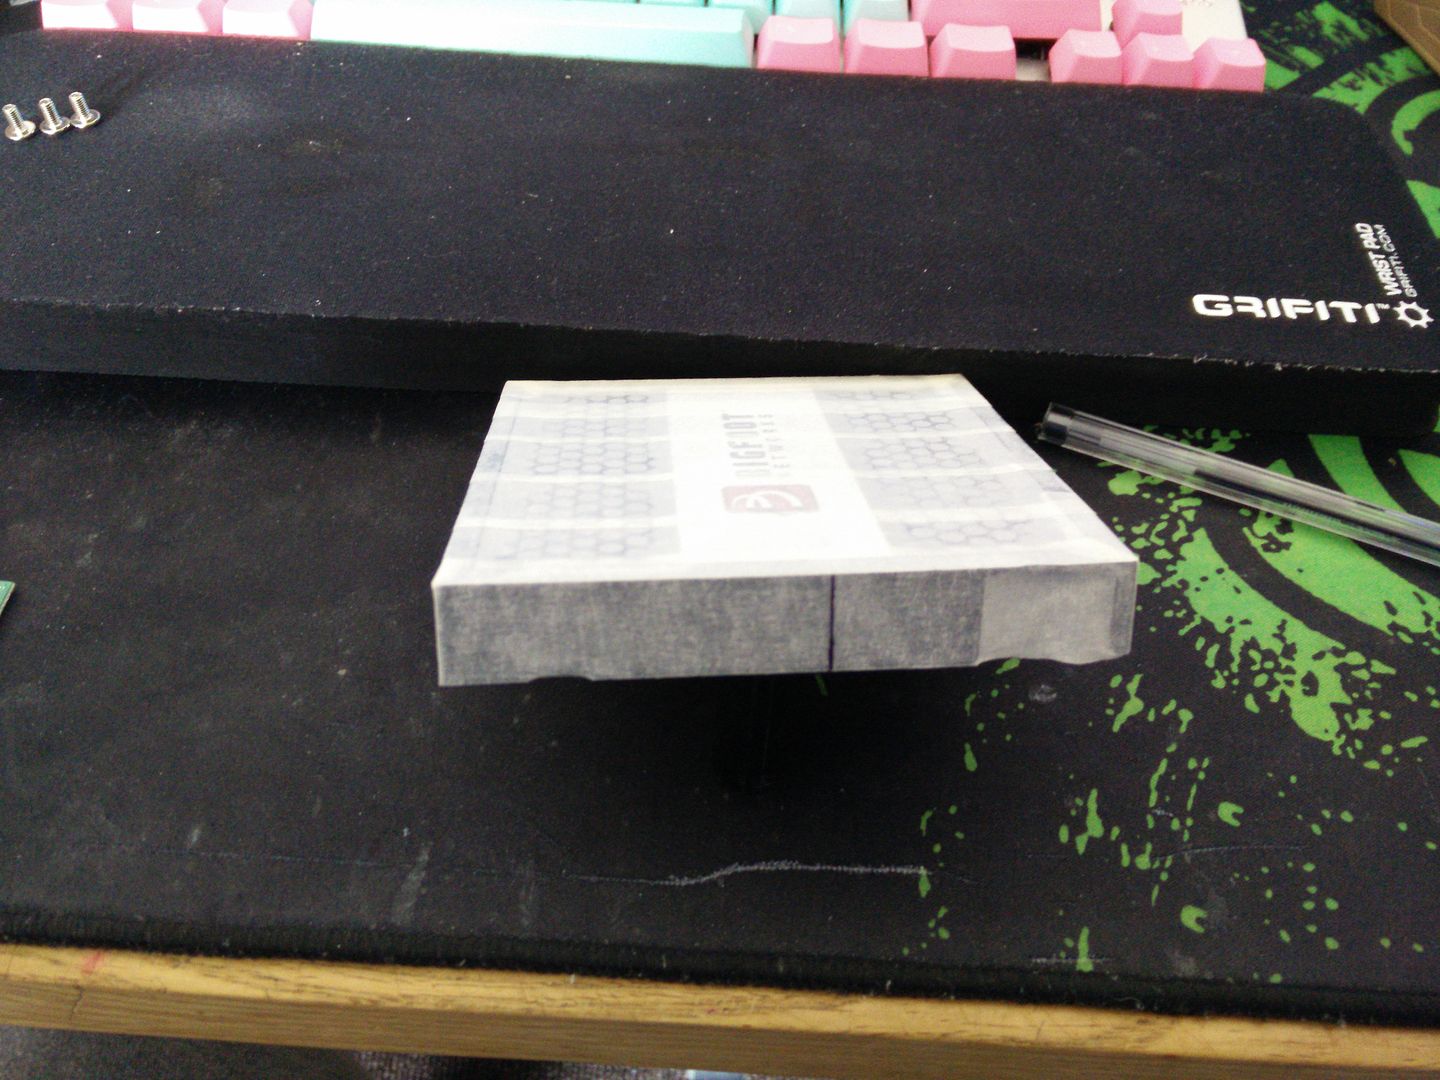
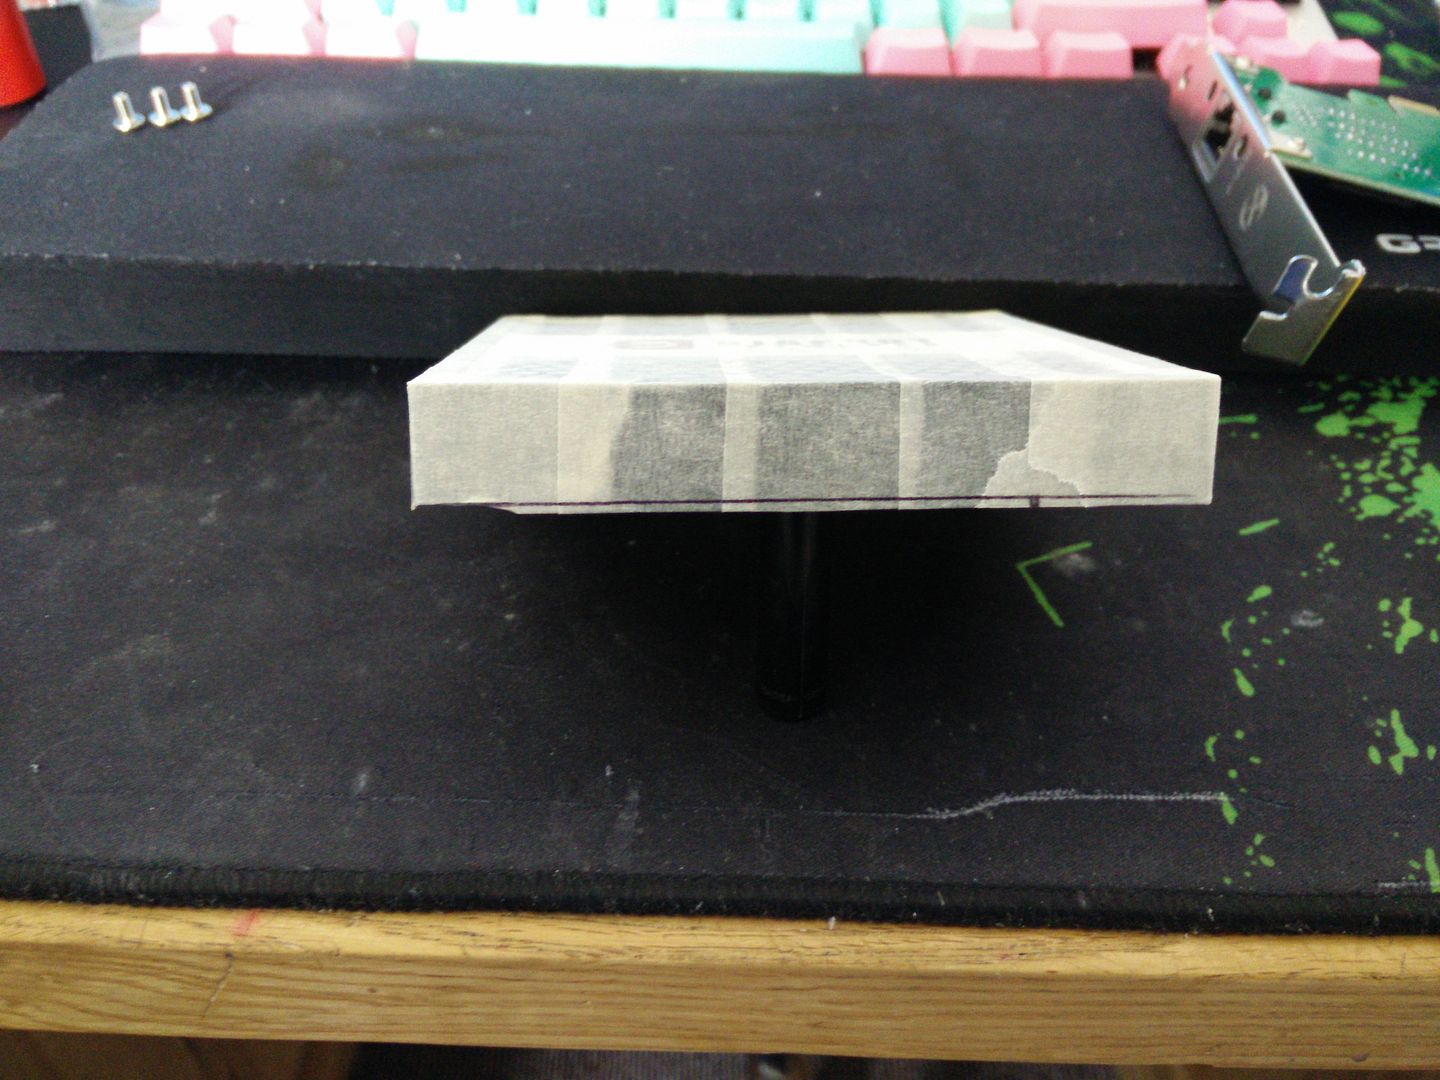
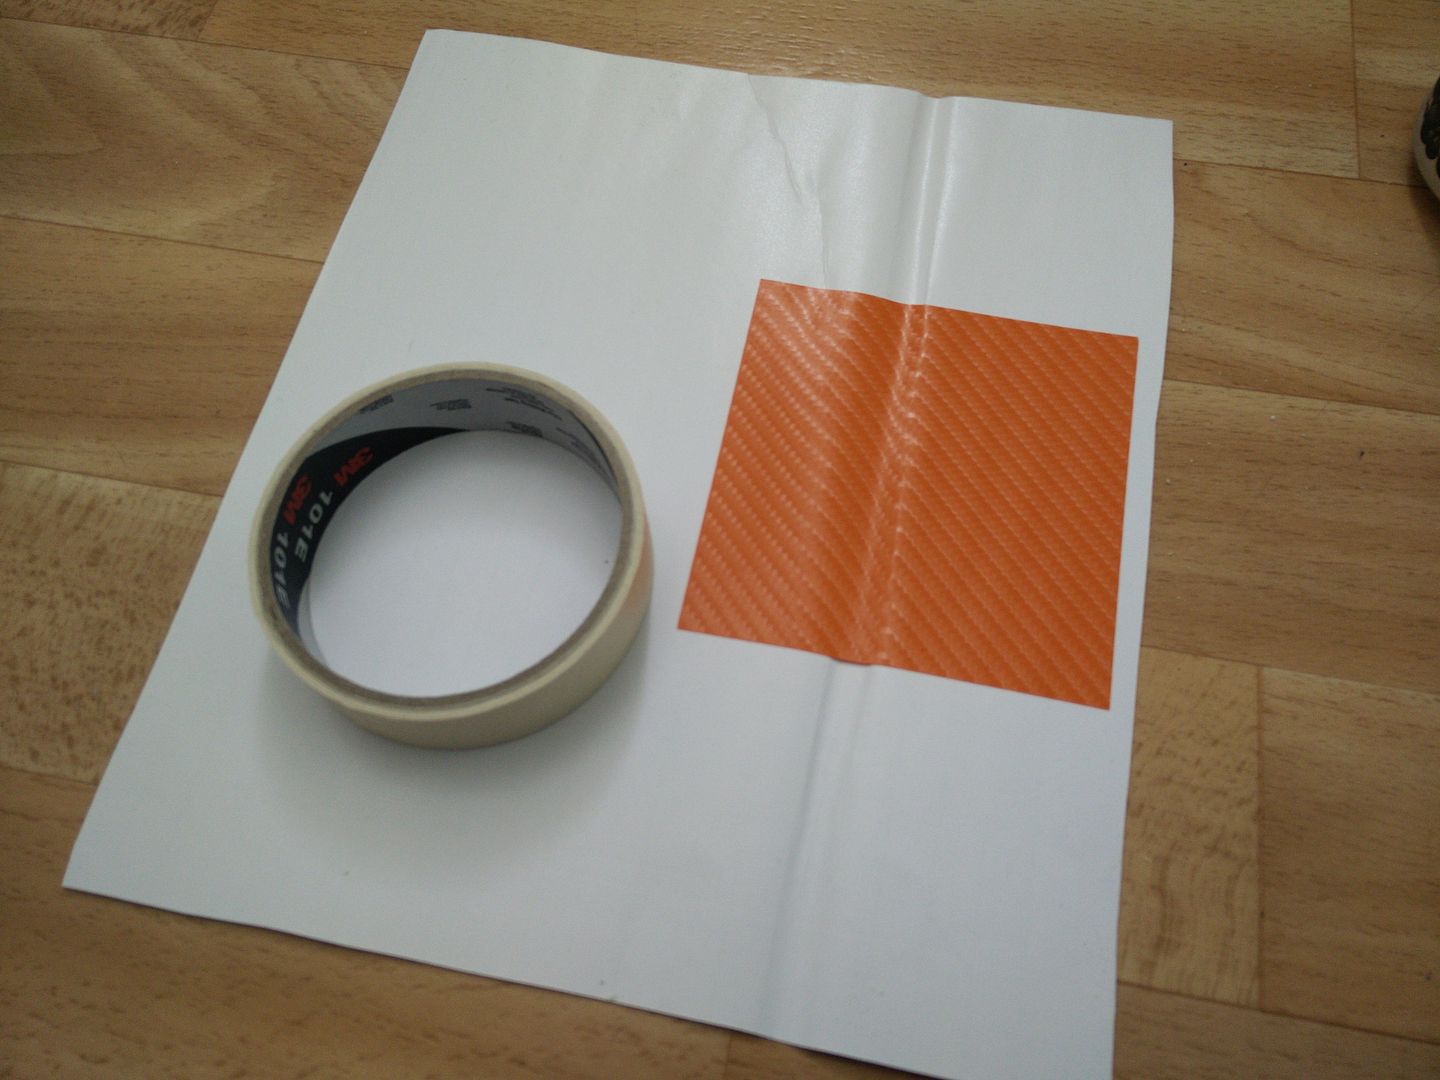
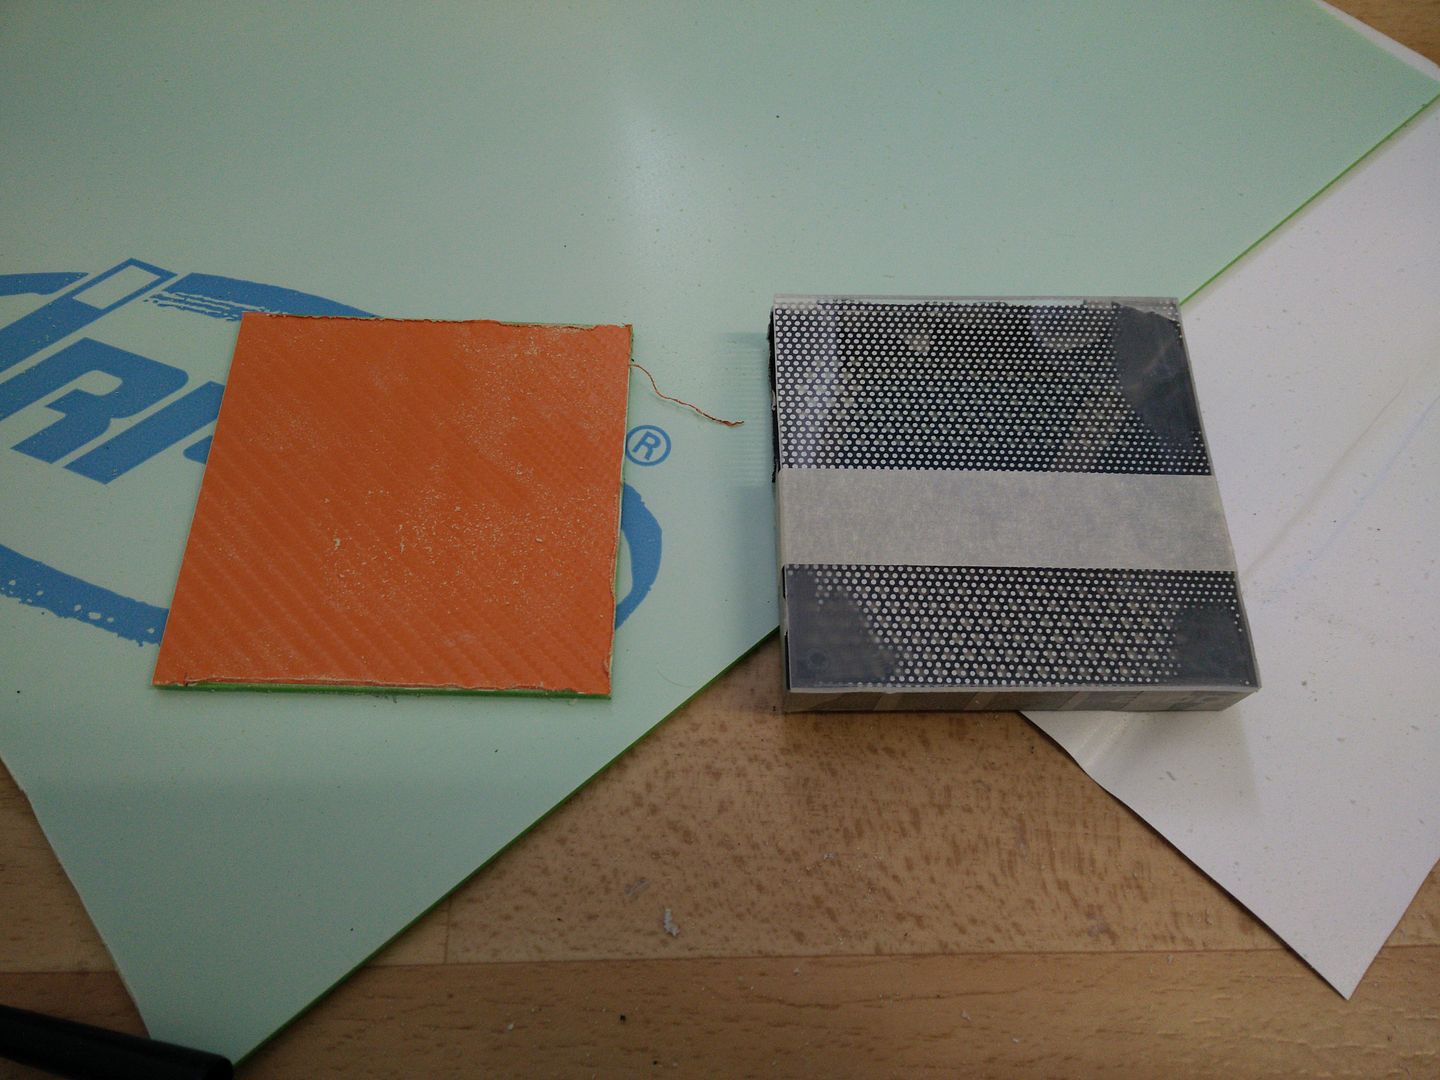
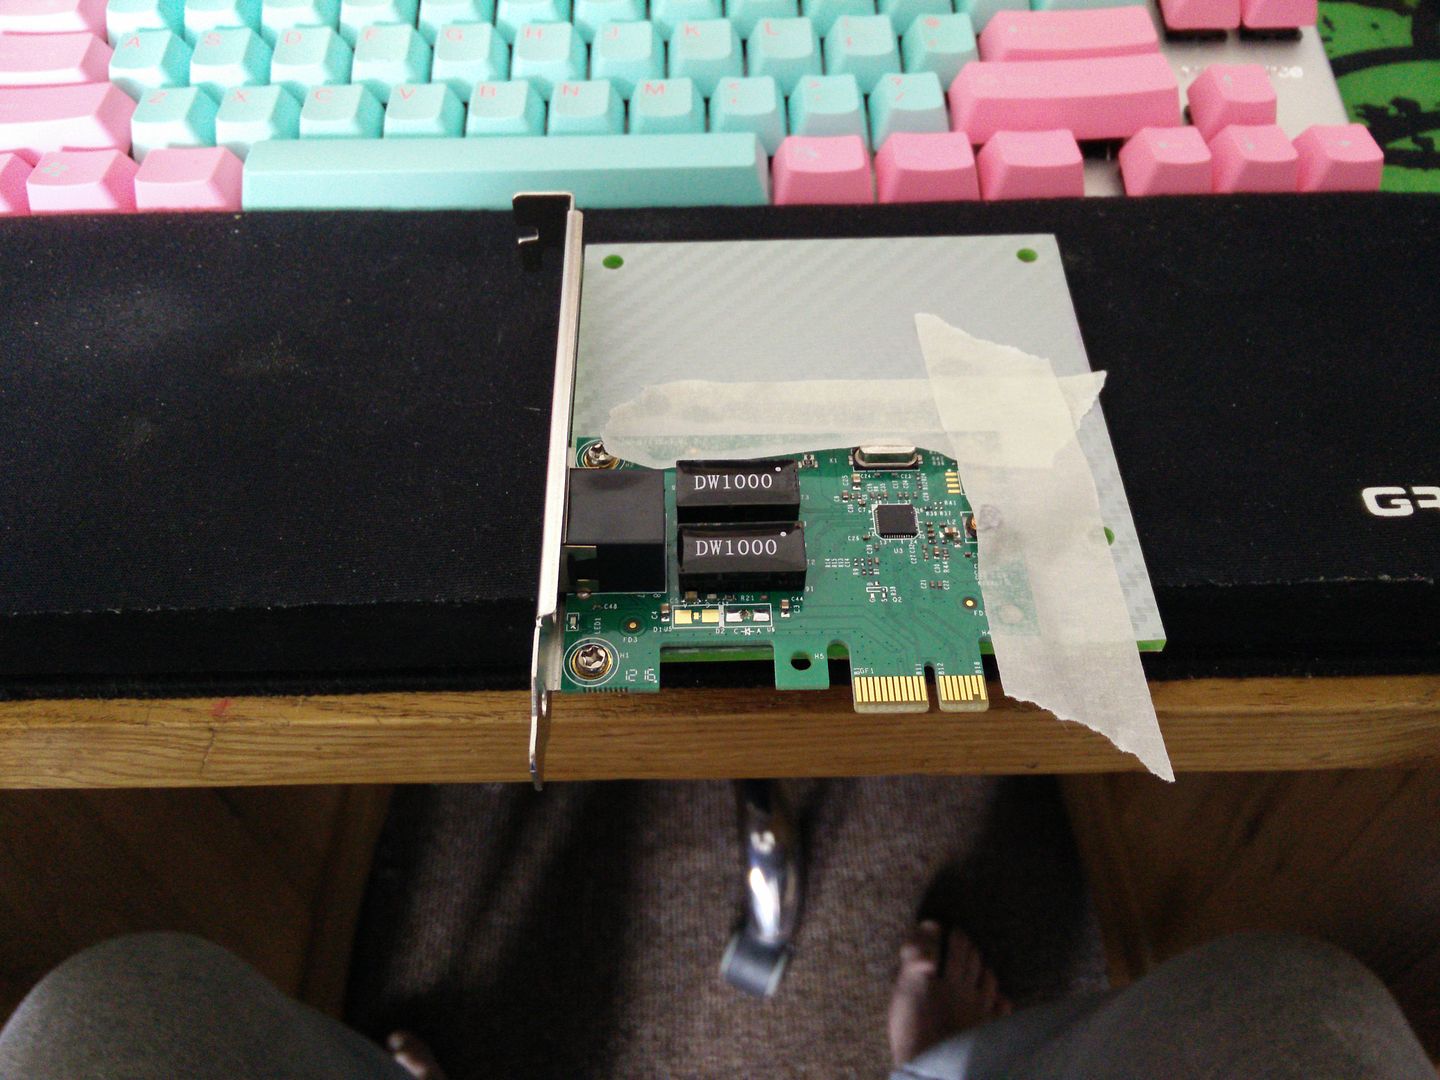
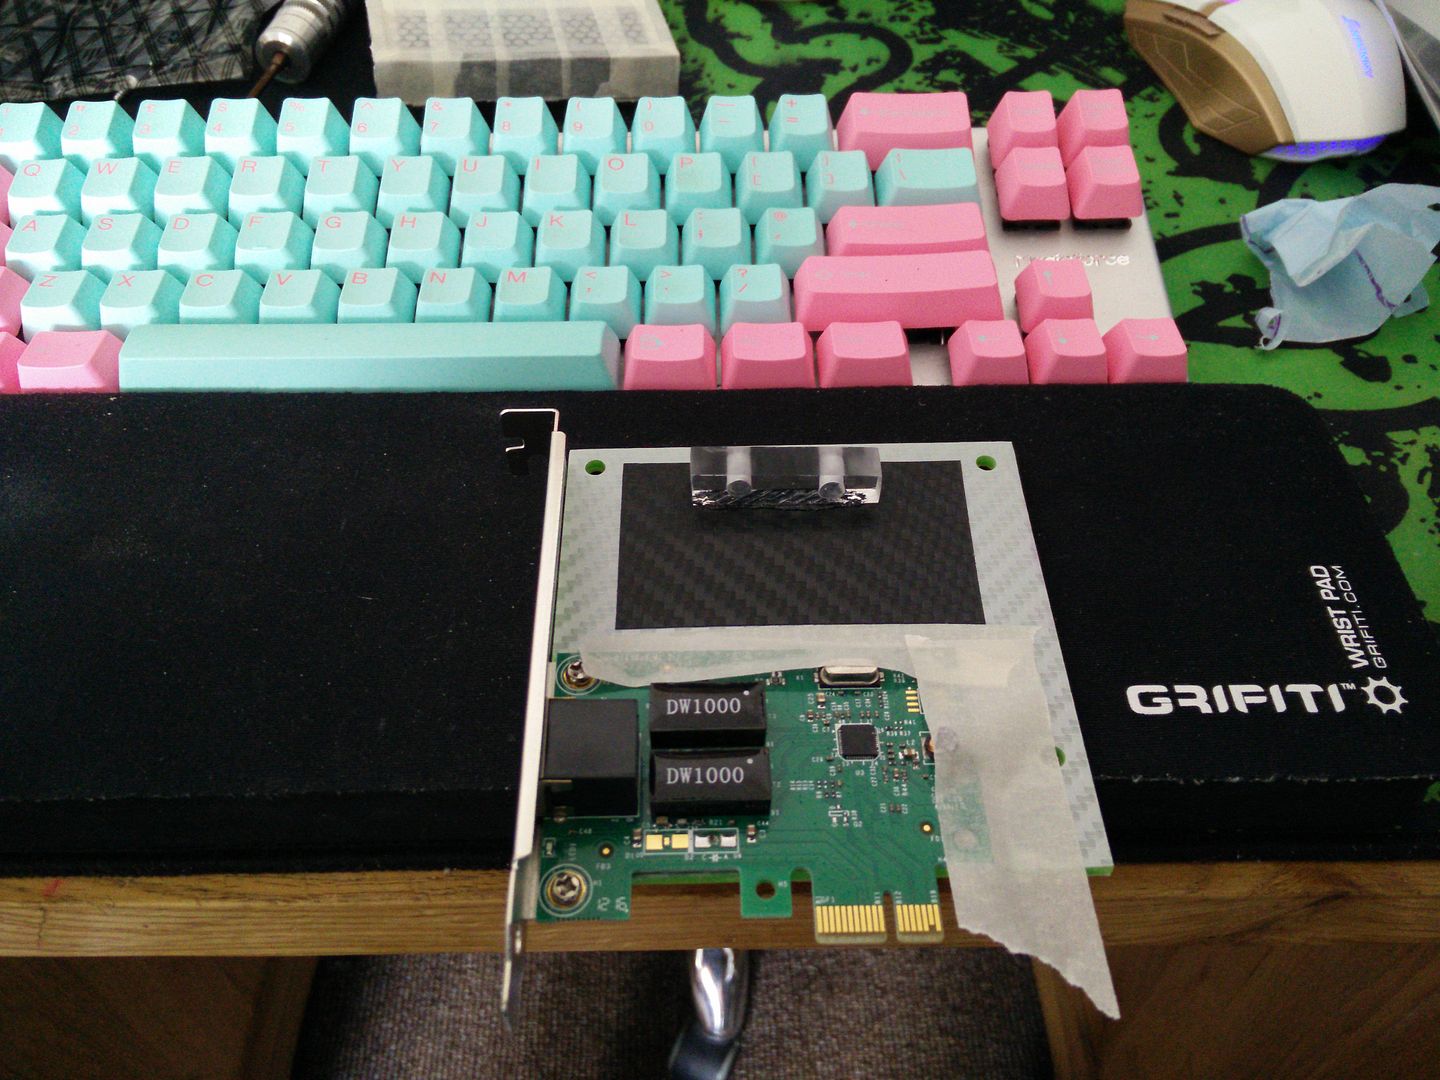
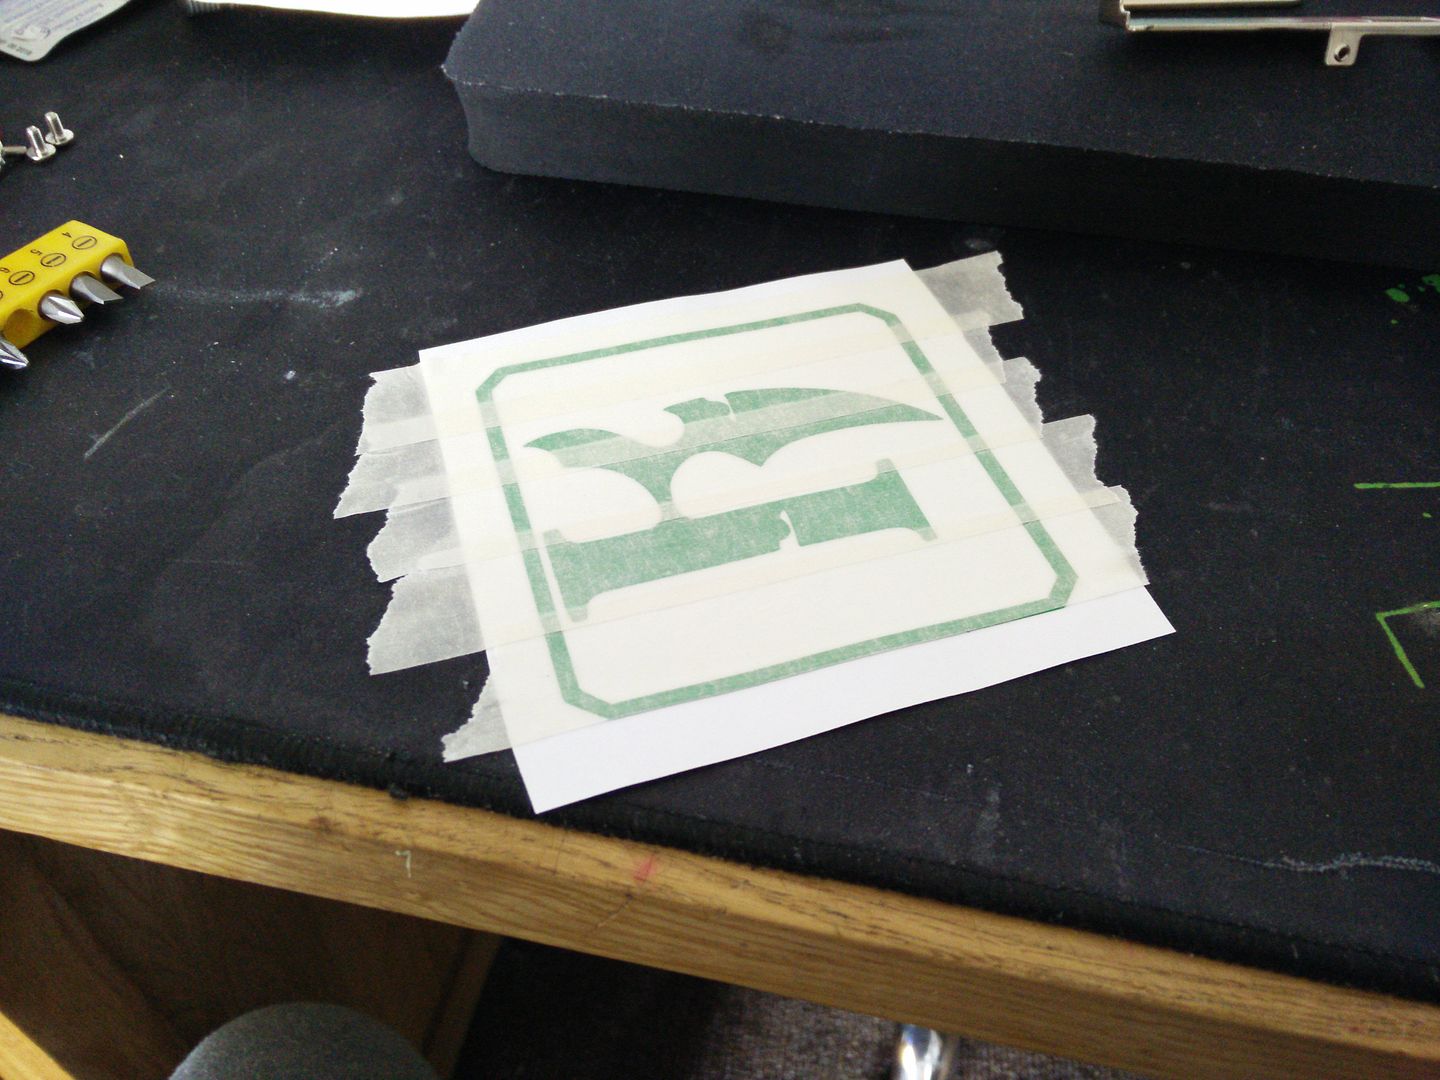
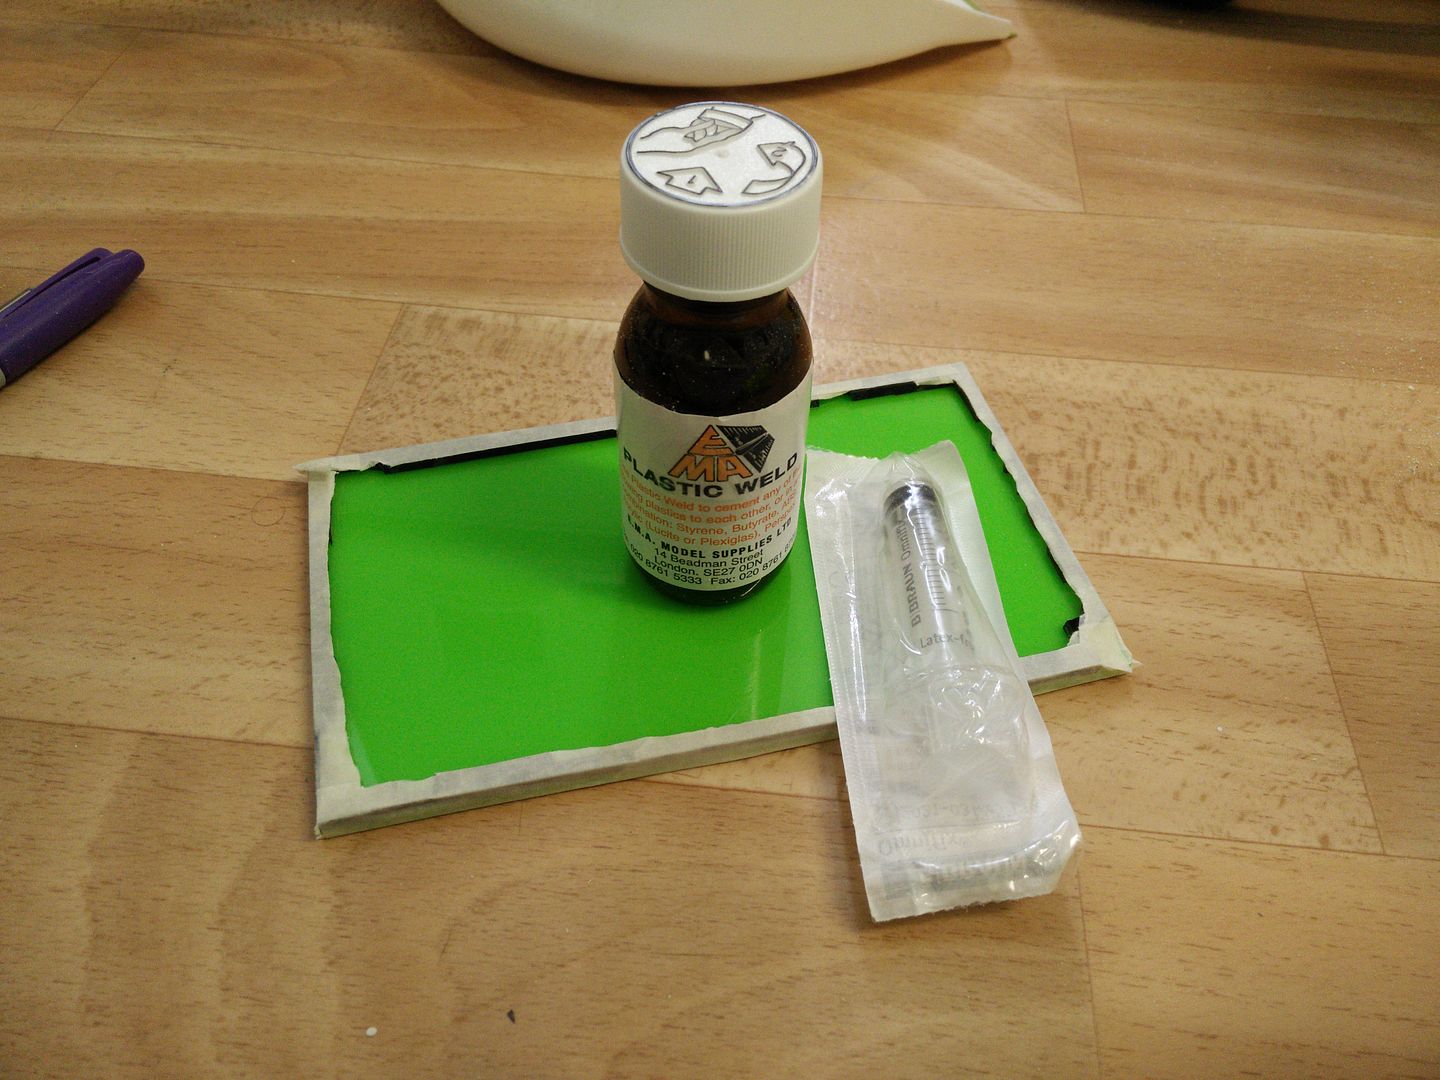
Tape.
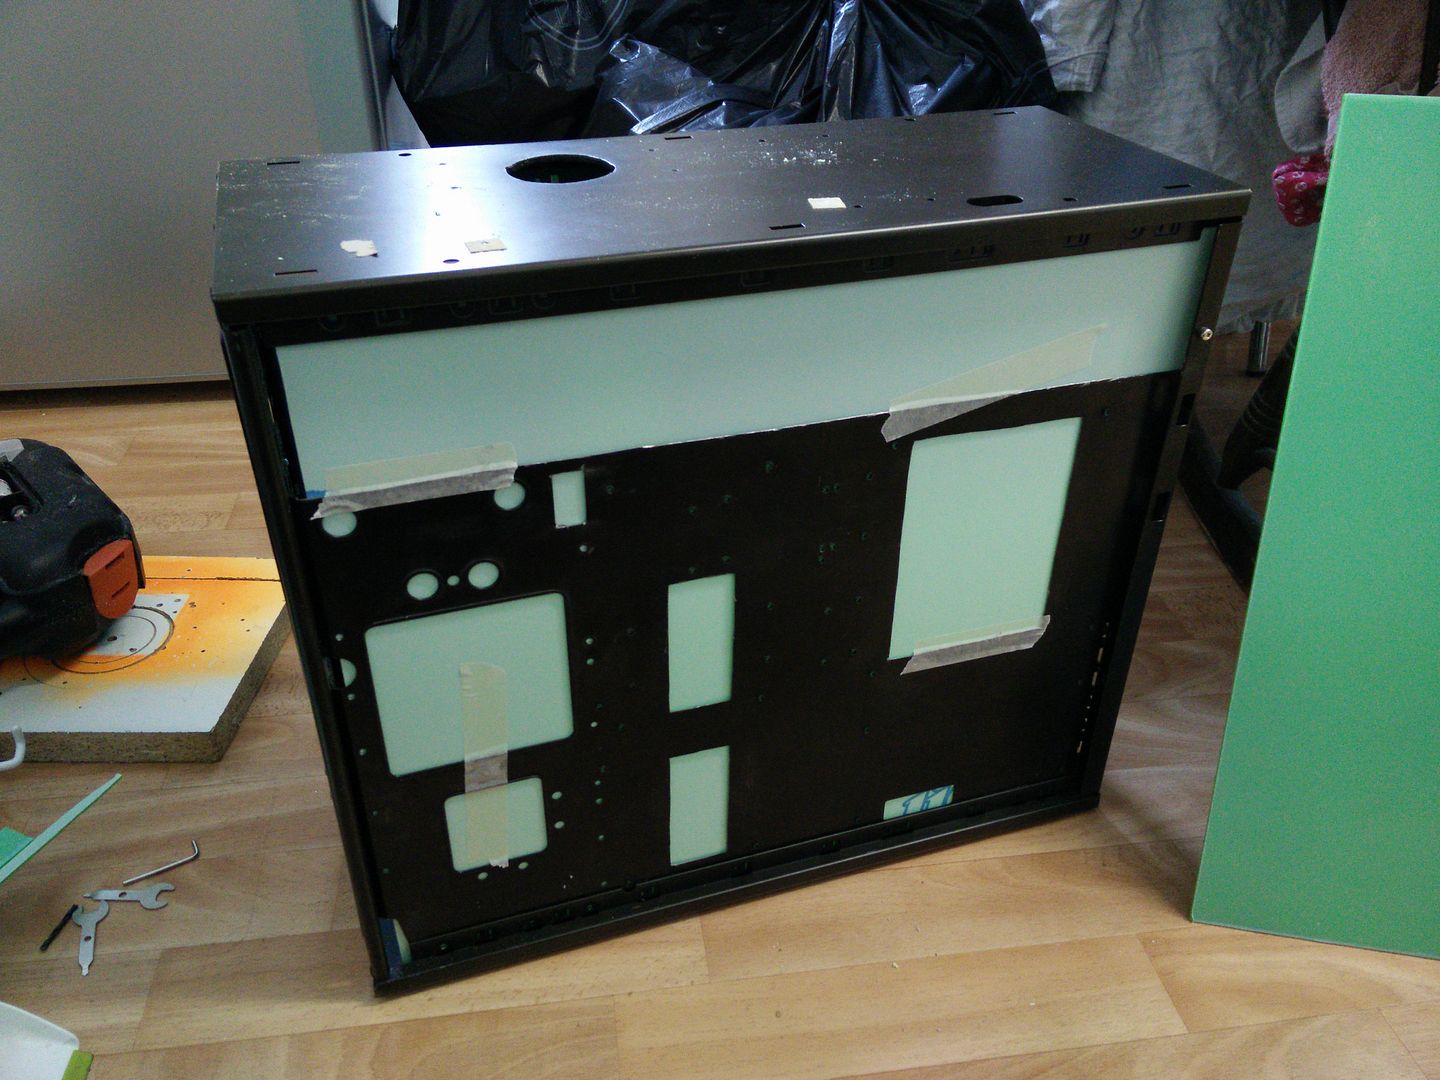
Mark
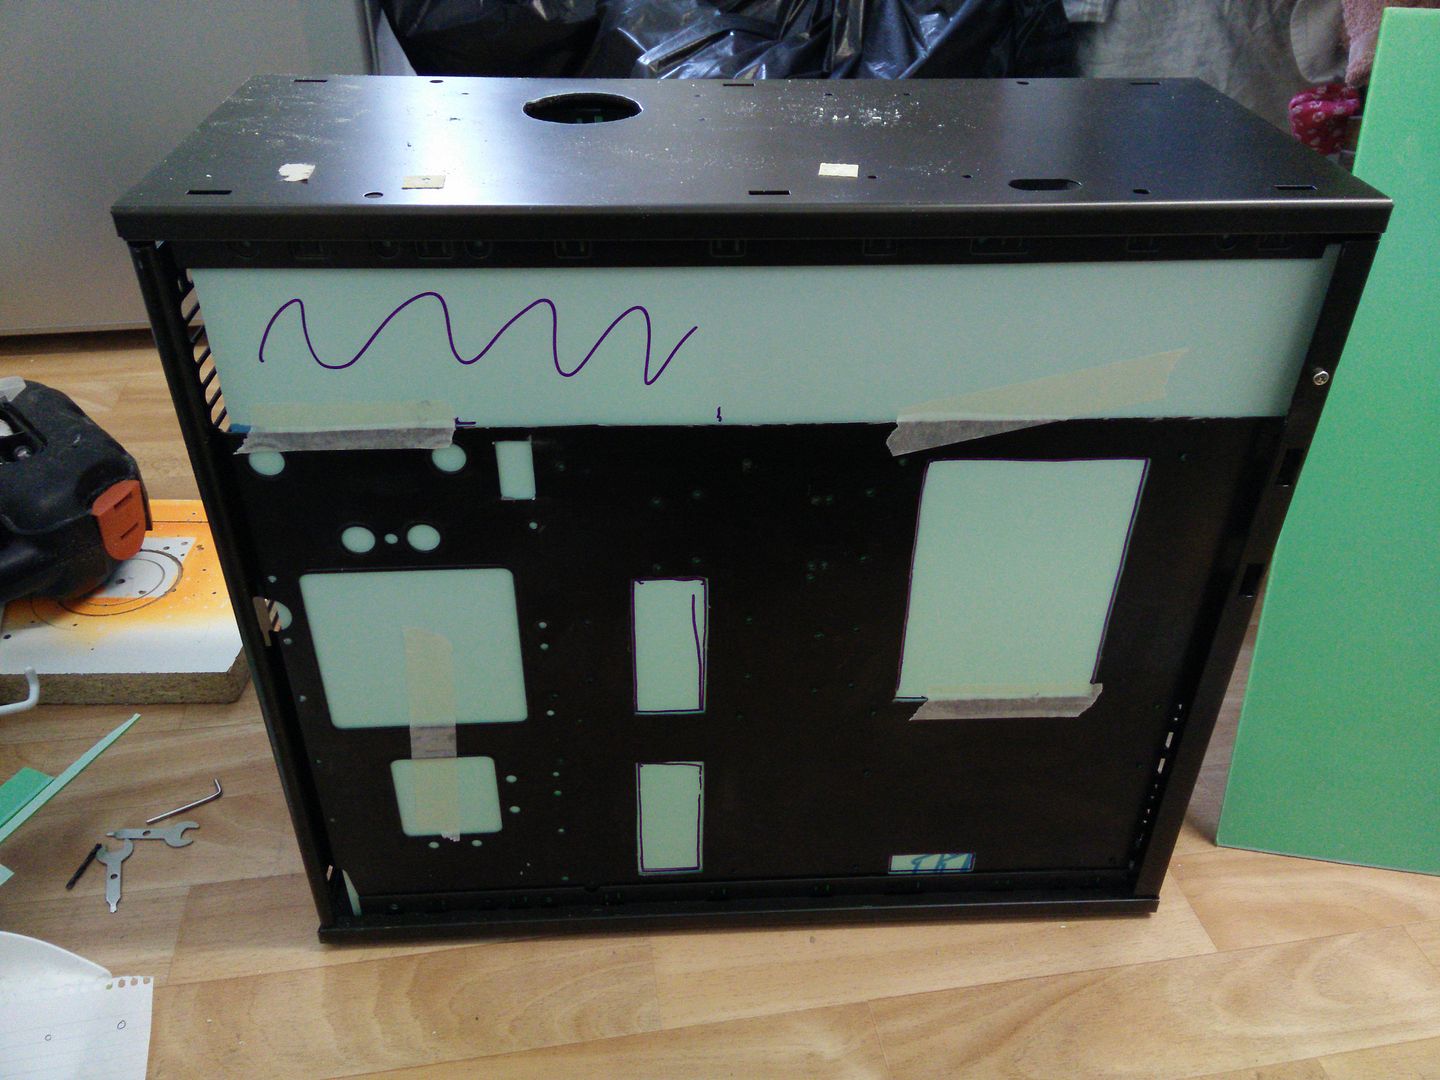
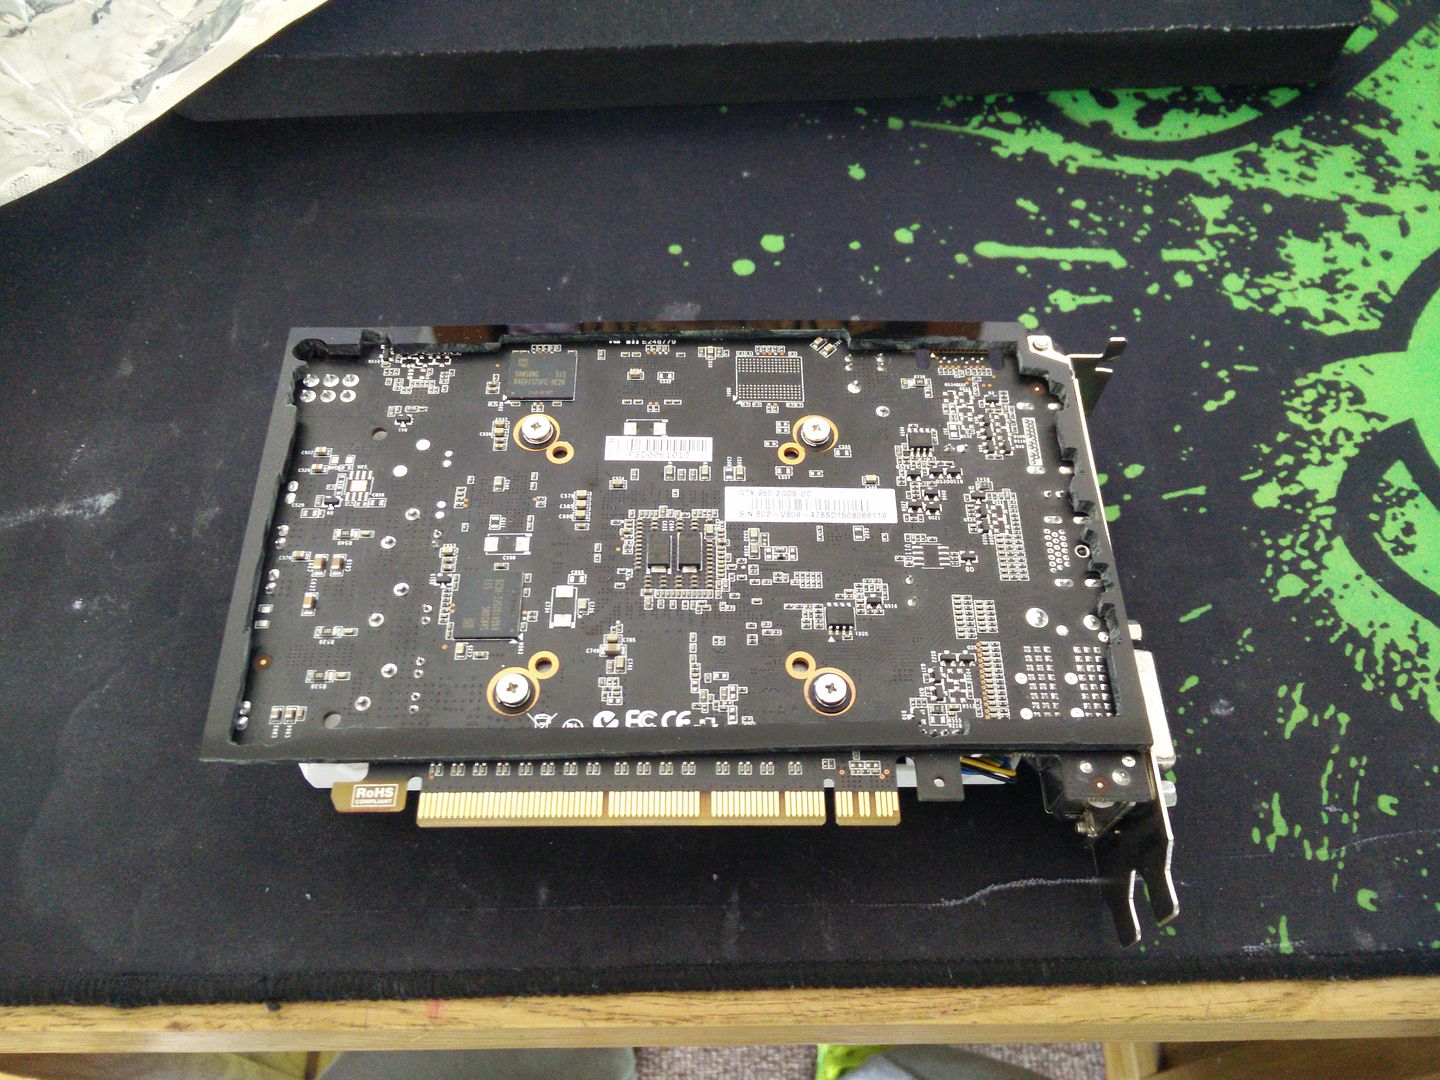
OK now what I also did whilst I was there was take a ball point pen and mark out the stand off holes. Obviously if it can't go over those it won't fit. So I marked them out and then drilled them firstly with a 2mm HSS bit and then a 6mm Bradpoint.
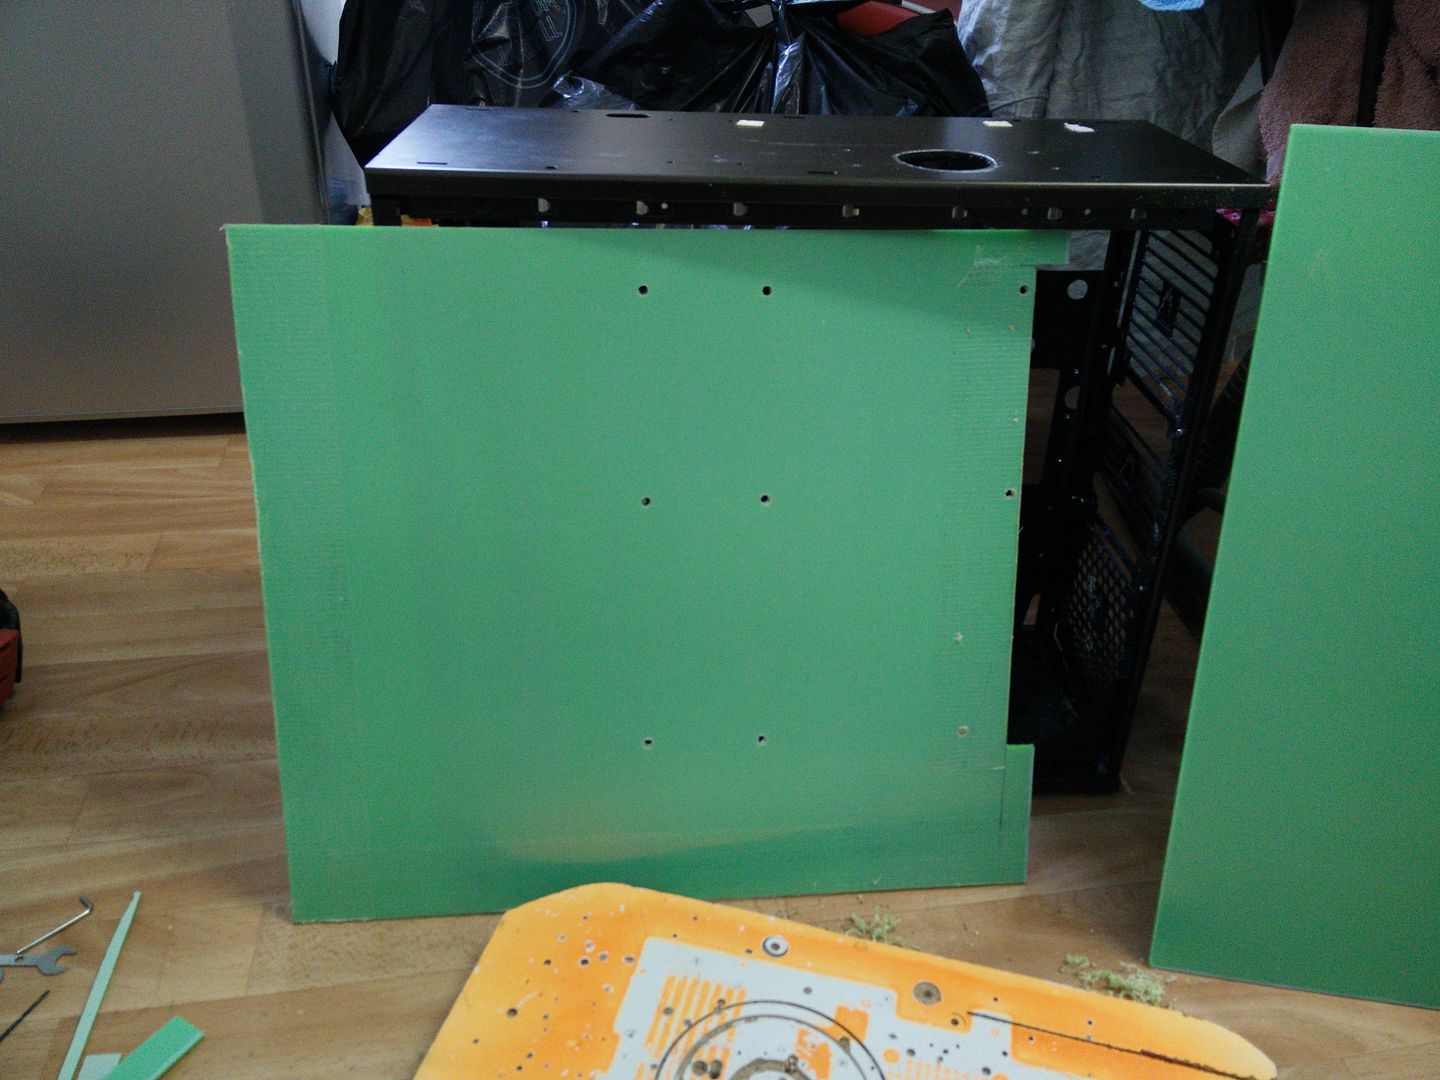
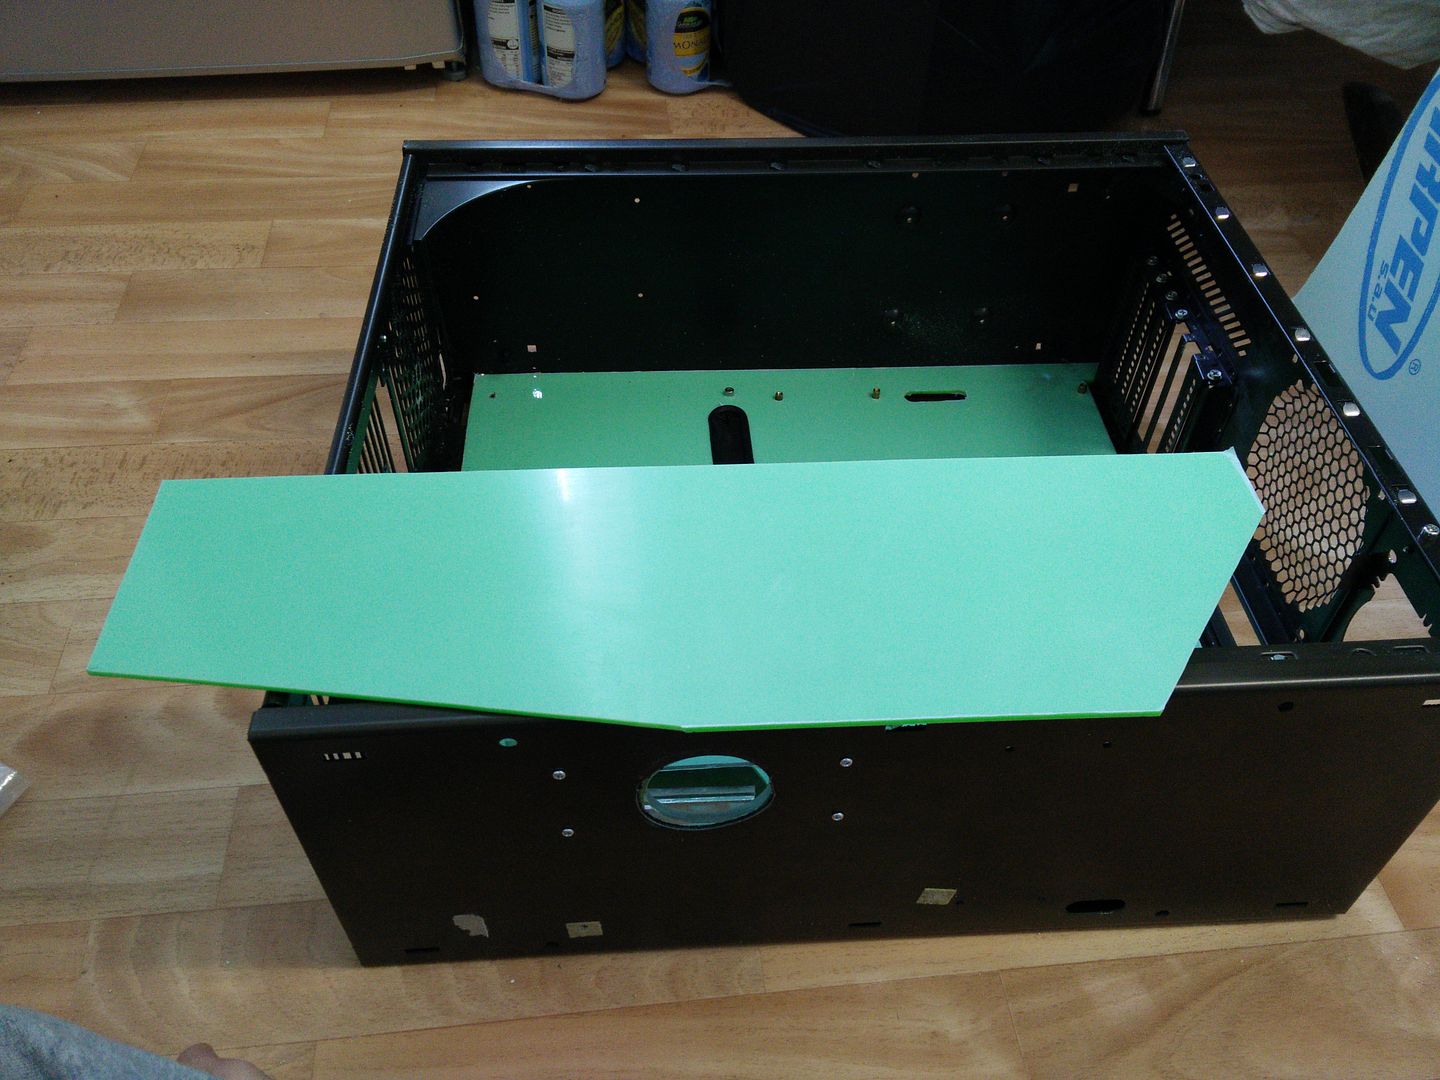
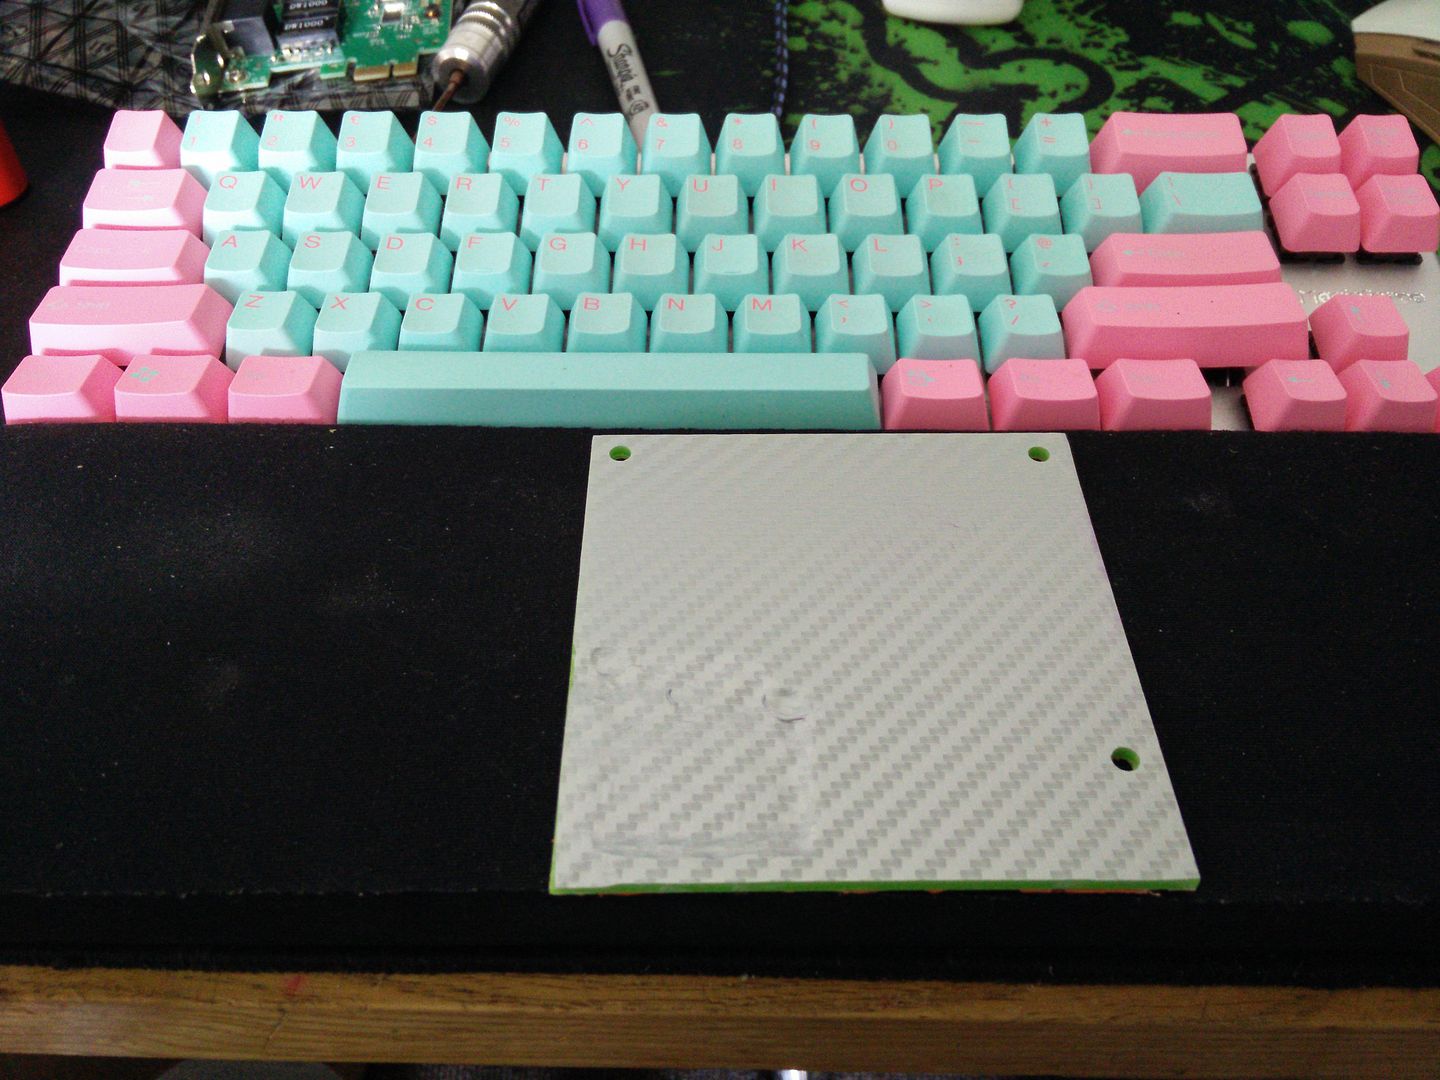
So it now fits and theoretically I can fit a mobo over it.
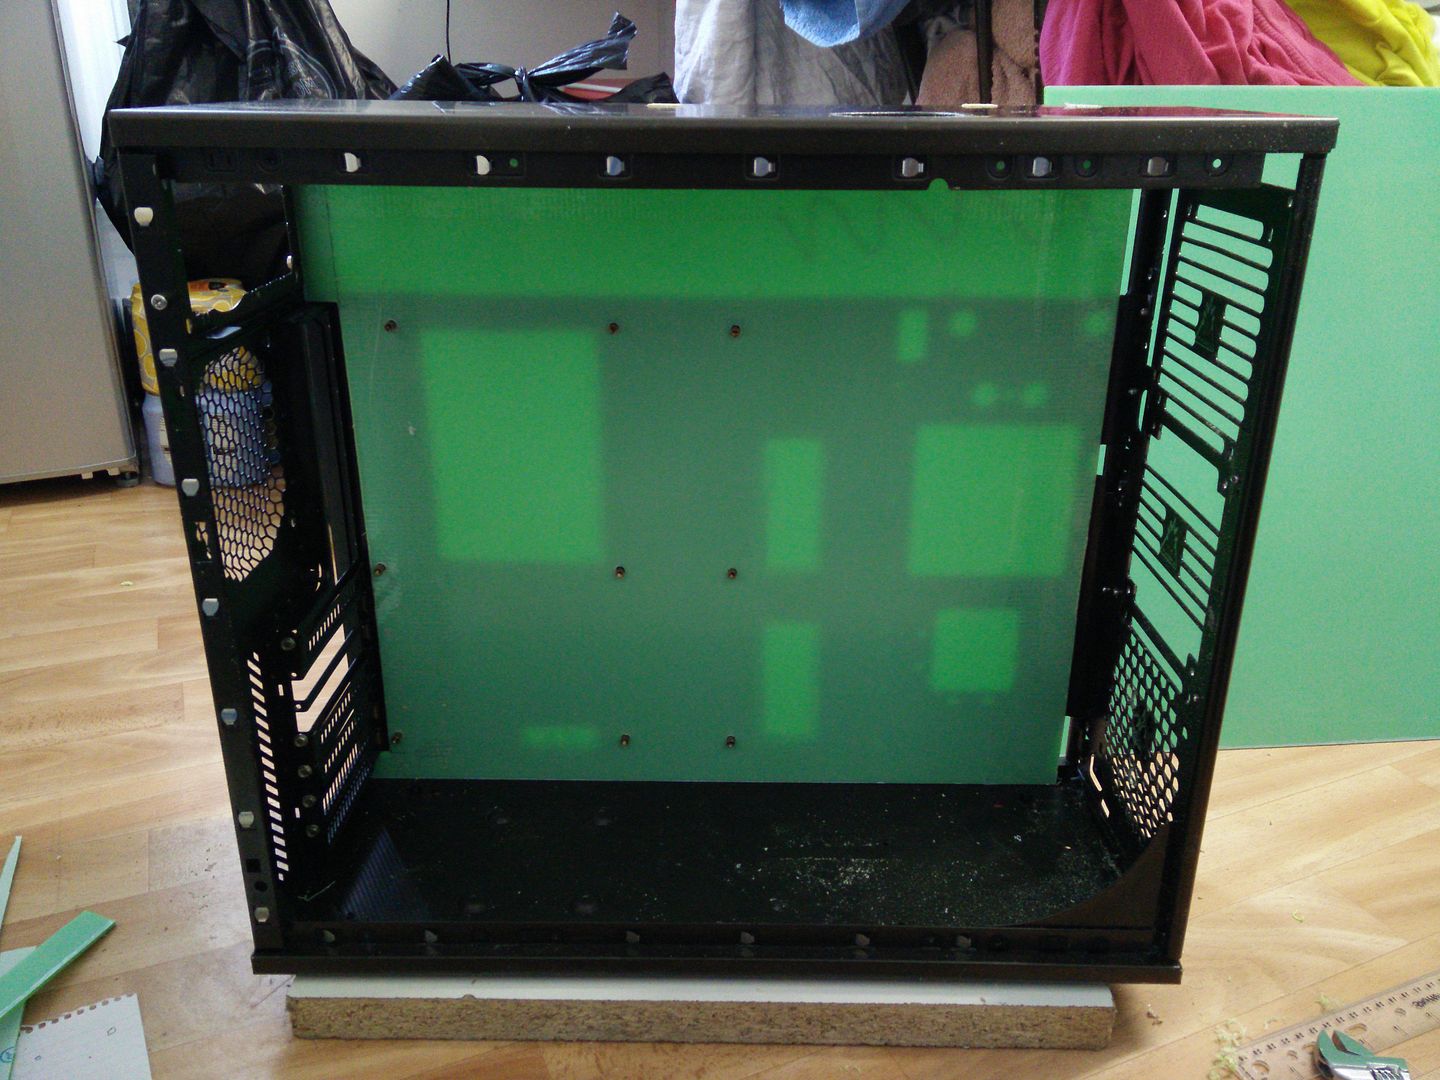
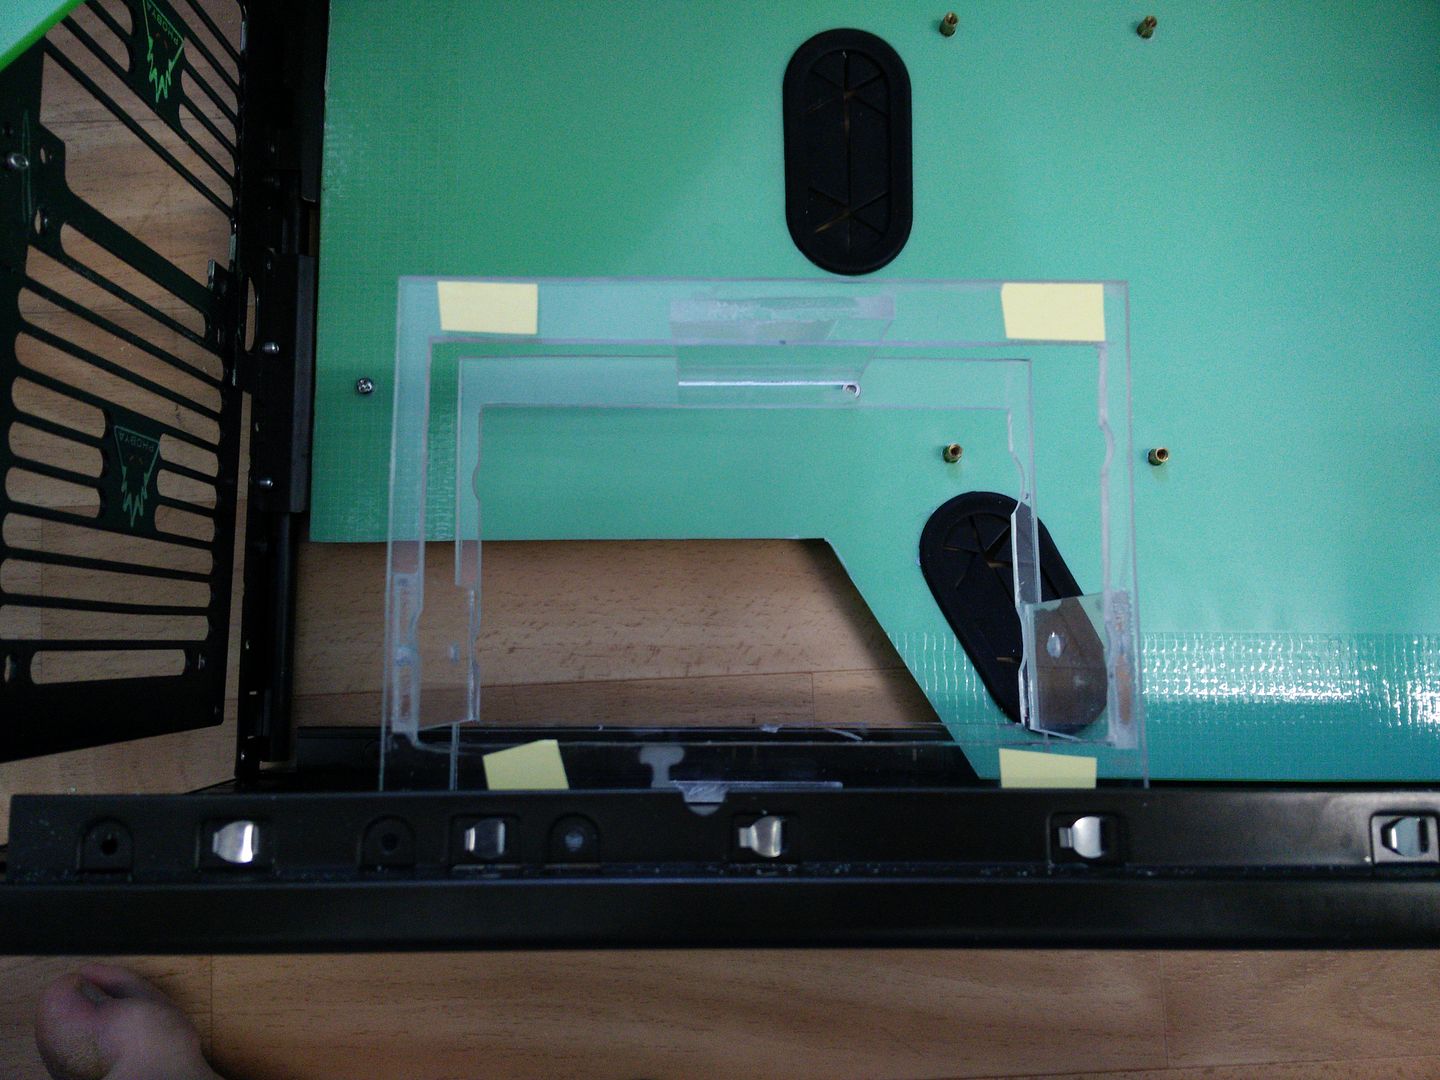
I then took it back out and marked out where I wanted my grommets to go. I need to lop a piece out (the squirly bit) and I also want the PSU to pass straight out into the back panel. Then I need a fat one for the 24 pin and given the rig is only using a 6 pin GPU I decided to fit a smaller one under it.
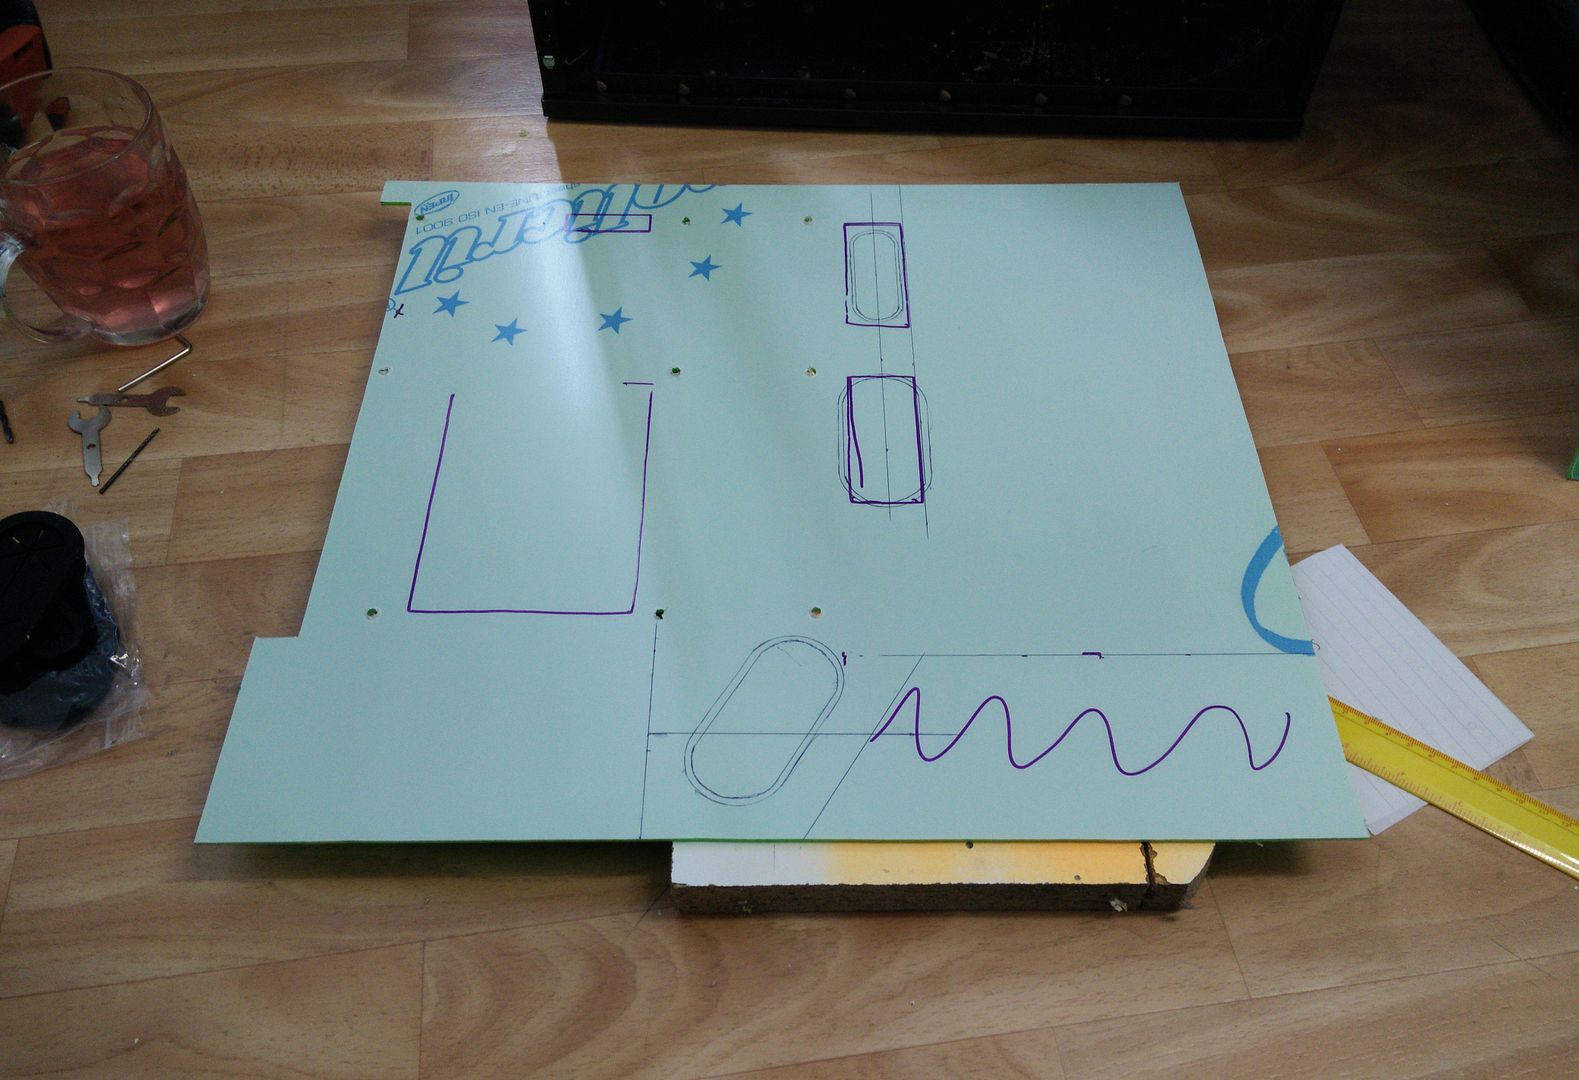
OK, so the next step is to cut out the straight parts of the holes using a diamond tipped cutter. Here you can see I have my holes started and the sanding part I use to finish the holes with.
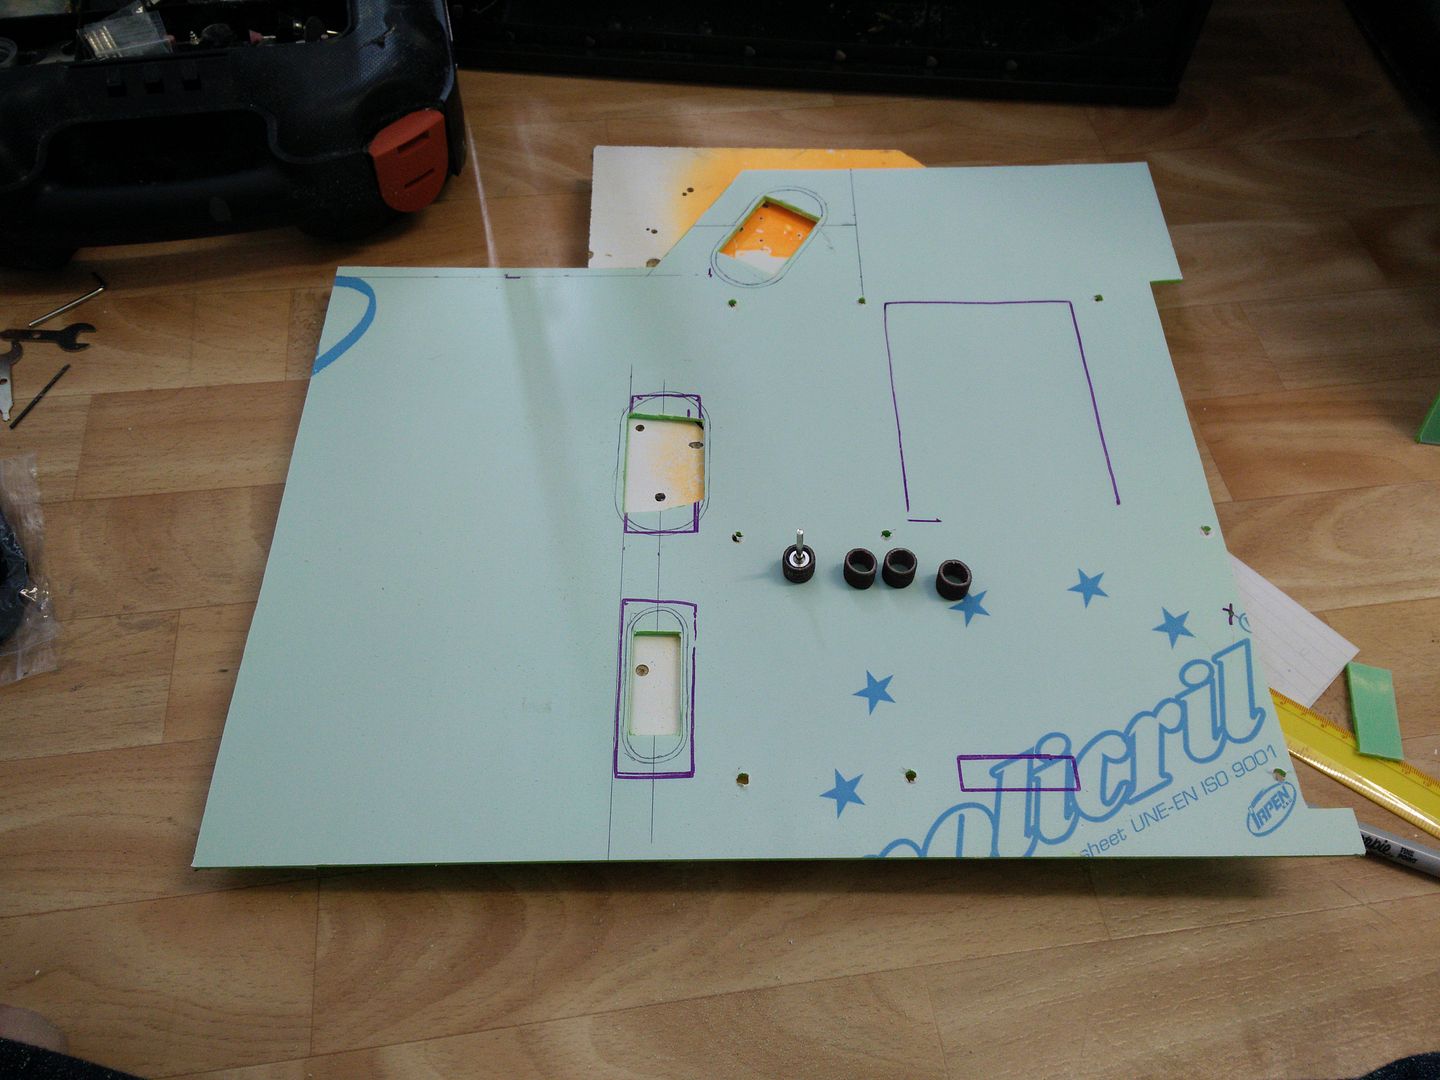
And here you can see them finished.
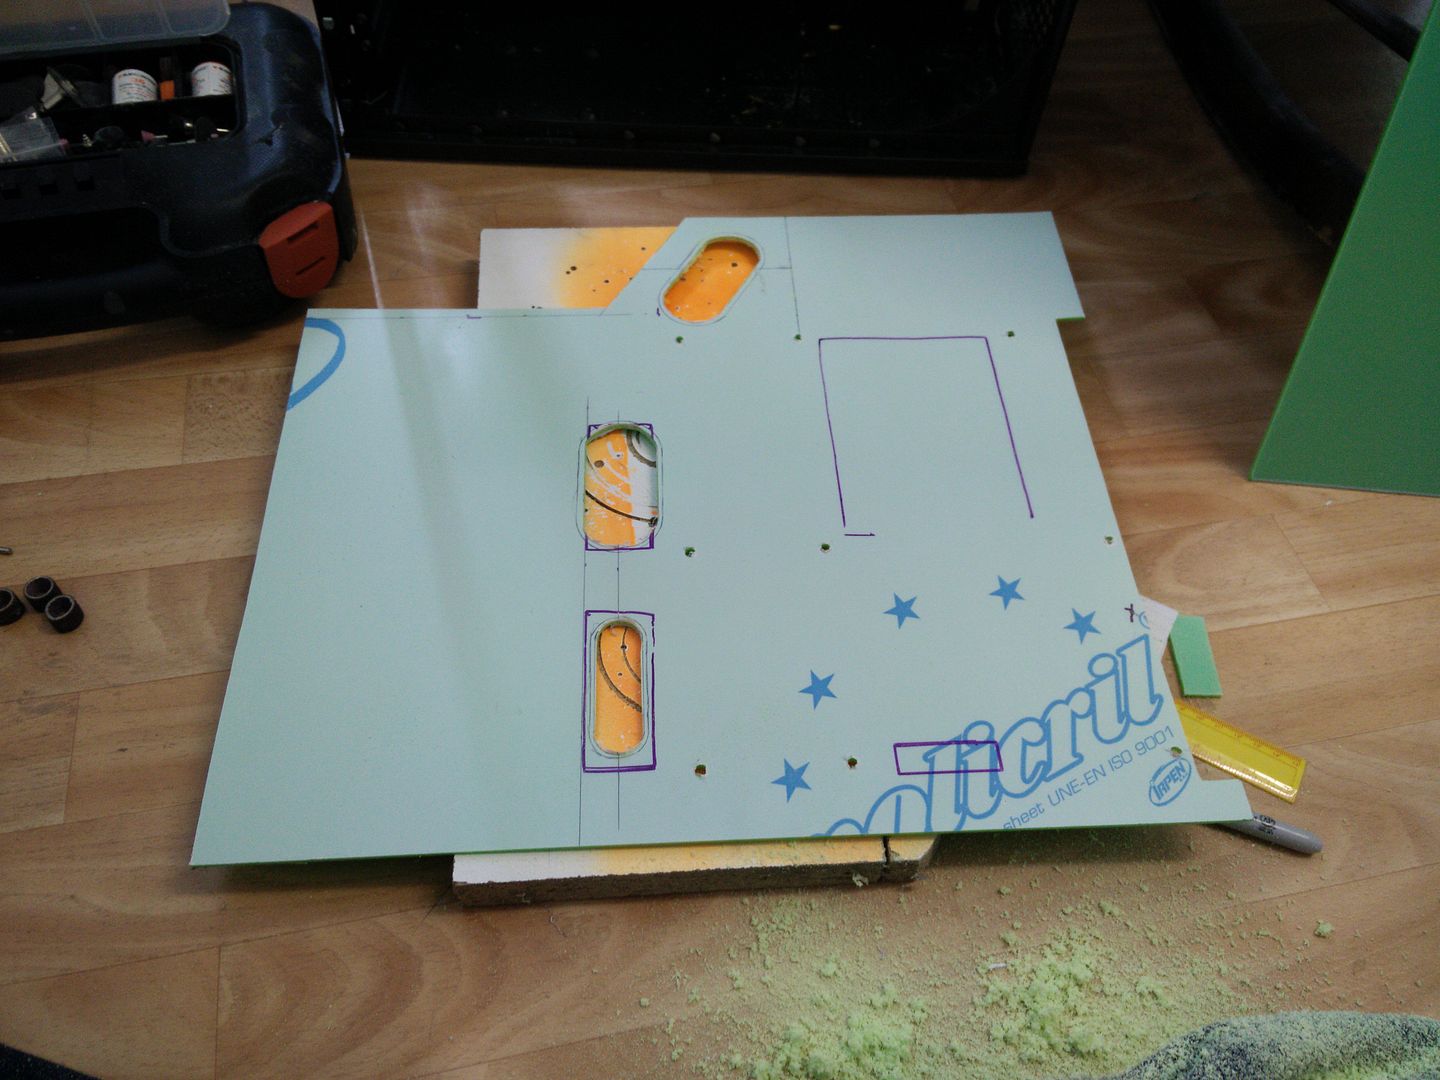
Now remember I am working from the back side, so I need to keep flipping it to make sure it looks good on the "show" side.
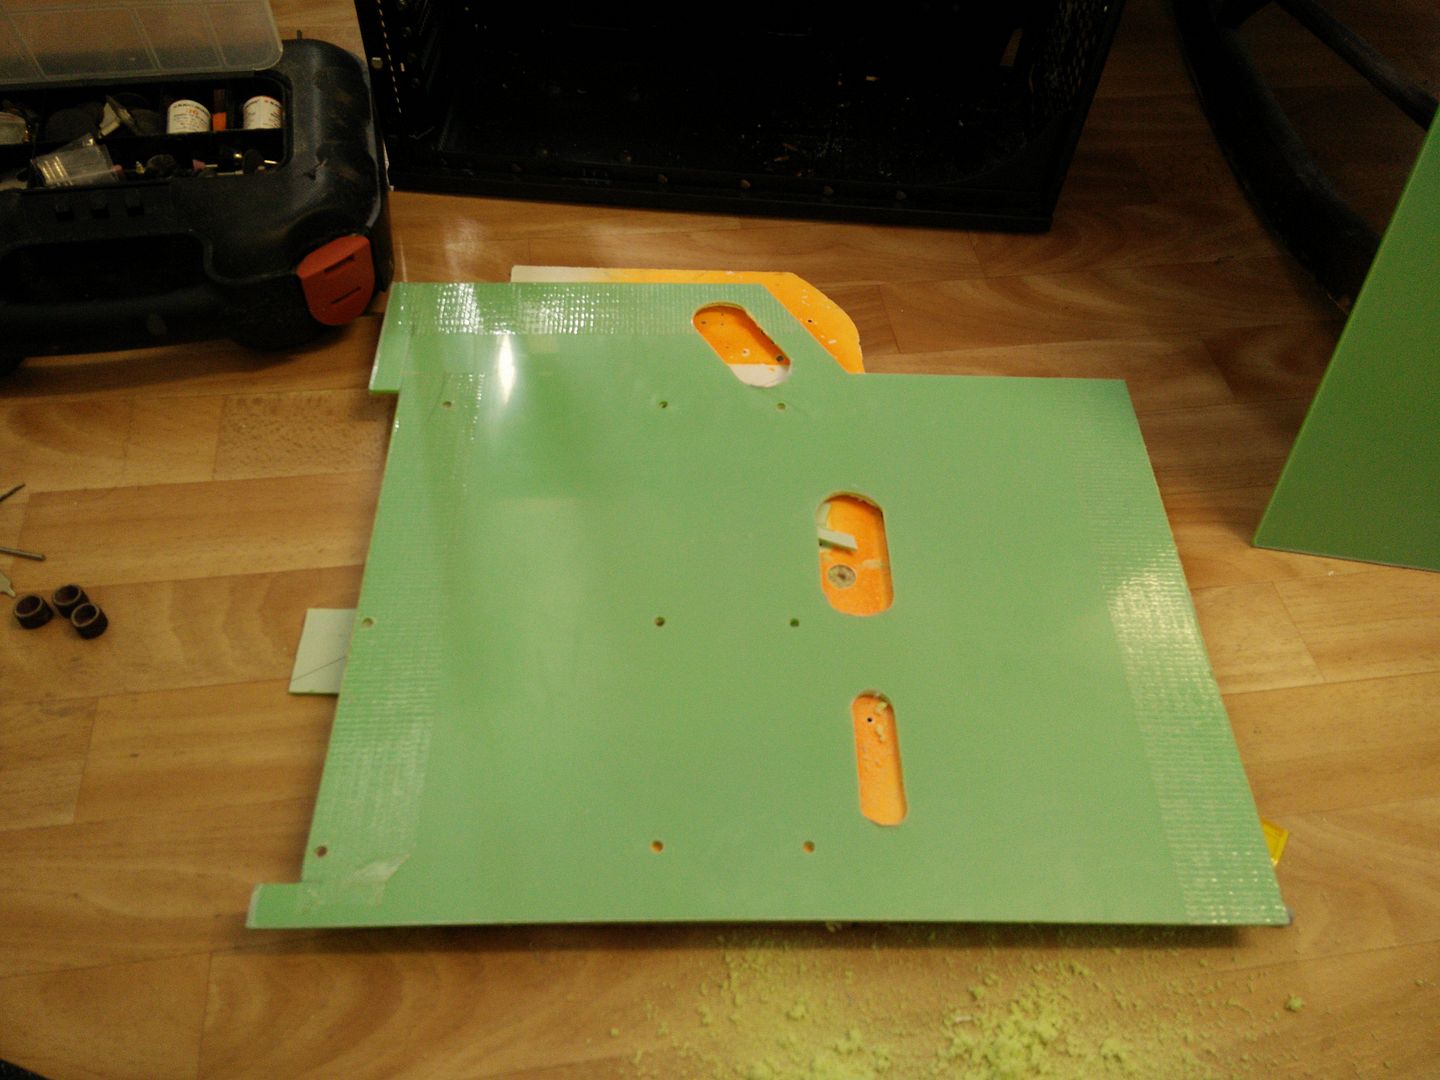
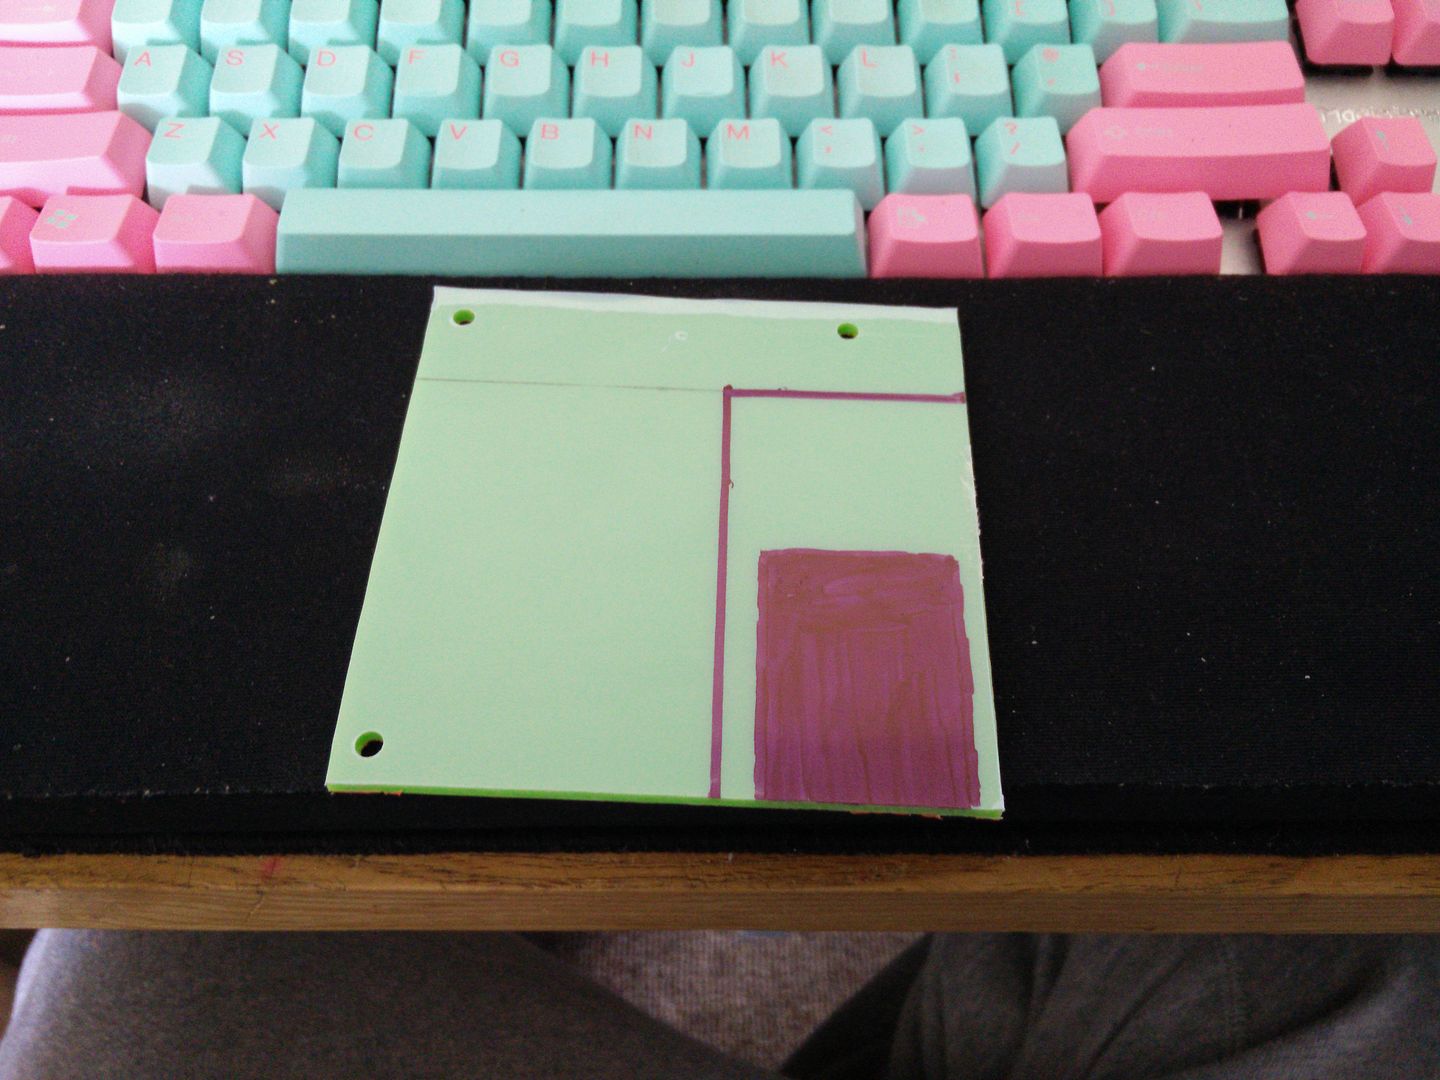
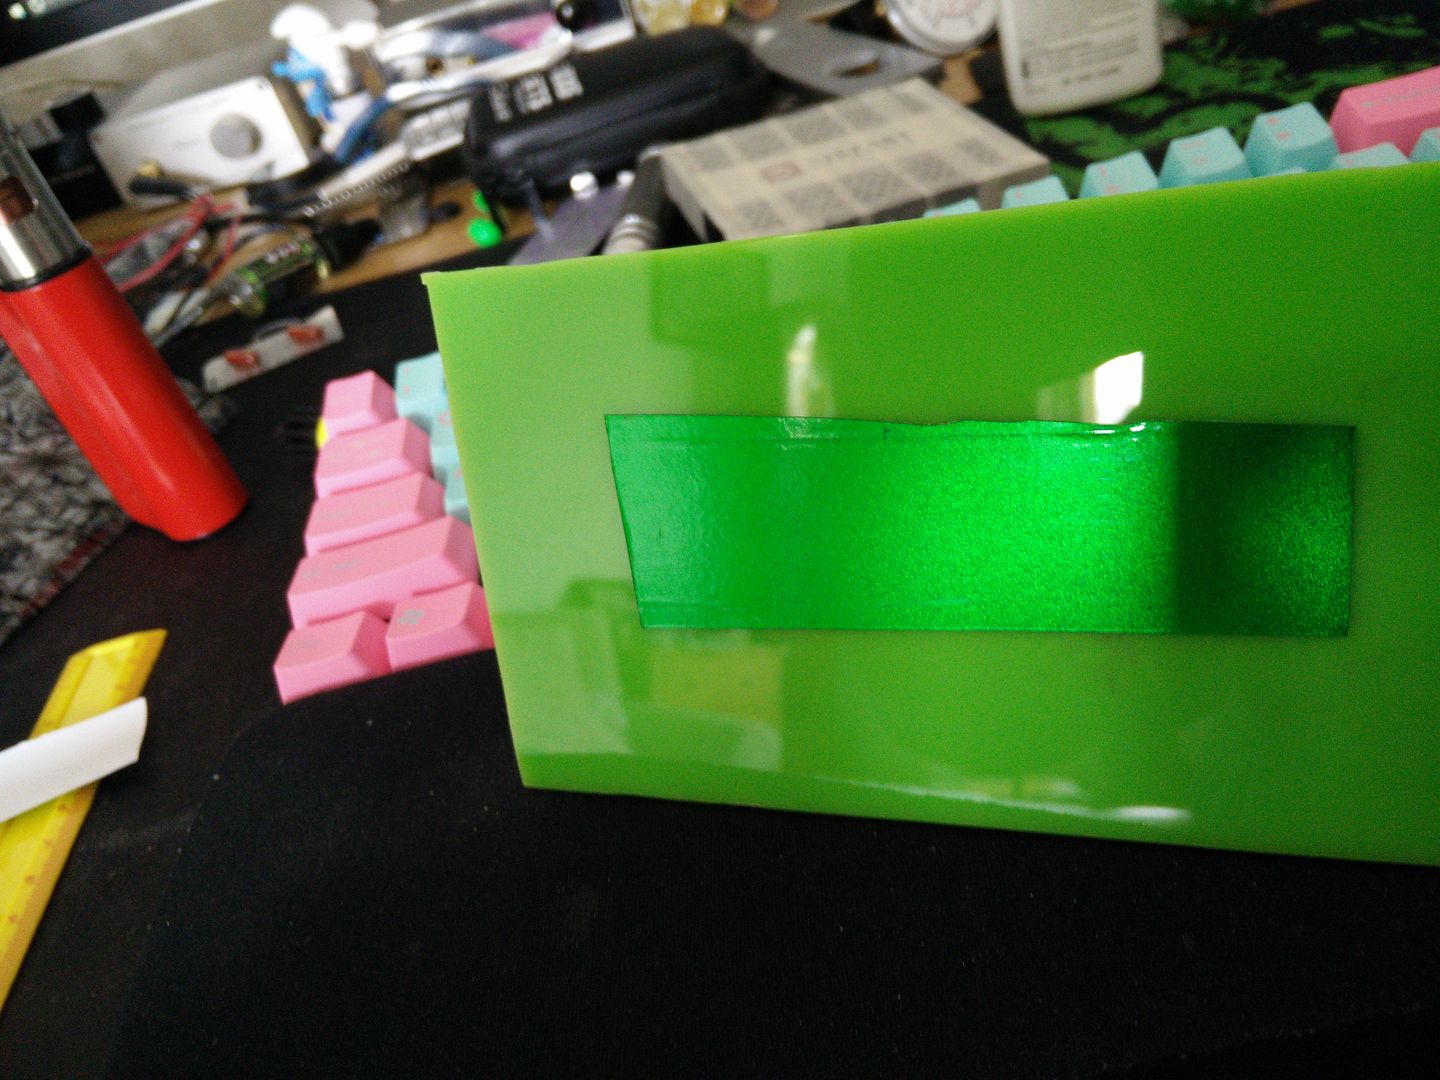
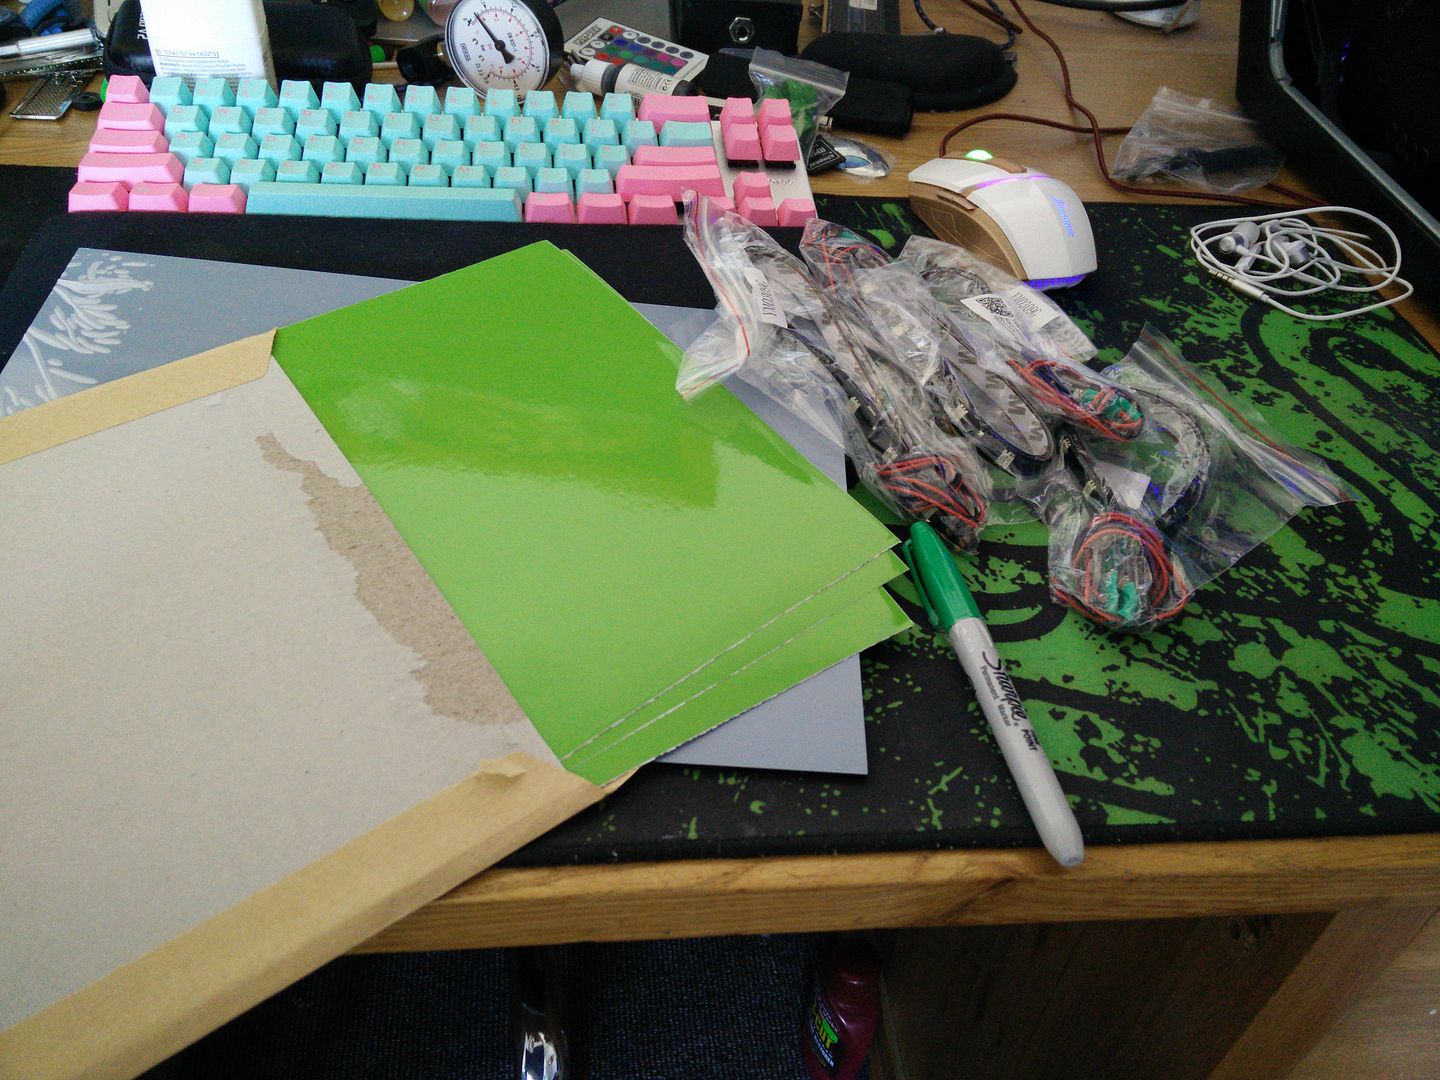
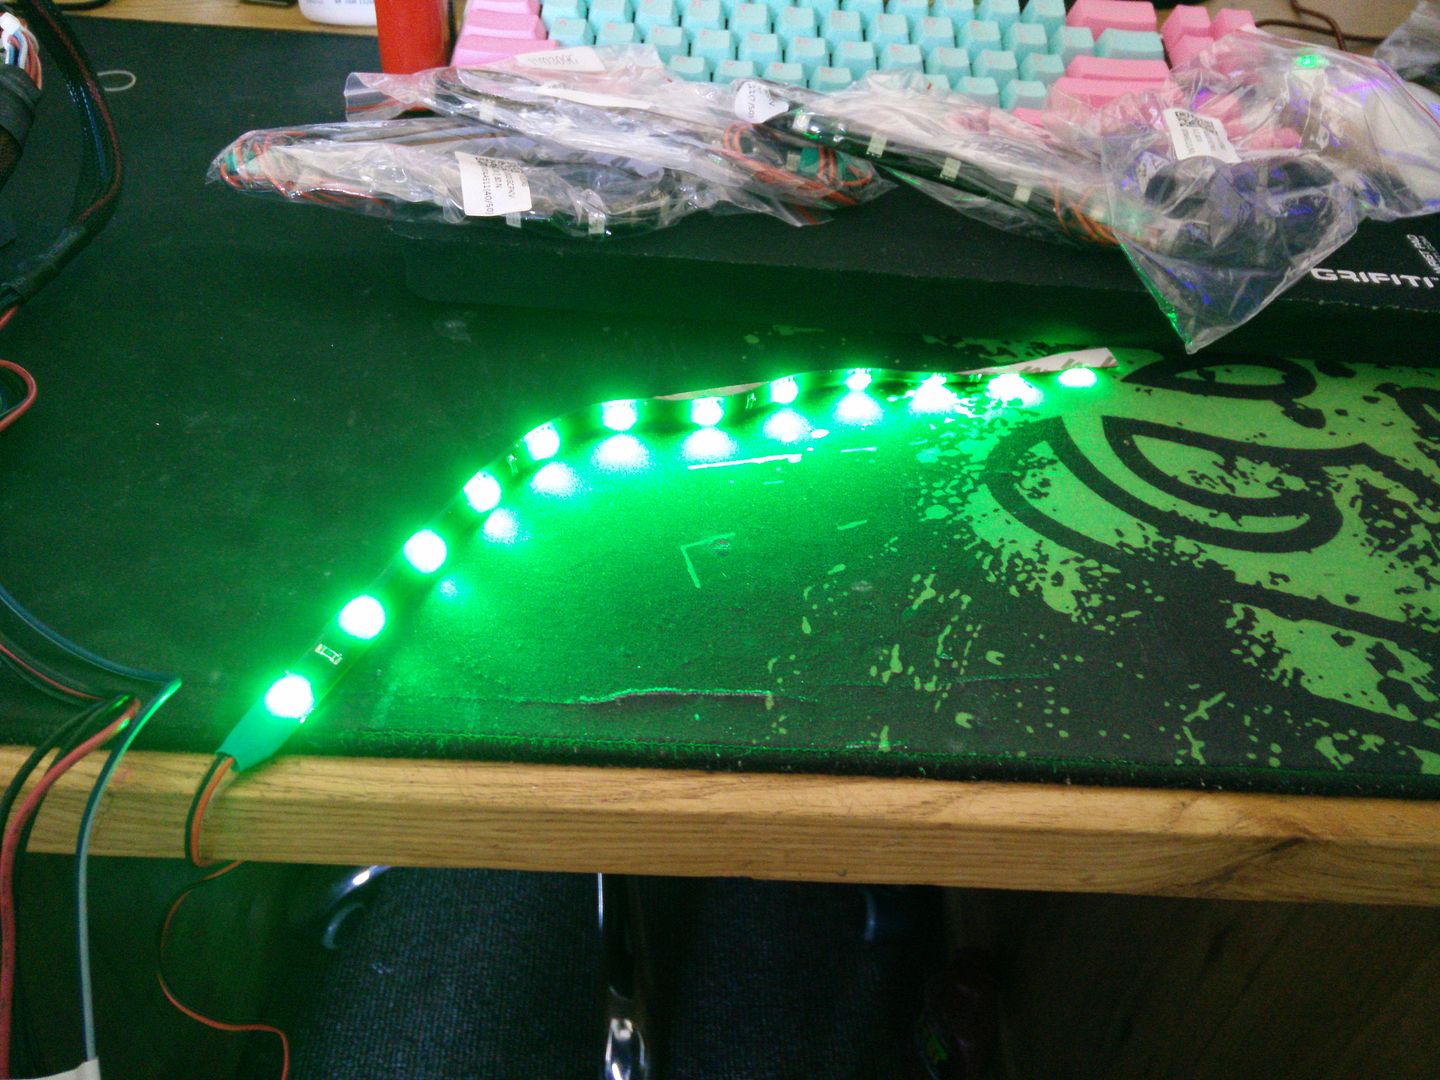
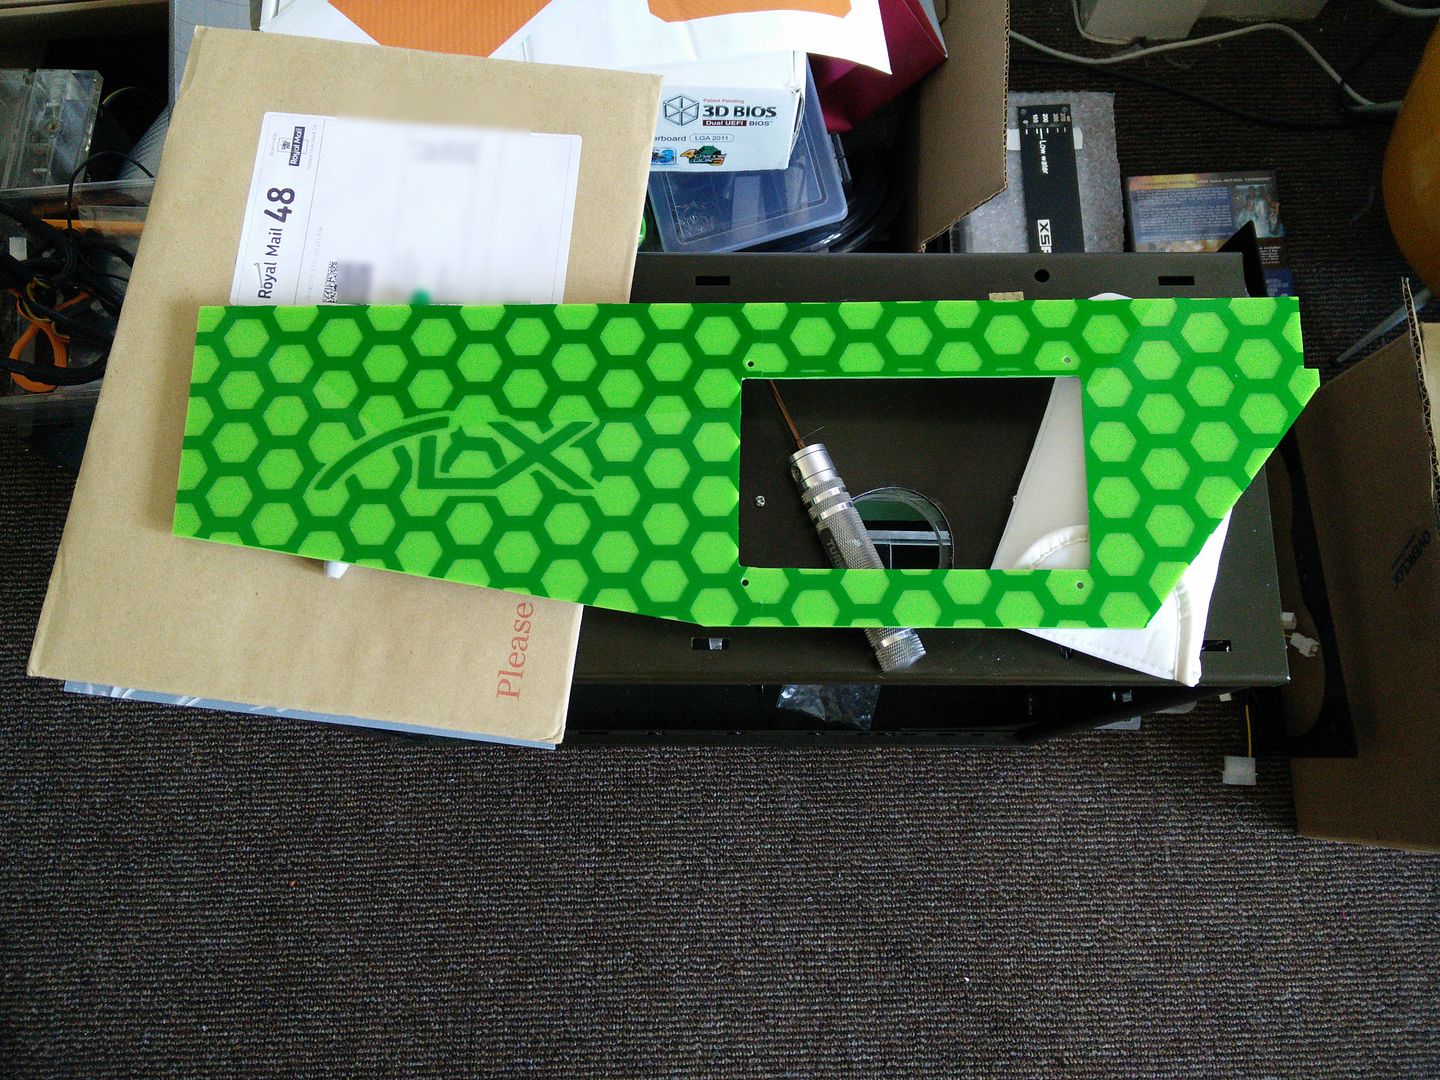
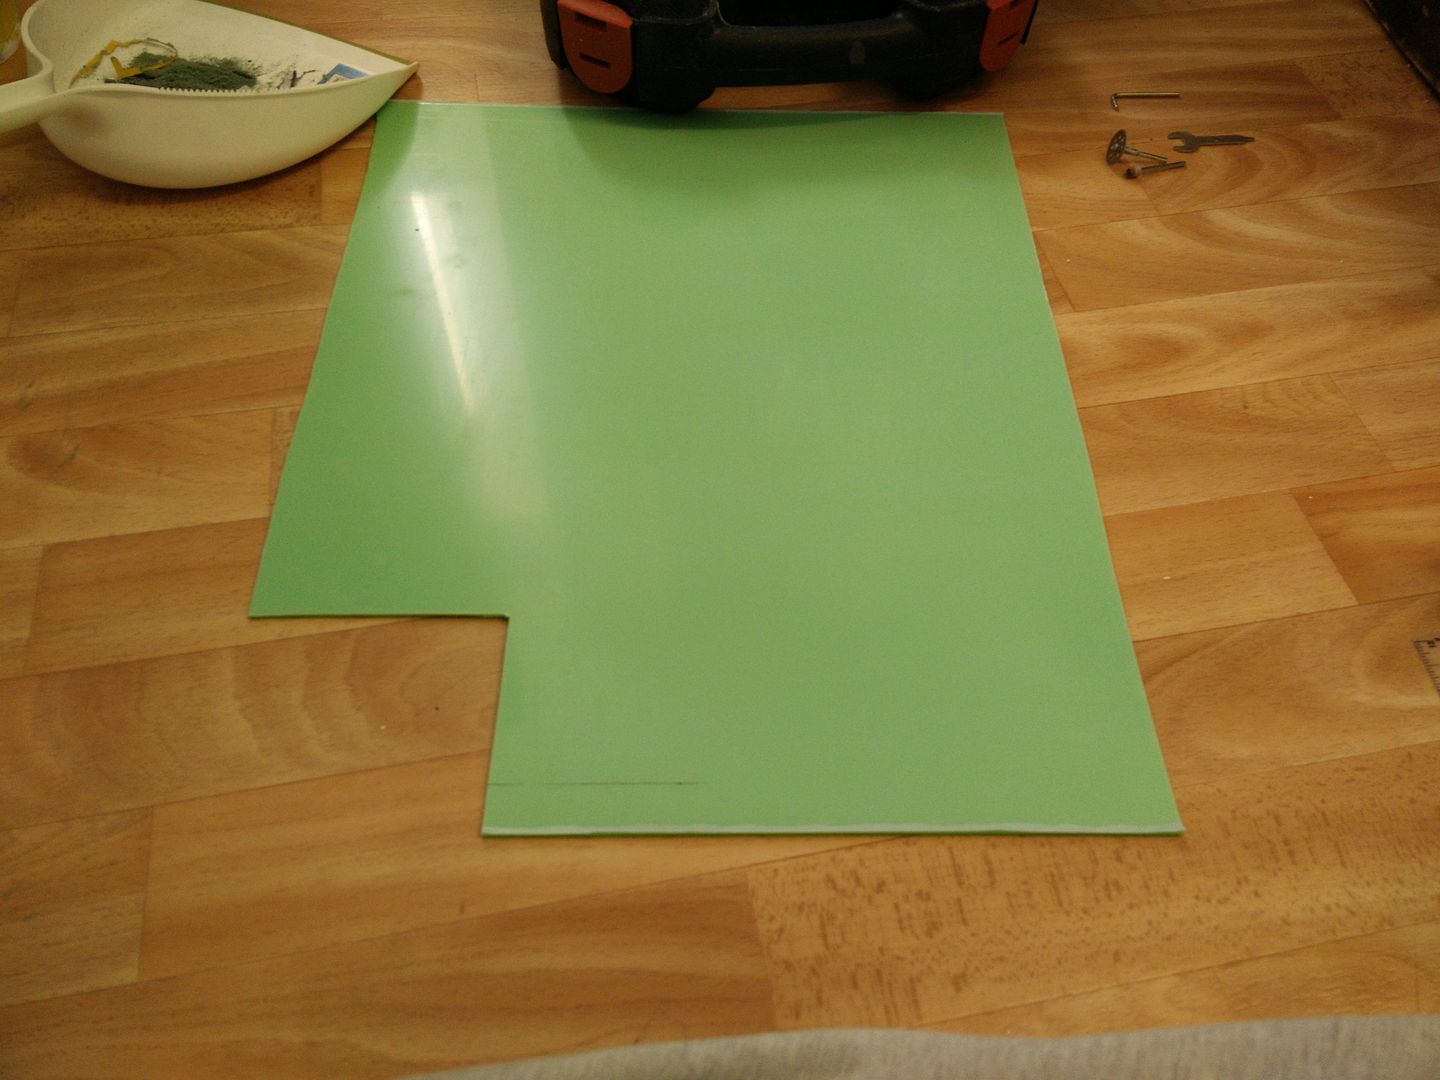
Quick note. The protective layer on it is white, so it kinda makes it look like pastel green. I assure you it really isn't. OK, so basically I am not fitting the light board and so on back into the build. It's not electronic and you have to set the light colours with a DIP switch. I have only ever had the lights in green and purple (as none of the other colours matched the build in there) and I prefer green and obs purple would look stupid now. So that means i can just fit 5mm green LEDs and remove the entire "brain" giving me more space. So I need a cable management hole for the USB, Firewire, case headers ETC. Here you can see it marked. and a bit I will be using to cut it.
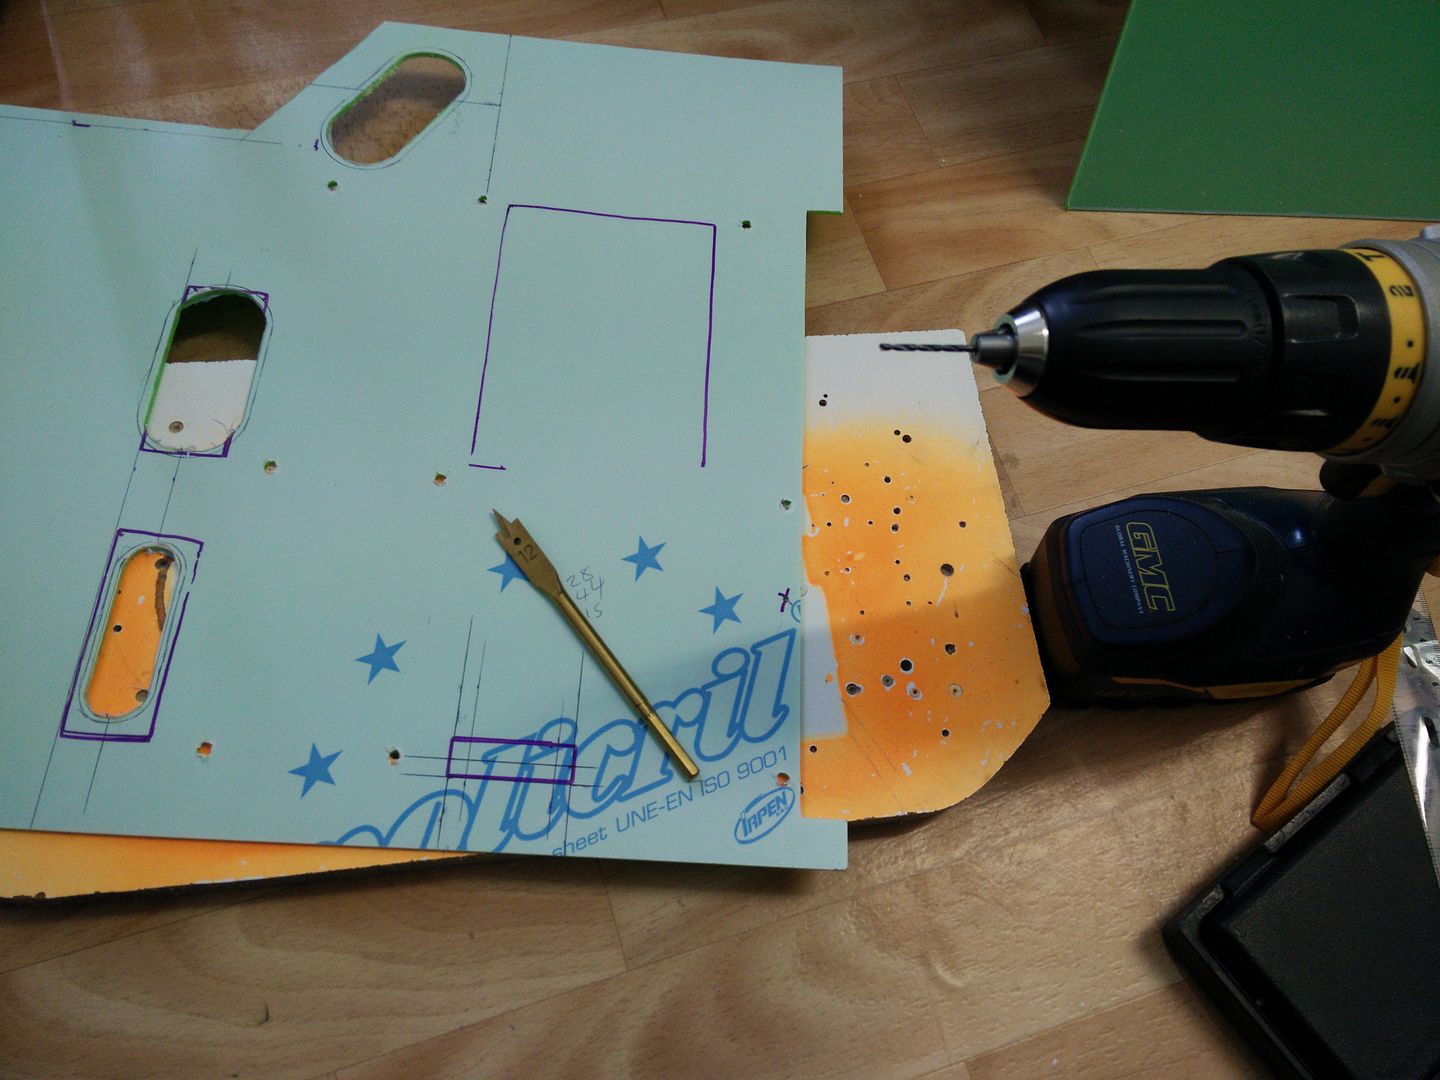
Just remember whenever you are drilling acrylic always put it on a thick sheet of wood. Otherwise you will blow out the back side and probably crack/split it.
Next part doesn't take much explaining. Drill the two holes, then bridge the straight gaps with the dremel.
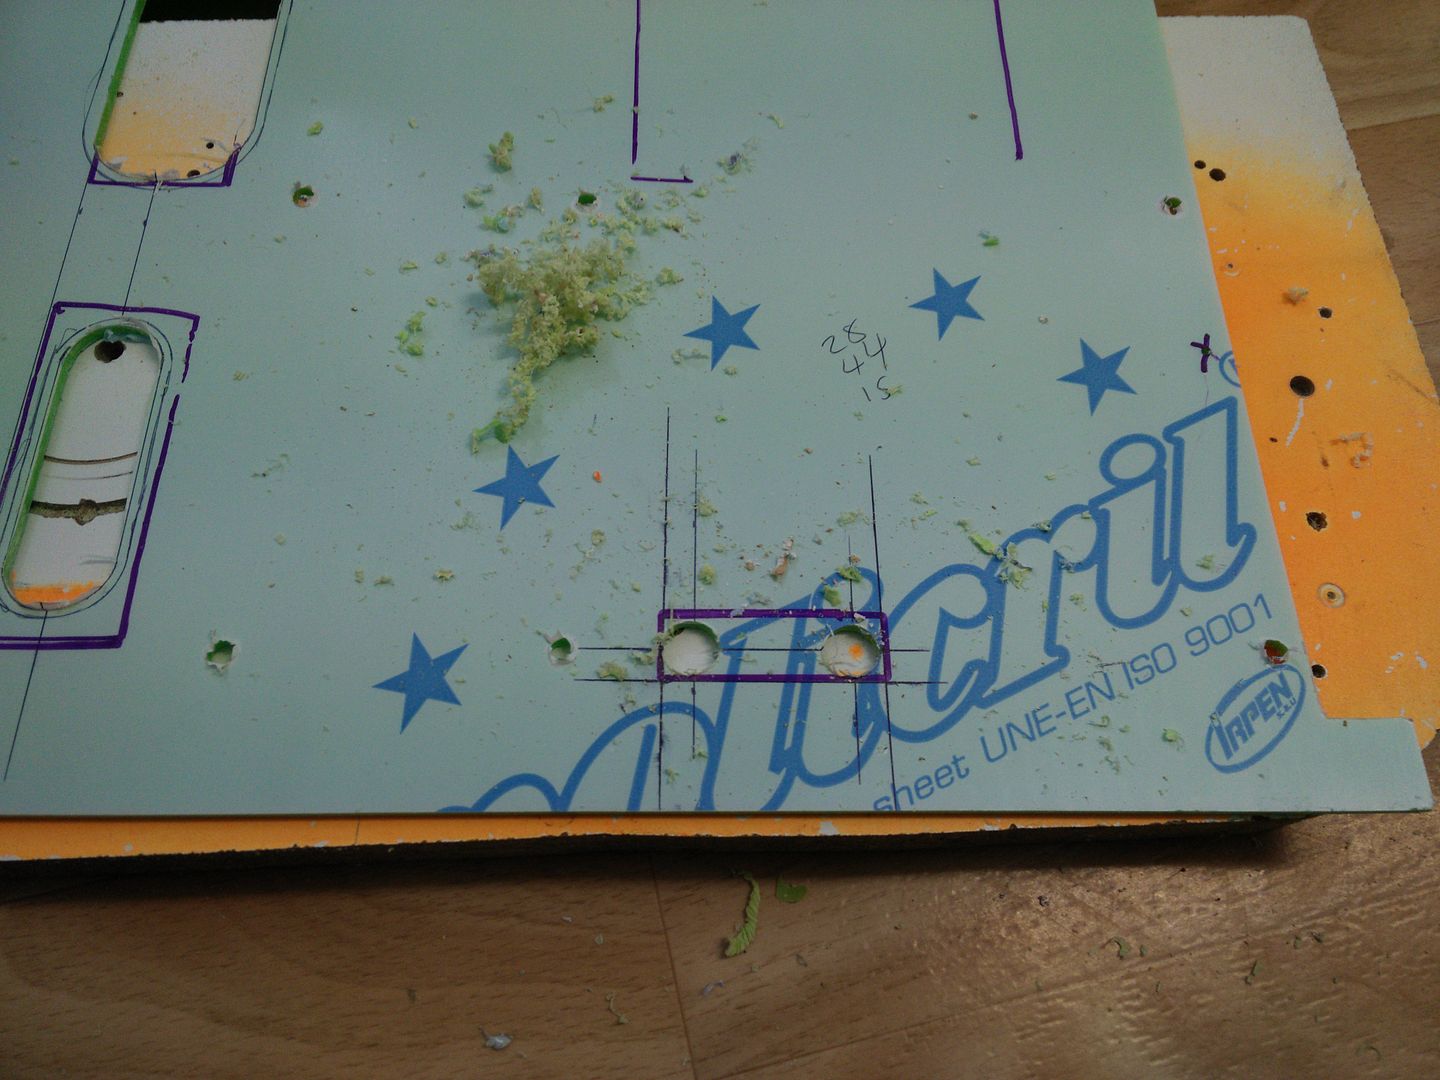
And done.
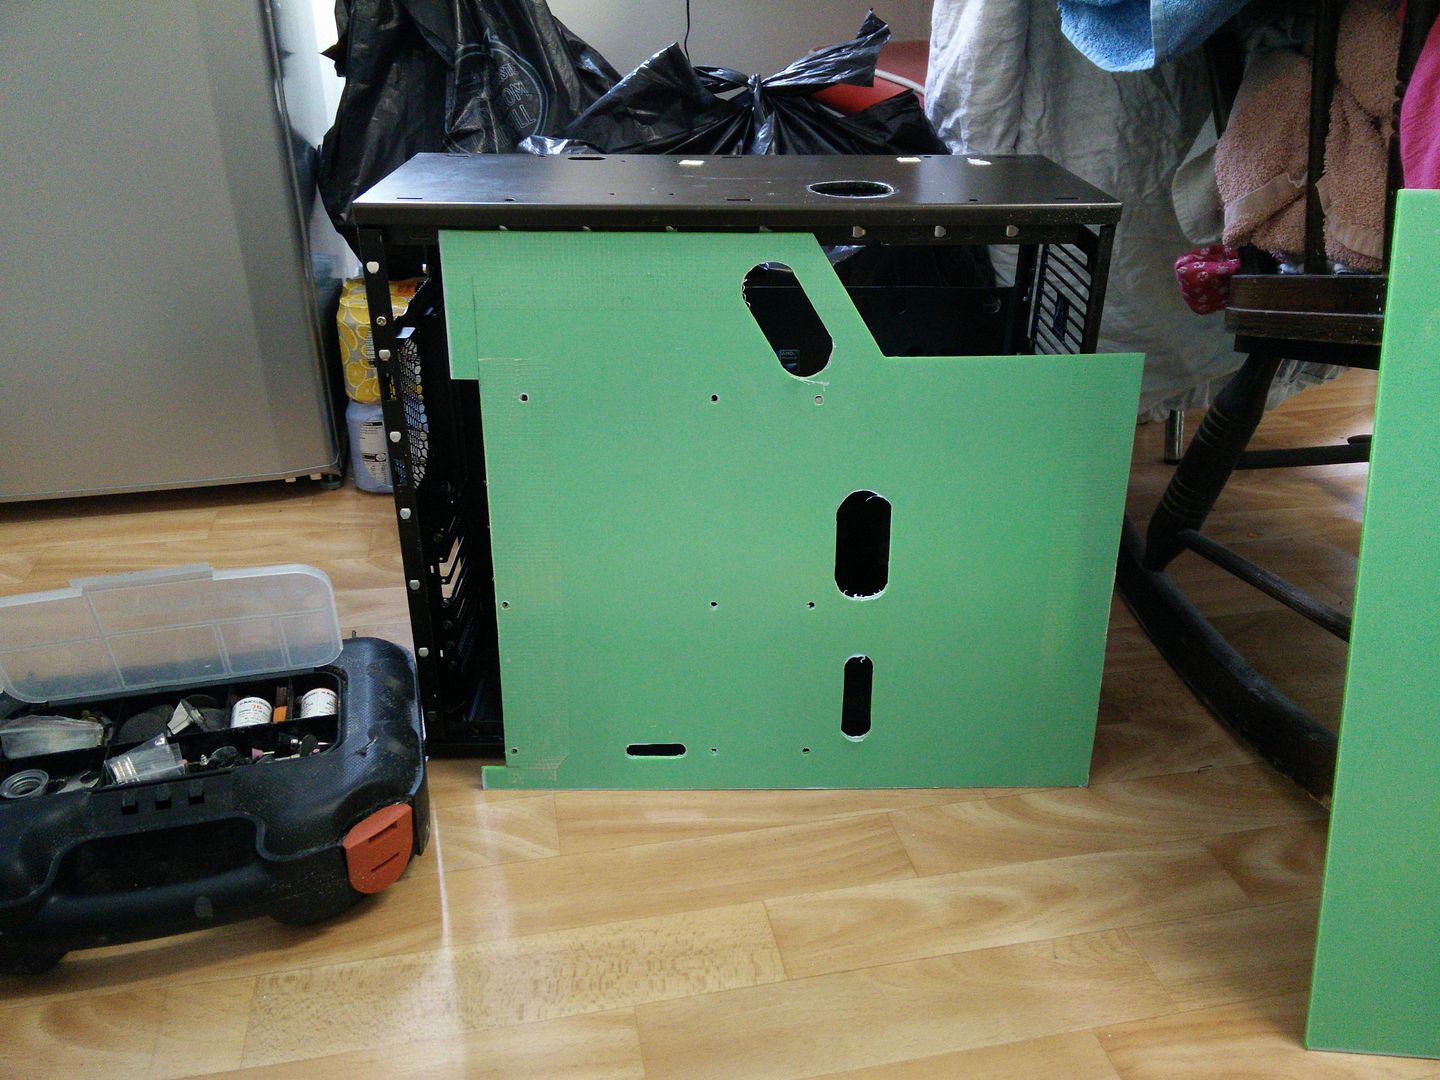
Fit the grommets.
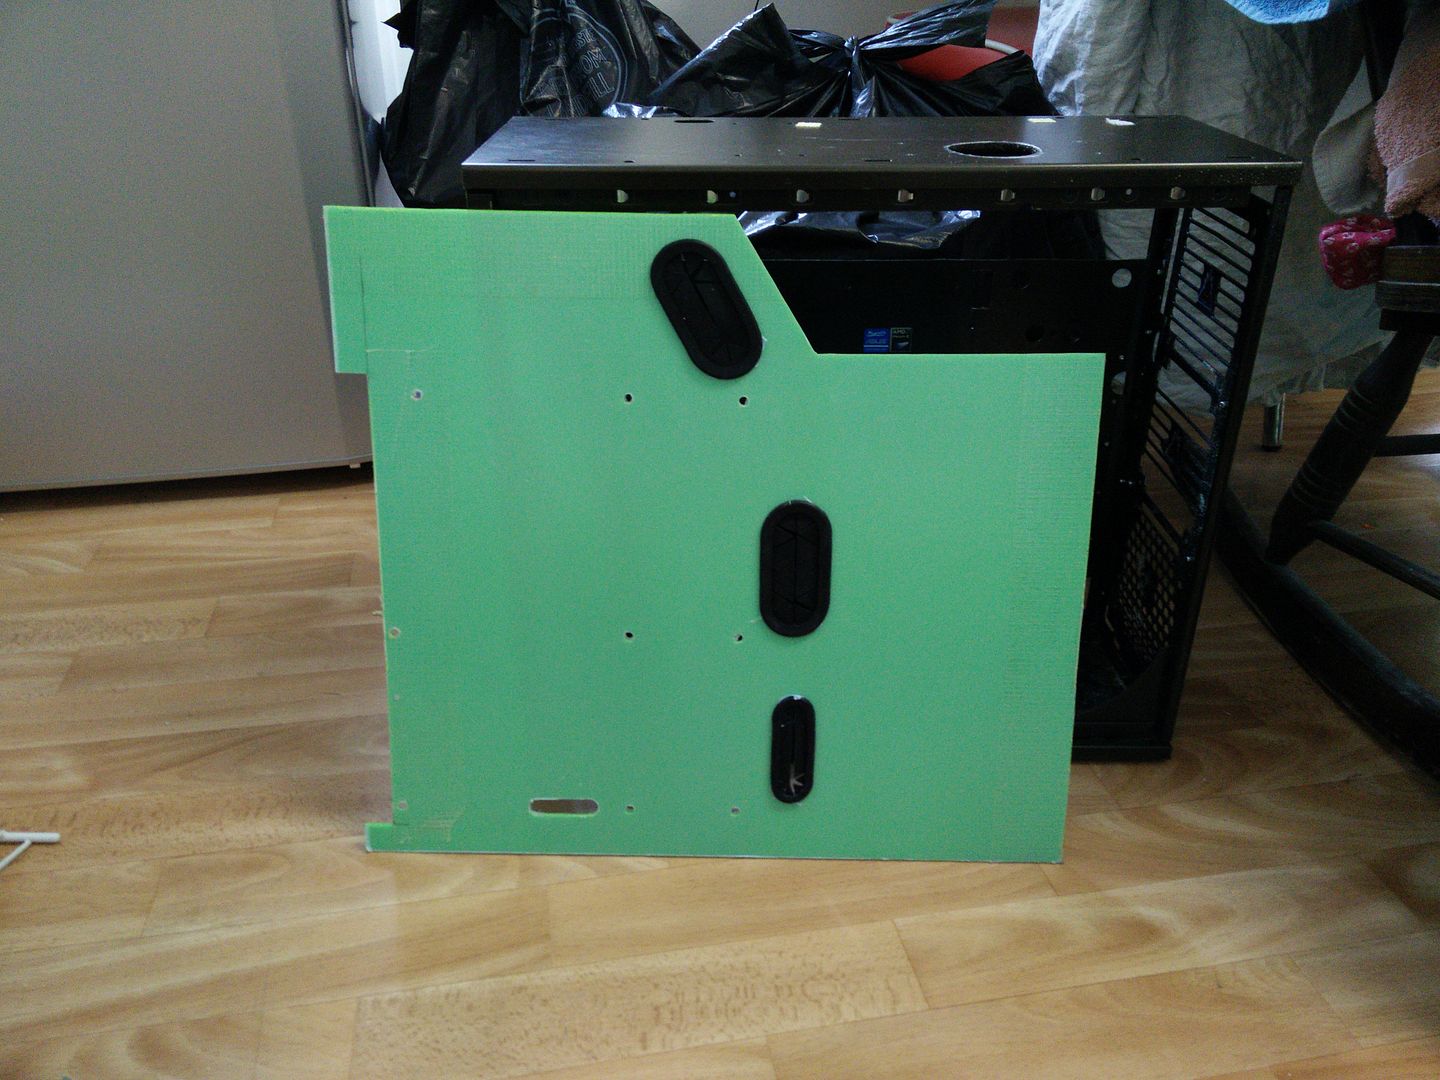
Cut out anything that stops it going in completely flat against the case panel.
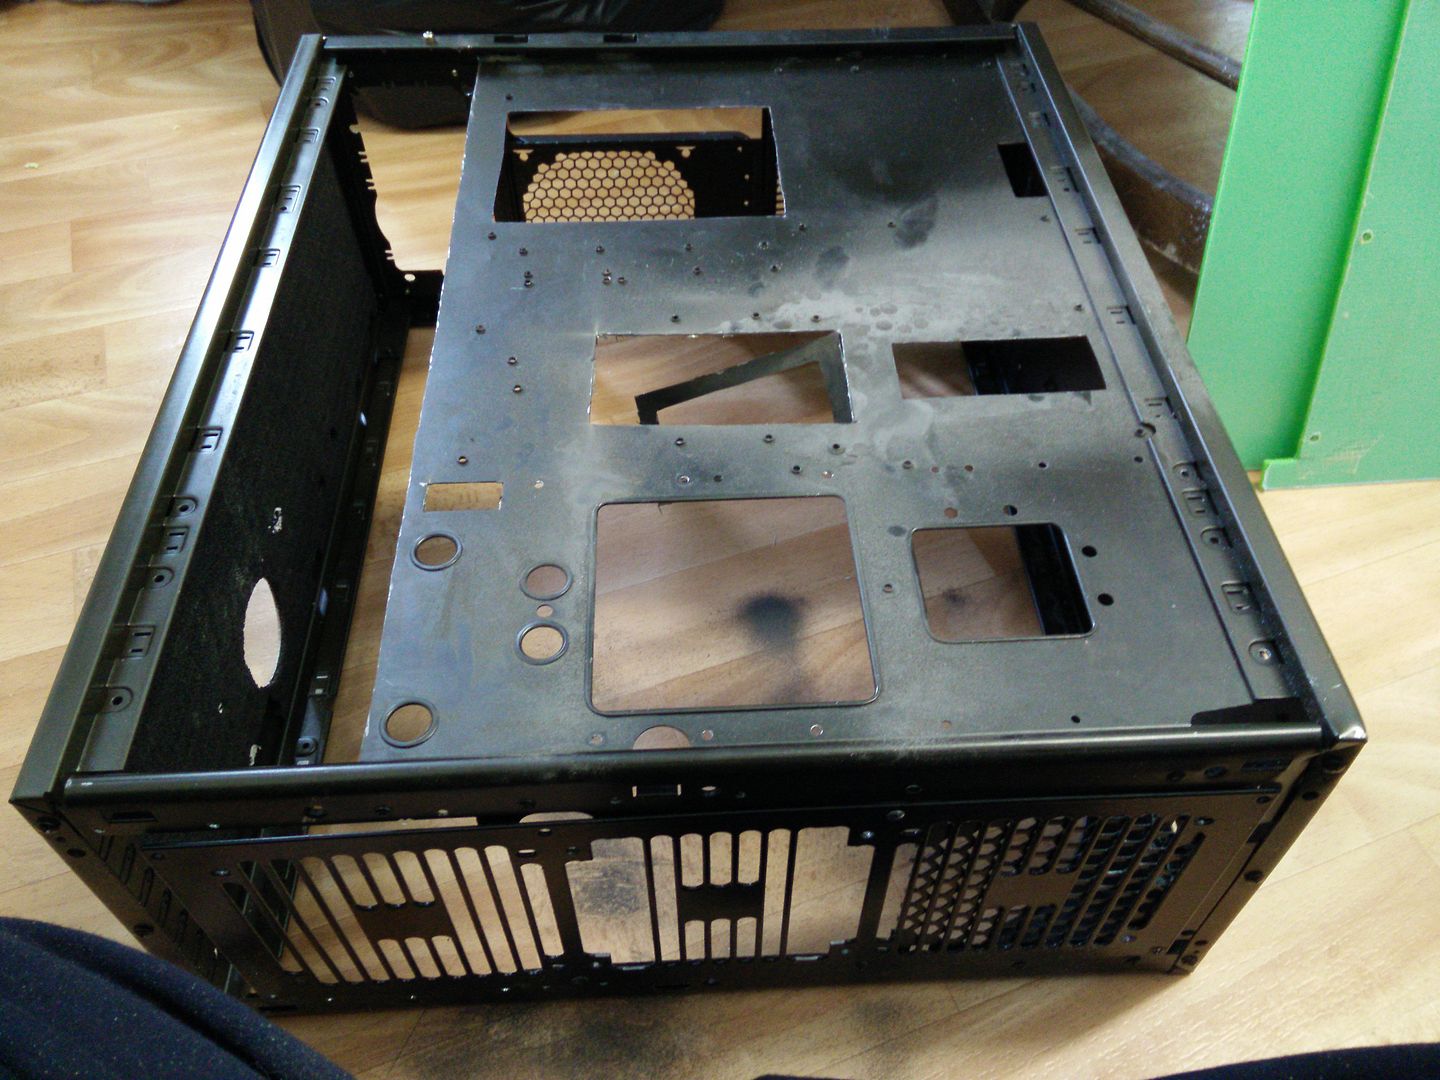
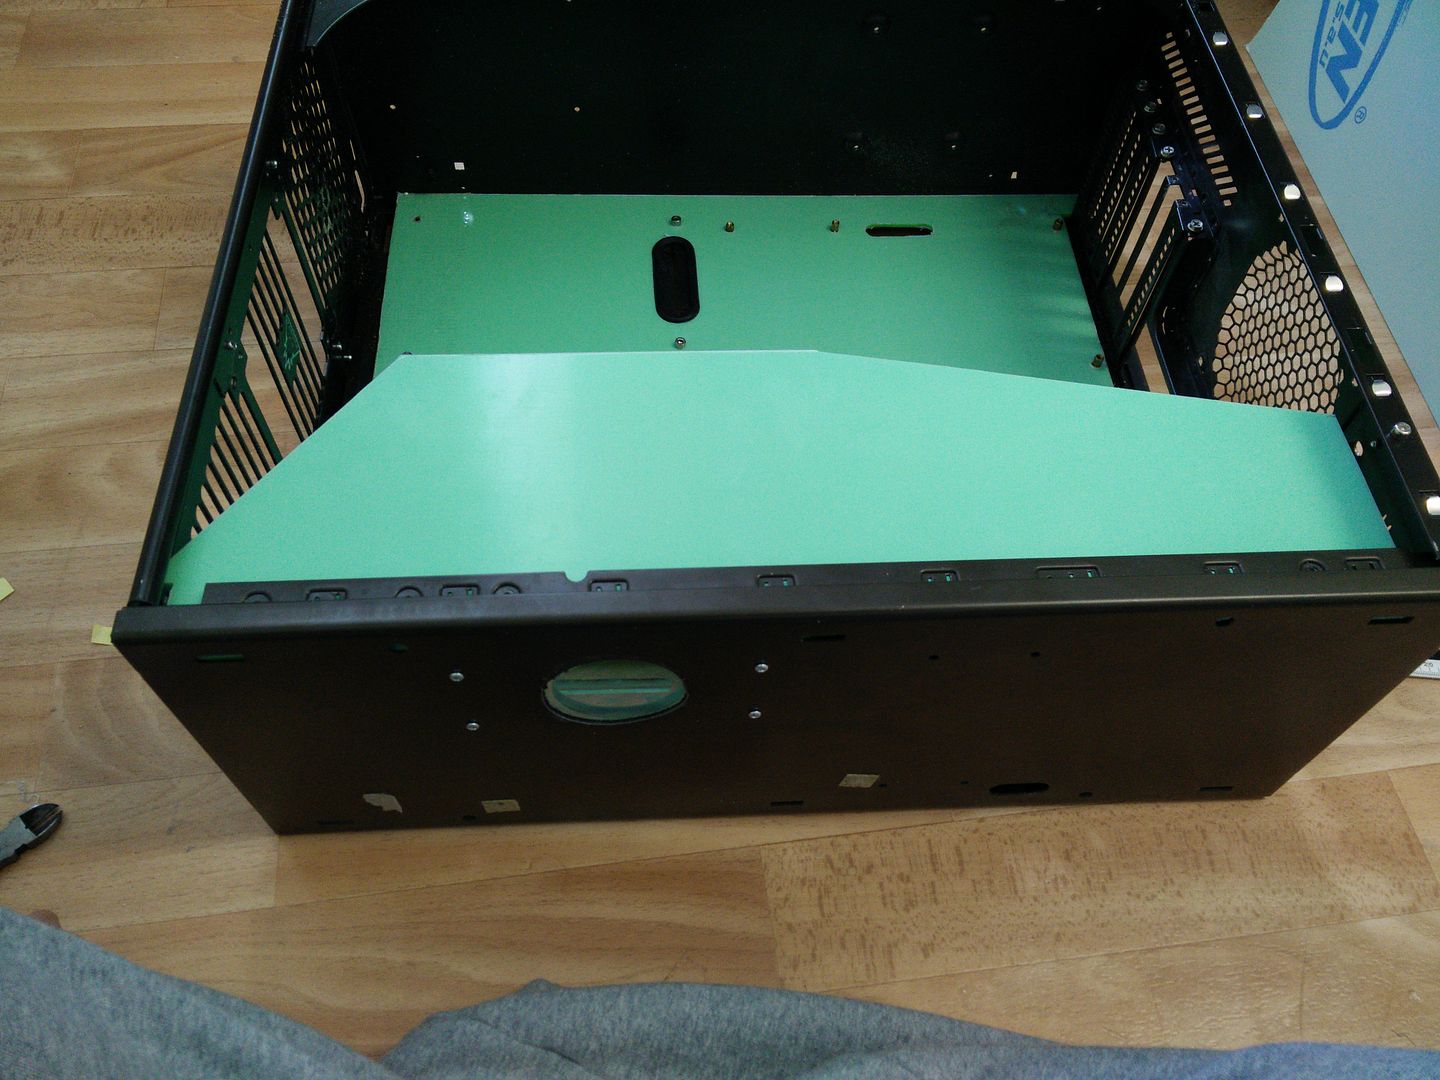
And then fit again.
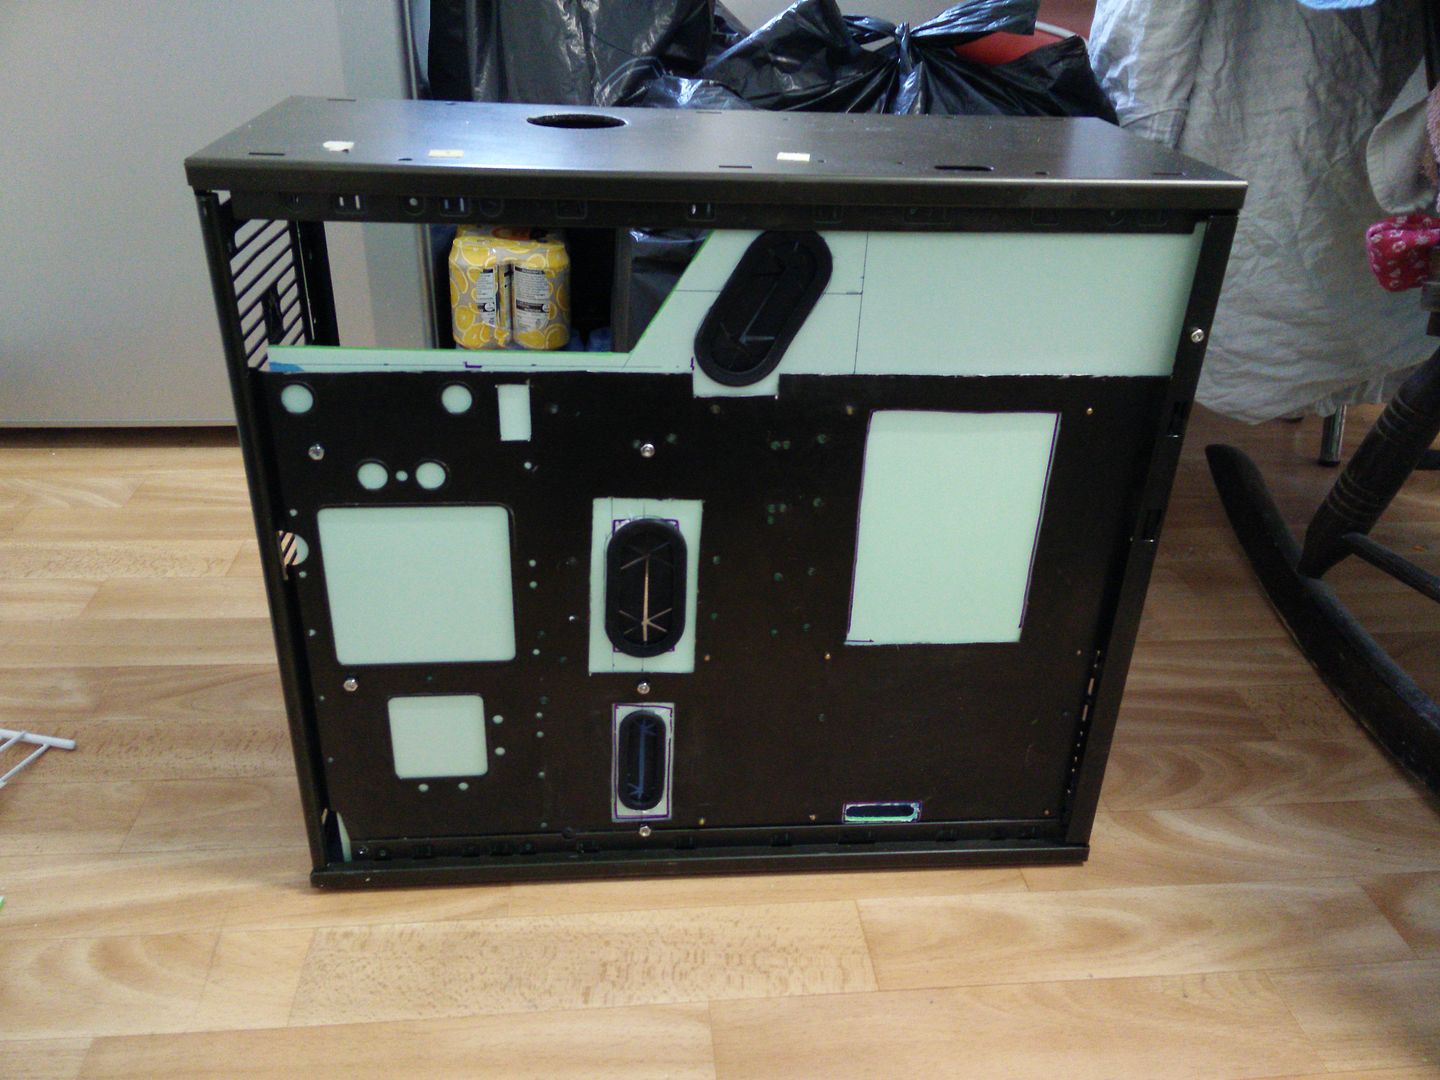
And.
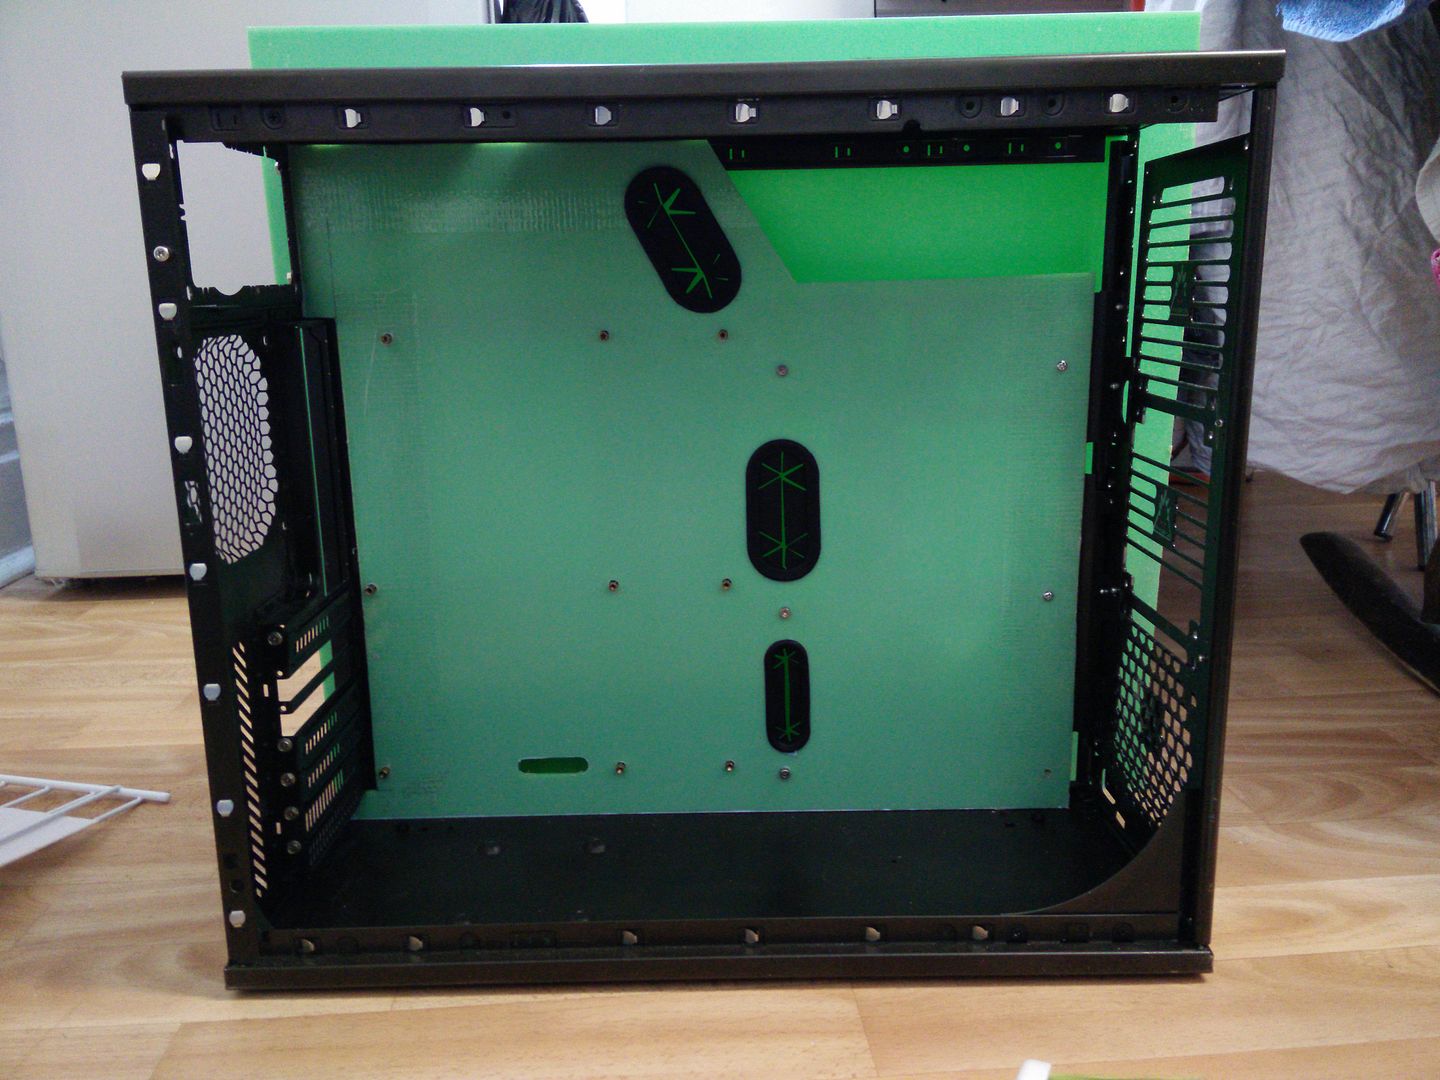
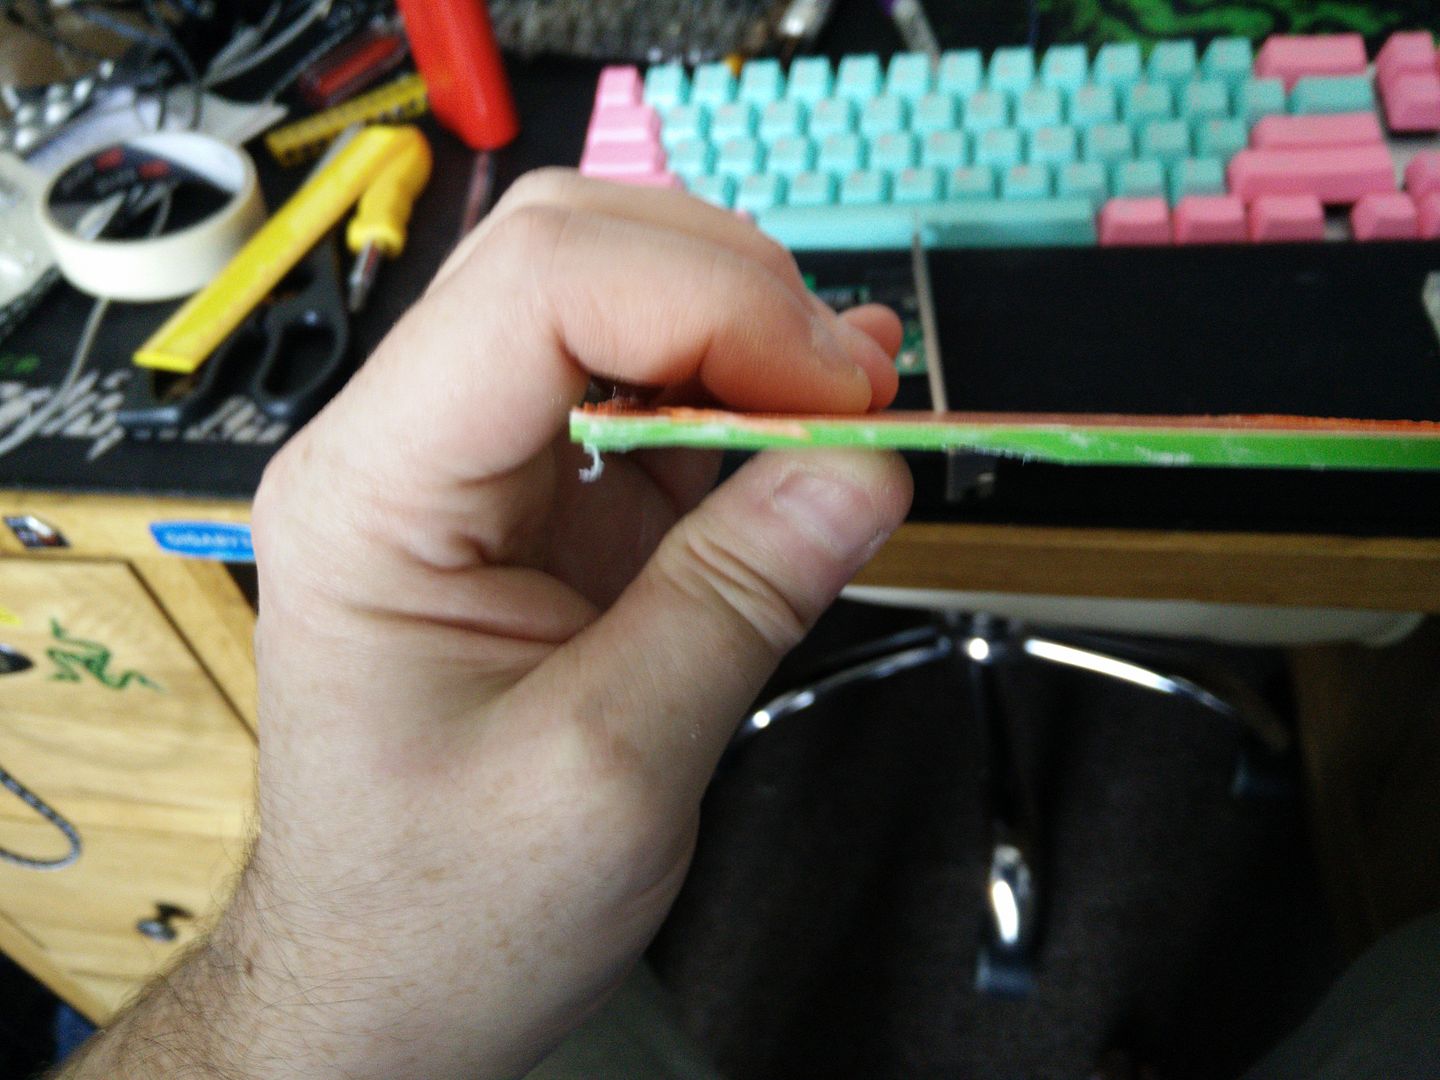
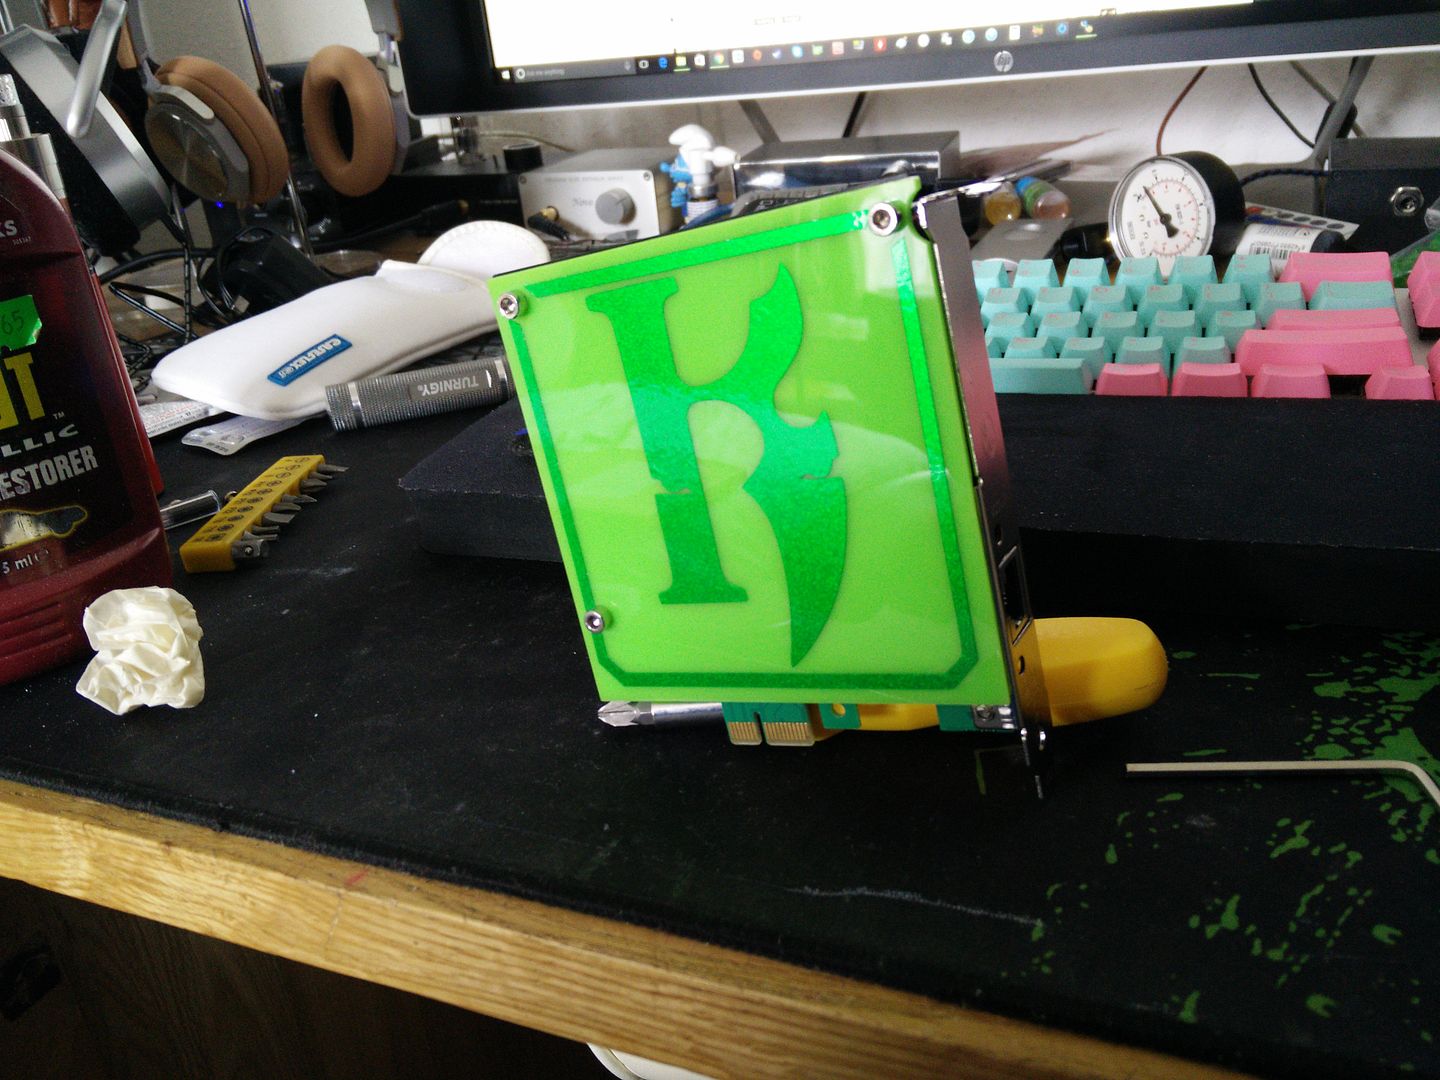
NB. As it is 3mm acrylic the light shines through all of the openings in the case. This won't be a problem once the side panel goes back on, 'cause obs that will stop the light shining through but I have used the spare acrylic for now.
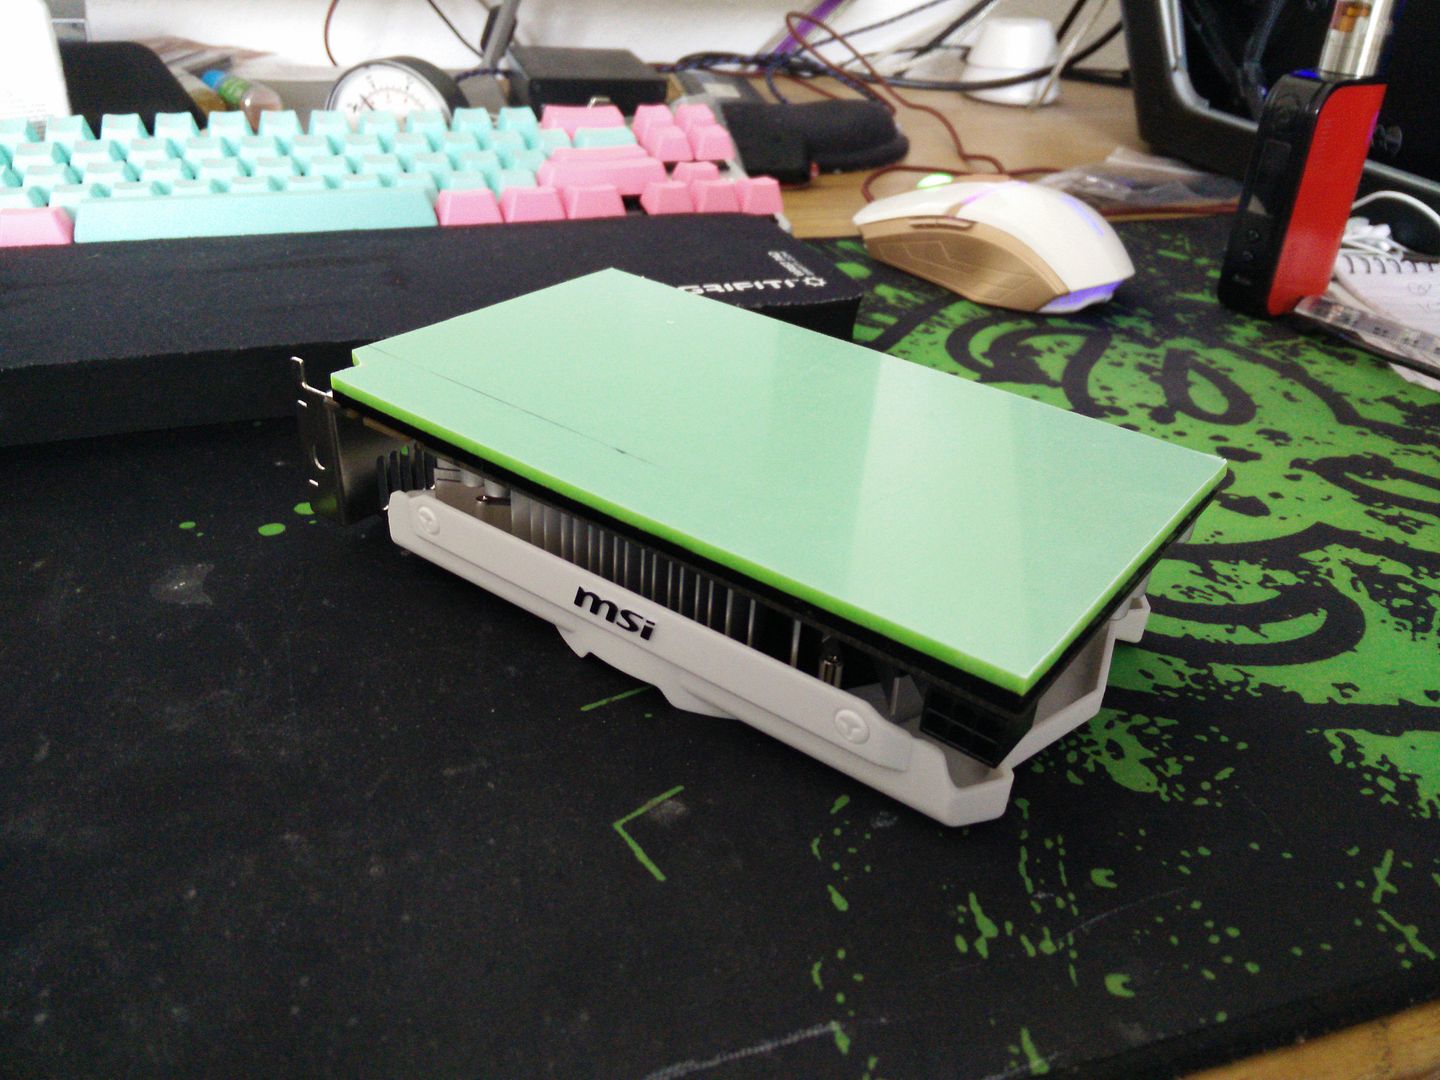
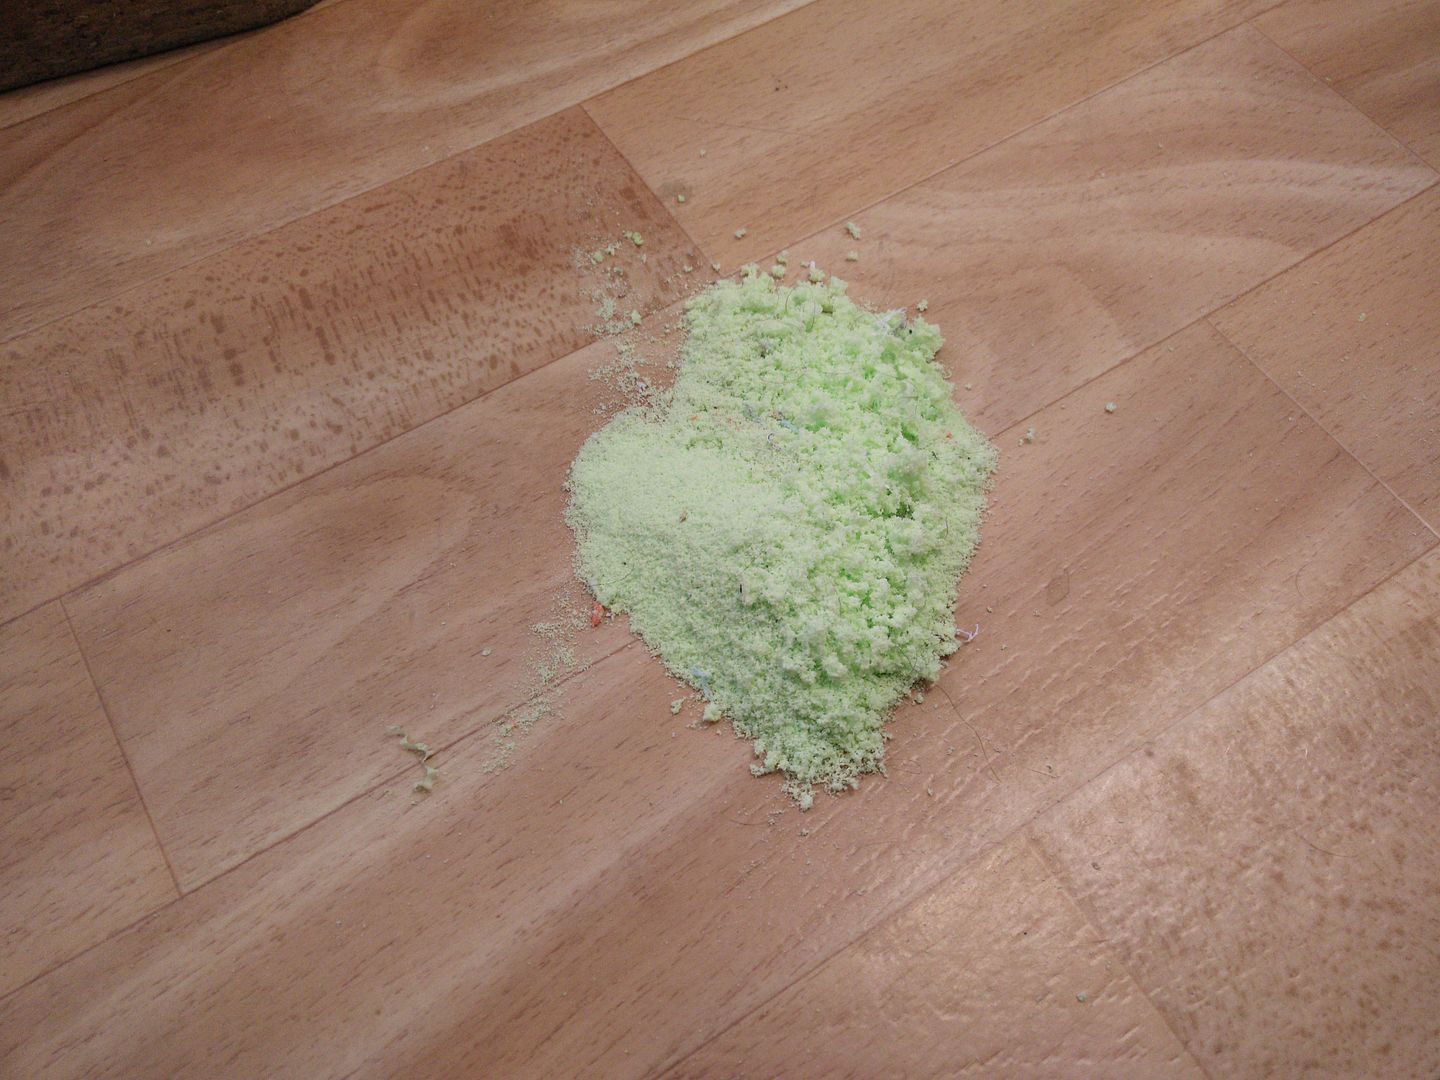
Any one for lime sherbet?
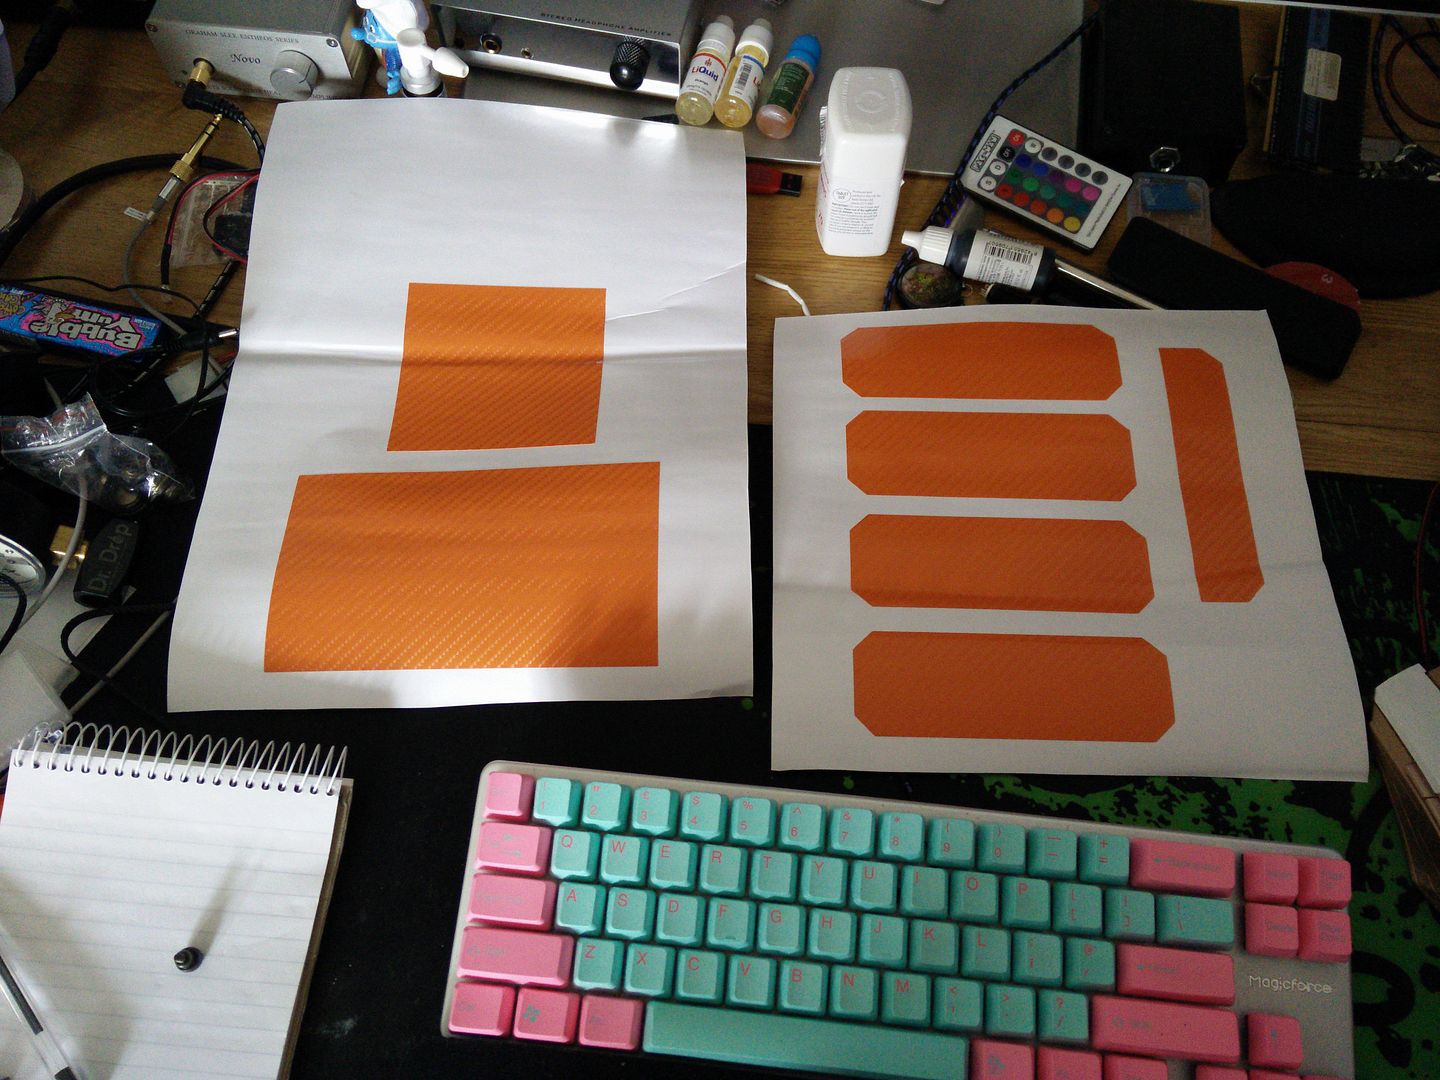
And on the menu for tomorrow (I was up til midnight last night doing these !)

Pop round the back

Tape.

Mark

OK now what I also did whilst I was there was take a ball point pen and mark out the stand off holes. Obviously if it can't go over those it won't fit. So I marked them out and then drilled them firstly with a 2mm HSS bit and then a 6mm Bradpoint.

So it now fits and theoretically I can fit a mobo over it.

I then took it back out and marked out where I wanted my grommets to go. I need to lop a piece out (the squirly bit) and I also want the PSU to pass straight out into the back panel. Then I need a fat one for the 24 pin and given the rig is only using a 6 pin GPU I decided to fit a smaller one under it.

OK, so the next step is to cut out the straight parts of the holes using a diamond tipped cutter. Here you can see I have my holes started and the sanding part I use to finish the holes with.

And here you can see them finished.

Now remember I am working from the back side, so I need to keep flipping it to make sure it looks good on the "show" side.

Quick note. The protective layer on it is white, so it kinda makes it look like pastel green. I assure you it really isn't. OK, so basically I am not fitting the light board and so on back into the build. It's not electronic and you have to set the light colours with a DIP switch. I have only ever had the lights in green and purple (as none of the other colours matched the build in there) and I prefer green and obs purple would look stupid now. So that means i can just fit 5mm green LEDs and remove the entire "brain" giving me more space. So I need a cable management hole for the USB, Firewire, case headers ETC. Here you can see it marked. and a bit I will be using to cut it.

Just remember whenever you are drilling acrylic always put it on a thick sheet of wood. Otherwise you will blow out the back side and probably crack/split it.
Next part doesn't take much explaining. Drill the two holes, then bridge the straight gaps with the dremel.

And done.

Fit the grommets.

Cut out anything that stops it going in completely flat against the case panel.

And then fit again.

And.

NB. As it is 3mm acrylic the light shines through all of the openings in the case. This won't be a problem once the side panel goes back on, 'cause obs that will stop the light shining through but I have used the spare acrylic for now.
Any one for lime sherbet?

And on the menu for tomorrow (I was up til midnight last night doing these !)


