Project Dianoga

No worries man, I know how it is when life/work gets in the way :)

I will test out the coils before I use them yeah, just as I have with everything else so far.

BTW that Dr Drop? it's 100% the valve dude. If you pry it outward with a small screwdriver it seals and stays sealed for hours. I will order a new one soon, but only really need it two more times so could just soldier on with it as it is.
 
Riddle me this, Batmen and Batwomen !

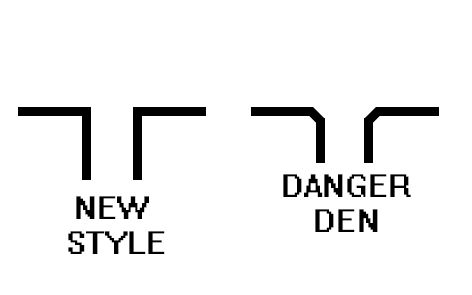
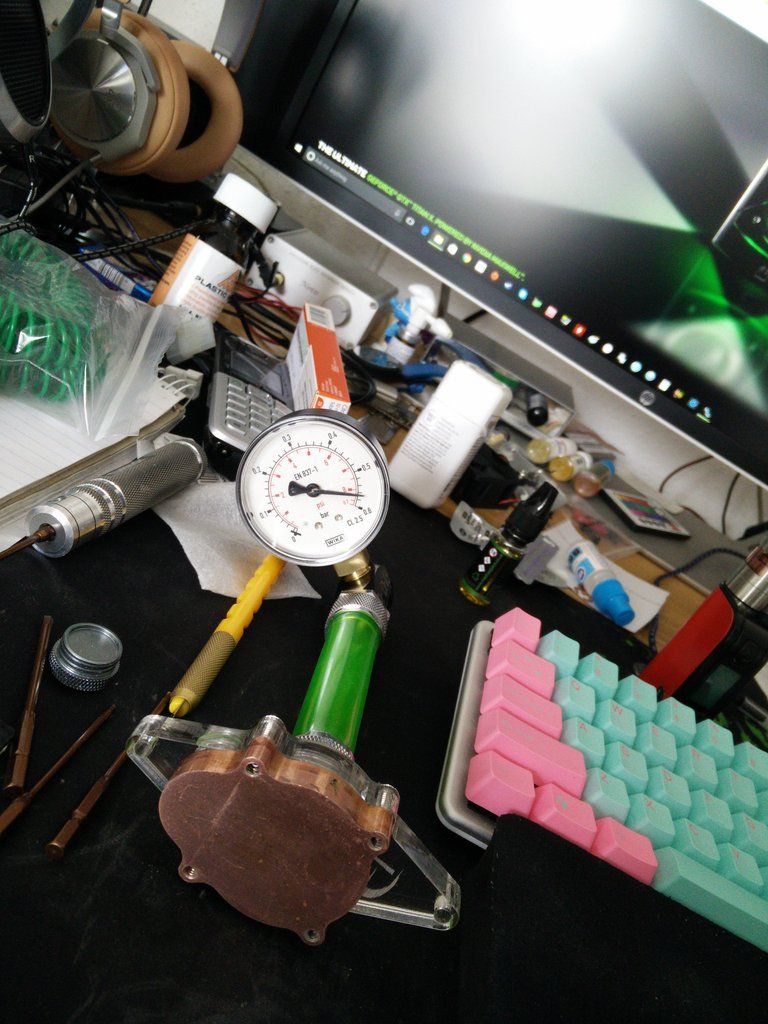
Hi all. Some one has very kindly given me an old Danger Den block. ATM I have it apart cleaning it, but when I attempted to put my fittings in it I noticed it had a sloped channel. Let me illustrate the difference between it and my other blocks... This is a G 1/4 fitting.


OK so that's basically what the G 1/4 threaded holes look like.

How did people used to seal barbs in? did they use bigger Orings in those days? is it even possible for me to use this?
 
This should explain it dude..


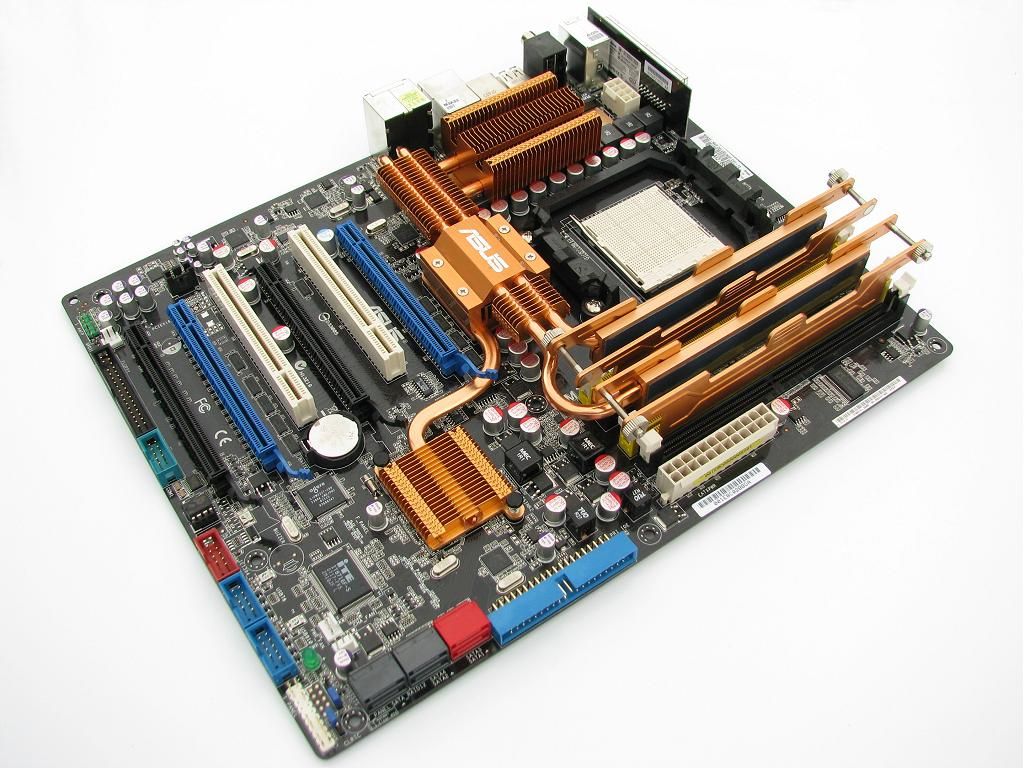
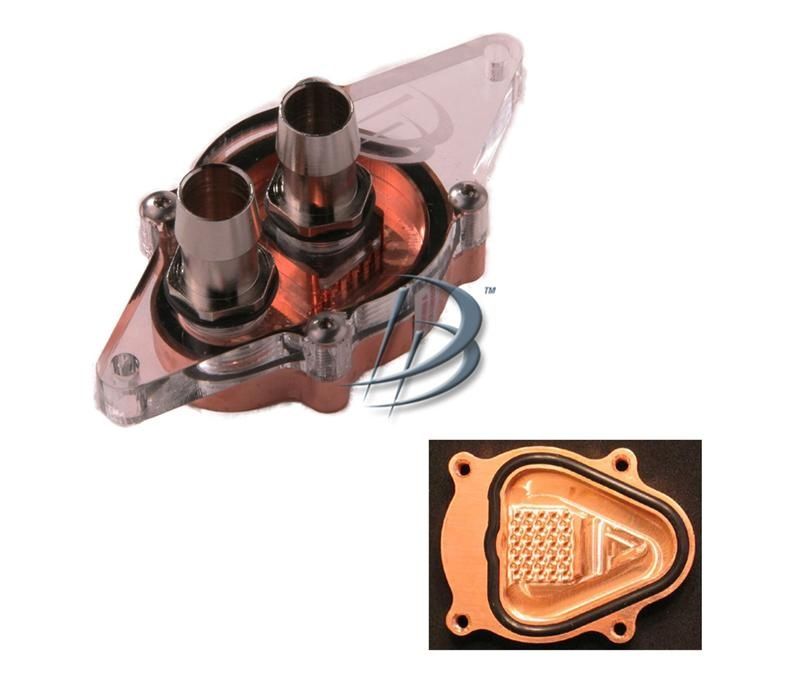
Update. So some one very kindly sent me an old S939 Danger Den cooling block. I immediately had ideas of using it on my northbridge assembly and even more so because on my board the fets, NB and SB are all linked. Originally my board came to me looking like this.


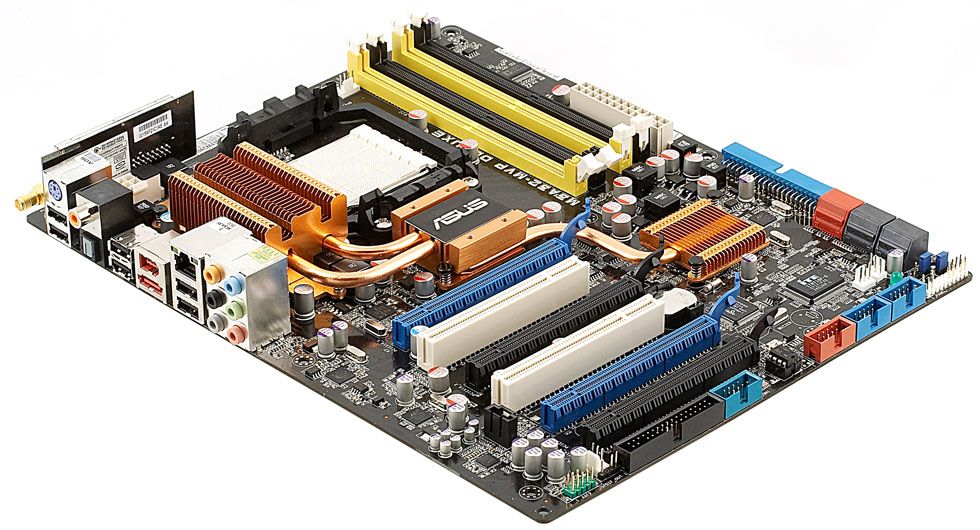
Note the extra cooling and wrap around memory cooling plates? well sadly it had turned a bit green so I removed it and it then looked like this.


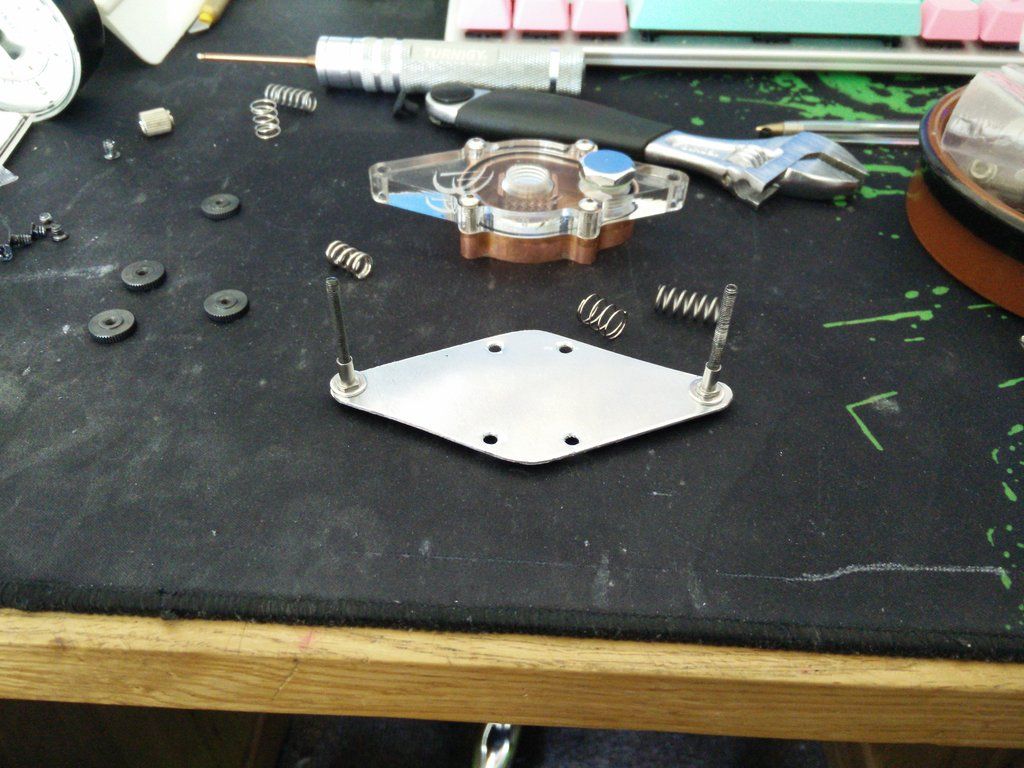
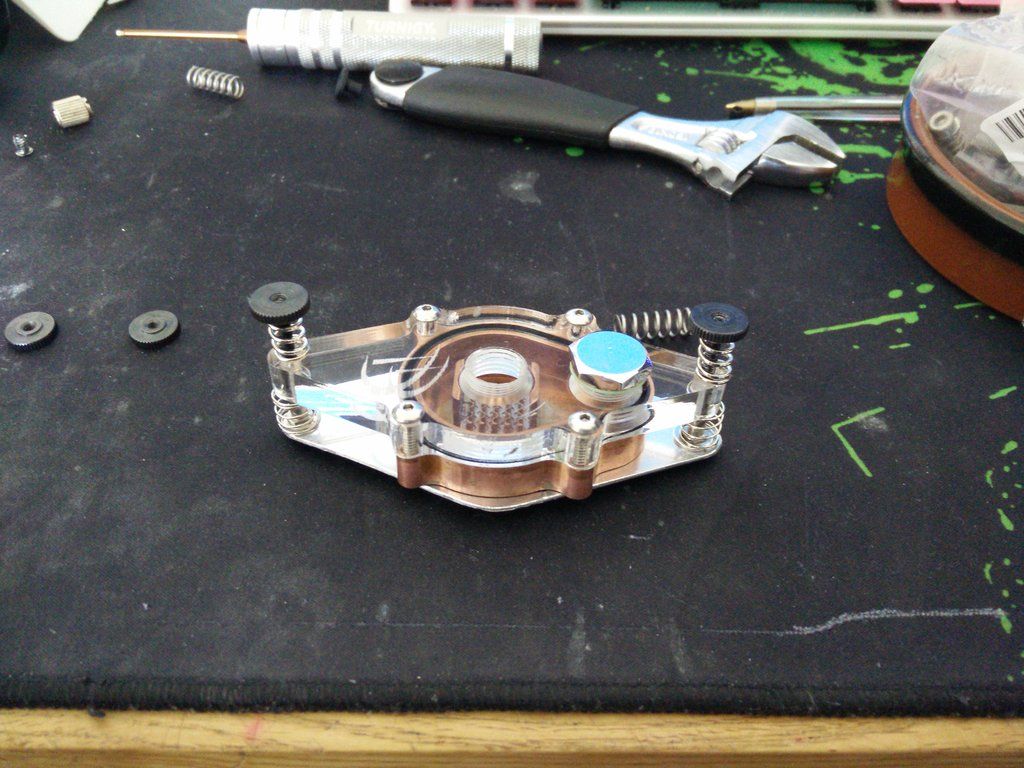
So the idea is to basically make a heat transfer plate from 5mm alu. This will then be bolted to the NB cooler (there are four holes) with countersunk screws and thermal paste. I will then fit the block to the plate again using thermal paste. This way the block can keep that entire assembly cooler :)

Oh here is the block BTW. I had to take off the face plate and flip it, as the old G 1/4 holes were kinda odd.


And here it is with Dr Drop in its buttocks. It's been like this for over 30 mins now with no drops at all.


That feeling when you go to your stash and find out you threw away the 5mm alu offcut. DOH.
 
Fail ! :D

So here is the heat transfer plate I made.


I made it so that the counter pressure from the lower springs would stop it bending (plus that metal sheath).


I then fitted it to the board but the screws were too proud. So I figure I will mill the block a little to cover the screws. Sadly the block is a lot thinner than it looks at the thinnest part and I hit it, putting a hole in it lmao.

:D

Ah well, not all of your ideas are good ones !
 
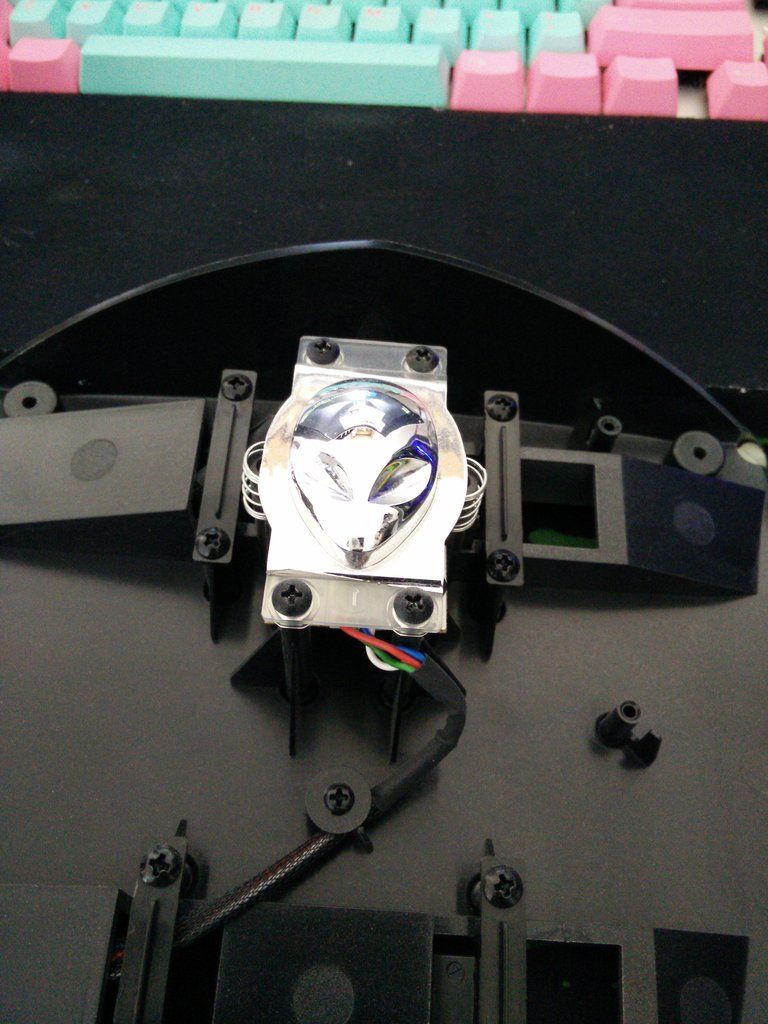
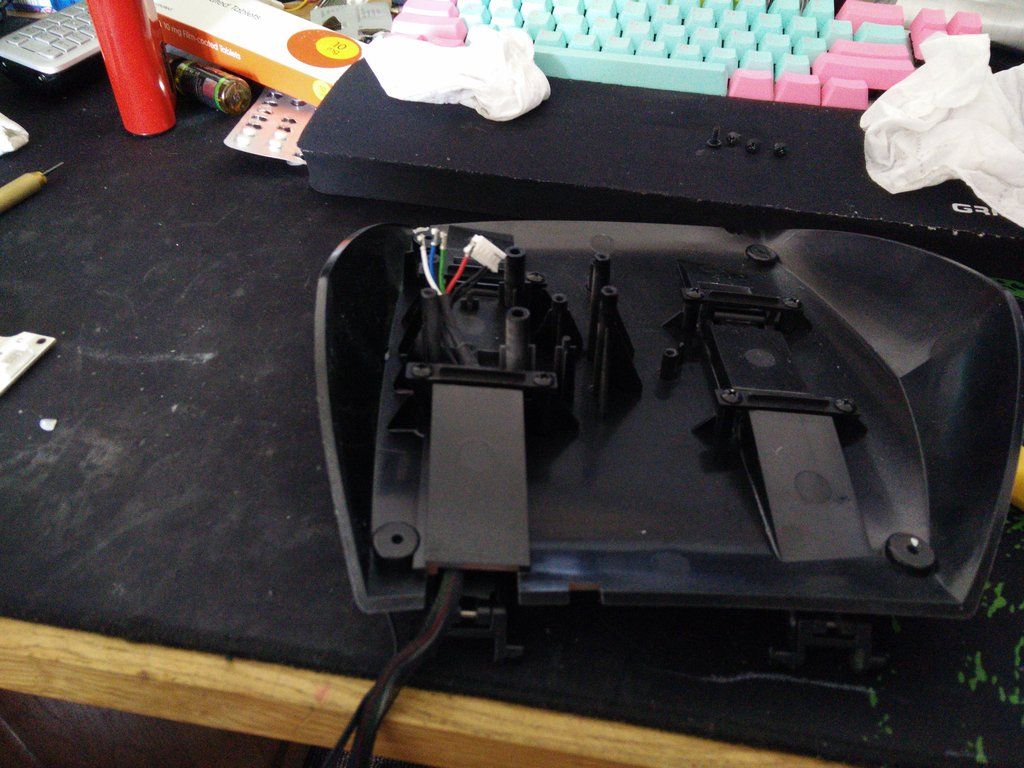
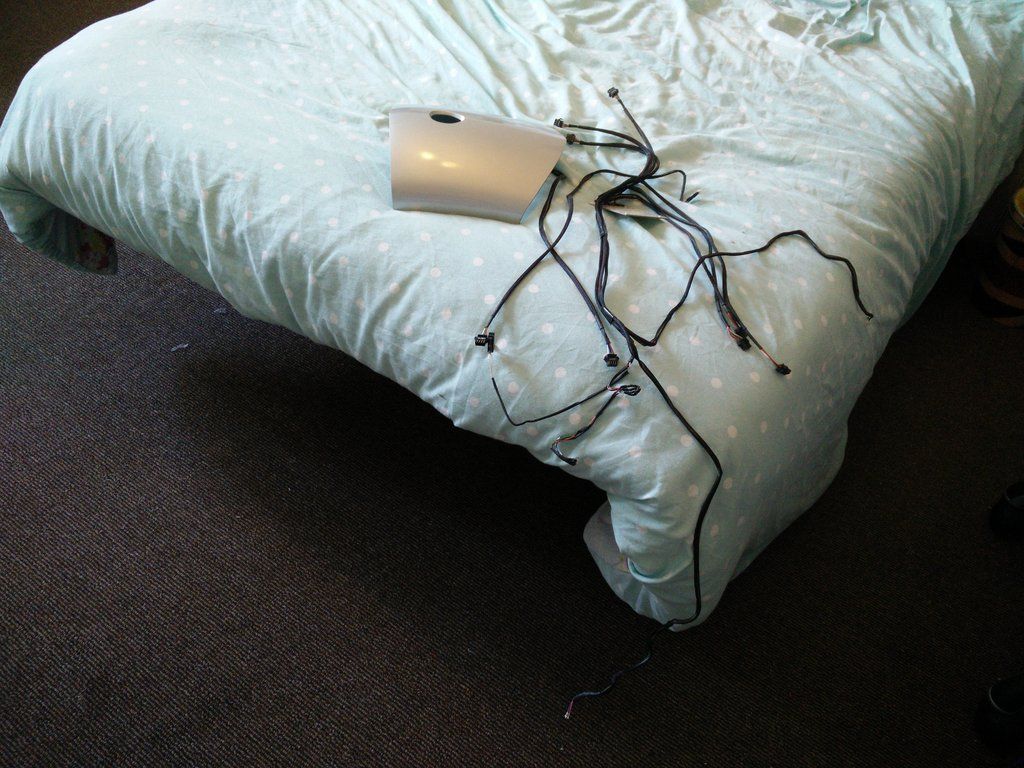
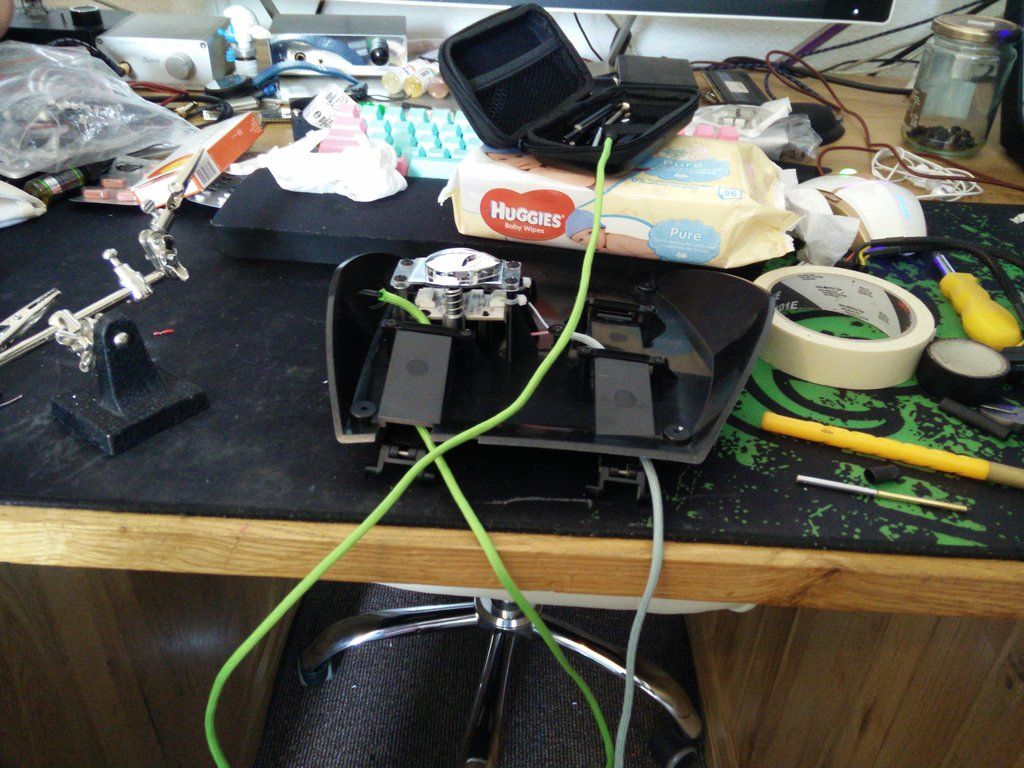
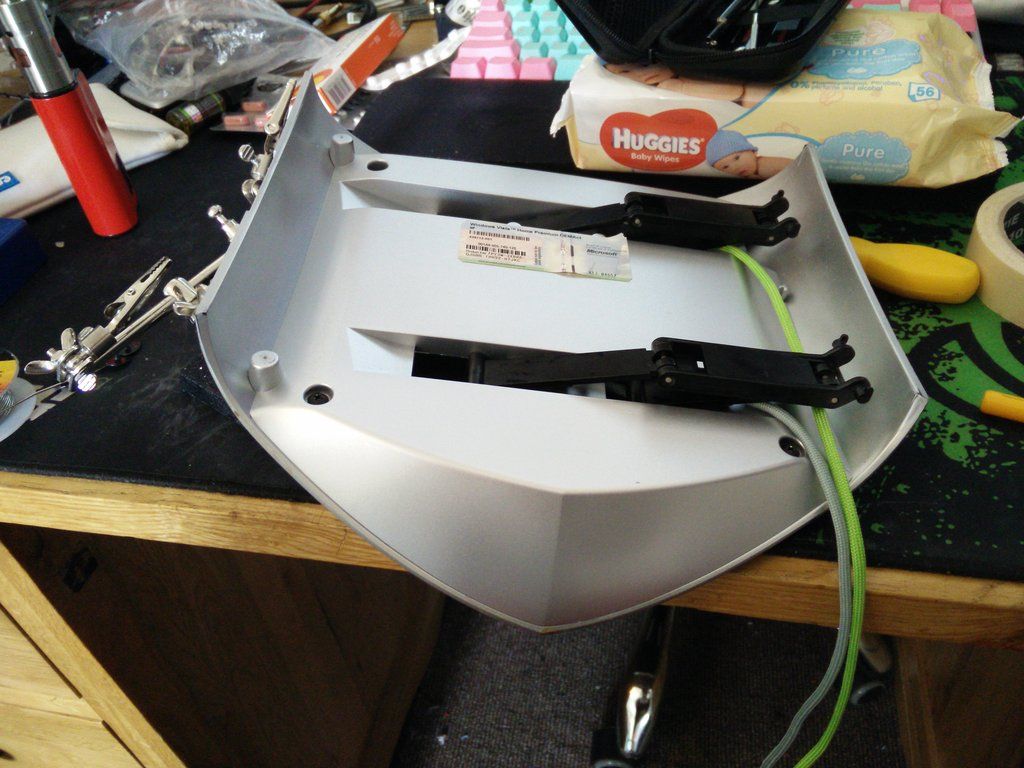
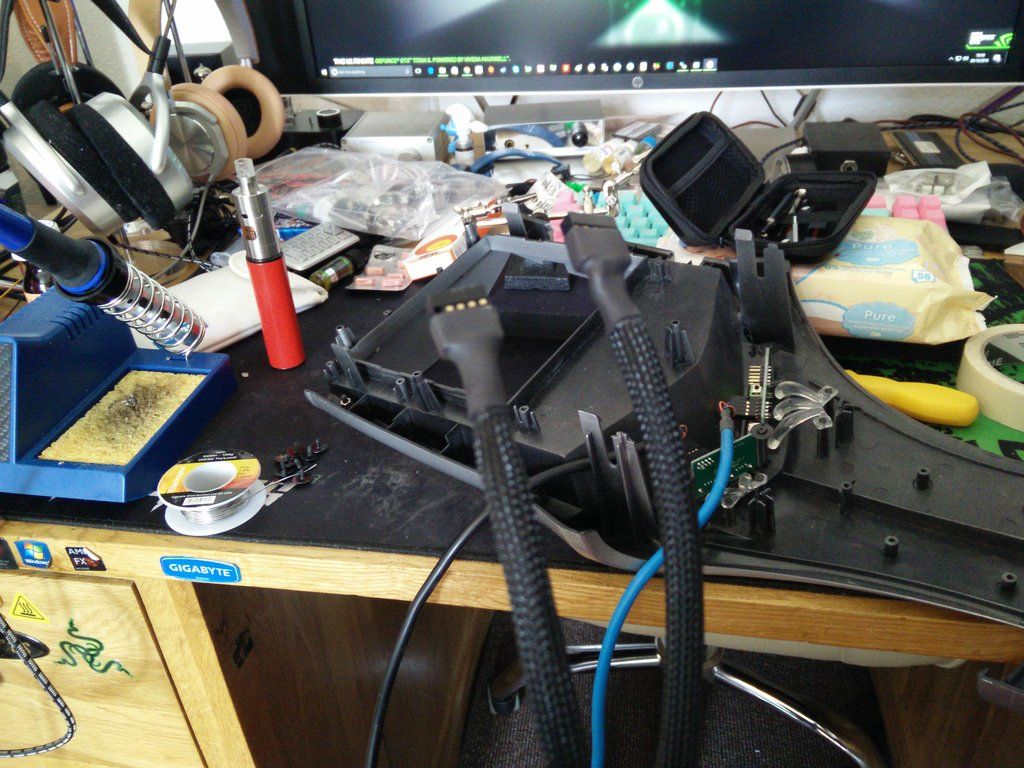
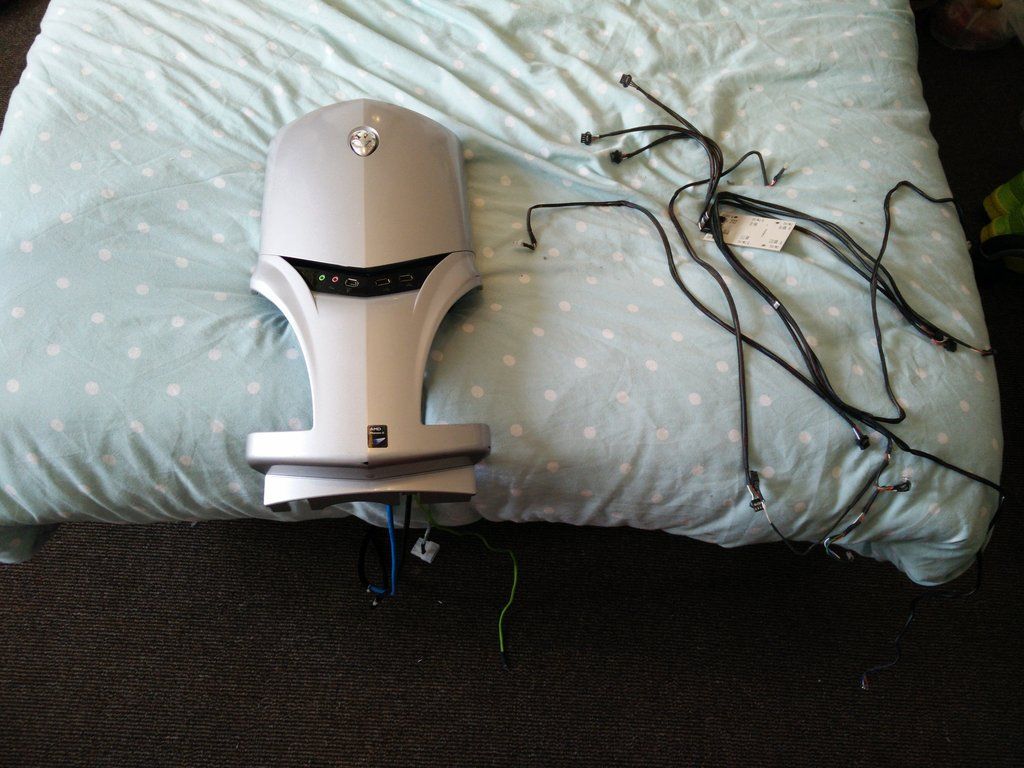
So today I have started sorting out the front panel. It's a mountain of a thing, full to the brim with wires and circuit boards. However, as I only want the three heads on the rig to light green I decided to remove all of the RGB stuff in order to allow me more space to hide wiring. The loom on this thing took up considerable space. So here is the front stripped down.


I had to remove the main connector and remove the LED wiring leaving the power button wires in place.


Here is what was in there before.


Better.


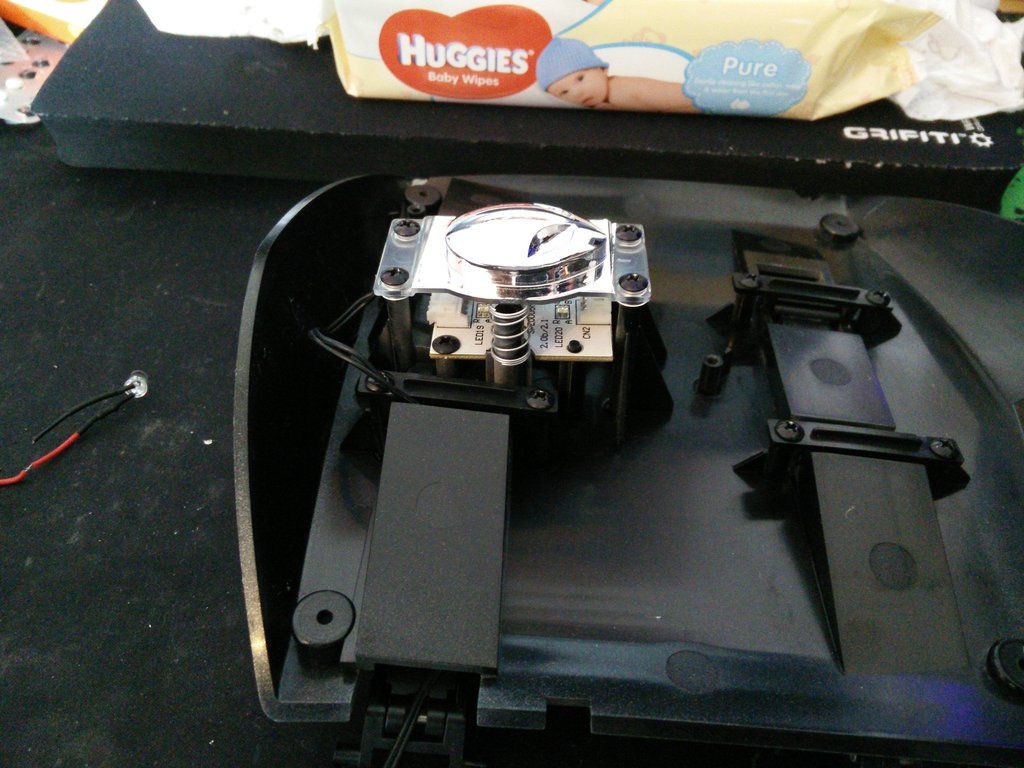
Two LEDs fitted into the face and braided the power switch cable.


Assembled the face panel and hinge assembly.


Braided about 25cm of the USB and Firewire cables (the parts that come into the case)


And done.


I might look into some touch up paint but once it's assembled the rubs are not as apparent. Either way it's something to look into. Now I just need to strip down both side panels and perform a similar procedure :S
 
There's an absolute ton of it tbh dude. With it all pulled out I have filled a PSU box. It has a control board with switches for RGB, or, if you were super loaded an electronic PIC board that you could change the lighting on.

This was 2006, so it does make me smile now that people are going crazy for RGB controllable lighting all of a sudden :D

Thing is, mixing up the primary colours comes out weird. So I always stuck with green or blue or red.

/boring geek mode. The latest case (the Triad) has active lighting that interacts with certain games. So for example if I am playing Dying Light and I fall from a decent height the case flashes red as you hit the ground. When you turn on your flashlight at night the case turns white. When you kill a zombie it flashes green.

I never even noticed it at first. My 2008 did it too and I thought it was busted lmao. I remember playing Metro Last Light and the lights kept changing to white and purple etc, I figured there was a short somewhere.

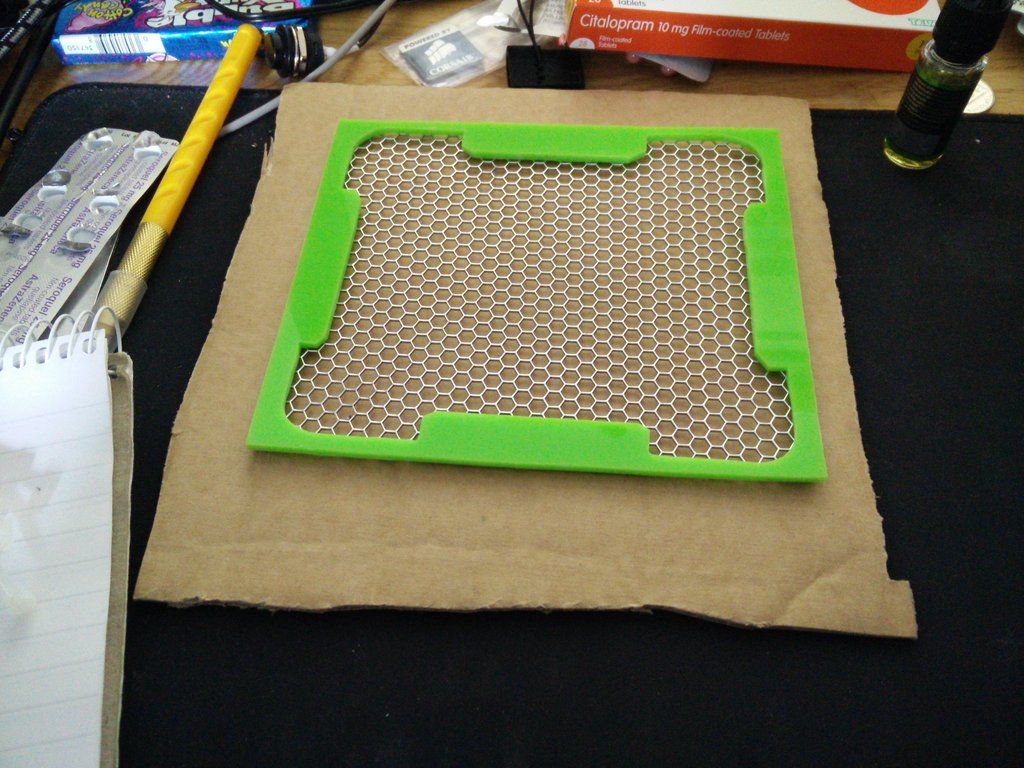
/Update. I just made the two parts for the front cover panel. They are cut, one will be getting mesh and the other a dust filter.
 
It's funny really. Every time I tell myself I am having a day off I usually do more.

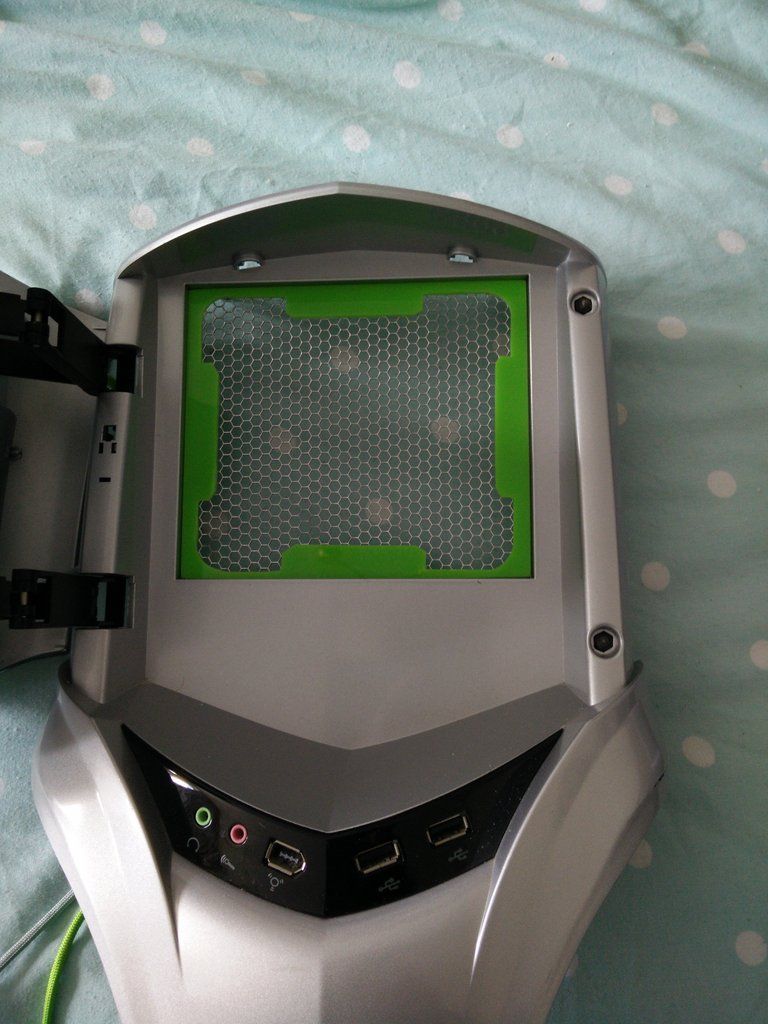
So tonight I cut the inner front panel cover (dust filter) and the outer front cover (mesh) and then cut and painted the mesh silver before letting it flash up and gluing it to the panel. It should be dry tomorrow with any luck.

I also forgot that I had converted the front panel to green LED so tested that.


Works good. I was worried they may not be bright enough but they're pretty sweet.
 
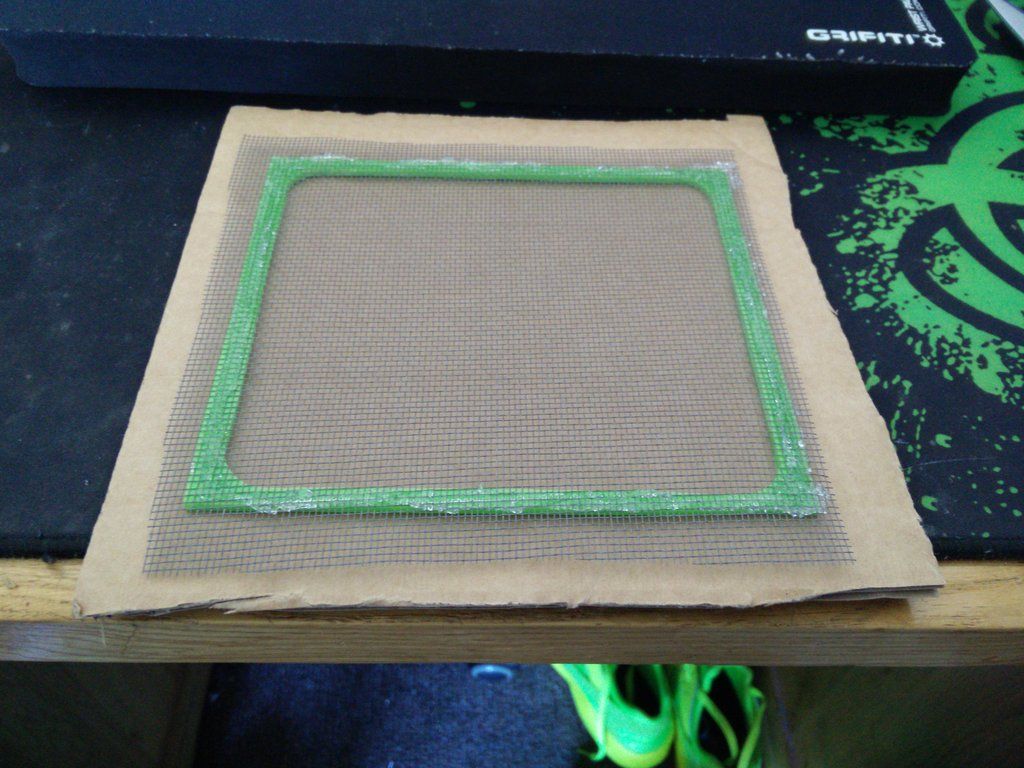
And the other half. For this I am using fly screen mesh as it's open but not too much so. The last thing I want to do is choke the fans. This will catch anything apart from the finest dust which with airflow is inevitable.


I am using Power Glue. It's similar to hot glue only runnier but sets up sort of the same. I will trim and tidy it once it has dried :)
 
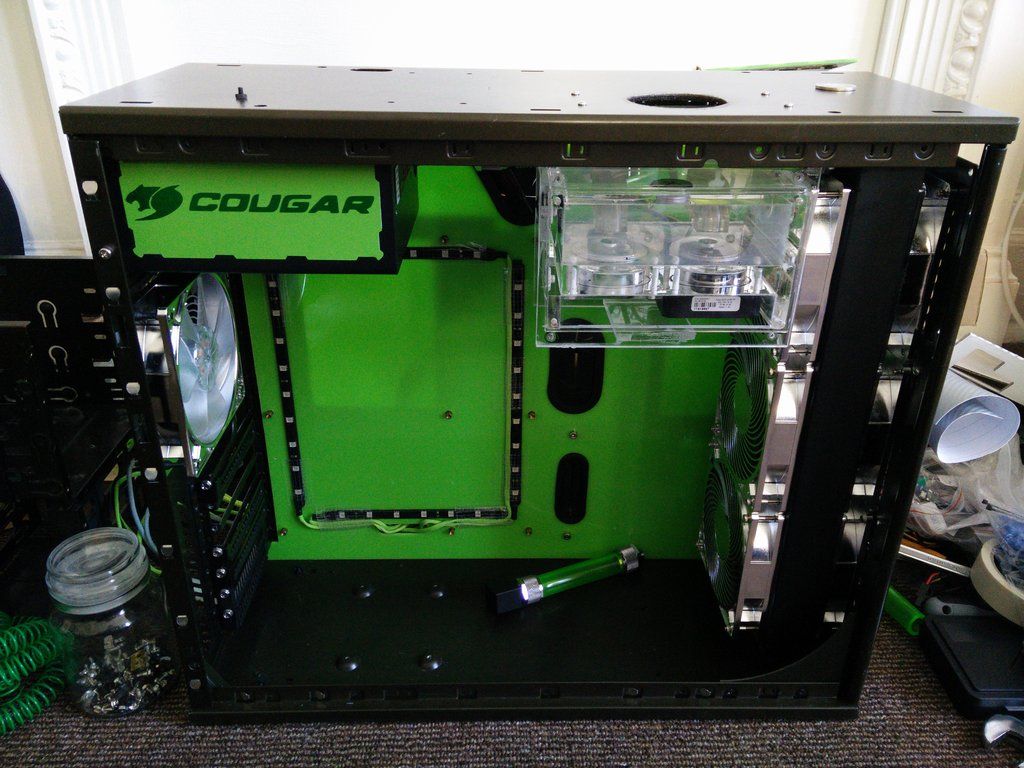
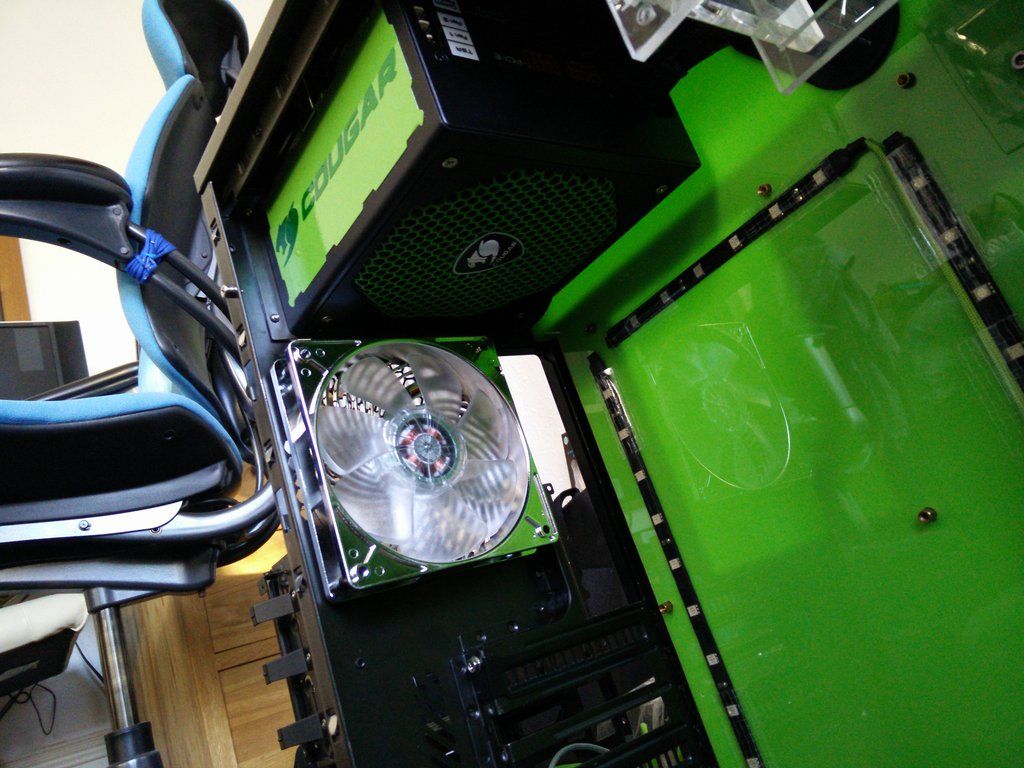
OK so now we are entering the final phase of work and modding. The last two pieces needed to be painted. Remember this? it's been a while...

5ZkR4Fi.jpg

Painted.

RFzVR9m.jpg

And some ram sinks.

O6zhsQy.jpg

And tbh I think that is all of the modding done. The case is ripped and stripped so the next task is giving it a ruddy good clean and drying it.

---------------------------------------------------------------------------------

PT II.

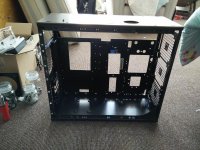
This is the part where everything does a 180' turn. I now have to work backwards. So I took the entire case back down to a bare shell and put it in the bath and gave it a ruddy good clean.

NyV27mY.jpg

You can see the four "mounds" in that pic, that is where the SSD platform will live :)

So I peeled and cleaned the back plate.

B1SHkKI.jpg

Fitted the Corsair grommets.

9zR4h1O.jpg

And fitted it back in.

poS4sPo.jpg

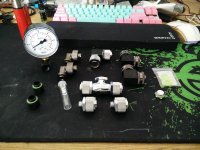
I also got out all of my fittings and pretty much prepared them for the build. It goes -

Rad-barrow extender-chrome fitting-90' fitting on res- 90' fitting out of res - 45' fitting CPU block-45' fitting out of CPU block - 90' fitting (black and XSPC) into GPU - 90' fitting out of GPU - XSPC ball valve - 90' fitting (black and XSPC) - 90' fitting (black and chrome) - Chrome fitting - Barrow extender - Rad return.

MUlLFqU.jpg

More fun tomorrow :D

Oh yes, forgot to add. Two new Orings for the res.

TU1s9AS.jpg

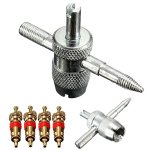
A valve remover/rethread tap/ valves to repair the flaky Dr Drop.

9Sm7W7B.jpg

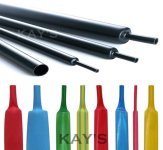
And lots of heatshrink in various sizes. All black, BTW.

Wah1Rx4.jpg
 
Last edited:
Thanks dude. And seriously, thanks for all of the help and advice you've given me. I would have been utterly screwed without it, because I really didn't have a clue what I was doing. I'm the sort of person who doesn't bother listening to anything or reading anything at all that isn't of interest to me (see our emails). So when it came to water cooling I simply hadn't ever bothered paying attention. I learn fast though, and have pretty much never failed to learn anything I've bothered with so I suppose that's good :D

Earlier on I had one of the biggest results so far. Quick back story, I sold the computer with a X4 940 P2 in it with 4gb ram and a GTX 6100 or something completely lame like that (it was £23). Any way, I sold it to my old nextdoor neighbours. The lady is lovely (they're in their early 60s like most people around here :D ) but the dude is a complete belmet. He has these temper tantrums and smashes things up. So it was no surprise to find that the power button was completely and utterly mashed. I don't think the stain realised that you don't need to press it hard. I took it apart yesterday and had a look and the black plastic "dot" thing was all loose and floppy.

My original plan was to basically just use my own power button, so I bought a nice silver one (as seen in the log earlier). However, I was having real trouble finding somewhere to fit it because the rad has eaten the entire front panel and 5.25 bays.

Then I remembered something....

Many years ago (around '08) I found this company on the bay of fleas who were out in Ireland, somewhere near Shannon. Any way, in 2006 (IIRC) we changed our laws. Basically the law states that if you buy something brand new it needs to be untouched and sealed. So when Alienware sold a PC if it was sent back for any reason at all they could not resell it. So the law changed to state that they absolutely had to recycle.

So what was happening was they were taking all of their rigs, empty cases and parts and auctioning them off on pallets. At which point some guy would show up on the bay and sell it off.

I got my first Alienware from there for around £280. It was spotless, in Cyborg Green.

Any way, eventually some ALX cases came up (they have chrome in place of silver plastic and black alu interiors instead of raw steel) and I bought one from this company I found. It came smashed, so I got a full refund of £230.

A couple of months later they were getting rid of the damaged stuff, and I bought a silver non ALX case for £50. My intention was to paint it.

So it arrived with a scratched right side panel. The rest was good, though.

Then two days later the doorbell went, it was another one lmao. They'd messed up and sent me a second one by mistake. So I told them what had happened and they misunderstood and thought my case was smashed and gave me a refund rofl.

So I ended up with two silver cases for free. Amazingly the first one had a scratched right side panel and the second one had a scratched left side panel. So I was able to make a nice pristine silver one. I then took the black panels off the ALX case (black interior chrome accents) and converted it to silver. Then I sold the black case with a mid range set of components.

And that's how the case I am modding here came to be. All by chance !

Any way, I stripped down the second one that had pretty much every panel scratched and in the end I threw it all out. But, I kept every single LED, wire and so on.

Today I found this in an old box that I got back when they gave it back to me.
TT9yGs0.jpg

An absolutely brand new power button. I've fitted it of course :D
 
Yeah it's a micro switch :) just like a mouse button. I'm sure I could have possibly replaced it, but no point now. So happy about that it's saved me hours of messing around. I was going to mount the switch in a green acrylic cylinder and have it on the floor of the rig but no need now. Would have been pricey too, the tube alone was £15.
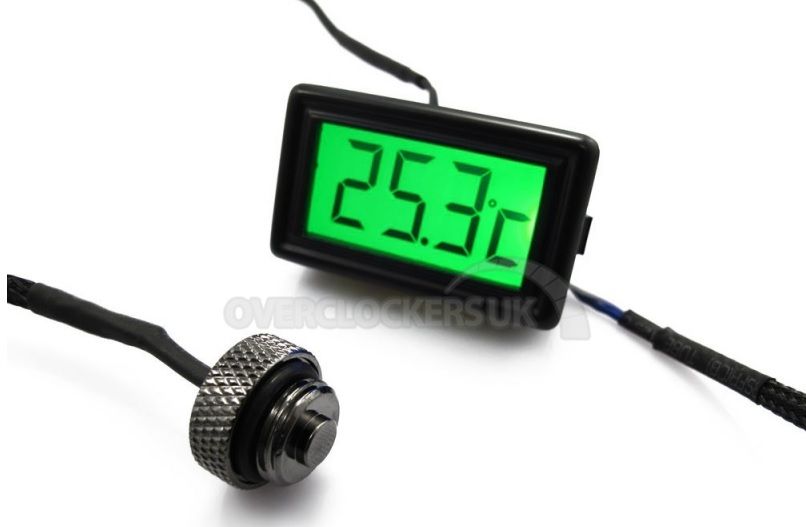


Just ordered that for £5.99 from OCUK with free second class. Not sure where I will put it yet but I will find somewhere :D
 
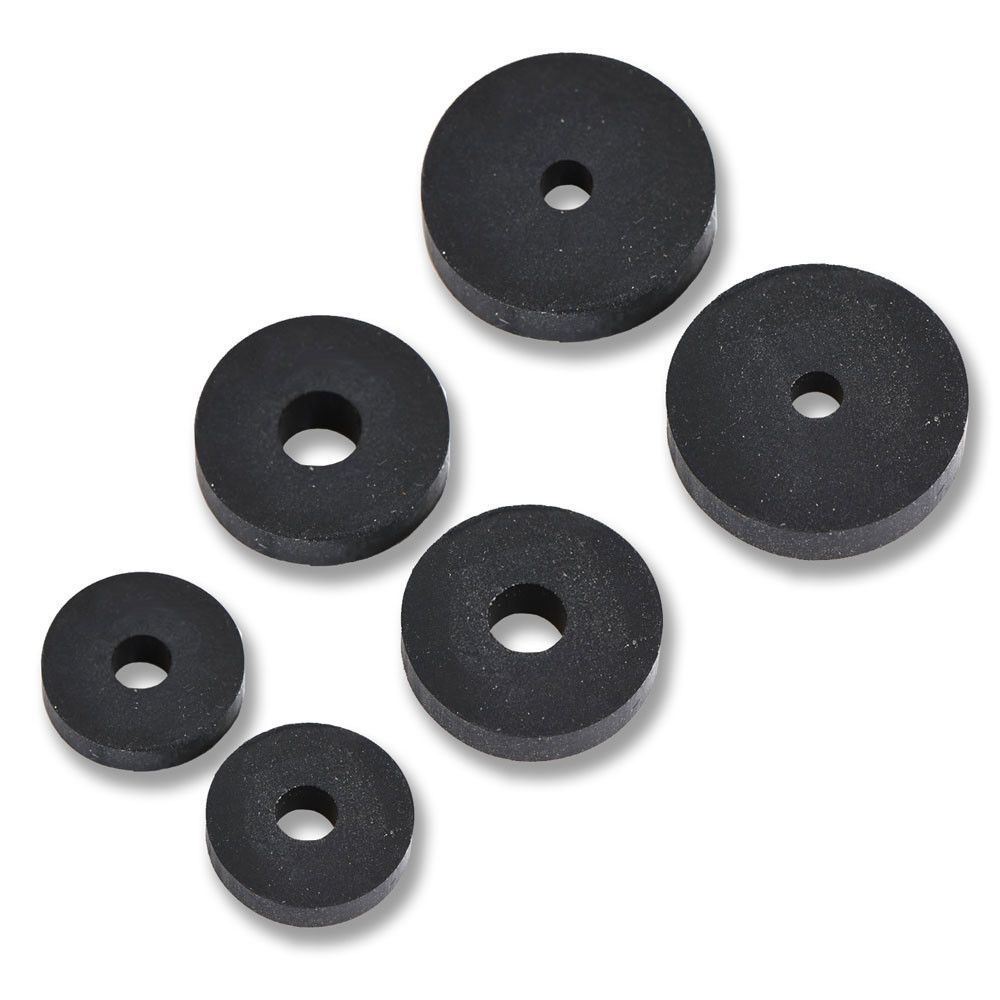
Tap washers..

Last night due to the TV being crap I decided I was going to start the build. I decided I wanted to fit the radiator and the res, which meant that I needed to do the hoses for the rad as the rad is not accessible once the res goes in. This meant it was going to be tricky...

So I fitted the rad and fitted a small curved hose (so I could cut it once the res was in) and a pre straightened hose that I had heated with the heat gun earlier. So I fitted the rad in and went to mount up the res bay. Disaster ! Like a complete noob when I measured it all up and pre fitted it I did so without the fittings. And because the tolerances were so unbelievably tight the res bay and indeed res would not fit with the fittings in the rad. I panicked, reasoning "if this doesn't fit then absolutely nothing else will because it was all designed around this !". Thankfully in the end it wasn't so dramatic.

Around exactly a month ago before I started the build I was digging around in my spares bins for stuff to use on the build. I came across a padded envelope full of these.


I remember saying to myself "Eee, these may come in handy you never know !". What I was thinking god only knows, but they completely saved my life. I had to stack two together to drop the res bay by 6mm. Only dropping it (and not moving it horizontally) meant that the shroud panel I took two days to make would still fit, and because I had made it to go all the way to the roof of the case I had some breathing room left in. PHEW.

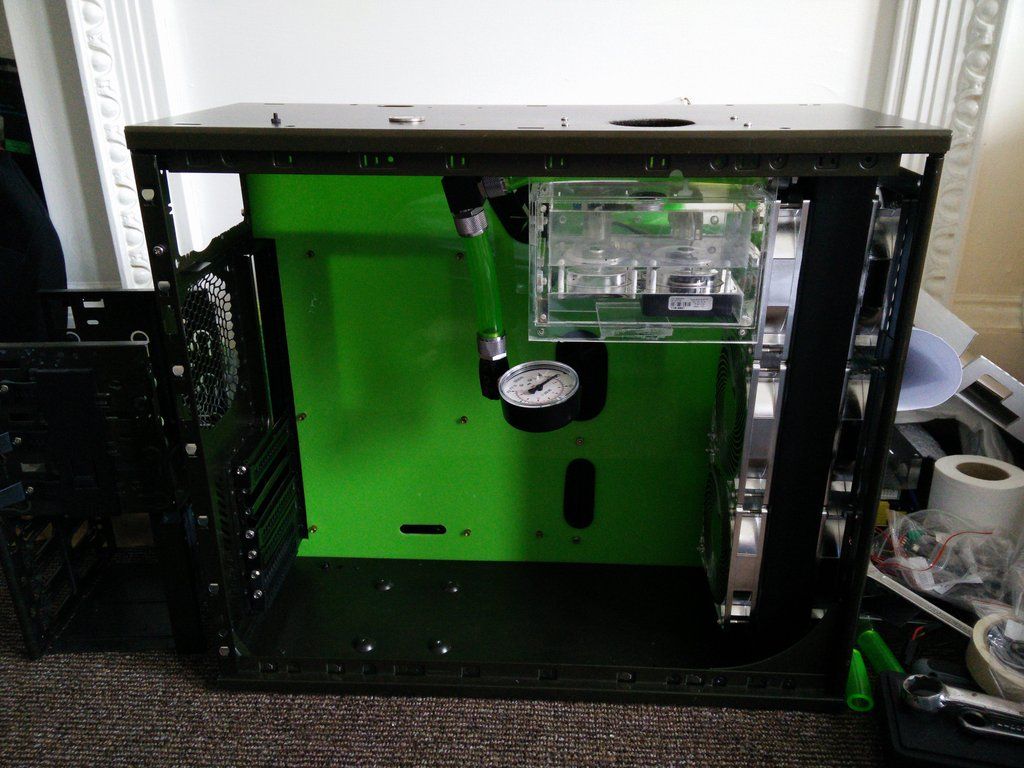
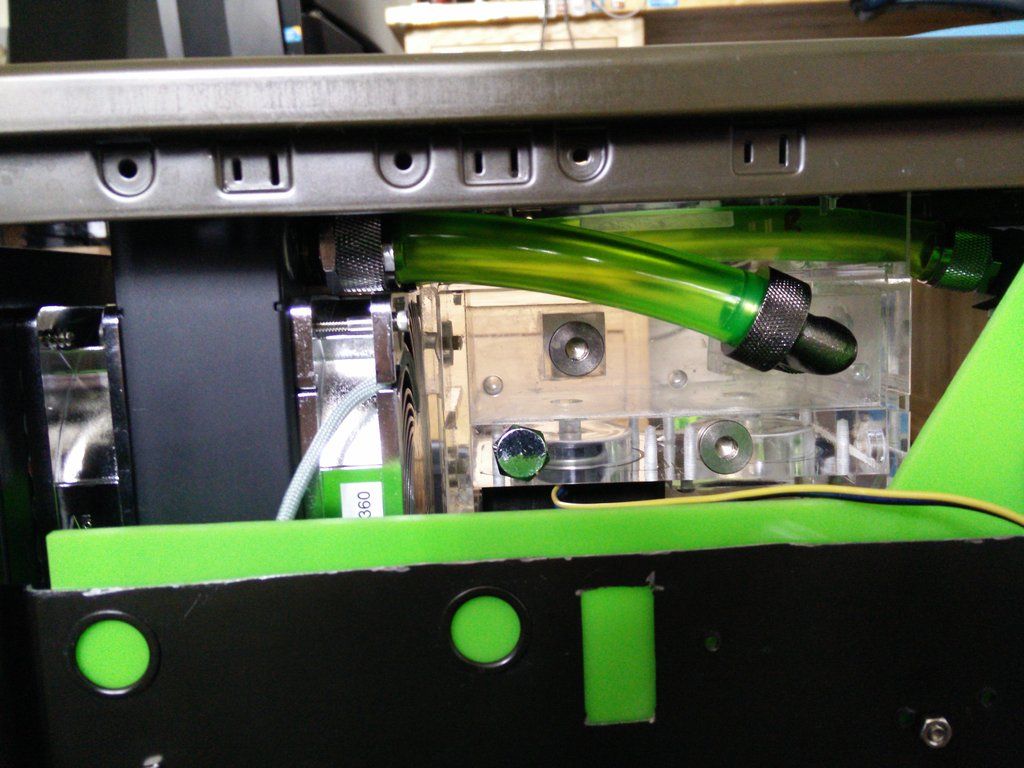
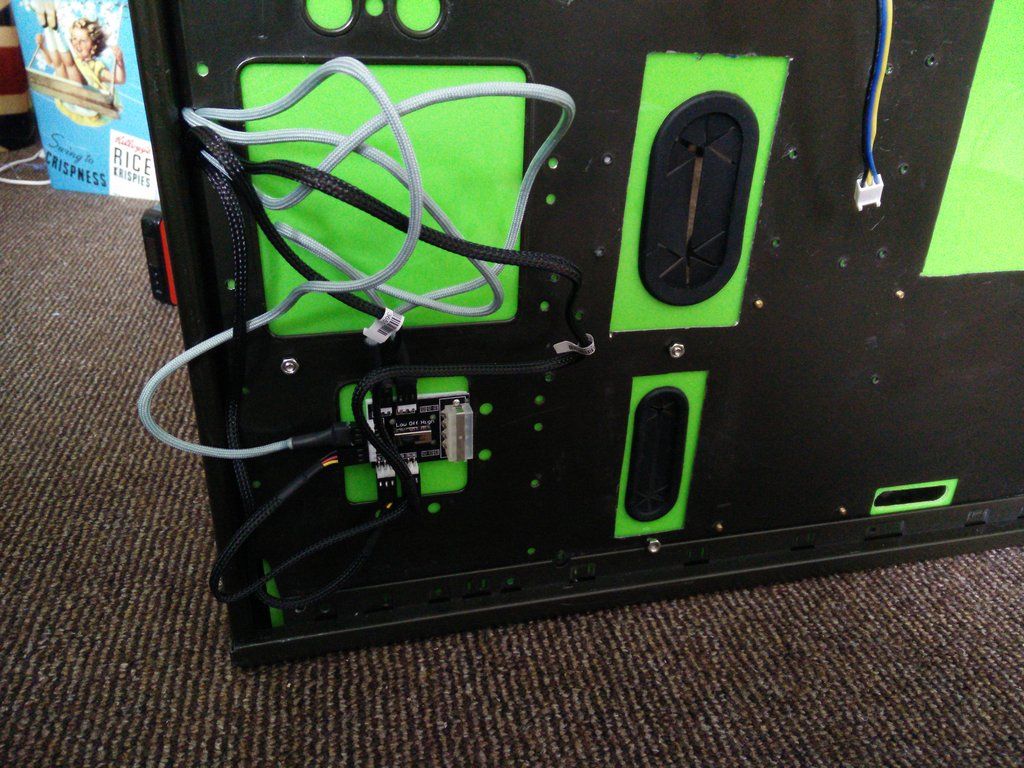
So I set to work. Here is how it looks right now, ignore the Dr Drop I am paranoid with it being my first ever water build so I am pressure testing at every stage.


And here is how it looks from the back.


Those were the two hardest, and the ones I needed to do at the beginning. Typical me :D

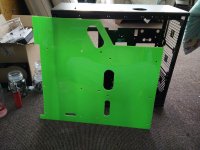
In other news I was digging around on the bay last night looking for something to use as feet. Long story short, I sprained my wrist on the very first day of the build cutting a hole in the res bay and ever since I have been in agony. I've been wearing a wrist strap for the most part, but absolutely cannot wear that when I am working. So I won't be cutting any feet. I wanted something billet, but billet = funds. So I found these.


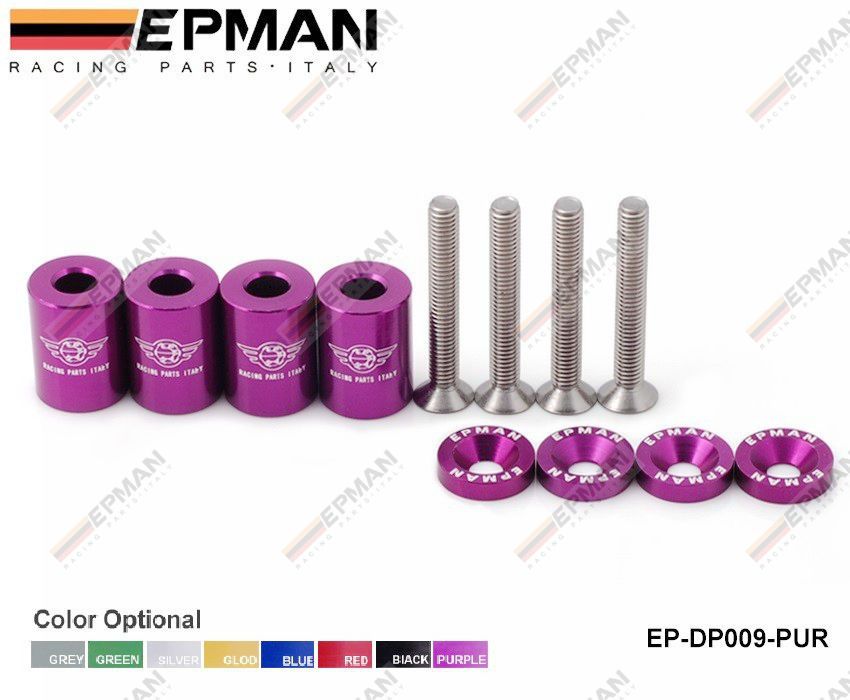
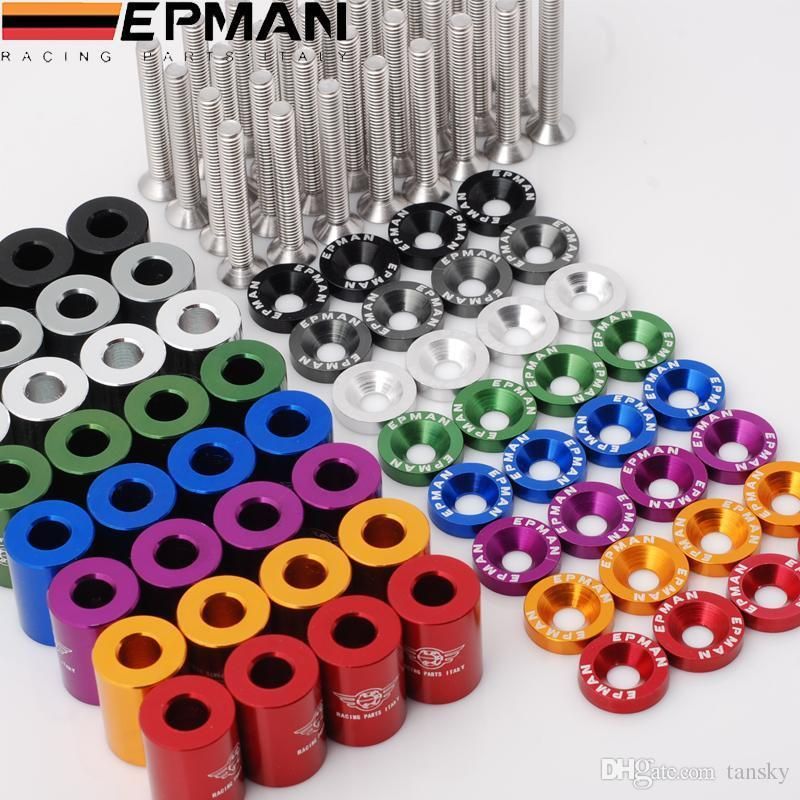
They are billet. They are 1" hood spacers that go between your car's bonnet and the plate to offer cooling to the turbo etc. They come with everything you see in the pic, though I got mine in green.


There isn't a pic of green ones showing exactly what you get, hence the purple.

£8, and even include the M6 bolts (will need cutting down).
 
Looking good. Only thing that worries me is that is looks like there are two spaces for pumps in that res but only one pump. Does it let you blank off the empty space? Otherwise isn't it going to get the bottom of the pump wet?

You're absolutely right :) there are two spaces yes but the second one is fitted with a 5mm acrylic plate with an Oring :)

My initial thought was "I will get a second pump for it". Then I saw the prices. JFK. My following thought was "I won't get a second pump for it".
 
Yeah I was never going to spend upwards of £50 to put another one in there.

So today I fitted the fan hub. The switch is a little proud, so, from KBW's "The Builder" I will have to shave a nicky whisker off the door to close the see you next tuesday".


Then I took off the fitting (swear words in abundance) and fitted the anti kink coil that I had completely forgotten about last night. There will be quite a bit of weight pulling on this area of the hose and it sits on a 5mm piece of acrylic (on the top) so whilst it would not outright kink it was bending a little.


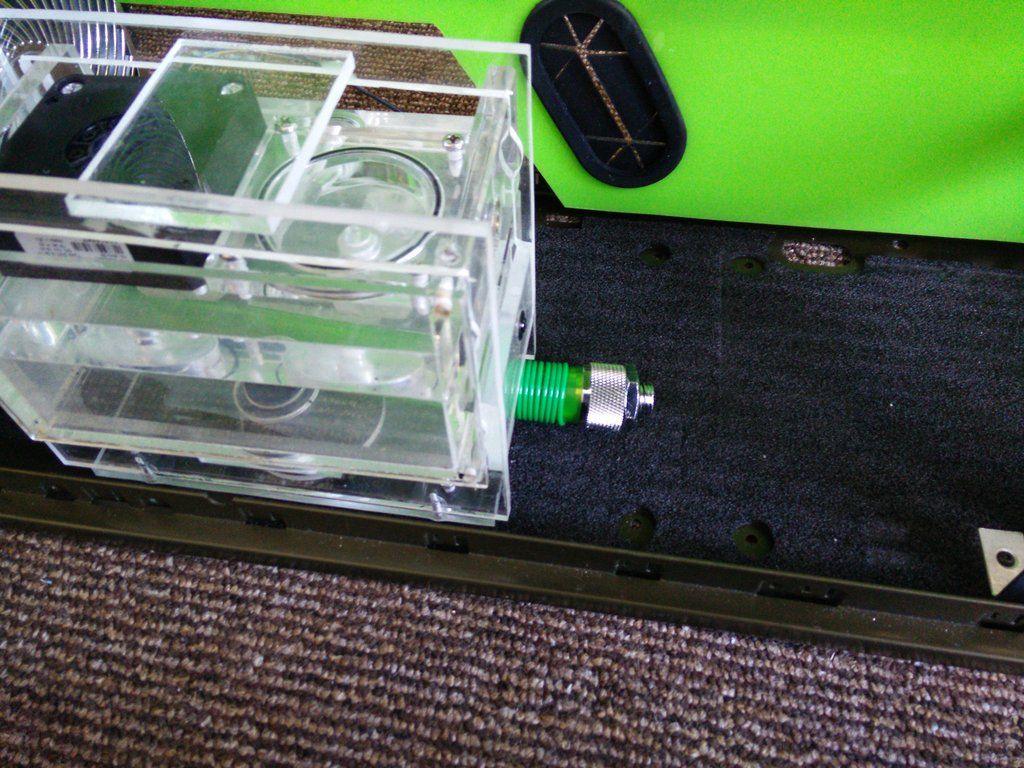
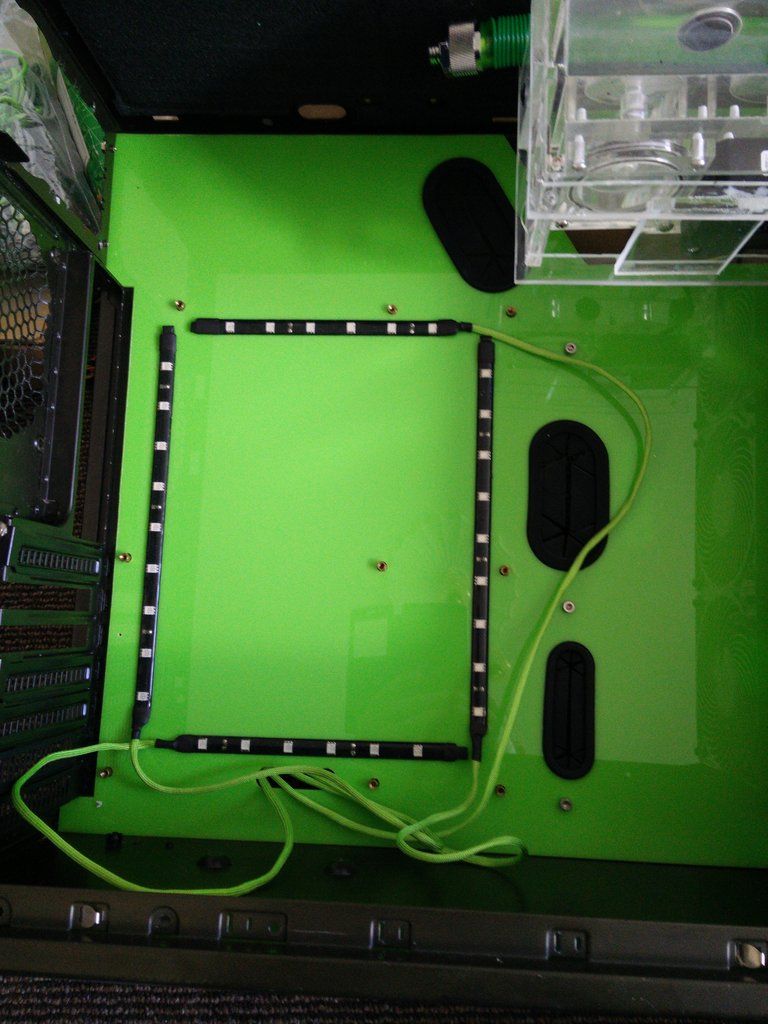
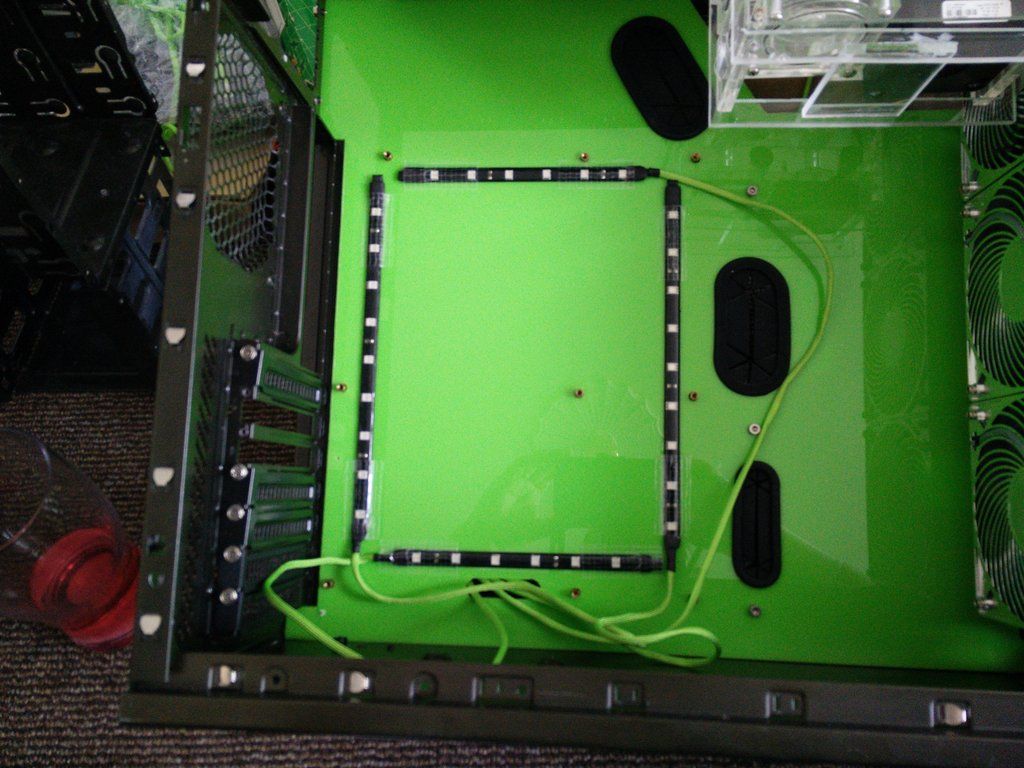
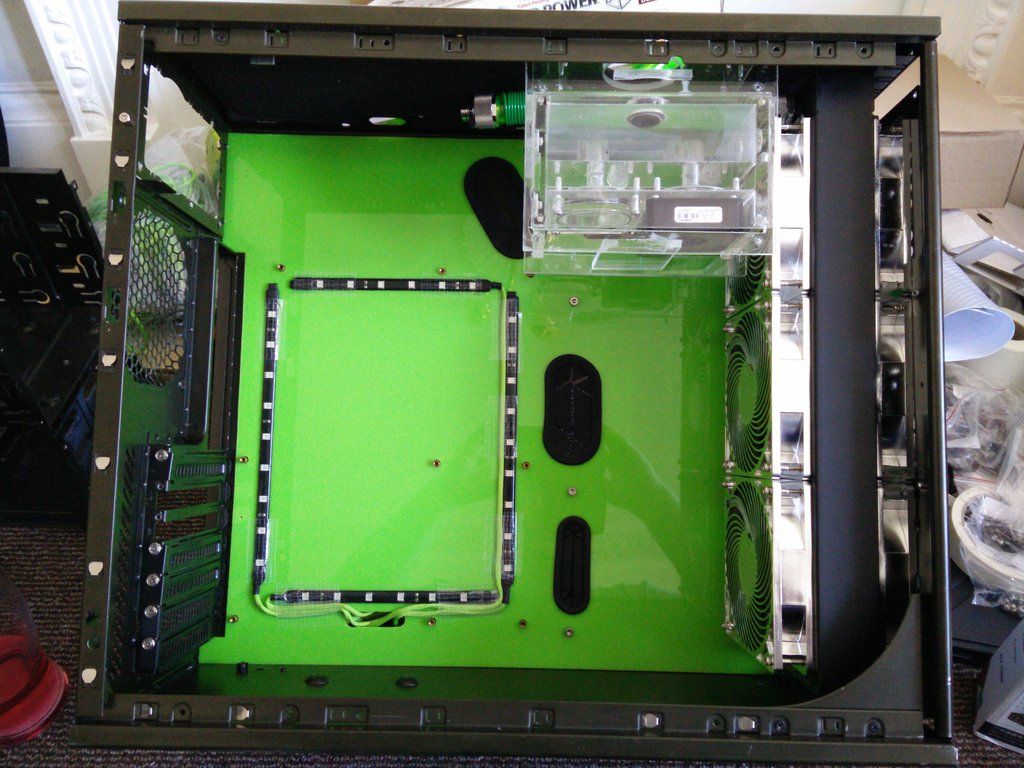
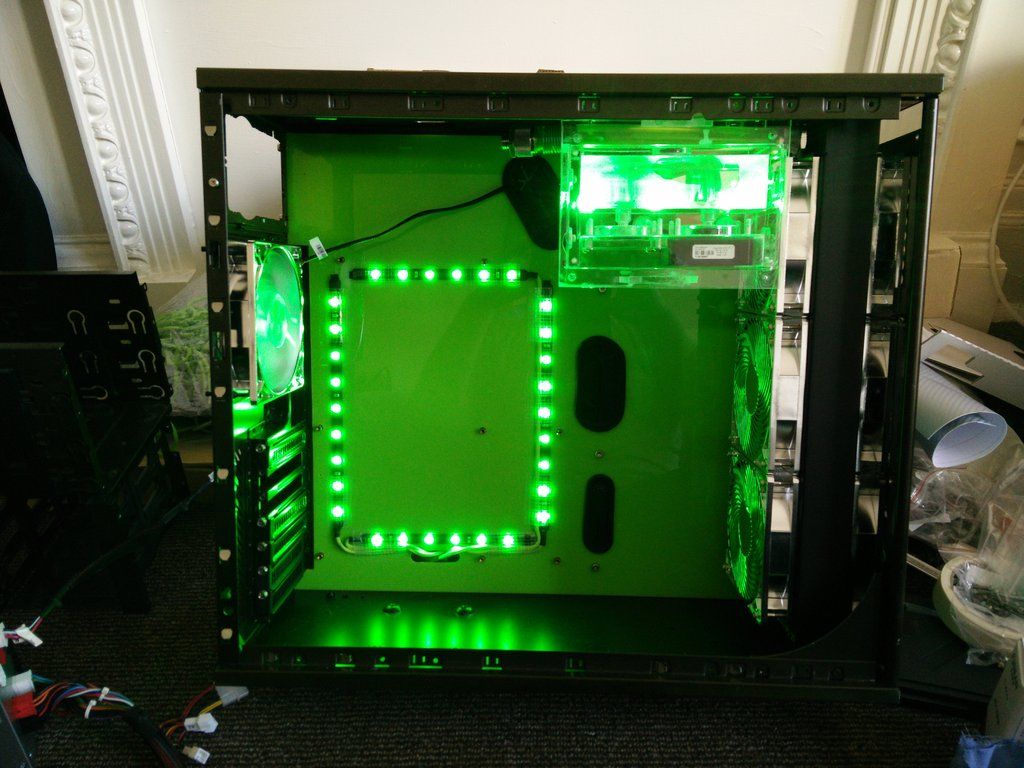
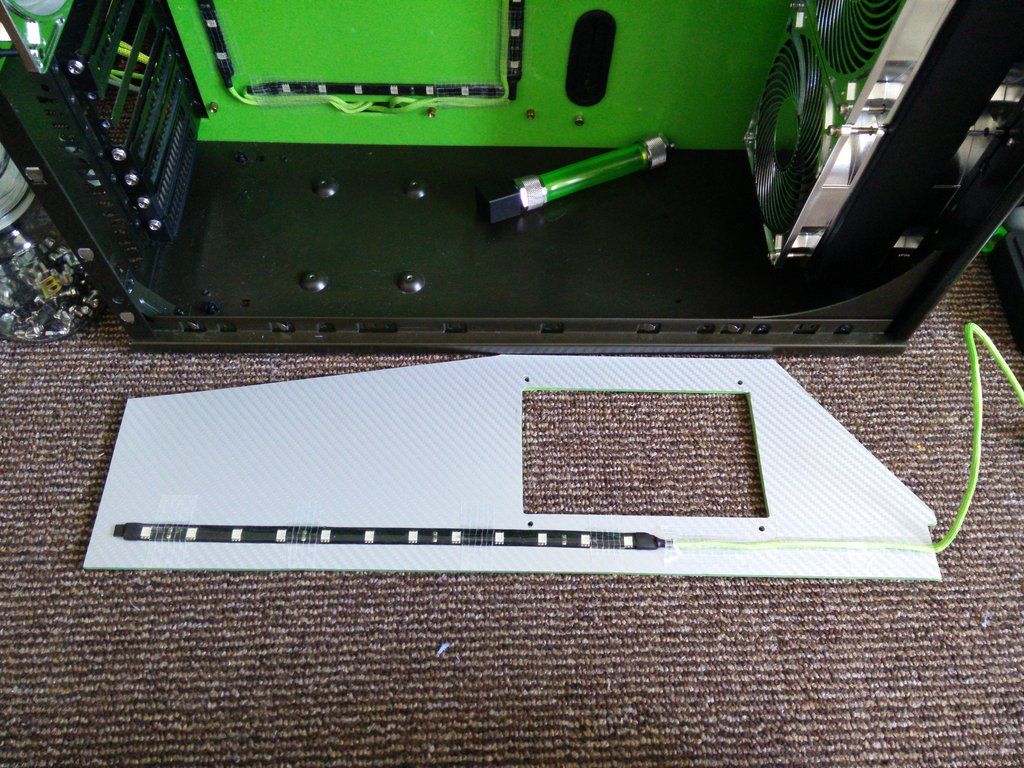
I then decided to fit all of the lighting. I started with the "under board" strips.


OK, so these LEDs are amazing for the money they cost. All in I spent about three pounds on 8 strips. The only thing that has always let them down is that the adhesive on them (3M my chocolate tea towel holder !) always seemed to fail a few weeks in. Especially at the point where the wire comes out (it tends to pull on them). So the solution was one I discovered when making my paint booth, duct tape.


So for all of the ghetto pedants out there, this one has duct tape in it. It's just like, completely clear duct tape that you will never see. I then used the same method for cable management.


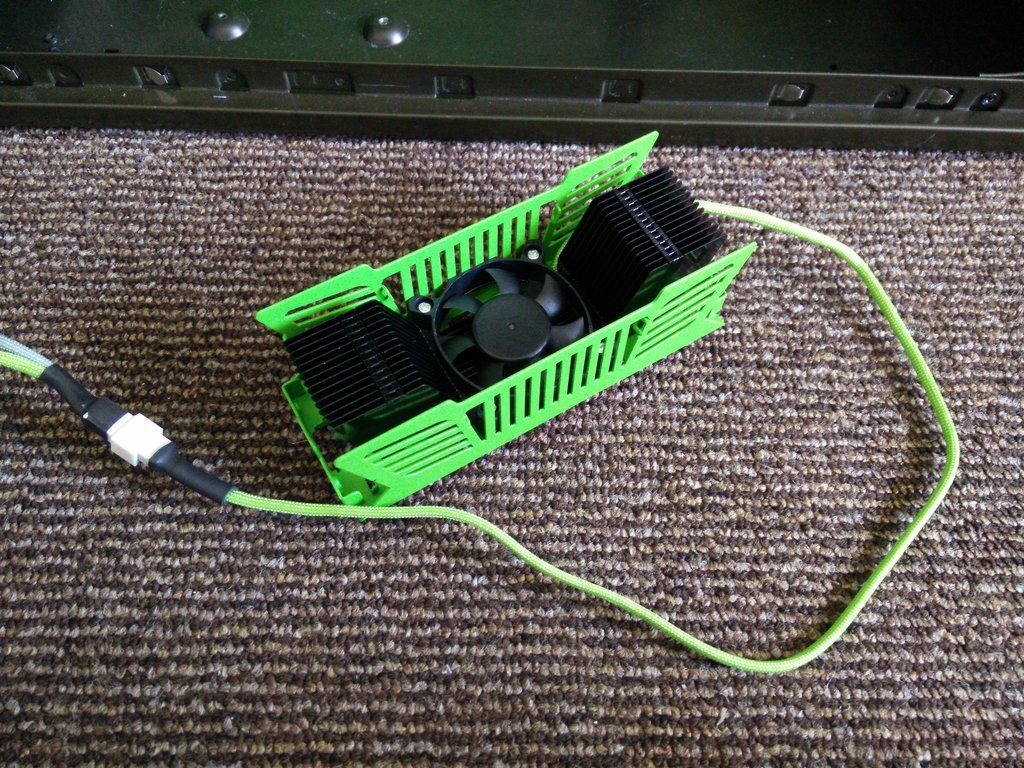
Sadly my test PSU only has two Molex connectors and I can't seem to find the second splitter I made, so I was only able to light up the mobo strips, 3 LEDs in the res and the fans. There is another strip behind the radiator's left side.


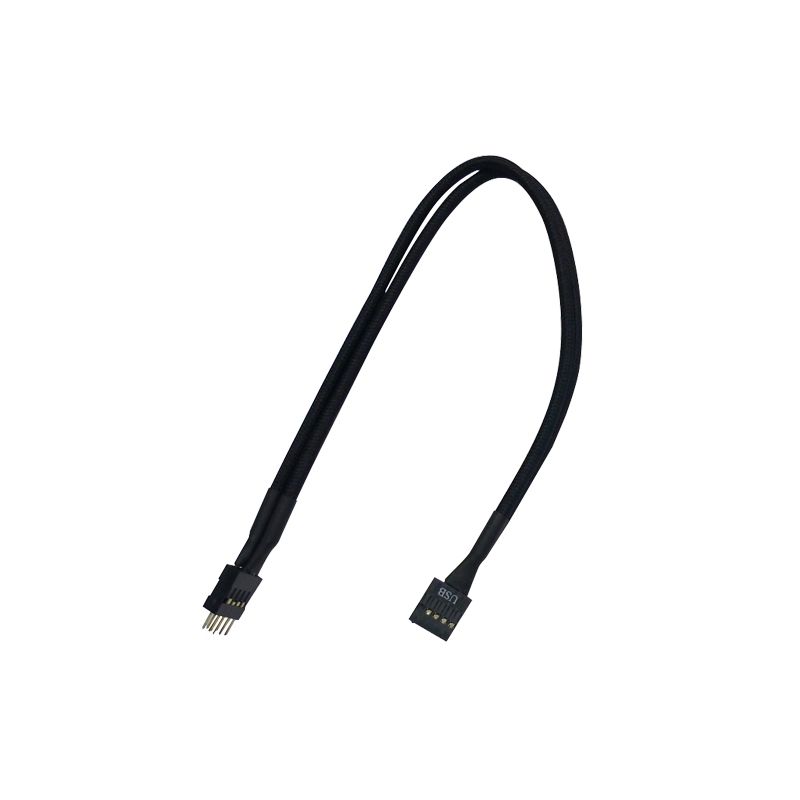
I also ordered this. Bitfenix Alchemy USB extension cable.

 
Morning, all :)

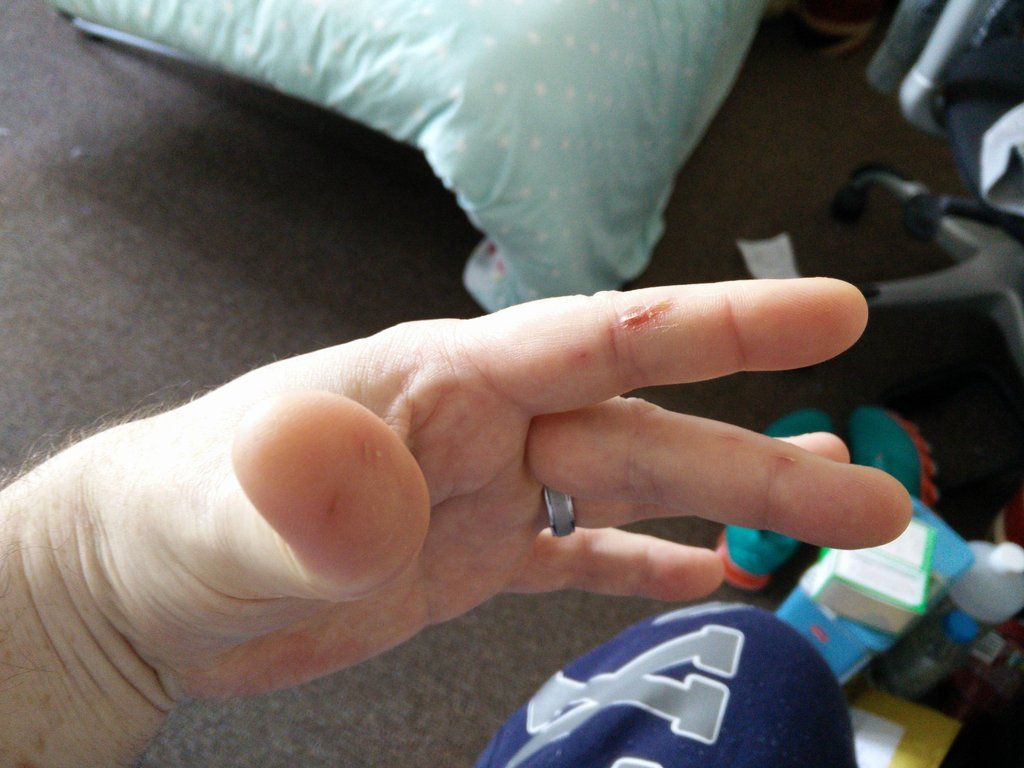
I have decided to take a couple of days out to let my hands heal. One thing I have found out is that cheap fittings absolutely tear your hands to pieces. This is what my left hand looks like today.


No, it's not the latest "in" American hand gesture that's me in stinging agony showing you how badly this stuff has wrecked my hands. And that is just my left hand, you should see the two and eight my rig one is in !

I'm also waiting on parts that I need before I can mount the mobo, so I may potter around doing small things if I can find any (I also need a roll of duct tape to hold down the wiring that is growing by the minute and has very limited space to live in).

I also need to order the coolant (tomorrow) and so on. Work will resume once I can actually bend my fingers without it feeling like some one has peeled them and dipped them in a tray of vinegar.
 
You know it's bad when the dripping blood has shorted out the H and T keys when you were typing "right"! :p ;)

Cheap fittings are like cheap cases....lethal.

I've got my wrist strap on my right hand, very hard to type and use mouse.

I promised myself that if it still hurt after I was done building I would go docs. I also have to go docs for the three pieces of alu drill shrapnel that are lodged in the ball of my left foot that a needle could not remove. That will be fun. I thought I'd got it all but went out to make a drink late one night and found some. If I twist on the ball of my foot "ouch" comes out of my mouth. It's fascinating :D

What bled the worst was the stab in the right palm from the scalpel. I had to cover it in a plaster, then tape, then put on my ribbed wrist strap (those sock things) before I could continue because I was leaving bloody hand prints everywhere.

But yeah, feeling proper battered right now and claret has been shed. I've got mum's TV tomorrow too, oh goody.
 
Back
Top Bottom