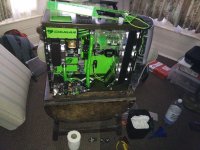
Project Dianoga

haha you guys are bringing back some cool memories :D

I lusted after Alienwares from 2000-2008. In '09 I finally managed to order one. It cost me around £280 fully built with an E4500 and 8600 GT in. I immediately added 4gb more ram to the 2gb, stuck in a 9800GT and overclocked it to 3.2ghz. Then one day I was hovering around it and saw a lever on the right side panel. I thought "hey, I wonder what this does" so I pulled it... The side panel fell off and it took me about two hours to get it back on lmao. It wasn't even particularly full of wires but the catches are a PITA.

It remained on for about another year, with me being terrified to take it off :D

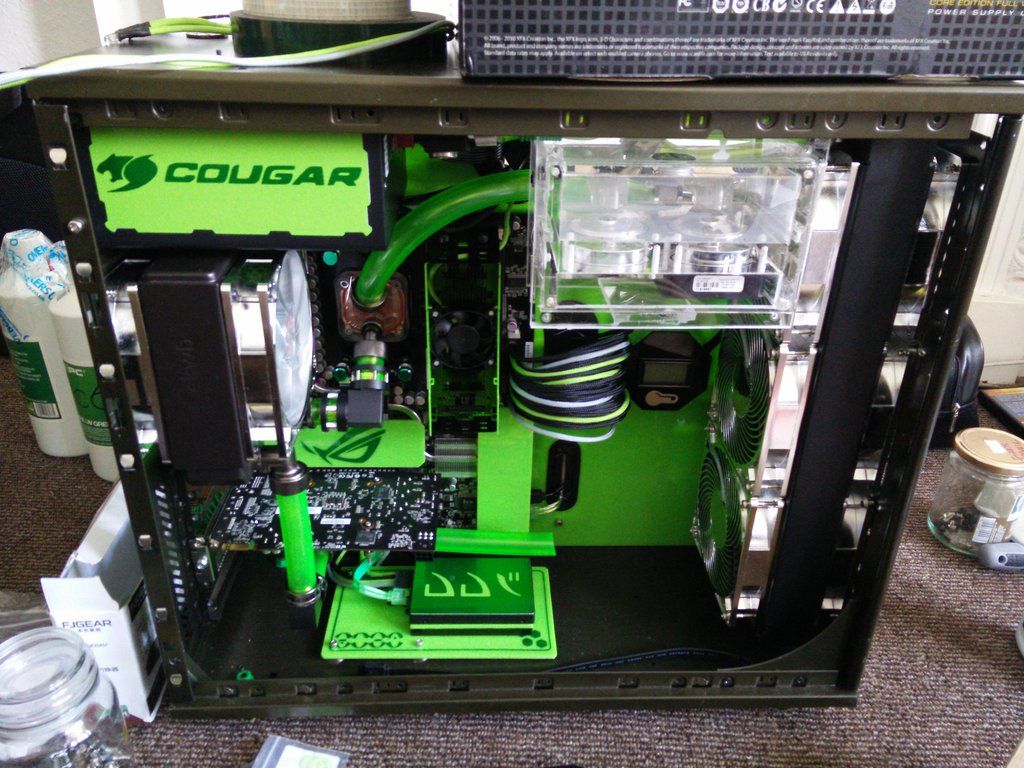
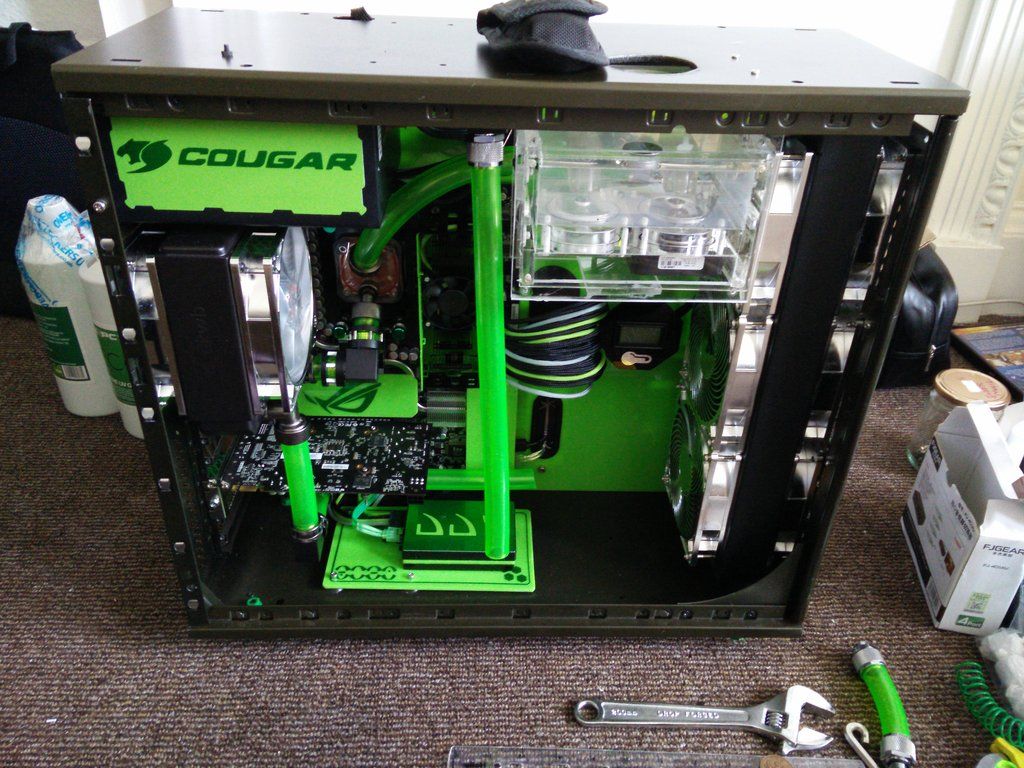
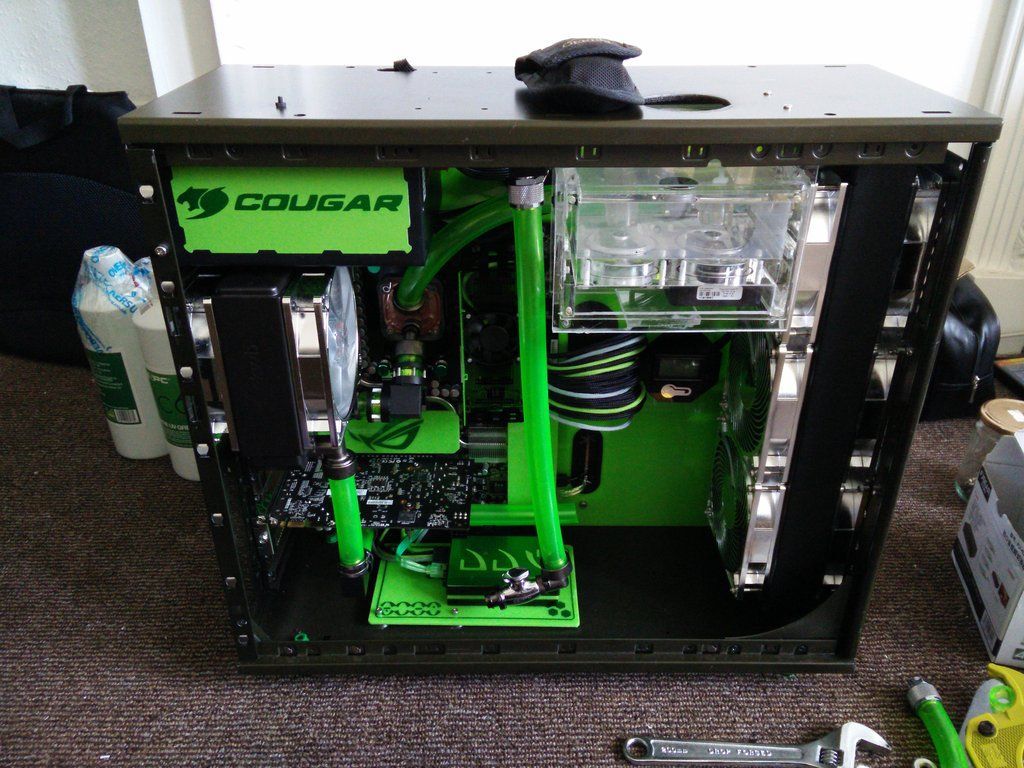
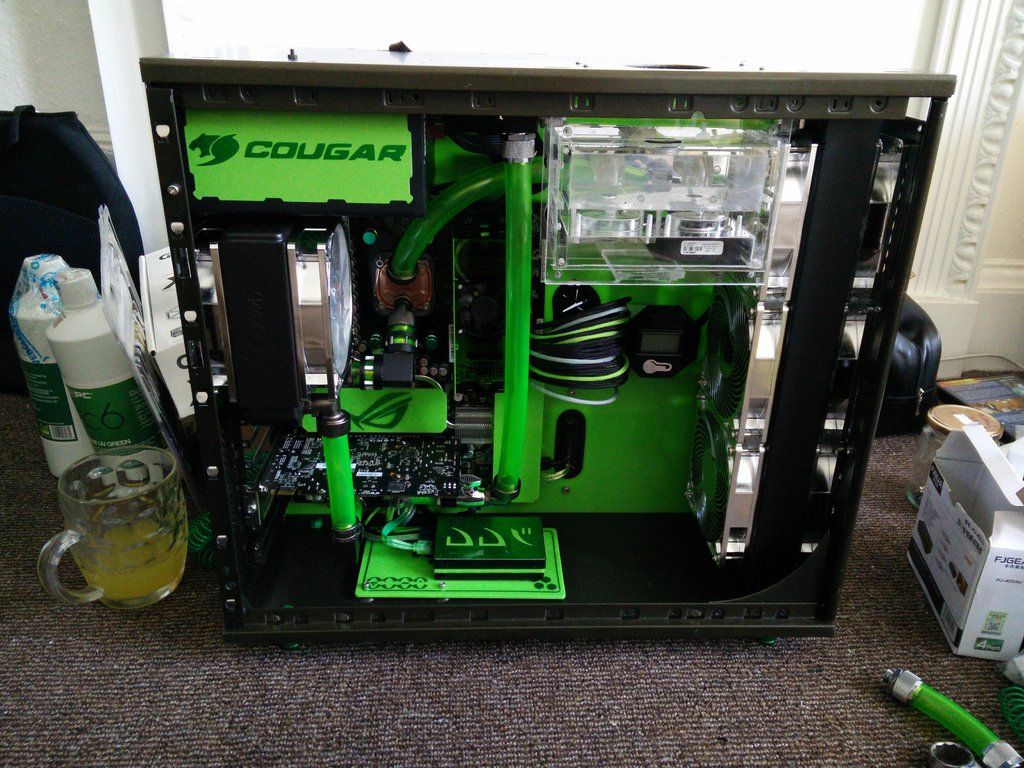
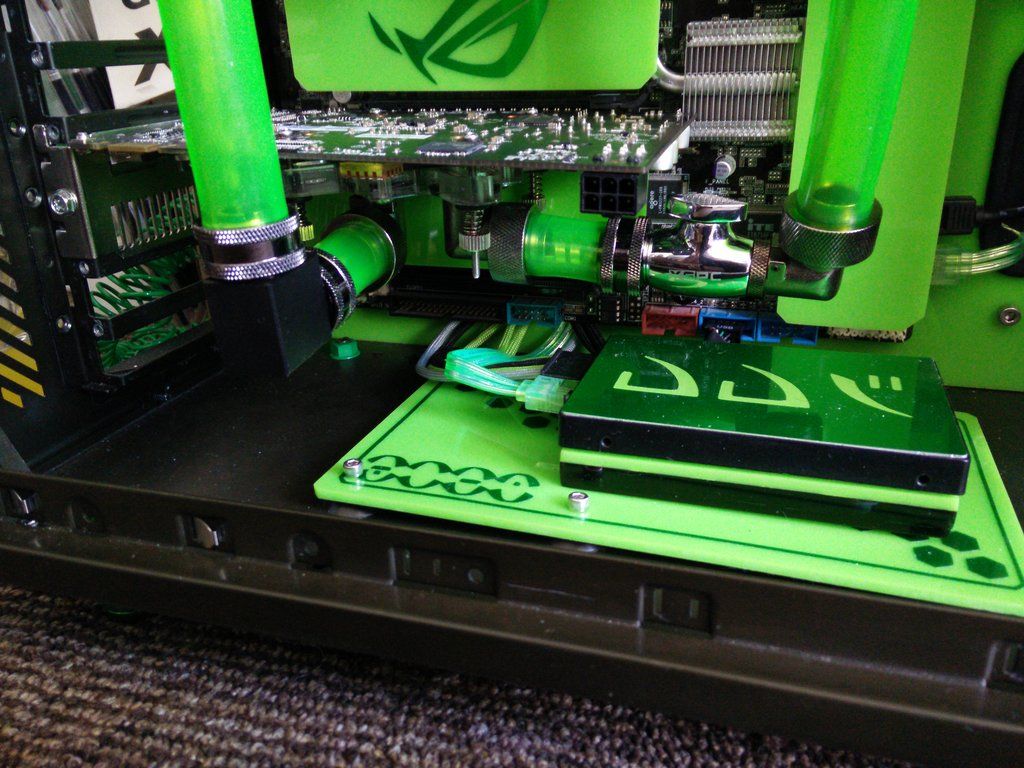
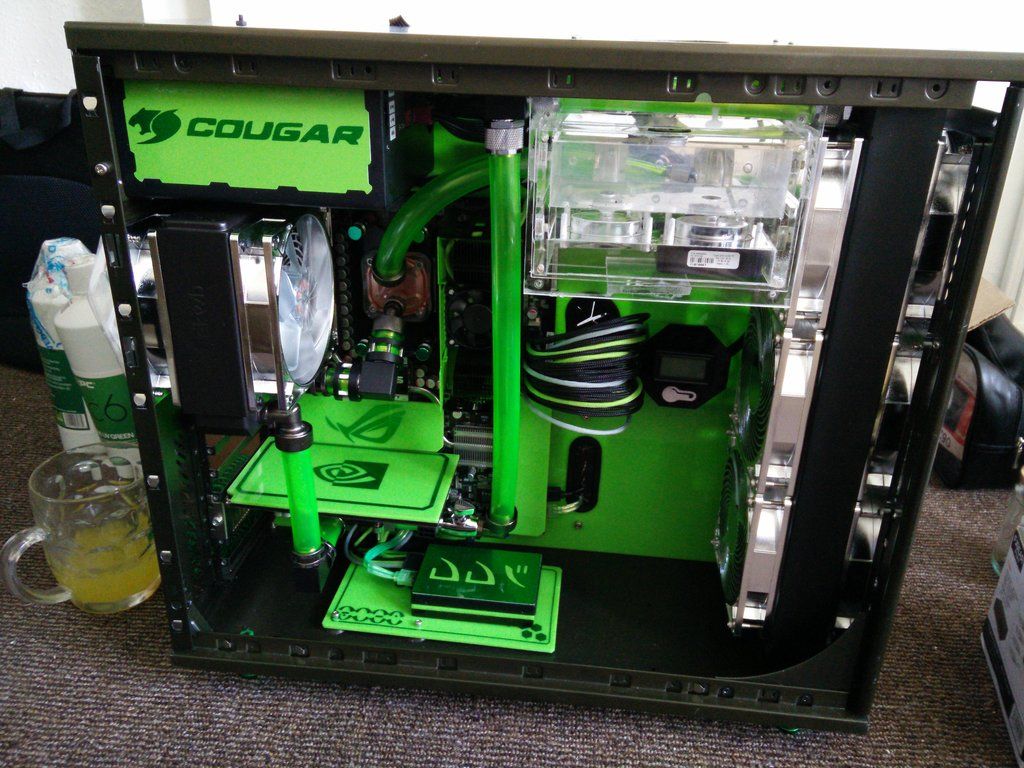
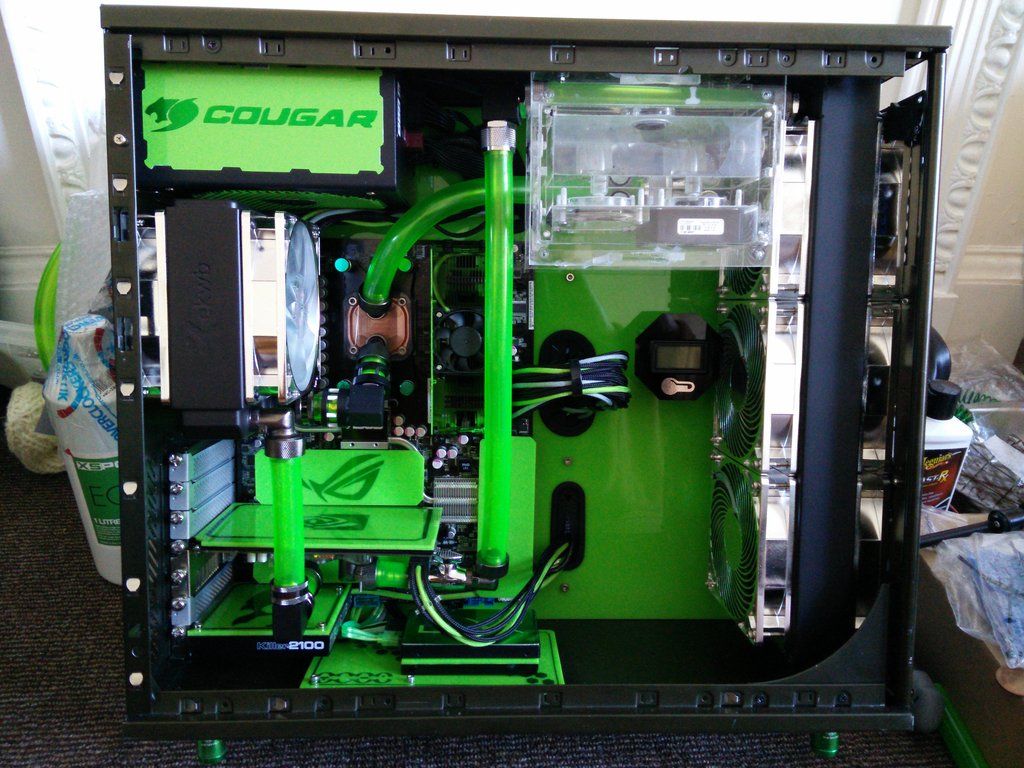
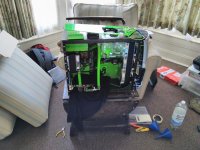
Dianoga is a tribute to the bogey, hence the green theme and candy apple green metallic stuff. Here she is the day I got her.
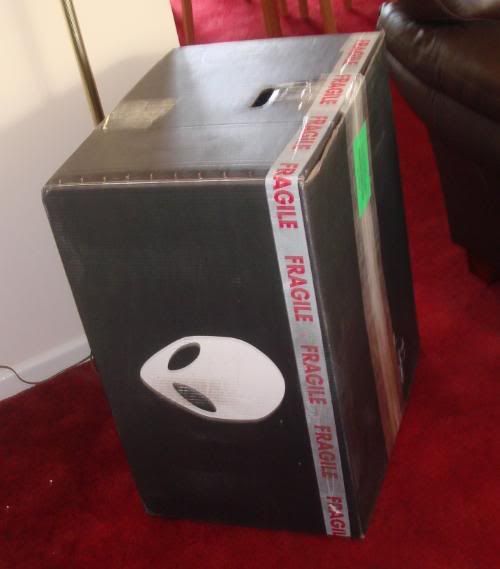
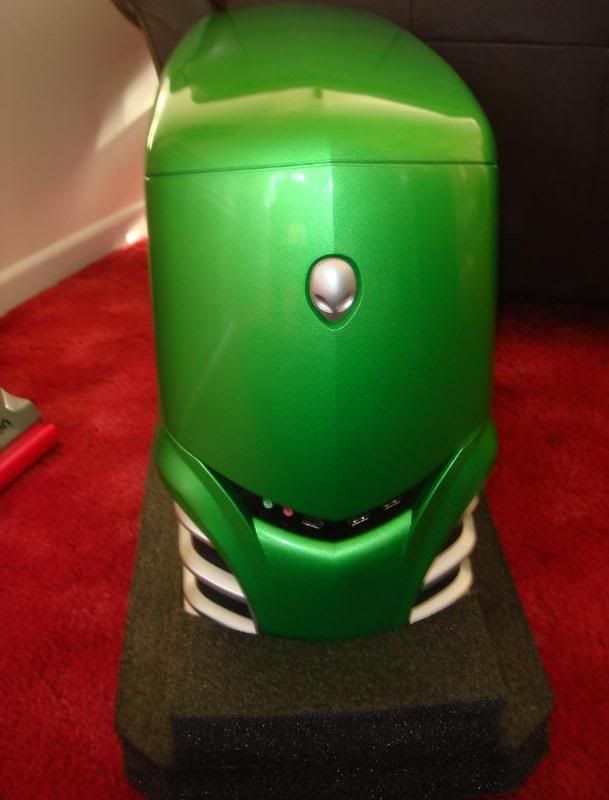
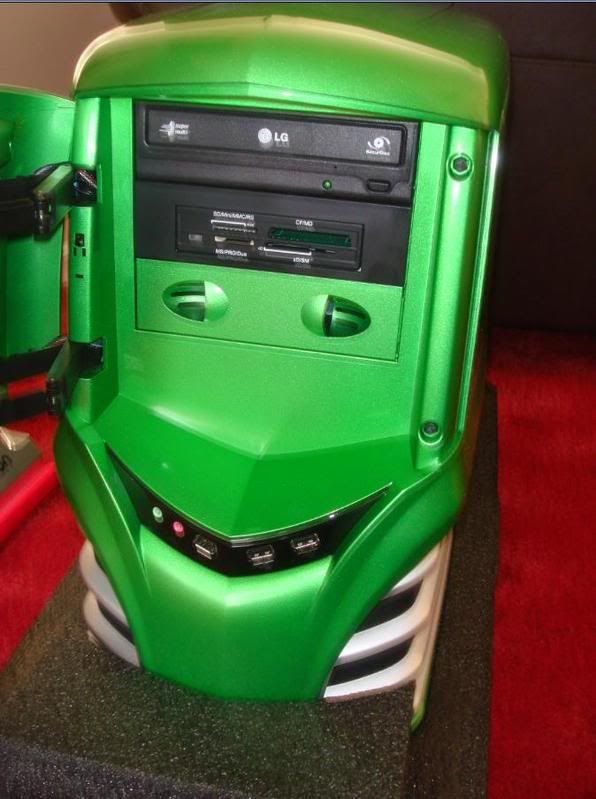
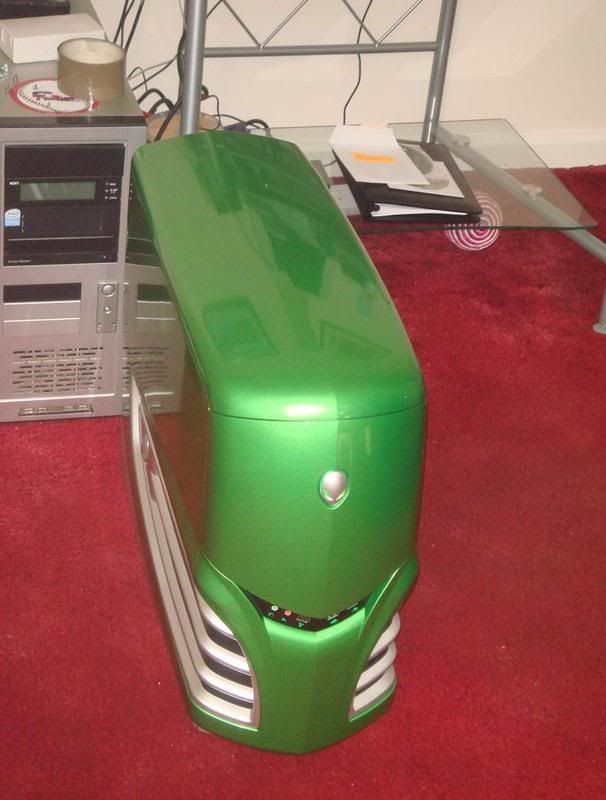
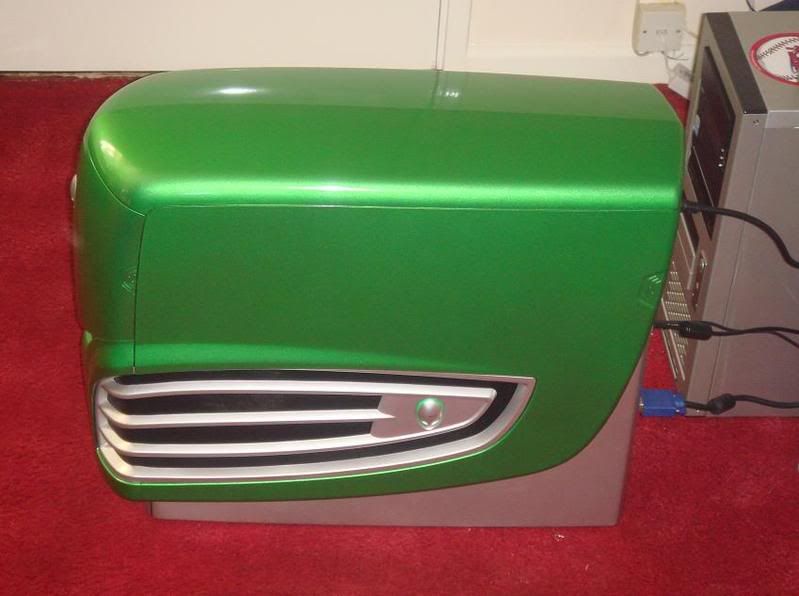


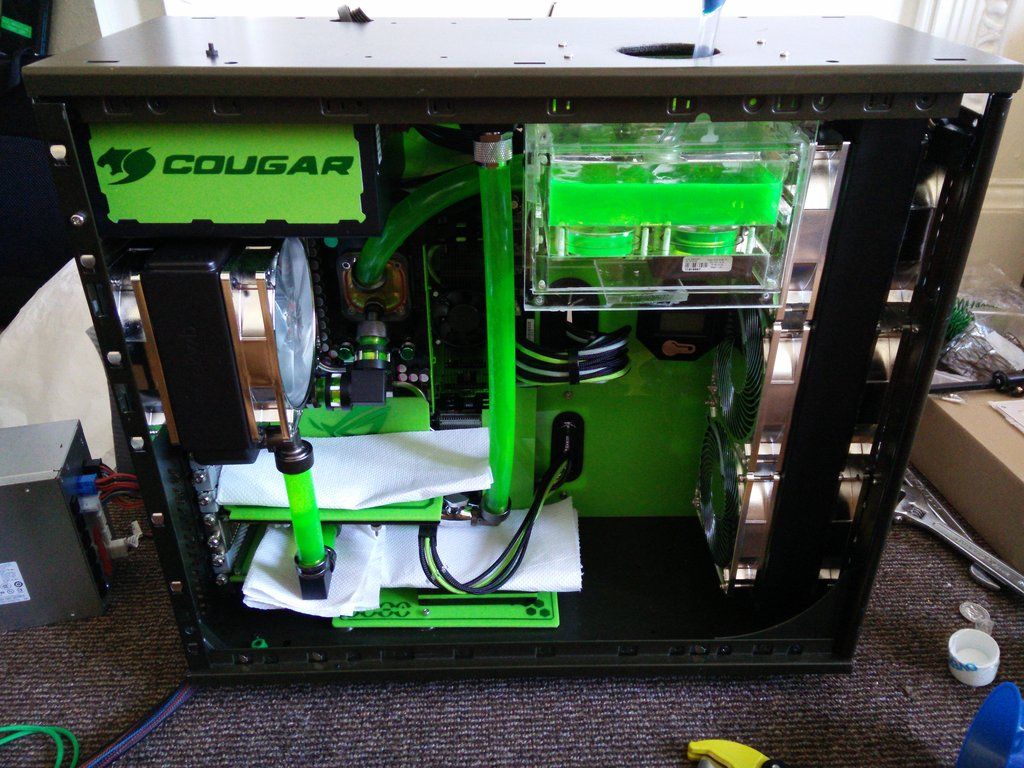
Before.
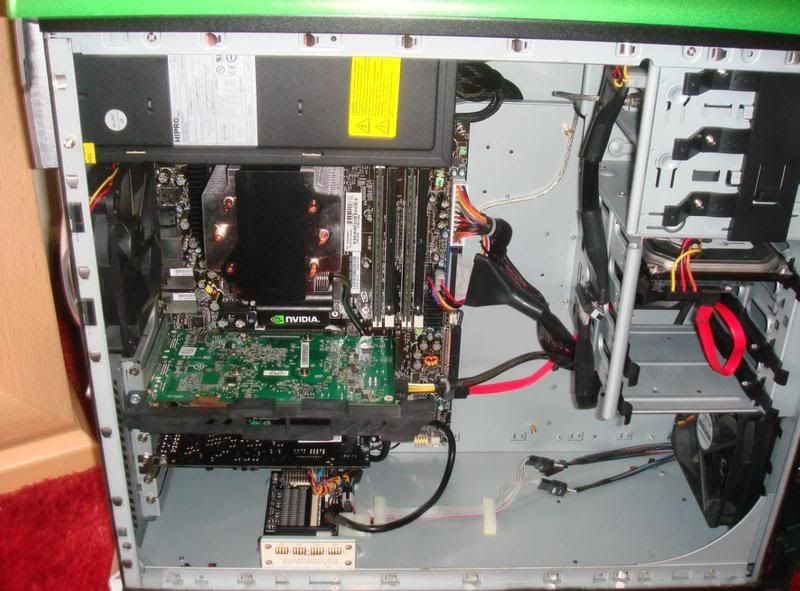


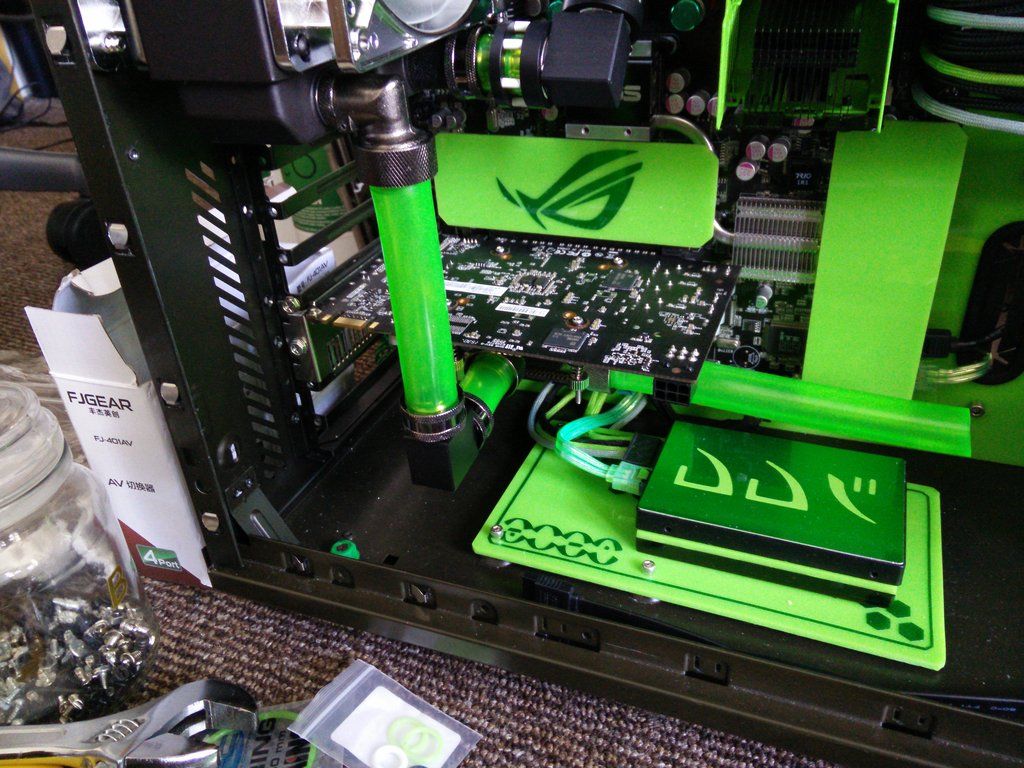
After.
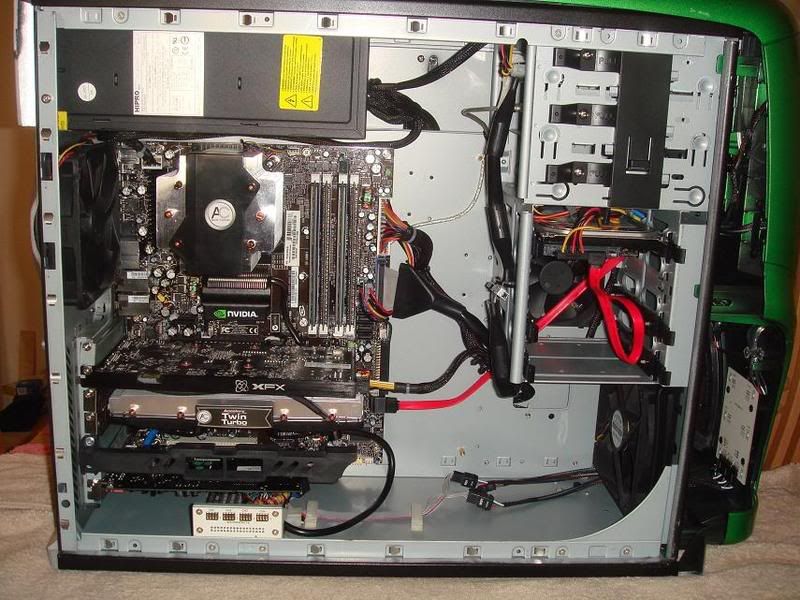


Now you can see where I get my user name from (ALXAndy). The case I am using now is the ALX version. Dark green interior, alu instead of steel, chrome instead of flat silver etc.

In a way I wish I'd have kept the green panels and put them onto the ALX shell and chrome.
 
So how long do you think it'll be before we get updates featuring you with a metallic green rattle-can? :-D

haha never mate :D If I had a gun and a compressor? maybe. Sadly I don't, so I am only really comfortable with flat finishes. I want perfect is the problem and rattle cans and gloss are very difficult to achieve that with.

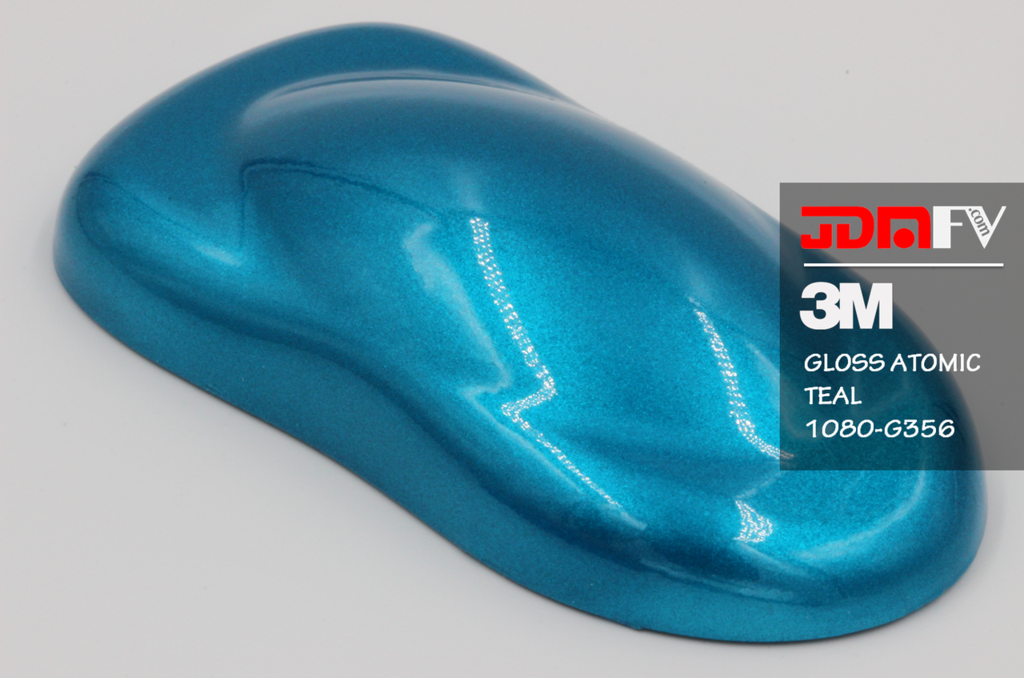
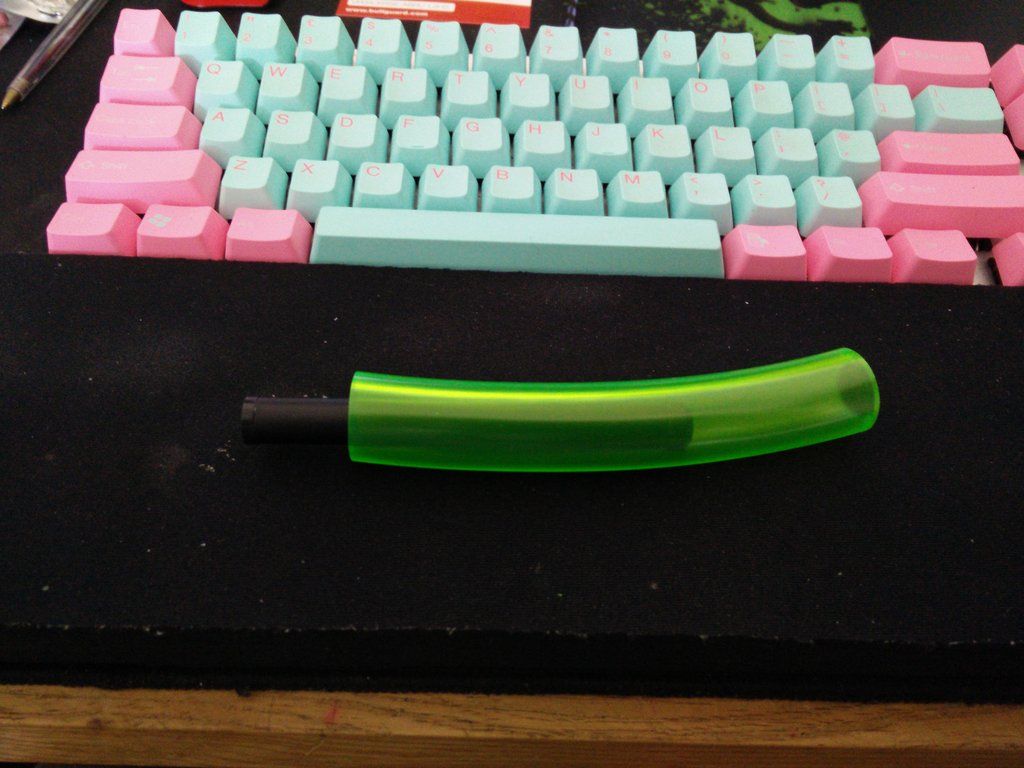
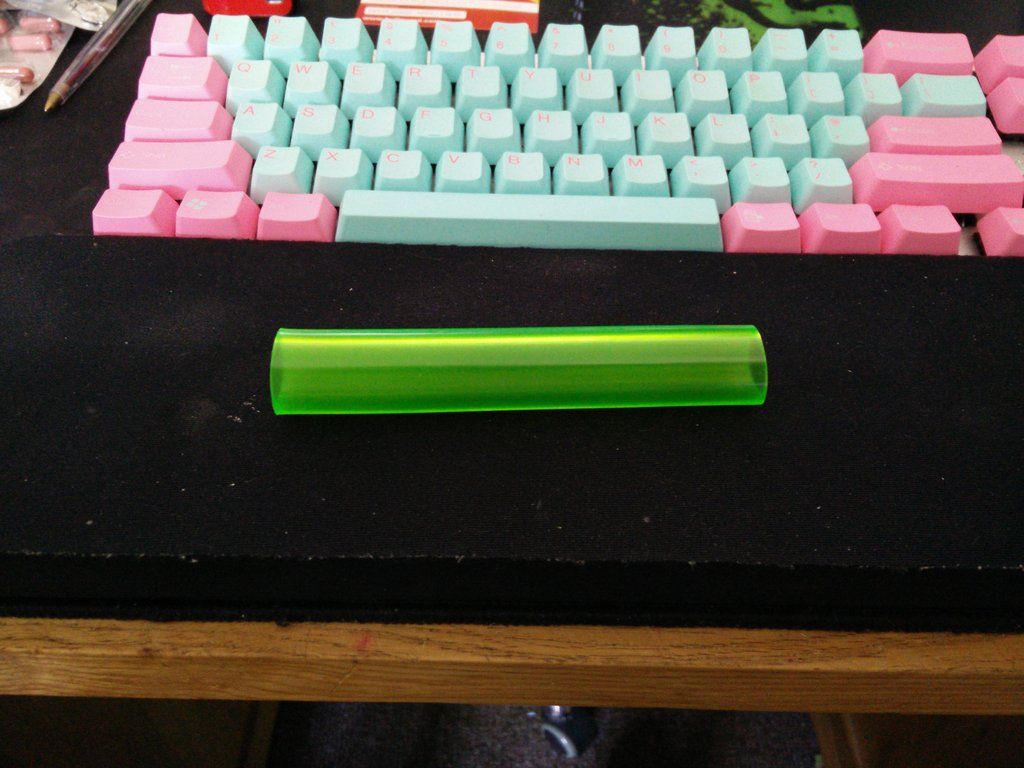
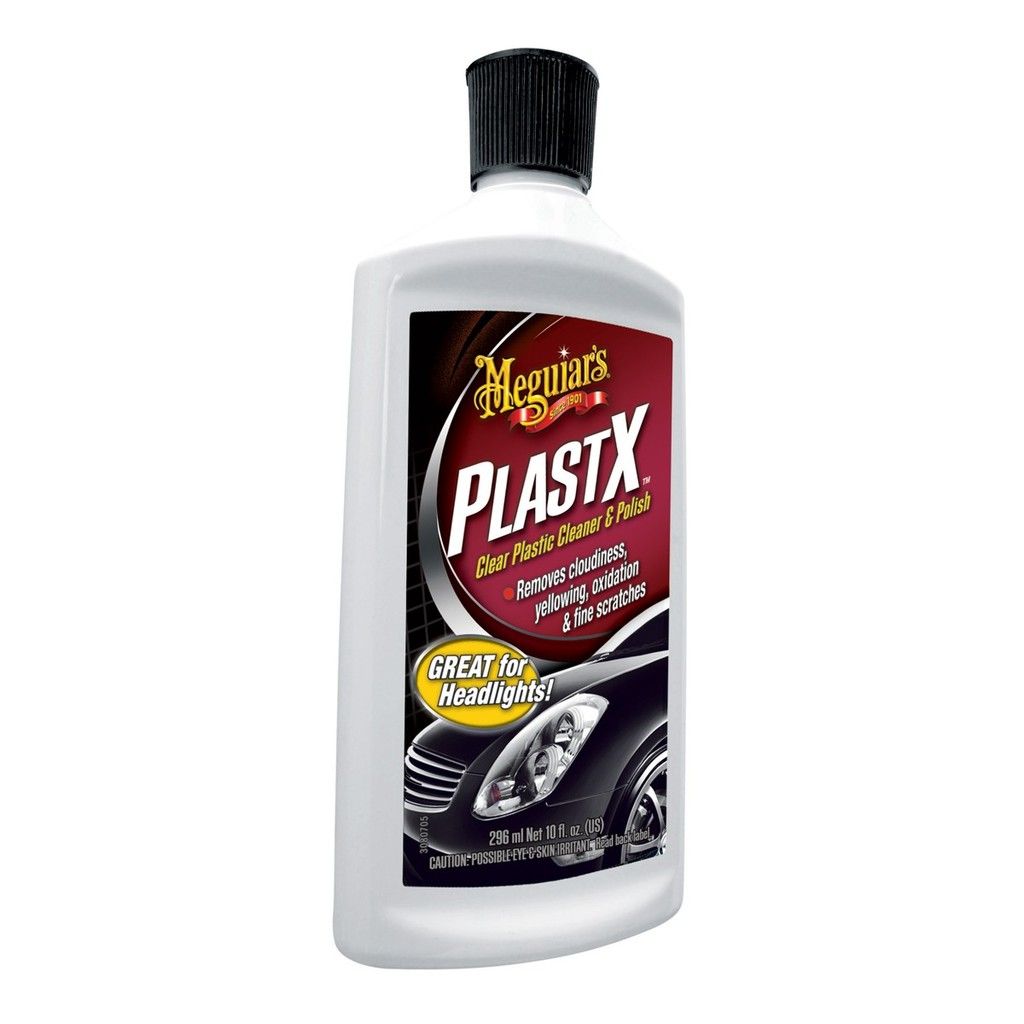
I tell you what I may do, though. It will cost an arm and a leg though (around £200 I would think). I spotted this the other day.


And it made me rather moist. Though as I say, it's expensive, very expensive. I have a thing for teal though and duck egg. I had a limited edition Blackberry in teal once and loved it :)
 
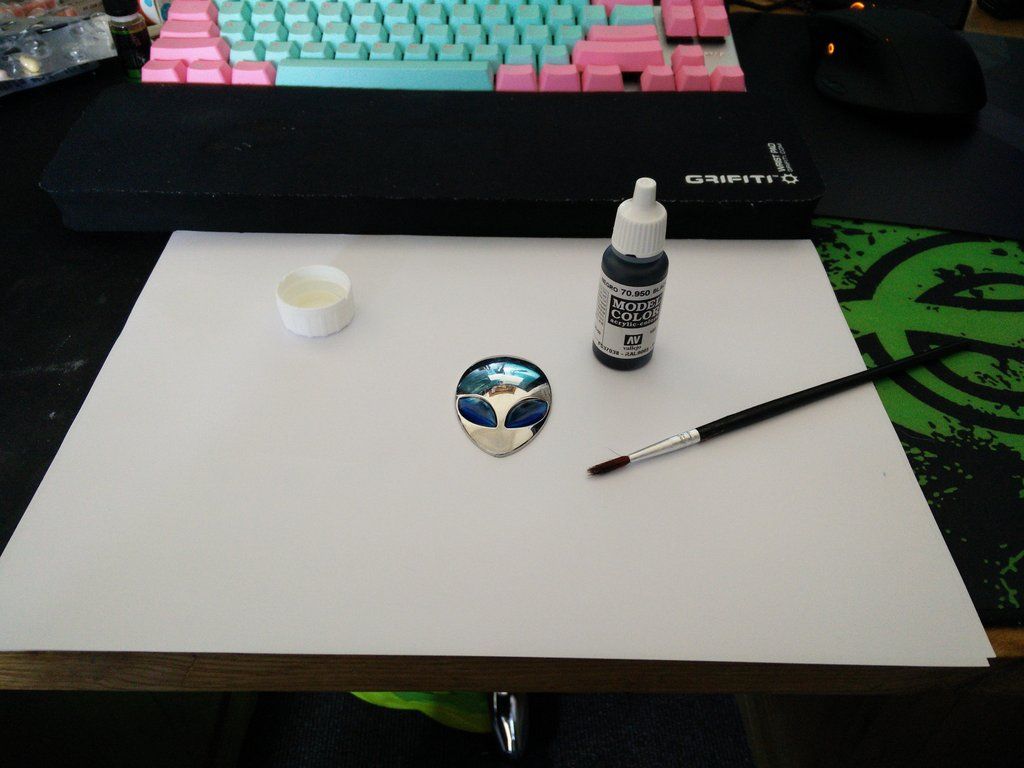
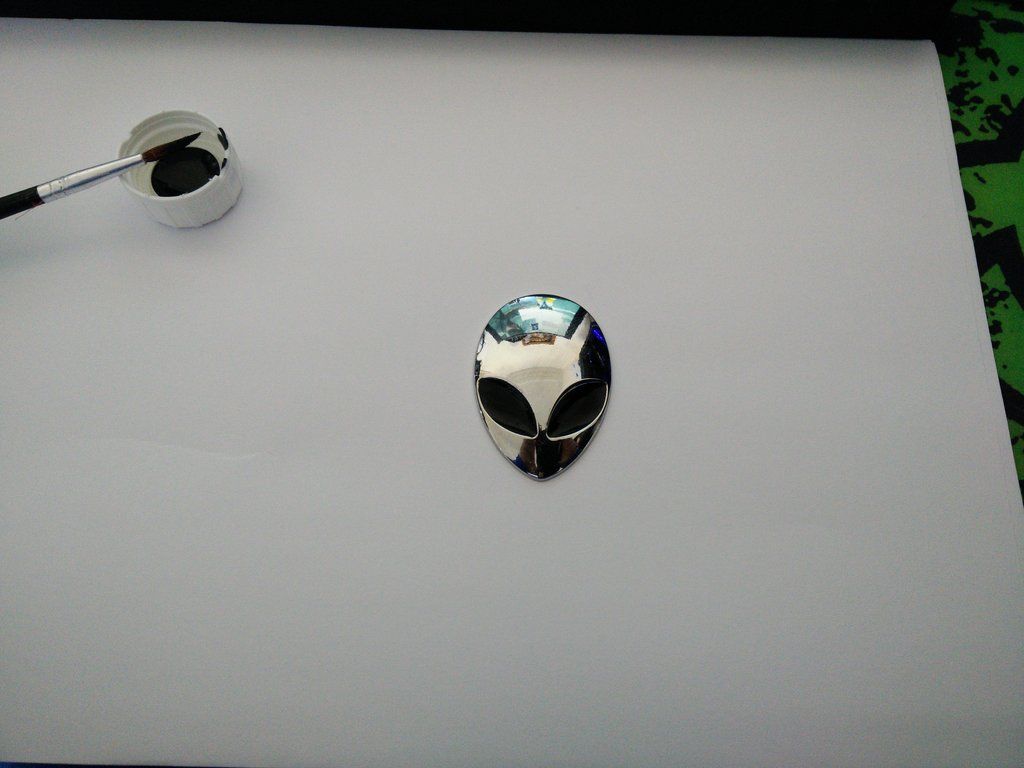
OK guys so here is what I've been up to today :) Firstly this.


As you can see, my brushes arrived :)


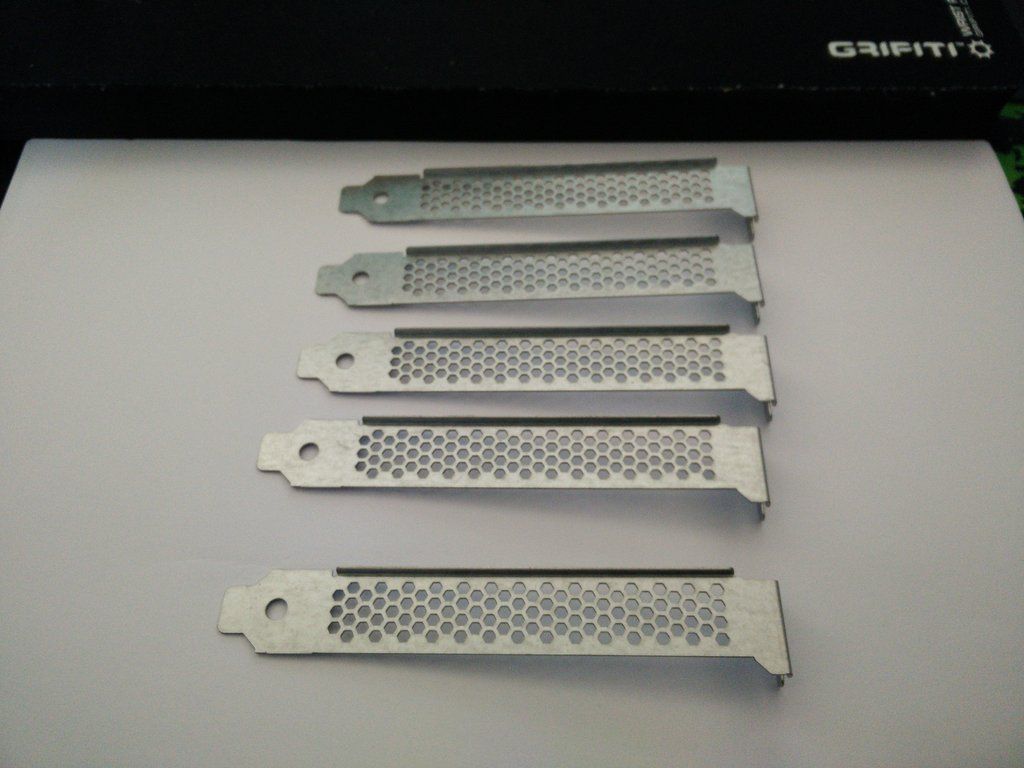
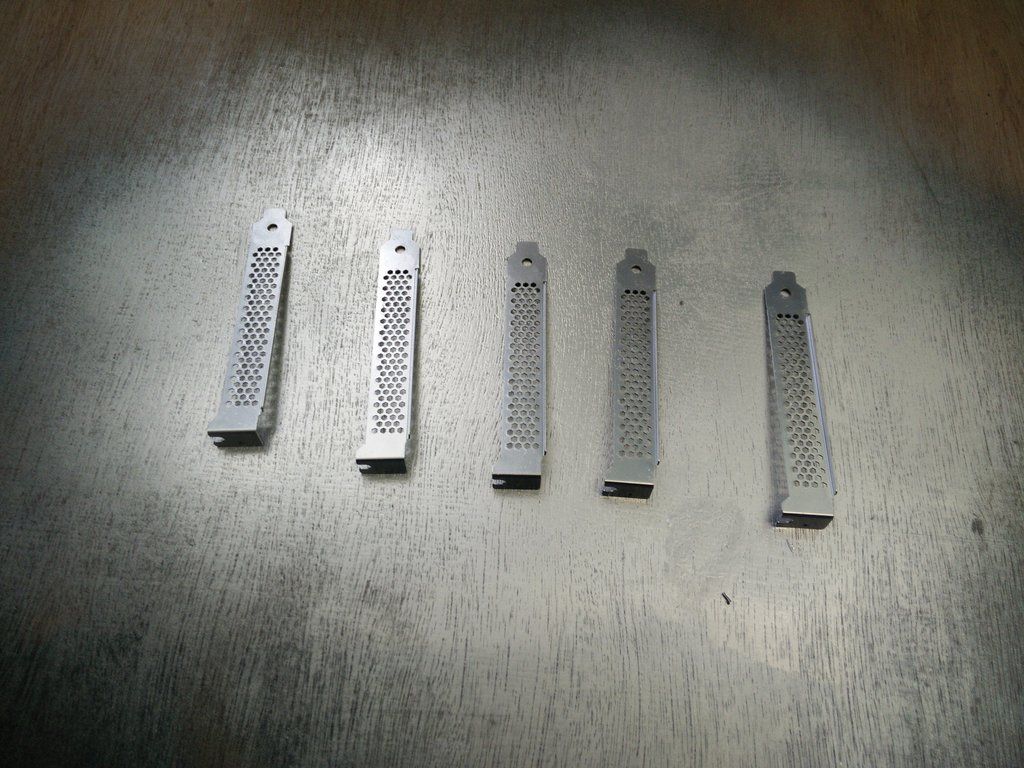
Onto the next job, the PCI plates. These came out of my 2014 Dellienware but they are silver and they have hex pattern, so they were ideal.


Problem is they were not quite silver enough.


I should have done them weeks ago but I remember thinking "I CBA painting them" so I just chucked them to one side. Then two days ago it dawned on me that I had completely forgotten where I had just chucked them so I spent about an hour searching earlier and finally found them in a padded envelope at the bottom of a box. I don't particularly like them flat, so when the paint hardens up in a day or two I will shoot some clear onto them :)
 
OK so the first thing I did today was clear coat the PCI plates. They are now drying. Then I decided to do some more plumbing.

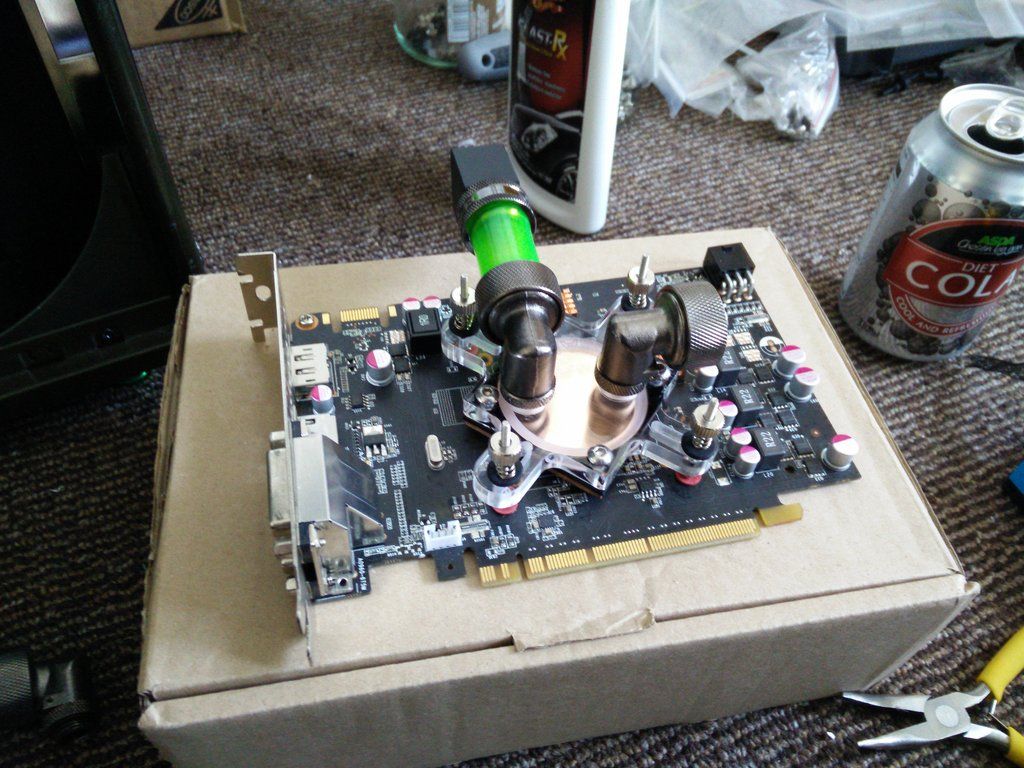
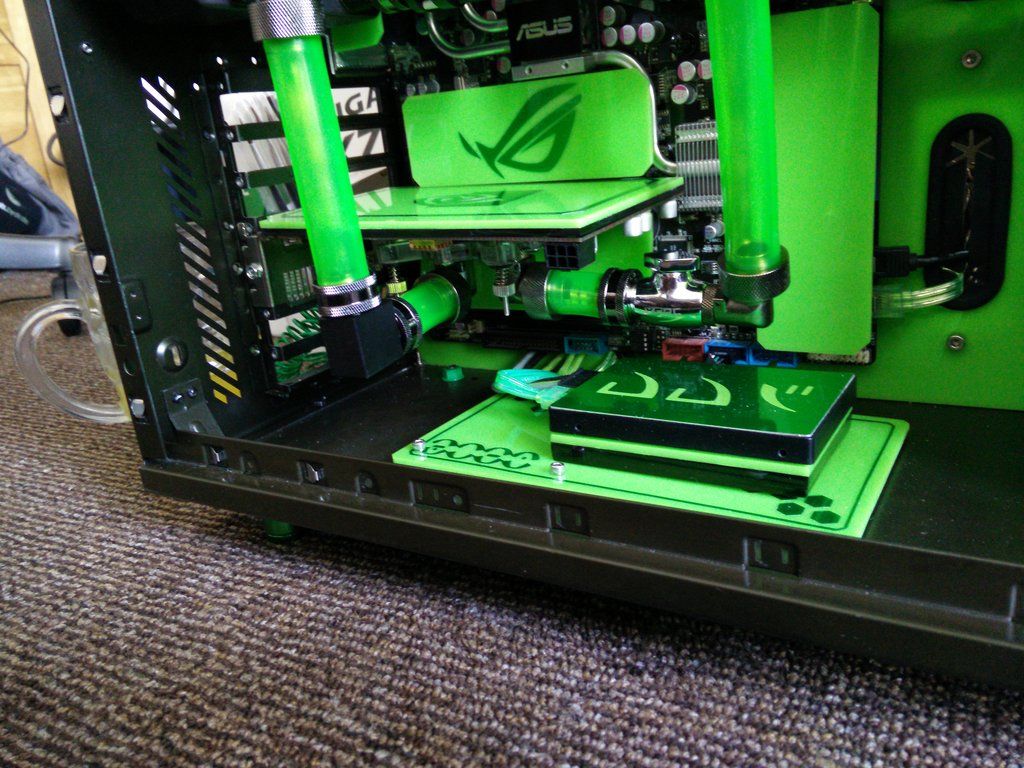
I started out making a straight pipe for the GPU, which would bring it out and then turn it 90'.


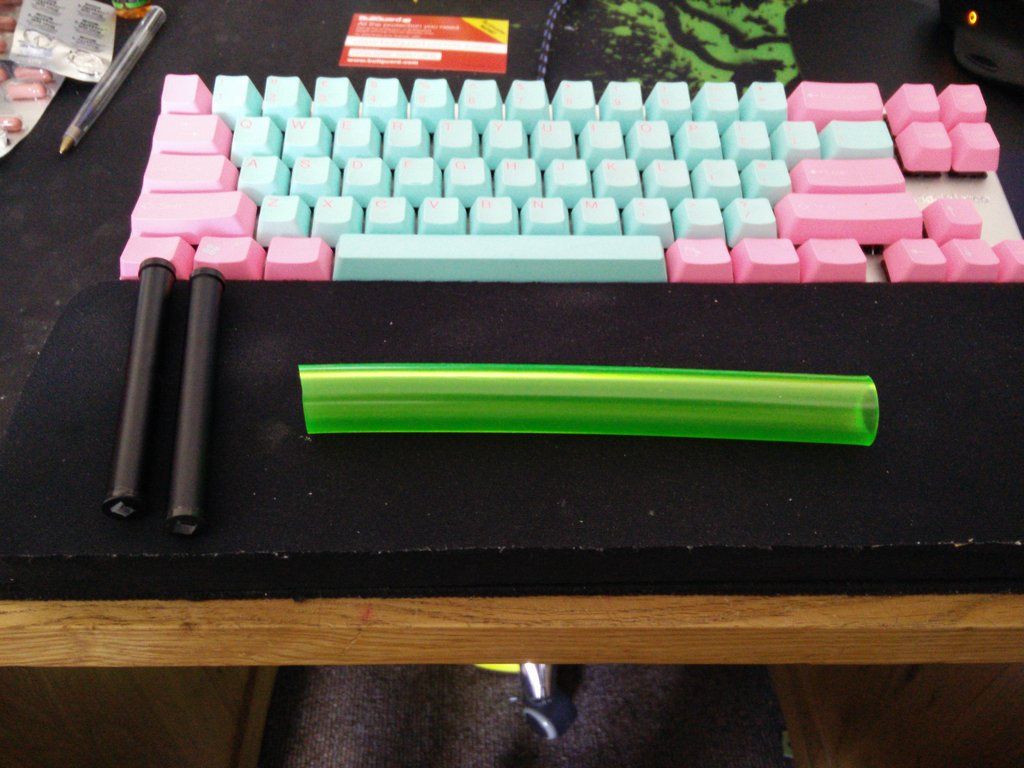
Here are my straightening tools. I [strike]snapped[/strike] carefully removed them from an old phone tripod.


Here you can see I have fitted the GPU and pre-fitted a piece of already straightened hose to it.


Here is how my straightening tools work. If it is a short length I simply insert one in the end.


I then heat it slowly and evenly (keep the heat gun about 4" back) until it straightens. I hold onto the inserted "tool" and when it's straight I place it down on a smooth surface (like metal) do not lay the pieces down on anything textured like a mouse mat or they will end up with a textured finish.

Et voila.


And plumbed.


Look closah.... CLOSAH !


Now just as I thought it was all going incredibly well I hit a snag... The fitting at the top of the case that was going to accept the return pipe was sticking out too much from the res. Basically had I ran a pipe down there it would have hit the back of the GPU. I started to fear I would have to strip the entire loop down (because I could not put a fitting on any further as the res was in the way) then hit on the idea of simply pulling the bugger through the fill port hole, putting the fitting on where I wanted it then feeding it back.


By this stage my hands were battered again. I also seemed to open up the blister I had on my fingers too, oucho. However, the finish line was now in plain view and I wasn't stopping for no one. Fit the ball valve and fitting.


And...


Oh hell yeah !!! Insert kill coil.


GPU back plate (don't worry about that scruffy 24 pin I will get to that later !)


And then insert Dr Drop, connect up the pump and sing "Pump up the jam" whilst adding pressure. (that actually happened).

And she's good. TBH I wasn't expecting any leaks since I did it the hard way and tested it EVERY TIME I added a new fitting.

Sadly in my excited rush to order the other day I forgot to order a funnel. So they are ordered and en route as we speak.

I also ordered this the other day (and have it)


I will be refinishing the face of the res, as it has some marks and some paint on from where I painted the face plate and fitted it back on before it was completely dry.

More fun and frolics coming to a forum near you soon.

Notes - God damn that last connection is hard ! I had to remove the GPU to cut the hose down.

Nearly forgot the kill coil about five times...

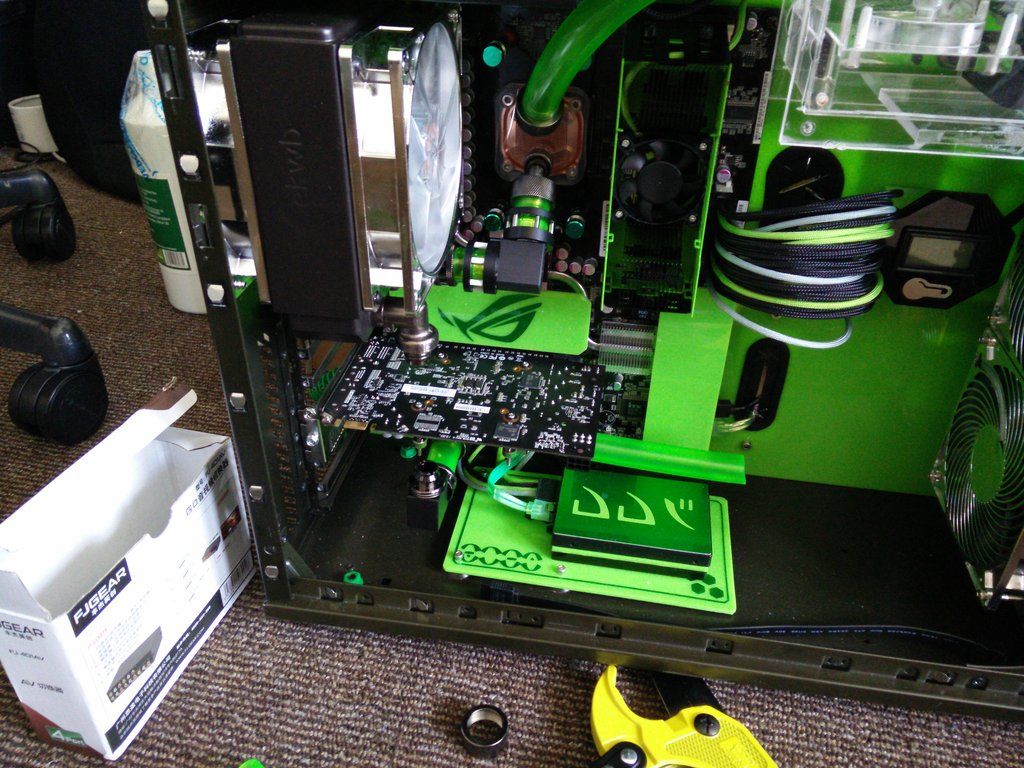
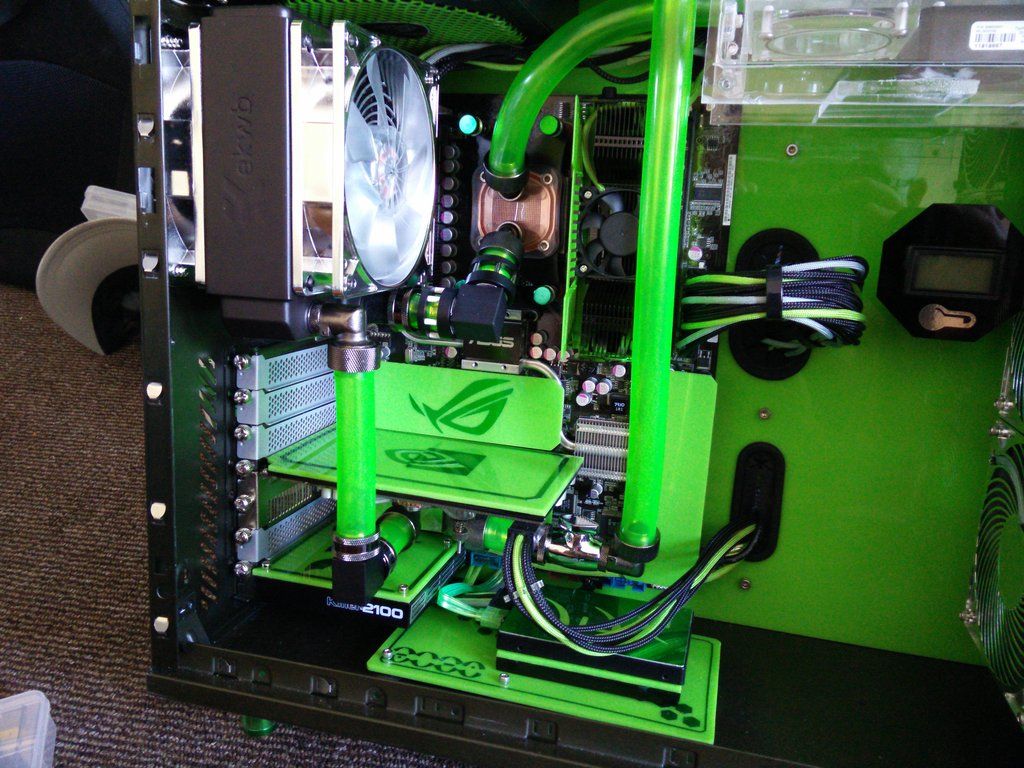
I love the way it looks. I love hard tubing but I also like the organic curves of hose. I feel I have captured both here. I'm also incredibly proud of myself, because it's my first ever loop and it doesn't look like excrement.
 
The kill coil is right before the ball valve. This means once it diminishes I can change it "easily". The tap will be for draining yes. TBH the ball valve may not even be used to close off the flow should I need to take it apart, but, offers me somewhere to break the loop open and drain it. Like you say, bucket etc. I would need to throw a couple of towels over the SSD first, mind. The ball valve is smaller inside than the hose (obs) so was the perfect place to stop the kill coil moving around.

I'm hoping I won't need to drain it any time soon. TBH all of that (draining and cleaning) would be very hard any way. I can pretty much never remove the front rad and fans for example, so next month I will be getting one of those air dusters (the plug in proper ones not the cans).
 
The funnels arrived :D So did the chrome thumb nuts I ordered the other day.


It's quite odd how the silver darkened loads when I clear coated it. I don't mind it though, as it matches the exterior panels :) Network card in.


I then connected it up to Dr Drop for the very last time. I put in between 0.5 and 0.6 and then left it for twenty minutes. Nothing, zero, nada. I then figured it would be safe to do this :D


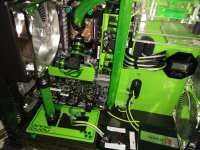
There's something alive in here !

 
Looking SO good bro! All coming together very nicely.

Thanks to you man :D

Nice to see it properly soon. What colour is your carpet now?! ;)

Still poo brown. It may be a little more poo brown than before though.

So I filled the rig with water as per the video. Then I tried to fire it. Nothing. There was no one home but all of the lights were on.

It then gave me a four hour fight. The memory I have is not totally compatible with the board but I got there in the end. Posting from it now.. Initial testing..

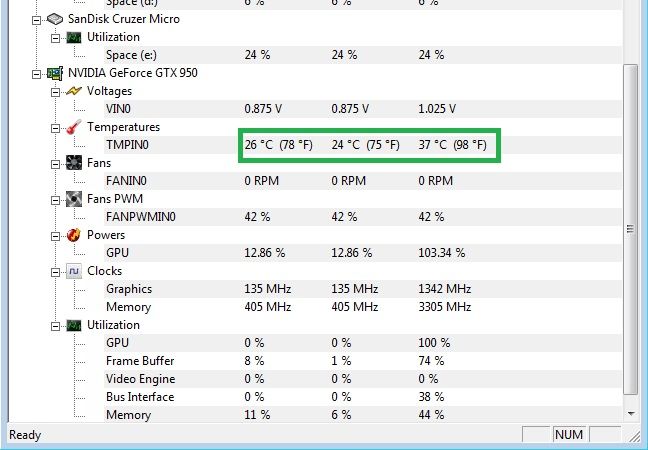
lmao. I was kinda disappointed when I saw the GPU idle temps I must admit. Check out the load temps though !

Before on air.


After on water.


Do note, every fan is on 7v so it's only audible right now because I had to connect a fan to the CPU fan or it errored (I just need to disable it and remove said fan).

Amazing !
 
Disaster.


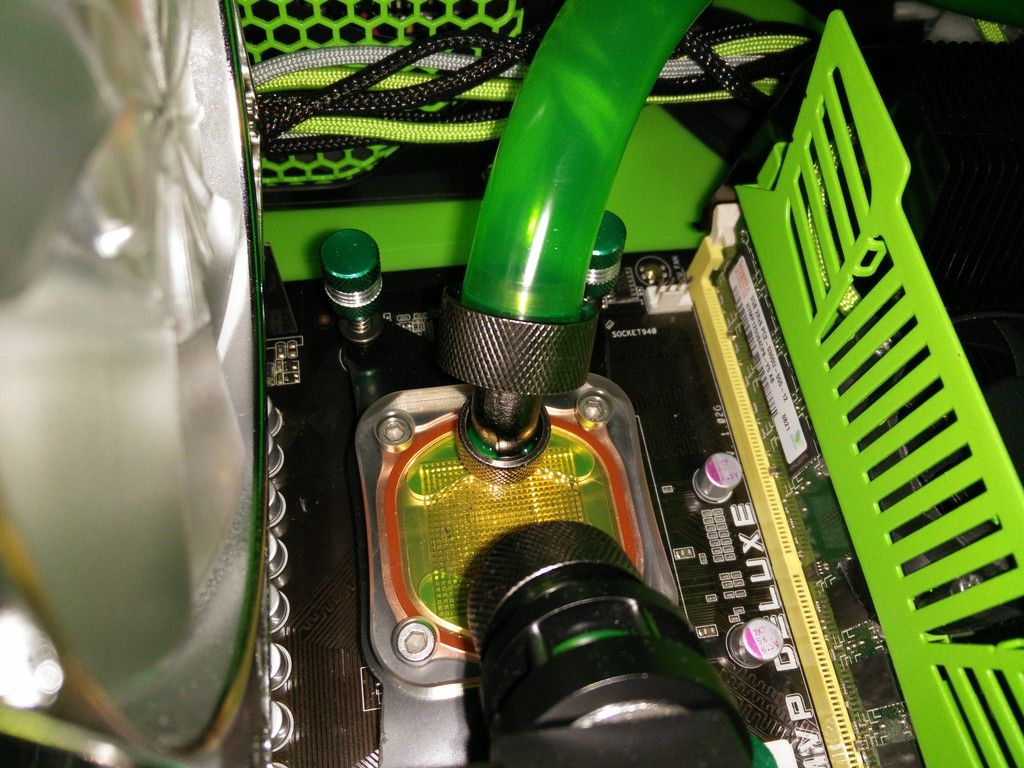
Look at the top fitting in the CPU block, and most importantly where it fits together on the rotary part. It's leaking.

Last night I moved the rig so I could work on it and made the LED boards for the side panels. I then fitted the LED board to the right side panel and final fitted it ready for photos. Then I noticed a puddle on top of the GPU back plate, going down onto the top of the SSD. It took me a while because it only leaks if you wobble it but yeah, I now have a whole day of tearing down etc before I can repair it and I don't have the money or the parts yet to repair it.

So now I have to remove the res cover, remove the cover panel, disconnect it, remove the right side panel, remove the roof, take out the GPU (it swings out on rotaries) and then drain the entire loop down.
 
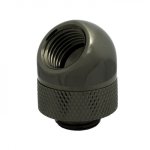
I'm going to get the XSPC 45' rotational for a fiver then the XSPC fitting I've used elsewhere as they're the easiest to fit. I need a bucket though as I want to try and salvage the coolant. I've got a ton of coffee filters here so will filter it as it comes out of the rig. Just waiting on the Paypal refund now.
 
I couldn't save the coolant sadly. I realised that my buckets were filthy from wet sanding etc. Ah well, maybe next time :D Thankfully these fittings are "Acrylic kind". So there's no damage to report :)

Well actually that wasn't so bad. I timed myself and it took about five minutes.

rfG3OF9.jpg

I suppose it gave me a chance to test out my drain idea. As you can see I designed it so that the GPU was on rotaries at both ends, meaning it just simply swings out. You then undo the 90' farthest right and when that has drained you open the ball valve, dry off the 90' which is now empty and then blow :D

I gotta admit I actually quite enjoyed that rofl.
 
Now that is one properly sensible idea chucking rotaries on the GPU. Was wondering how the ball valve was supposed to work where you have it, now I know and feel stupid for not figuring it out! :D

I wasn't going to use a rotary on the rad ! I had an extender there and that part of it happened purely by accident when I realised it was literally straight above the GPU. Still, I guess I was in for a bit of luck.

I see. Didn't think of taking the graphics card out to get the loop over the edge. Makes sense now.
Carpet still not alien green? Well done for making me look inept :p ;)

Well I was kinda sat there in suspended animation. I had a bucket in one hand and a 90' in the other. I was just set to call my lady wife (who would have been peeved, she's not slept all night) and then I realised that as the 90' was on a now completely empty down pipe (and was the return feed) that all I needed to do was balance a bucket in my left hand, dry it with some khazi roll and blow :D )

So yeah, kinda fluked that part.
 
Yay :)

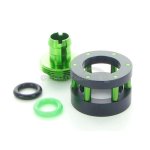
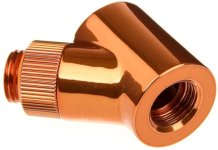
I was poking around on OCUK earlier looking for rotary fittings and I found these on clearance.

hrFSzMB.jpg

In a four pack for £7.99 :D

JC3bv4j.jpg

So now I can replace both of the odd coloured ones with green ones and make up two new 45 deg rotary fittings with these, which I have ordered two of.

DgXtHlO.jpg

So hopefully early next week (well, or the weekend, free second class) I can get it put back together again :D

Huge thanks to OCUK (they're in my thanks list any way) but I've bought quite a few fittings cheap now from them. Been a life saver three times !
 
And he soon regretted it... lmao.

I decided to take out the 45' chaingun assembly. The rig then decided to take a wee all over the floor of the rig. It soaked the SSD (even though the towel was on there) so I have had to remove the SSD floor and take that all to pieces. Oh joh. Paracord seems to like coolant too, it drinks it.

The rig is now drying. I've mopped up any droplets with tissue so will now leave it to dry :)
 
It hasn't got under the top cover of vinyl but it did hit the double sided tape that holds the whole sodding thing together so I've had to separate it lol. The paracord that got wet is the stuff for the LEDs which runs under the SSD floor so you can't see it any way. Annoyingly I made it so the LEDs are hard wired, meaning I can't just take it out.

The chainguns have been shipped, so I'm hoping for Saturday (I'm out tomorrow any way).

Current 'state' (literally) of affairs.

0YaEZkg.jpg

Still, at least it's all ready for me to put the new fittings in/on. The GPU literally swings out all the way. I made sure, because I'm a bit of a serial upgrader lol.
 
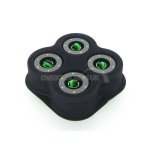
Wow. So last night I decided to strip out the bottom 45' fitting to the 120 rad. When I got it out it too had a couple of beads of green coolant around the seal. Good thing I ripped it out really. Any way, I have the replacements coming tomorrow (XSPC) but I noticed these on OCUK today for £1.99 each.

E7ULCiy.jpg

They were showing four in stock so I ordered all four. My reasoning was they are obviously better than £4 full priced XSPC fittings, and because my block is copper they would look OK. However, I then got an email from OCUK saying they only had three in stock (which was fine, I only need two) so they are replacing the 4th with a black one.

So hopefully they will be here soon. I will probably use those tbh, it's a pretty critical connection is the CPU block.
 
OK cheers man !

I searched that search engine the other night for "45' fitting leak" and found a few topics on other forums talking about how 45' fittings were the worst for leaking. I also found a couple of videos on Youtube showing dripping/leaking. The 90' I have are all fine, it just seemed to be both of those cheap 45' I bought (well I say that but looking back they were £6 each, not exactly terribly cheap unlike the 99p Thermochills I got !).

I am expecting the Chainguns and XSPCs any minute now. Then it's a matter of will.. Can I last all weekend without fitting them in.... :D

Only issue is I am now down to my last bottle of coolant. So if I get another single leak I will have to wait two weeks to order more. My kill coil seems to have upped and vanished like a fart in the wind too (gotta love Shawshank quotes !) so I've got a bad feeling it's living with the dead goldfish down the toilet. I must have blown it into the bucket without seeing it and then tipped it down the bog. Doh.

Did look at those for lighting up an acrylic run. I reckon it's look pretty good. Not sure why the idea didn't go anywhere. May just have forgotten about it :D

I suggest more coffee mate :D
 
Good plan. One triple ristretto coming up! :D
If it's any consolation, I'm not going to be able to finish over the weekend because I don't have enough resistors and RS are closed.
On the plus side, if you're using the XSPC EC6 stuff, you don't actually need a kill coil - it's already got biocide included.

Yeah man I know :) that was for the original plan. Just surprised I didn't see it is all. Maybe it's somewhere else lol?

sG6BybZ.jpg

Just Dr Dropping it now. It seems fine though. I wasn't going to use the XSPC fittings but when they arrived they were considerably more chunky than they looked. They're also stiff, so my hands are now like super buggered.

If it holds pressure for another 30 mins I will start filling it again :) I mean in theory it never leaked from anywhere else so if it does now it's highly likely to be from the new fittings and stuff, but they feel super firm.
 

Take two lol. It can only leak from the new fittings and I've left plenty of air pressure in them (and wiggled them etc, they're rock solid) so I deemed it safe to be filled. This time though I will leave it for a day or so before igniting the hardware again (he said, not being quite sure...).
 
Back
Top Bottom