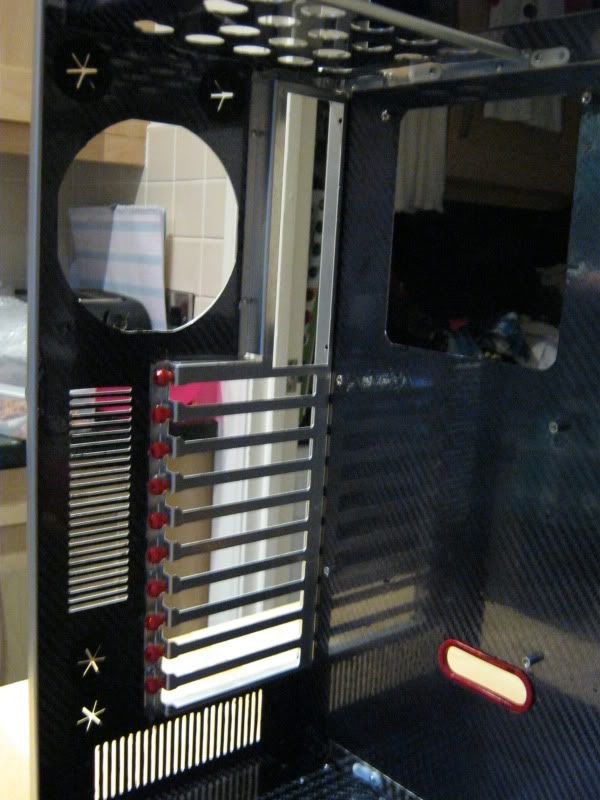
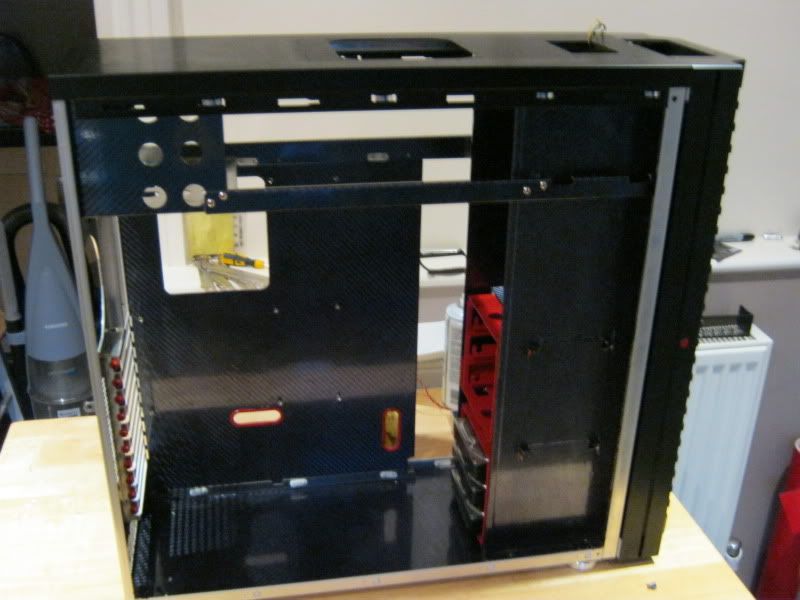
Project: Fallen Angel

Motherboard tray:

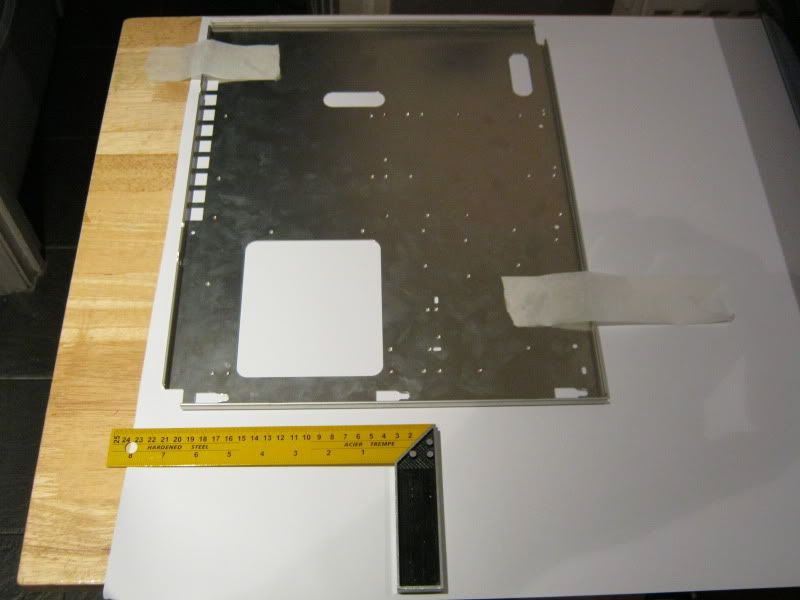
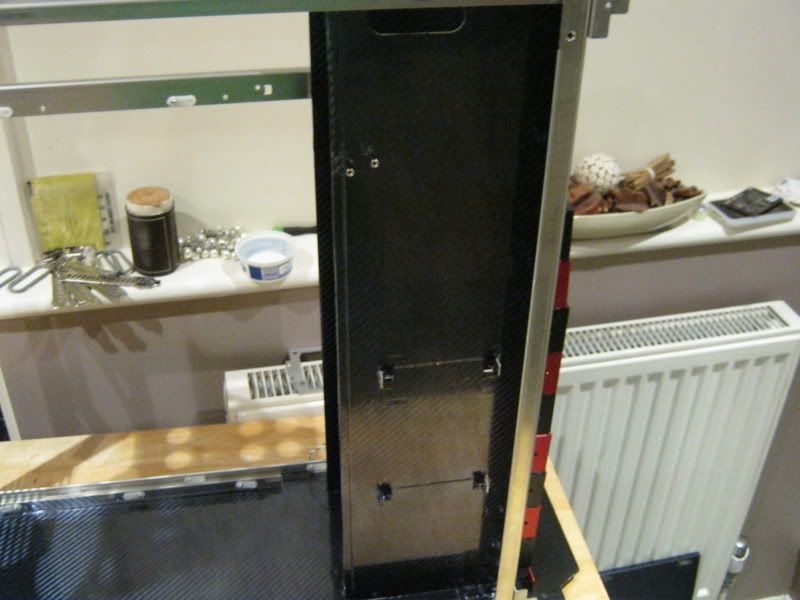
Here's how the tray looks in situ:
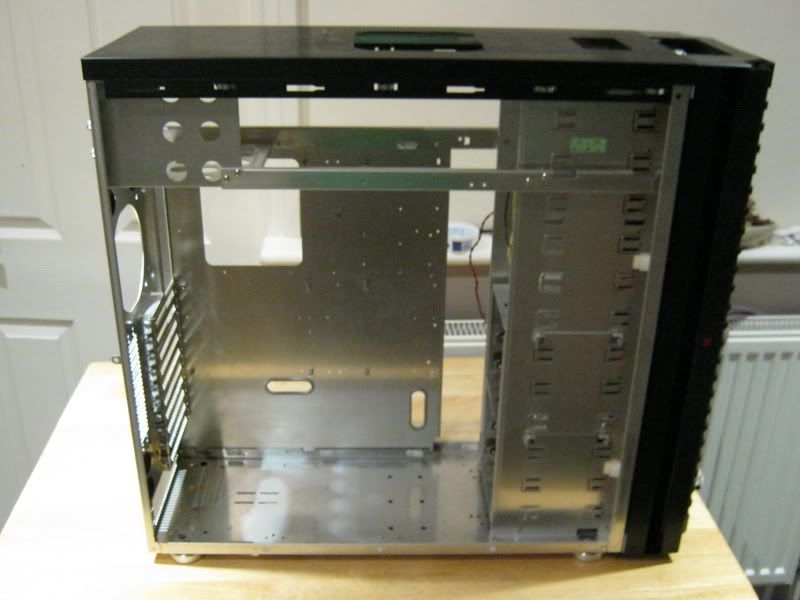
motherboardtray002.jpg


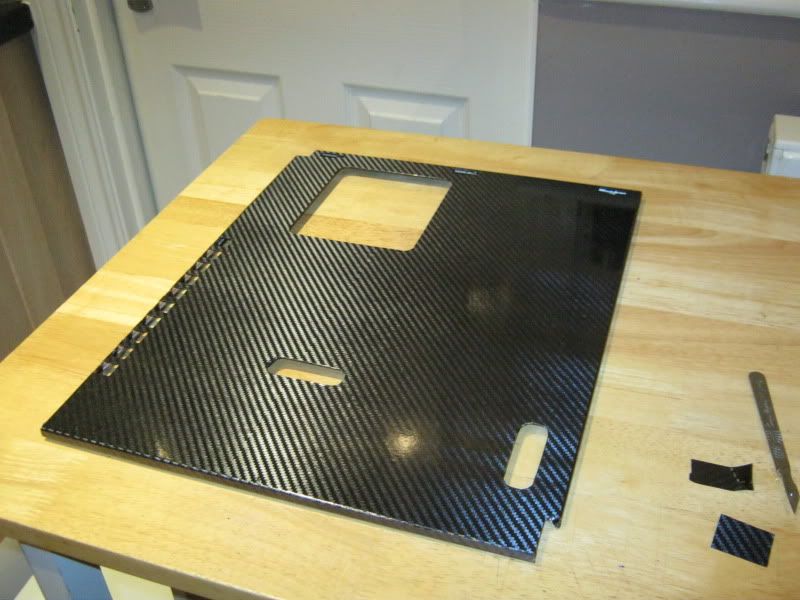
Tray removed and cleaned with IPA to remove and grease/fingerprints that may affect adhesive:
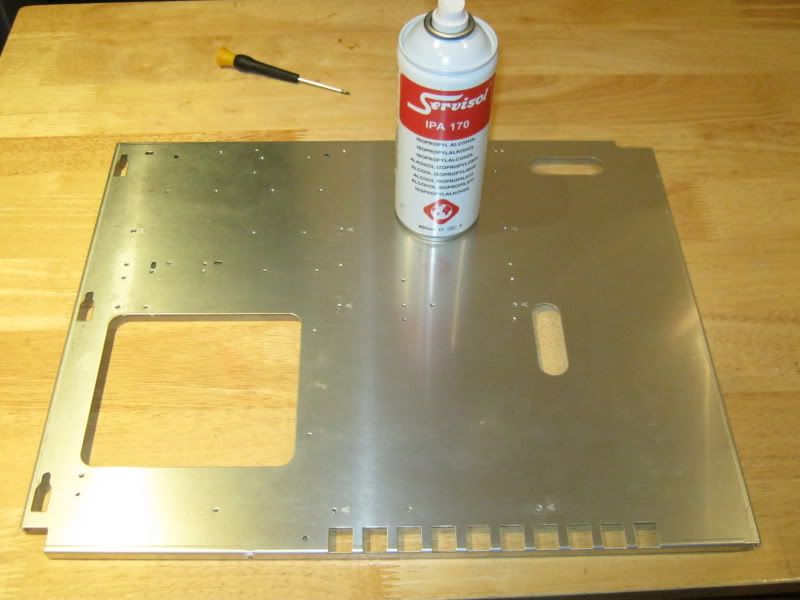
motherboardtray003.jpg


Template cutting:

motherboardtray004.jpg


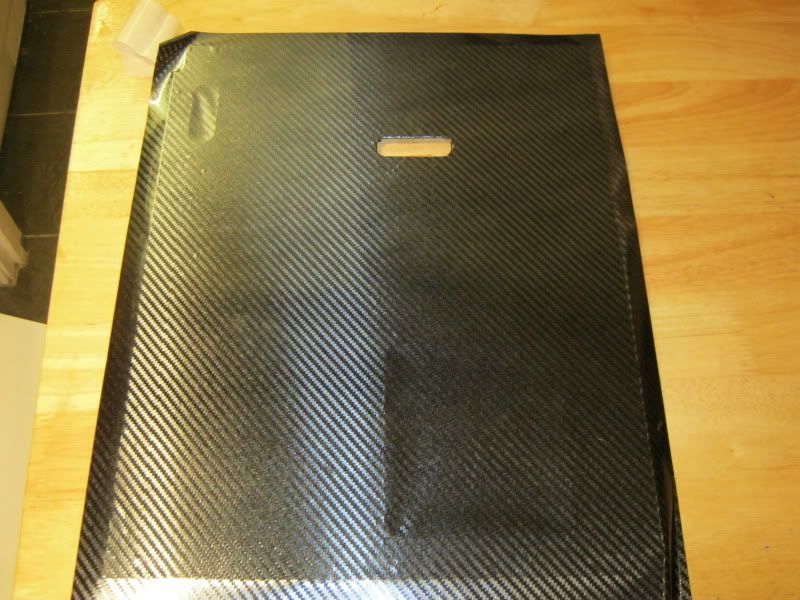
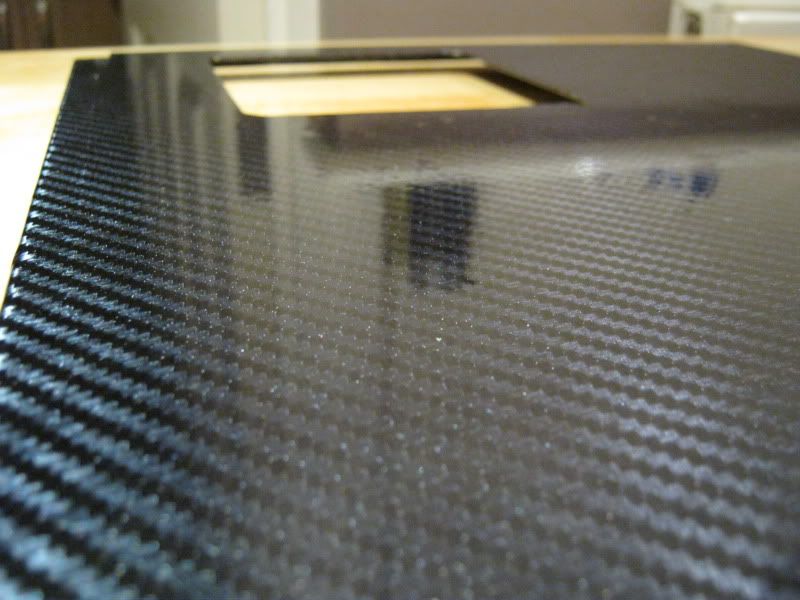
Removal of bubbles. I was gutted with initial application due to the severe bubbles that wouldn't budge, hardly noticable in the photo but it looked like woodchip wallpaper so these had to be 'popped' with a pin; very therapeutic truth be told :D:

motherboardtray005.jpg


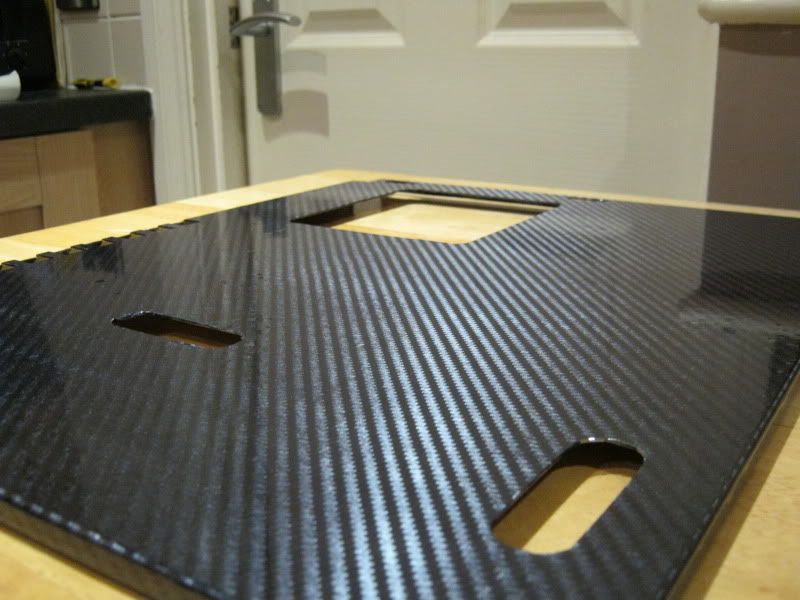
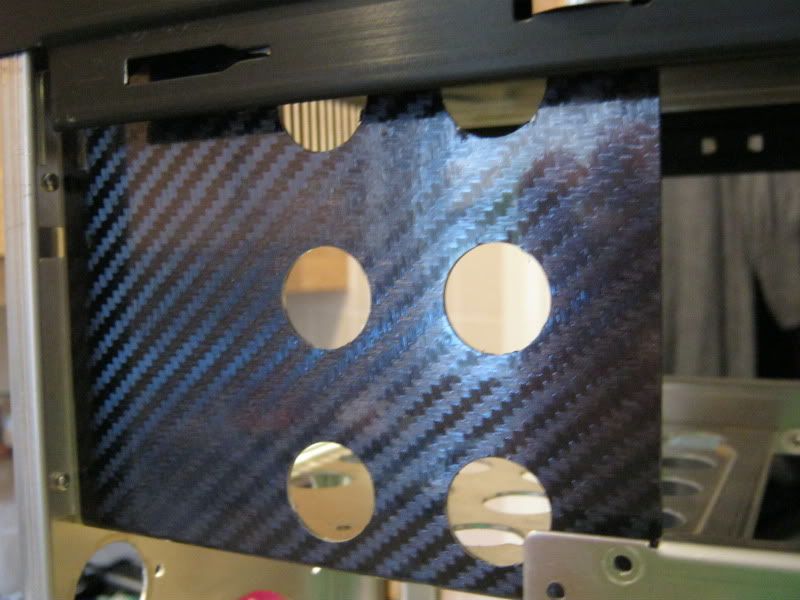
Motherboard tray mount holes: Odd shapes which made it extremely difficult to get the edges right but looks ok:
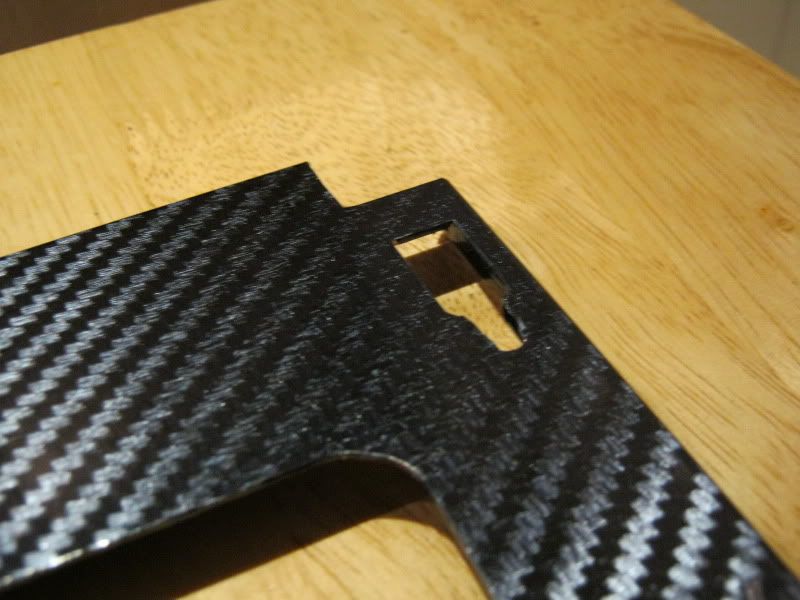
motherboardtray015.jpg


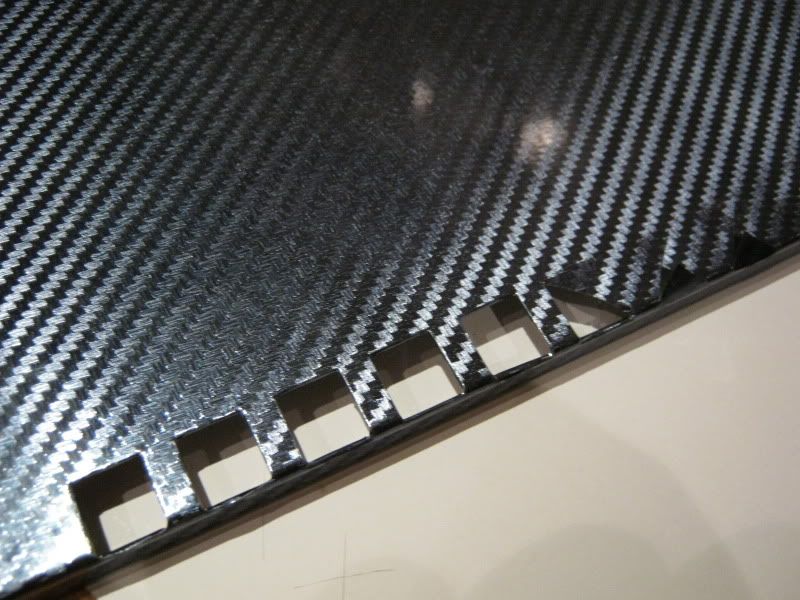
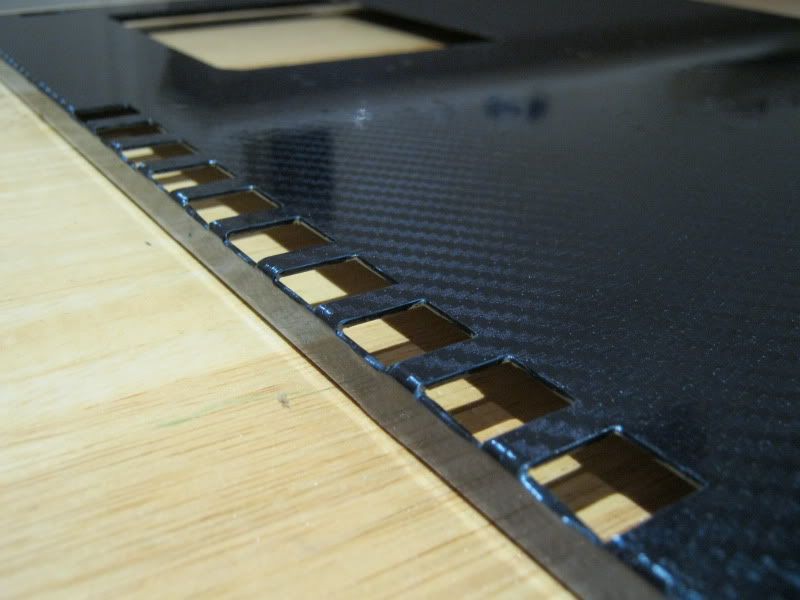
Next up: Cutting the cable holes and pci slots!
 
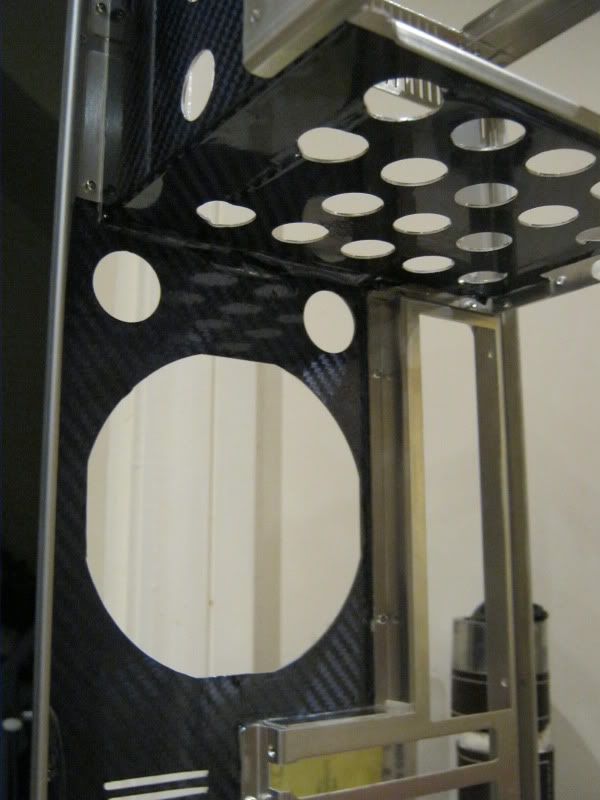
How ******* fiddly was this to do?!:

motherboardtray011.jpg


Outcome worked out well though:

motherboardtray014.jpg


Most of the bubbles have been worked out now. There are a few slight 'bobbles' but these are the screw holes which I'll be leaving covered for the now:

motherboardtray007.jpg


All, done (for now)

motherboardtray016.jpg


motherboardtray013.jpg
 
Managed to get a fair bit more done today.

Base of case.

I was undecide whether to go red vinylwhich was the original plan but it look a bit 'flat' and didn't work really well so I went for carbon again:

morecarbon009.jpg


I came across a few probles thanks to LianLi's excessive amount of screw holes which made the surface a little uneven in places. It's pretty much masked by the carbon but noticable close up. A few pin pricks and a heatgun made the job a hell of a lot smoother though.

PSU bracket.

In hindsight the whole job would have been so much easier had I had a pop-rivet gun but I havn't got one to hand at present so I had to cover everything in situ which took a hell of a lot more time (more thn it would just going out and buying a rivet gun!).

morecarbon005.jpg


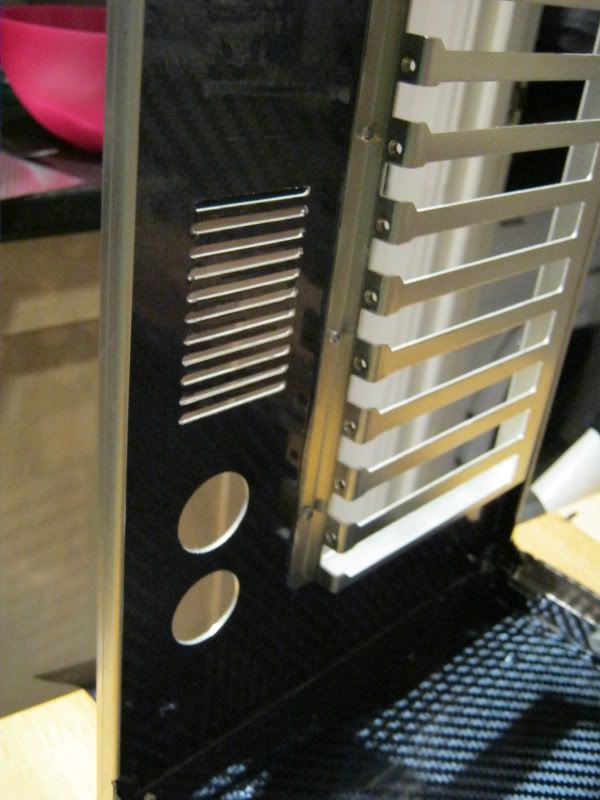
The vent holes were easier to cut than I imagined thanks to a scalpel but were still a little fiddly to manage a clean cut.

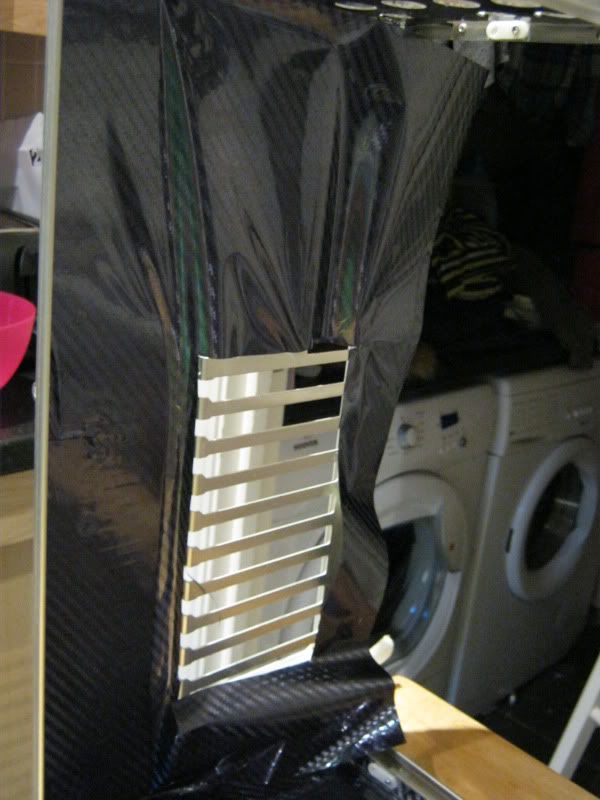
PCI BAckplate. I was really dreading this part as there were so many holes and rivets as well as rolled aluminium to cover it was always going to be a nightmare. Depsite drawing a template, you can see what I was up against:

morecarbon010.jpg


The Vinyl is pretty much like a large section of sticky tape so you have to be real carefull of creases or worse, it folding up against itself. Once in position though it was a case of using the heatgun to spread the stretch the vinyl into position and de-bubble the piece:

morecarbon011.jpg


morecarbon013.jpg


More to come...
 
Next up, the HD tray.

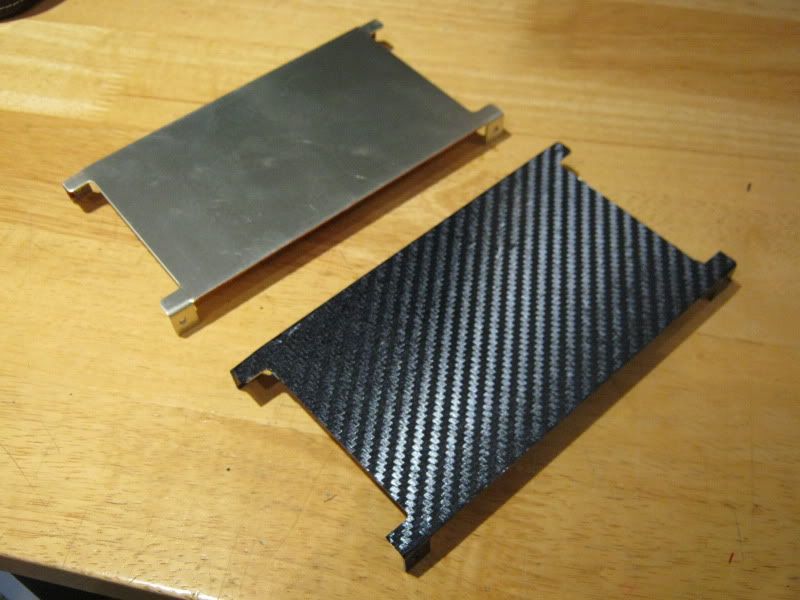
A doddle to do after the pci backplate:

morecarbon008.jpg


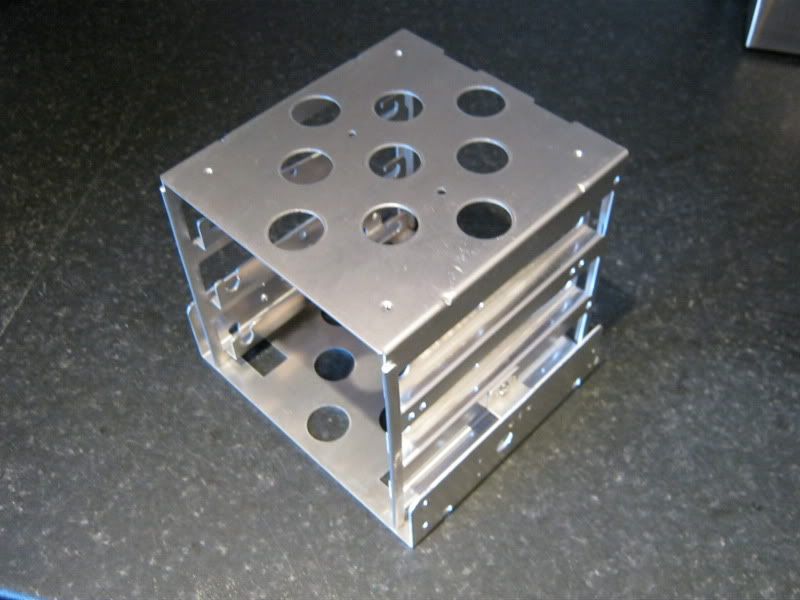
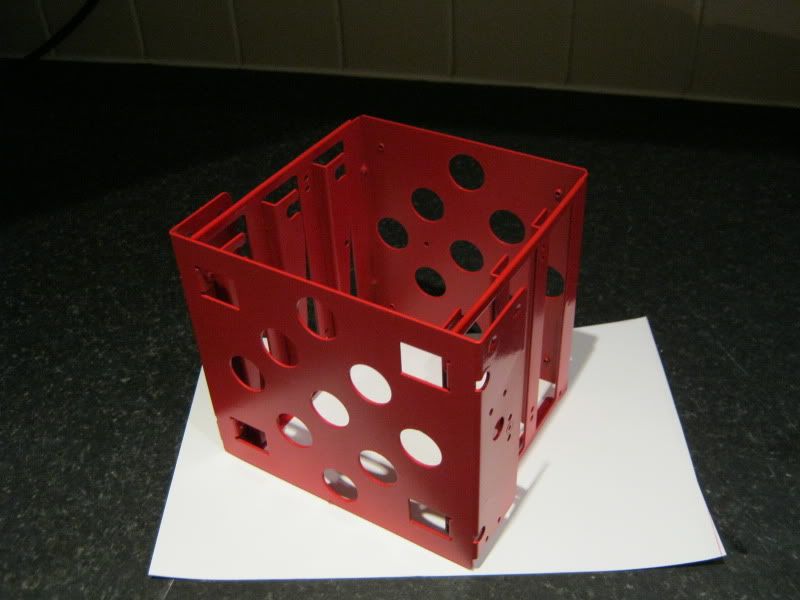
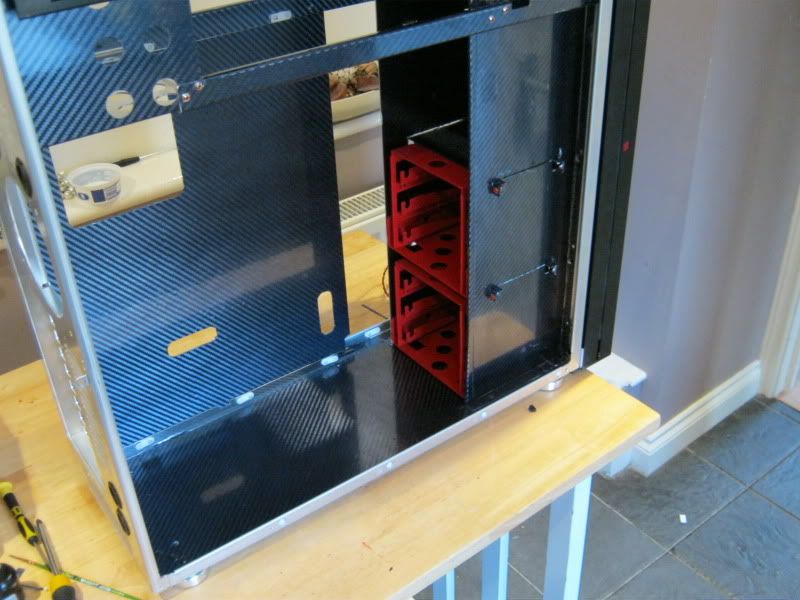
The HD brackets themselves would be nigh on impossible to cover effectively in vinyl so these were sprayed 'rampage' red :):

morecarbon004.jpg


hdbay001.jpg


Might get a bit more done tonight, hoping to get the 5.25 trays sorted. Alcohol is calling though so perhaps best I put the scalpel down for the night lol.
 
Looks stunning in the flesh, really pleased with it. Tbh this little project is coming along better than I thought and I'm enjoying the vinyl even though it requires oodles of patience, Just hope I have enough left for what I have planned ;).
 
Yep, the vinyl does look like it's akward to work with, bit like wallpapering on a smaller more intricate scale, and boy do i hate wallpapering lol. Are you gonna go with 140mm fans on the cooler? Considering trying a few on mine, but it's a case of finding good 140mm PWM fans, ive unfortunately used up all 6 channels on my fan controller.

No, I'll be using 120mm fans for the now as The OCZ Blades will interfere with 140mm fans I reckon.

Looking great. The vinyl work looks first rate

Cheers. It was a pian to do but worth it imo as the interior looks very nice now.
 
Managed to get quite a bit done today.

5.25/HD racks:

finished002.jpg


These were easy enough to do however I won't be making all of the cutouts as I prefer the 'stealth' look. The only holes that will be cut in these are for what I need (Blueray + HD racks).

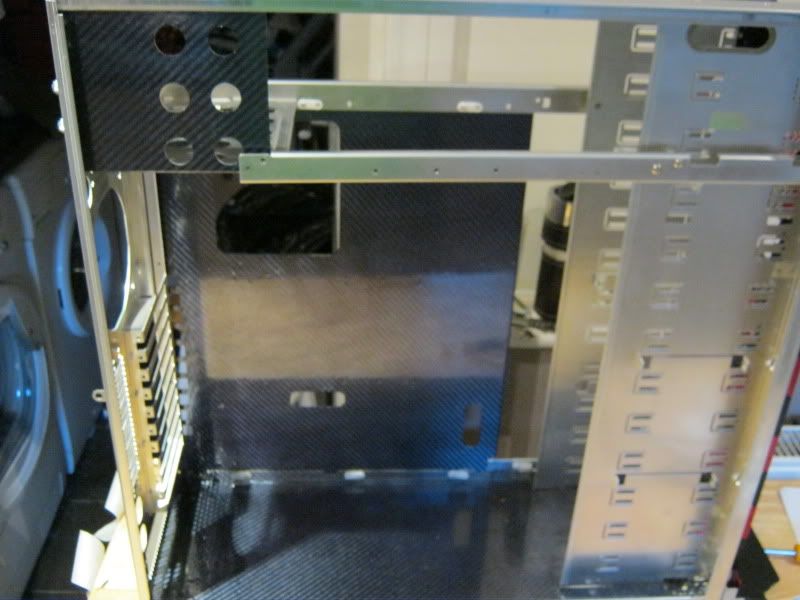
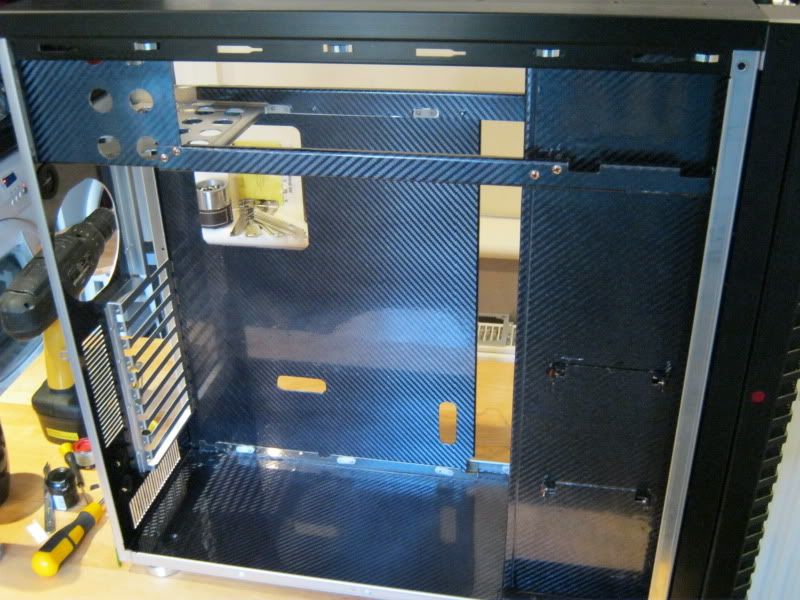
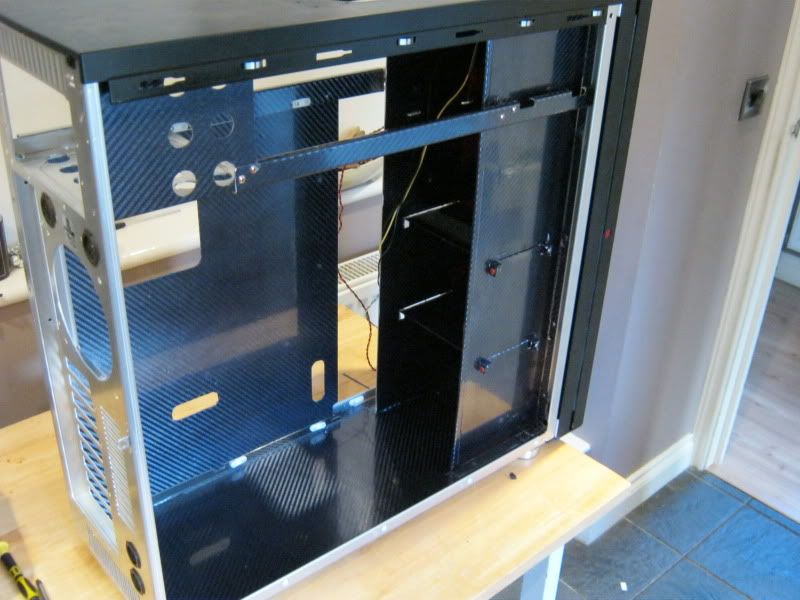
It's all coming together nicely now. Here's some shots with the mobo tray in place:

finished006.jpg


finished007.jpg


Next up, a few little details....
 
Details:

finished014.jpg


After spraying the HD racks red and liking the look I went on to do a few more little touches:

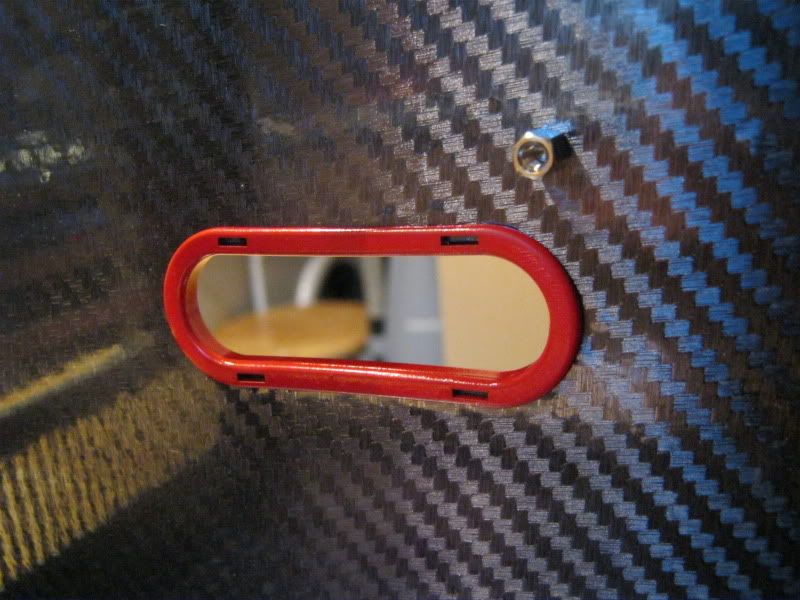
I was gonna use some plain black rubber edging for the cable cutouts but thought I'd give the stock ones a lick of paint:

finished018.jpg


...and while I had my overalls on, I painted the thumbscrews to match the build theme:

finished020.jpg


Here's how it looks thus far:

finished015.jpg


That pretty much finishes the internals for now. There might be a few more little touches here and there but I don't want to over do it. Simple but effective is the way forward now.
 
Lol, I get bored easily. I made a few quid of it as it didn't really cost me anything to build and it got the attention of potential sponsors for future builds so it served its purpose well.

This build is easier to maintain and is designed to be my 'main' rig to use while playing with other projects as using a laptop as a main pc is a pain! Easy to maintain and test parts out as well as upgrade while being easy on the eye.
 
Electrics first lol. I'm sure you'll do her proud :). Happy as muck with this case now. Can't believe I almost got the HAFX instead :o
 
Tbh mate, the lian li looks better, far better looking case than the haf x, im a little biased as i own a lian li. (a70f), kinda fancy carbon covering the mobo tray, bit bland with the standard aluminium finish. Theyre beautiful cases, but for the price you pay they should be finished in black internally.

Yeah, I love older LianLi's, the v2000b was an absolute storming case. The newer ones are a bit tinny though so I hear with very thin aluminium? I still don't know why lianli don't come with black internals tbh.

The motherboard tray is an absolute doddle to do tbh m8, go for it!
 
It's cheap enough unless you get the Di-Noc (which admitedly is more authentic) but if you want shiny then this is the way to go. It is VERY tricky to apply around rivets etc but for flat pieces then its a doddle.
 
Looks good mate .. love the carbon fiber

Subbed

Cheers :)

Looks great w3bbo, PC-P80 owner myself. Lots of fun to work with, and for me the largest case I had worked with.

Cheers m8. I've not actually installed anything yet but yeah it certainly fells roomy. It was never going to be as spacious as my old MM cases but I'm liking it thus far. I've always been a fan of LianLi's and this one is no different. Perhaps the only case I would go for now is one of the Tyr(?) range. They looks especially nice but very expensive!
 
Looking good dude, will this be a Sandy Bridge build then?

No. X58 still offers more power for my needs (and more reliability it seems!). I'll be skipping the new cores until X68.

yeh thats the one.

thought someone was using your build as there's as your name was different.

No worries there m8. It does look odd and I have asked Jupiler for a name change to who I'm known as in the UK ;).
 
The potential for water is there I guess. No doubt it will be converted in the summer when temps are an issue again...sigh. I'll be happy if temps stay below 80c for now though.
 
Back
Top Bottom