Project: Fallen Angel

HD Reversal and cabling

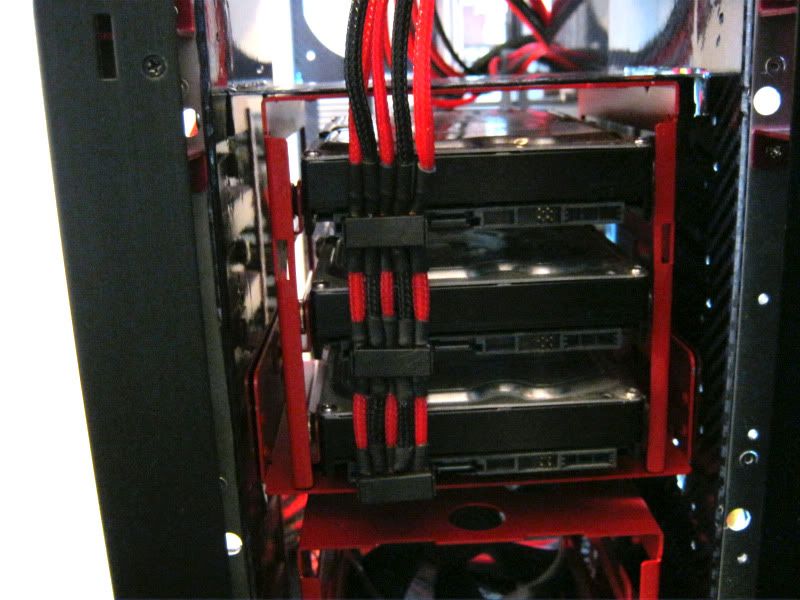
The hard drives should go connector side showing, however I don't like looking at cables and prefer to keep the look as clean as possible so placed them this side around. Attaching the HD rack might take a little modding but thats the price I'll pay for a cleaner look.
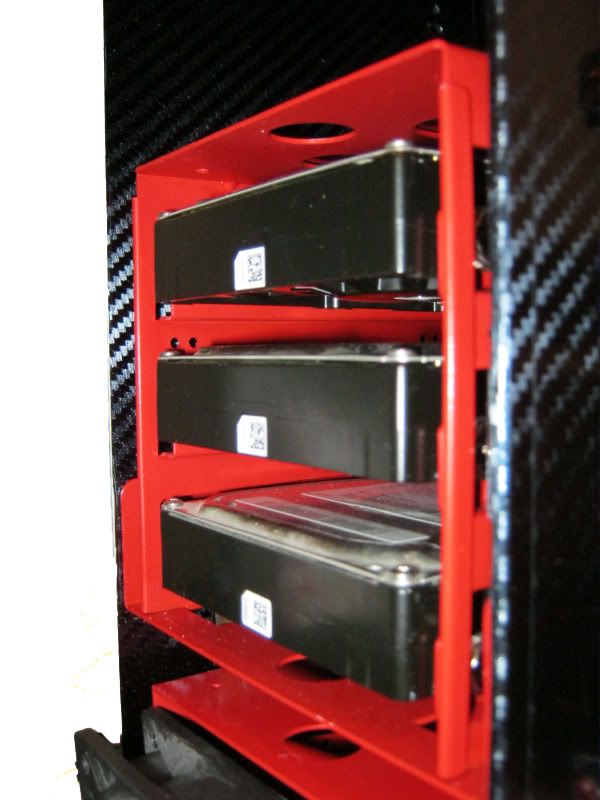
ssd010.jpg


The SATA cables were fiddly to do , especially as the connectors needed re-alligning to match up to the spacing of the HD's but I think they came up a treat:
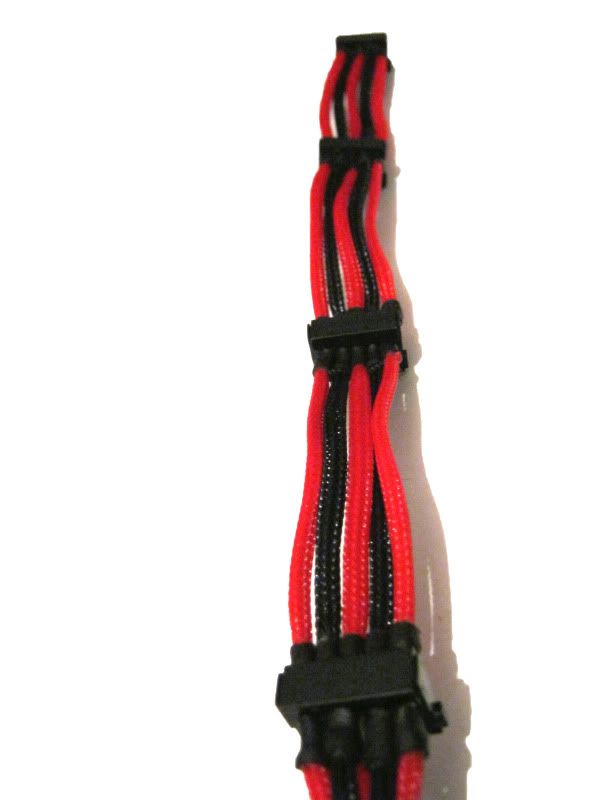
ssd012.jpg


and here's how they look attached:

ssd003.jpg


Shame that they won't be seen....might change my mind about the clean look!
 
You have to show those cables. They look great. :)

Undecided at present. I'll see how it looks with all the other cabling then make a judgement call ;).


Haha, love the ghetto cooling m8! As you can see from my pics, I might sneek a fan into one of the spare HD racks to help the 470's keep cool although it'll be a little less ghetto:p

Where are those fans I sent you m8?
 
I got my cards to around the same clocks too (same temps more or less) but anything over 1700 shader results in loss of display driver :(. Not really had time to play yet though so will give them a better blast once I'm up and running.
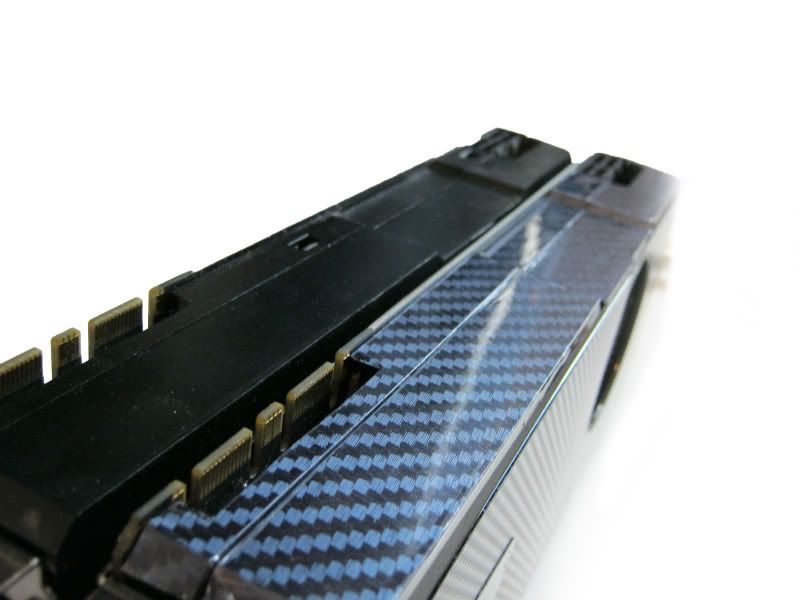
 
Before cracking on with the mootherboard prep I wanted to clear up a few odds and sods so 'carbonised' the GPU's to match the build:

fallen033.jpg


Next up was the window mod.

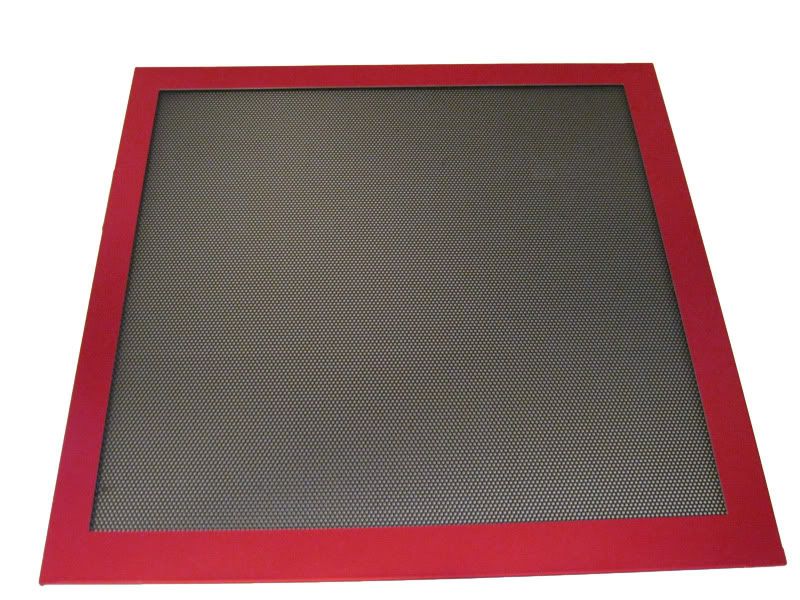
The case came with a mesh panel:

fallen053.jpg


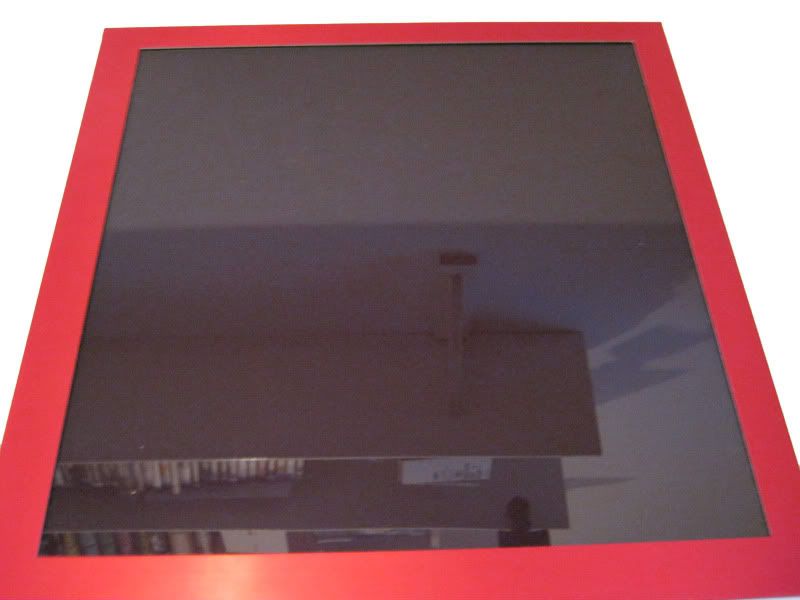
but I prefer perspex, black tinted of course:

fallen055.jpg


Needs a good polish with anti static but looks sweet in situ :).
 
Time to finally start building. I seem to have spent so long preping and modding stuff :(.

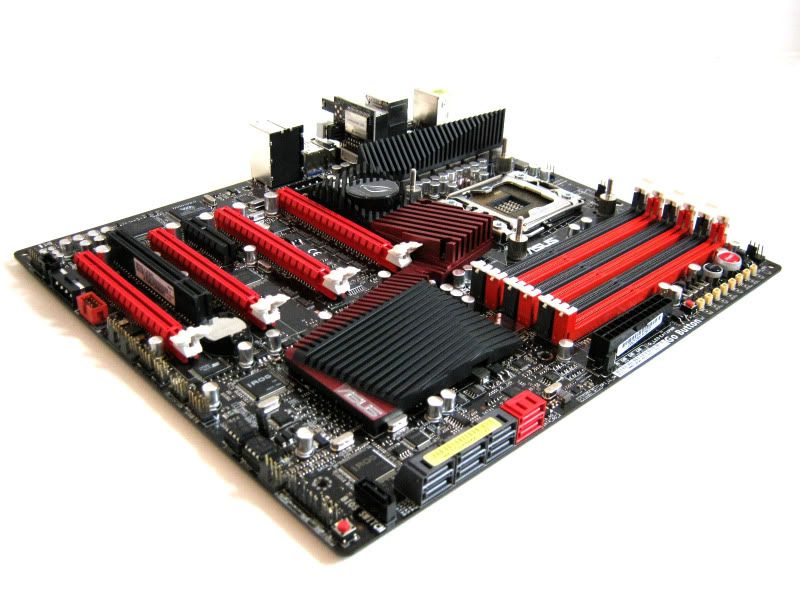
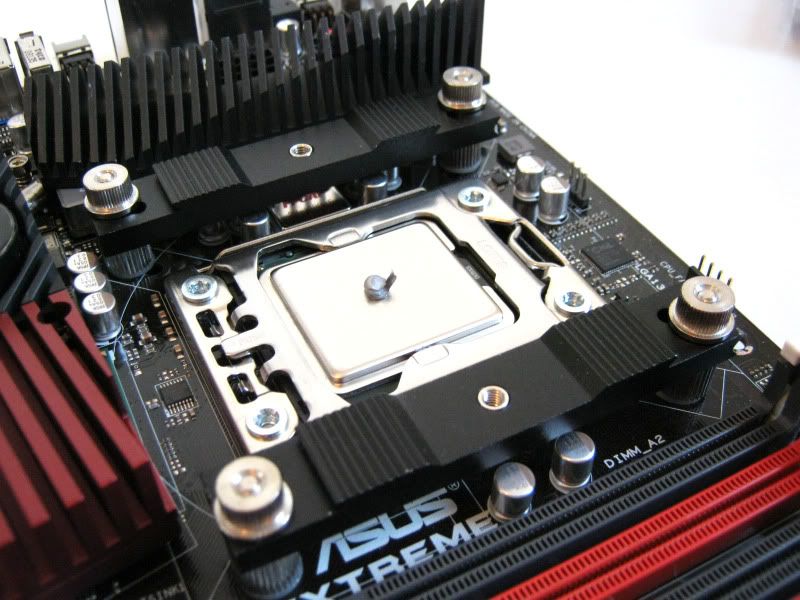
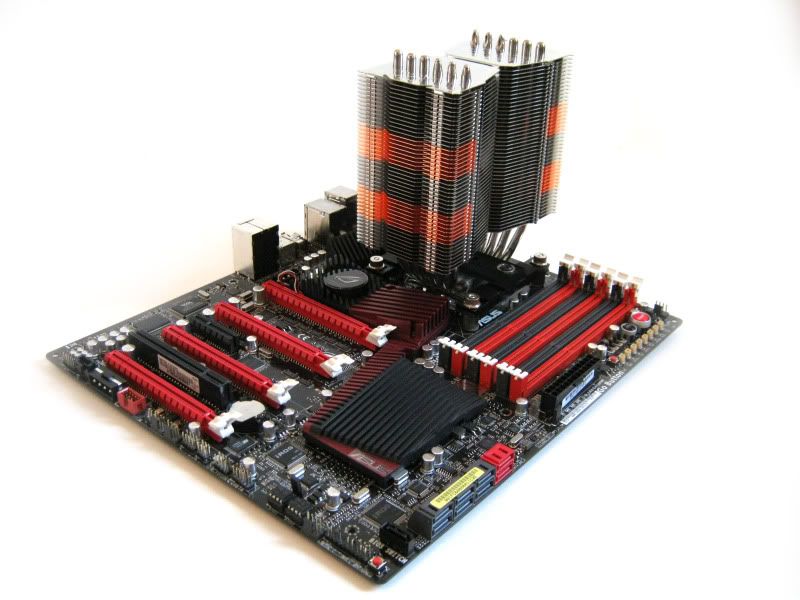
Anyway here she is, the Rampage III Extreme:

fallen001.jpg


The perfect motherboard to match the case and build:

fallen003.jpg


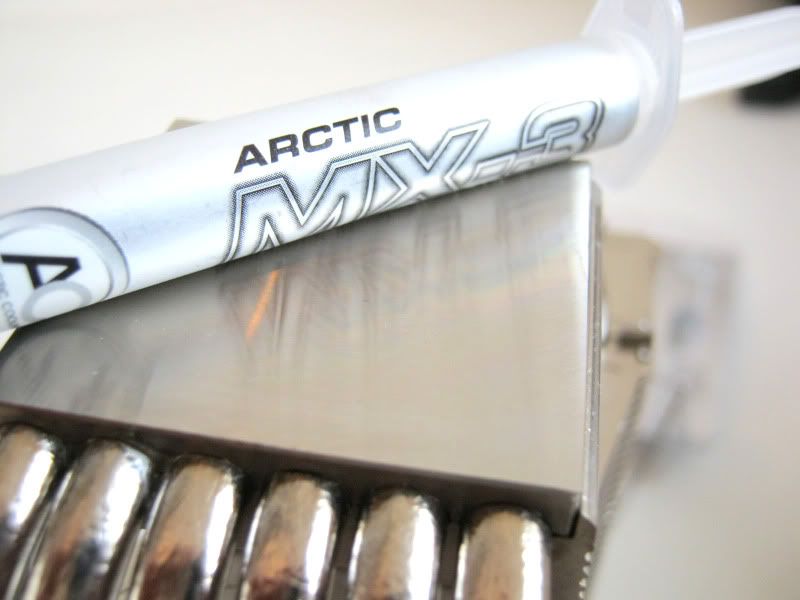
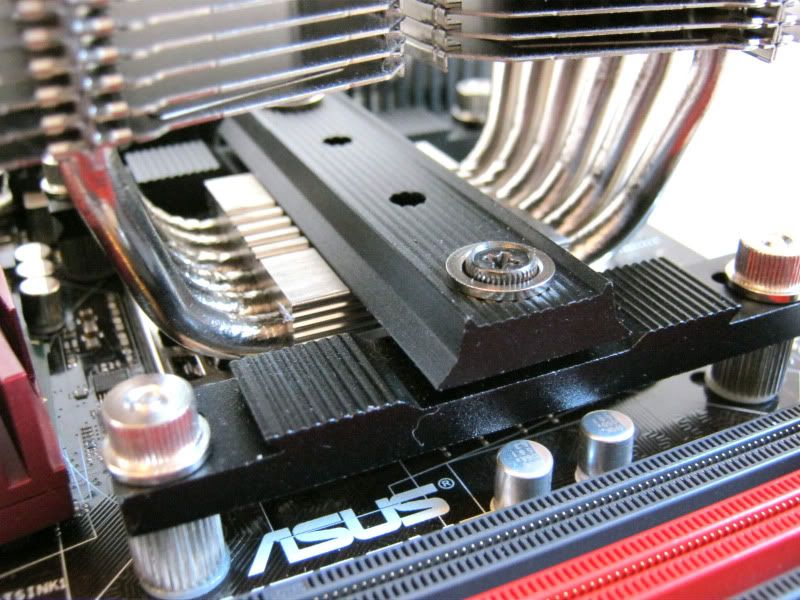
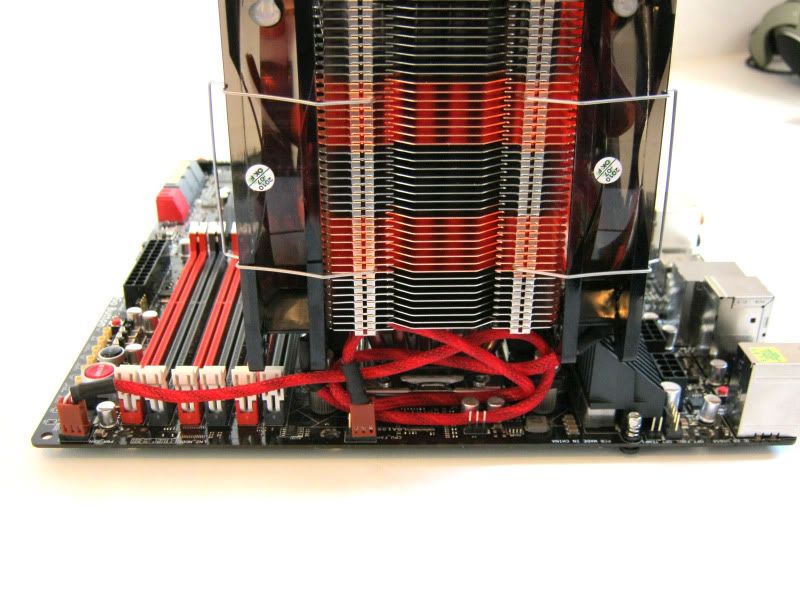
After prepping the motheboard by removing the stock 'cement' with some MX-3 I set about mounting the heatsink, Prolimatech Super Mega:

fallen005.jpg


fallen010.jpg


Love the mounting hardware of the Super Mega. Easy but with 70lbs of pressure thanks to the optional black screws it should be effective :).

fallen011.jpg


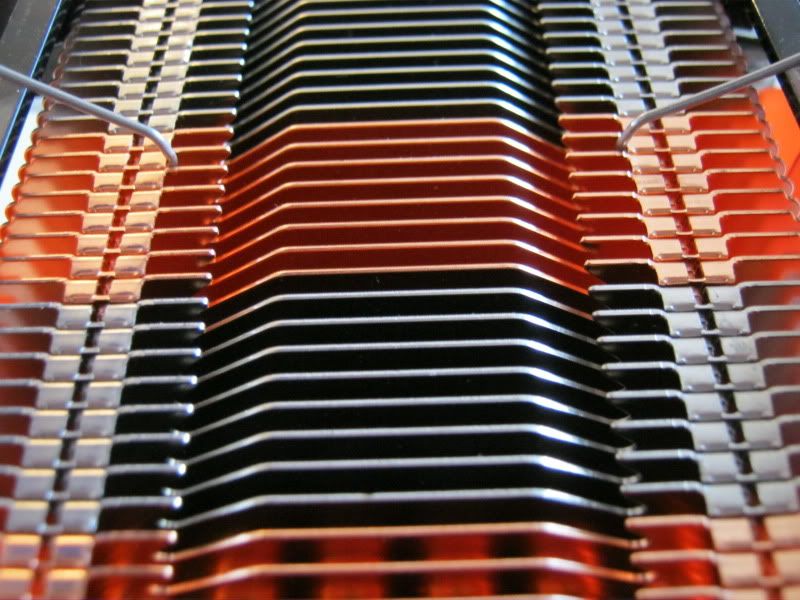
Dunno if the copper fins will make that much difference but I managed to get the cooler for the same price as the all aluminium megalahems so I'm not not complaining:

fallen023.jpg


Mounted:

fallen012.jpg
 
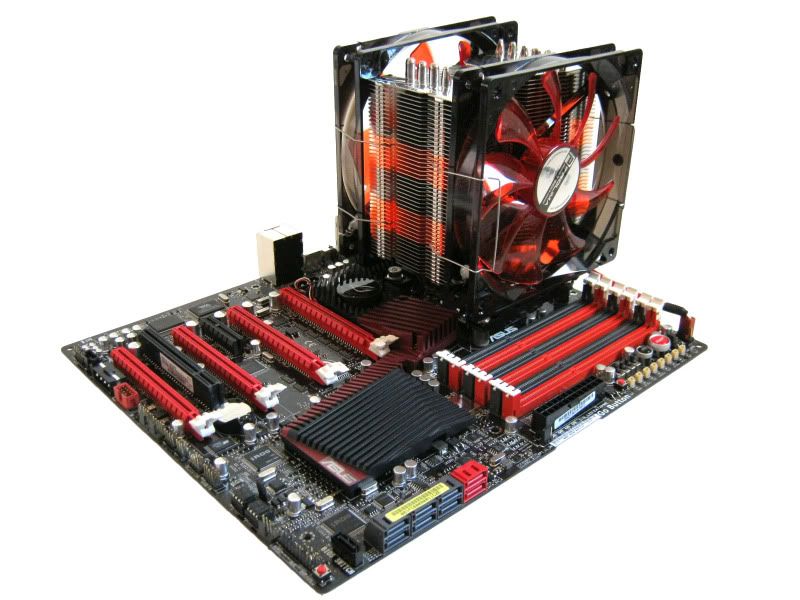
I originally had the Bitfinex Spectre 120mm fans planned for the HS but it made it look too black so I plumped for Prolimatech Vortex 140mm in push pull:

fallen014.jpg


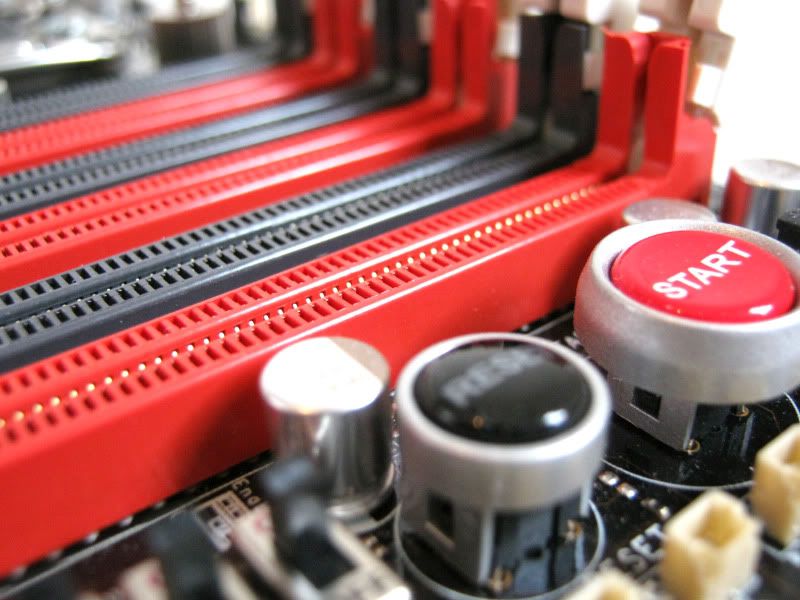
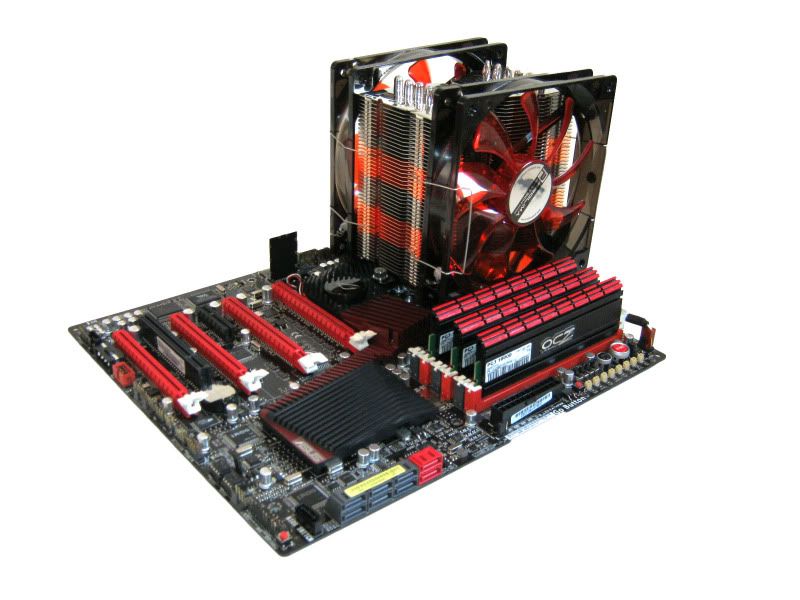
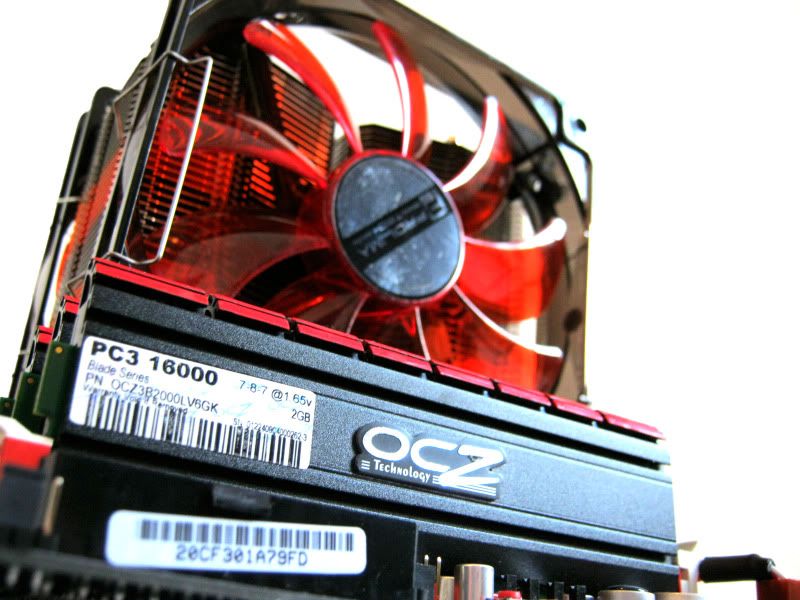
Memory in situ:

fallen021.jpg


fallen019.jpg


Sadly the board and tray together wouldn't fit into the case in one go thanks to the size of the cooler so I had to hide cables as I went rather than do a big cable tidy at the end of the build:

fallen013.jpg


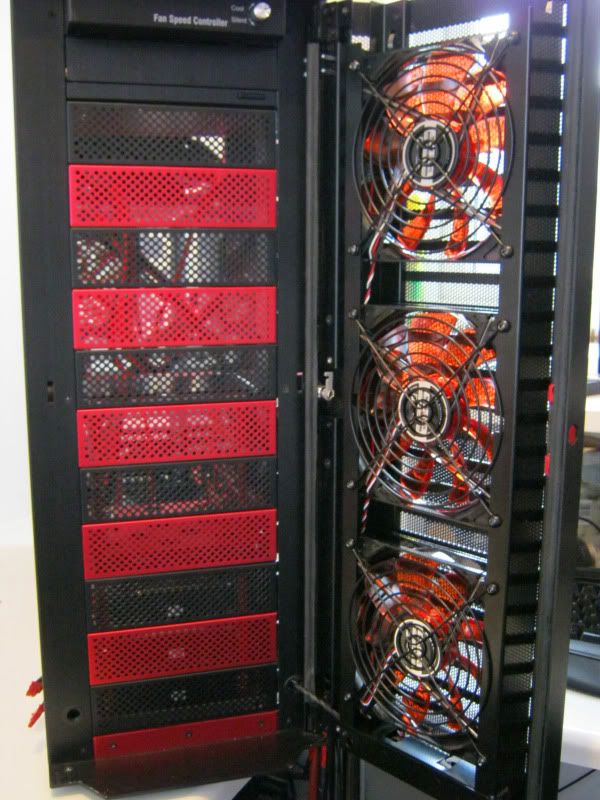
I also used the same fans on the intake door:

fallen028.jpg
 
Last edited:
My first thought as others have said would be to show the sata cables in all there glory. But its your choice Mr w3bbo and i guess once its finished you can see exactly how the colours blend in you could allways move them around to face ..... looks grand :)

I'll try both ways before making a decision.

Starting to come together quite nicely, love the little bits of detailing such as the carbon on the gpu's and the red painted parts on the ram. The super mega is indeed a beast of a cooler, mounting hardware it uses is fantastic, very secure.

Tempted by a silver arrow tbh but the blue fans would look fugly :(

My God, Webs - looking really beautiful, as always. Time to give up the day job, my friend.

Thats very kind of you to say so, thx.

Looks really nice Webbo. :)
Is there any way of shifting the top door fan down a slot though - seems to be blowing against the stealth dvd cover a bit.

There are no screw holes and I don't have a taper :(. The problem with moving a fan down is it will then look mismatched from the front as they are LED fans. If temps are affected though I will deffo consider moving the fan.

Looking lovely mate. Nice and clean

Thx

w3bbo.

can i be really cheeky and have that mesh from you please ?

i need it to be 40 by 45 cm if it is big enough.

asking you is cheeky but you never know until you ask :D

please please please please please.

Sorry buddy but I'll be keeping the mesh as a back up panel should the perspex get scratched ;)
 
The first few were taken with my 400D (R.I.P). The majority were taken with a cheapo Canon A485 pocket camera.

I used to review/photograph pc hardware which has given me a little experience in this sort of photography but I'm by no means an expert. I just get by on the basics.

Decent pics can be taken with most camera's tbh m8 if you get the angles right and have a basic knowledge of how to use photoshop filters etc.
 
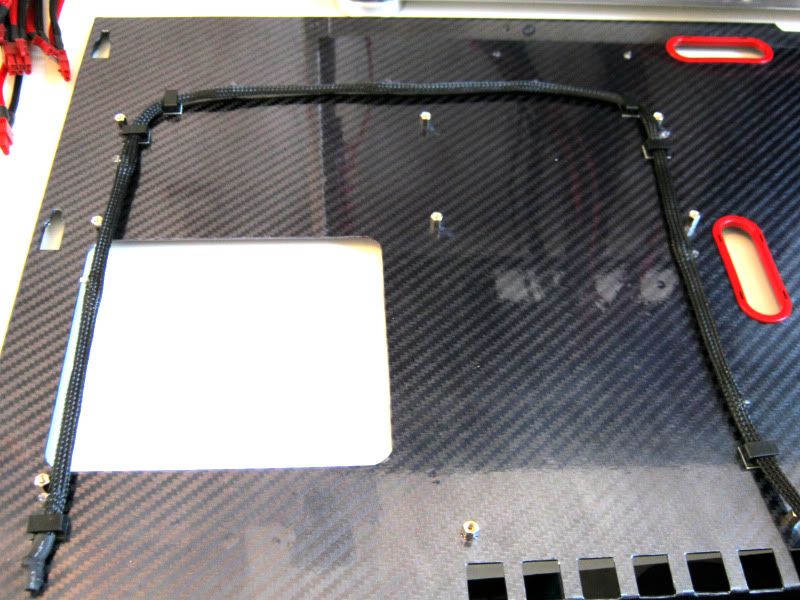
For the lighting in this build I was just going to let the LED fans do their bit but to add a few minor highlights to the rest of the build I decided to add an LED string, hidden behind the motherboard:

FallenAngel255.jpg


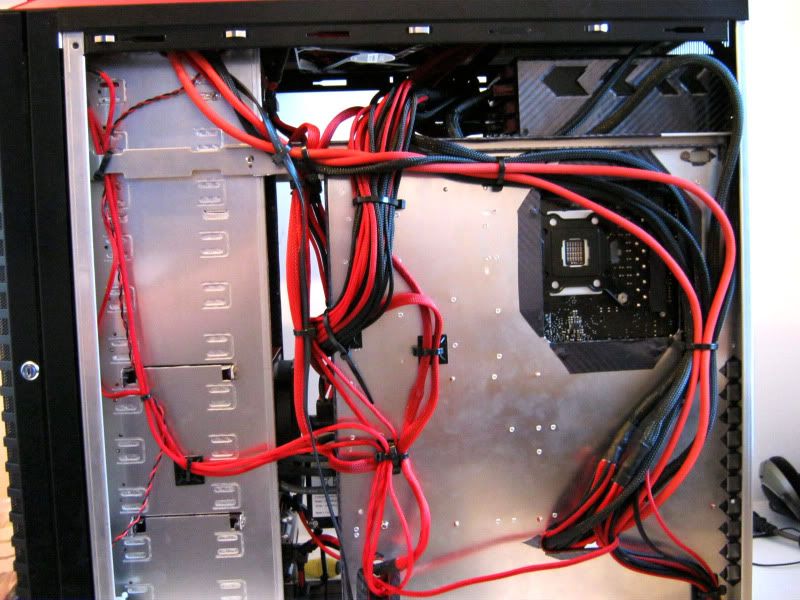
With that done it was pretty much plain sailing apart from hiding all of those cables I spent so long braiding!!!

FallenAngel265.jpg


Finito!!!
 
This build should put me on unti x68, I have no plans to change anything until then. Might make a few tweaks here and there but I'm content for hte time being....never say never though lol ;).
 
I can run some benchies for ya now m8 - what do you want to see them running (my screen is 2560x1600 btw so gpus under huge stress :D).

I havn't replaced the TIM yet - waiting on some ic diamond first;).
 
kk, I'll install it now.

What settings? I take it you will want me to run at your spec for comparison?

Gimme your cpu speed and res + heaven settings. Highly doubt my temps will be any good tbh but it'll make a good basis for comparison as we have pretty much similar setups.
 
Hmmm. For some reason the voltage on mine is a bit lower than yours resulting in 69/65c temps. Trying to find out why I can't get the voltage up to yours for a proper match up.
 
Iirc, some manufacturers released bios revisions for their cards with lower stock voltages, Gigabyte havent followed suit though.

Edit:Msi cards being one example, 0.950 one user on here reports stock voltage for his 470.

Sorry for the seriously long delay m8 but had some issues with the mobo resulting in an RMA (of sorts - long story lol).

Anyway, I'm about 4 fps behind you for whatever reason:confused:. GPU temps are pretty good though at 73/71c. This new board might be the reason behind the lowish score so will flash it to latest and report back.
 
very nice build log as always

good work as always

That is beautiful.

wow, lot of work and patience there

Thanks guys - use the star voting (rate this thread) if you like ;)

lovely end product there mate

how are you finding temps compared to your previous watercooled build?

hows the NB temps on the rampage?
you finding it overvolts the cpu lots with LLC enabled?

Temps are dire compared to water as you would expect. Was getting around 65c on 4.5ghz with water. Now on air I get 75c at 4.2 lol.

Hit around 50c under load on the chipset so not too bad I guess. Thats without the fan on the NB.

Overvolting is not too bad at all truth be told. That said I'm only using cpu-z and not a multimeter. I've got LLC set to 50%. 100% overvolts a tiny bit but nothing to be concerned about.

Great job w3bbo. Looks really nice.

Not particularly impressed by the LED string under the motherboard though. Would expect it to create a eerie red glow from behind but it doesn't seem to do much at all. What's it like in the flesh?

I can't post expletives unfortunately. Thats gotta go down as the worst £7 I ever spent. Looked ok when I tested them but pretty much unoticeable in the rig, especially in daylight. To top things off the resistors gave up after two days rendering the whole thing useless! Would RMA to ocuk but postage wouldn't make it worthwhile and tbh, I wouldn't want another set. Stay away!!!

Looks like I'm gonna have to make my own.
 
Back
Top Bottom