Project: ケイ - Watercooled Threadripper

I conducted a small test this evening by disconnecting my pair of side panel fans. (to simulate a window panel) Bad news is, although it still functions, ambient temperatures inside the case were nearly 40. Switching the two base fans to intake still makes it worse. Only issue i've found so far with my current config is that the bequiet 140mm fan that is the front intake doesn't appear to be creating much airflow with the case mesh & filter over it. In free air it shifts a decent amount of air, about even with an AP-15 at the same rpm.

I don't know what you guys with silent water cooled systems do to keep temperatures down, but i'm obviously doing something wrong as i can't seem to get it right.
 
I'm using scythe gentle typhoon 1850rpm fans in all but 3 locations. Side panel fans are a deepcool uf120 & scythe s-flex 1600rpm. Front intake is a be quiet silentwings usc 140. Everything else has an AP-15.

The system is reasonably quiet as is, but if I want a window panel like most people have (plain with no fan) I can't keep the system cool and keep it quiet.
 
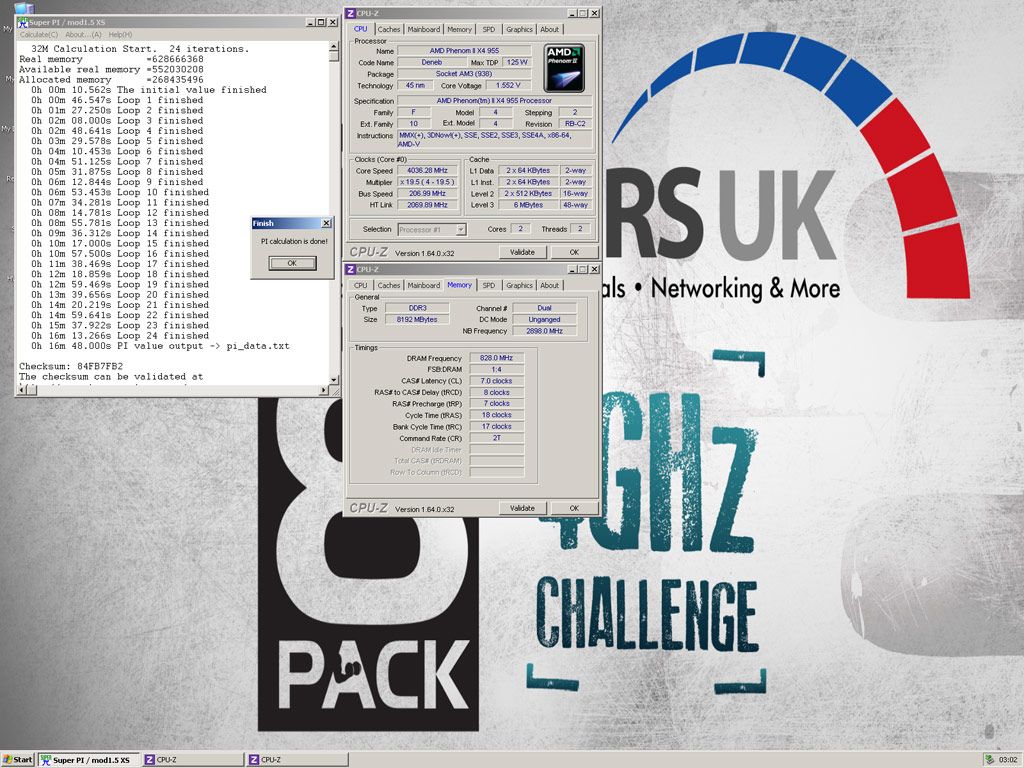
Gave my system it's monthly dust and refitted my corsair dominator modules after removing them for doing the 8pack superpi runs. Which proved that i had a better chip than i thought and i could push my memory further too. Presently sitting atop the AMD results in the competition thread, awaiting someone with a thuban to knock it down a notch.
32m17_zpsb8263e3e.jpg


Nice to see that 3 months down the line since watercooling it, there are no signs of trouble in the coolant. (as it should be :)) The case is now fully decked out with gentle typhoons and is virtually silent with them set at 1100rpm, plus it still holds mid 50's maximum temperatures.
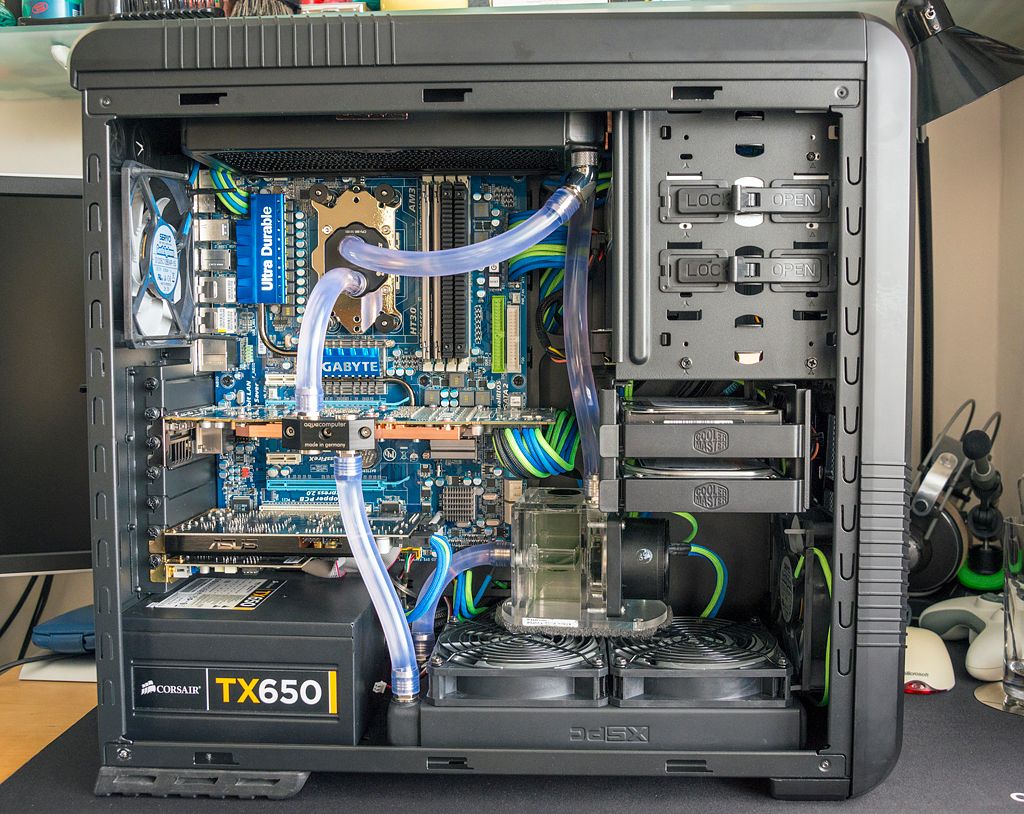
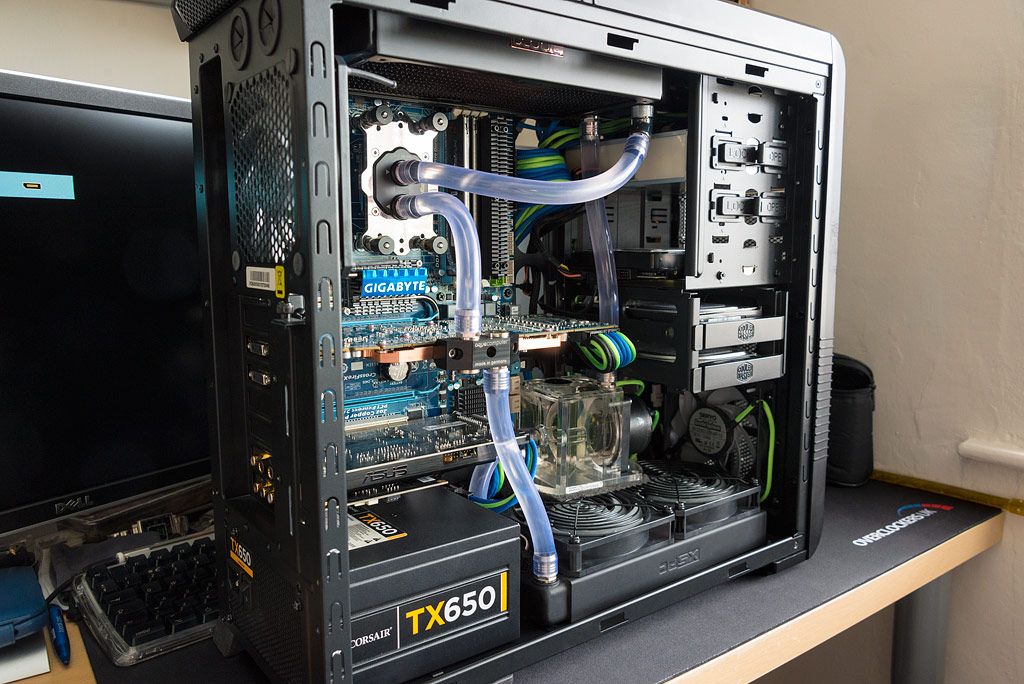
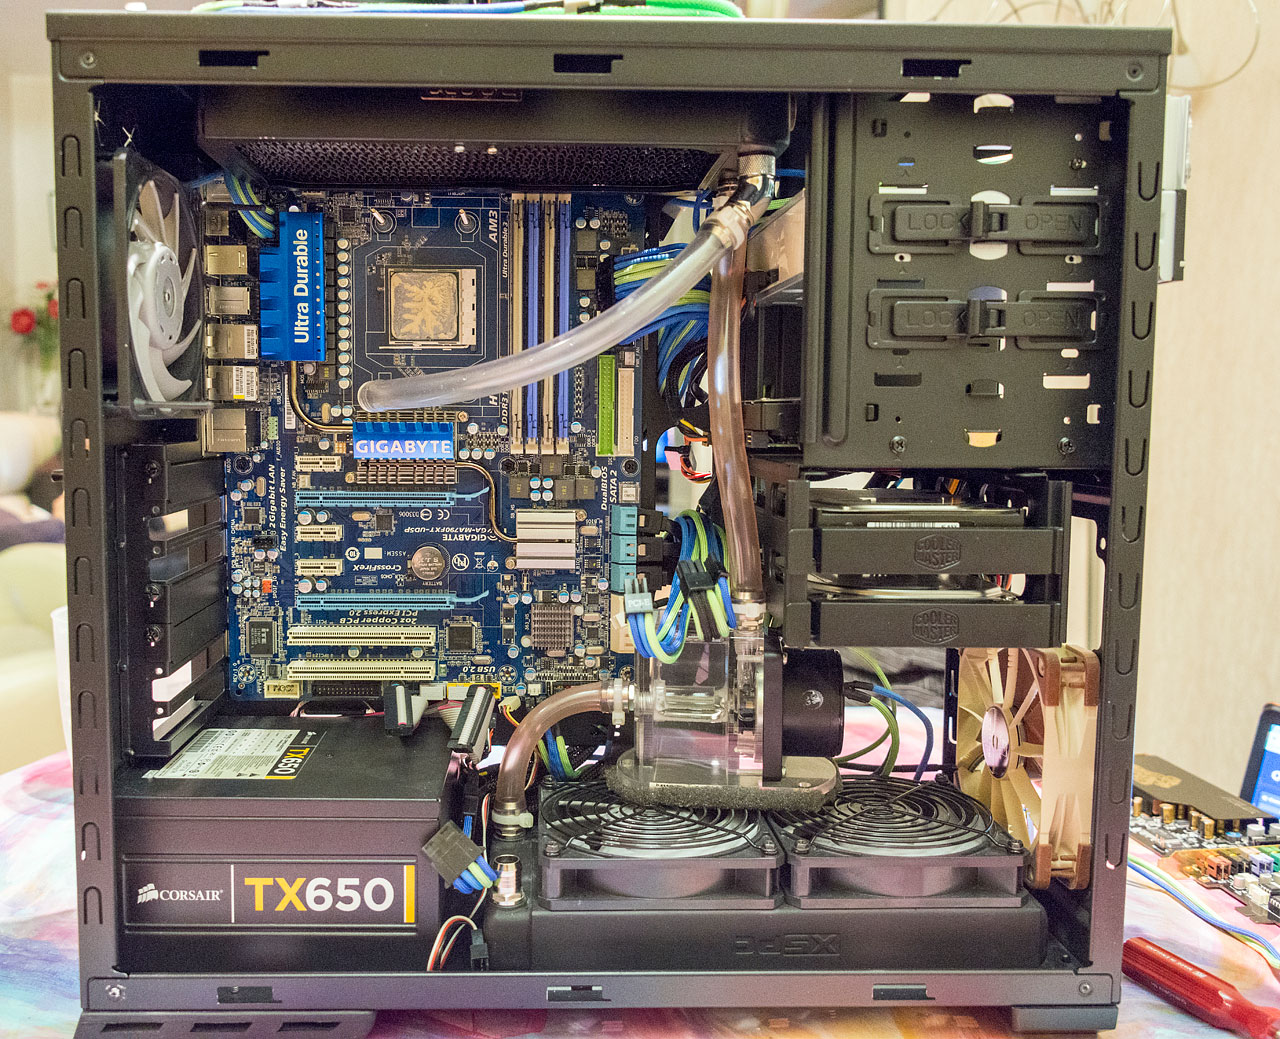
Side_zps26ae0bb3.jpg

Side2_zps0ae401cc.jpg


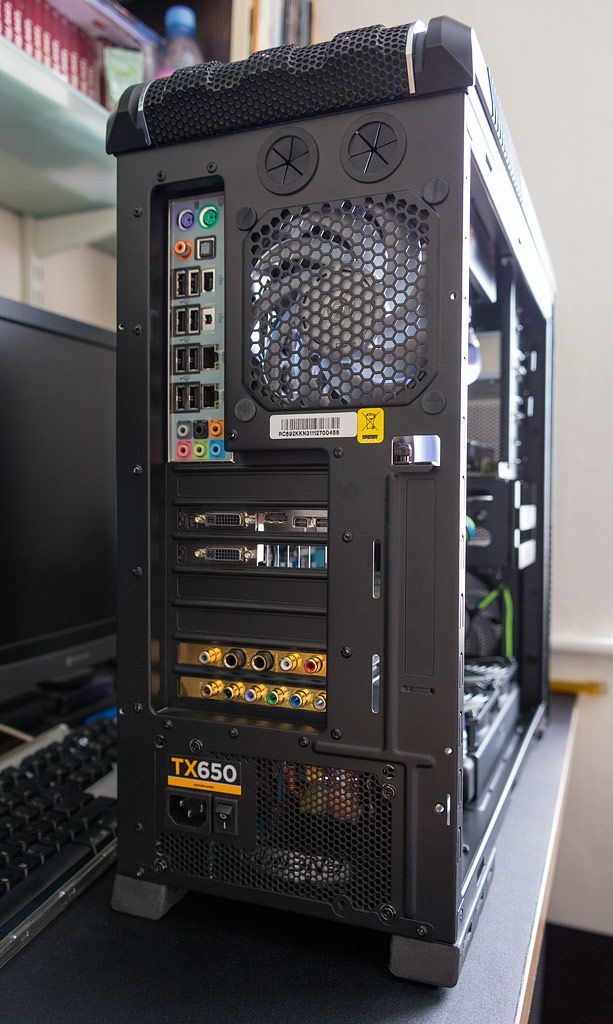
Intending to replace the standard solid blanking plates with some vented versions to improve airflow as there is a deadspot which gets toasty between the sound card and gpu.
Back_zps0cebc99d.jpg


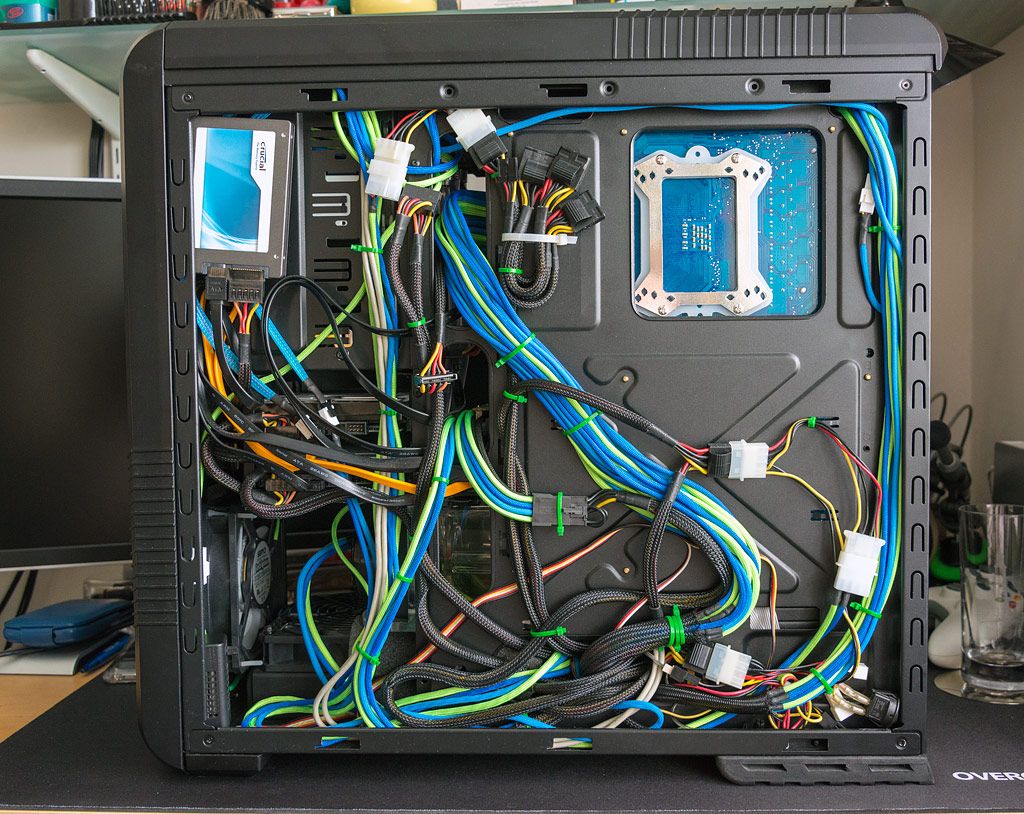
I really need some short SATA cables to neaten this side up. Still, it's not bad considering the non modular psu.
Back-Side_zps28ac4a2b.jpg
 
Last edited:
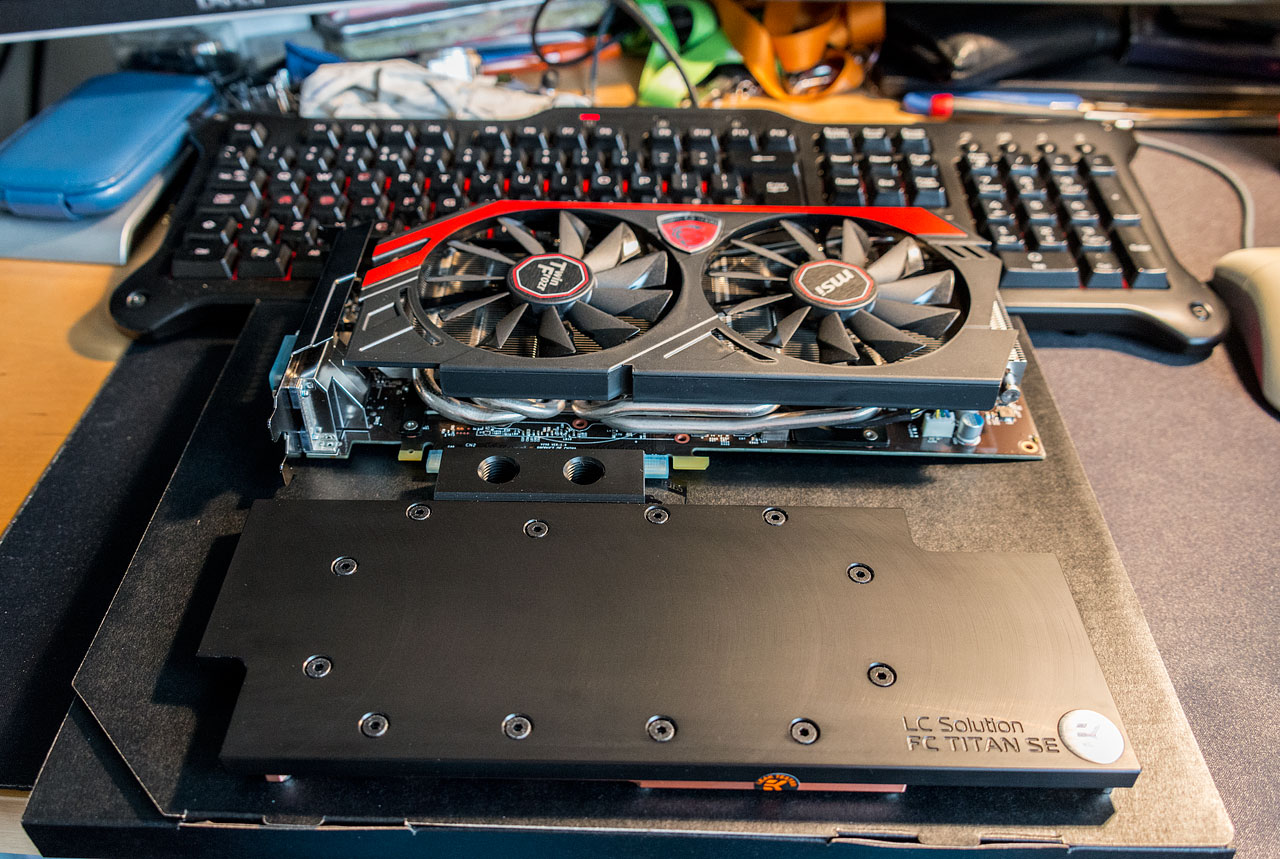
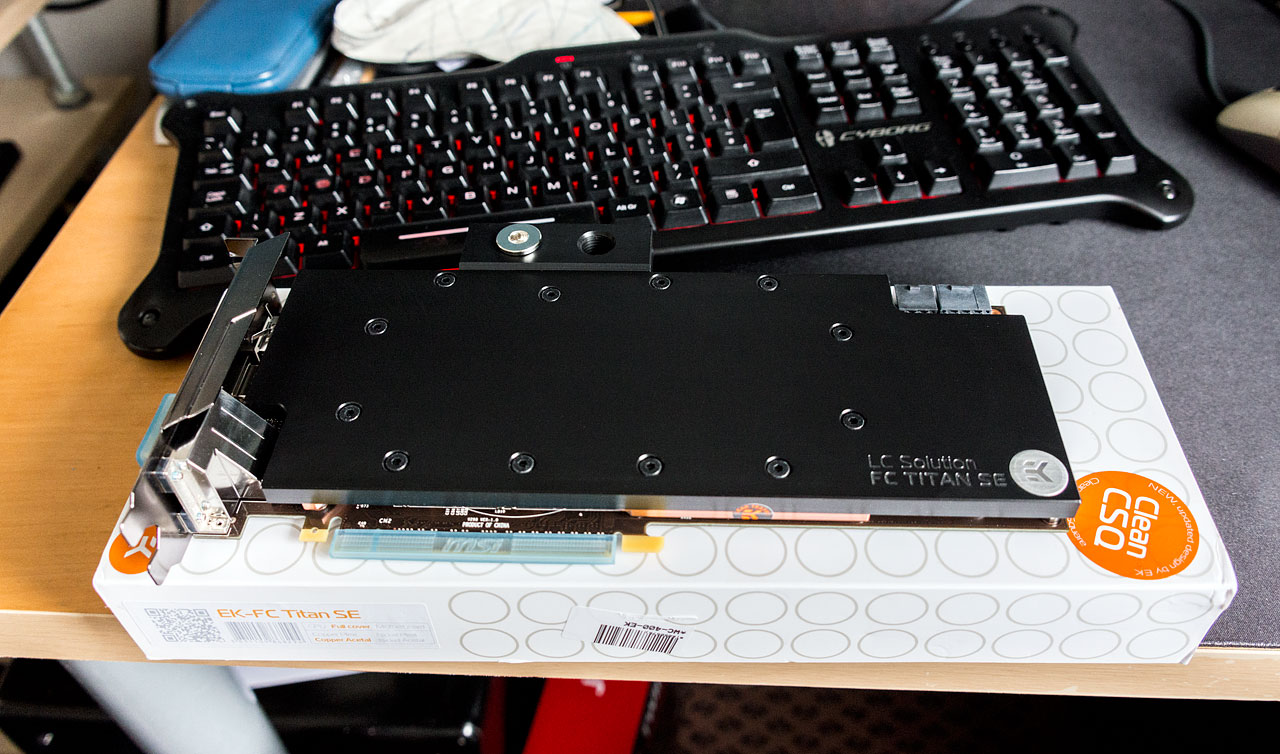
An update. I've bought a GTX 780 and EK waterblock to replace my HD 6970 & aqua computer block. A backplate will also be added next month. (sadly OCUK don't sell the TITAN SE backplate)
10570865776_b34429b069_o.jpg
 
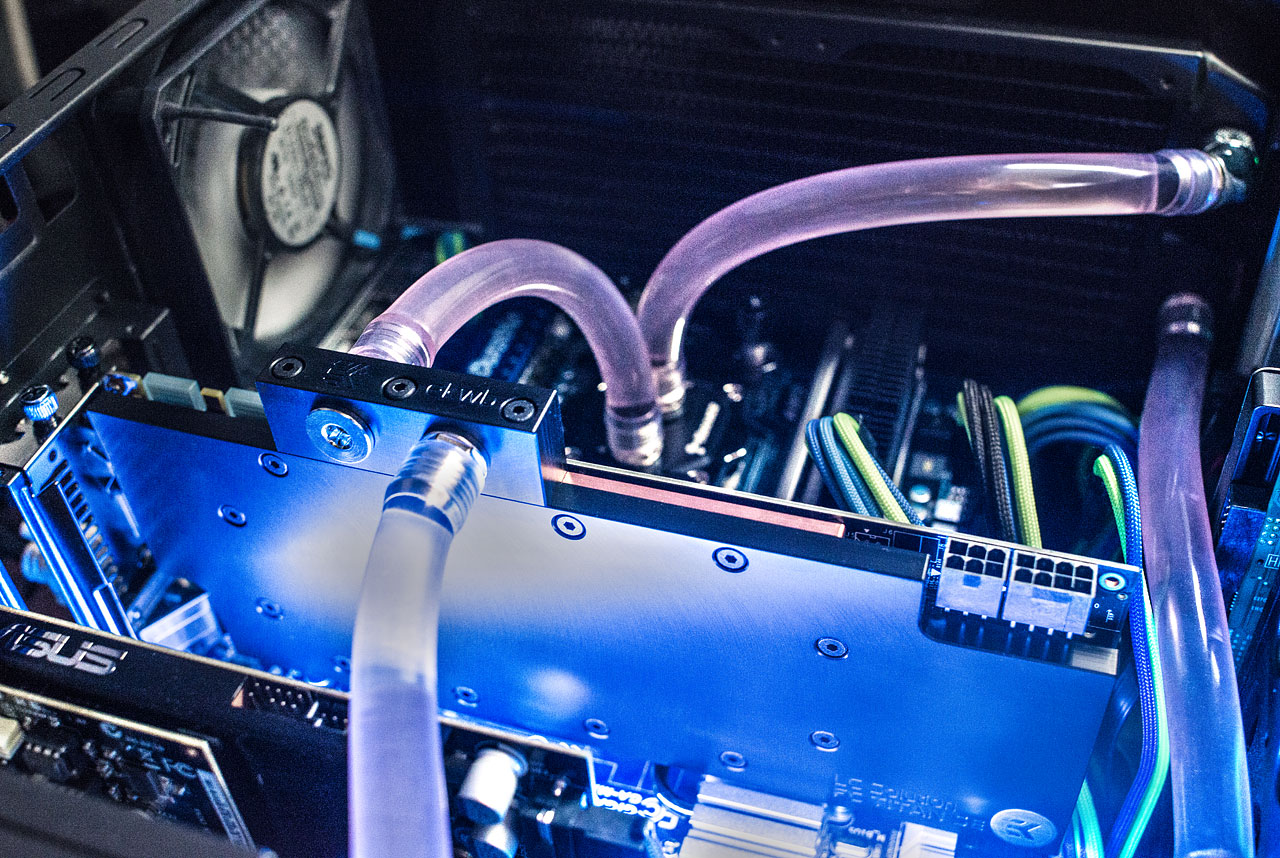
Finished fitting the waterblock this morning then had to go to work for 7 hours. Now running, this EK block is either miles better than the aqua computer block or the GPU is much more efficient as it's idling at 28 now vs 44 before and load temps peak at 46 vs 58 previously.
10582183394_16648126d5_o.jpg

10582183454_faaa105e95_o.jpg


I decided rather than drain and refill, I would attempt to perform a swap with the loop still full. Taking the GPU feed hose off first and squeezing it flat to restrict flow and plugging it quickly minimising fluid loss. Then doing the same for the bottom hose. Less than 50ml of coolant lost and only a small amount of air introduced. No leaks either which is always a good thing.
10582446443_e3d8ccff57_o.jpg


Took the old aqua computer block apart to see if there were any signs of corrosion and found nothing but lovely shiny copper inside.
10582176025_d67893f53e_o.jpg
 
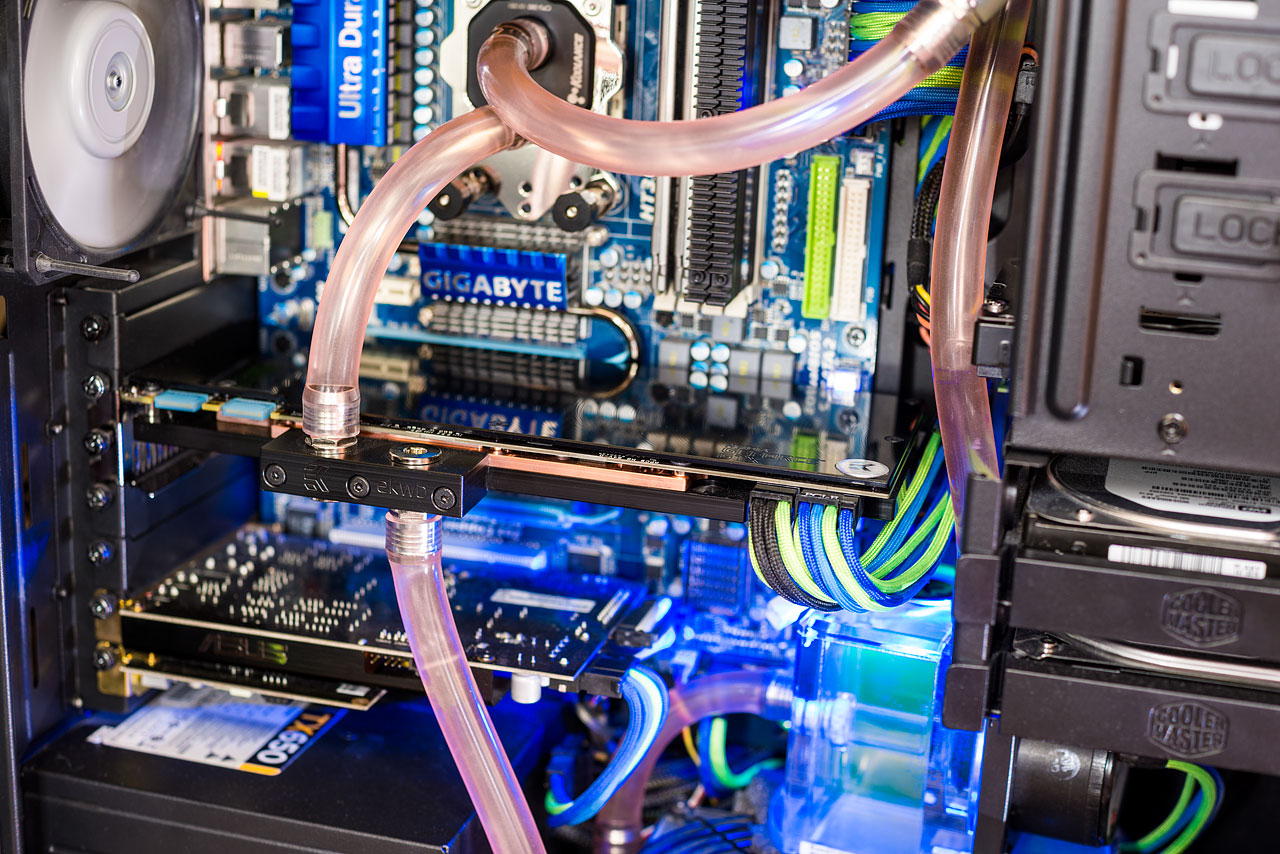
Tubing is looking more purple than it did originally. Not so sure that the backplate is going to be worthwhile now as the pcb colour matches the asus sound cards so doesn't look as out of place as i originally expected. Seems the card has caused my TX650 to start whining once the boost clocks kick in. (was especially bad folding a core 15, but is silent on a core 17) Was quite noisy with batman arkham origins too. (will double check but pretty certain the noise is coming from the psu not the card) Will probably look at the antec HCP-750 next.

Some air is still cycling through the system (damn xspc reservoir design) luckily it's just a few small isolated pockets. Temperatures seem to be good, so it's not adversely affecting performance. Presently folding away at 1150/1800 with stock volts and sitting at a comfortable 41 degrees. Not used to the green side for overclocking so it's going to take me some time to get it right. North of 1228-1241 on the core with 1.2V seemed a bit iffy, but 1215 seemed like it might be ok. I'll probably settle with 1175-1200 if i can get it to remain stable. Probably needs more voltage to remain stable beyond this, which would mean messing with the bios which i'm disinclined to do.

It's a good looking block though. Stuck with copper what with the history of EK nickel plating and acetal rather than plexi due to the glycol content of my coolant. (which seems to have lost it's green pigment, probably as i've been topping it up with DI water which has probably over diluted it)
10598117273_67012e6be8_o.jpg
 
Picked up the missing FC titan SE backplate in rjkoneill's christmas sale. Should finish the current setup off nicely. Could definitely do with replacing the tubing with some clear tygon medical ND 100-65 or primochill LRT. Definitely want to sort out replacing the reservoir with a glass tube. (either an aqua computer or xspc phantom)
11312530195_c3181b65a3_o.jpg


Fitted
11313816915_f26ce59776_o.jpg
 
Last edited:
Looks so swish :o seriously considering a watercooling loop for after Christmas as I should hopefully be getting some money, as well as the money I've been making from bitcoin mining... this has given me some inspiration :) certainly not a cheap hobby but looks awesome! And also nice and quiet i'm sure ;)
Picking stuff up in the members market and on clearance certainly helps reduce the cost. The blocks, pump and reservoir are the most expensive bits. The fittings and fans can also add up very quickly, hence why i have got 1/2" barbs rather than fancy compression fittings. (though i am seriously tempted by the monsoon green & blue fittings)

It's not as quiet as it could be, but that is down to the single noctua nf-f12 fan running in the front panel. The gentle typhoons are beautifully quiet at 1000rpm.

I love your custom cable colours ;)
Very clean build
Thanks, wanted this to be different to the builds you see everyday. Sadly when i upgrade the motherboard and cpu, the colours probably won't match anything any more. (I'm one of those rare people who really liked gigabytes old colour scheme and blue pcbs)

What voltages were you running on the cpu for the overclock?
To keep 3.7GHz stable requires 1.456V and the cpu-nb needs 1.3V to run at 2640. I've been running the cpu like this since i bought it in 2009, just bumped the cpu-nb up from 2400 back in march.
 
Disaster struck today. Pipe came off the cpu block inlet barb. Luckily the system cut out quite quickly as there wasn't too much coolant over the components. (didn't get much coolant leak out of the bottom of the case)

This proves that 7/16" hose over 1/2" barbs is still risky without clamping of some sort. I'll be moving over to compressions in the new year along with some new primochill advanced LRT hosing. Temporarily i'll have to resort to cables ties to secure the tubing on.
 
After a thorough clean off with isopropyl and an afternoon in the oven at 40, it seems that it may have survived. The gpu and memory have tested ok in another machine. Just need to reassemble the motherboard back in the case and rebuild the loop. I've replaced the iffy tubing with the remainder of the xspc 2m length i originally bought in march. Only the pump/radiator hoses will remain original (but then these have never been removed since i fitted them and are still very tight.

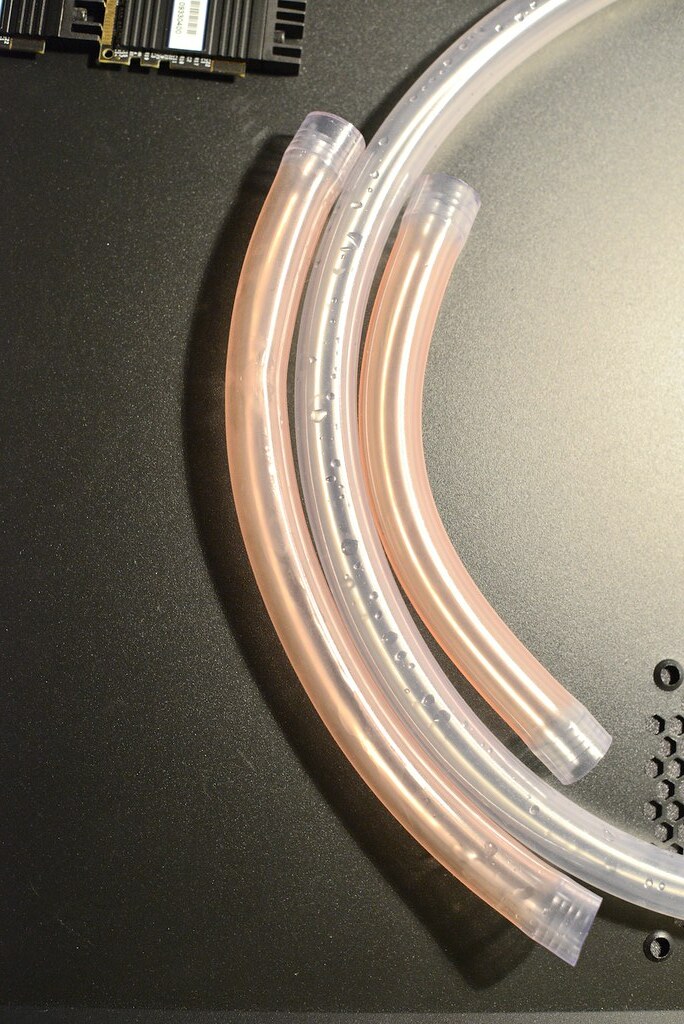
The cause of the hose popping off is the swelling around the barbs with age, whilst it's not normally a problem, it becomes an issue when you remove the tubing off a fitting. You can also see just how much it's discoloured vs a new piece in the middle.
11538828673_9c6417a8c6_b.jpg


After a rough measure, it seems i lost nearly 300ml which mostly ended up landing on the gpu and running down the motherboard. I reckon the new backplate may have helped save the gpu as very little seemed to get under it. It seems i was incredibly lucky as i wasn't even around at the time it occurred. I only realised something was amiss when I came back to find my pc was off. (lucky i didn't try to turn it back on) I'd left my pc running heaven whilst testing a different overclock on the gpu. I thought it was odd that it was off as i was either expecting to see it still running the benchmark or find it back at the desktop if it had crashed & rebooted. I'm hoping the motherboard survived though as i really don't want to be stuck without a pc till after christmas. (nor do i want to buy new parts yet as only 2011 takes my fancy, but it's way over priced.
 
Seems i've been very lucky as I've finally managed to get it all back together leak tested and bled and everything works exactly as it did. Original overclocks still seem to be stable too.

Might stick with the barbs for now and just work with fresh tubing if i make any changes. (as my mistake was reusing old stretched tubing) Still going to secure them though, however unsightly it may be.
 
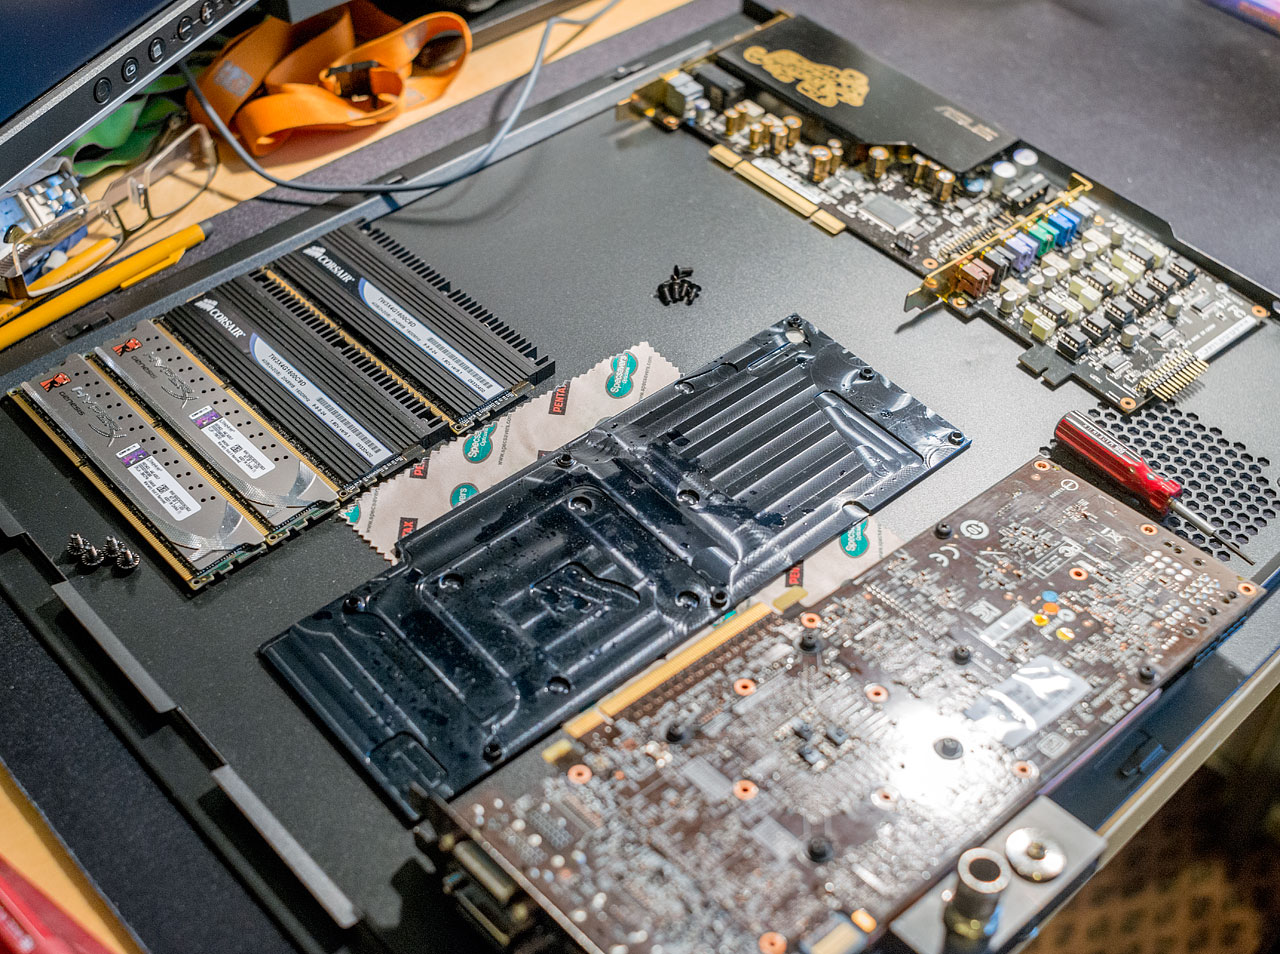
This was the graphics card after i'd dried off the puddles on the outside and removed the backplate. The core side was a little better. Both halves of the xonar card got fairly wet too though i'd already dried them by the time i took this photo.
11573525914_783742ecb2_o.jpg


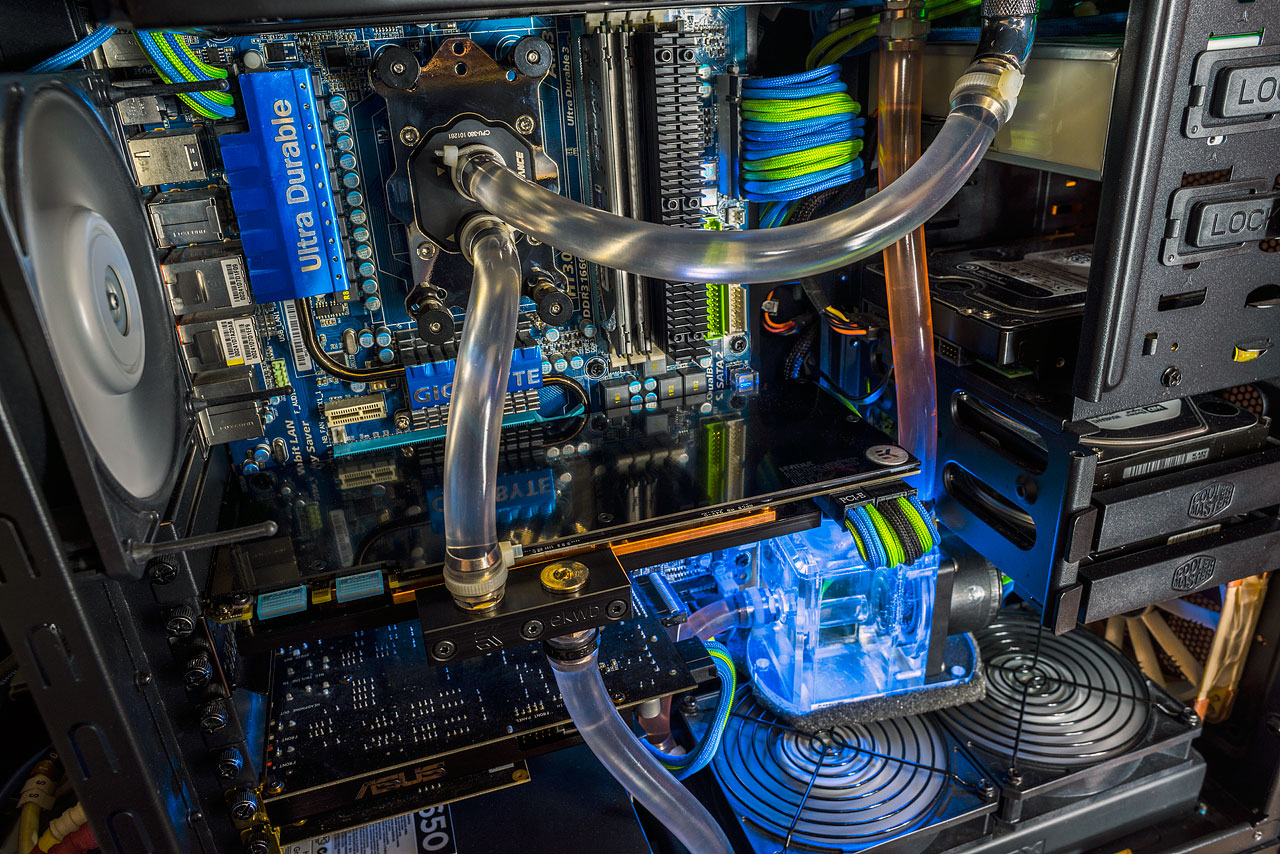
Got it all back together with fresh tubing for most of it plus the unsightly cable ties just to help make sure those hoses stay put.
11573979616_2e5c5d8c1e_o.jpg
 
Lucky Boy...
Just read the thread from start to finish whilst looking for general inspiration, some real nice work in a crammed case,
Particularly interested in how you photoshopped the sleeving colours, can a nube numpty do it ? (I have NO photoshop skills at all) seems like a cracking way of coming up with a scheme.

anyway, awesome job, and Glad it seems t have survived :)

Thanks all, I think i've been unbelievably lucky to have had all the kit survive that leak.

As to photoshopping the cables, you need to find a basic image of a black/grey braided cable to work on. Once you have one, you just need to create a new layer and change the blend mode to something like color, soft light or overlay. (blend mode is a drop down menu on the layers window that will say normal initially) Select a colour from the picker and use a paint brush to paint over the original braid. (the change in the blend mode allows you to see the braid on the layer underneath whilst changing the colour of it via the layer above) If you want multiple colours, you may need to use more than one layer to allow you to adjust the colours individually without affecting the others. When painting make sure you select the right layer before starting. (undoing something can cause the selected layer to change) To adjust the colour without having to repaint it, you can use hue/saturation/lightness tool or replace colour and adjust the hue/saturation.
 
Upgrade inbound!

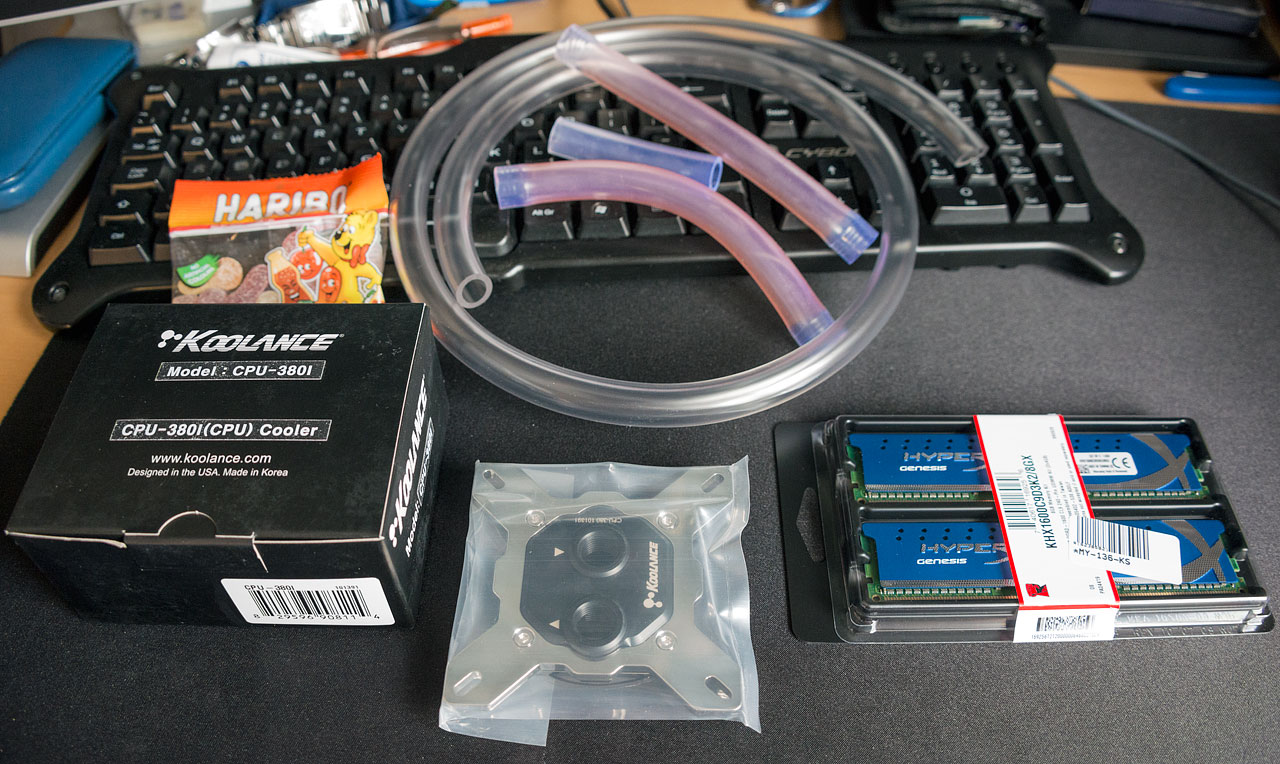
First part has arrived this morning, just got two more bits to arrive today. I've now got the Intel waterblock, an additional 8GB of hyperX genesis in blue to go with the grey i already have and 1m of xspc clear hose. (i've put some xspc UV hose to show the difference between old uv, fresh uv and fresh clear)
12066940074_6b2cee31ae_o.jpg


I've just fitted the new ram into the current system to see how well the new ram plays ball with the original set. I've fitted it so that they are in grey+blue channels. It wouldn't boot properly at first, but after a few tweaks it's now running fine. I've had a closer look at the xmp profile for them and there is only one difference. tRFC is 128 on the grey set and 208 on the blue set. Everything else, including the product code is the same. I'm Hopeful that it shouldn't affect their performance in the intel system.
 
Cpu arrived whilst i was in work. Spent the entire evening so far draining and dismantling everything.
12076194134_cdca2fc75f_o.jpg


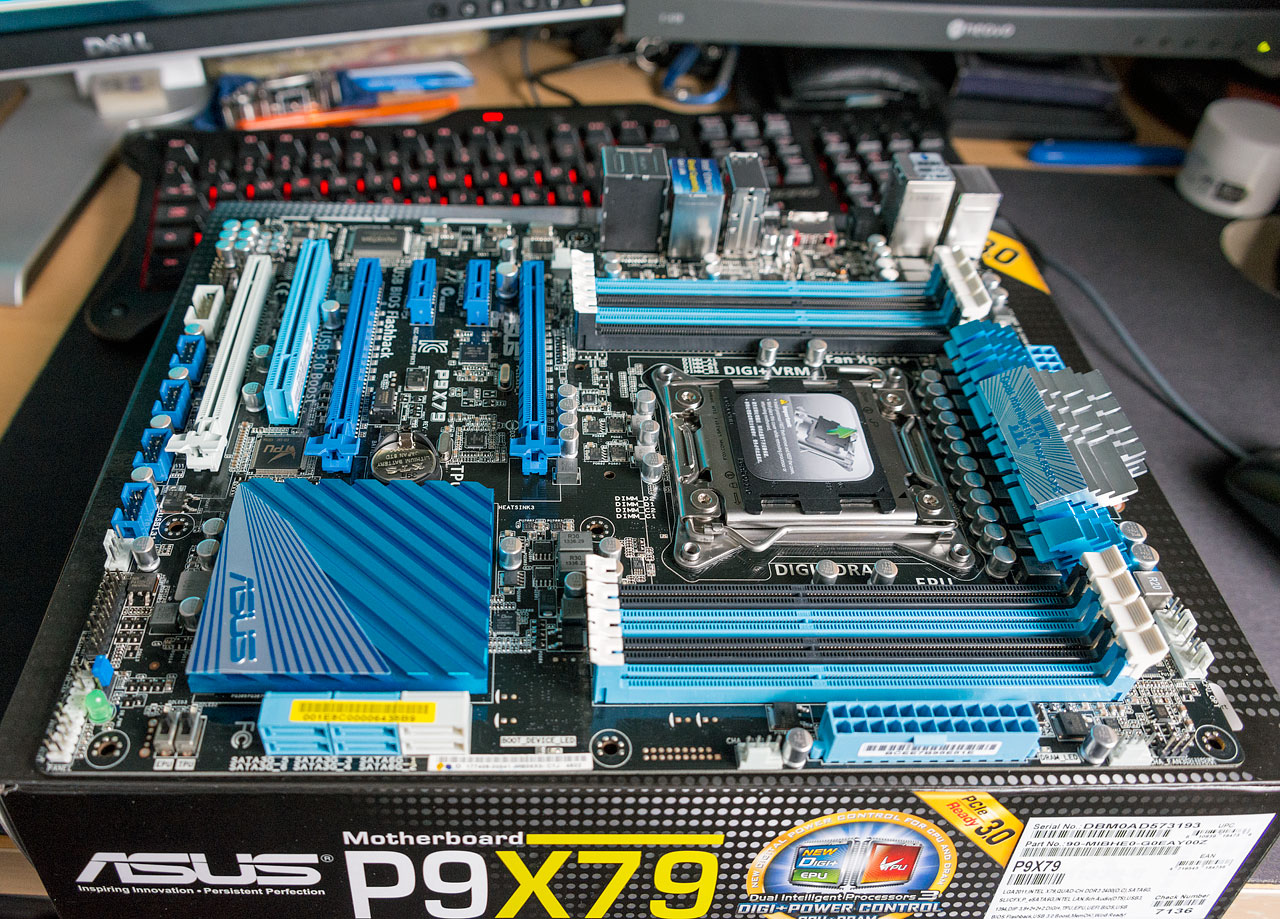
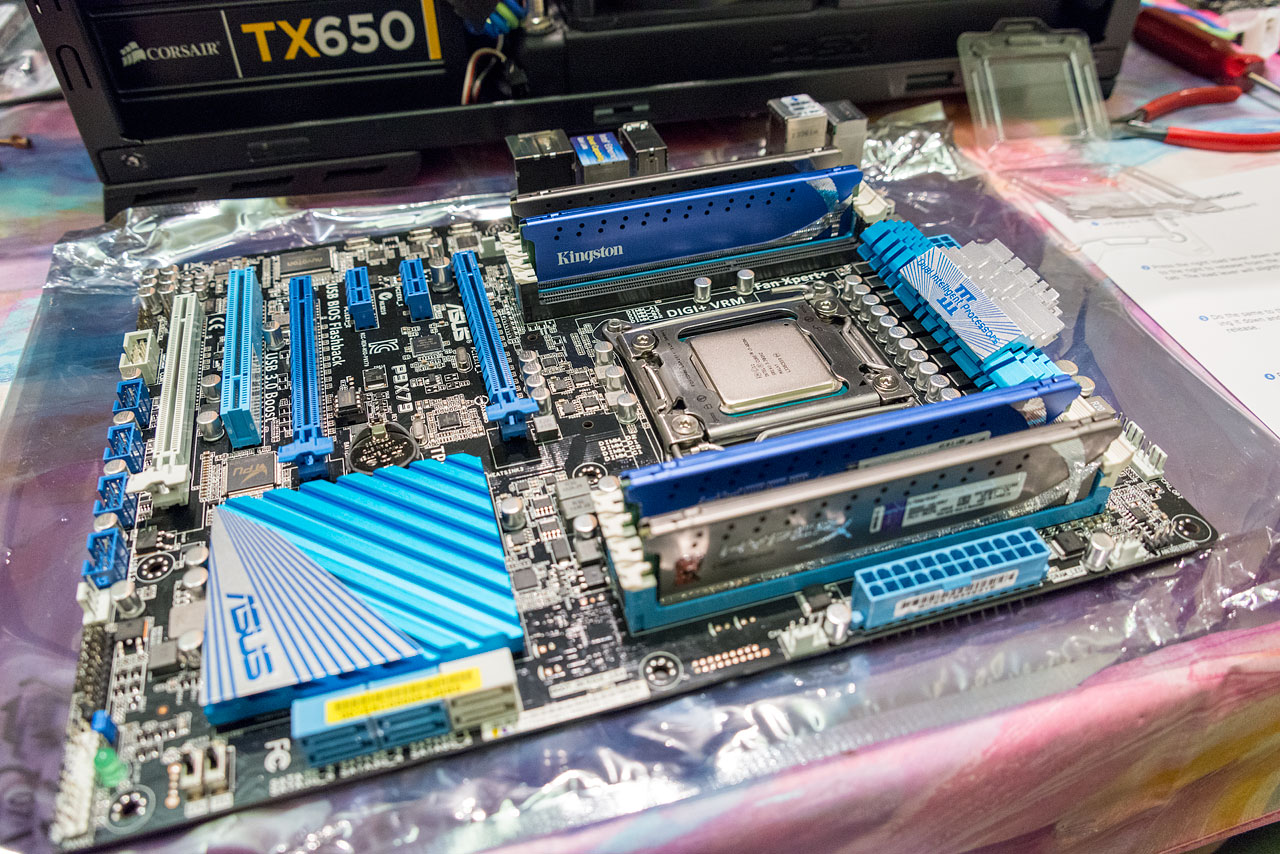
Motherboard, cpu and ram built ready to go in.
12076099993_1225c26a65_o.jpg
 
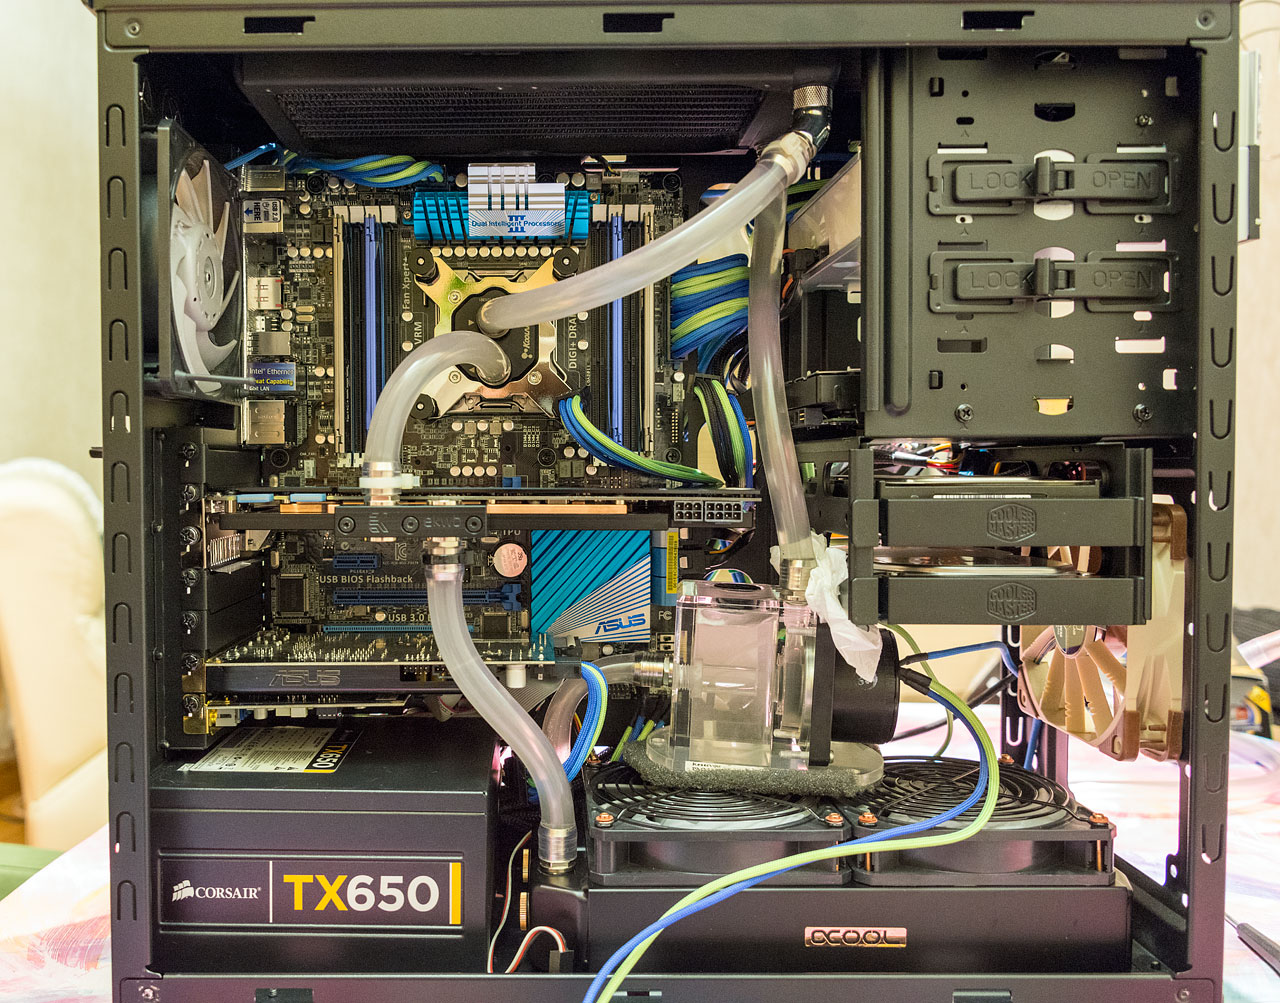
Last update of the day. Finally finished turning taking it all apart and shifting it around. Had to use washers on the alphacool bolts as the heads were smaller than the fan guards. The reservoir is a bit tight at the bottom now that the thickness of the bottom radiator has increased. Might need to use some foam under the drive cage to stop it making contact and making the case resonate. Most of the bleeding seems to be done and i just need to check for leaks in the morning. I'm hoping i won't need to use the bios flashback procedure to get it to boot tomorrow, but i've got the latest bios on a usb stick ready just in case.
12077829423_7c3123edff_o.jpg
 
Finally finished bleeding it this evening and got it up and running ok. Runs like a dream on my original windows install and is even faster to boot. Presently got it clocked up to 4.5GHz using a multiplier of 45 at 1.216V and it seems stable. Temperatures so far have averaged mid 50's with one core peaking 59. I'm extremely new to overclocking with intel so it's going to be a steep learning curve.
 
Last edited:
Yeah, lesson well and truly learned. Even if people think 7/16" over 1/2" barb is safe, i'd rather not take the risk of not having a clamp as the tubing swells over time anyway and the warm temperatures just allow the tubing to loosen.

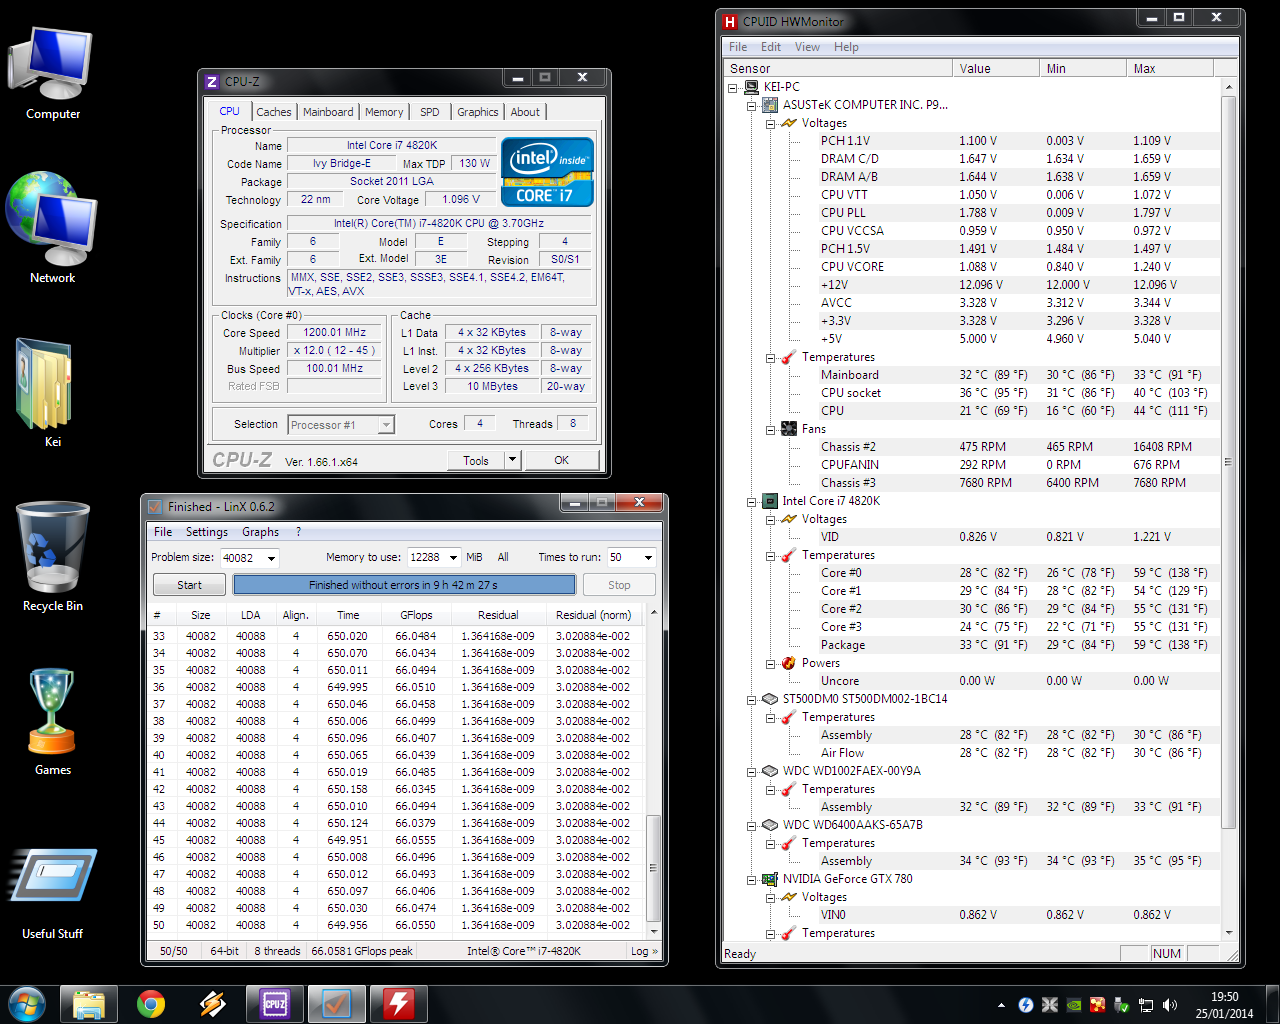
Here is how the overclocking has gone so far. My unfamiliarity with intel hasn't helped me with refining it but at least it's reliable so far. Just wondering how far i can get the chip to actually go.
12123139586_28fc58335c_o.png
 
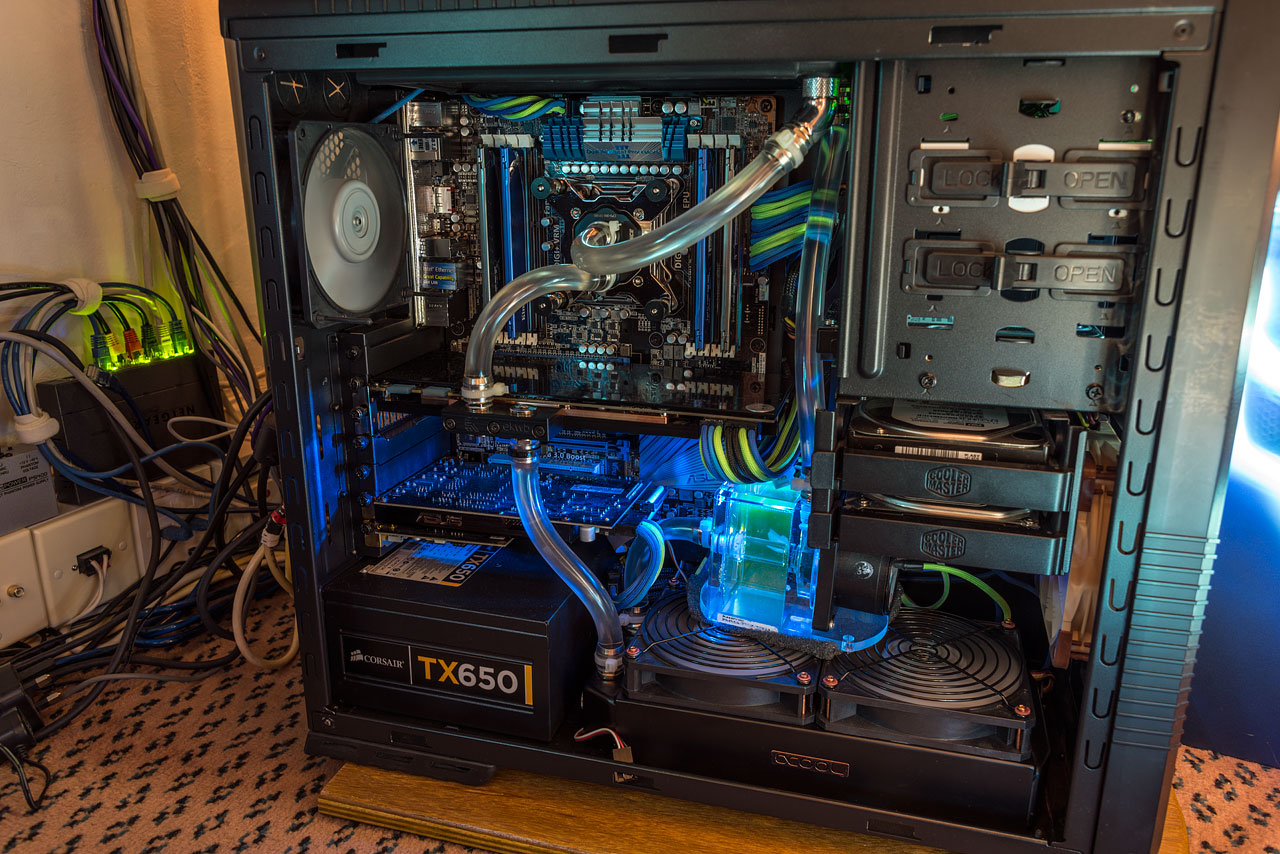
Slight lack of lighting since i took the cathode tubes out but i'm glad i managed to get one of the old asus blue colour scheme boards as the new gold colour is vile and i've never been a fan of the ROG red/black colour scheme.
12180722326_63db9ea161_o.jpg
 
Back
Top Bottom