You are using an out of date browser. It may not display this or other websites correctly.
You should upgrade or use an alternative browser.
You should upgrade or use an alternative browser.
Project Marshlands: A Military Themed Build..
- Thread starter keenan
- Start date
More options
View all postsGreat work man looking forward the finished result
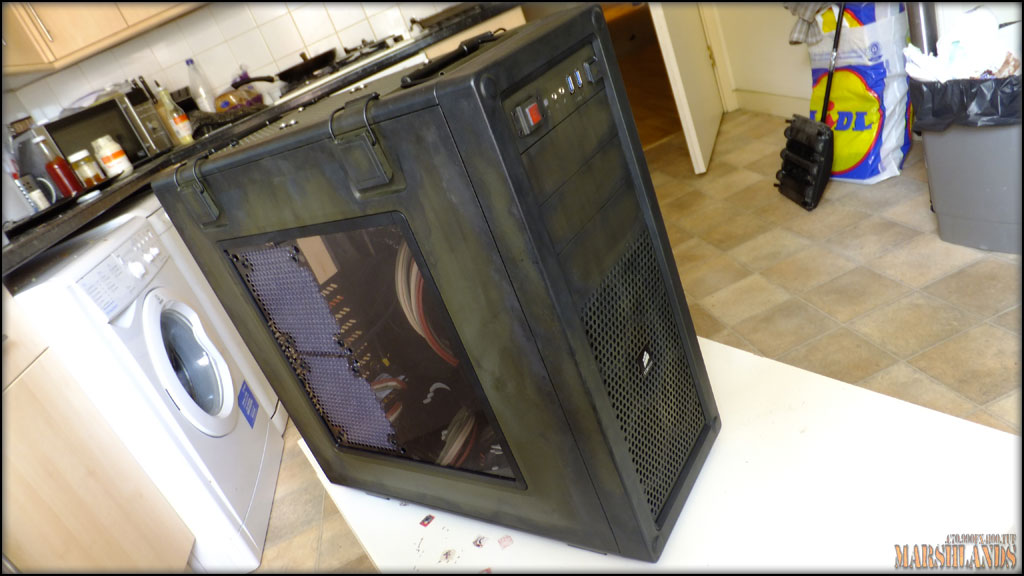
Are you going to give the case a slightly worn look with something like a black ink wash?
Definitely thinking about it.. It would be a shame to leave it untouched!!
Last edited:
..............................................
Ooo look, it's something to power these power hungry GTX470's...


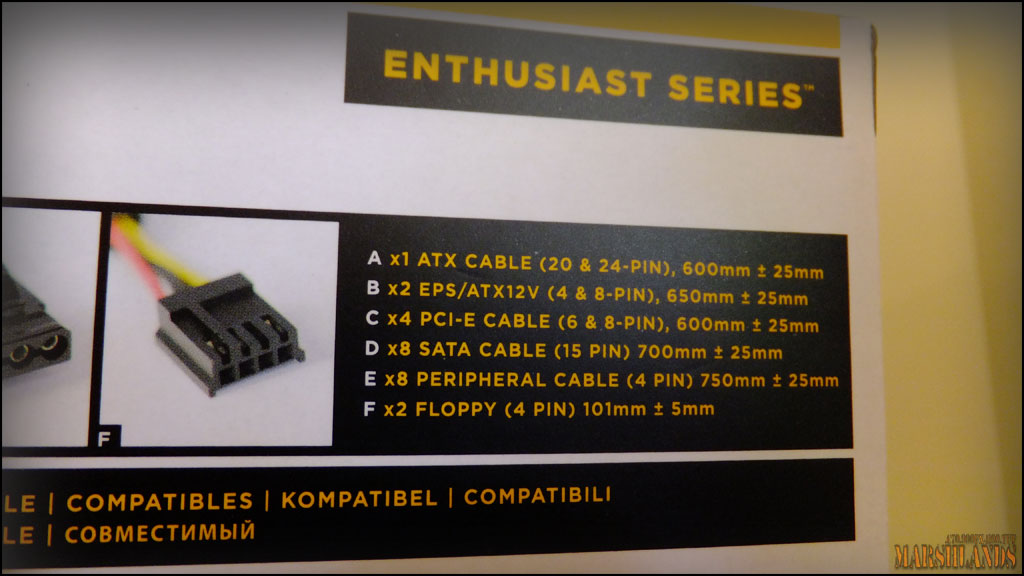

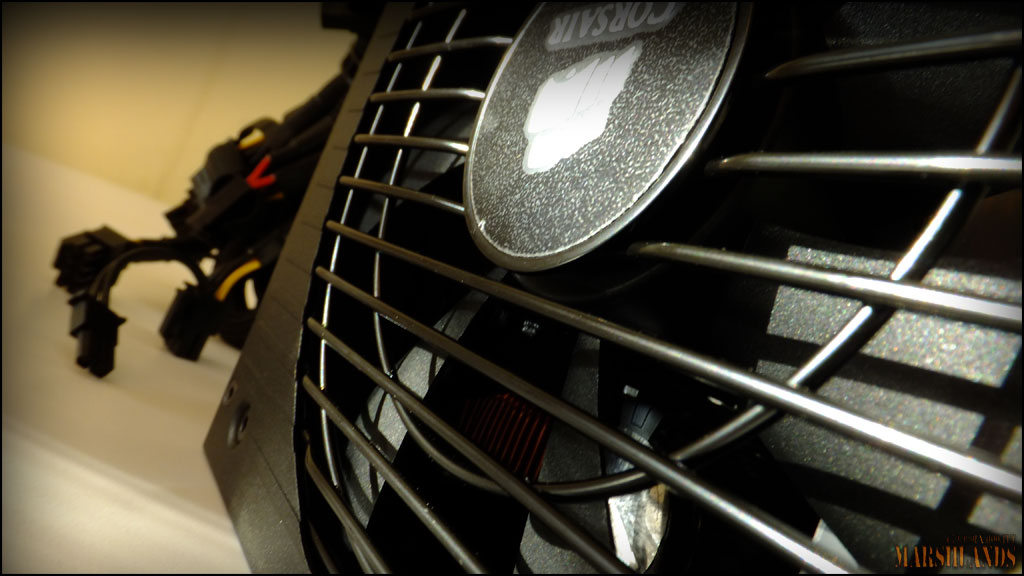
So many connectors...
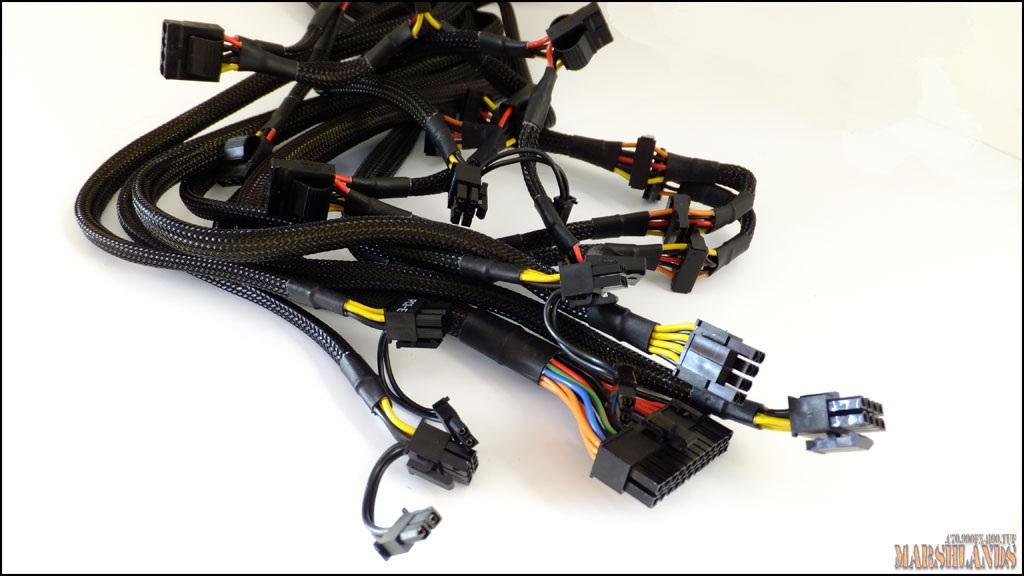
24pin and 12V

4 x 6+2pin pci-e
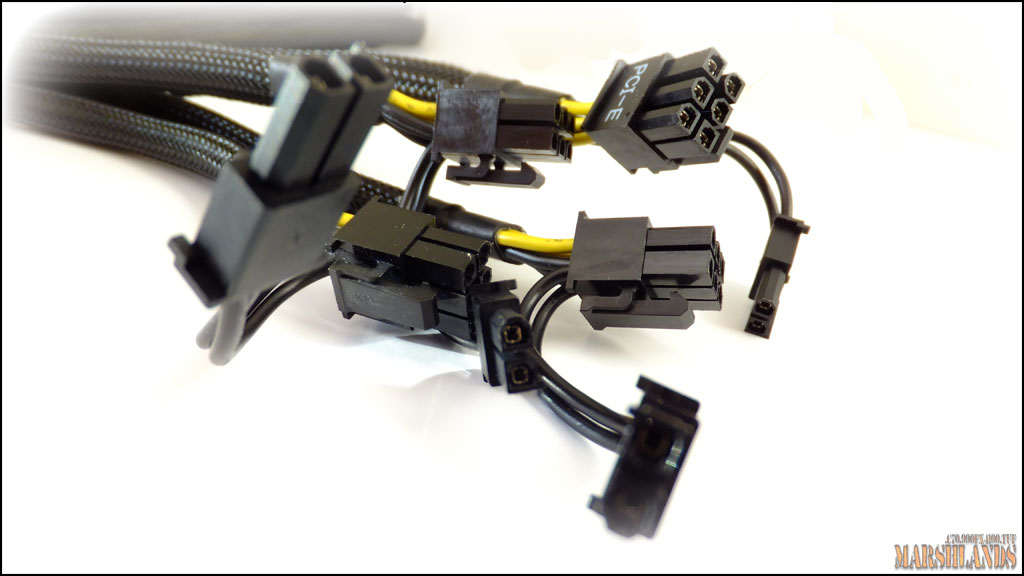
8 x Peripheral (Molex)
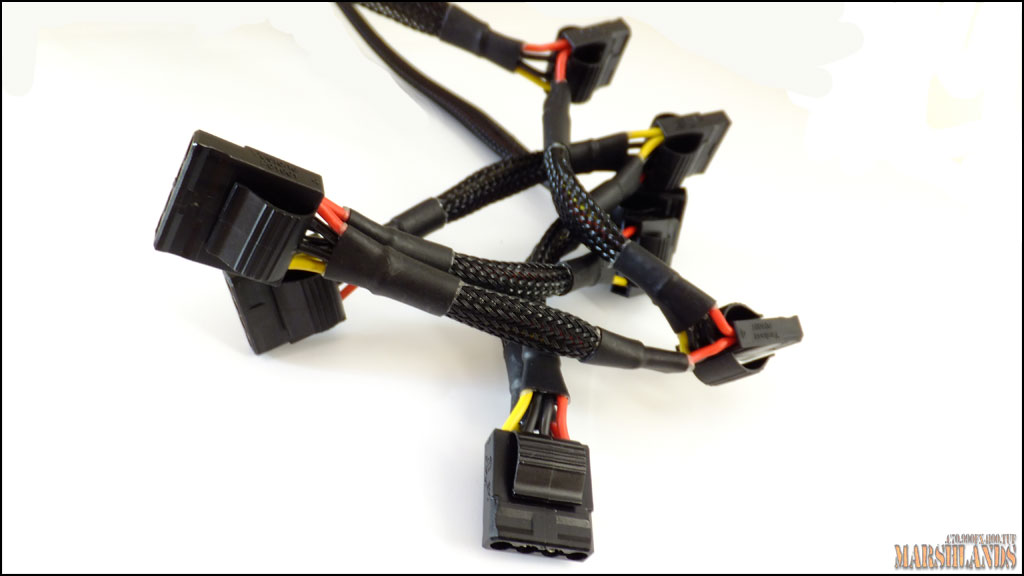
8 x SATA

I want to give a massive thank you to Paul at Corsair for supplying me with this lovely PSU, for being so supportive and for believing in me..

Ooo look, it's something to power these power hungry GTX470's...


So many connectors...

24pin and 12V

4 x 6+2pin pci-e

8 x Peripheral (Molex)

8 x SATA

I want to give a massive thank you to Paul at Corsair for supplying me with this lovely PSU, for being so supportive and for believing in me..

Last edited:
Finally some A-TACS time!!
Got a roll of A-TACS hydrographic film this morning..

Nothing magical about this horrible looking over pan, but that's where the magic happens..
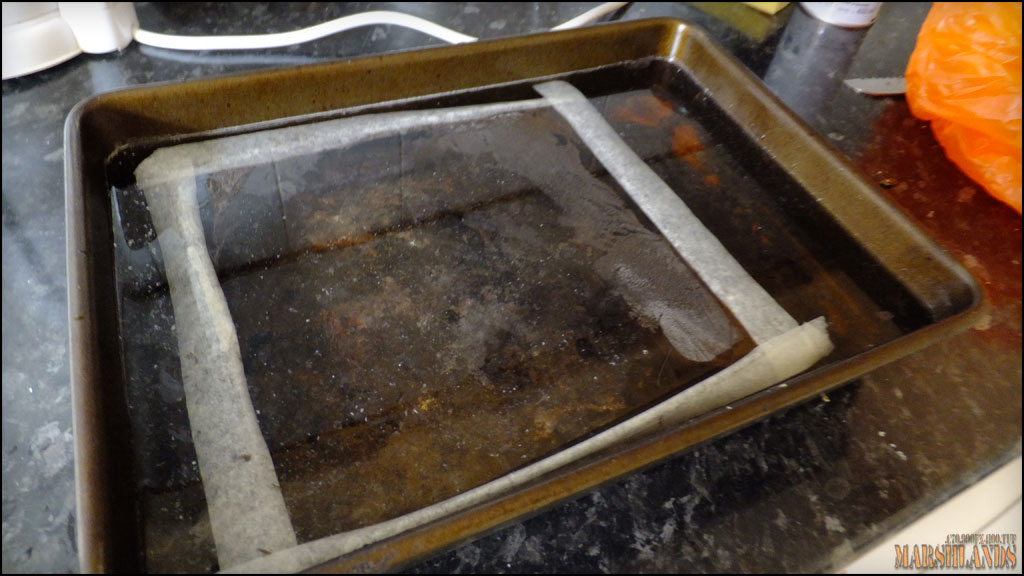
Not the best result after applying the matte clear cote .. uke:
uke:
Seems like it desolved the film!
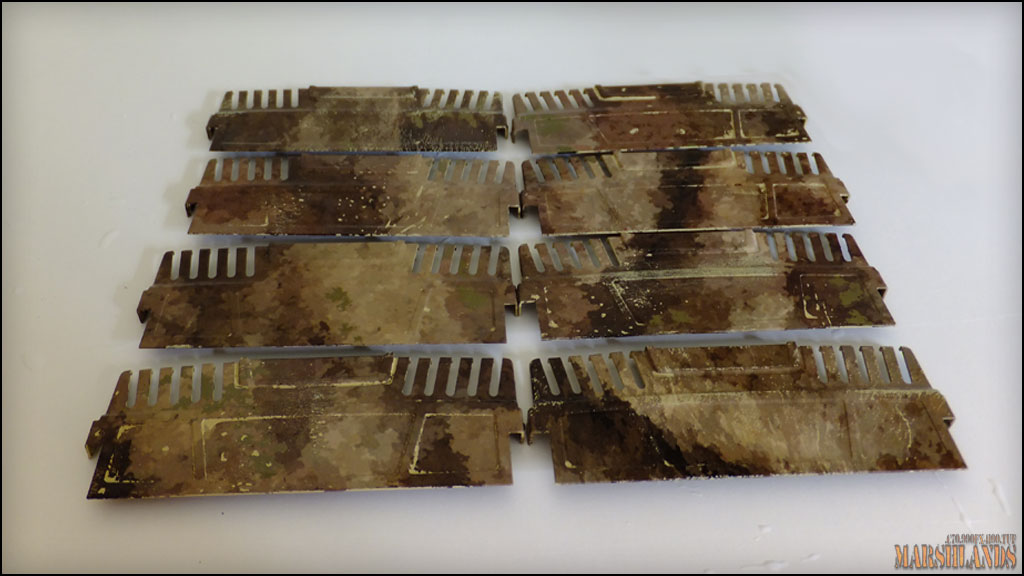
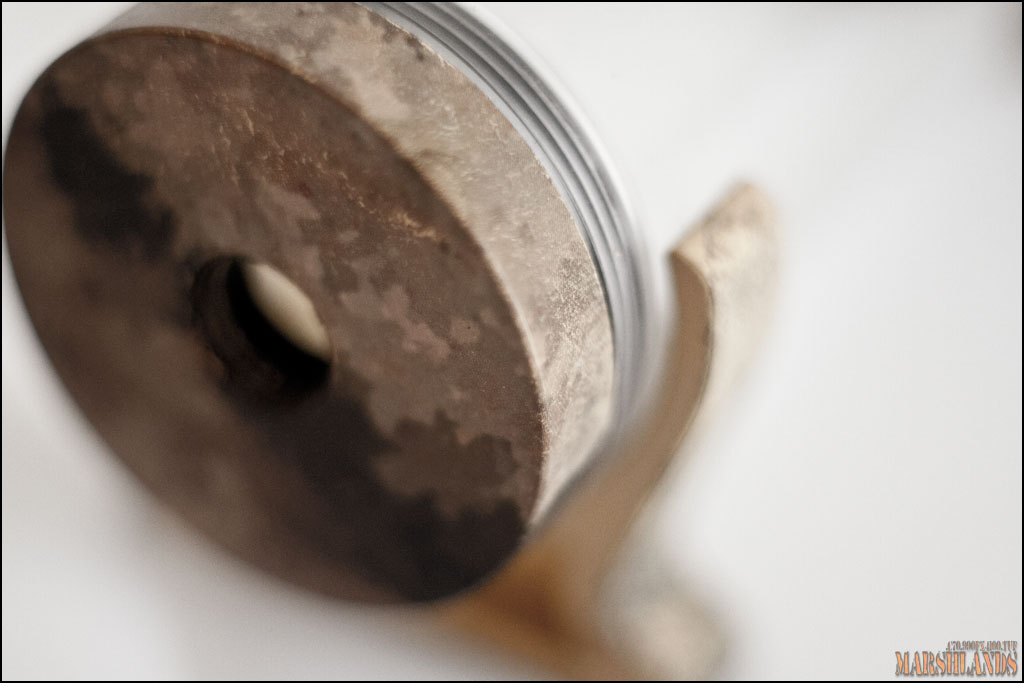
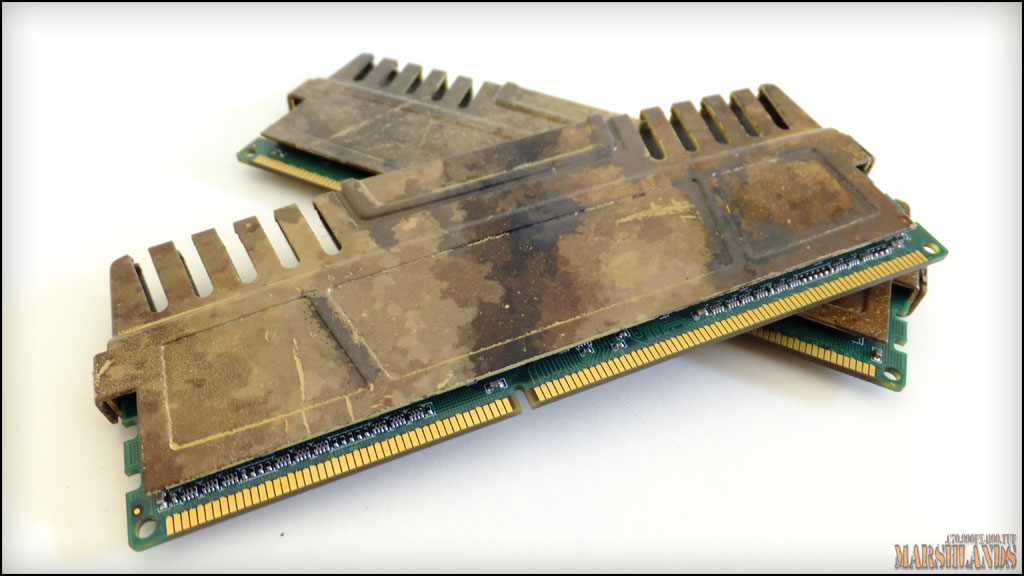
Anyway, no take backsies or do-overs so I used a scotch brite dish scrubber and some Tamiya hobby paint to give it a weathered look
Think it's the best outcome of a bad situation..


...............................
Got a roll of A-TACS hydrographic film this morning..

Nothing magical about this horrible looking over pan, but that's where the magic happens..


Not the best result after applying the matte clear cote ..
 uke:
uke:Seems like it desolved the film!

Anyway, no take backsies or do-overs so I used a scotch brite dish scrubber and some Tamiya hobby paint to give it a weathered look
Think it's the best outcome of a bad situation..


...............................
Dude, like WOWHow did you get it to look like that, that's unbelievable. I must know your secret . . . .

Hahaha, very flattering..
I used Tamiya flat black and smoke hobby paint.. I applied it with the green course side of a scotch brite dish sponge and flattened it out with a big painters brush..
Thats it, nothing more to it..
Hi everyone.. It's been one very busy week so not much to show in regards to results, but I have done some dipping..
Got a CPU block and a 240mm rad to fit in the bottom of the case, obviously they had to get a bit of love!! :loved:
First I had to do some masking to make sure I dont get the base coat everywhere..
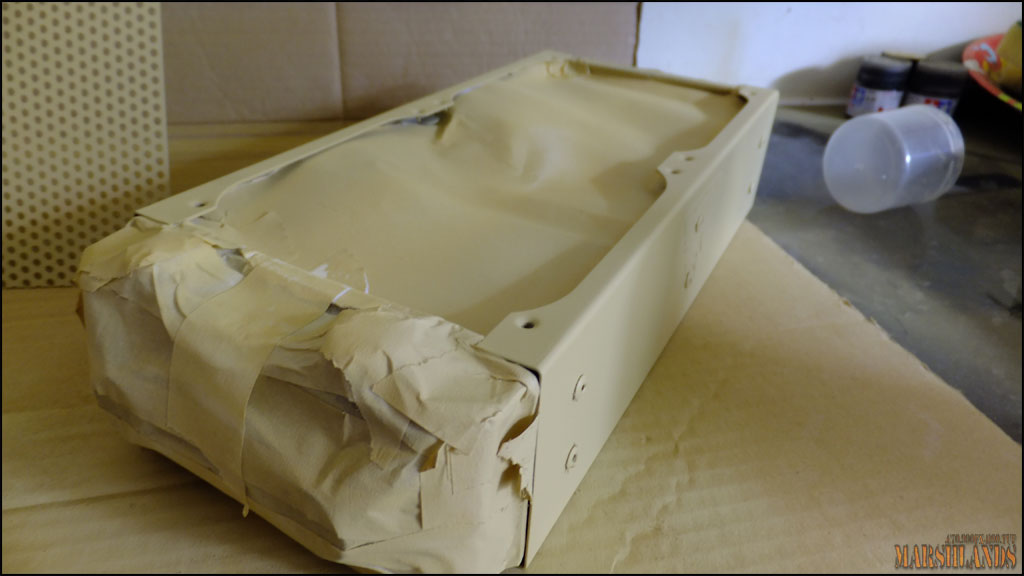
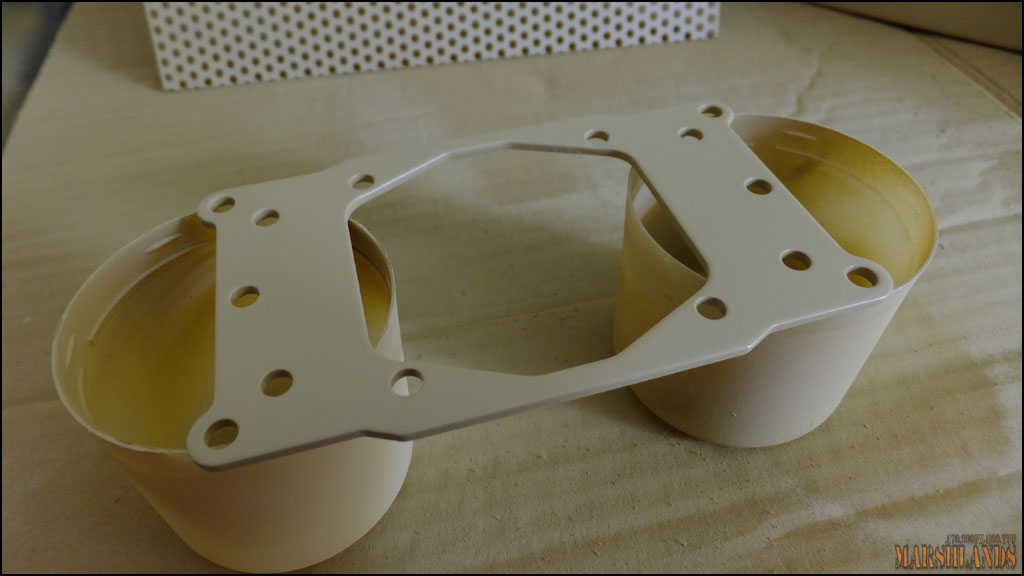
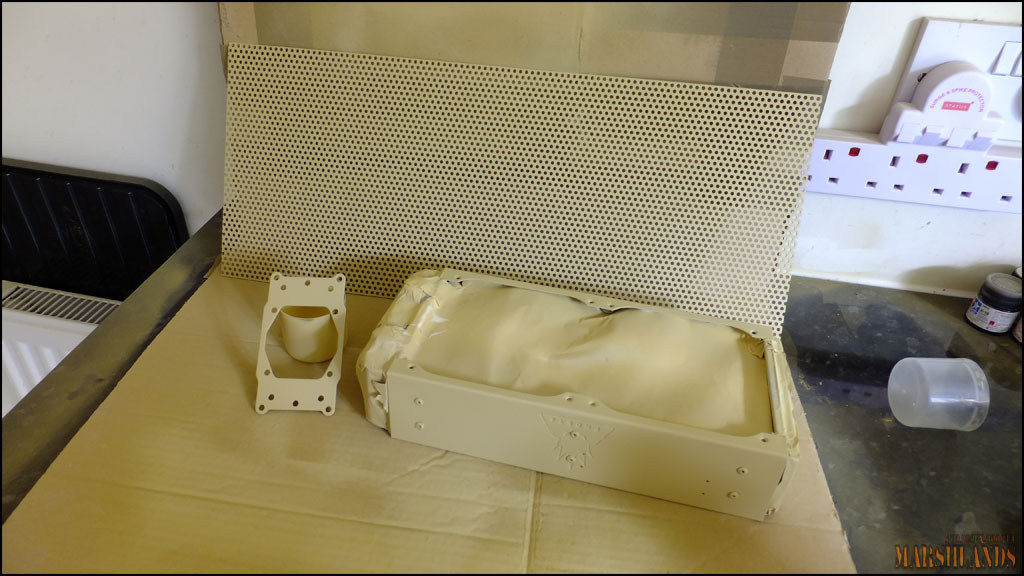
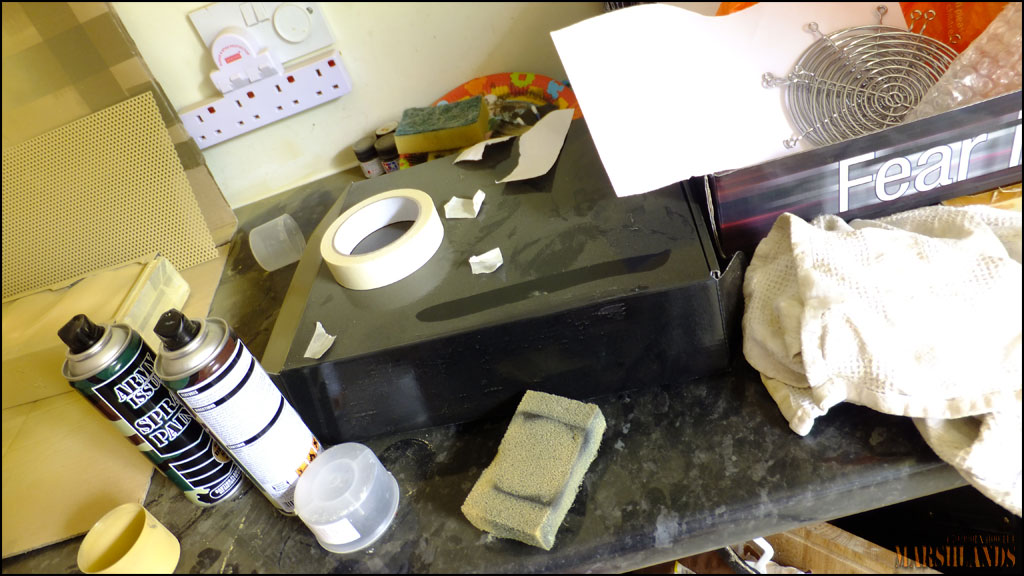
My very tidy working area .. :rofl:
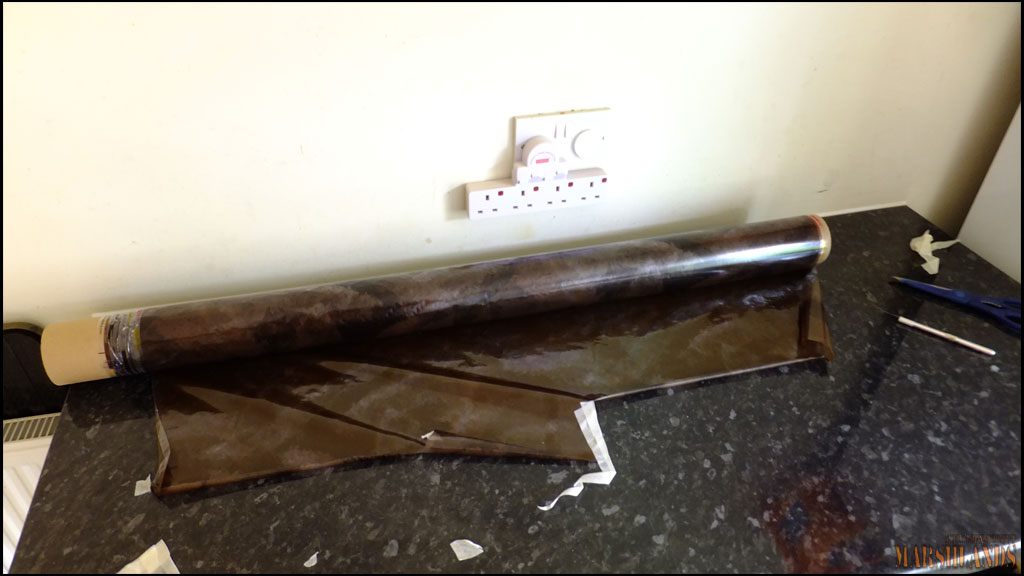
A massive roll of hydrographic film..
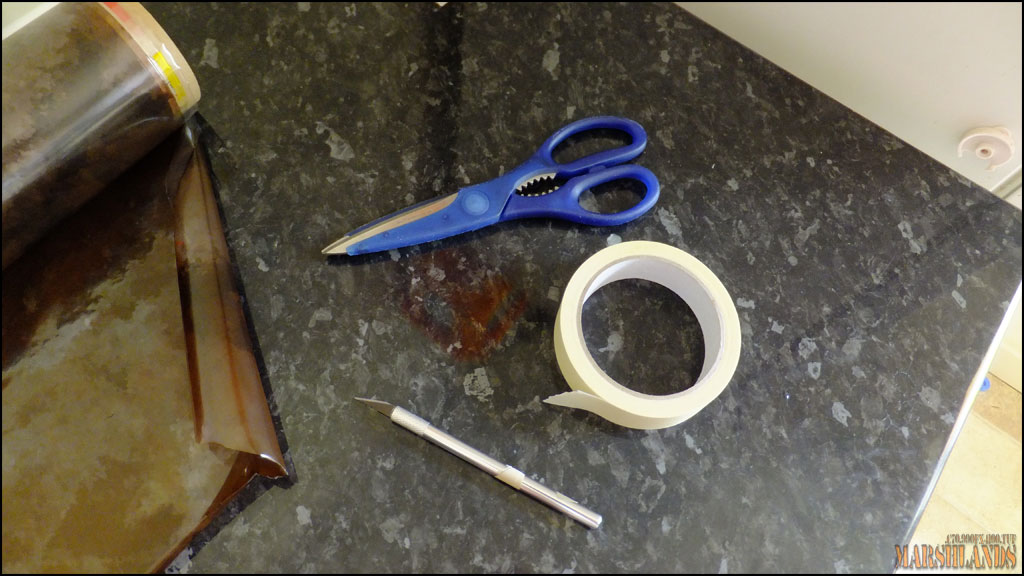
Tools of the trade.
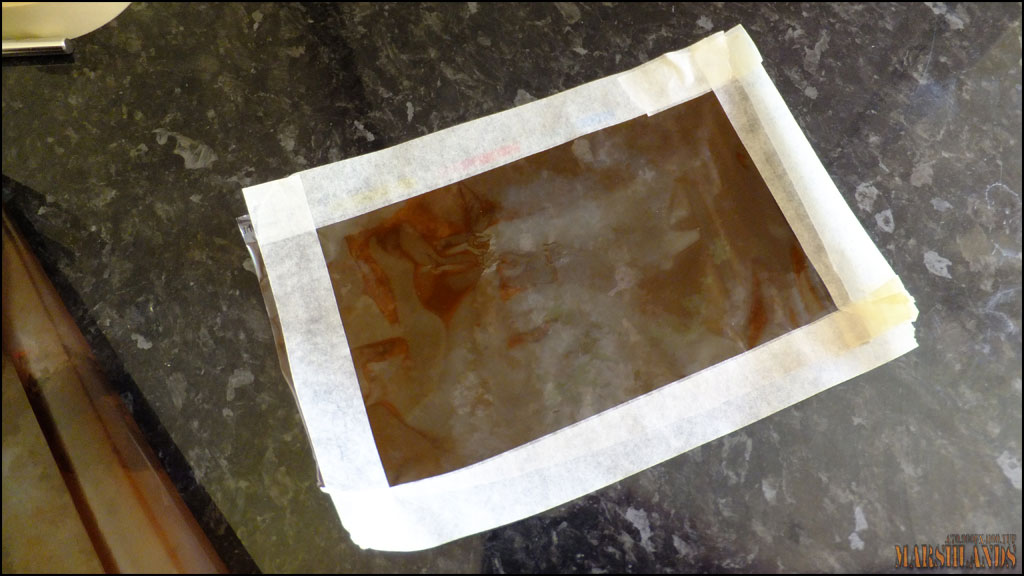
Measured and framed..
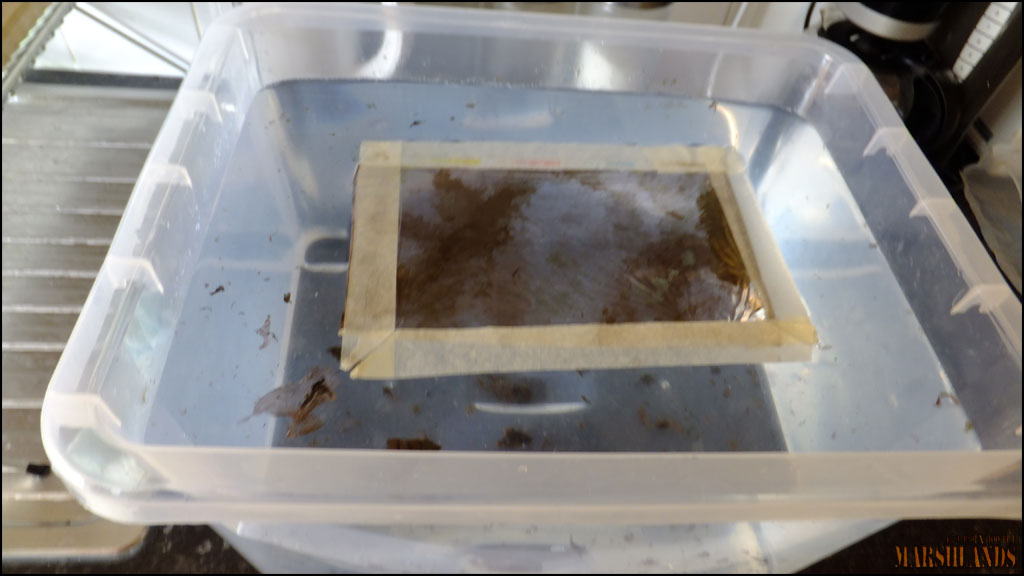
Had to get a larger dipping tank so I borrowed my sons toy box
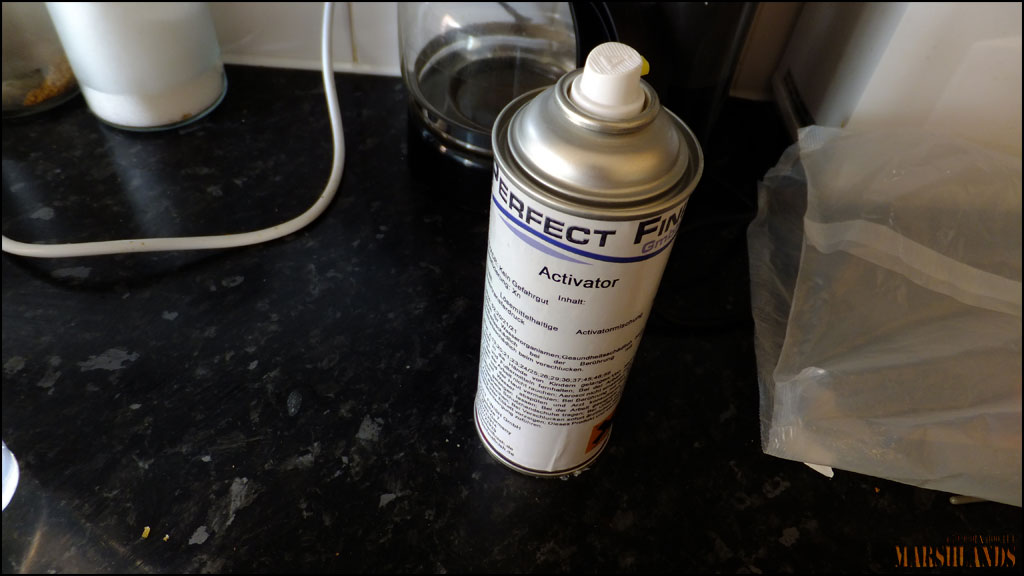
Some aerosol activator..
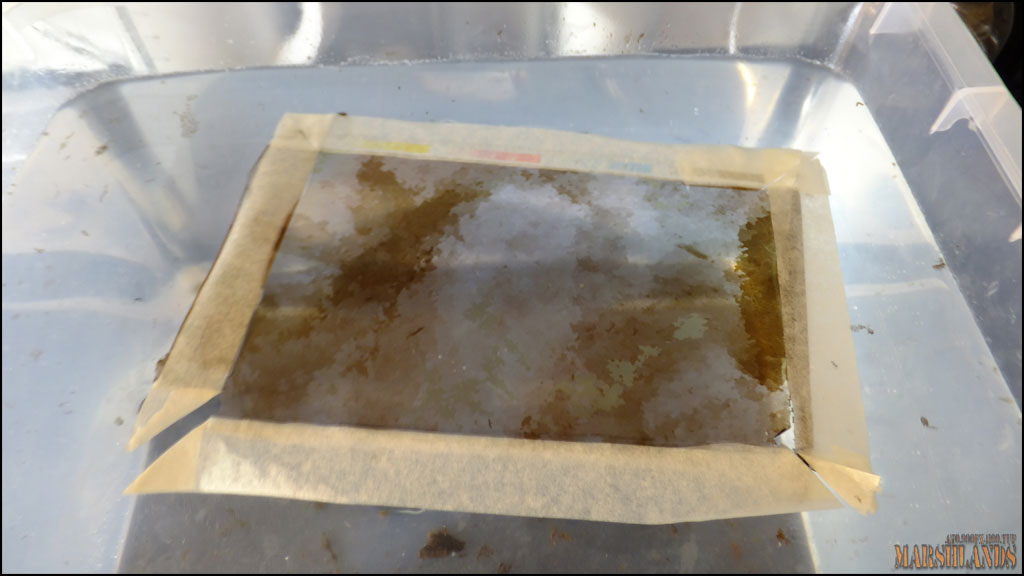
Here you can see the film starting to dissolve from the activator..
The results!!
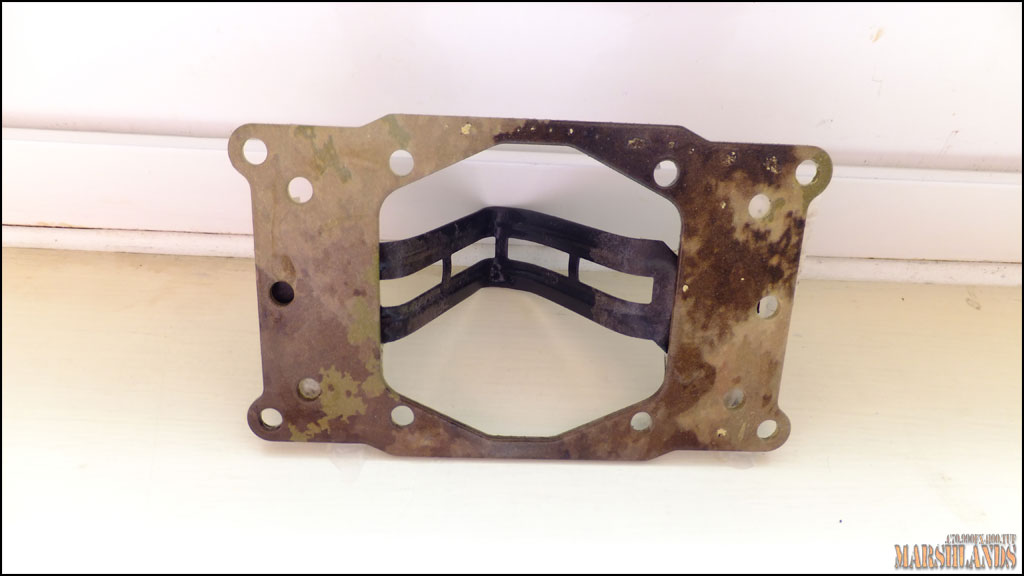
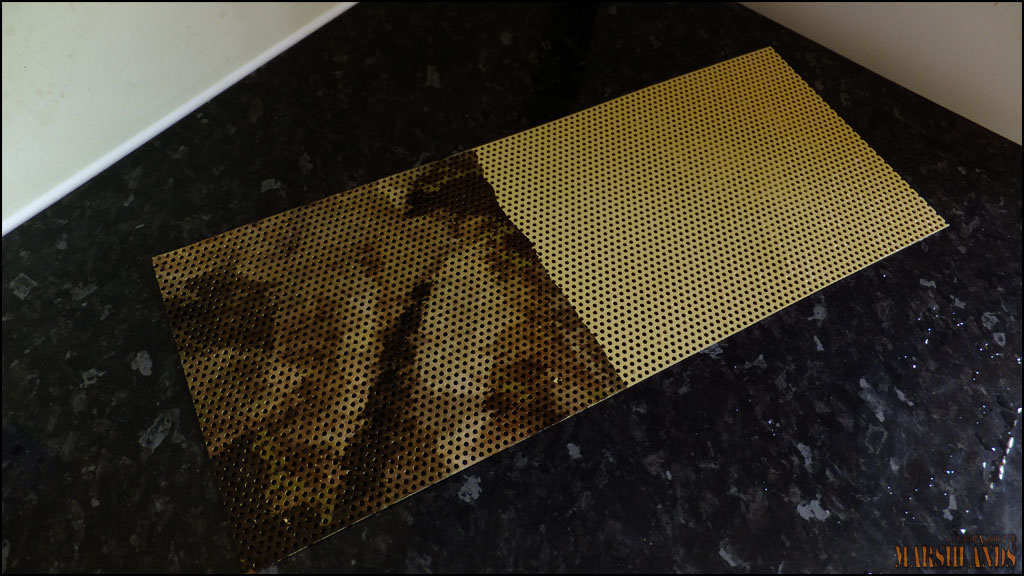
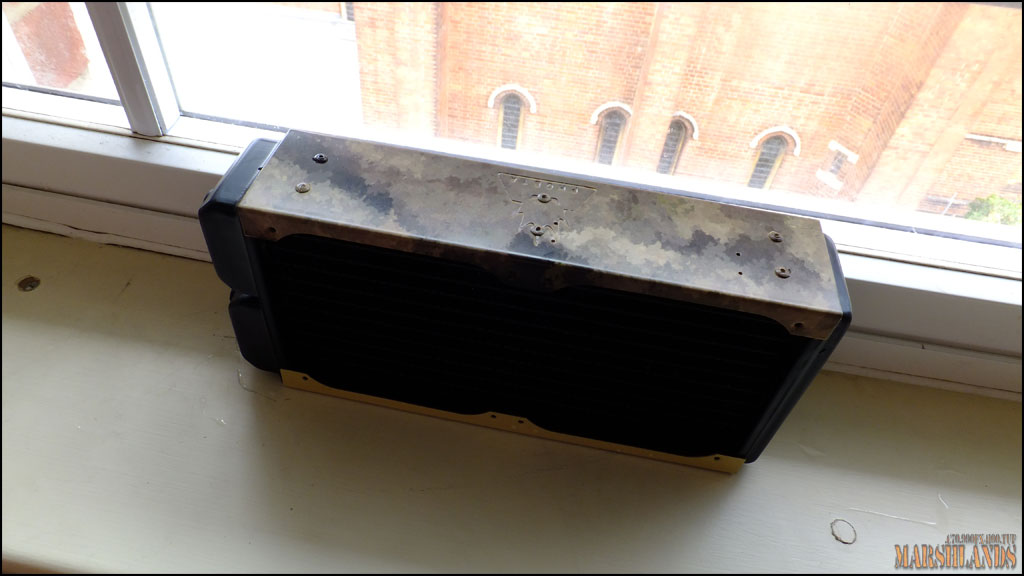
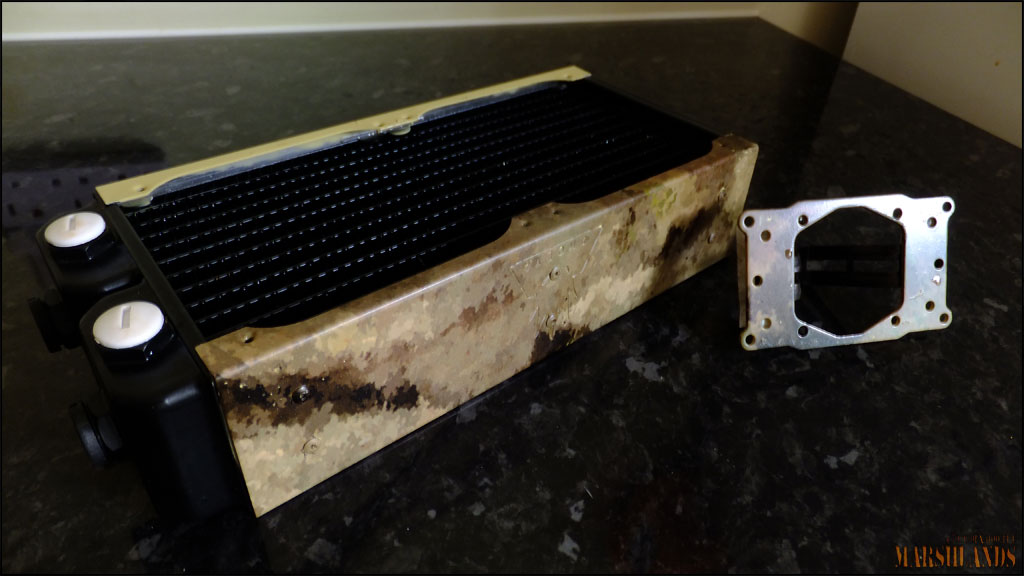
Got a CPU block and a 240mm rad to fit in the bottom of the case, obviously they had to get a bit of love!! :loved:
First I had to do some masking to make sure I dont get the base coat everywhere..


My very tidy working area .. :rofl:

A massive roll of hydrographic film..

Tools of the trade.

Measured and framed..

Had to get a larger dipping tank so I borrowed my sons toy box


Some aerosol activator..

Here you can see the film starting to dissolve from the activator..

The results!!


stunning mate
Lovely theme going on, and great attention to detail.
Thanks everyone, the comments from you guys gives me a lot of motivation!
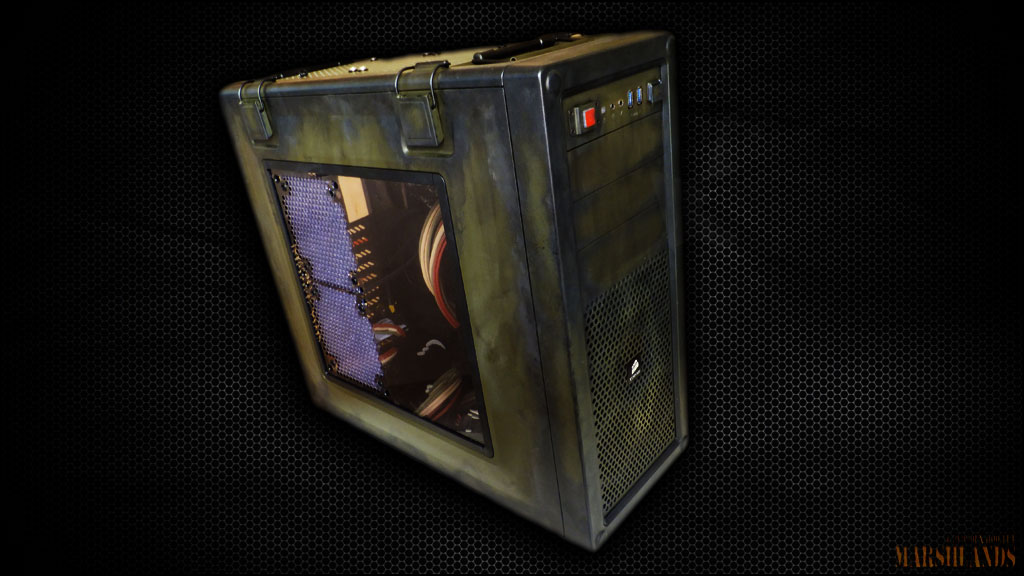
Bit late, but that RAM looks stunning! It actually probably looks better for having messed up a bit, gives it a very weathered look I have to say!
Rest of the build is looking fantastic, and that case! Oh my lord!
Totally agree with you, it's a military build, it should be dirty, oily and weathered!
You deserve it, fantastic stuff
Thanks benccritchley

Everything so far was shot with a Finepix F500EXR compact and even though it does'nt take bad photos it takes a lot of work to get anything worth keeping. I was trying to save up for a FX-8320 to replace the current cpu, but got a real bargain on a Canon EOS 350D with an EF 50mm f/1.8 lens so I had to get that instead..
Last edited:
Just a quick heads up OP;
Obviously i cant say where but i came across some thumb screws from a uk supplier of computer modding bits that look like bullets, thought of your build straight away, you might think they are tacky but its worth a mooch if you aint already aware of them. Just thought it would bring the pci-e holders to life but im not 100% sold on them and its not even my rig lol
Thanks for the info, but as cool as they are I just think it would send the theme of the project in a different direction..

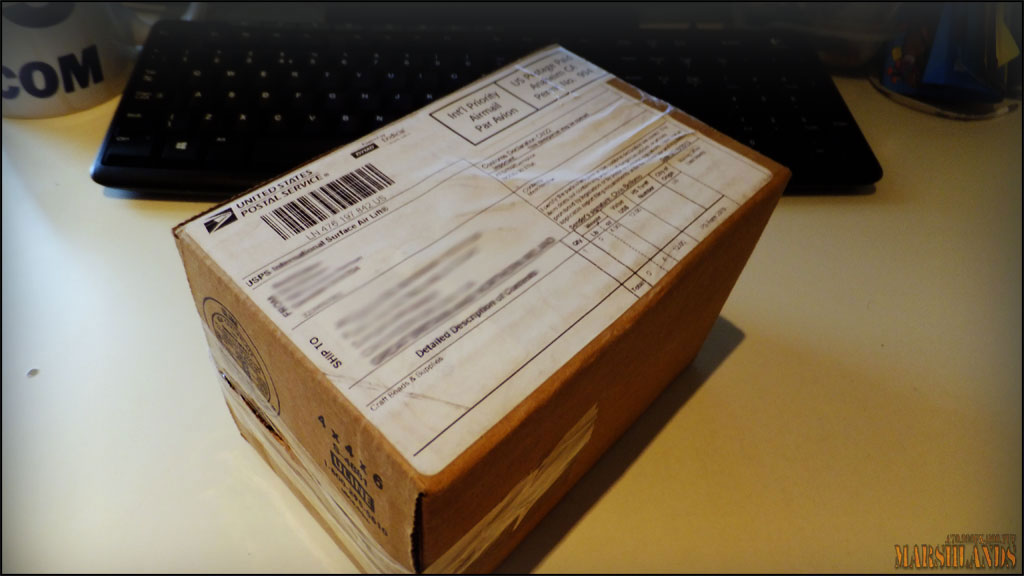
Today I would Like to give a massive thanks to Joseph (Greybeard) and Corsair for sending me this amazing ....... box

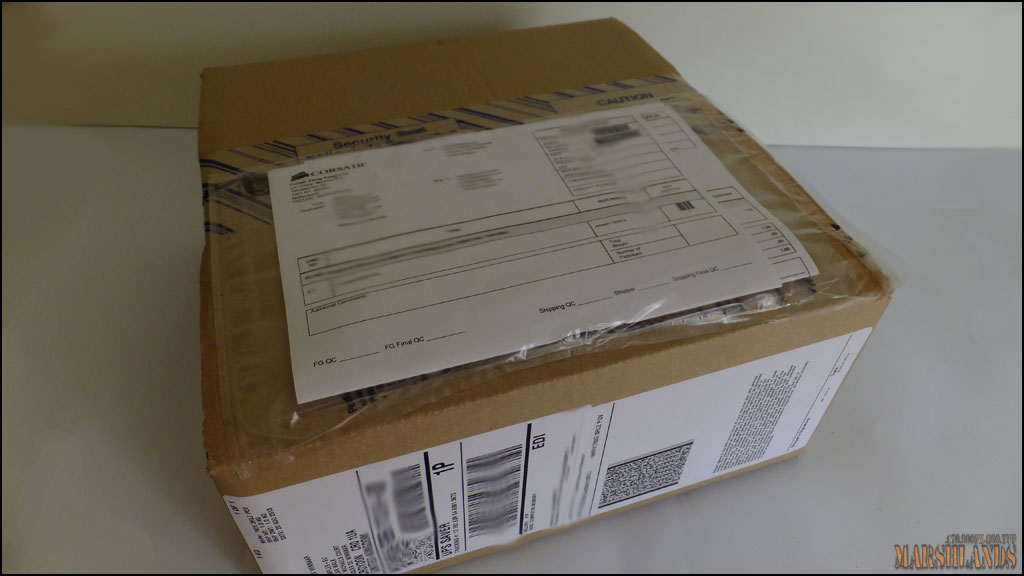
... which contains an awesome little addition to this project..
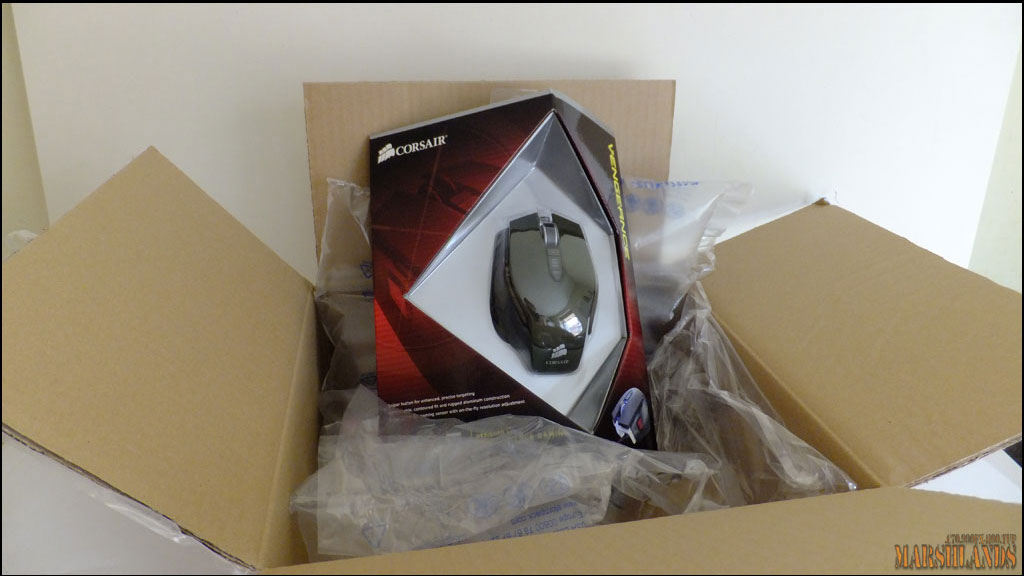
The Corsair Vengeance M65 Gaming Mouse..
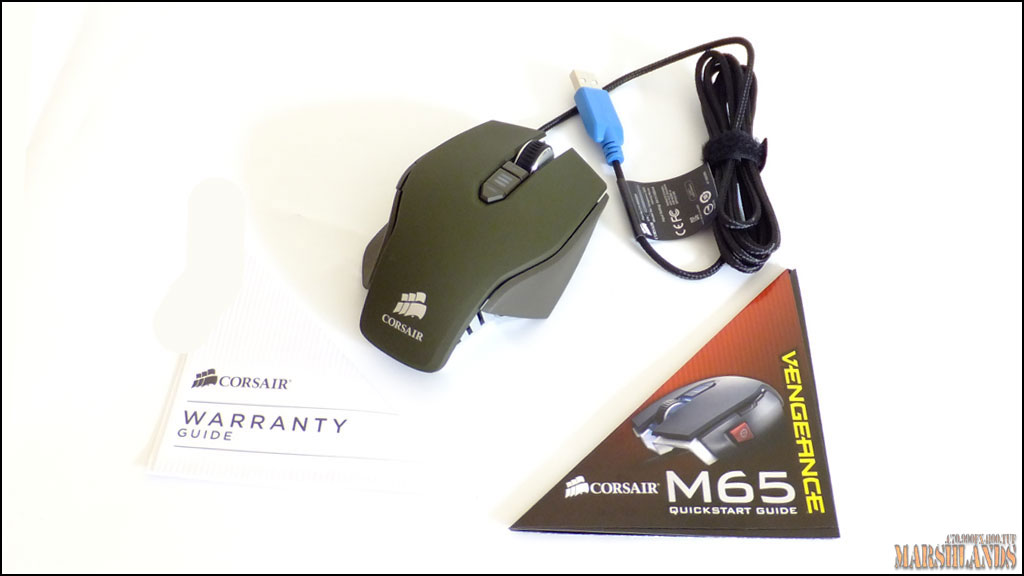
Looks wise this mouse is absolutely stunning and it feels very comfortable in the palm of your hand.. On the top it has the scroll wheel and a response time selector which lets you choose between 1ms, 2ms, 4ms or 8ms..
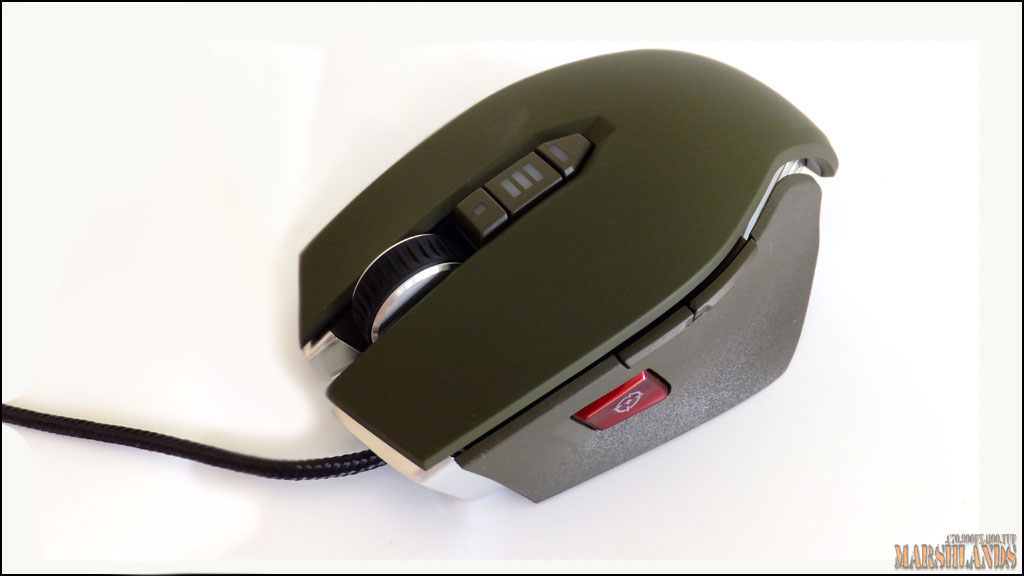
On the side it has a "Sniper" button that when pressed slows the response of the mouse down to make precise movement easy as pie..
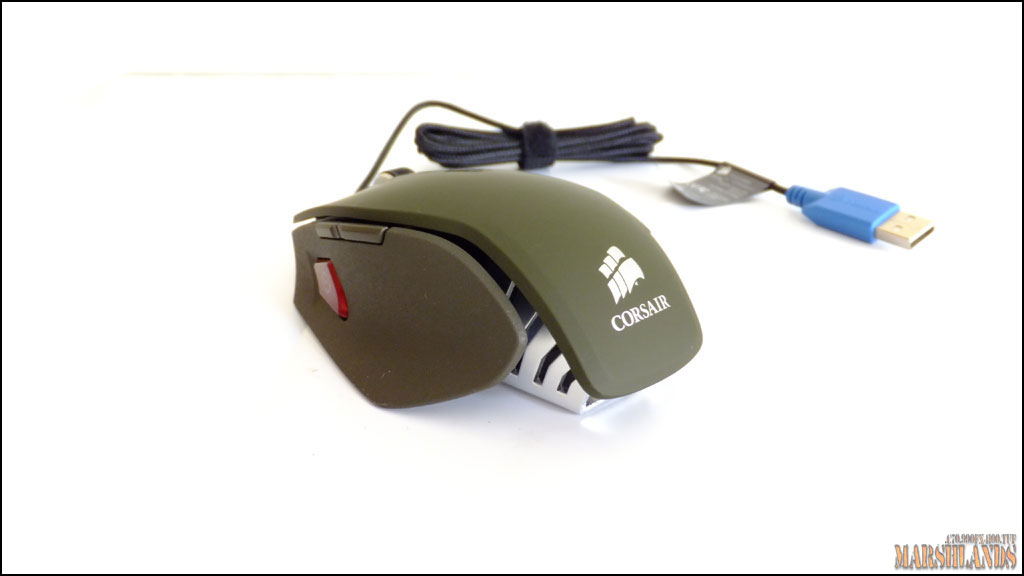
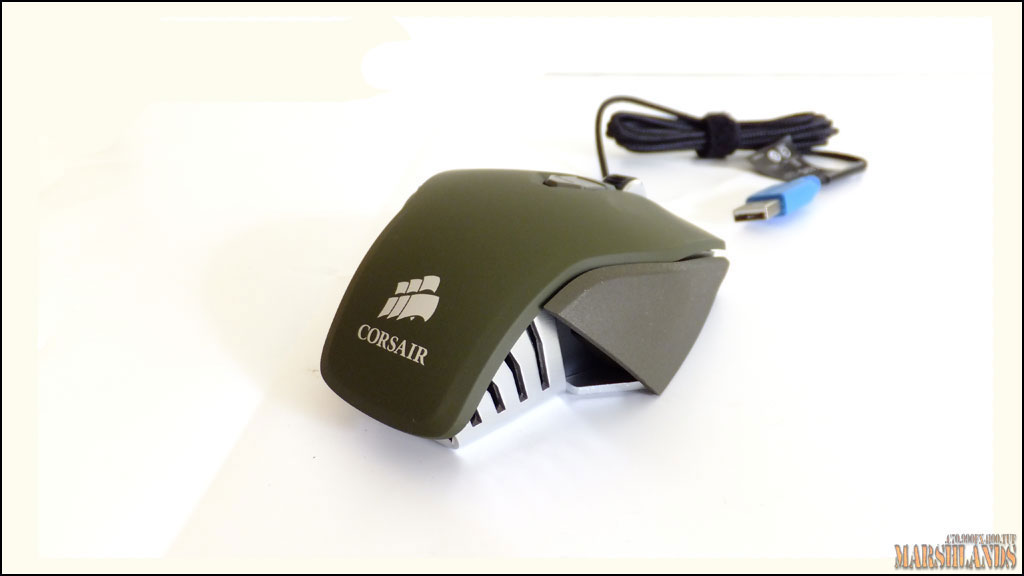
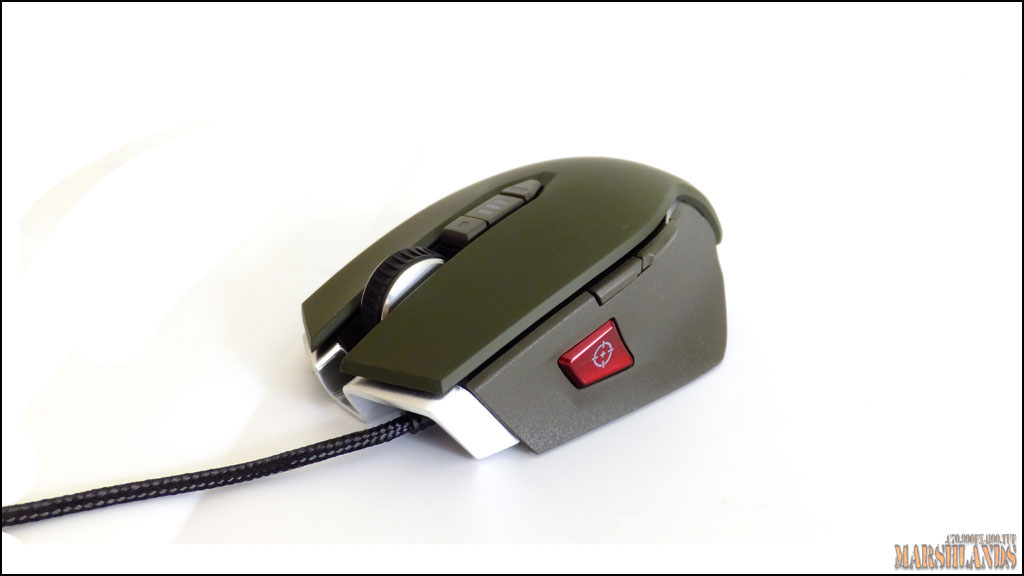
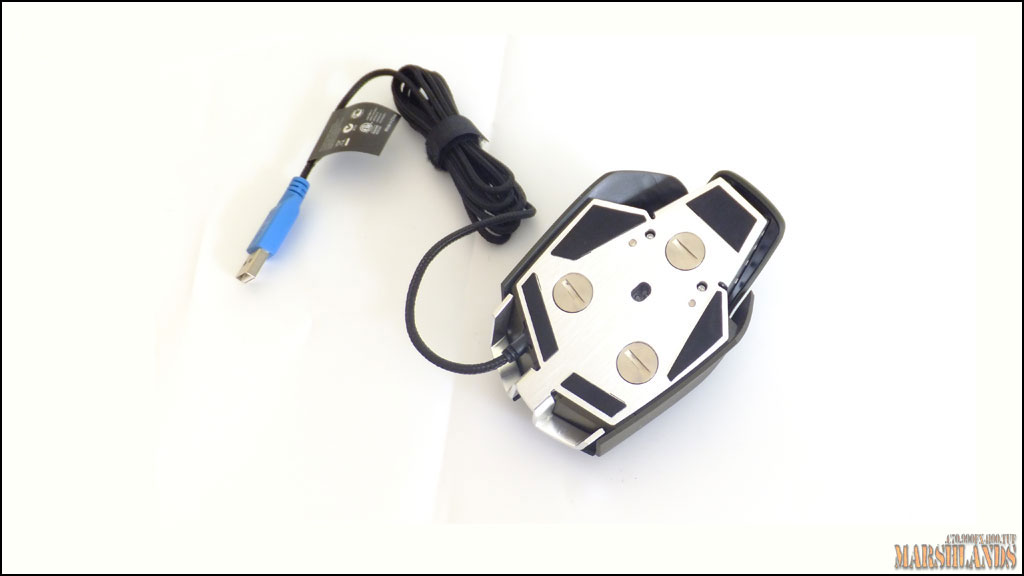
On the bottom it has removable weights so you can select a weight that is most comfortable for you..
Been using it for a few days now and I must say, it's outstanding!
Last edited:
Tube Res!
Eyes like a hawk..

...............
Small update..
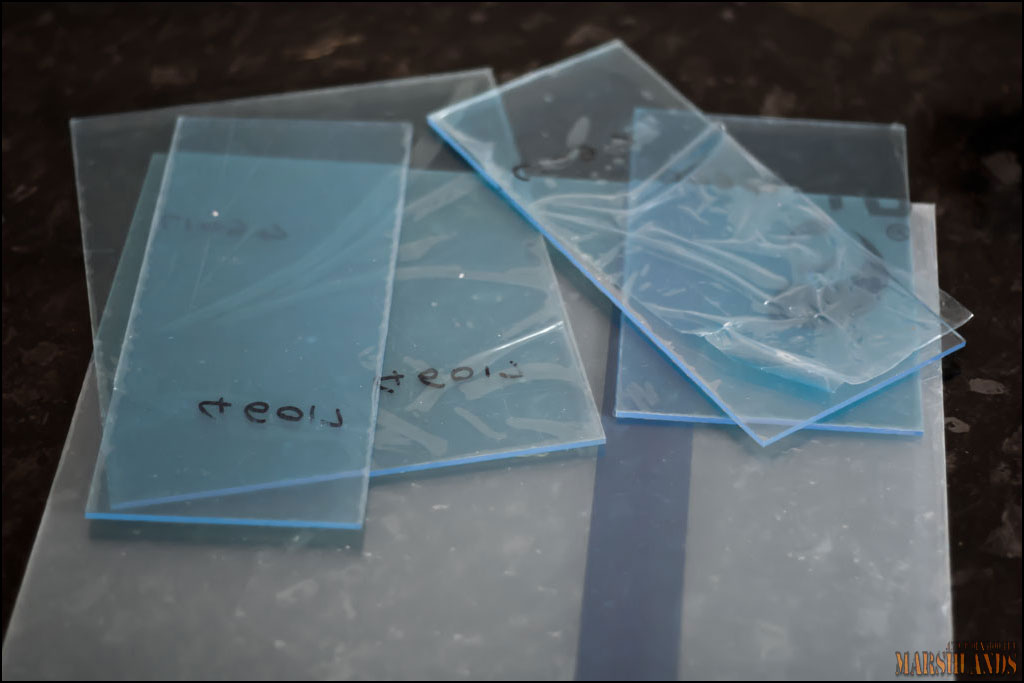
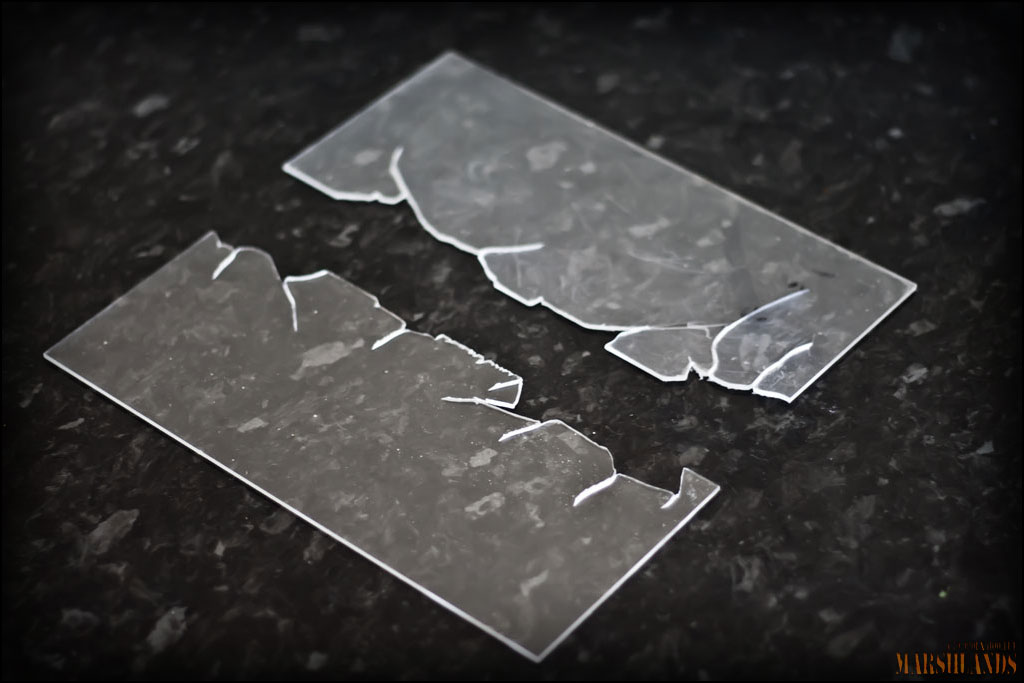
Today I had time to play with some plexiglas..
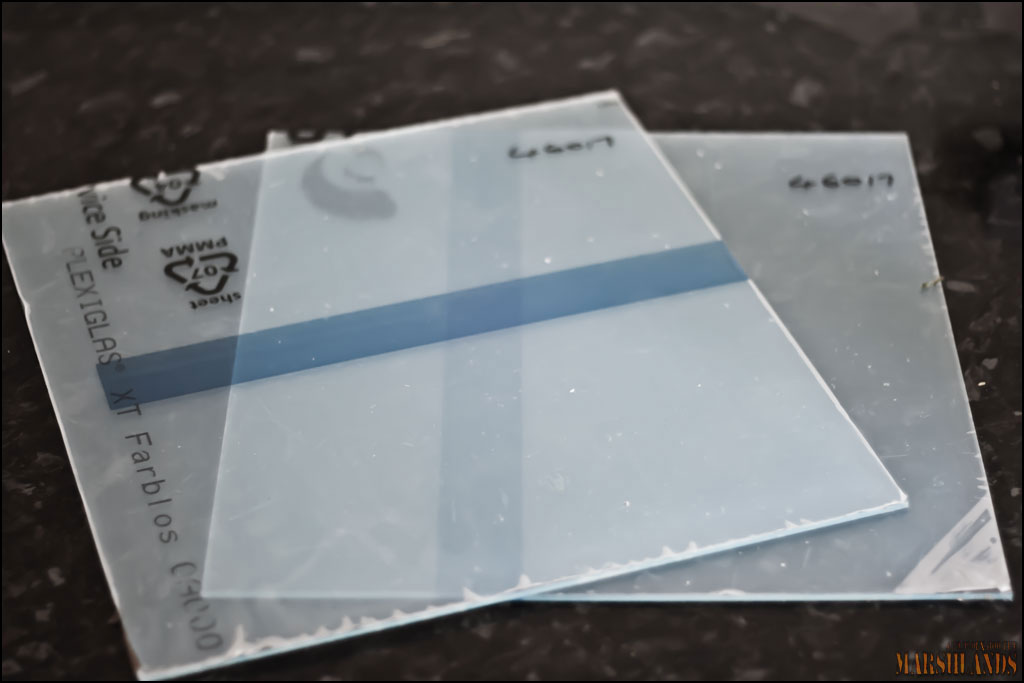
Chopped up bits..
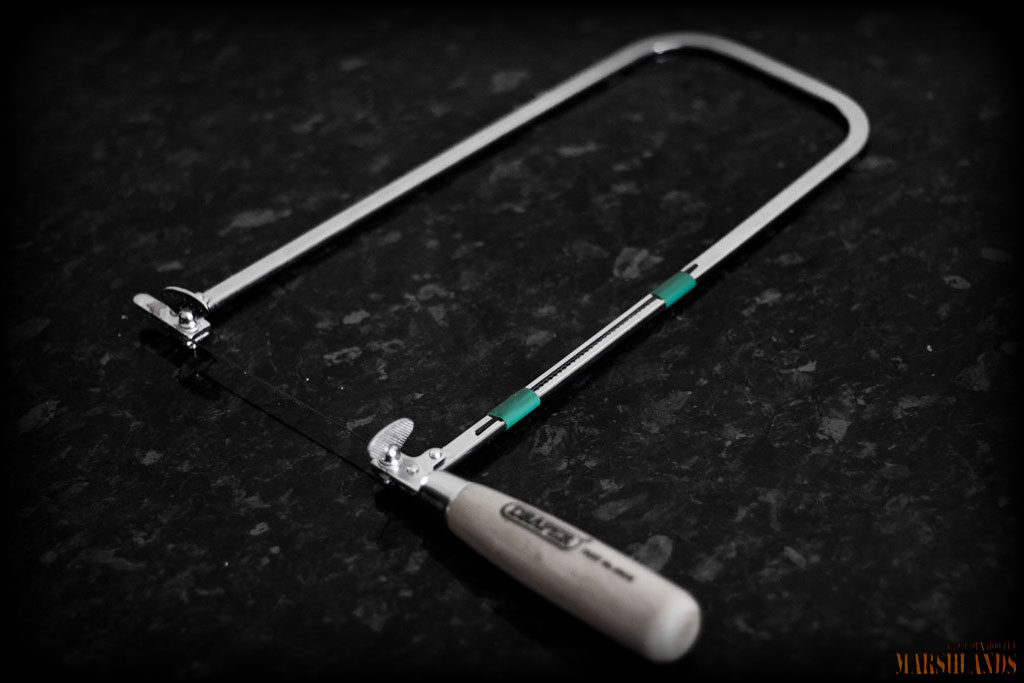
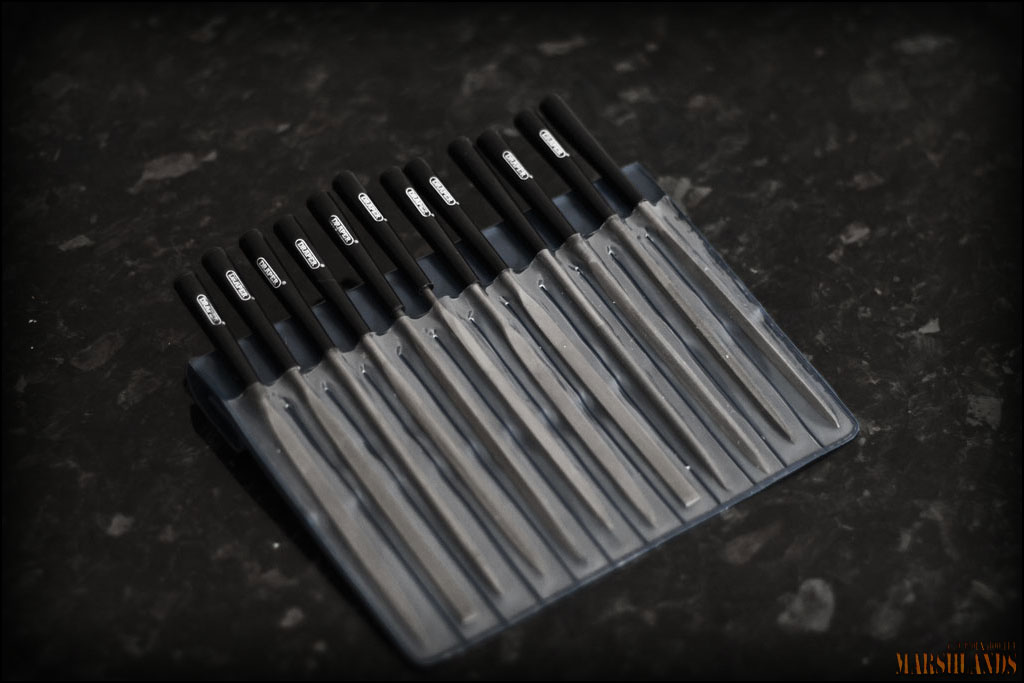
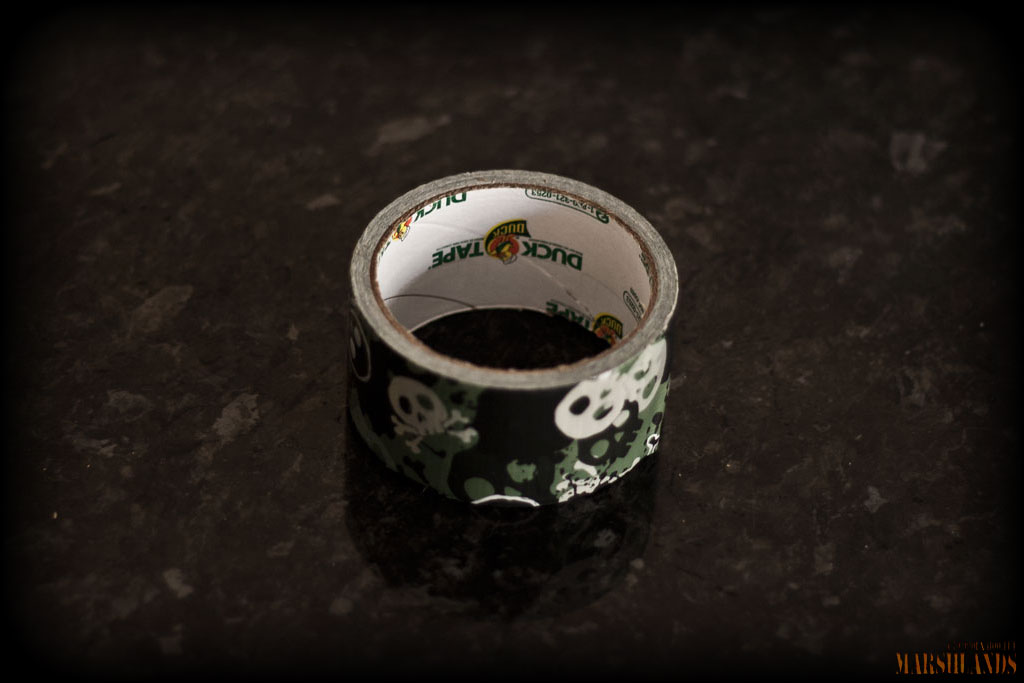
Tools used: fretsaw, needle files and the coolest looking duct tape ever.. :lovely:
Some more chopped bits..
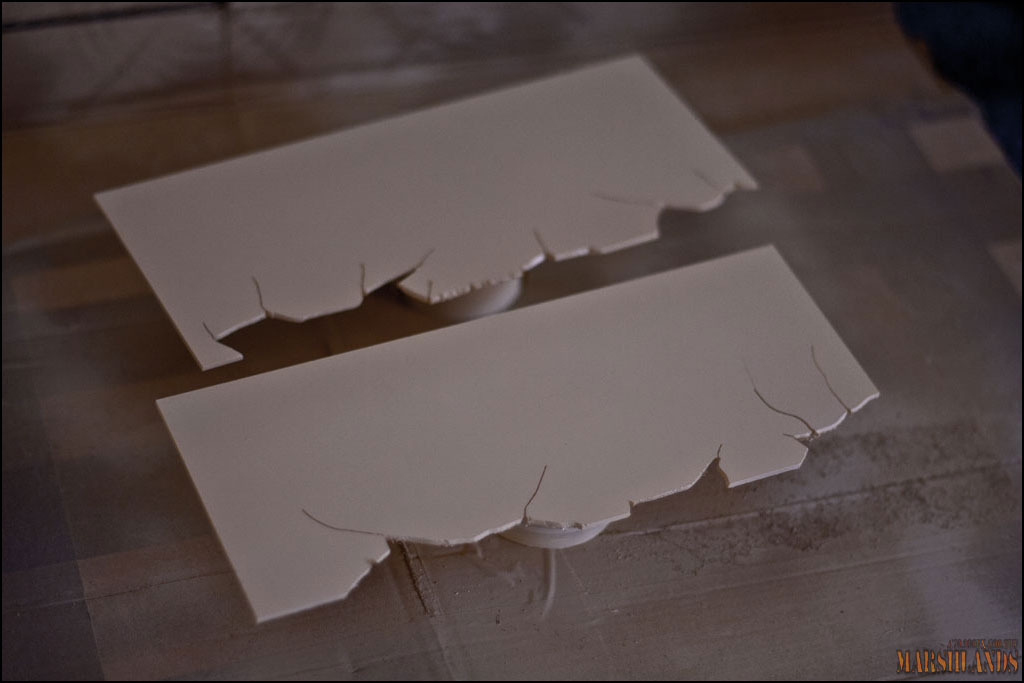
With a "sandy" base coat..
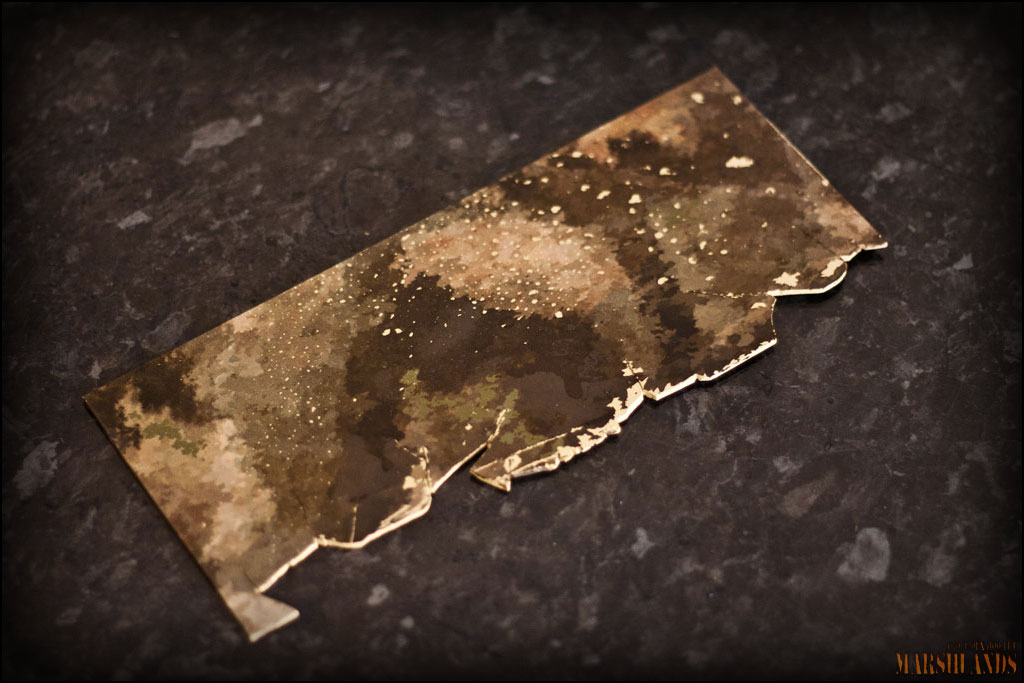
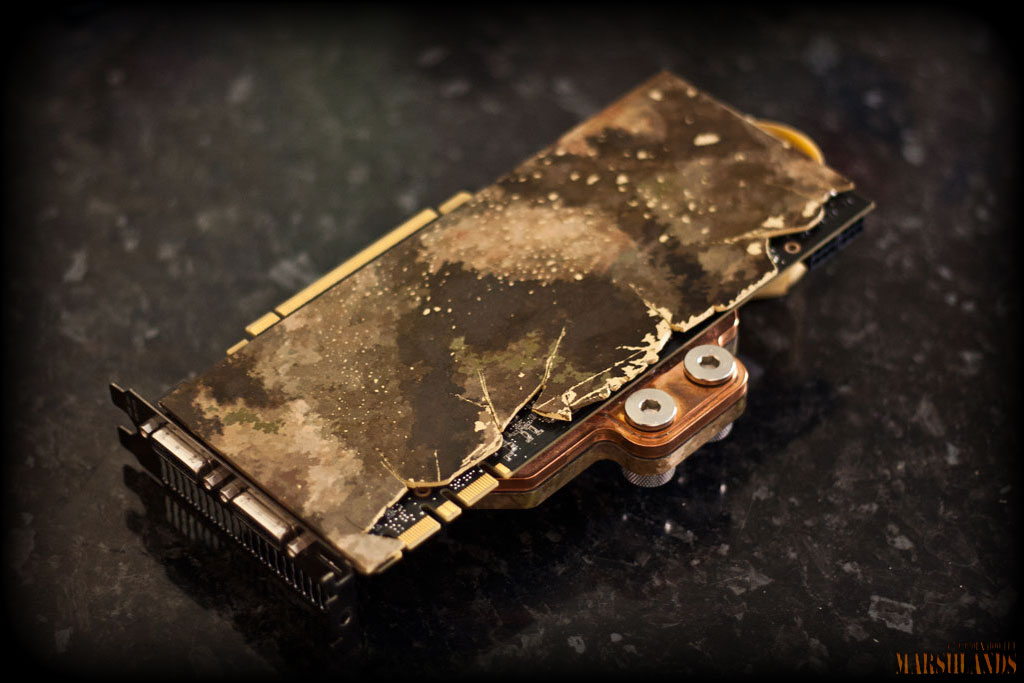
Dipped and weathered..
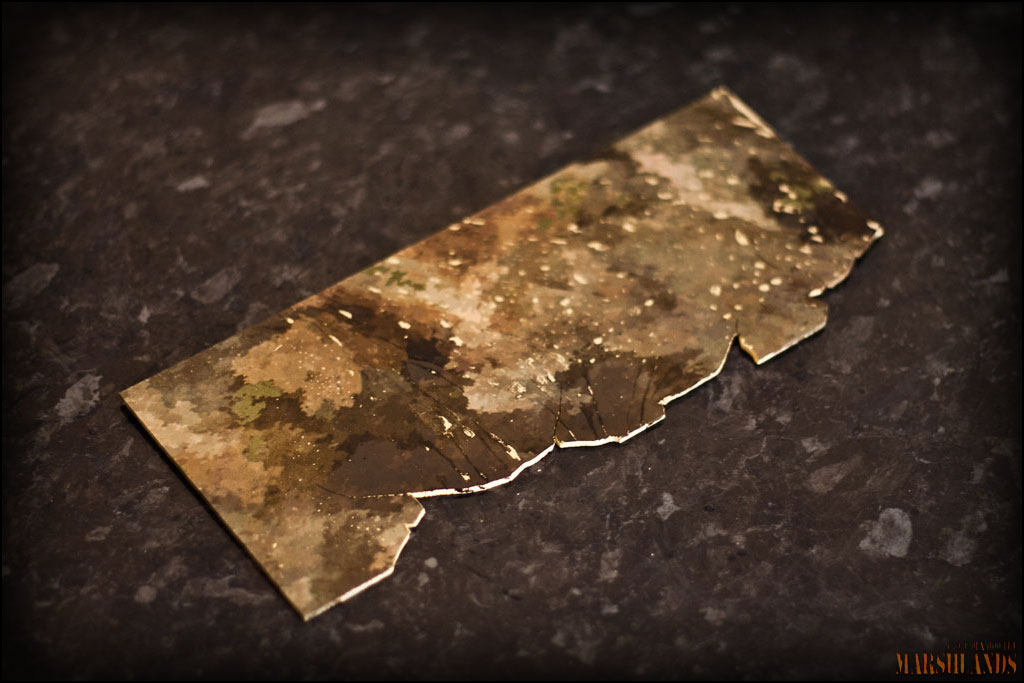
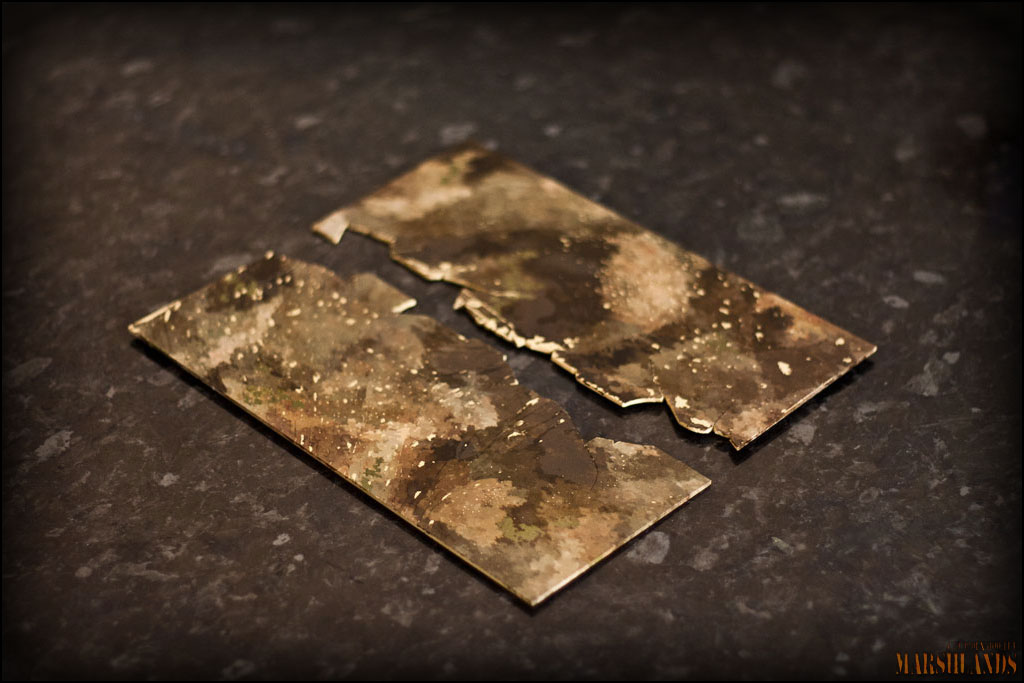
Quickly fitted, just for good measure..

Last edited:


