You are using an out of date browser. It may not display this or other websites correctly.
You should upgrade or use an alternative browser.
You should upgrade or use an alternative browser.
Project MEGA DEBLOW - Watercooled Desk Mod
- Thread starter deblow
- Start date
More options
View all posts
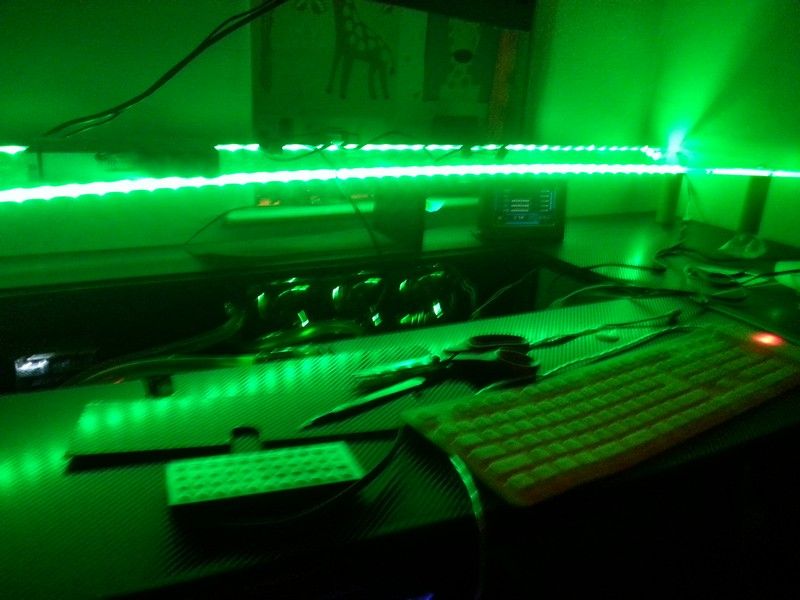
Now working on the final build, most of the desk is just how i want it but i will need to add more room for a 2nd RAD and re-position a couple of things.
i will also be adding 3 more switches to control the UV/LED's and adding a pullout for a second keyboard or my pad and phone.
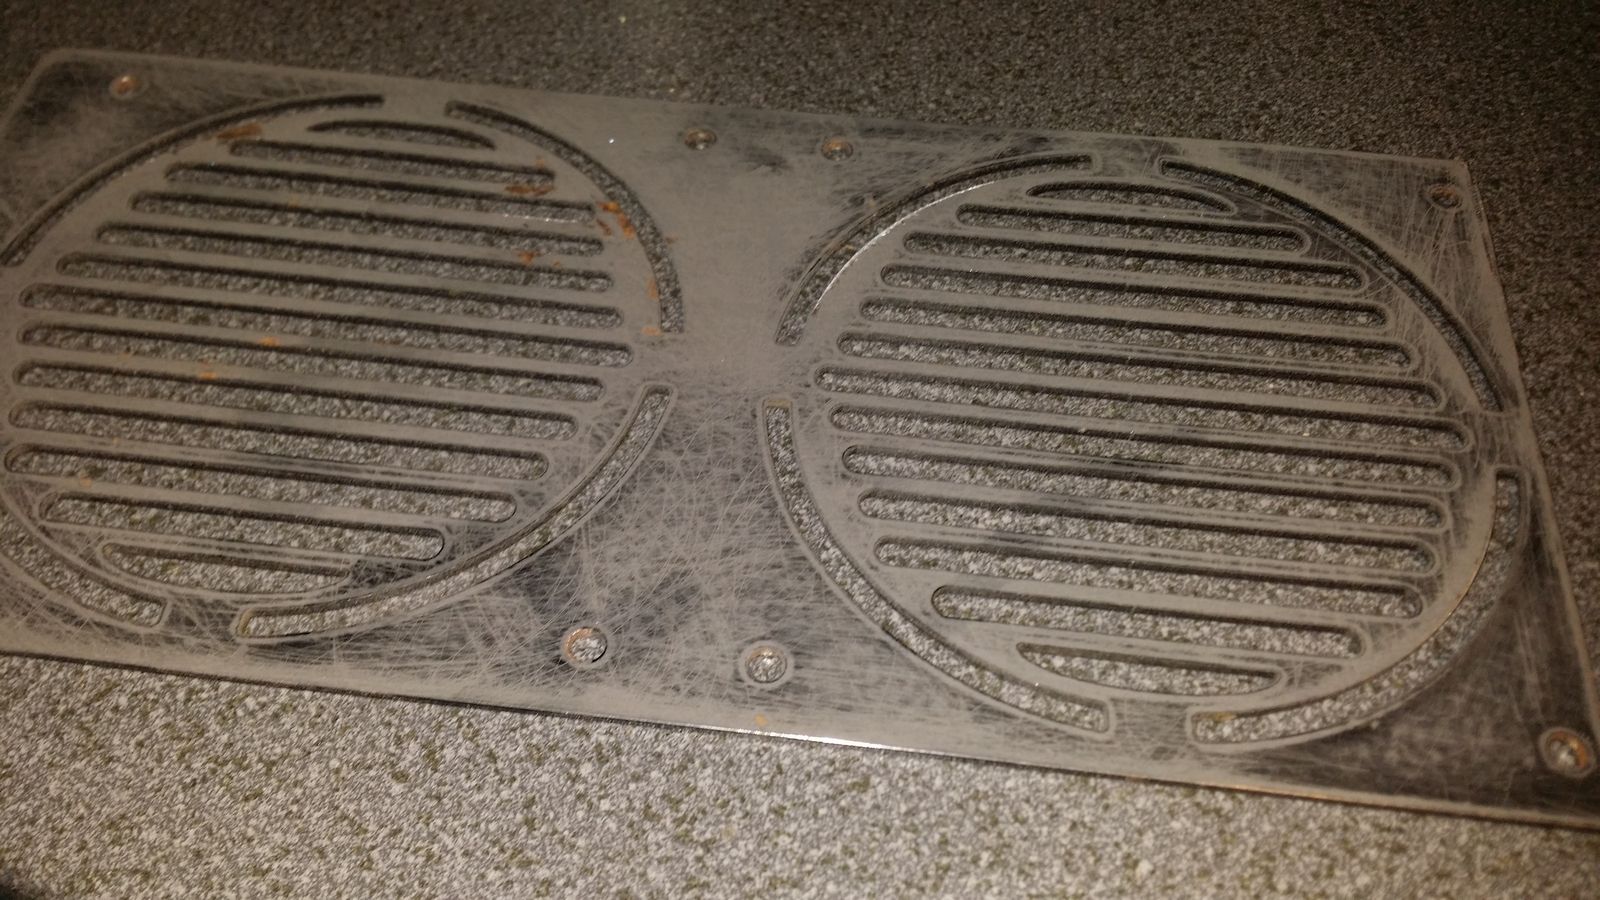
after not being able to find the triple RAD guards i wanted to use i have decided to try make my own, more than likely from black perspex.
if everything goes to plan (finger crossed) i should have the desk up and running in 4 to 6 weeks .
Last edited:
got to agree with everyone here, that desk looks epic. the carbon fibre wrap is a very nice finishing touch.
Thanks

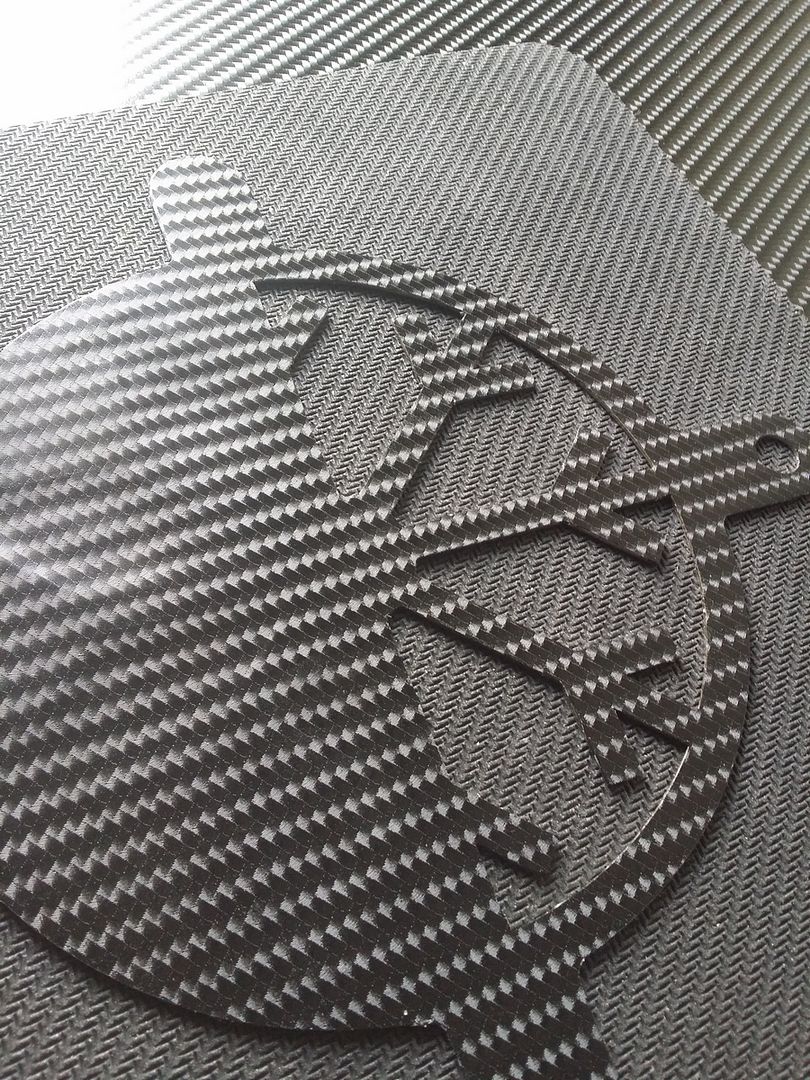
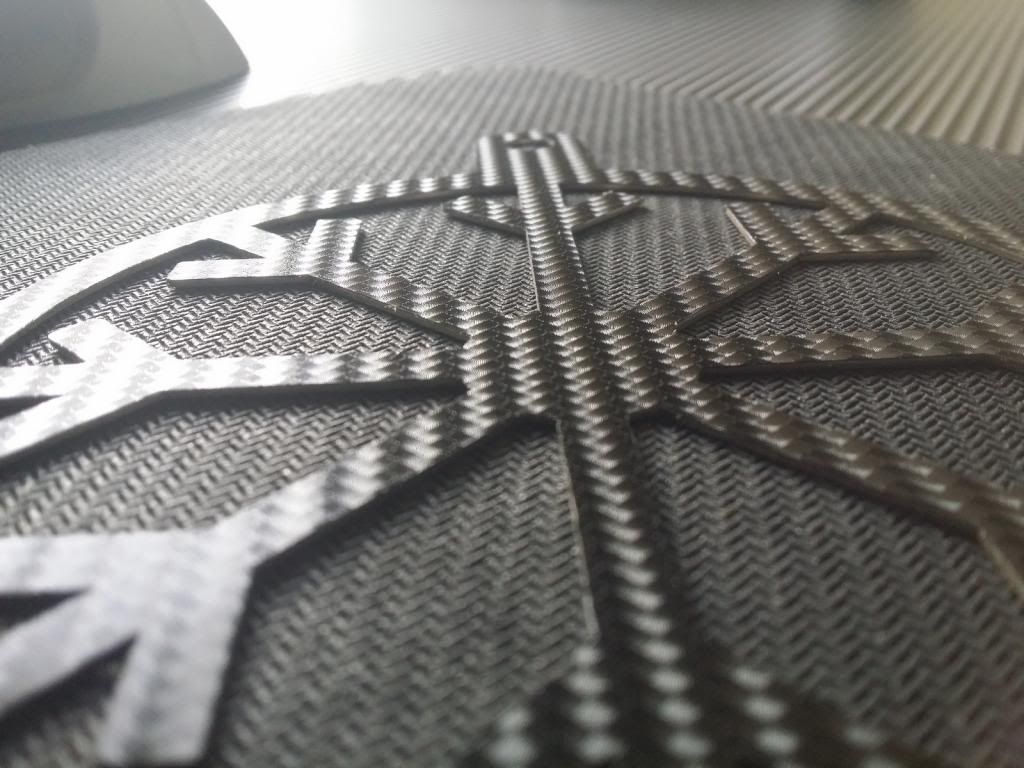
The wrap was a must for this build due to the wood i was working with, its a mix of 3D and 4D carbon.
Impressive looking desk/computerWish I had the space to do something like that...oh and the time and the money LOL
Thank you ndaar, tbh i did not know i had the skill to do what i have so far, and im sure if i was to do it again it would be better
its not cost that much as i already had most the components for the PC, the wood was from old bits i already had and the glass was given for free by a good friend.
As for the time and space, I don't have much space but i do have lots of free time as i have been of work with my broken leg for over a year now and its not looking like
its going to heal any time soon

wish i had the skills!!! great build
Thanks jimbaw, I was told very strongly by my wife that i did not have the skills and i would more than likely cause a house fire lol.
my skills are not as good as some other people i've seen on the forums, but i do feel more confident now its almost done and all is working out well so far

Fine work sir - I love these pimped up glass covered in-table builds! They are few and far between but yours has turned out stunning.
WalderX,
Love desk builds, i gained lots more desktop space

I also appreciate all the comments you guys are making
I have a BIG smile on my face
Thanks

Great stuff. Can't beat a bit of green UV
Cheers Perey, and speaking of UV green, I find any uv green perspex.
Think i did see some on ebay but it was from overseas and very expesive

So i ordered some black, will be using it to make some fan grills for the RAD and possibly some type of housing for the Asus Matrix LED lighting
as i want to try keep it,
it looks nice and also a good indication that crossfire is working correctly.
Not sure how well it will workout as i've never messed with perspex before

Try googling "uv reactive green acrylic sheet". There seems to be a few suppliers in the uk.
I will have another look using "acrylic sheet" in the search box

Thanks
Have you by any chance seen the projects done by a guy called L3P? I'm guessing you have
Not to detract anything from your stunning build, he also went for the UV green look
Thanks WalderX,
Yes i have seen that desk in the past, maybe a vid also,
but i went with green mostly because i have green CM fans atm, and my MB is also green and black (Sniper 3)
I did remove some of the green carbon from the 1st test build for if i decide to change MB,fans and to go red or blue.
If i had the asus formula vi, i would have gone with red probably.
That's cool but I imagine distracting as hell while using the PC to game on because of all the light and reflections.
Thats what i was thought

the reason i want for a L shape glass top was so I can easily cover the glass with a leather sheet i have made, also helps protect the glass from dust and scratches if needed.
Most of the lights can be disabled also, and i might be changing the green led fans for plane black,
Its been done like that so i don't have to move the keyboard and mouse when i place and remove the cover.
nice work
Thanks

Last edited:
Waterblock fitted, and now im going to see if i can keep the Matrix LED indicator as its very useful in letting me know that the crossfire is working and how hard, Looks nice also 


My black perspex has arrived so i can start having a play, was wanting to use it for the triple RAD grills and possibly the Matrix LED.


My black perspex has arrived so i can start having a play, was wanting to use it for the triple RAD grills and possibly the Matrix LED.

Stared working on the pump & res base,
a total remake but just a bit bigger than the 1st one i made and now has a hole for the pump instead of hiding the pump in the bottom compartment
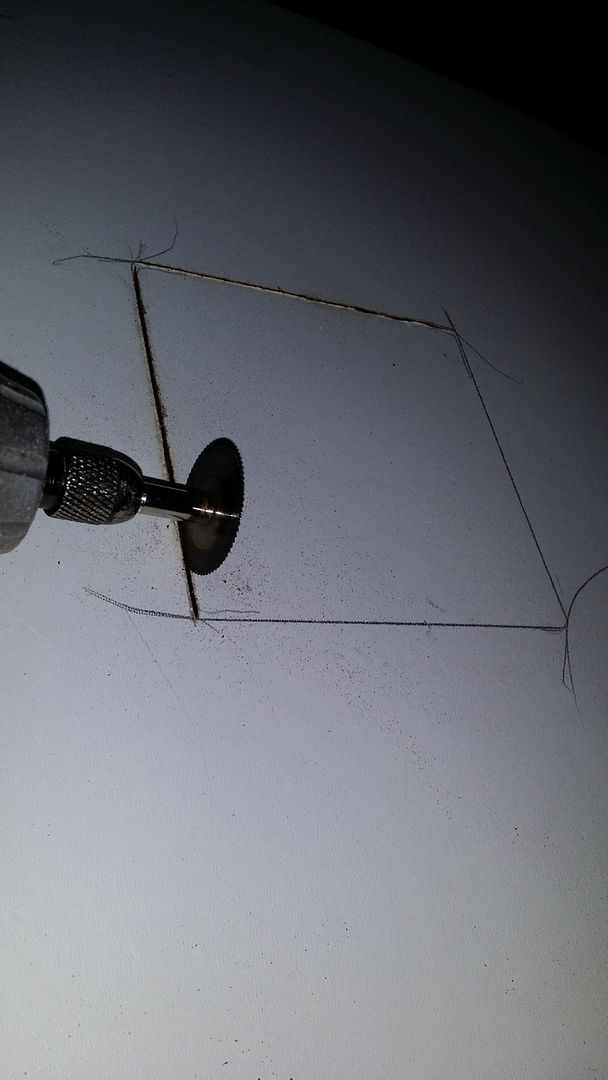
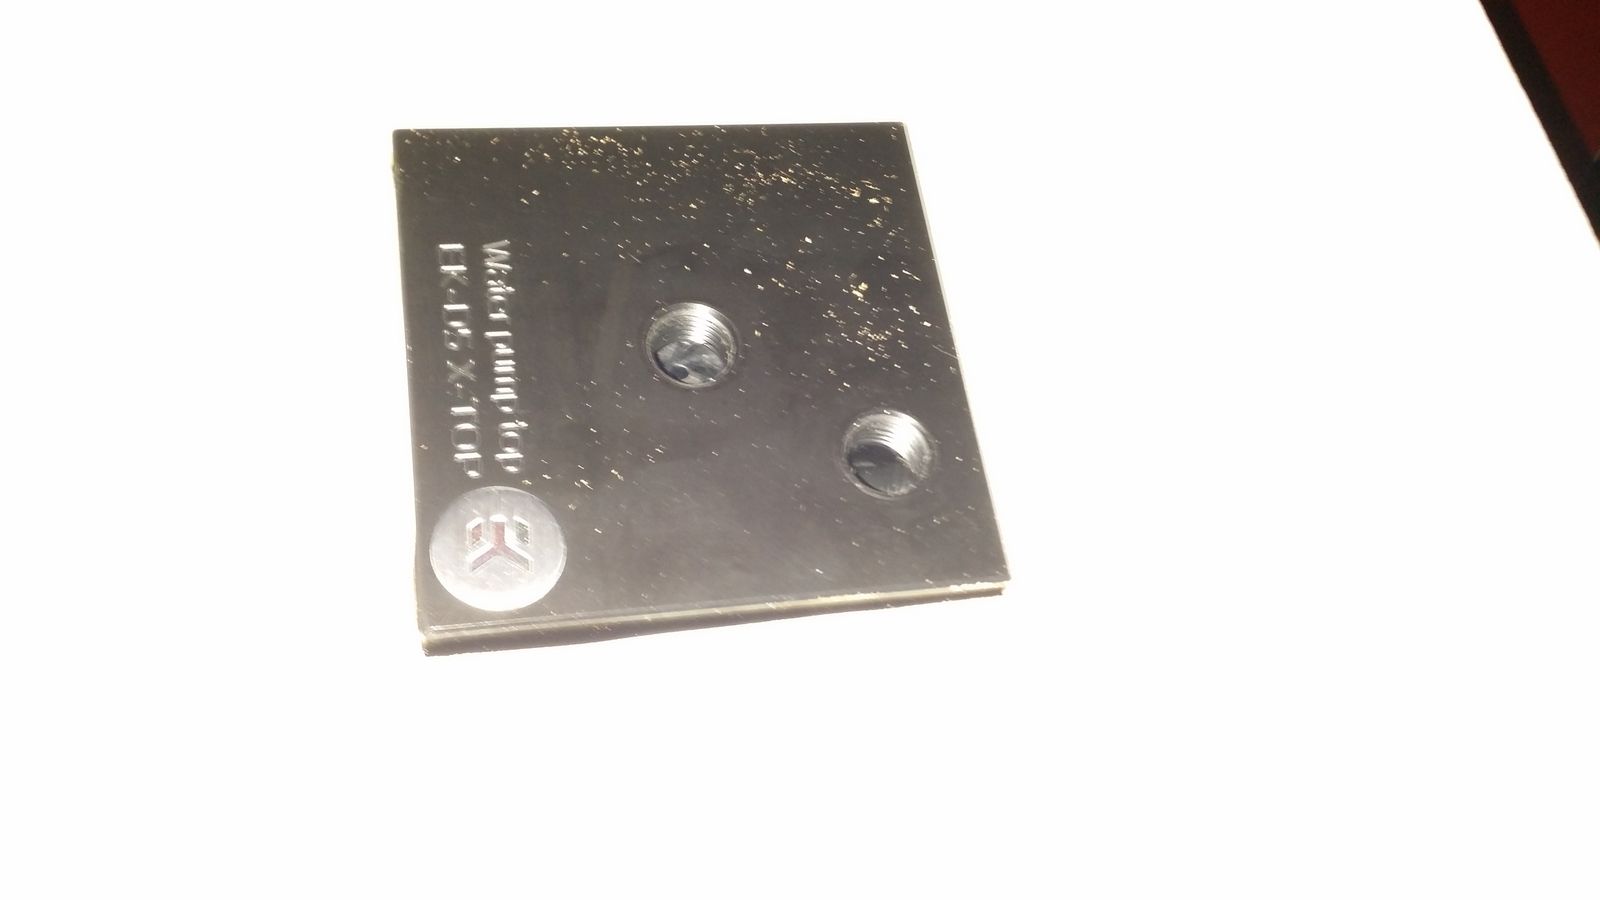
the fan was just there to hold the base up as i fitted the carbon, hole will be housing the pump
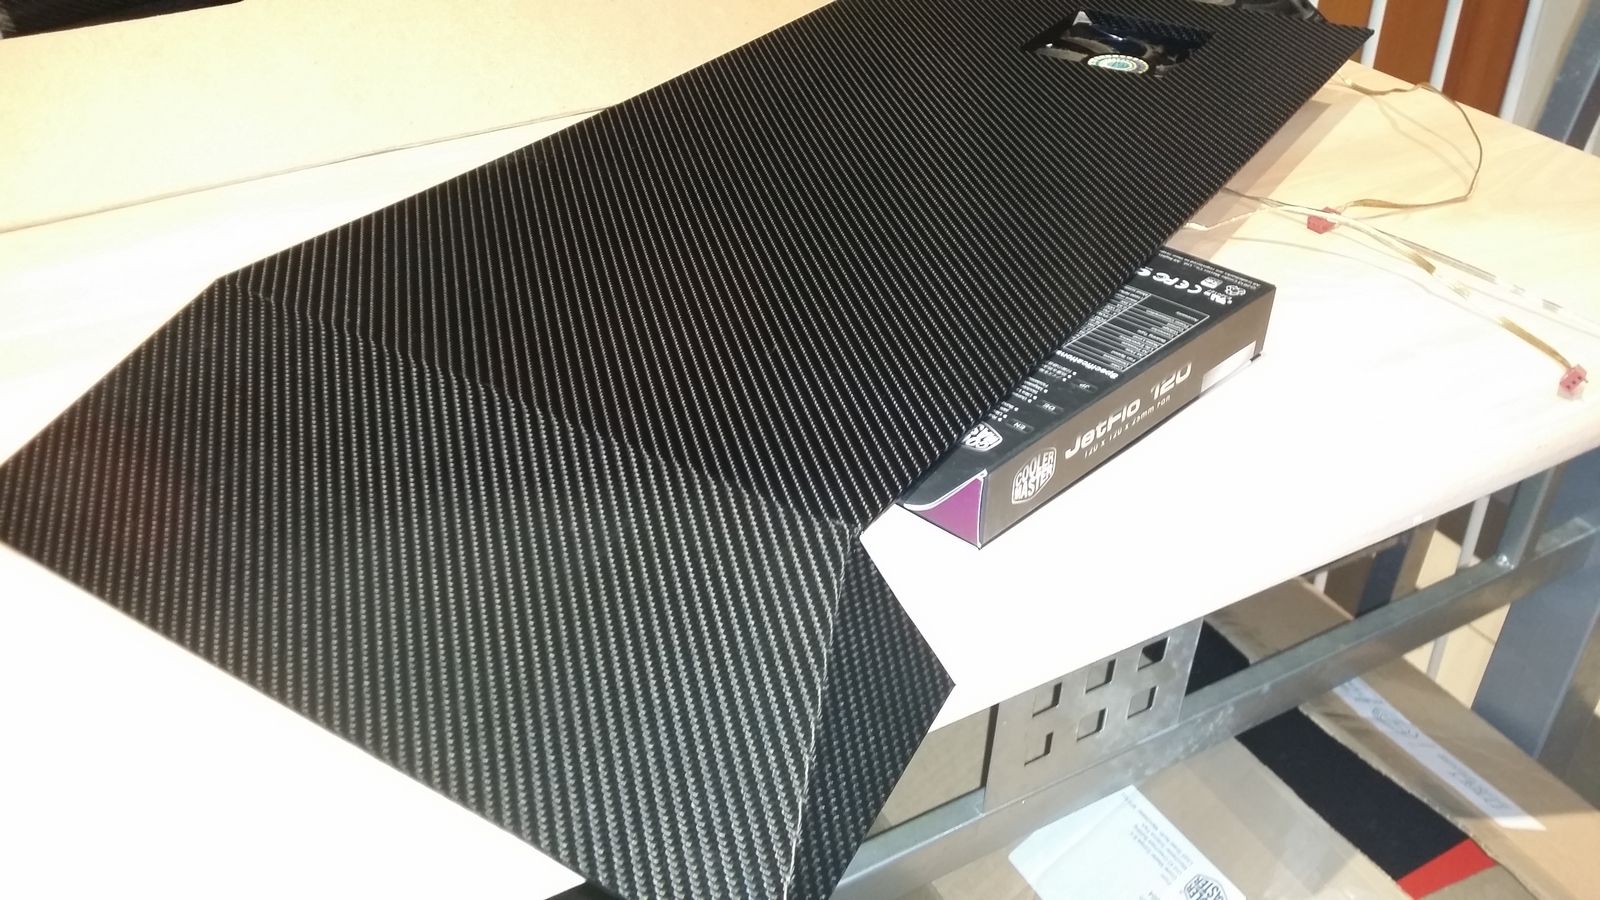
a total remake but just a bit bigger than the 1st one i made and now has a hole for the pump instead of hiding the pump in the bottom compartment


the fan was just there to hold the base up as i fitted the carbon, hole will be housing the pump

Last edited:
Deblow, try theplasticman.co.uk , they should have all sorts of acrylic colors so maybe uv as well?
Thanks for the info, i will save it for if i decide to make a second desk or case in the future, im almost done with this build now and decided not to use a triple rad fan cover as the fans are very close together and would look a bit odd

You have done a really nice job so far considering this was your first go. The pictures looks insane and you really pulled off the colour scheme. I thought i was using a lot of carbon fiber on my build but you win carbon fiber top trumps.
I had a question, did you find it difficult to use the wrap with wood as i find i am losing adhesion when heating the wrap.
Ive noticed the importance of not over stretching the wrap as the slightest twist has caused me to throw away a lot of carbon fiber film.
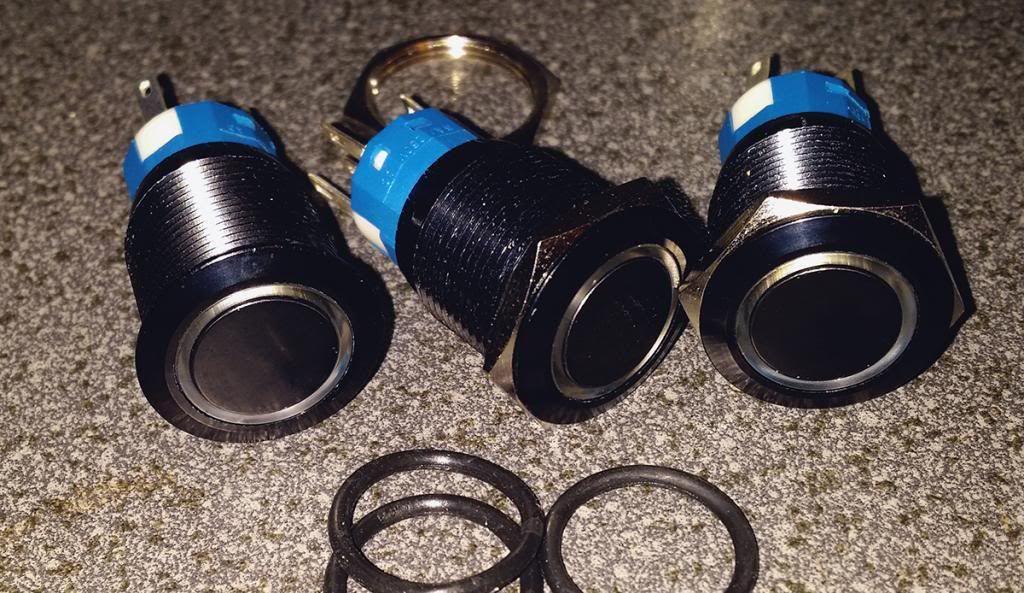
You are also using the same switches i am after with the angel eye light, were they easy to wire in? do you have any more pics? I built a computer ten years ago and now im building a completely one off build so this is all new to me too.
Well top marks on your build, i enjoyed reading/viewing and it is great motivation to feature my build on here too.
Thanks m8

the carbon was easy in most places to fit and didn't need any extra heat, the only place i had to use the heat was around switches and fan holes.
i never stretch it when warm as to turns very hard and tends to pull away from wood when stretched/heated.
your best to warm it until it goes a bit floppy then gently press and push it in to place without applying to much tension, and ofc make some cuts on places like the corners and tight curves
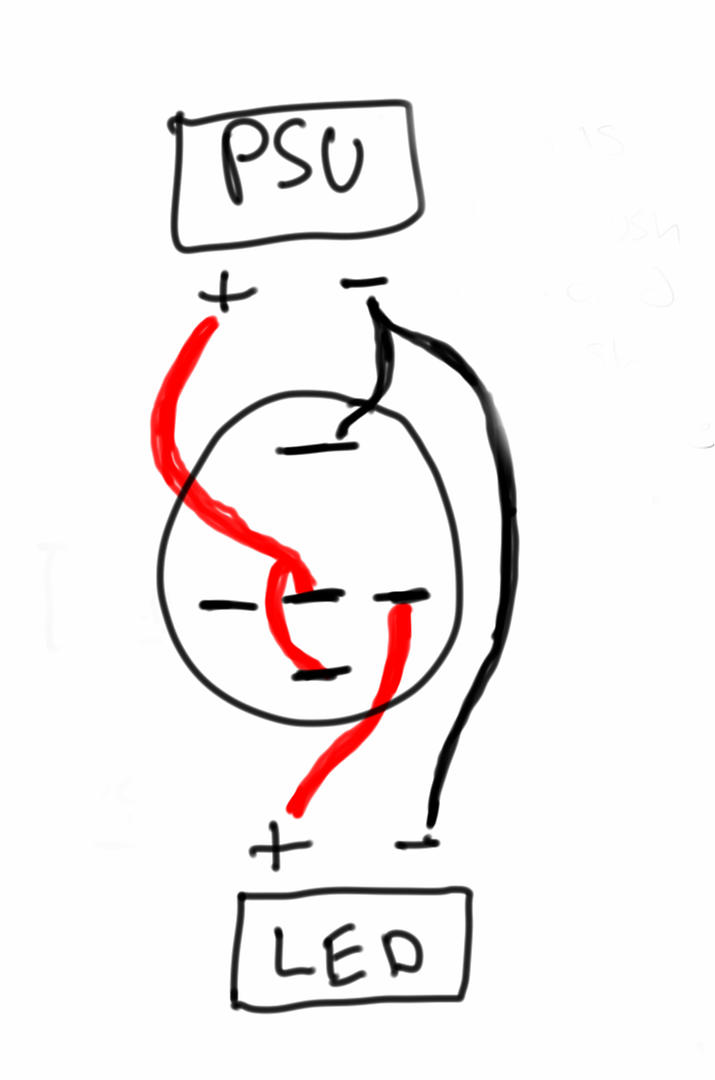
i had to figure out what pin did what on the eye switches and it took some time, on my old switch i only needed the + - and the + out
on this switch in order to get the eye to light up permanently it needed 2x +
I will upload a pick showing how to if you want?
i could not find anything on the net that made sense lol
P.S the build is still ongoing, i'v have fitted the GPU blocks, 2 triple RADs and some other modification different from my original design
thanksLooking great but need moarrr pictures lol

I have the house to myself for the day, so i will have some more up soon hopefully
I would appreciate seeing a pic if you have one (I'm ordering the switch now)
I'm also doing something different too. I may get started on my log tonight I've been meaning to start documenting it but like you I'm having to swap and change ideas because of space, sizes and availability of parts.
No problem, I will make sure the next pic i upload will show the info you will need,
My build log looks a bit messy

I wish i have better pics at the start and had them in a better order.
Almost everything i have made i had to redo it again, the only thing that i haven't changed from the original test build was the glass and the left side that has the holes for the MB rear connections & fans.
I had plenty of wood and other bits, so the cost hasn't relay changed, but i did have to spend a extra £20 on carbon wrap
I would appreciate seeing a pic if you have one (I'm ordering the switch now).
Here's the way i wired the switch, hope it helps

let me know if you need more info/help
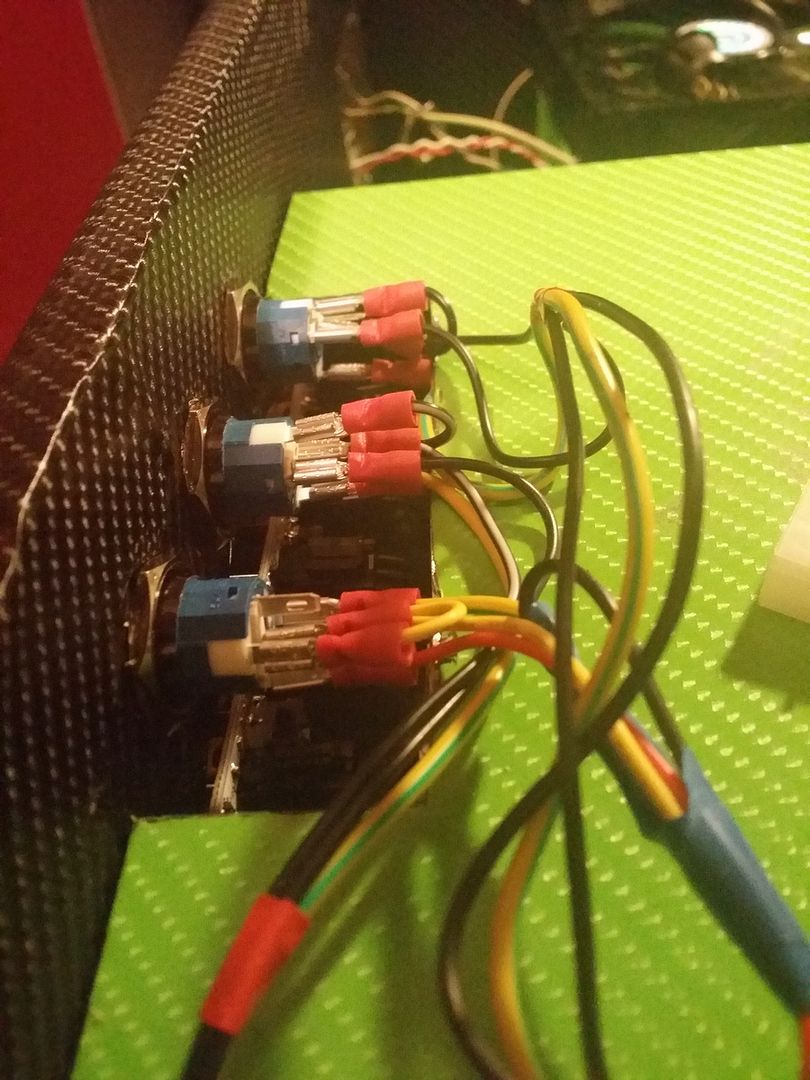
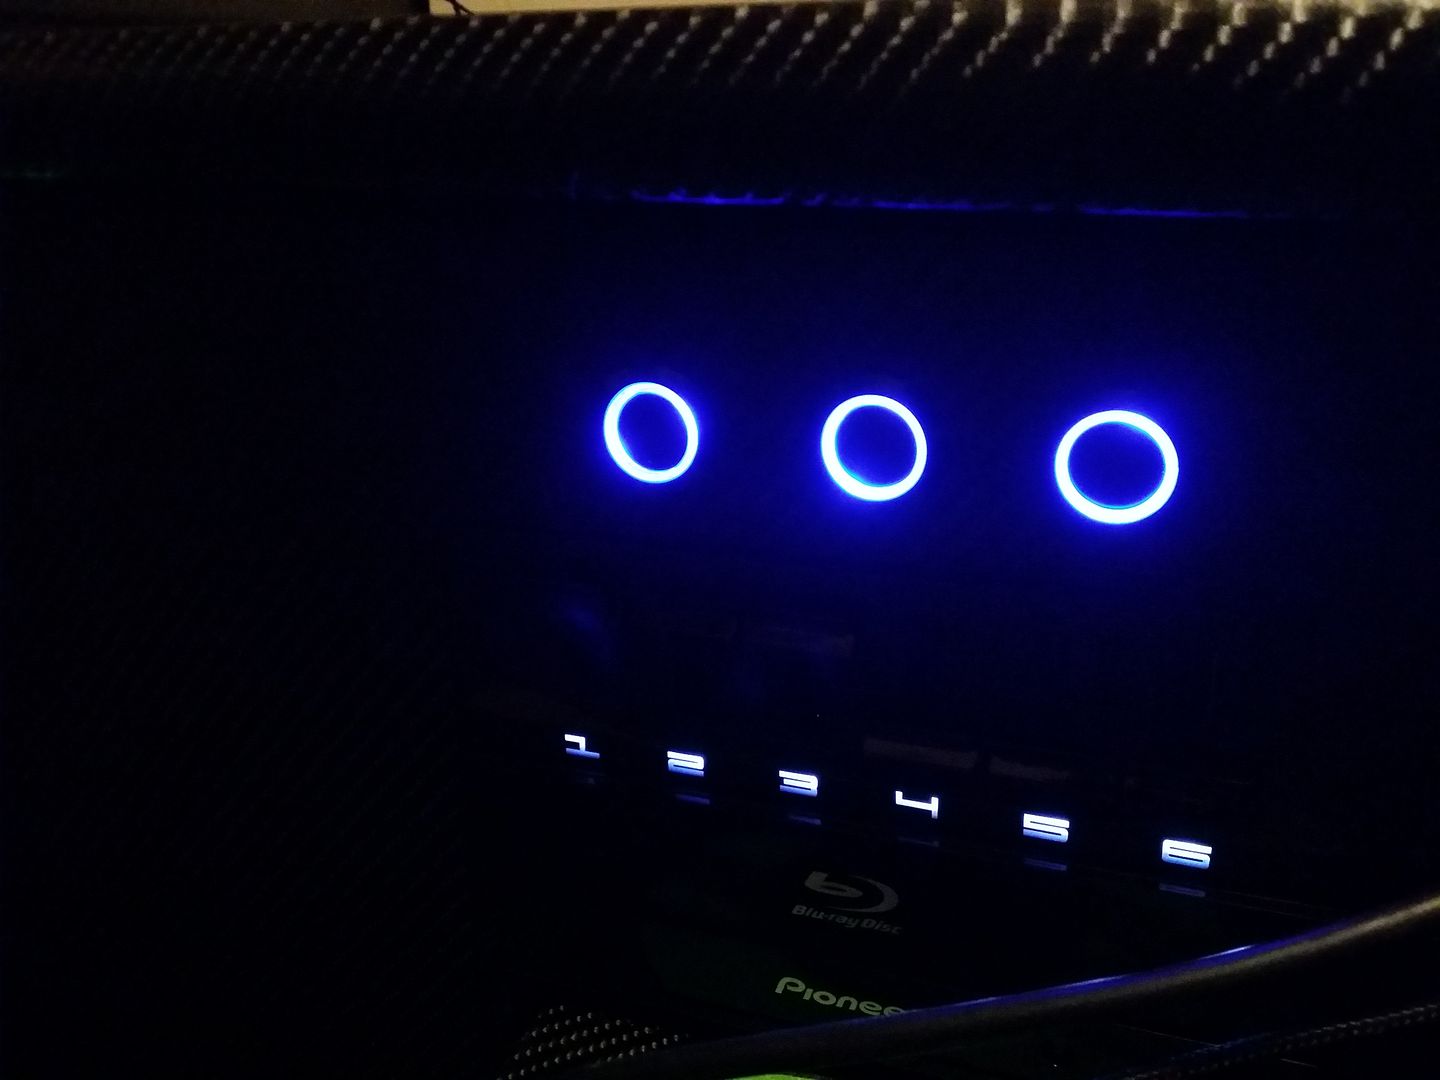
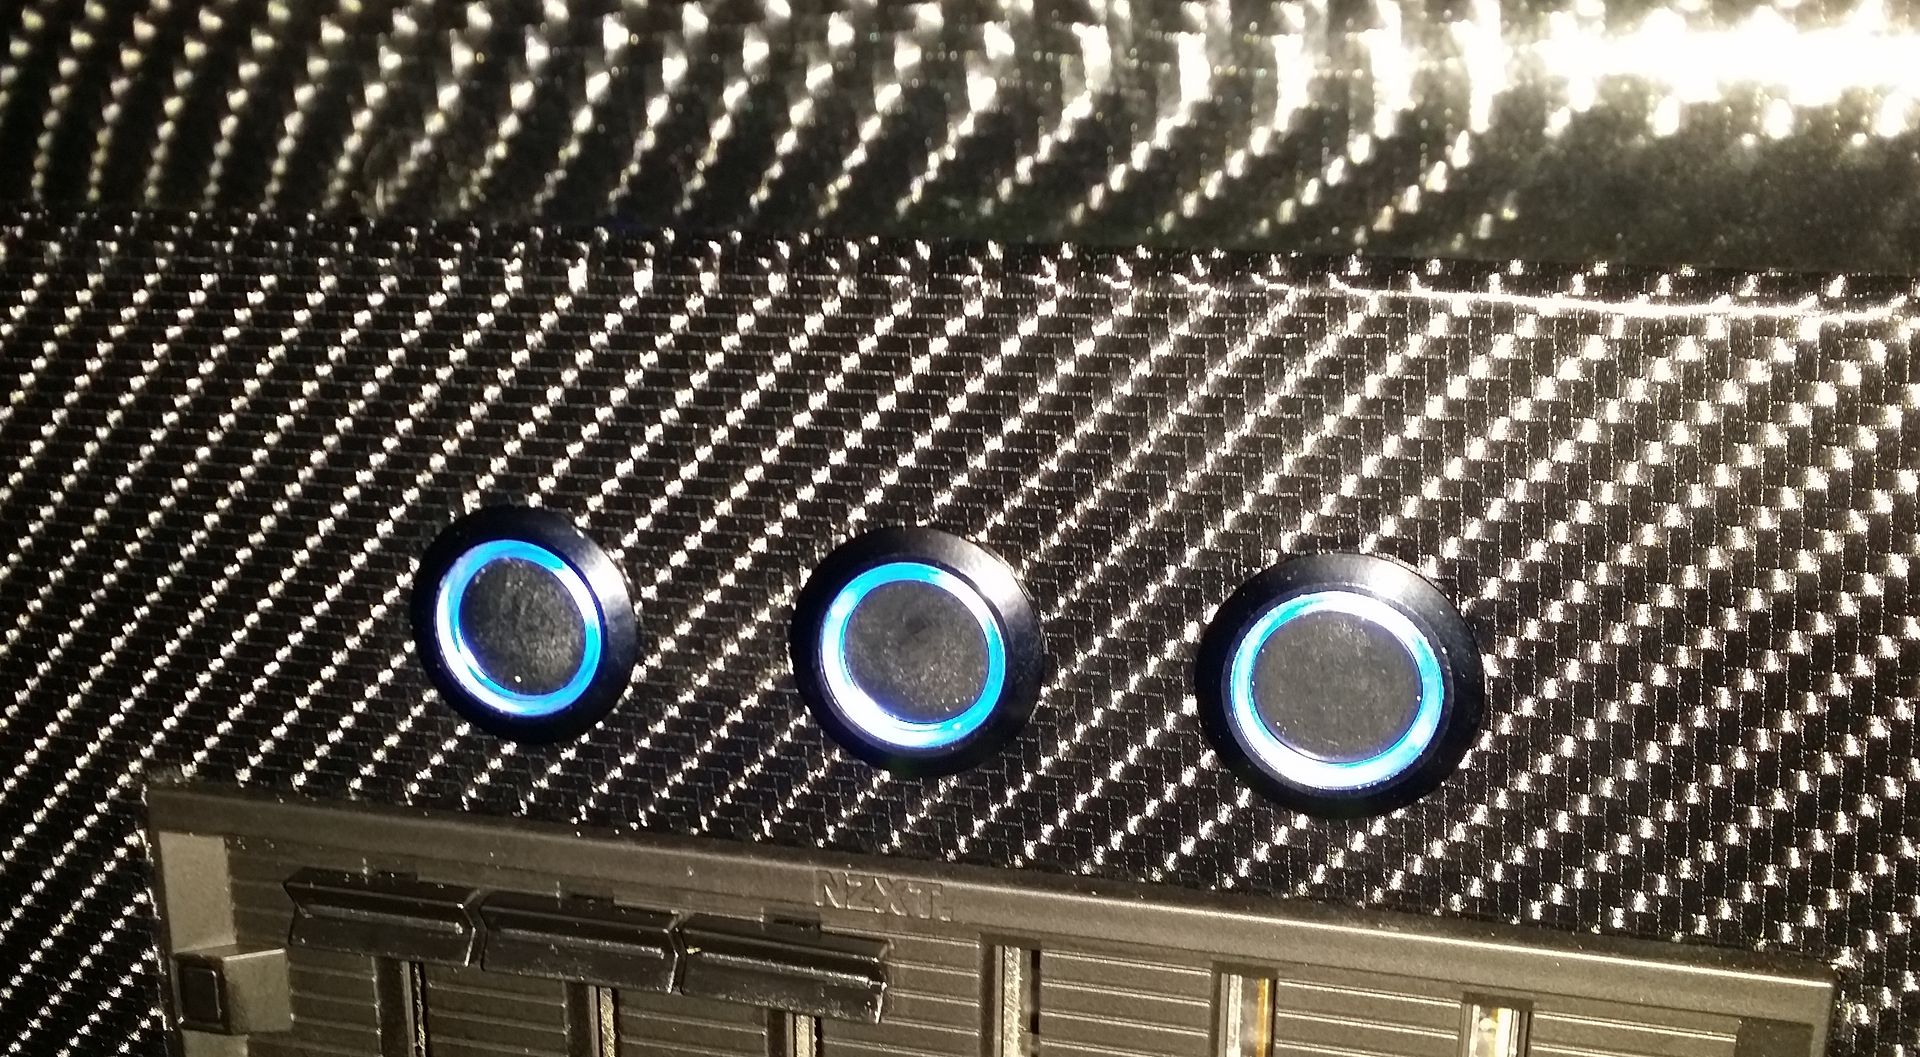
New switches fitted in working, 1st for the LED master on/off, 2nd and 3rd are for the UV lighting on/off
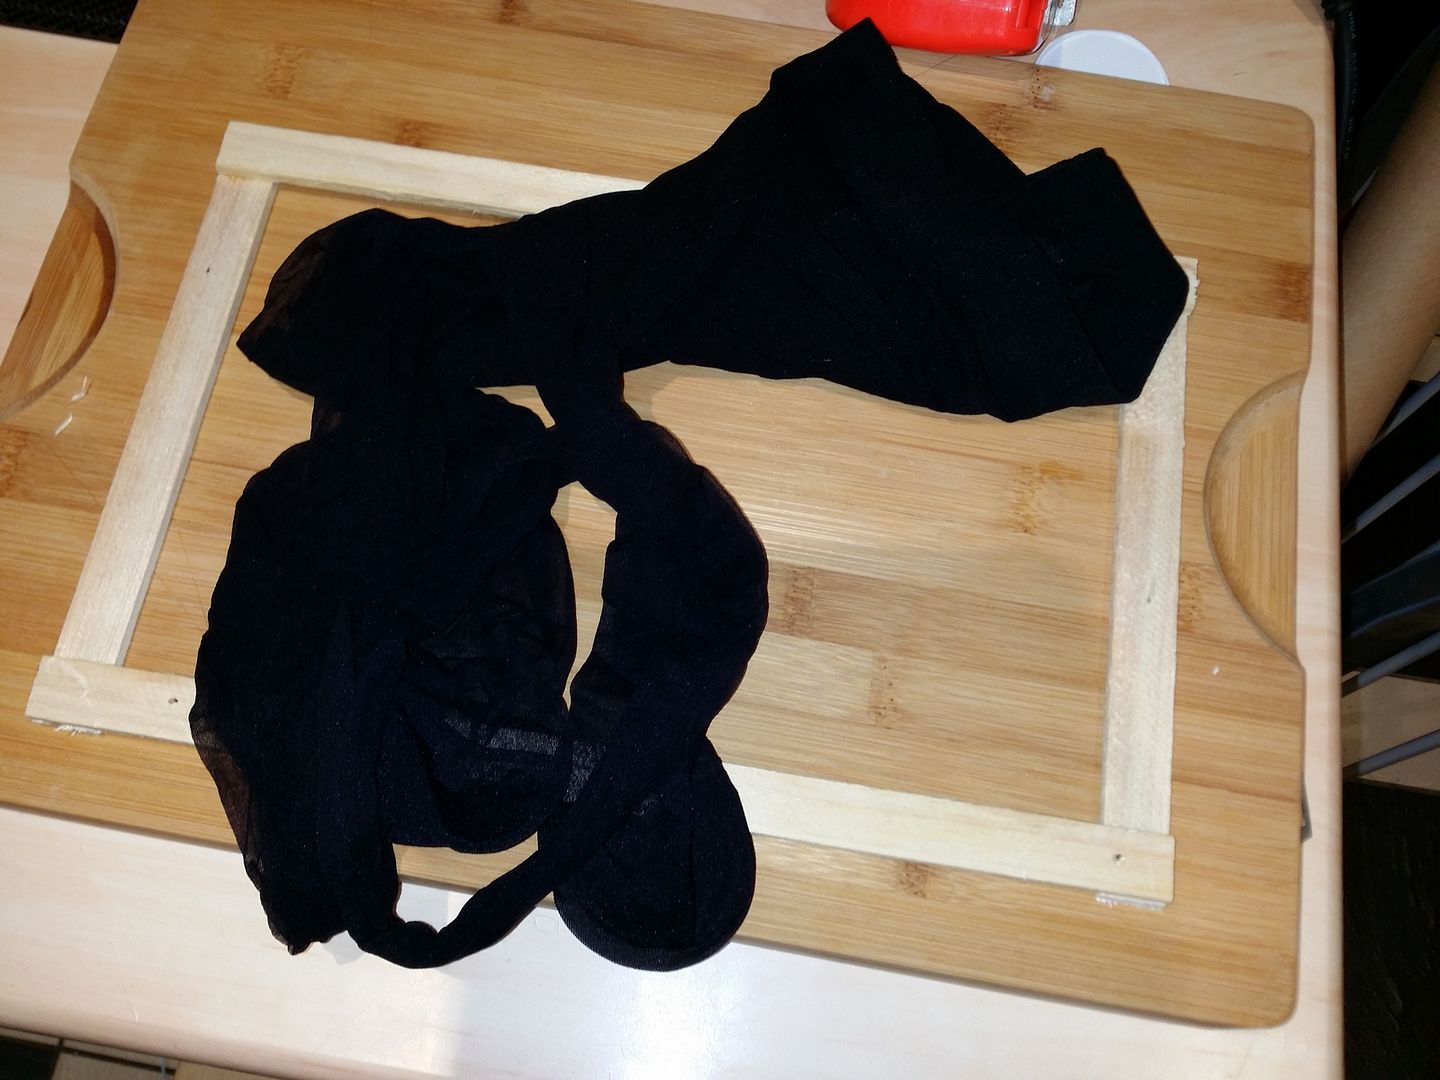
Ordered myself some black tights ( wife got a bit suspicious when they arrived lol)
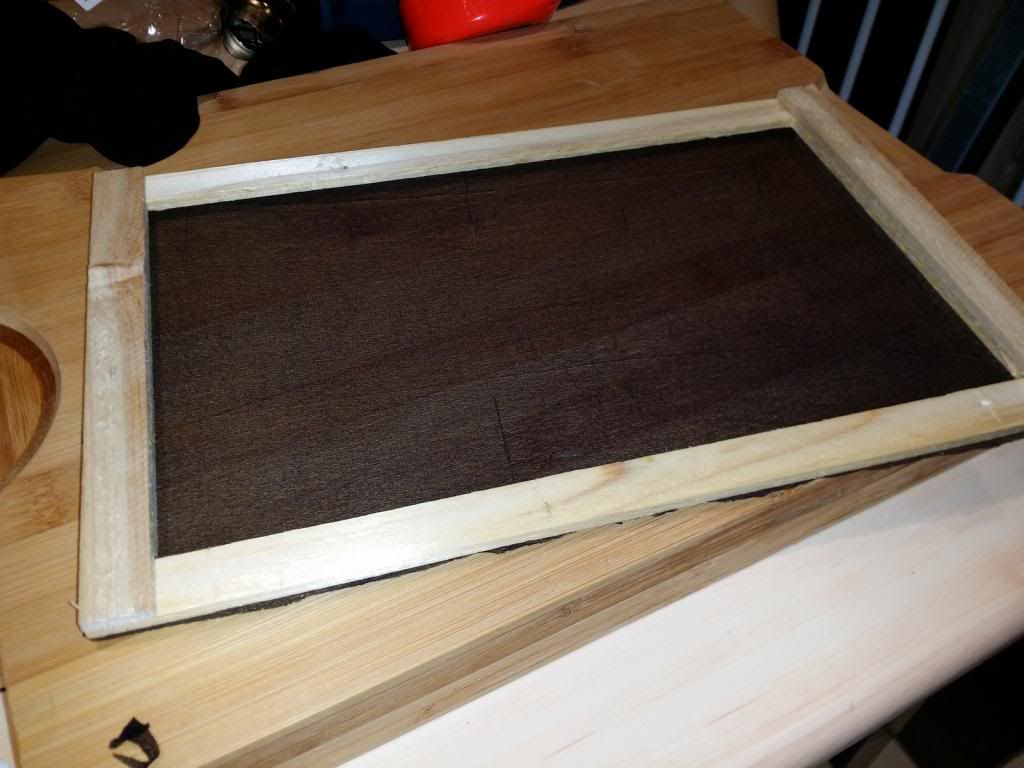
and some thin light wood to make a fan hole cover, this will go on the base of the desk near the PSU, and will eliminate the need for 120mm fan dust covers
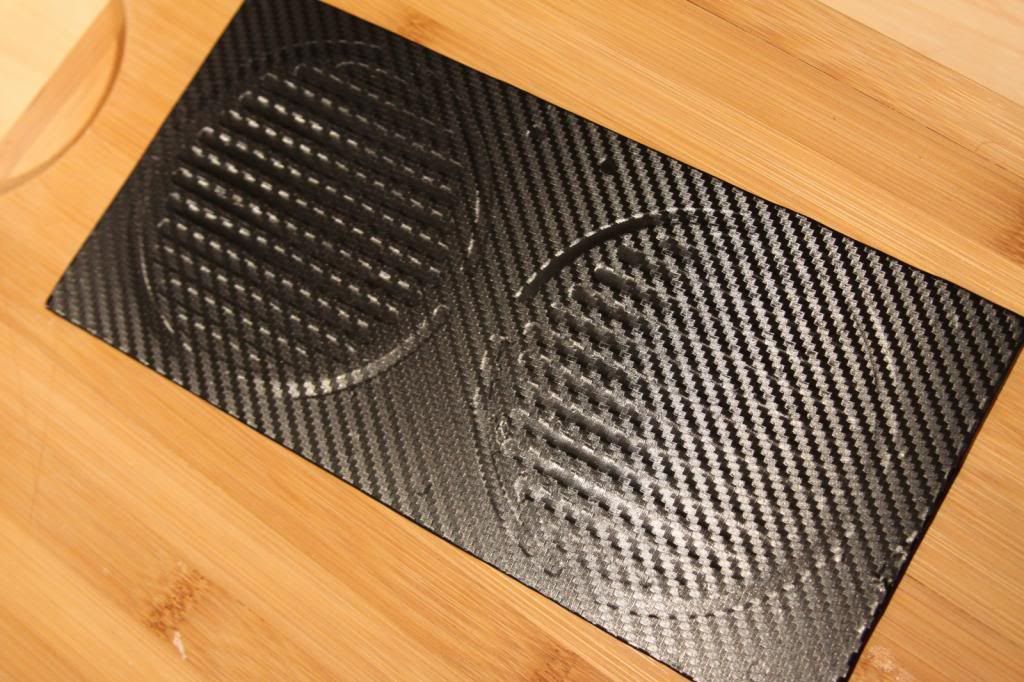
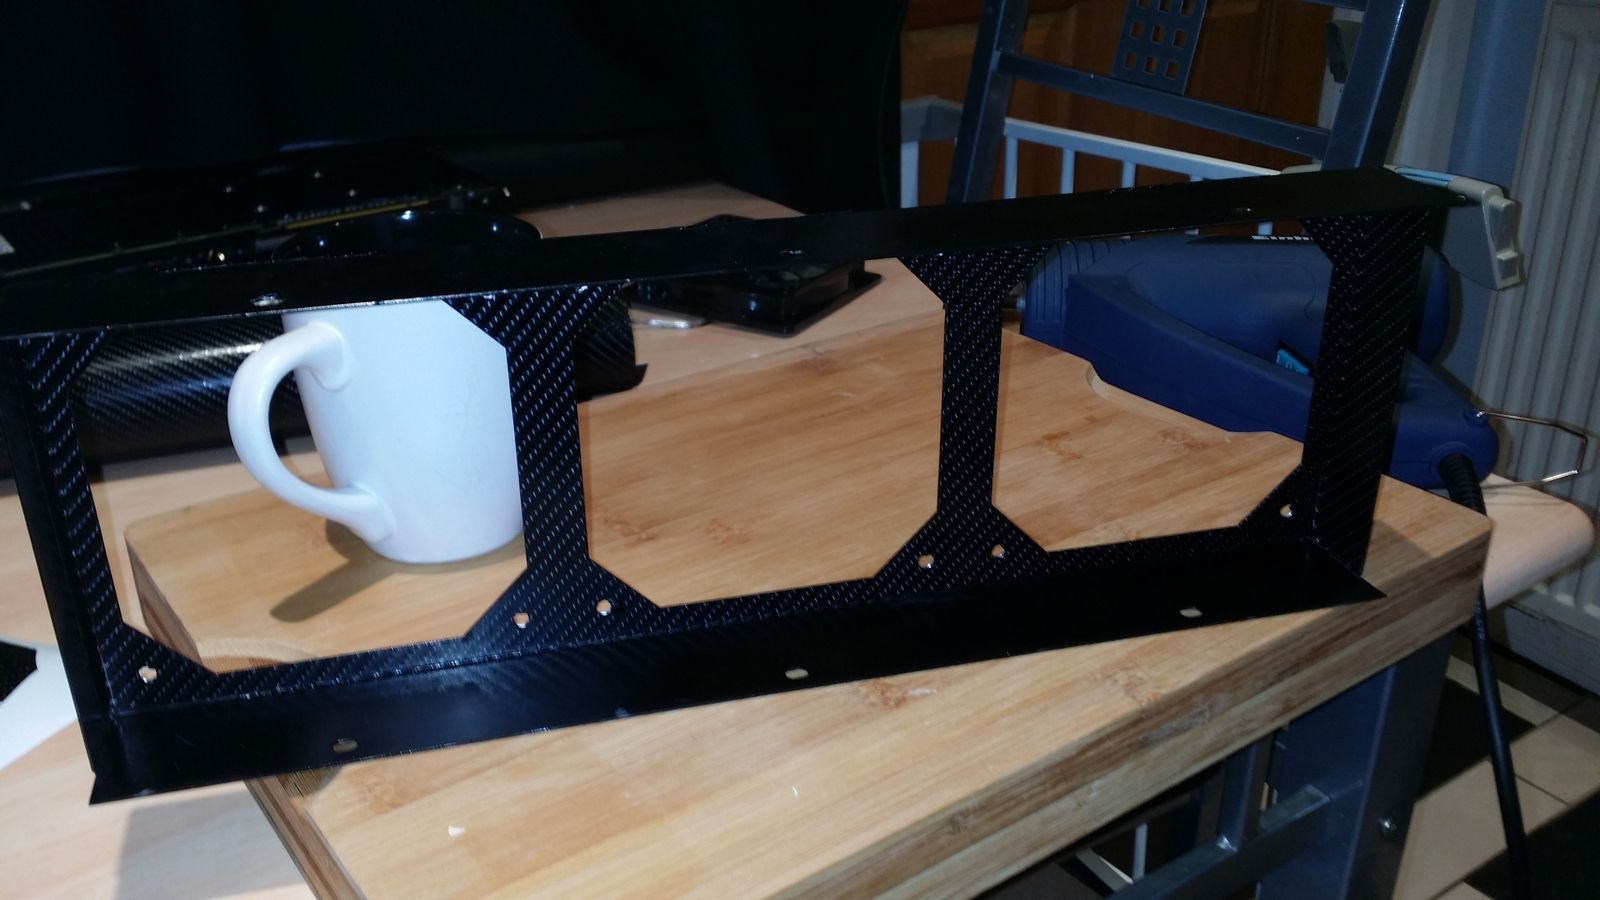
Here i have covered a old triple RAD fan extension, this will hold the 3 intake fans on the uper right side
and some thin light wood to make a fan hole cover, this will go on the base of the desk near the PSU, and will eliminate the need for 120mm fan dust covers


Here i have covered a old triple RAD fan extension, this will hold the 3 intake fans on the uper right side

Should be ok if you leave it to dry - help it along with a hairdryer perhaps?
Btw where do you get your wrap from - you have inspired me to get a little project of my own together.
Mark
I stuck it on the radiator until just now when i got back home, it looks to be working fine now,
panic over

Thanks for the tip, would have been my next move.
I have been using carbon wrap for a couple of years now, i started using it on my motorbikes then my wife's car, and now on the PC
I've used lots of ebay sellers in the past, don't think you can go wrong with most of them,
the green is 4D most of the black is also 4D, but for the very best effect your best with 3D carbon and then clear coat over the top,
looks amazing and if i was a bit more mobile i would have used 3D and clear coat


