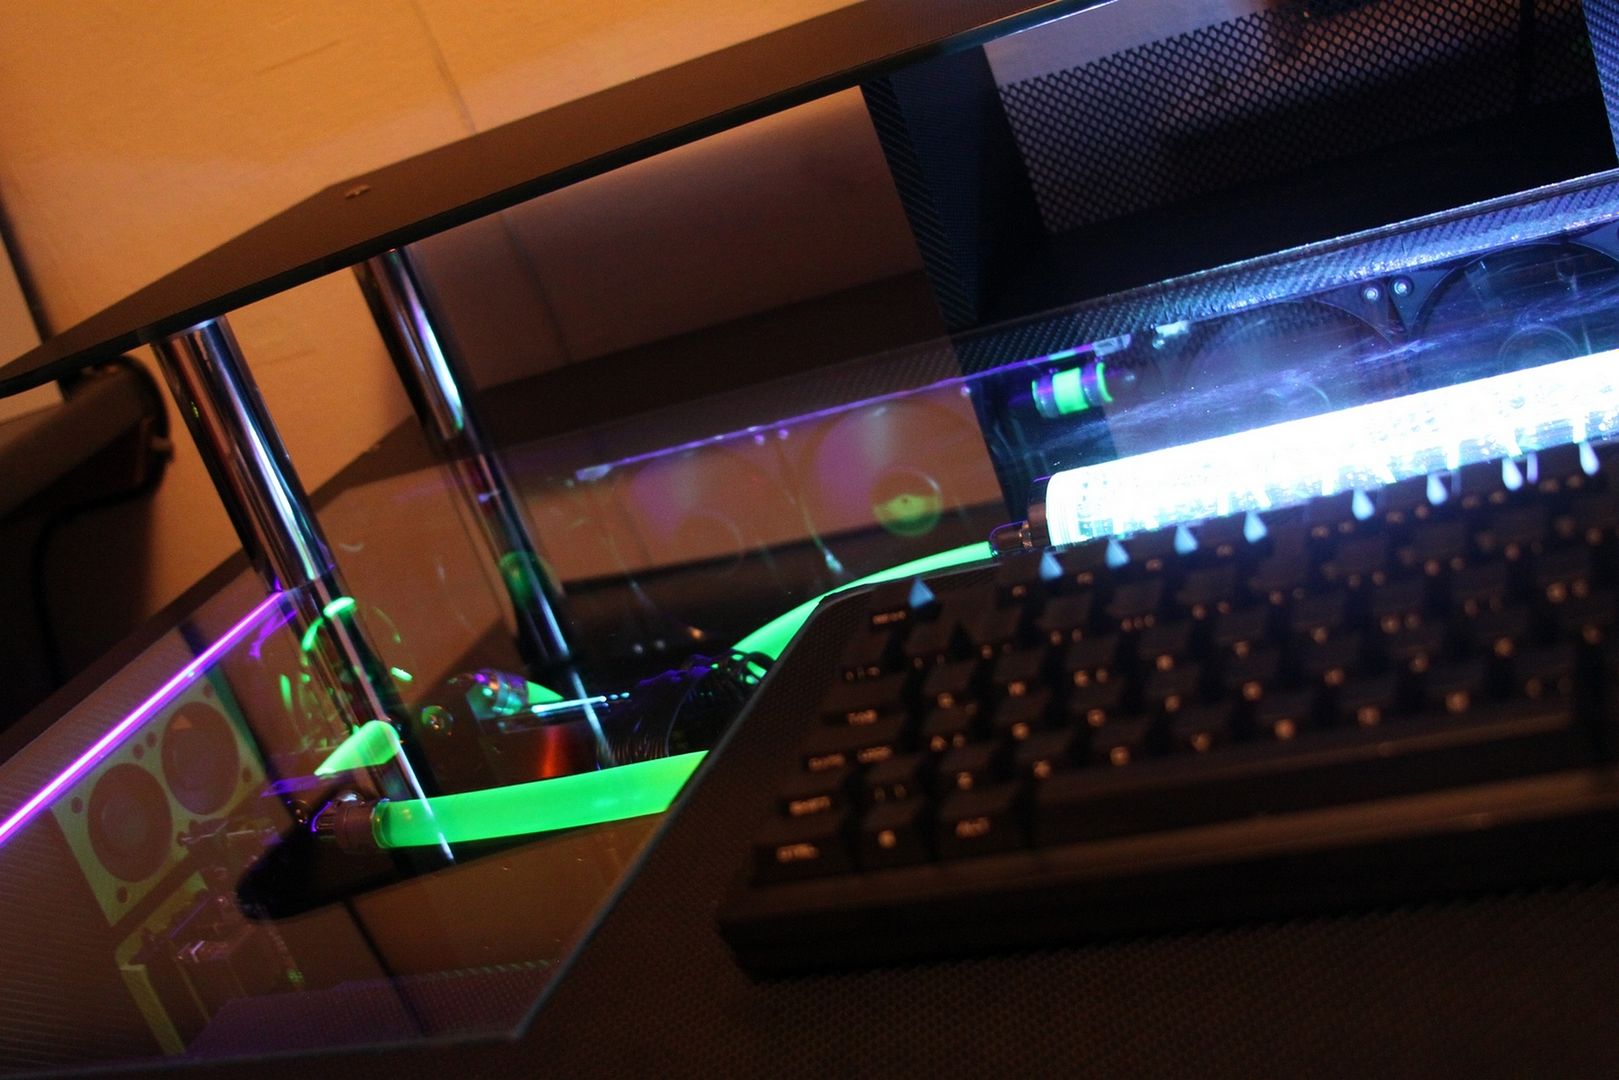
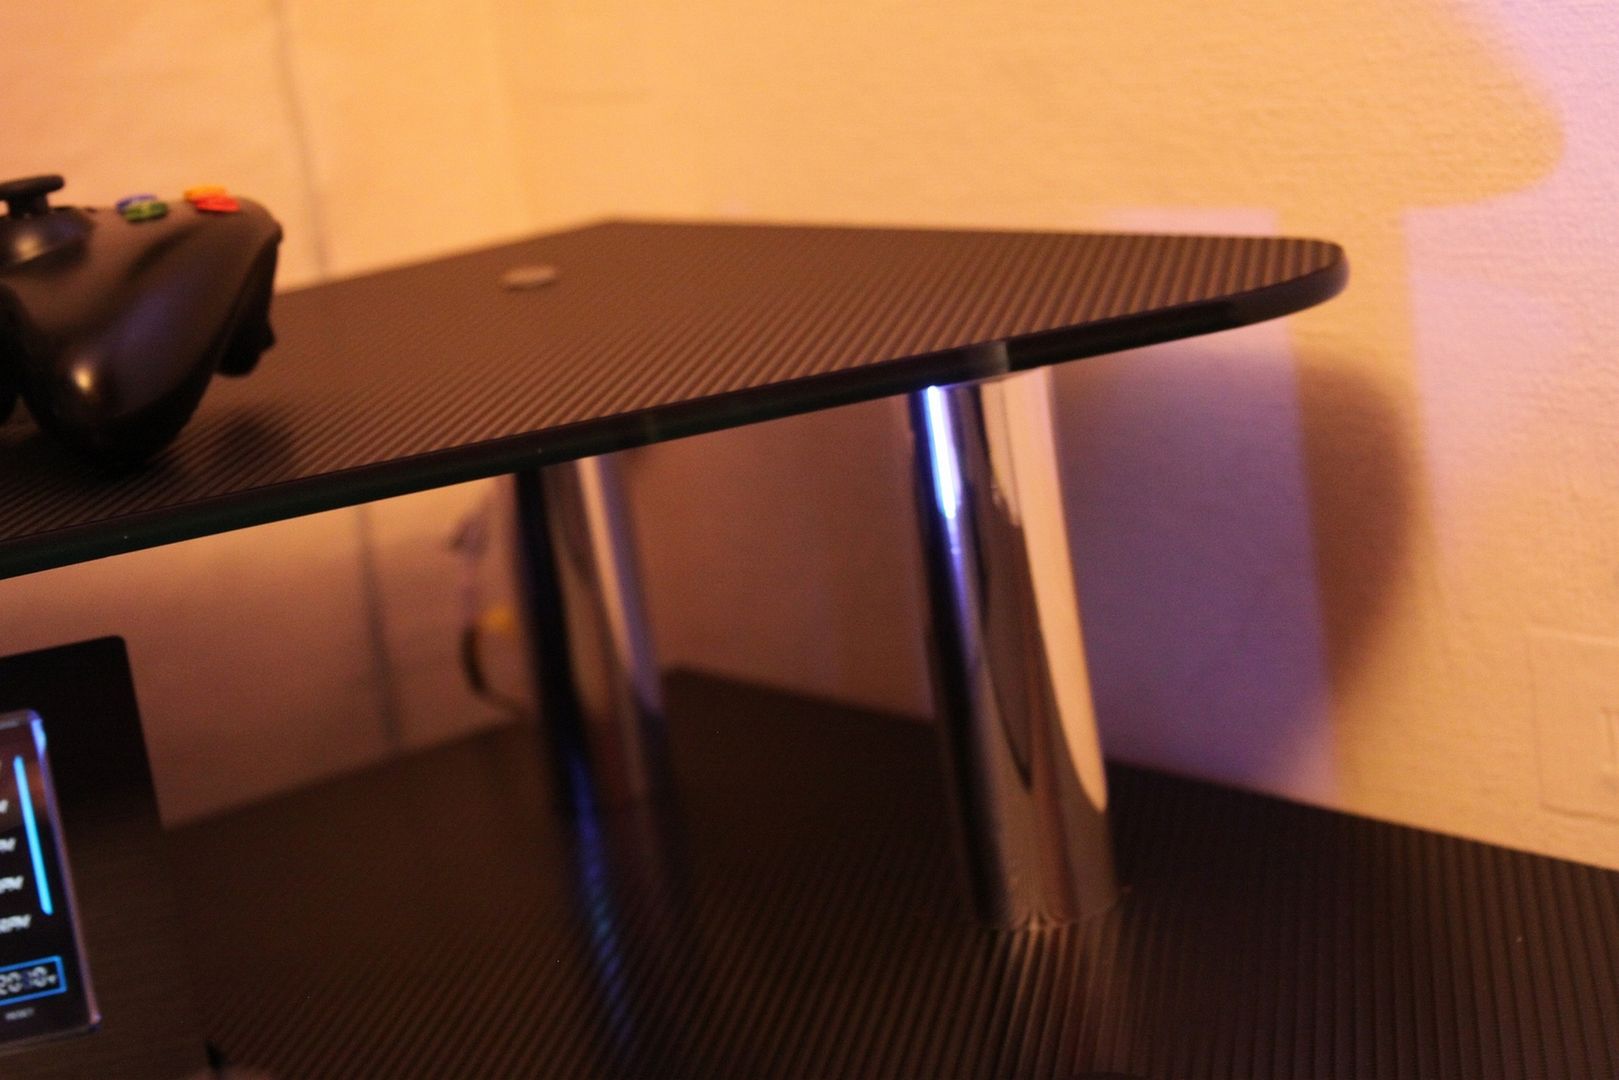
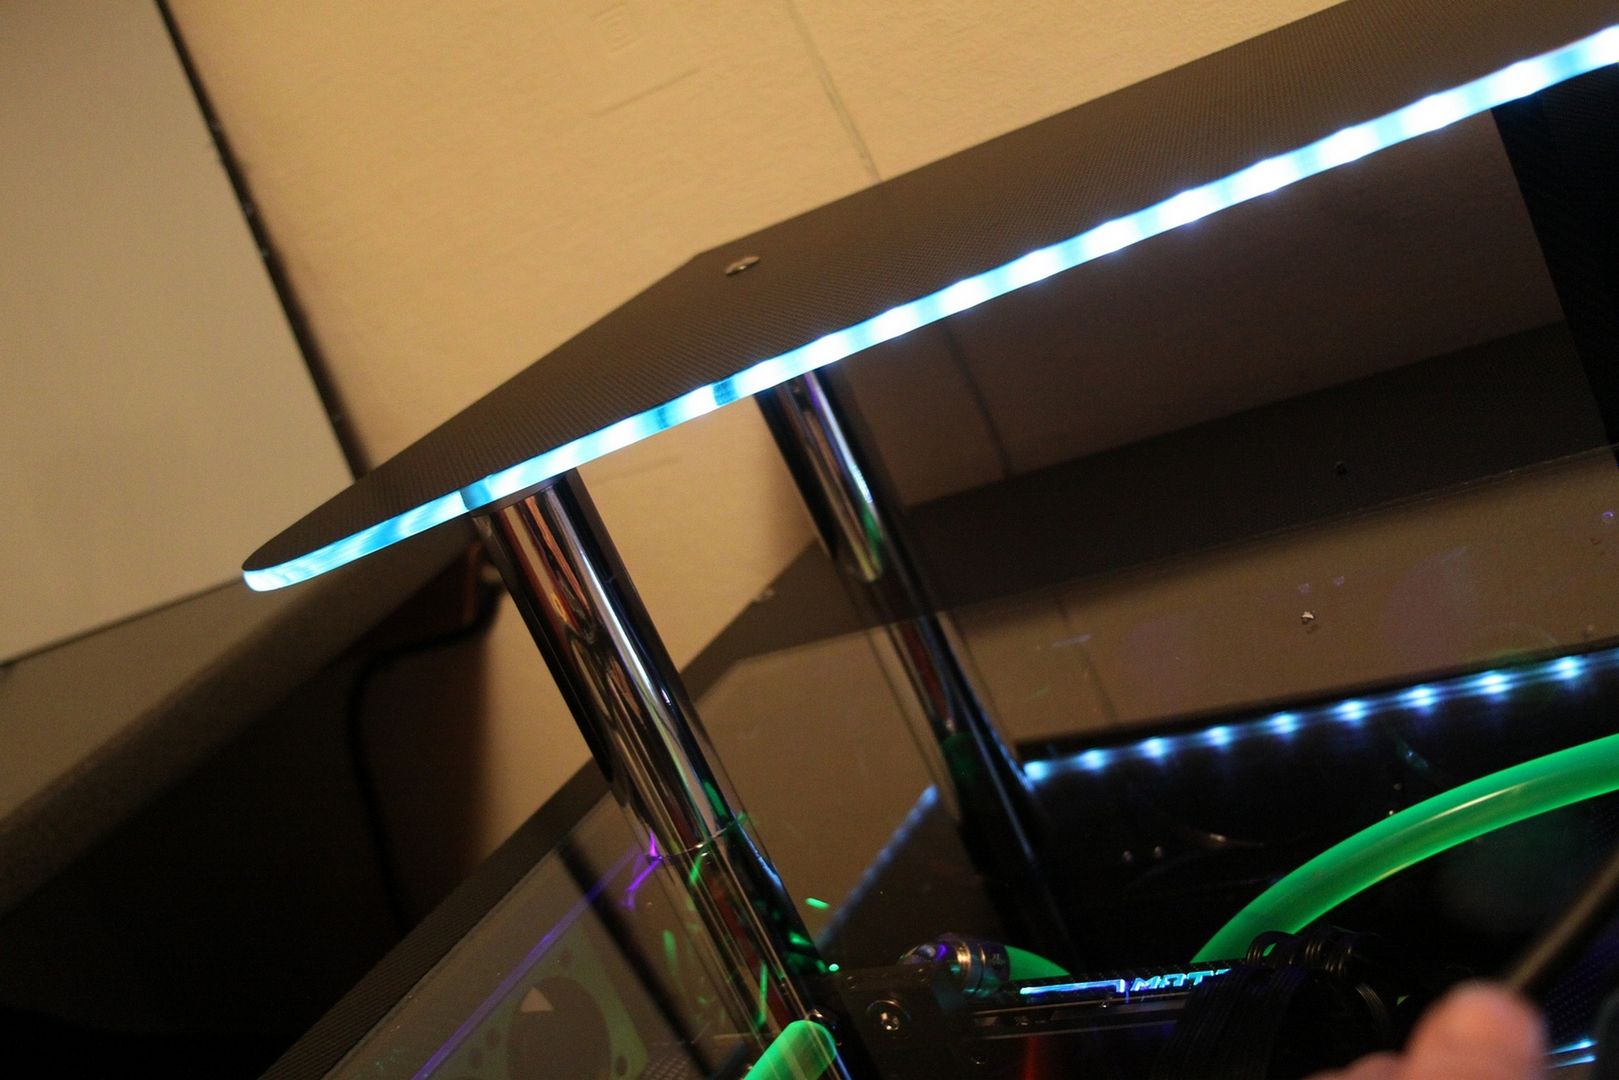
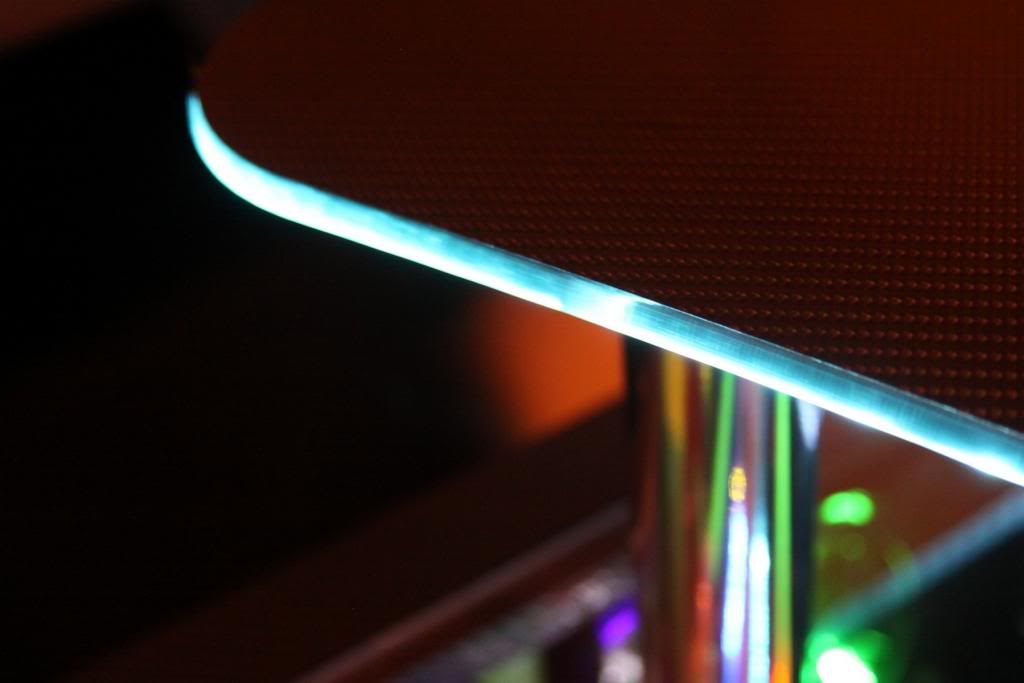
Project MEGA DEBLOW - Watercooled Desk Mod

I keep coming back for more, you don't fail to impress

Fantastic work :cool:

Thanks Whyscotty :)

How much do you think it has cost to make the desk (not including the main computer components)?

Would like to try this one day!

Hard to put a total cost as the wood and glass was free, but i have spent
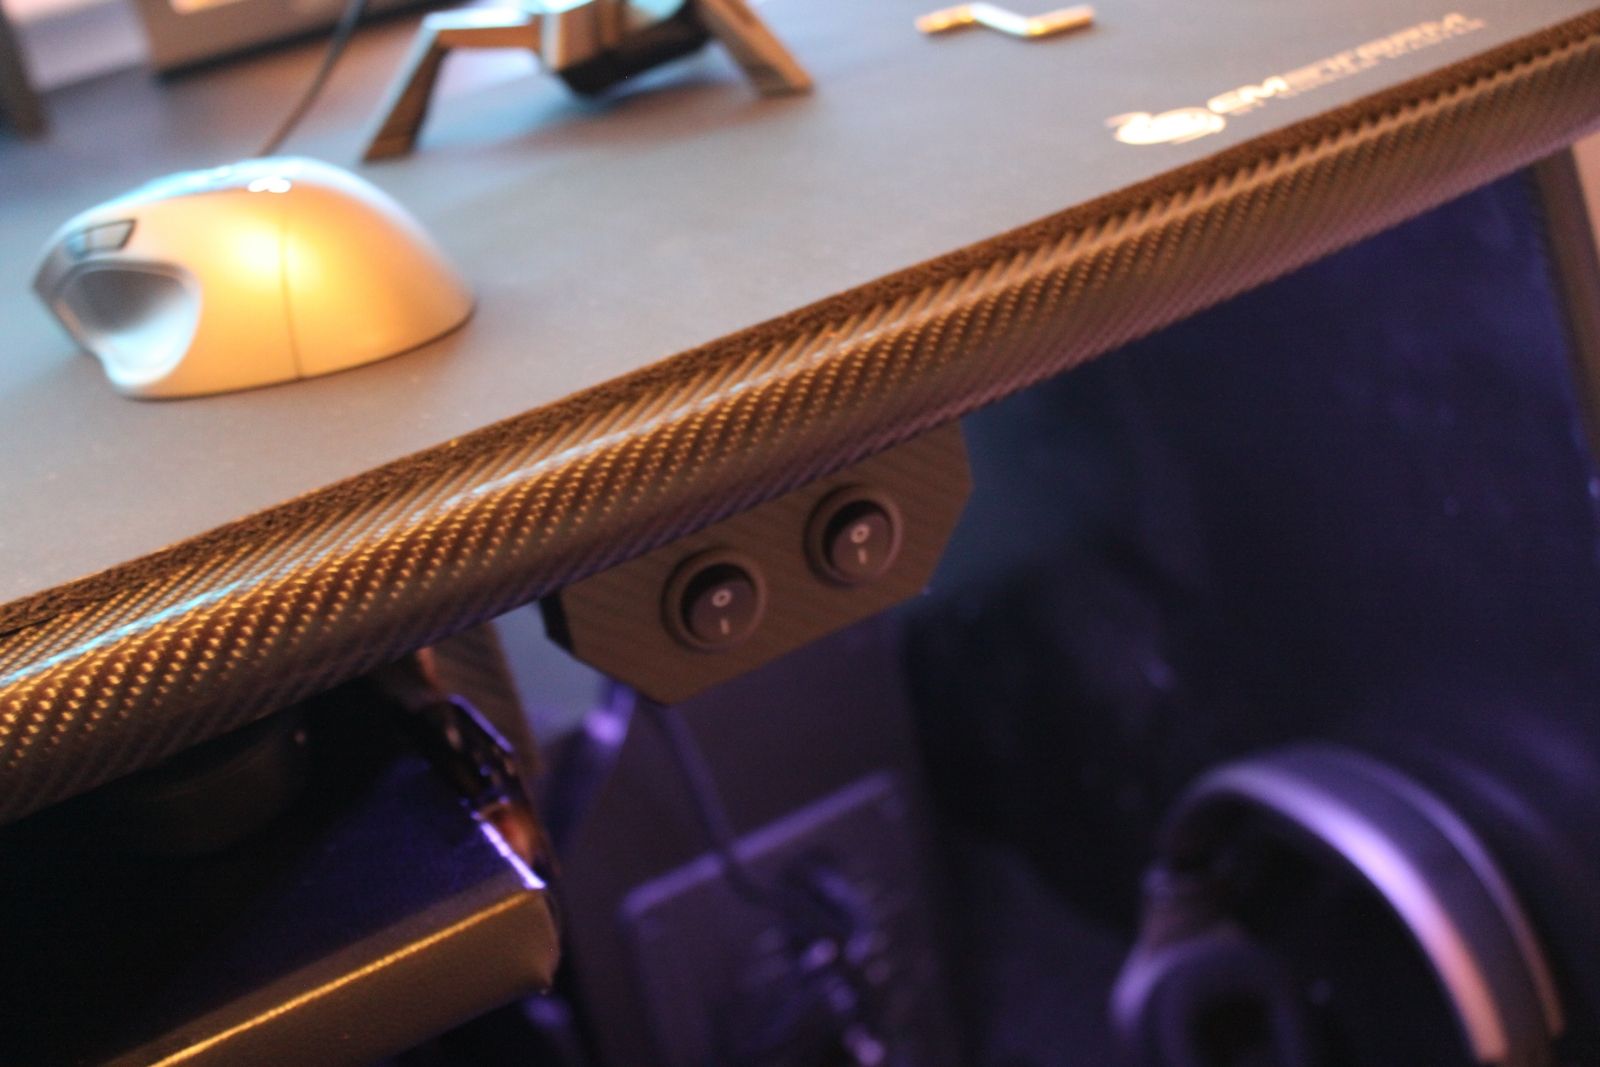
£60 on wrap & £48 on the switches if you want to count them,

only other costs was on tools, screws, glue, wire & spade ends

in total i will have spent around £180 (not including the tools),
depending on what type of wood you use i would think it would cost less than £300 in total with glass or perspex.

My last PC case cost me £600 (before wife) so this was cheap in comparison,
not a chance in hell my wife would let me spend that much on a pc case now lol
 
Stunning. Awesome work mate.
Thanks Mirmo :)

Haha we all know this pain!

Thanks for the info re costs, not bad at all!

No problem m8

Its looking really good now mate, reeeeeeaaaaaallllyyyy good. Its looks better than any case out there and the best thing is its yours for life now, if you can resist any offers to buy it.

In my build i plan to hide every wire i can. Have you thought about using some extenders and loop the existing wires back into desk then have them extended and fitted inside to pop out somewhere else? Im sure you can find stubby cables for the monitors.
Maybe you could use this too

Its like one of them blanks for hiding wires in office desk only with usb sockets. Shop around though cause i just grabbed the first one in the search.

Just a suggestion though, i came across them whilst looking for usb hubs for my coke can doors.

Thanks for the tips, :)
for most of the wires its not been too much of a problem, I've made some holes in places to run wires like under my keyboard for instance.

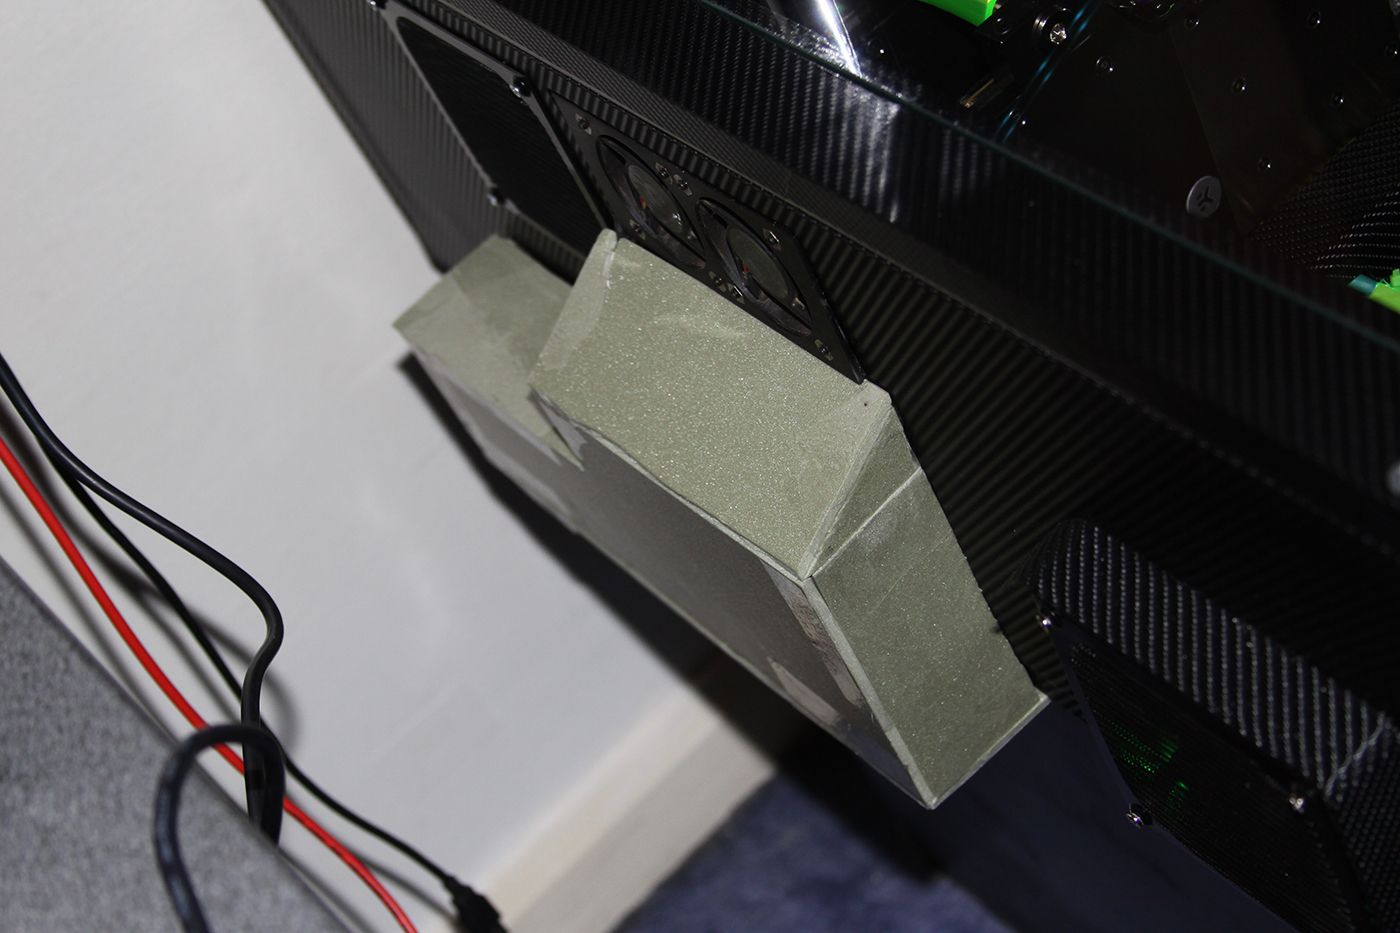
but the hard part is hiding the wires coming from the back ports i.e the DVI cable, all i think i can do is make a box to cover them.

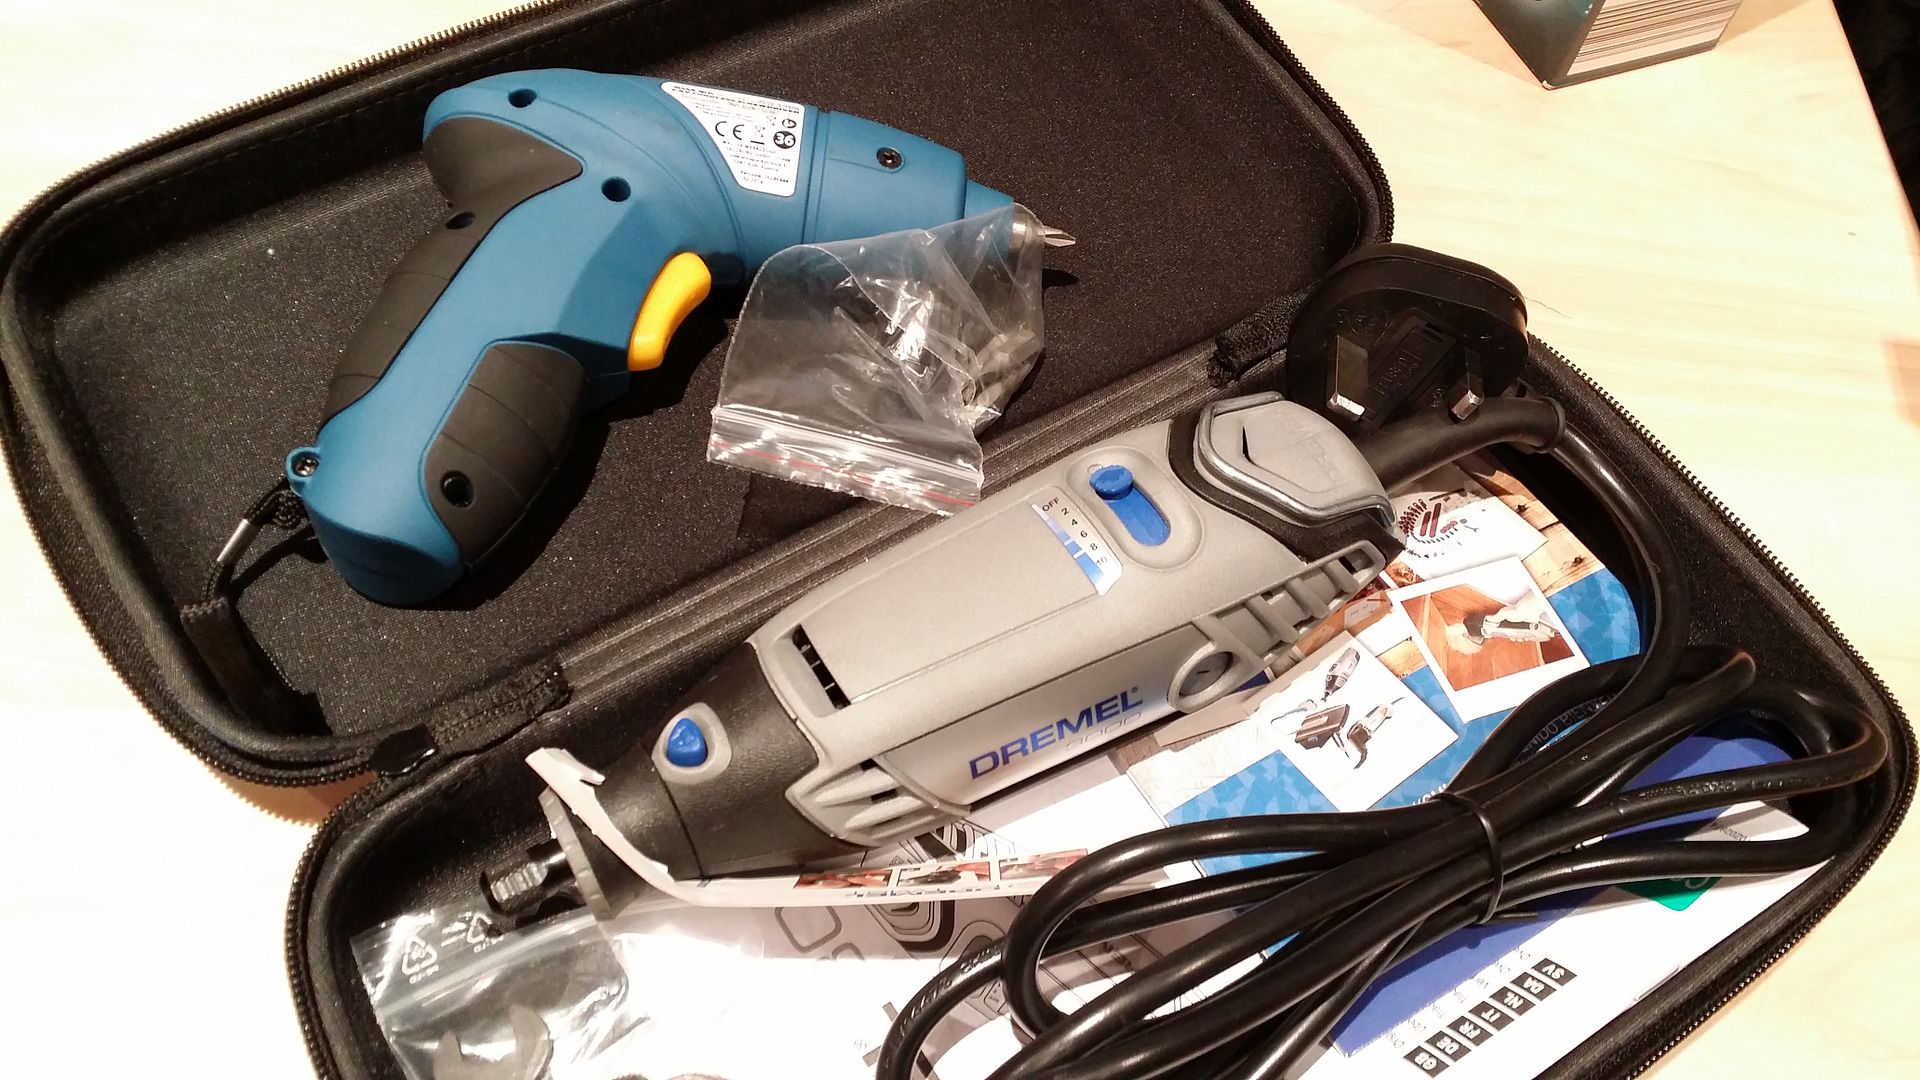
things have been on hold the last couple of days due to my dremel dying :(
think the wife is going to take me to the DIY store for a new one today or tomorrow :D
 
Happy days :D

Was treated to not just a new multi-tool, but also a 5 volt cordless screwdriver :D

should help speed things along nicely

20140314_193615_zps388cc63c.jpg
 
How about a triangular flip up cover to hide the cables - just a suggestion.

Mark

yes mate, definitely needs to be easily removable, will have a look what hinges i have and try make a plan ;)

just been given a electric sander, I've been playing with it today but not made anything useful
wish i had it back in December lol
 
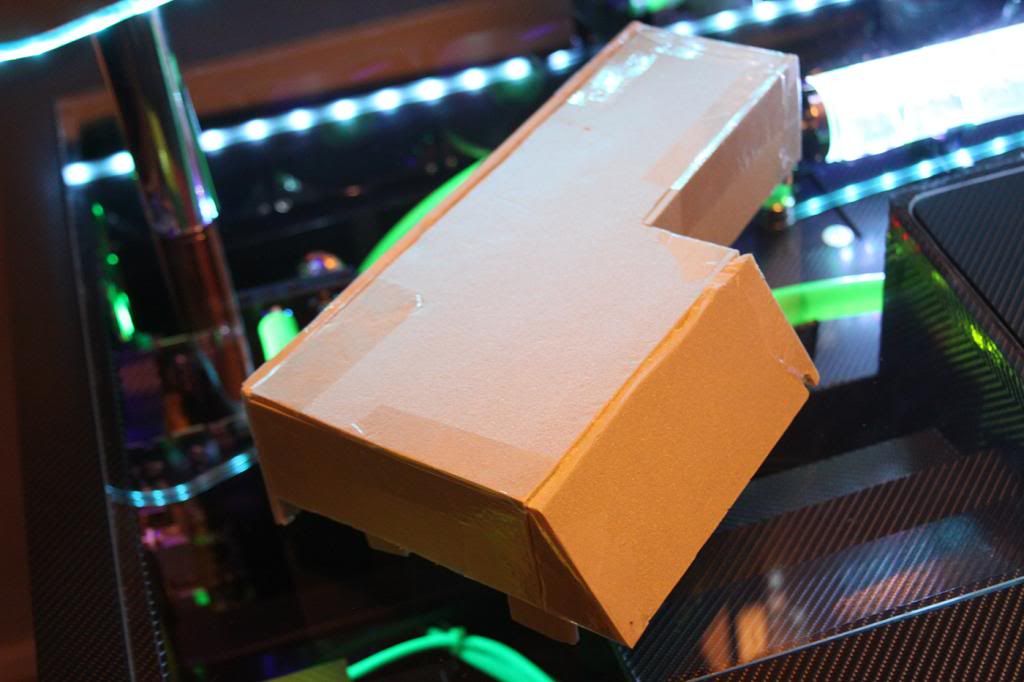
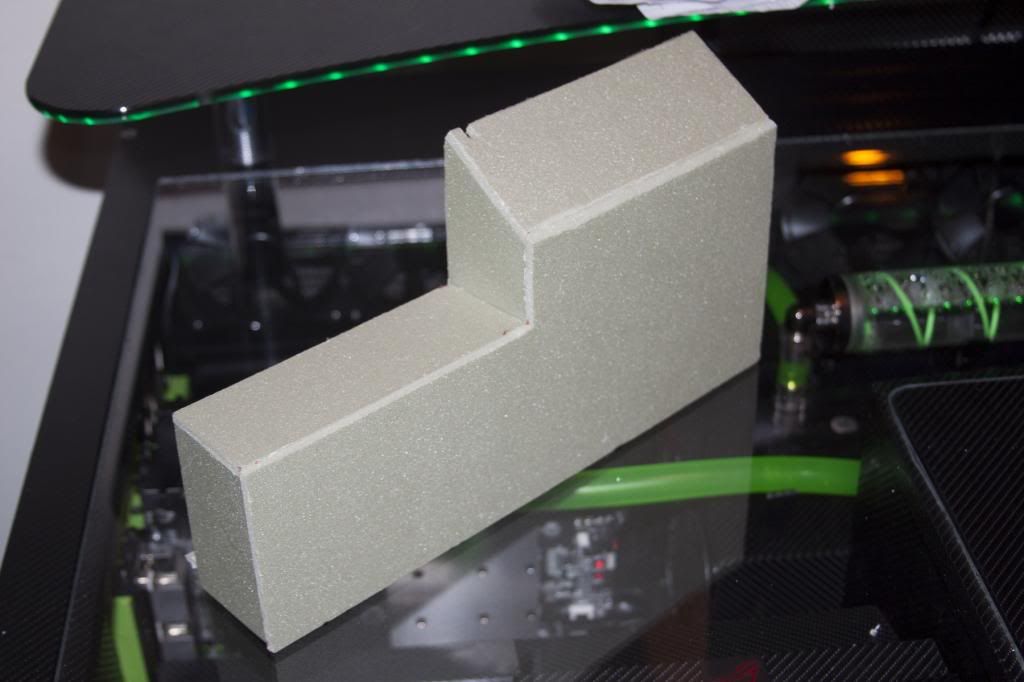
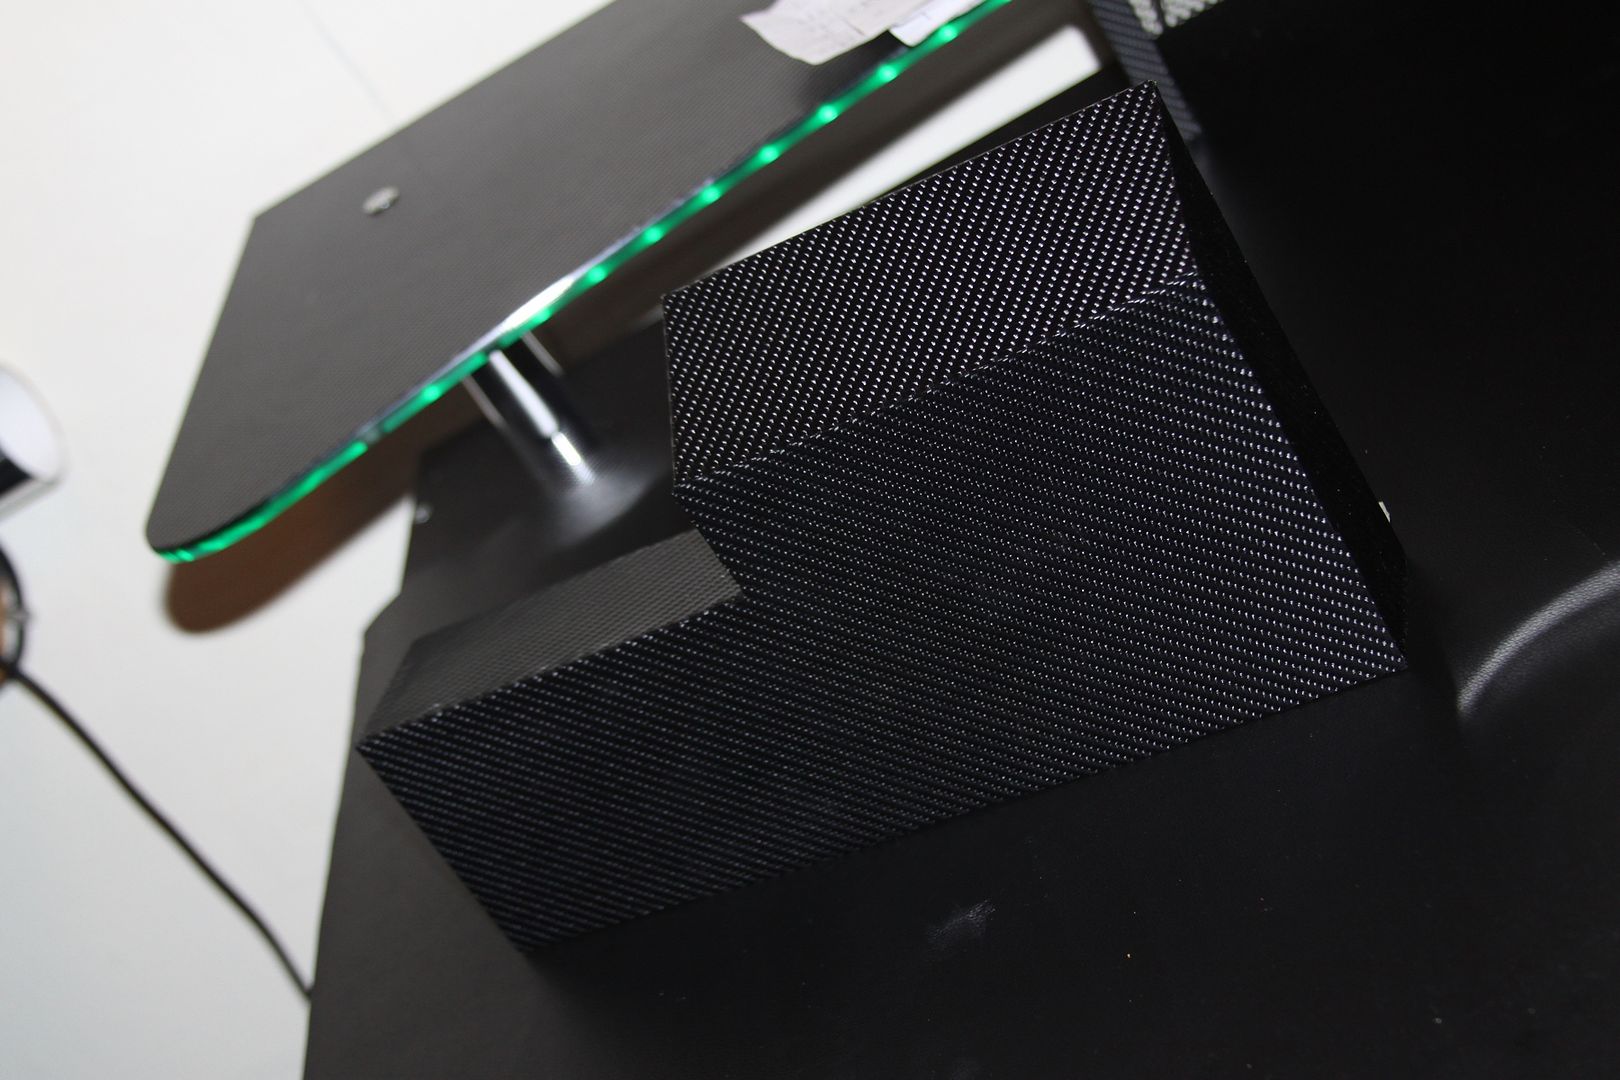
This is the prototype for the wire cover, will see how it looks when I've remade it a bit more solid and covered with whats left of the carbon :)
For now its doing the job, just clips on and off very easy

IMG_29843_zpsc5f0476f.jpg


IMG_2993d_zps1f9b0349.jpg


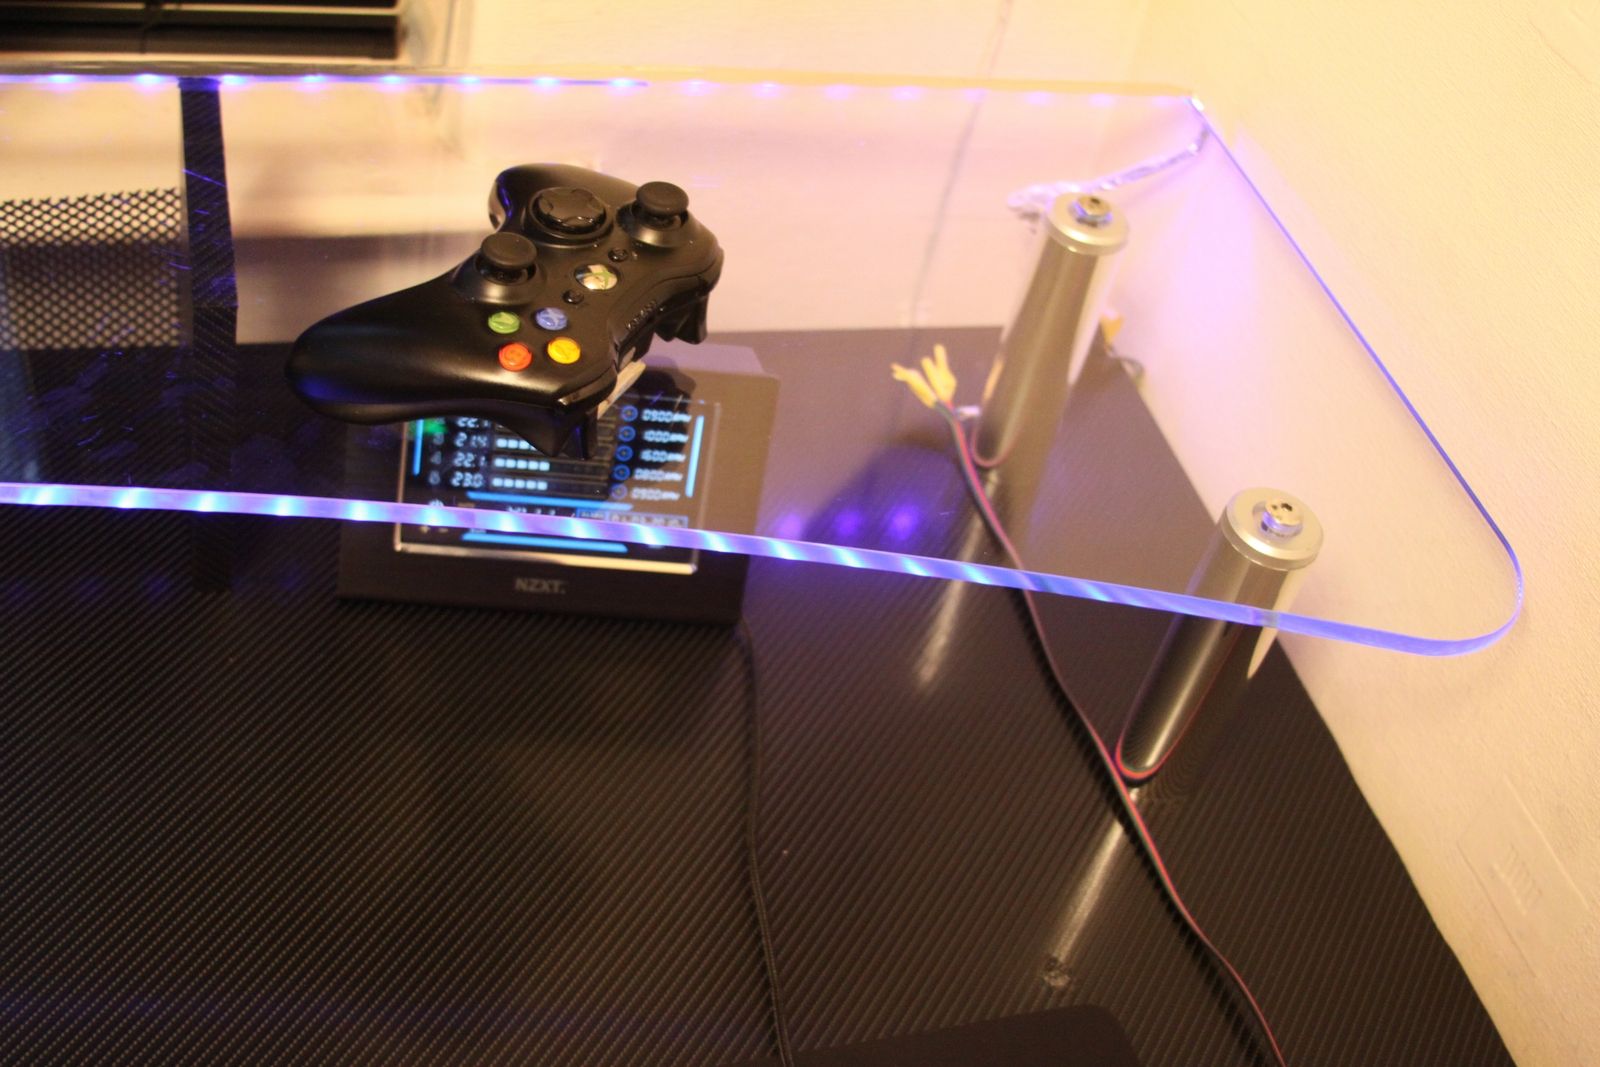
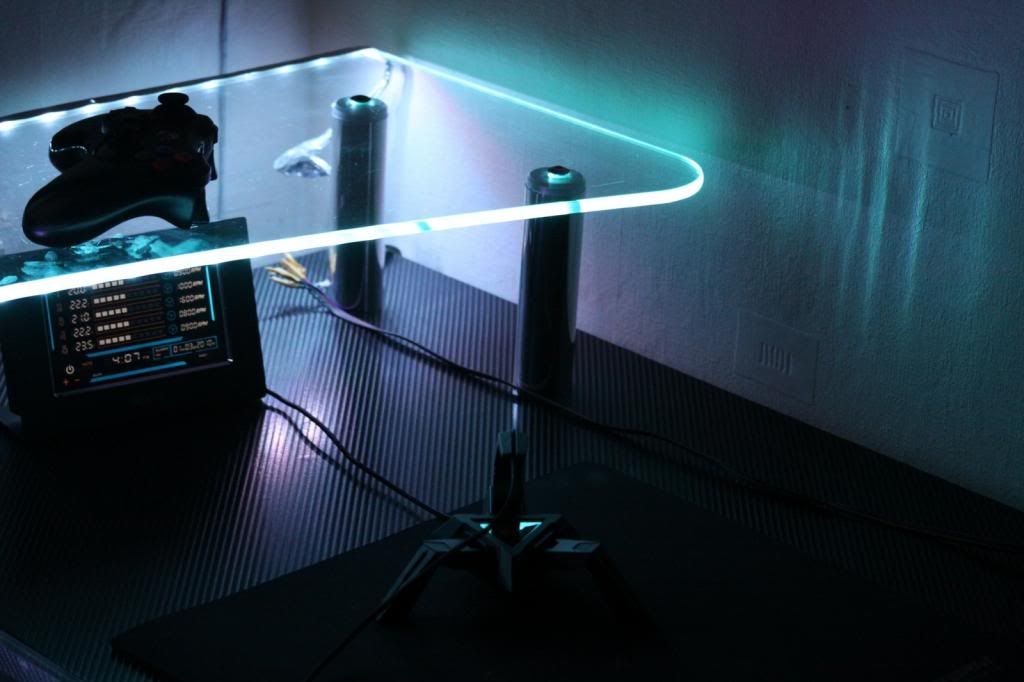
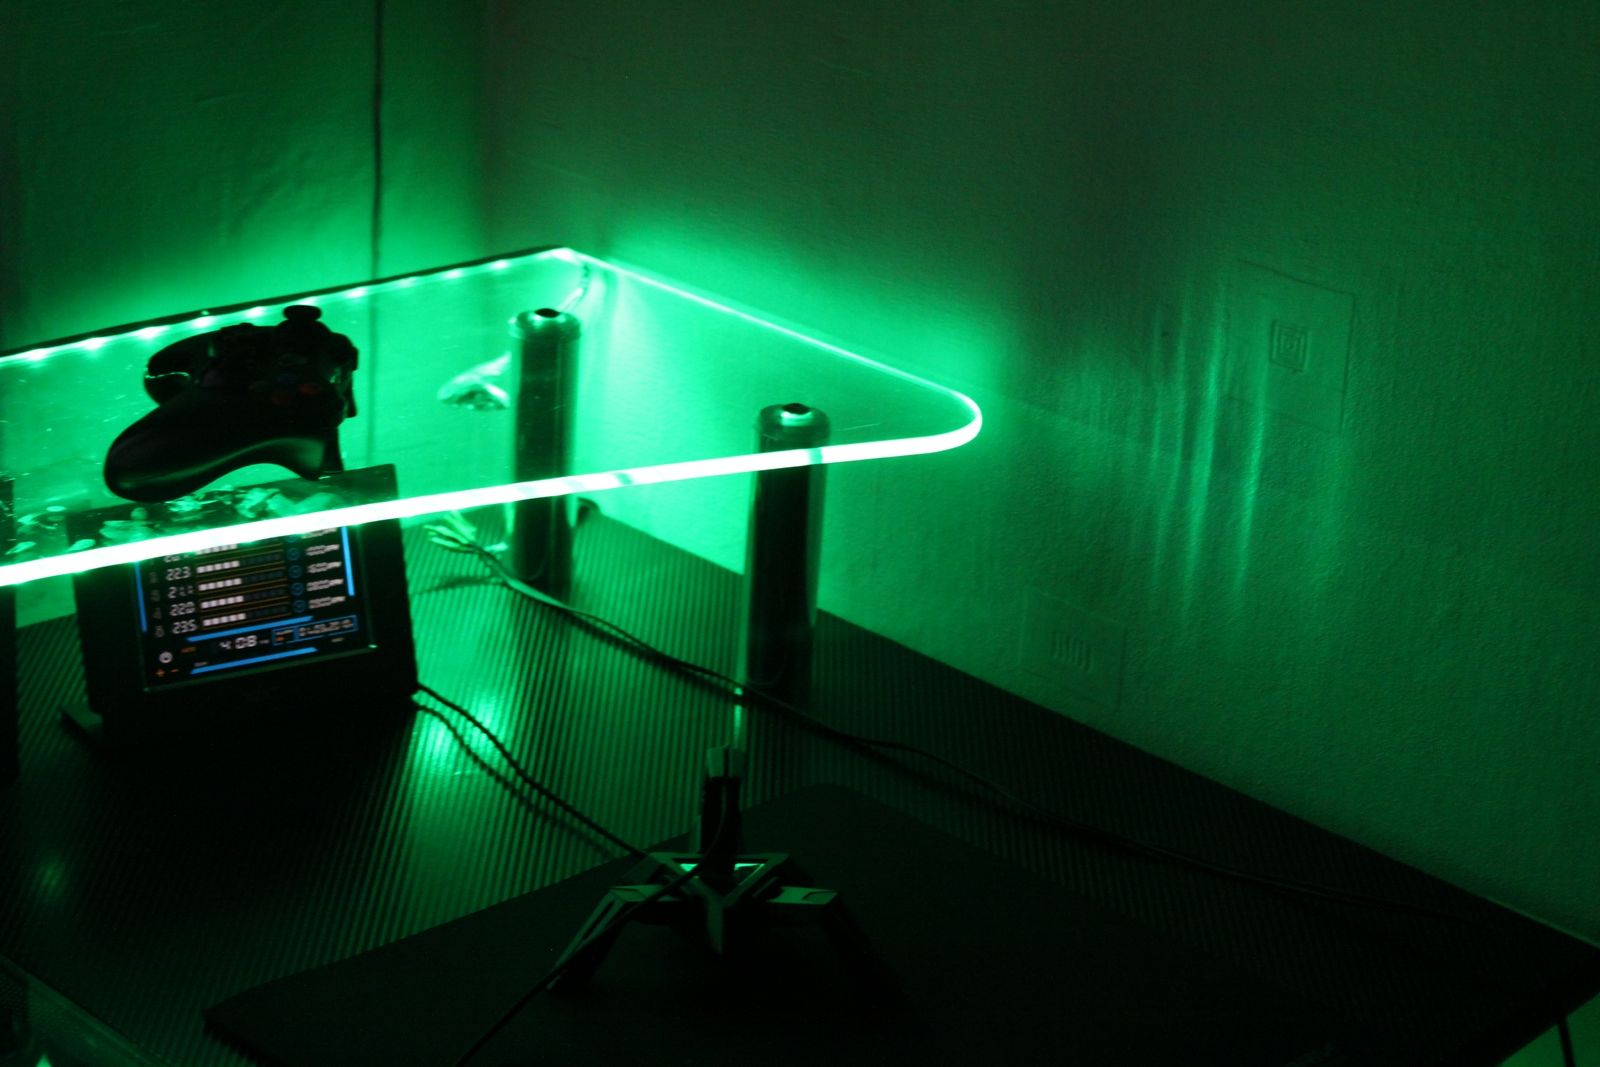
Also decided to cover my glass shelf with carbon because it was a bit too bright even with LEDs on lowest setting, i will upload some pics later tonight
 
Due to bad weather and a wet shed iv had to put the cover on hold, I've started on some other bits that i can safely do in the kitchen :)

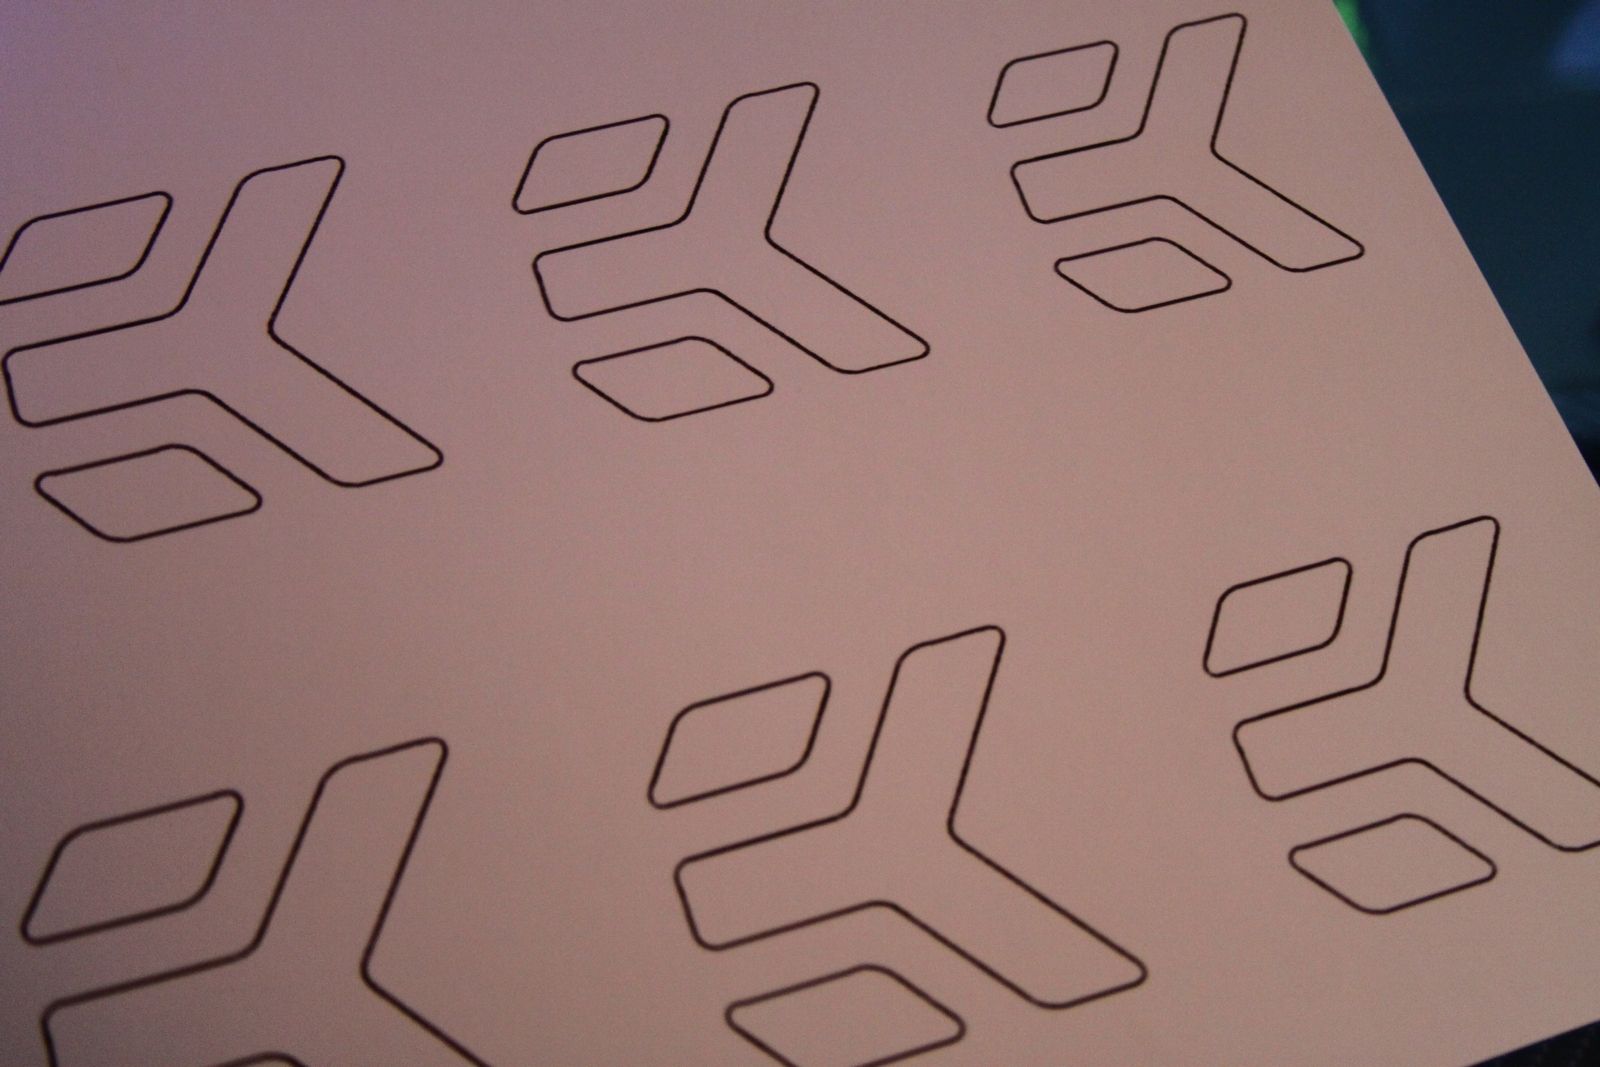
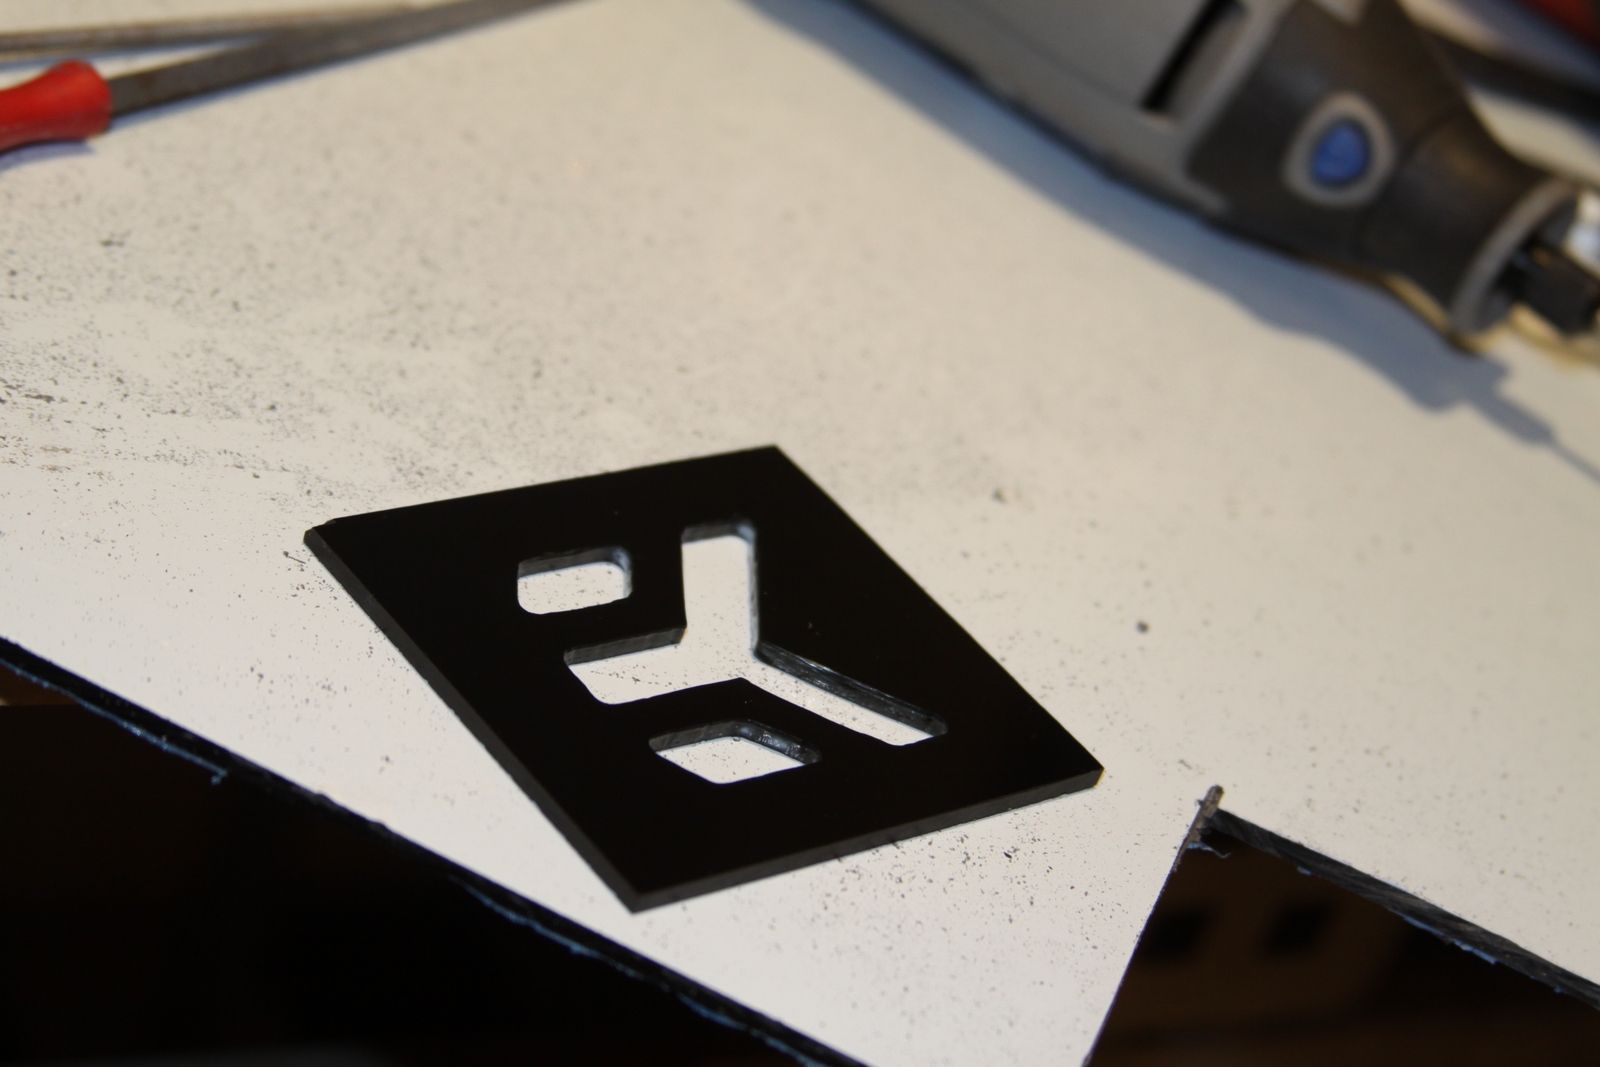
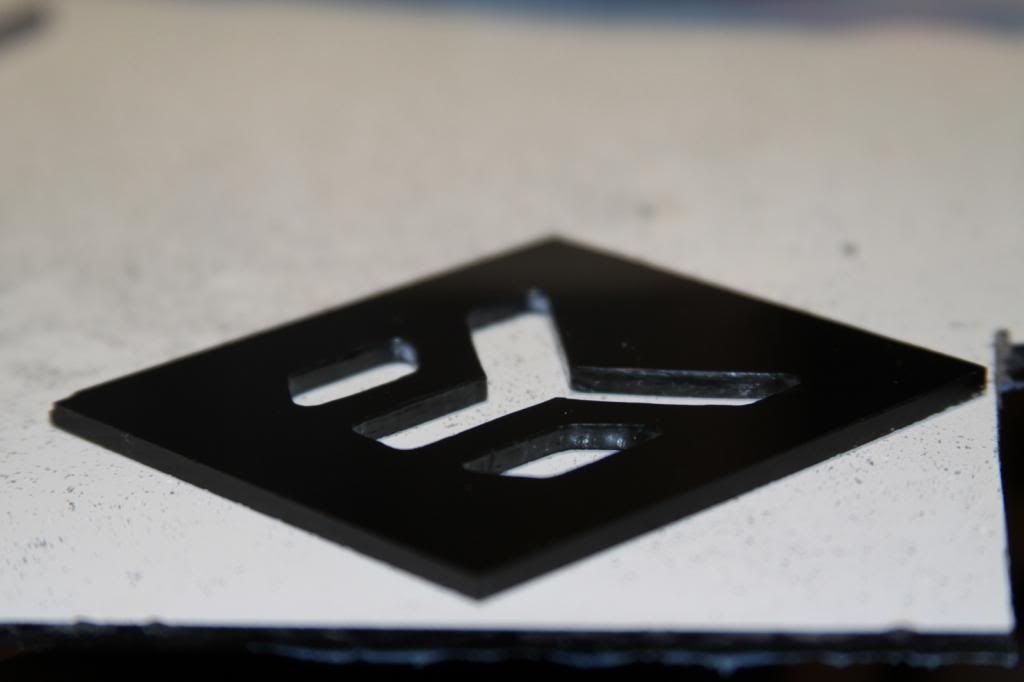
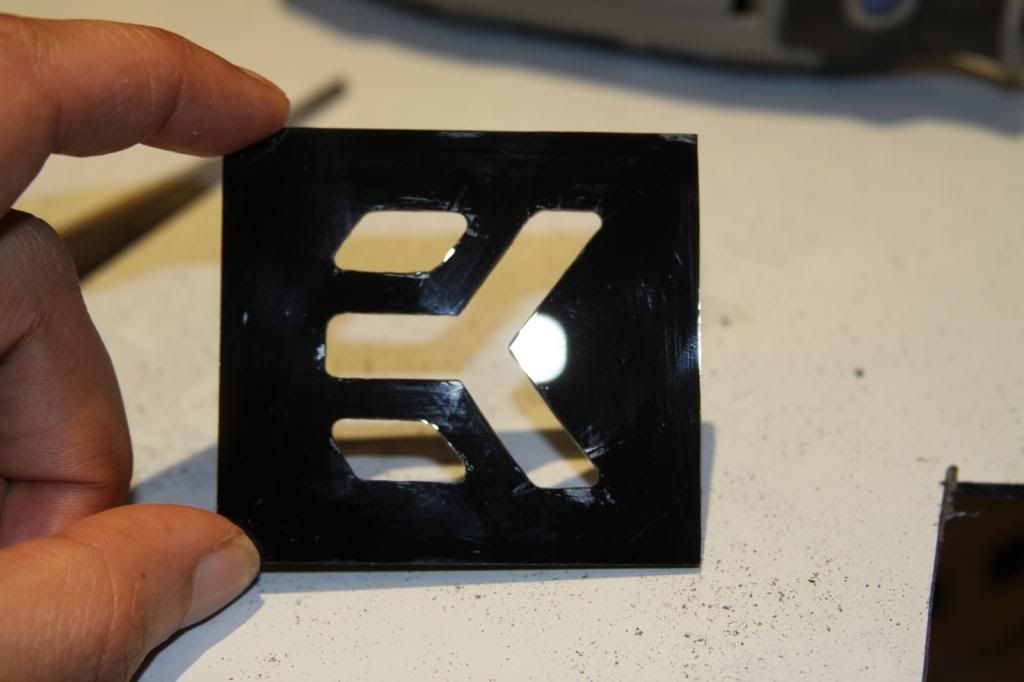
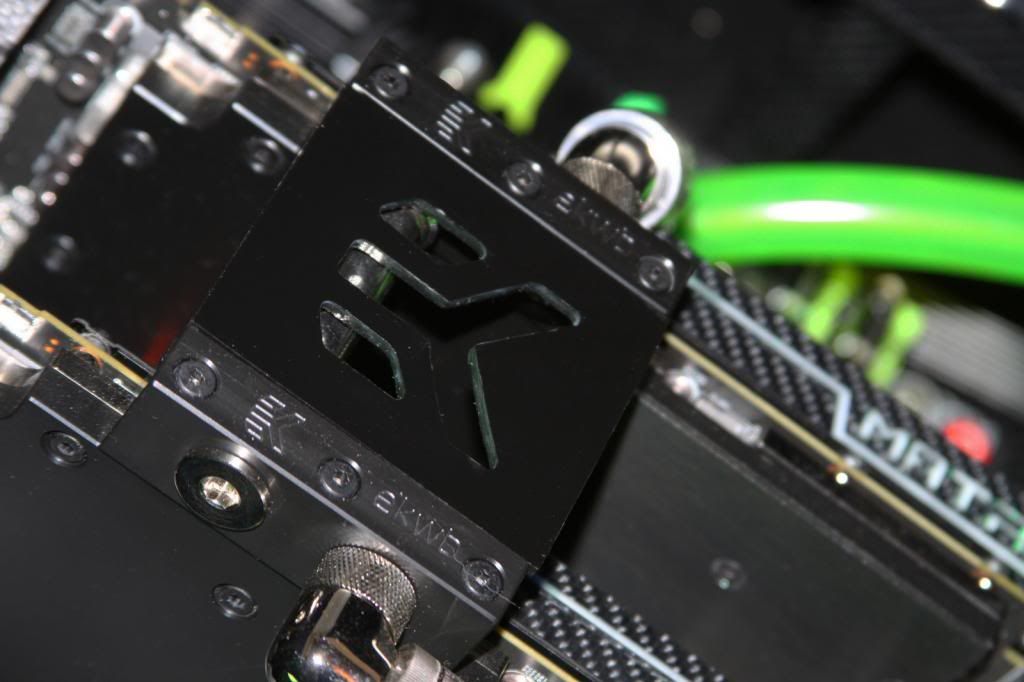
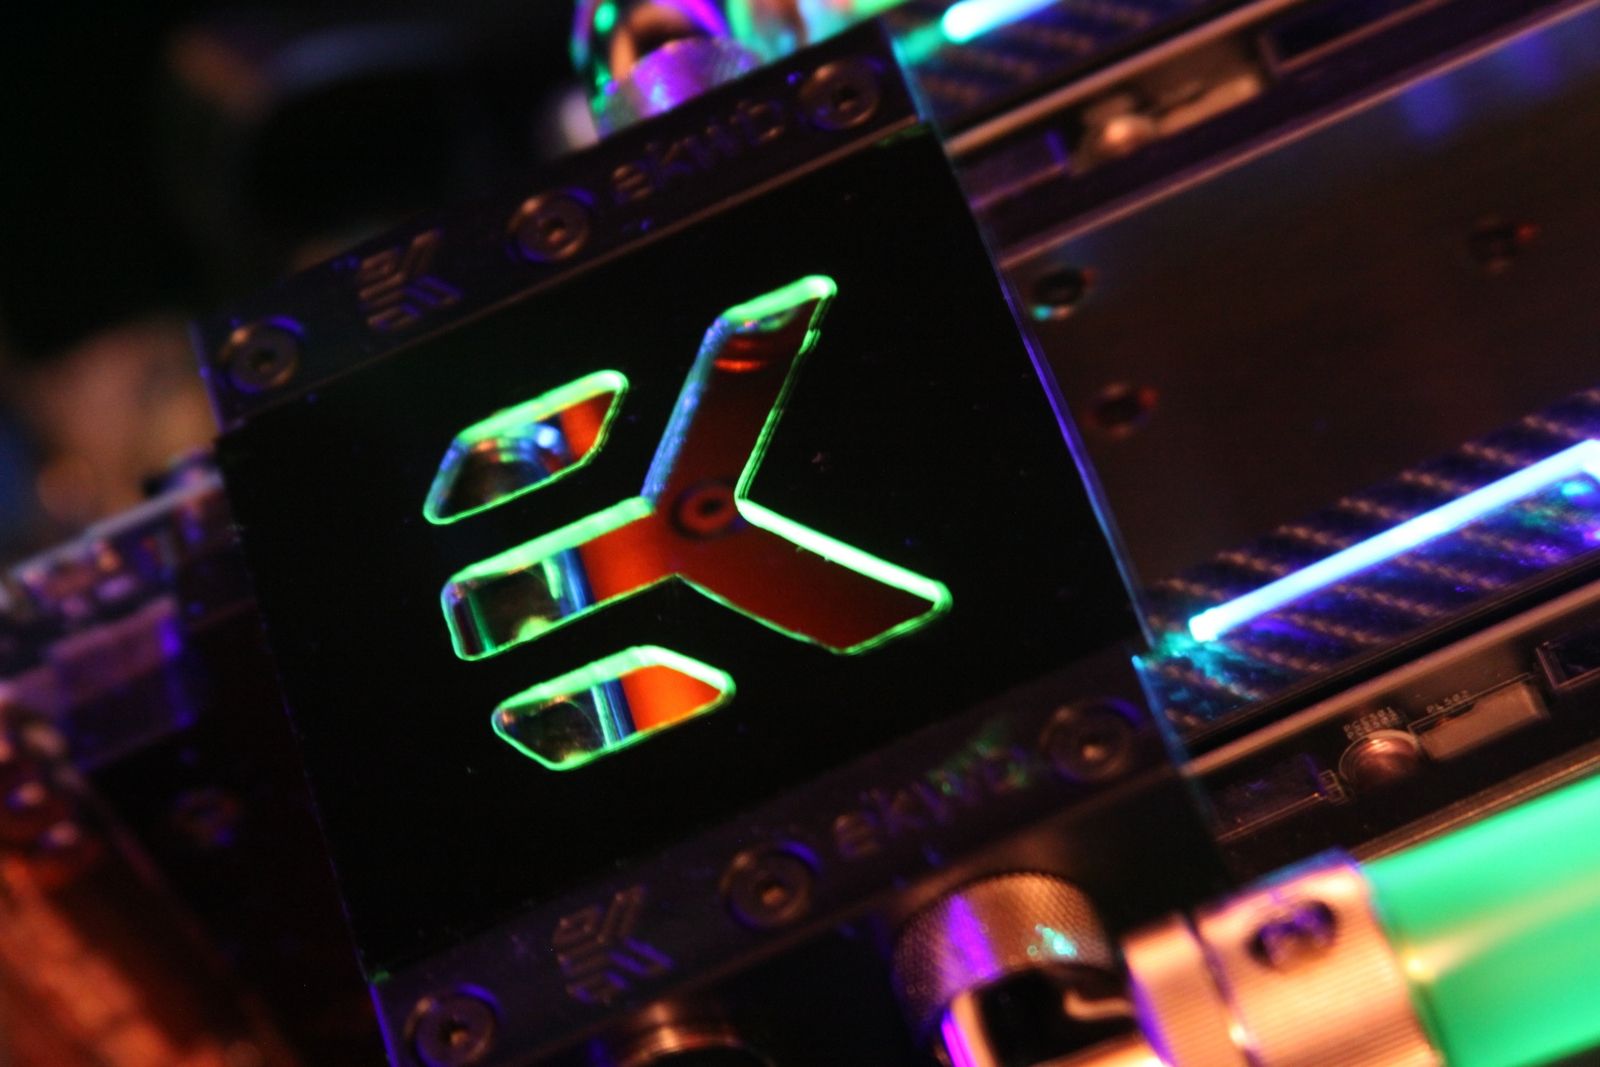
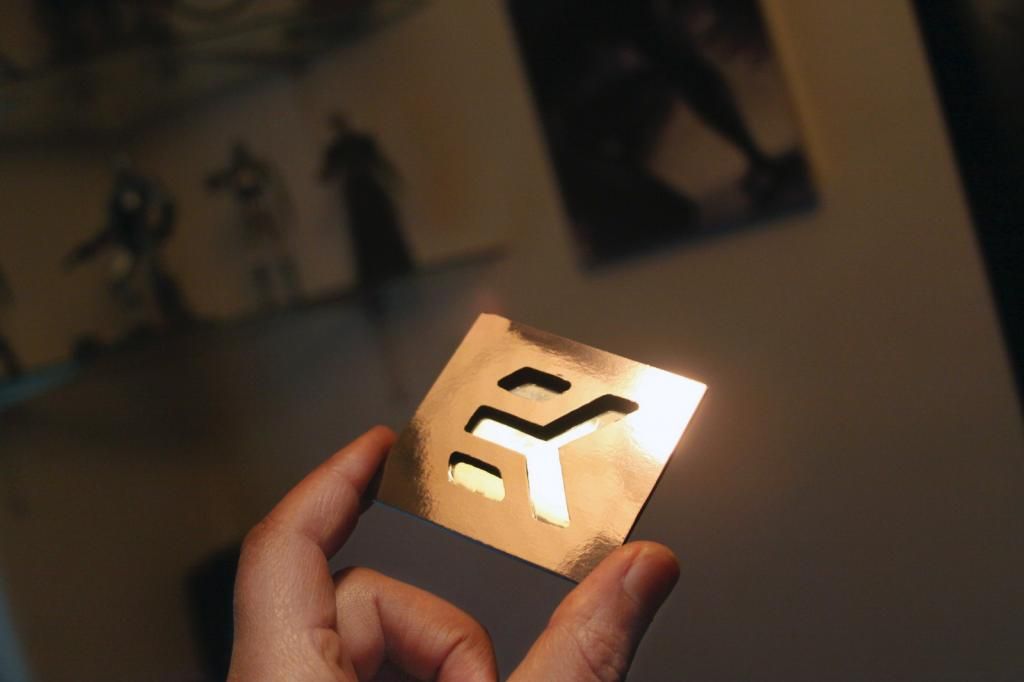
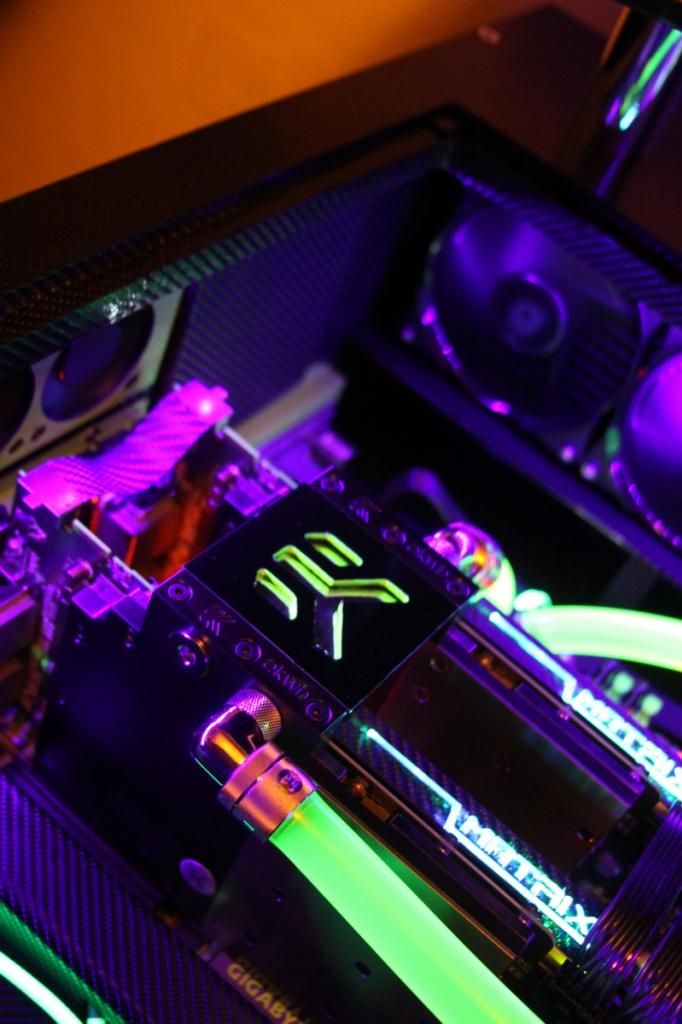
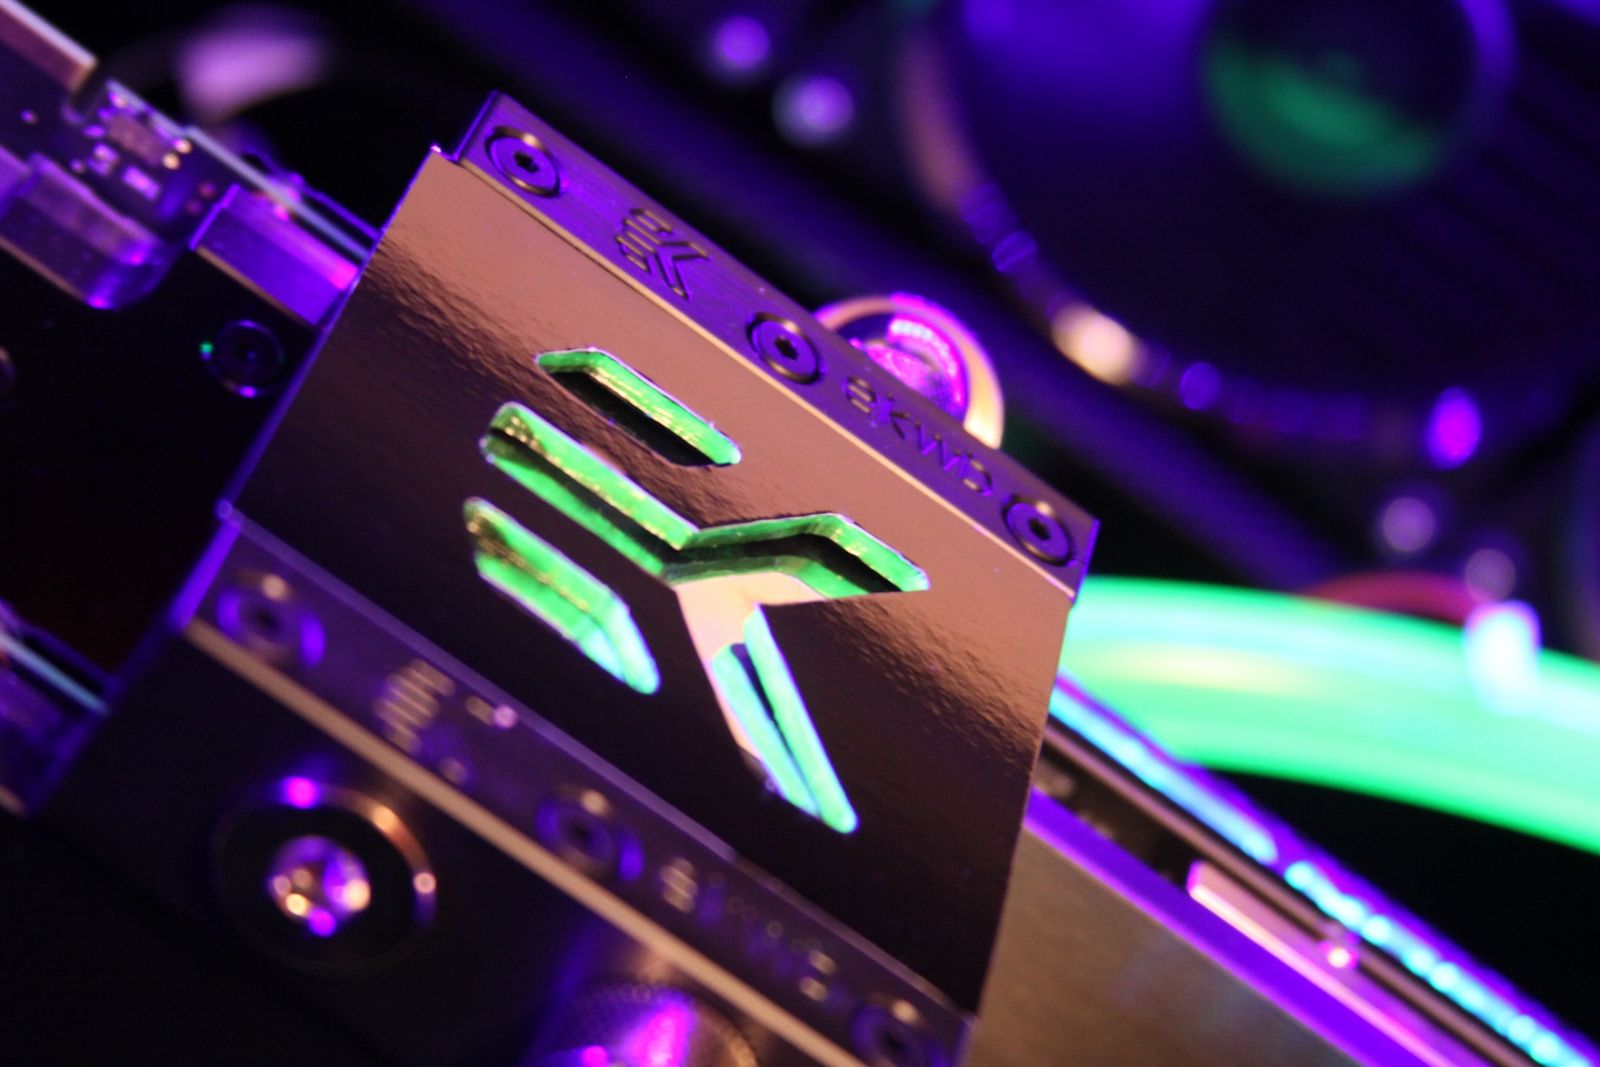
My first attempt with perspex and a multi tool, small black EK logo bridge
not sure if this will be the final one but so far im happy with it


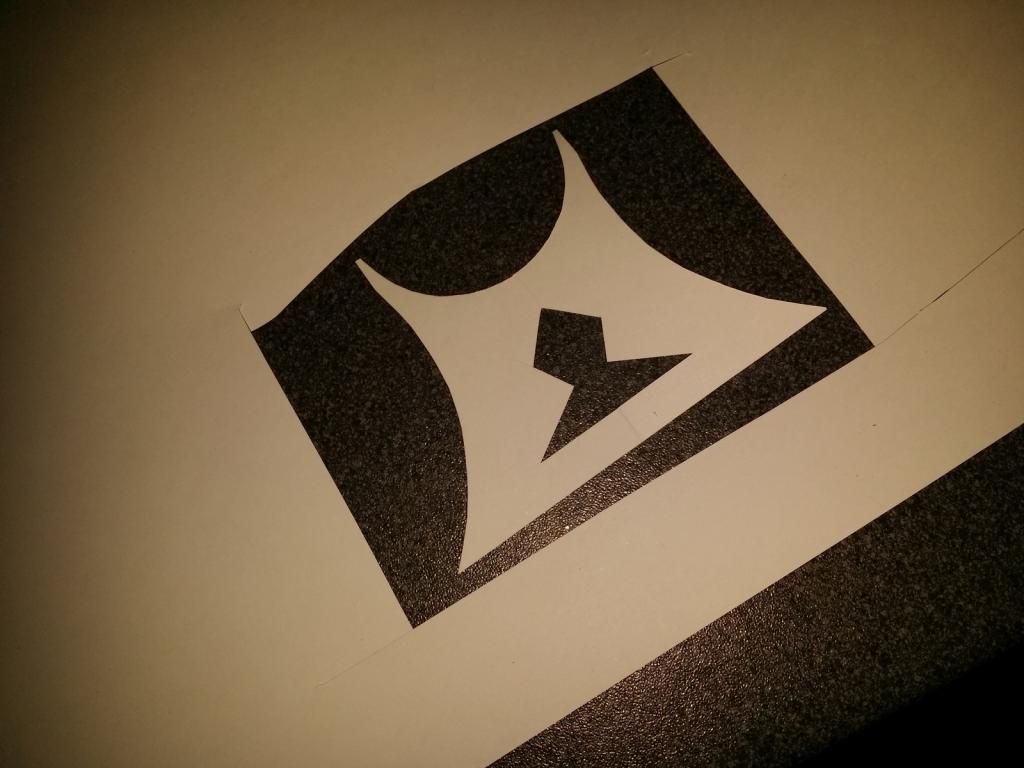
Artwork done on the PC, then printed some different sizes to see what looked best

aadIMG_3022_zps09131b27.jpg


aadIMG_3024_zps0757233a.jpg


aadIMG_3039_zps83d8e125.jpg


aadIMG_3042_zps458b425b.jpg


aadIMG_3040_zps87852f94.jpg
 
still needs a bit more trimming, the inside is UV green


aadIMG_3045_zps0476a6e3.jpg


aadIMG_3047_zps38aabcb3.jpg


aadIMG_3050_zps98e3d3e1.jpg


aadIMG_3051_zps3b940b63.jpg


forgot to mention, i decided to move the matrix LEDs to the top as they was effecting the UV lighting
 
Oh my god... this build keeps on getting better!

Thanks again mate :)
It will all be over soon lol


Simply incredible! One of the best things I've seen on here and lets be honest there is lots of good work on ocuk so praise indeed!

Lots of amazing builds i would never have seen without this forum, if i ever get chance to do another build i will be on the forum for tips and ideas before i start :D

if i had known about the cables we can use to move the GPU away from the MB i would have done so, would also be nice to recover the PSU cables like most people are doing with great results.
Thanks for your comment, i can feel my head growing as i type lol
 
Last edited:
You do fantastic work,
good job

I am lost for words - simply awsome. Good work.

Mark

This looks amazing, great job mate!

Thank you all,
I was planing to have the side cover done by now but my phone has been sent away due to a fault with the camera and lots of other small problems have attacked me this last couple of weeks :(
but on the + side of things, my wife and daughter are going on holiday in 2 days so i will have 2 weeks of total freedom & pot noodles :D
 
Wrap now fitted to the glass shelf, no room for error here as the wrap sticks to glass really fast and its very hard to remove without heat

aadaadIMG_2903_zps7b95d1a1.jpg


aadaadIMG_2907_zps59ebe0f4.jpg


aadaadIMG_2890_zpscf622d4f.jpg


aadaadIMG_2892_zpsc28cc56d.jpg


aadaadIMG_2894_zps47946bc0.jpg
 
Wow mate this is truly stunning, wish I had come across this earlier but looking through from start to finish you have done an amazing job, might have to find some carbon wrap ;) was considering some but after seeing this thread I'm sold haha

Its nice to work with and less messy than the alternative, paint.
iv been using it for a couple of years now, mostly on bikes & cars.

Thanks for your comments ;)
 
Hey deblow, ive not been able to get on here for a while. Production has been a little slow while im waiting for parts to come.
Did you ever use any types of activator with all that carbon. I have a few awkward shapes to wrap myself and im unsure if i will need any to help it stick.
Did you use the controllable LED strips that change a range of colours on that glass shelf. Im tempted with mine but not sure if i can fit anything else inside.
It looked great in the first place but now you added the carbon to the top of the glass it just suits the build completely. My hats off to you sir, this is a very impressive build.....


I used a hair dryer for parts near plastics so as not to damage anything, and in some other places i used a heat gun because it has a longer reach,
what was you thinking of wrapping that could be a problem?
some of the hardest parts i found to wrap was curves, sharp corners can be cut in most cases but sometimes leave a gap you need to fill.

I use 5050 led strip full range of color control & iv just added a UV strip and removed the UV tubes i had.

had to wrap the glass because it was too bright lol, even on the low setting it was annoying
I'm glad i added extra switches to control top,inside,res & bottom shelf lights because i use them quite a bit and they all run from
the same controller/power.

Iv had the man flu this week, but i did start to work on the desk cover (flux leather), mouse mat, MECH keyboard design and some res brackets.

all still work in progress but should have some updates later in the week, still struggling with the flu ATM :(
 
BTW, i found working with 3D wrap easier then with 4D, i think the problem is 4D has a extra glossy lair to it, when working on motorbike parts i use 3D and then clear coat over the top.
i will be doing something similar with my keyboard but using 4D.
 
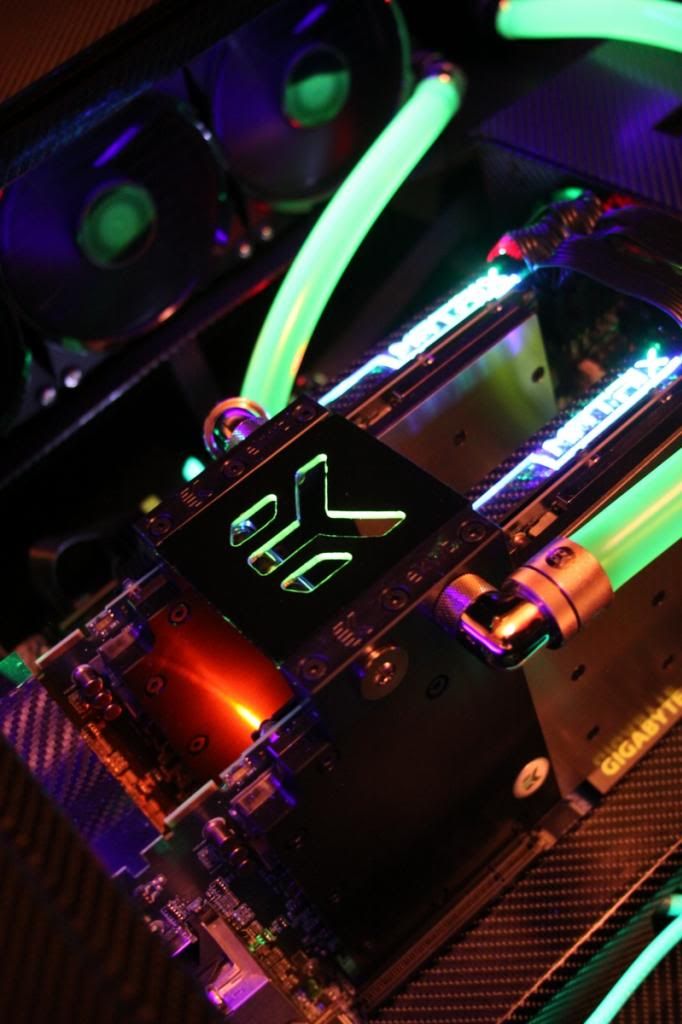
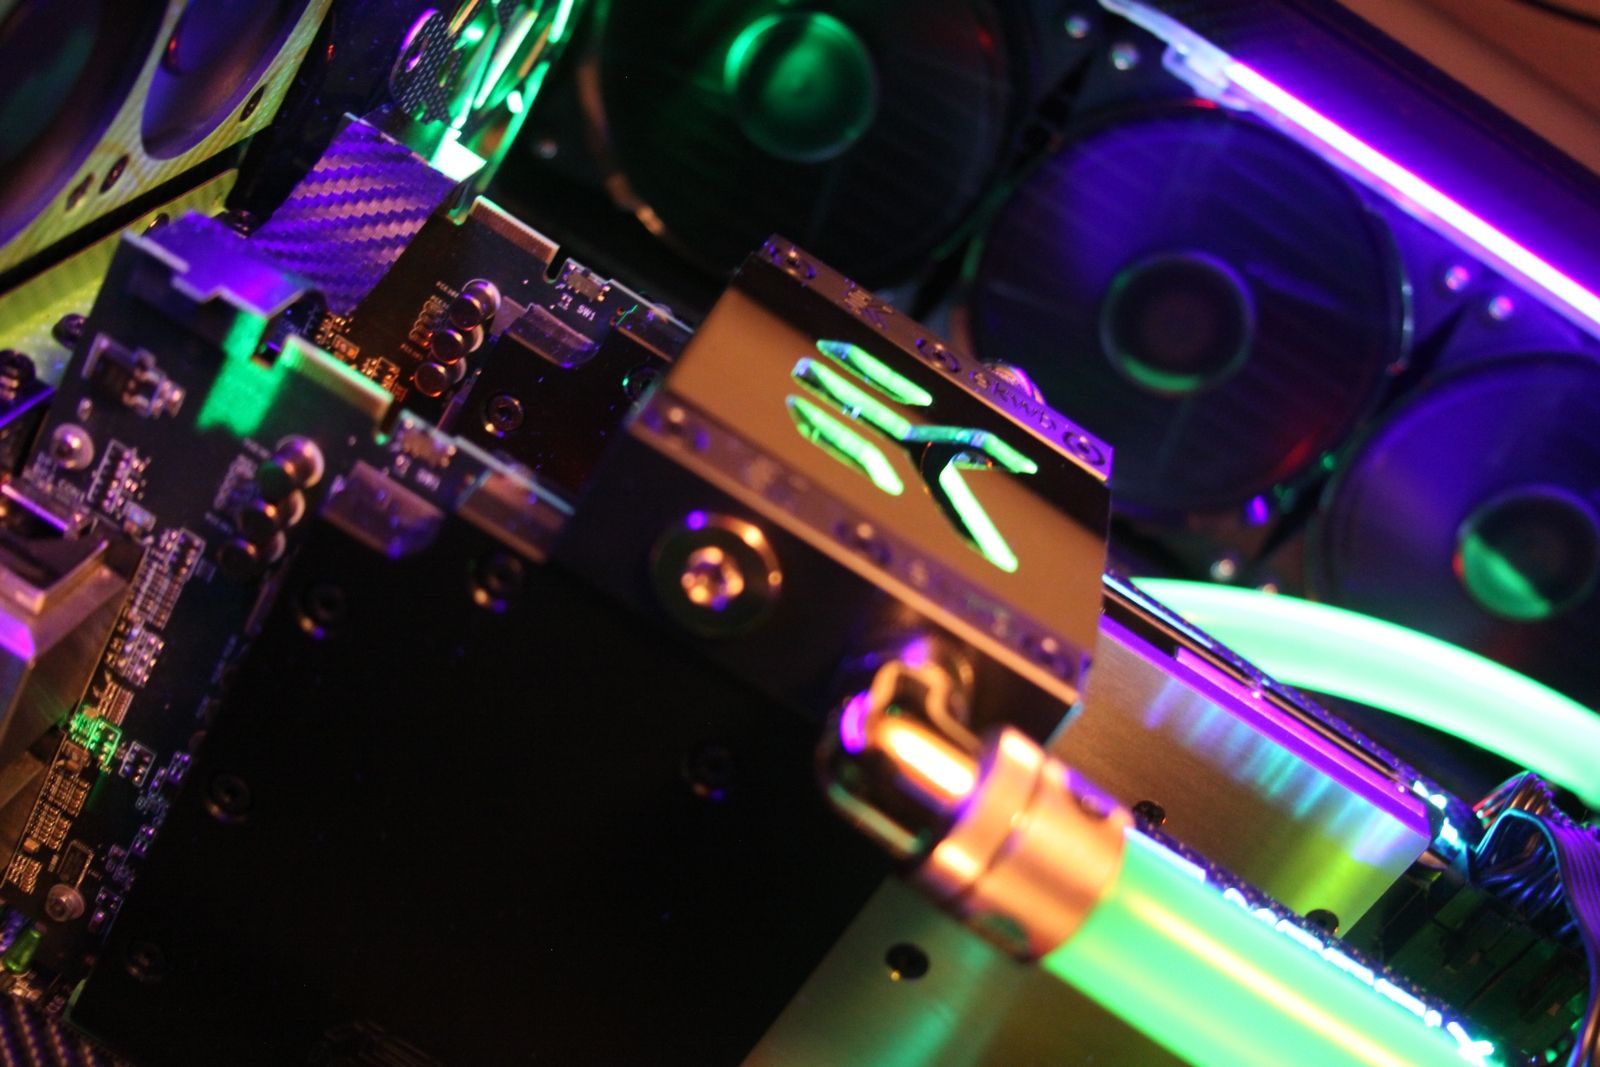
EK bridge cover now chrome & black nickle wrapped, think it looks better now as it can be seen in daylight and at night under UV.

aadIMG_3181_zpse4d4e209.jpg


aadIMG_3179_zps003ebede.jpg


aadIMG_3127_zpscbaf0df1.jpg
 
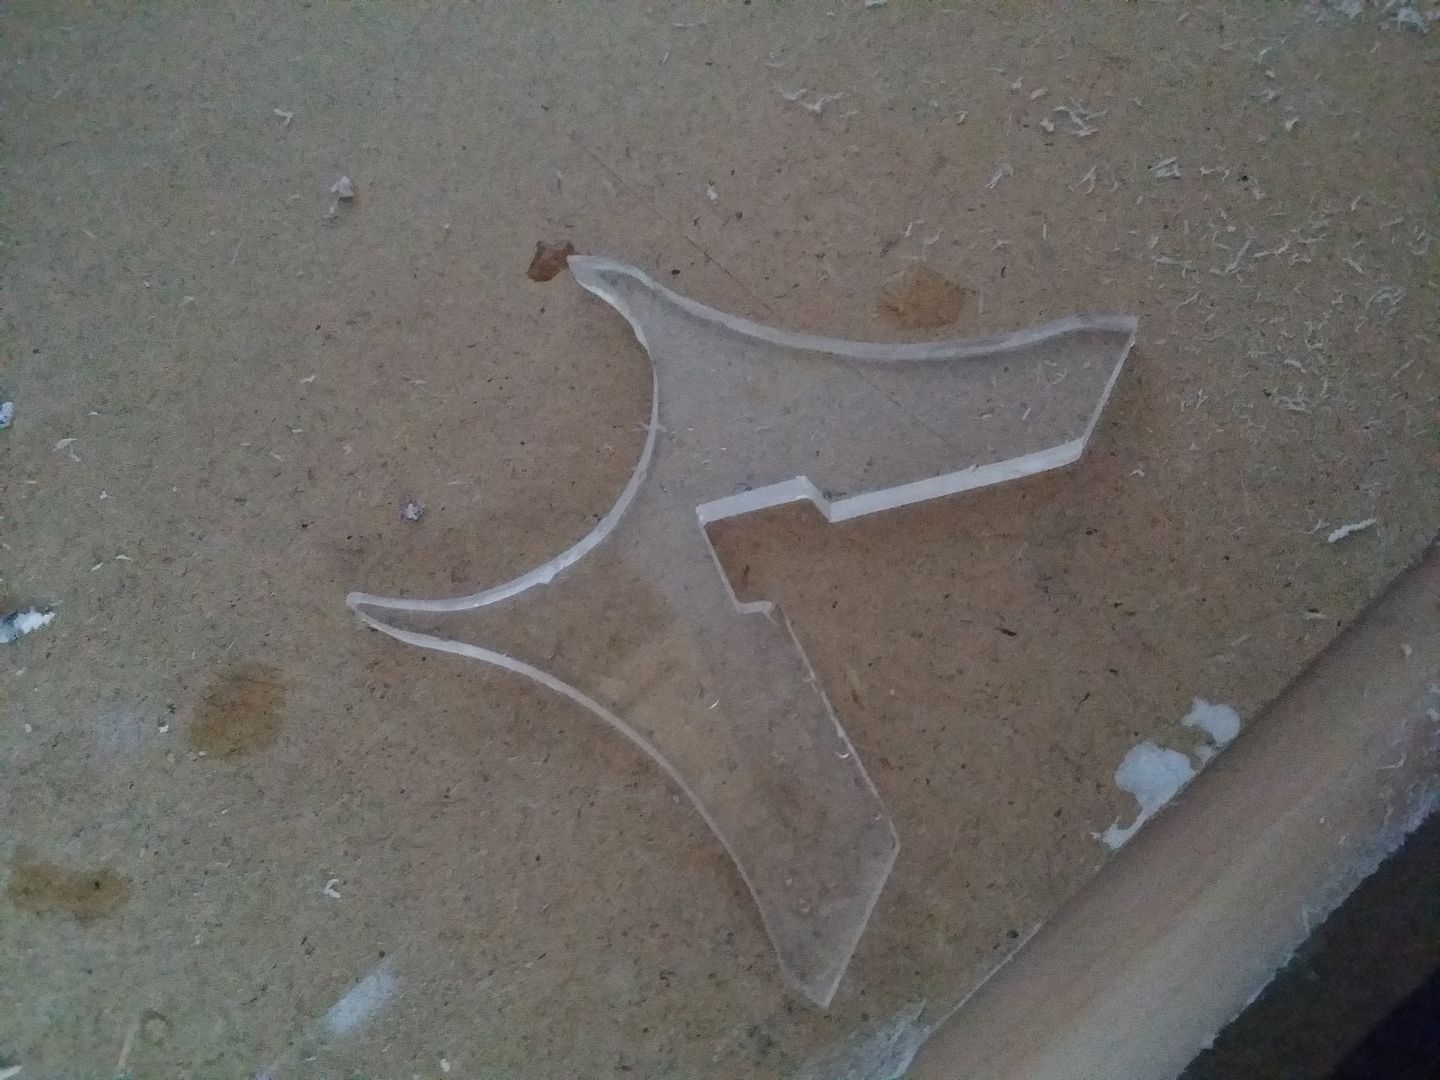
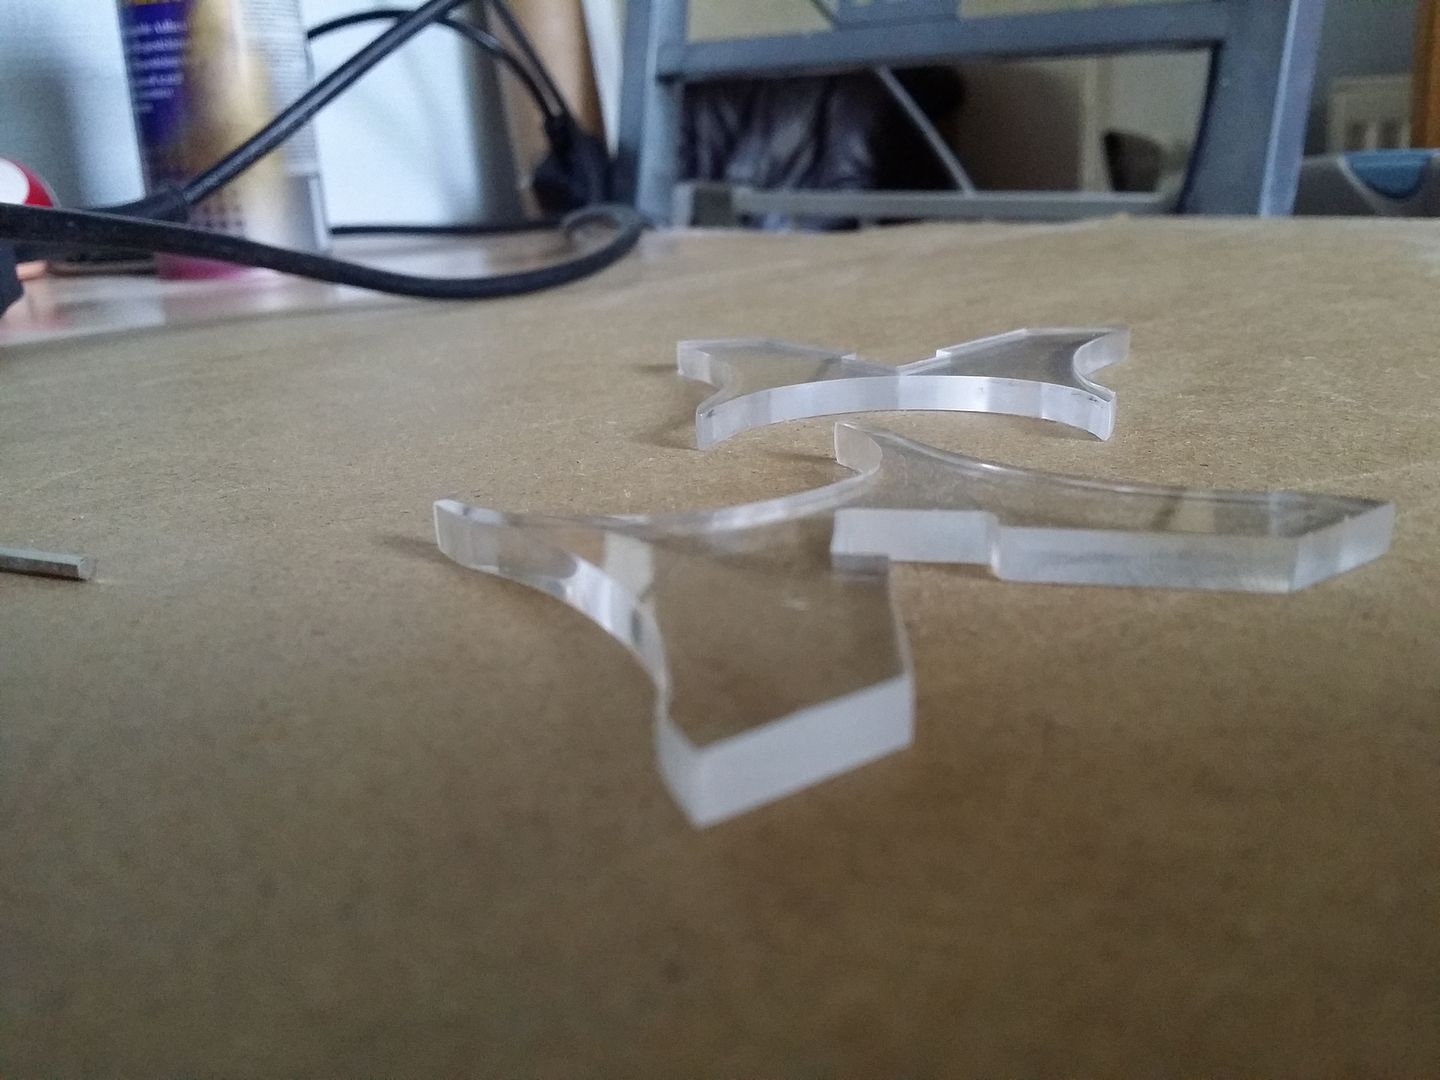
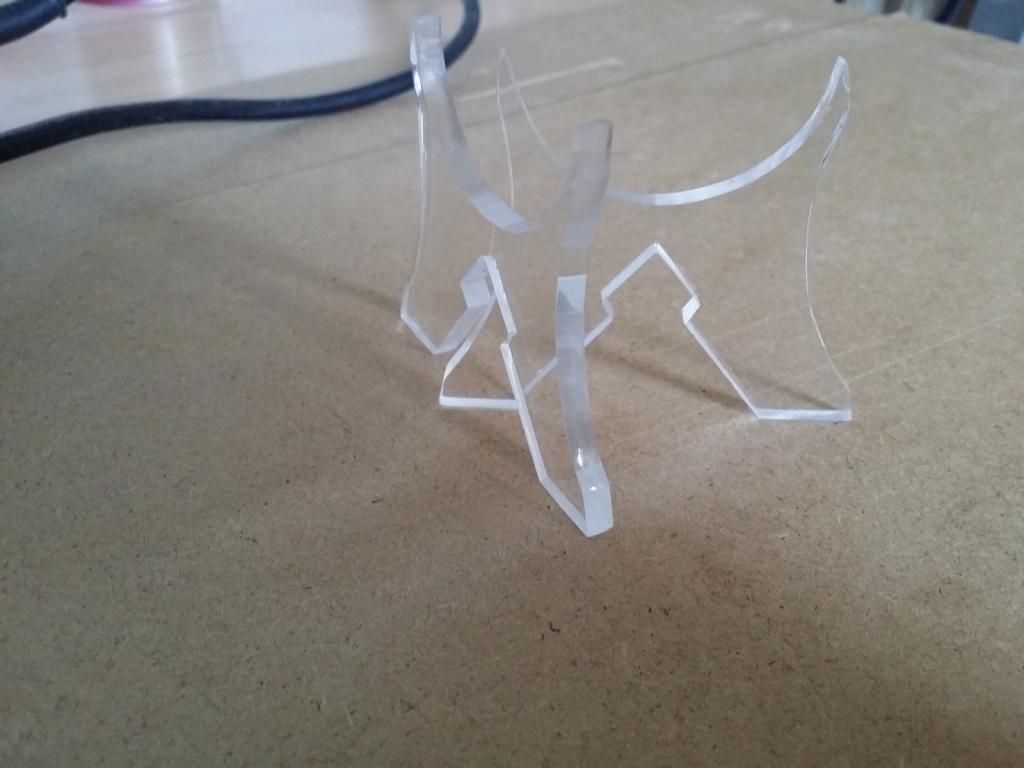
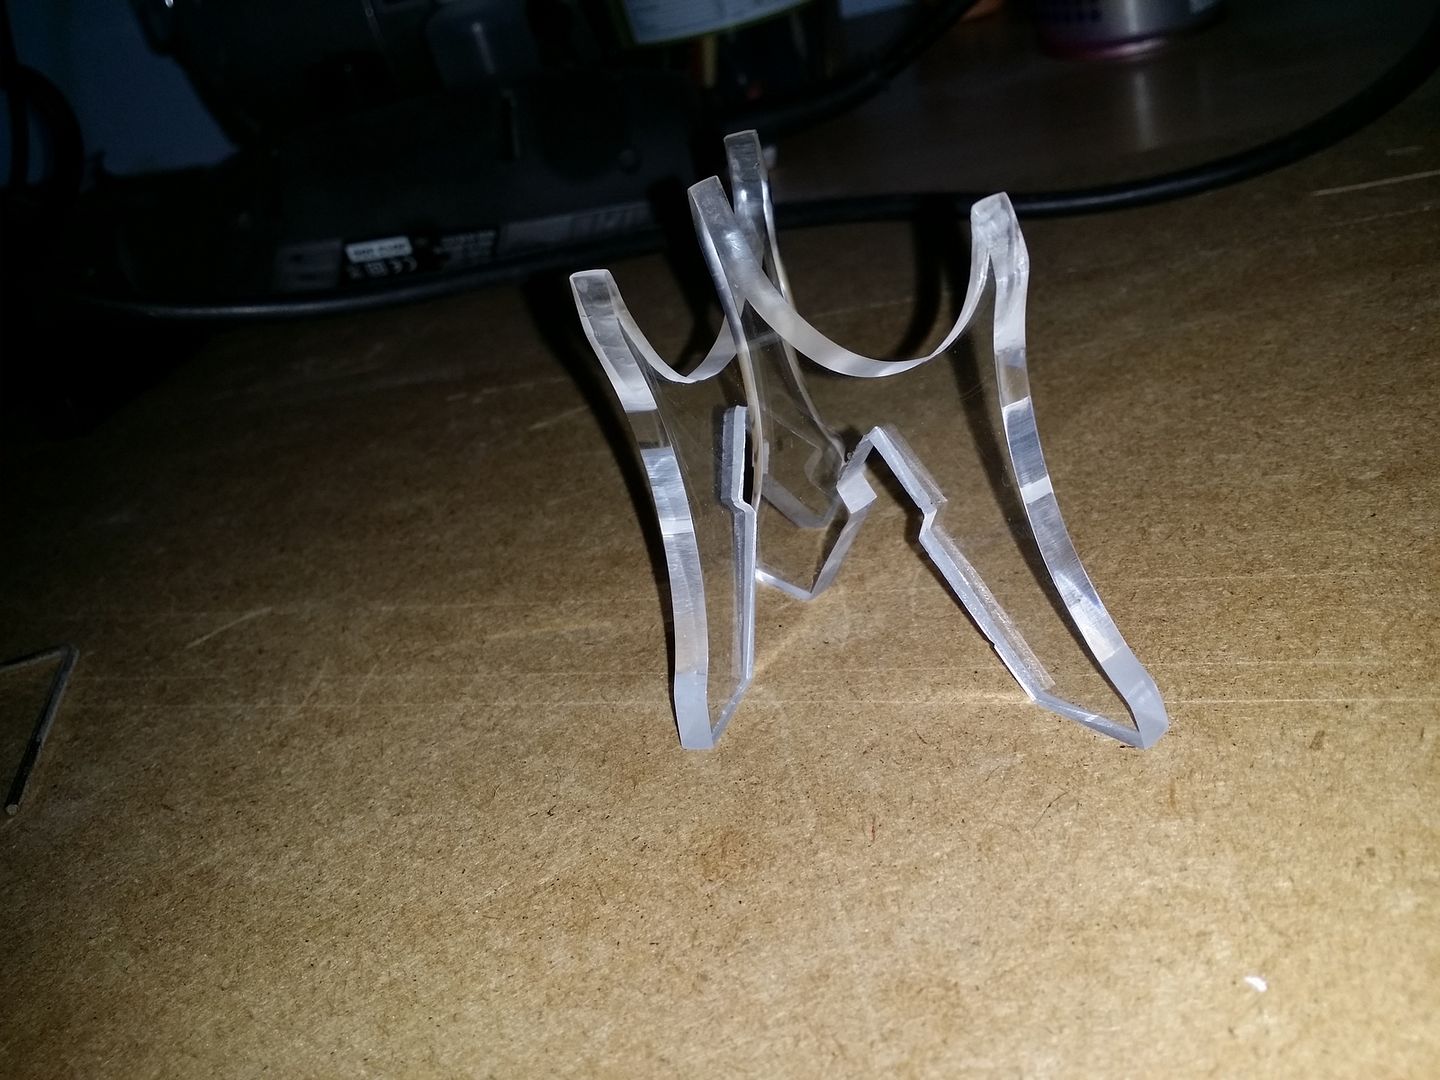
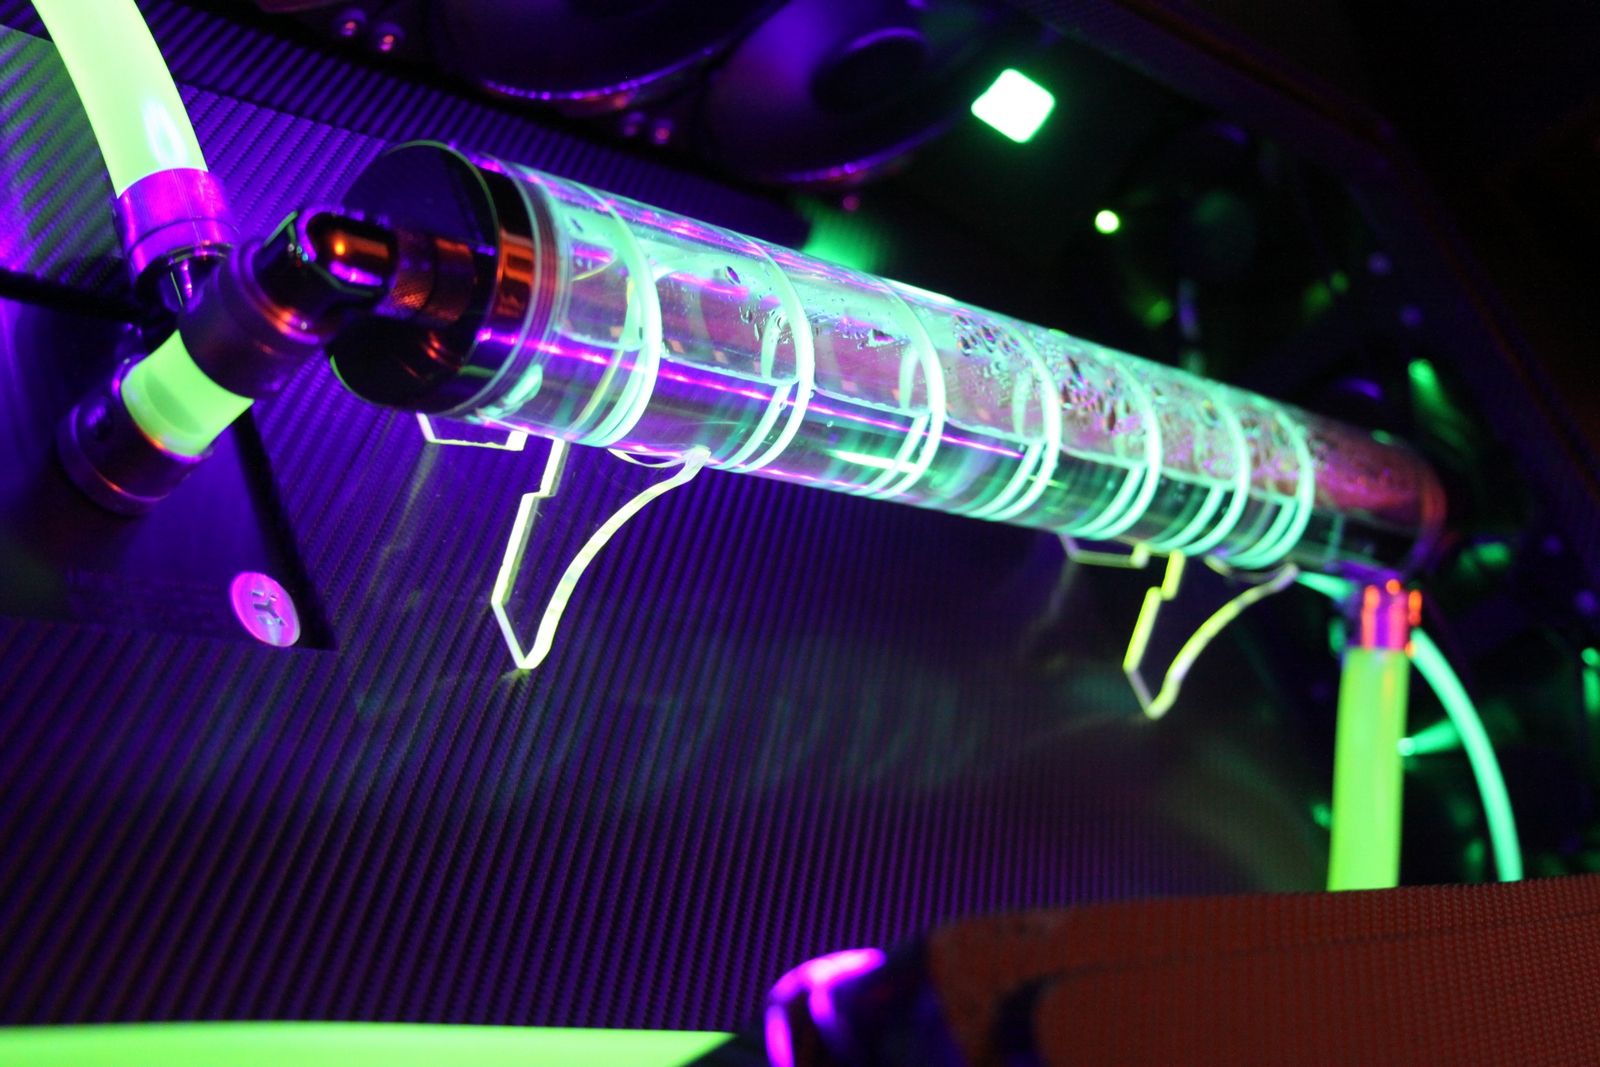
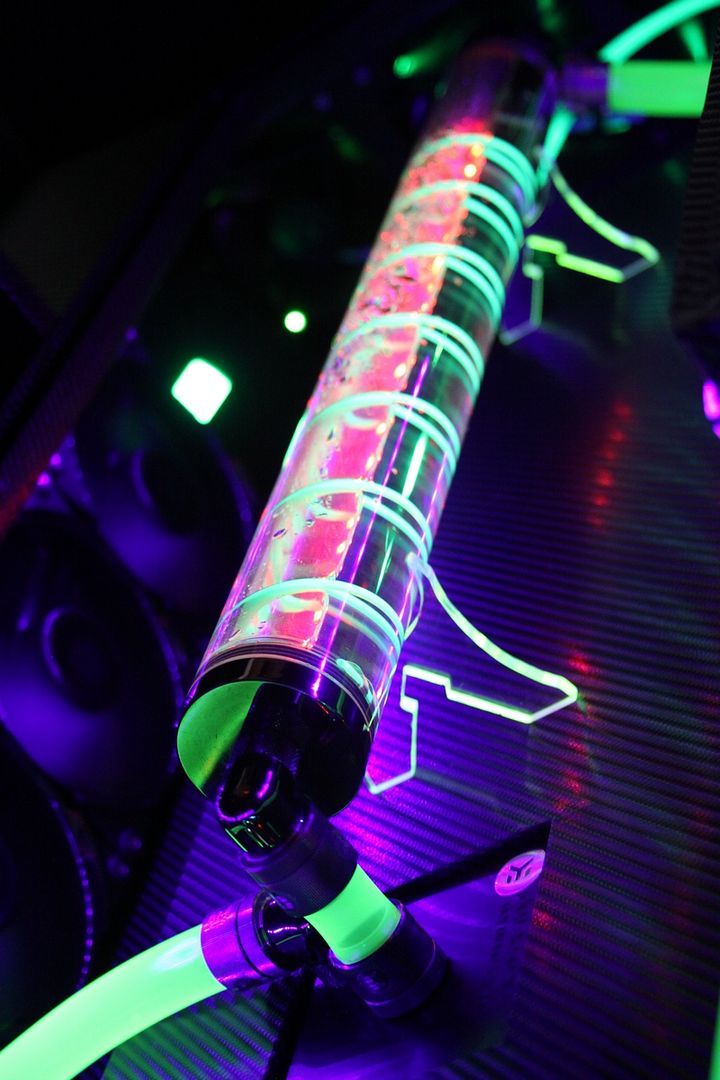
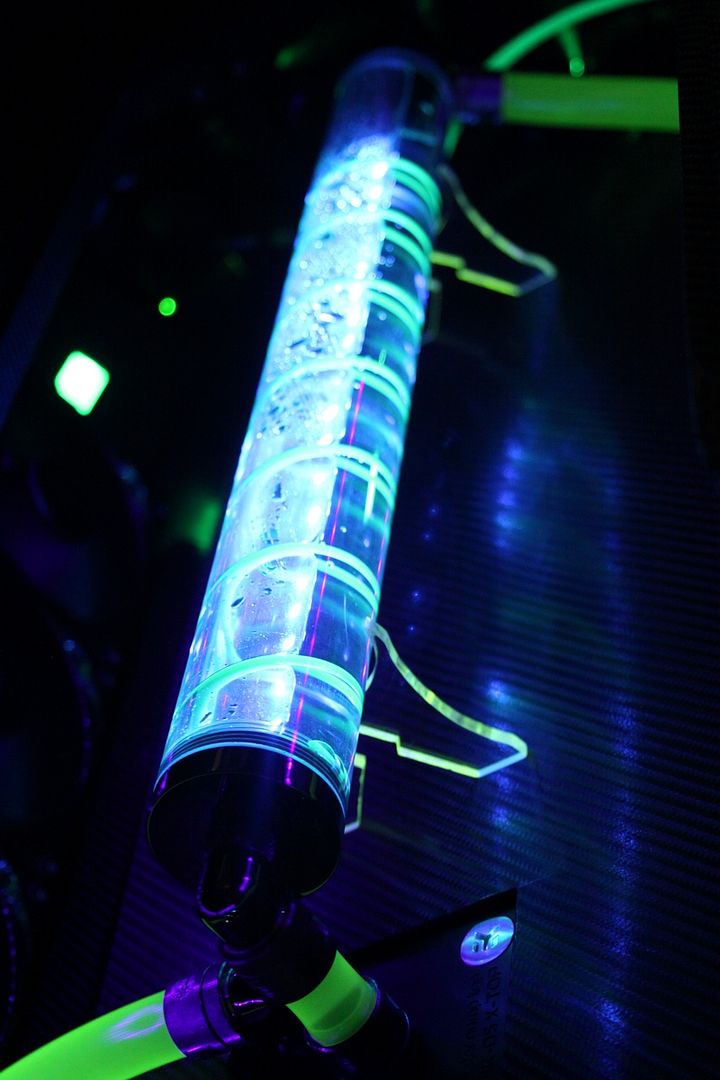
Finished my clear perspex RES holders, the inside groves are UV coated so they give of a green glow under the UV lighting, if the UV lighting is of they change to what ever color the RES is set to.

aad20140405_004545_zps2fc5f410.jpg


aad20140408_103409_zps0db889d9.jpg


aad20140408_173022_zps6e0b7c6d.jpg


aad20140408_172907_zps0a91f0a6.jpg


With camera flash on
aad20140408_172936_zps625ed459.jpg


aadIMG_3176_zps0d2518eb.jpg


aadIMG_3186_zpscfb4166c.jpg


aadIMG_3187_zps2e7d628b.jpg


Having another operation soon :( So im hoping to have this build done and dusted before the end of next week (fingers crossed)
 
You are one talented individual!
Thanks Jim
That is an awsome build , i didnt think it would work but now it really does look good. does having all that extra pipe work not mean the the cooling is hindered ?
thanks Leigh, no the cooling is working great, no problems with heat at all
made me want to push the CPU and GPU even more than i was doing :D
i was not to sure how well the D5 would pump the water around but its doing well & i have the pump set to 4/5 speed.
temps are a couple of pages back

That is schweet bud.

How do you fill and empty your loop?
Im finding this the hardest part in my desk setup.

To fill i use the RES, top right side has a hole i made sure would be available for filling,
as for draining i have done it once so far by removing the tube that's under the top right hole on the RES, then place the tube in a container as the tube is about 70cm long its not a problem,
then i lift the right side of the RES a little and push the water out using my big gob :D
or you could suck from the tube
 
Back
Top Bottom