Project MSI Osiris

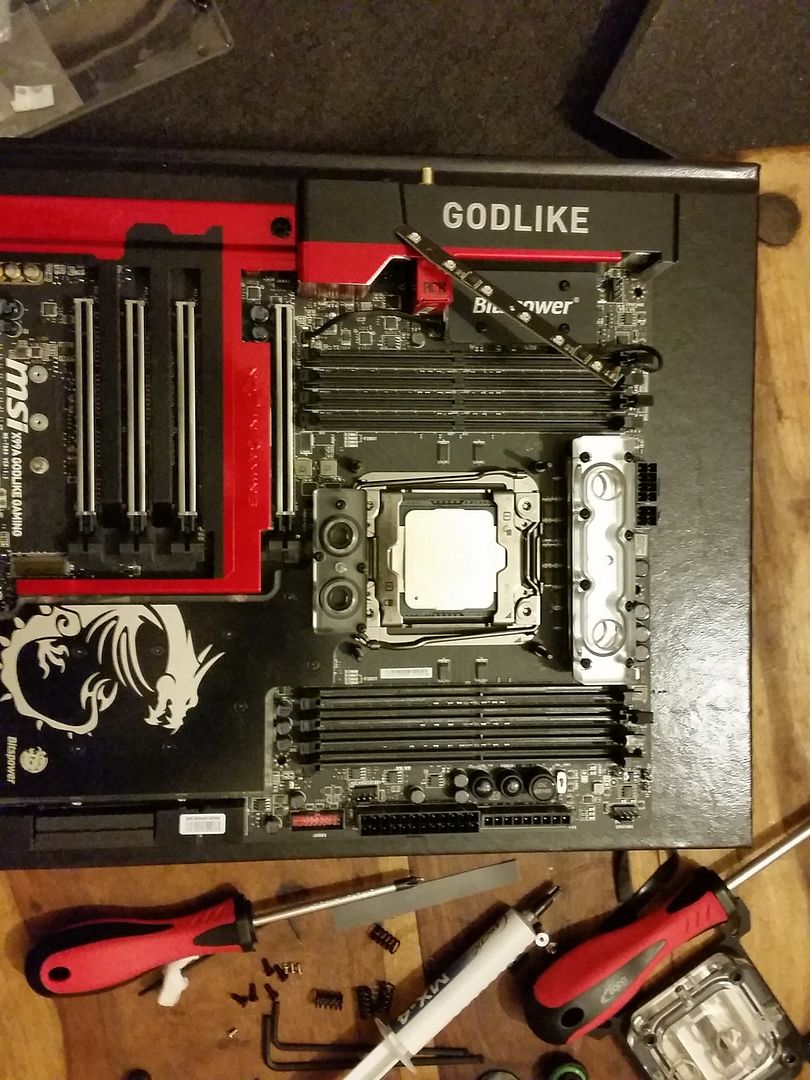
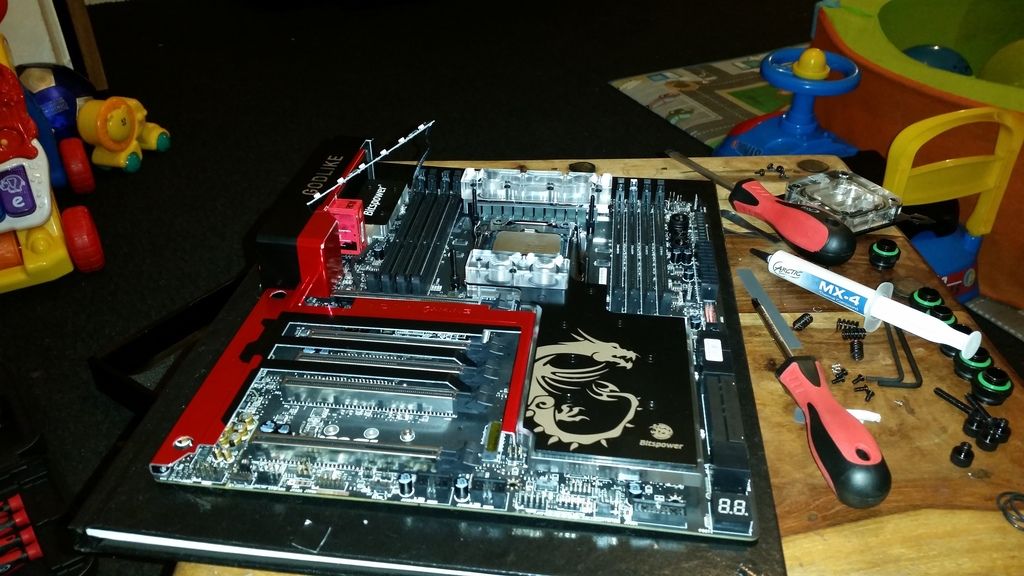
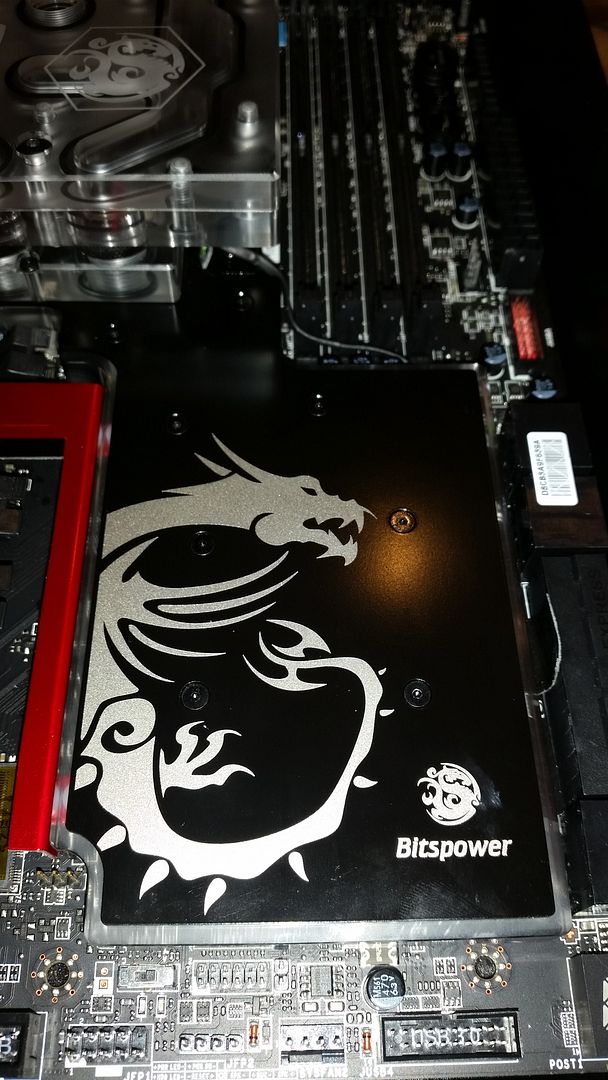
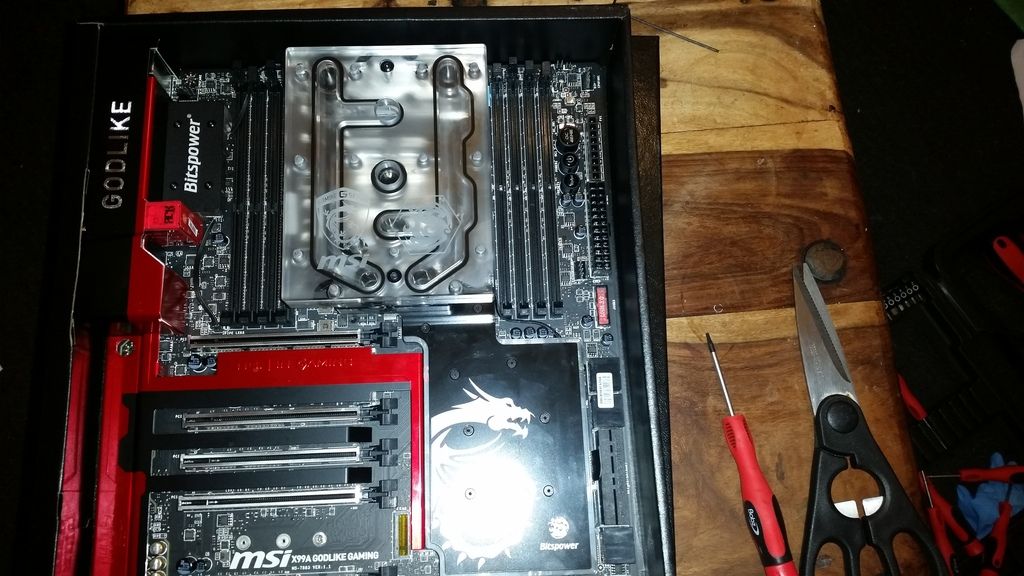
Those blocks look awesome :), going to make the board look damn good, and very much one of a kind. I'll be looking forward to seeing some parts go in and the build in general starting to take shape :).

I'm going to be doing a lot of the build 2 days this week , this is only because im a stay at home dad to a 1 year old boy and 5 year old girl (when shes not at school ). so it just means to do the build on the other halfs days off .. not looking forward to Saturday and Sunday and monday as shes working 13 hour shifts those 3 days so cant do anything over the weekend and start of the week , shes off Tuesday and then back in Wednesday but then off Thursday 5th but its my sons 1st birthday and shes off 6th, 7th, 8th ,9th so will use these 4 days to do all the hardline and planning of the loop and should be all finished for my birthday on the 10th .
 
That is one helluva nice box of goodies there! Bet you're chomping at the bit to get started ;)

Yes I would like to get it all done and dusted and all running nice a quiet and very cool .hoping this motherboard is all what it's cracked up to be specially the price of it and then the cost for the water block .thankfully bitspower put a very low invoice in for me for customs so it didn't cost me any customs at all when parcel force dropped it off .so not bad for £150 for a full cover custom block.
 
Will be progressing with this build starting tomorrow and over the next 6 days . and hopefully the build will be finished in 6 days . First will test the motherboard and ram by installing CPU and using the 120mm closed loop cpu water cooler that was used in my alienware pc and the one 980ti fanned card to test the build and fully install windows then once all up and running and happy i will then commence the build and take out the motherboard to fully install the full cover water block on the board and then put the waterblock on the 2nd card . lets hop the holesaw blades turn up before the weekend so i can drill the 2 ports for the EK pass through for the midplate .
 
Started the buid today testing the motherboard and with it not posting for a good 45 mins and then swapping ram over and then getting it to boot with my crucial 2400mhz ram with all 4 x 4gb ..I did notice one big problem with the testing ..THE PSU so so damn loud ..it's using full fan speed by the sounds of it ..I can hear it half way up.my stair case and im only powering a non clocked 5960x and 1x 980ti and 1 x 1TB SSD ..and the 120mm rad with Built in heatsink and pump out of the Alienware . I mean this thing is really loud and then i plugged all case fans in and the psu fan drowns out the 8 fans that will be on the rads . Is this a defective unit or is there a way in getting that fan rpm down .

It's the EVGA 1600w G2 supernova
 
PROGRESS !!

Sent PSU back . will wait on RMA and hope they keep to there word on the upgrade to the P2 version for thr extra £50 . EVGA said that its abnormal for the fan to be between 85-105db ..and shouldn't be that loud even on full load .

I have taken pics of the customization of the case I.E the 120mm rad on the back of the case and not inside so it shows the full motherboard but they are all on my SLR . will take those off in next few days .

here is photos off my phone of the motherboard with full cover water block and what a pain the back side to relocate the LED's as they dont give you instructions on where to locate them . so had to do the best i can and i have powered the board and im happy on the locations . for now .


been plenty of ups and downs with this build and nearly gave up on it a few times due to parts going back , parts not being in stock and waiting forever for parts to arrive .. hopefully with the change in plan to put the drain put as flexi tube below the mid-shelf will make the instal a lot easier . just . it all about fitting it all in now and a few drill holes here ans there for hard drives . and should be done with time not on my side around or just after the weekend .
 
Looks great! :). Block looks sexy as on that board cant wait to see it installed and all light up :D. An EVGA PSU making that much noise i would have RMA'd it aswell no way it should make that much noise on idle.

I would put flexible underneath in your situation. Measuring and bending hard line under there is going to be extremely difficult, or atleast a lot of extra effort for something your not going to see.
 
Last edited:
Some more progress photos of what I've been doing these past few days .

Motherboard testing .


out comes the dremmel to cut away the fan grill to fit the 120mm Rad on the outside of the case .


I have ordered another backplate for this so it will be all clean and all i have to so is step drill the 2 holes for the rad as , the new one will be blank and not have the hole for the fan so all you will see is 2 hole with the 2 ports for rad and rad will only be seen from the outside .


To fit the fan controller and have it flush with the drive bay covers took a bit of work , and in the end i settled for a clamp like effect . and the same for the LED controller from aqua . the SSD Plate from cold zero will hide the mess i made lol


trying to get a screw in on the edge of the case was just a bit to hard and the it just made a mess .

This is what i used .


to make the fan and led controller flush with the case and drive bay covers .


my drain port sorted at the rear of the case and i have now decided to have the fan on pull config blowing the hot air out the case .

 
Last edited:
WHy do you need that extra 120 in the back of the case when the 900D has so much room for raidators?

Gotta love the Coldzero hardware though.
 
its not in the back of the case its out of the back of the case , but i get what you mean , its didnt cost a lot to do the 120mm rad at the back and whats wrong with extra cooling . with the loop it just means it goes from res-pump-bottom 480- dual cards-120 rad -CPU-top 480 rad -res . plus the CPU will be at around 4.5ghz when gaming and cards at 1500mhz at least . i didnt want to buy a 240 or a 360 for the front as that limits me to put 3 x 3.5 hard drives at the front bottom of the case .
 
Well I RMA'd the PSU this week and it's taken the company I bought it from all week to say yep the fan is spinning to fast ..I say from day 1 thst I would like to upgrade to the P2 version as this way if the fan does do my head in I can turn it off and just use it in eco mode ..Some might say why not the 1200 p2 ..well that's becuase I don't plan on upgrading the PSU for 10 years and if other graphics cards in the future may it be 2 3 or even 4 way sli then at least I have the psu to back it up .anyway back to the RMA ..They take the extra £50.40 over the phone yesterday and even though if you purchase today they send out for next day delivery as that's what I was told ..I spent an hour in there chat system and them 30 mins on the phone with them and they stating the payment hasn't been processed yet ..haha so why is it been allocated with my bank then ? ..They wouldn't answer me ..I have to say I think they are really rude. And not only that I've been chasing the RMA via chat and on the phone all week as there online returns tracking does not work and just says error ..I had the email regarding the completed RMA on Wednesday and took payment yesterday and now I'm being told it won't be sent out until some time next week ..what the hell ..everytime i have sent something back to that company they just don't care about sorting it out .where if I had bought it from here I can track the RMA process and be told what's going on ..here is one comment I had over the phone today ..."It will be processed when it's processed , you will just have to wait like everybody else sir" ..In mean they take the money and say it will be sent out for tomorrow delivery (yesterday)..no updates and no emails ..just 1 email saying RMA was complete ..not the promise of emails when it's arrived for testing ..I will never buy from that company again and I will just buy everything from overclockers and I should have in the first place . Rant over ! Will have to use the Alienware PSU to bleed the system through like I did to test the board after I fitted full cover block .
 
Last edited:
Some more work done today , When the new backplate came yesterday (friday) it came in bit's and i really was not impressed. so now i cant plumb it all in and not do the work that i wanted as the rear 120 rad has to be taken out and then 2 hols for the ports to give it the clean look . im also now going PWM fan for the rear exhaust .

here is what i did today , i have done more but haven't taken photo's yet .

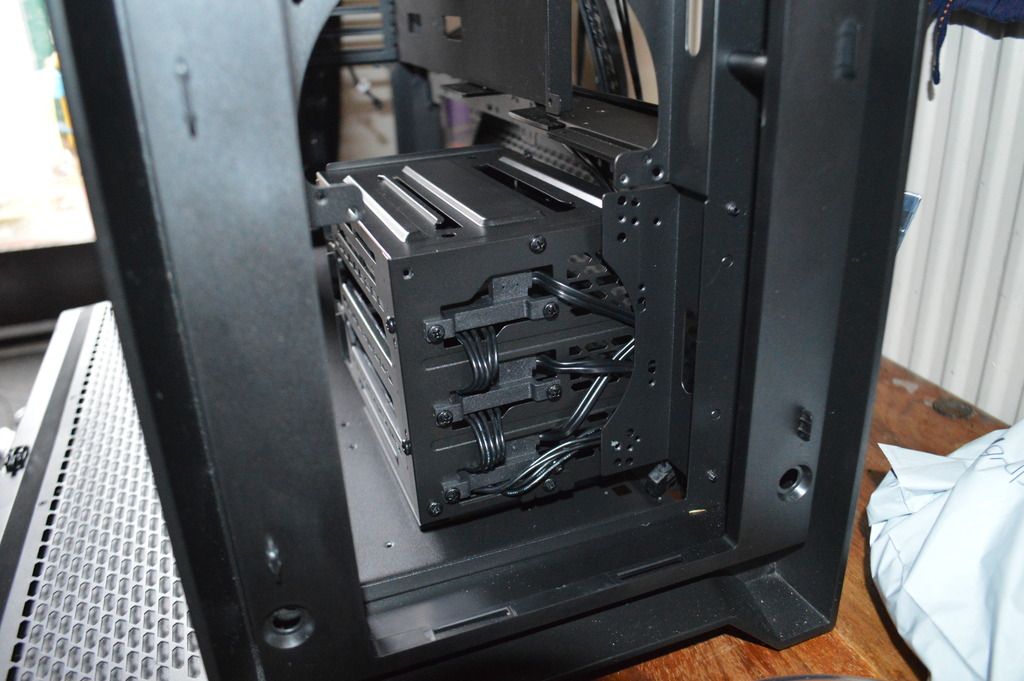
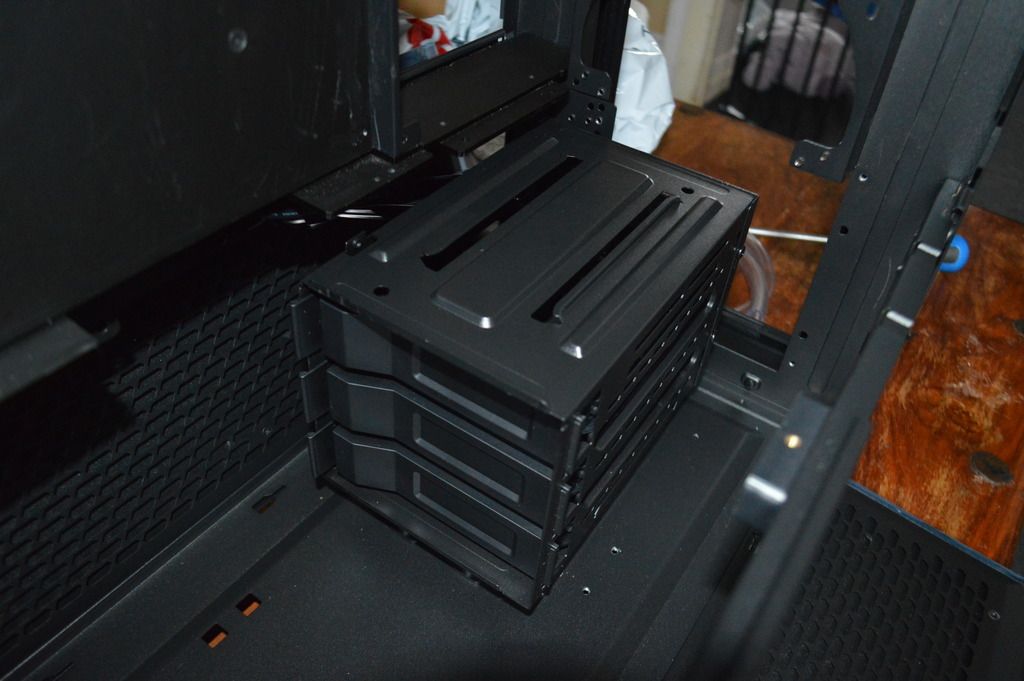
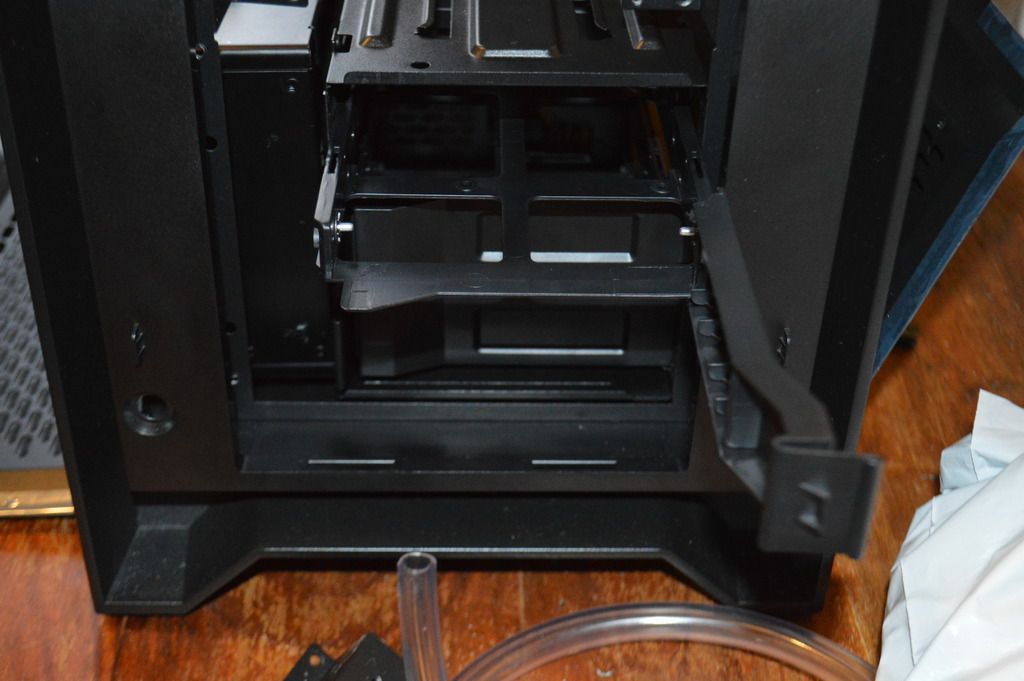
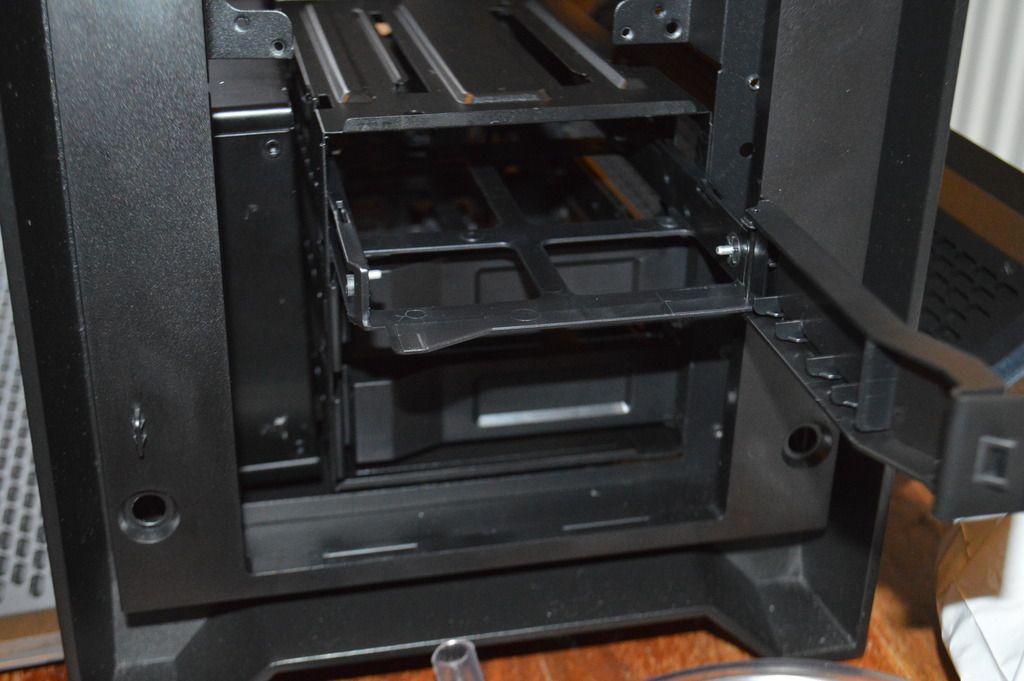
Experimenting on where to put the hard drive cages with the hotswap cables .


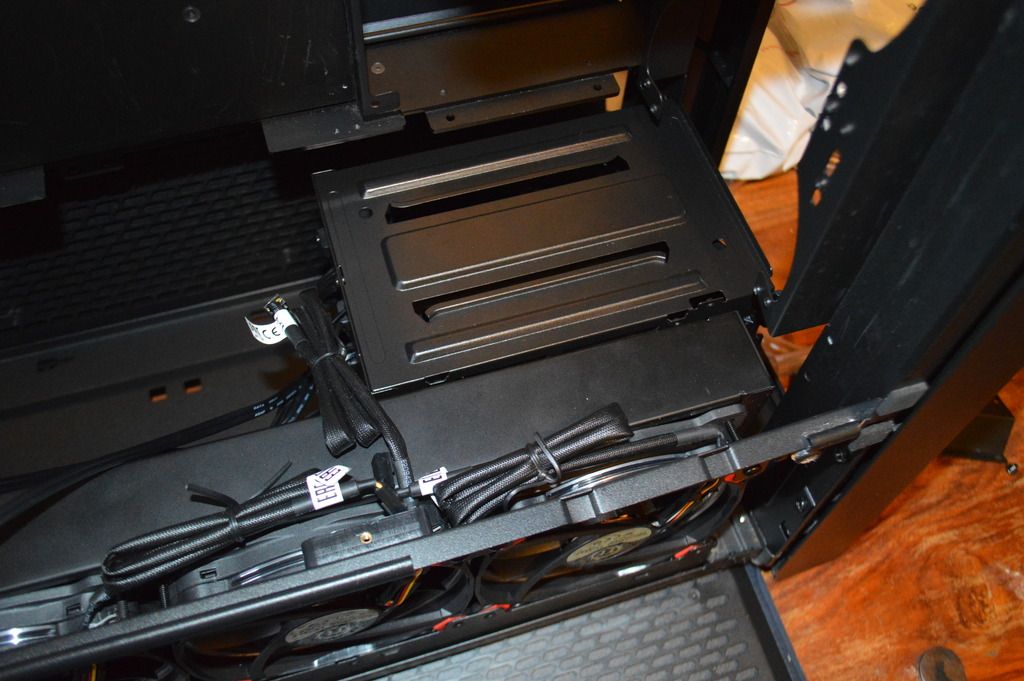
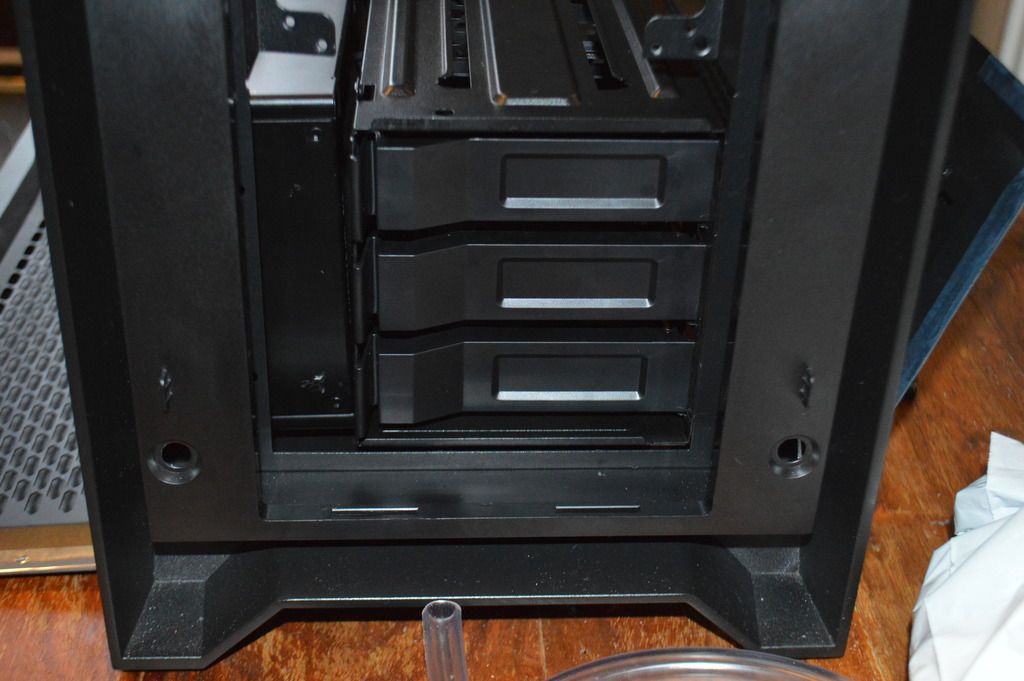
I was not happy with the location as when power supply is in i would be restricted and not able to remove the drives so i turned the cage plate around and moved it closer to the front and took a risk and guess without meqsuring to see if i could do it and put that 480 rad in beside it .

before


AFTER .

this is what i ended up and and i had about 6-7 mm spare and will put some rubber in-between so there is no touching and vibration .


and plenty room to put a 120mm fan in to cool the 3 hard drives .


DRAIN PORT and REAR EXIT


I have done other work but no photos , will be doing more tomorrow .Dont worry on the marks on the backplate as ive decided to carbon wrap most of the cold zero parts if not all.
 
Last edited:
This will be complete in a couple of days things just got tied up with family ..I have changed a few things ..I have ditched the rear 120mm rad is it don't need it .I've already wasted a meter of tubing as I couldn't get it right and didn't know why it was looking like cobra neck lol ..but I think I know now what's up and will be doing the build tomorrow and Monday if it's not finished tomorrow ..I have also changed the drain port as now I have taken the back plate off the case as then I can see if there are any leaks down there ..as with it on I really couldn't see if I will leaks and wasn't waitin for it to drip down on to the table all becuase i have a mid shelf covering the power supply and bottom rad ..I have now relocated the pump and is now secure behind the hard drive cage and it's screwed in and can not move,with this it looked neater just having the 250mm res just hanging on the motherboard tray with a L bend going into the shelf down into the pump ..hopefully I don't get no vibrations. Will add more pics later .
 
Last edited:
I did cover the motherboard plate from cold zero with carbon fibre but I think it's to common so now changing it to black brushed aluminium which has a nice texture to it and with all the lights thats going to be in there may give a nice reflection off the vinyl.
 
I did cover the motherboard plate from cold zero with carbon fibre but I think it's to common so now changing it to black brushed aluminium which has a nice texture to it and with all the lights thats going to be in there may give a nice reflection off the vinyl.

Yeah I reckon that'll look better mate. Looking forward to seeing it.
 
Back
Top Bottom