Project: RB

Associate
Joined
16 Feb 2010
Posts
554
Location
Oxfordshire
So, it's that time of year again, where I feel the need to start a new project.

Some of you may remember Armour V2.0 from last year, and I'm hoping to build on what I learnt doing that project and my original project (which never got completed) to make one ubertastic pc.

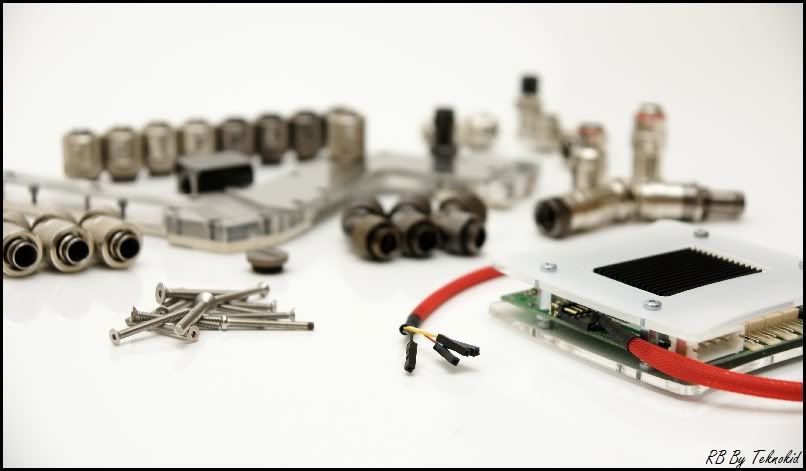
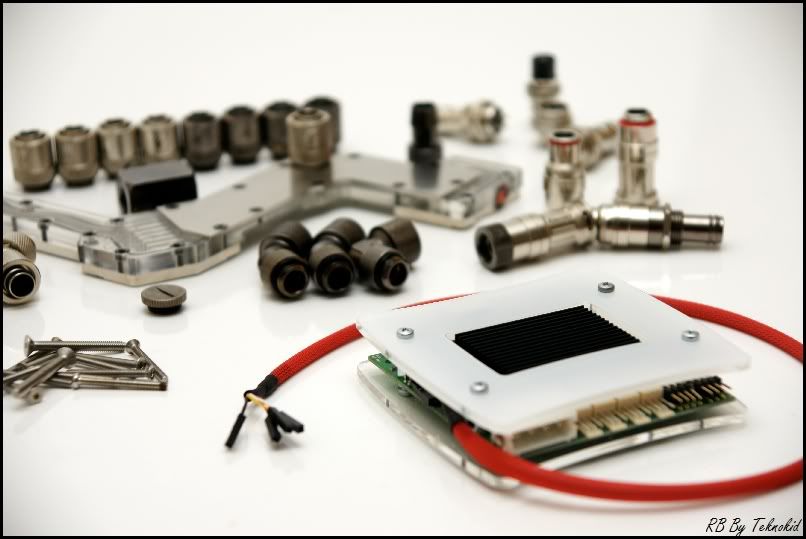
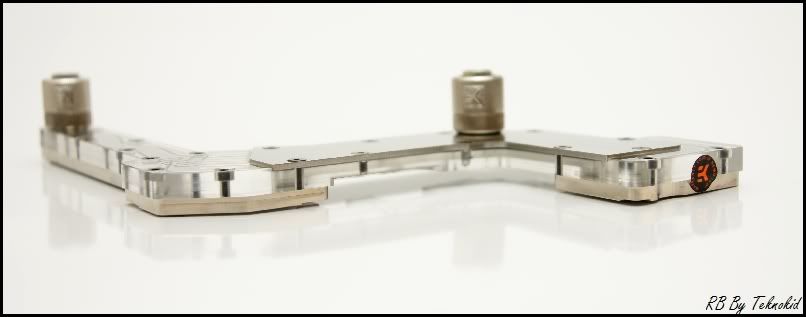
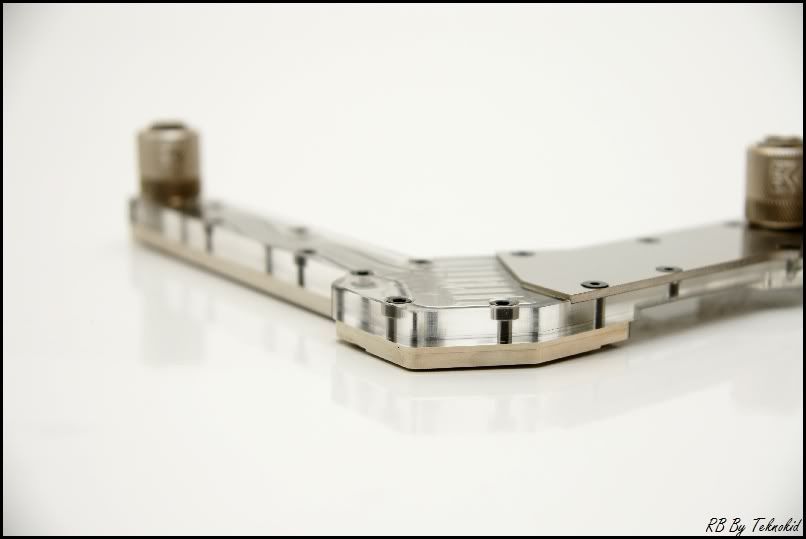
Nothings gone far yet - heck I havent even bought the case! But, I thought I'd post up some teasers.

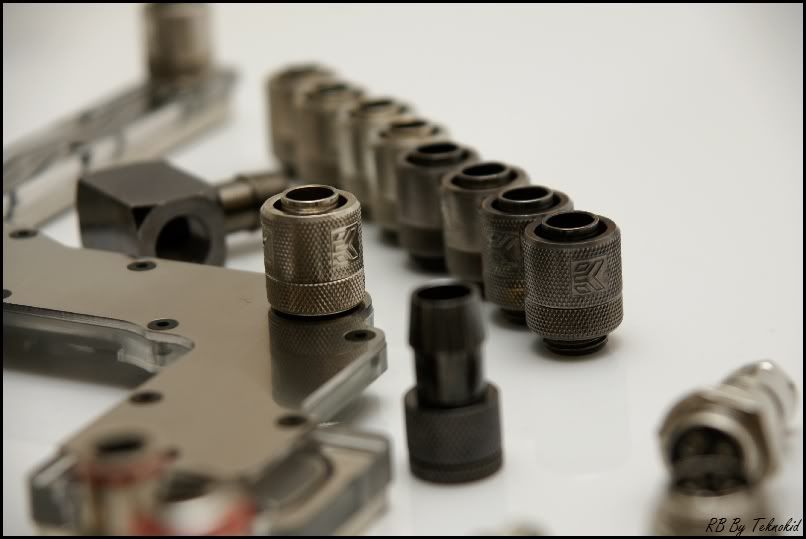
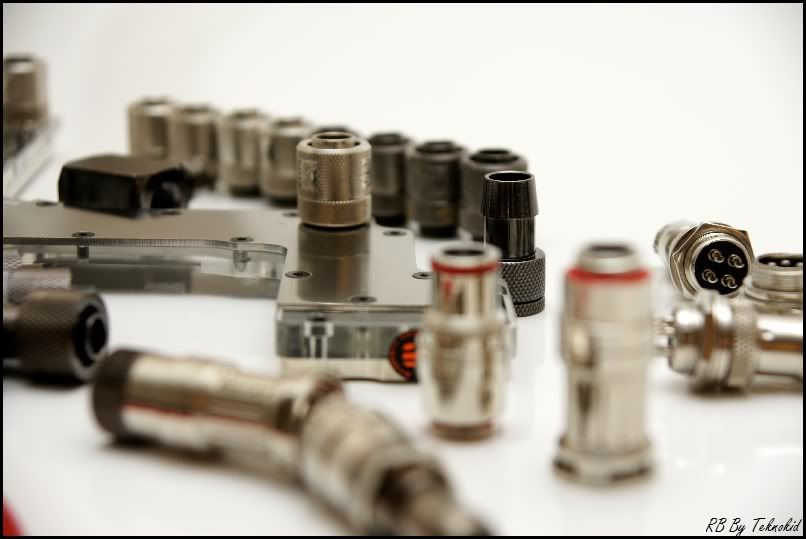
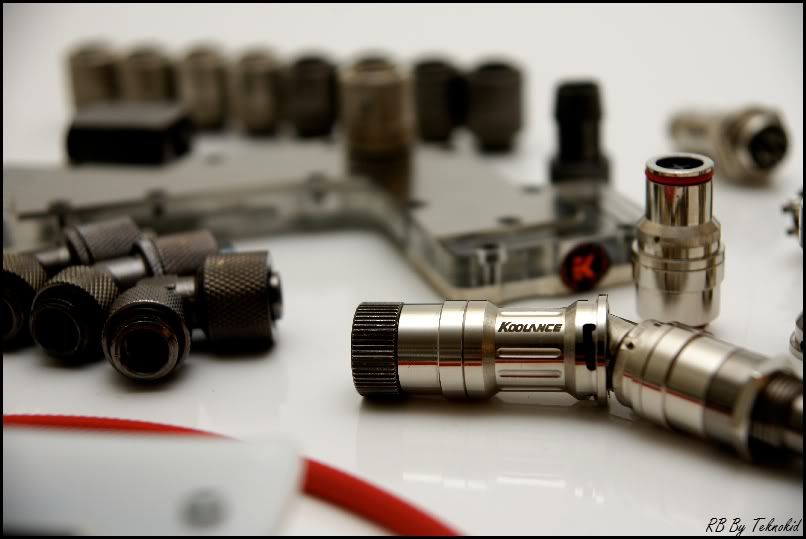
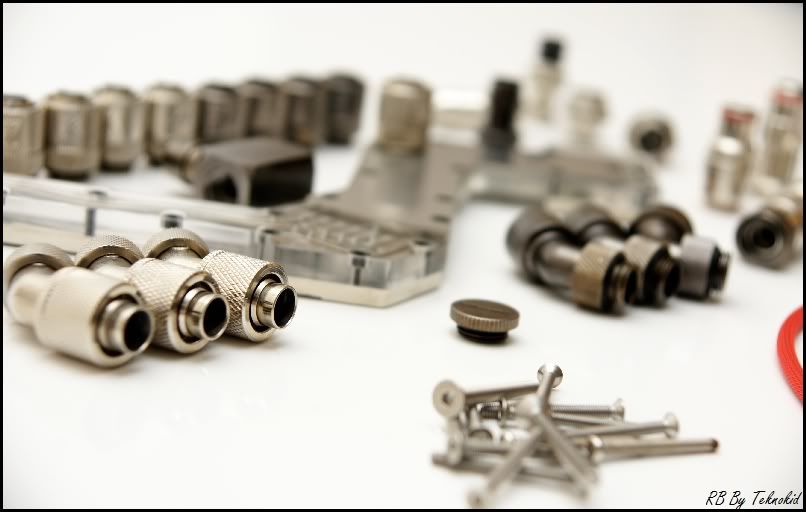
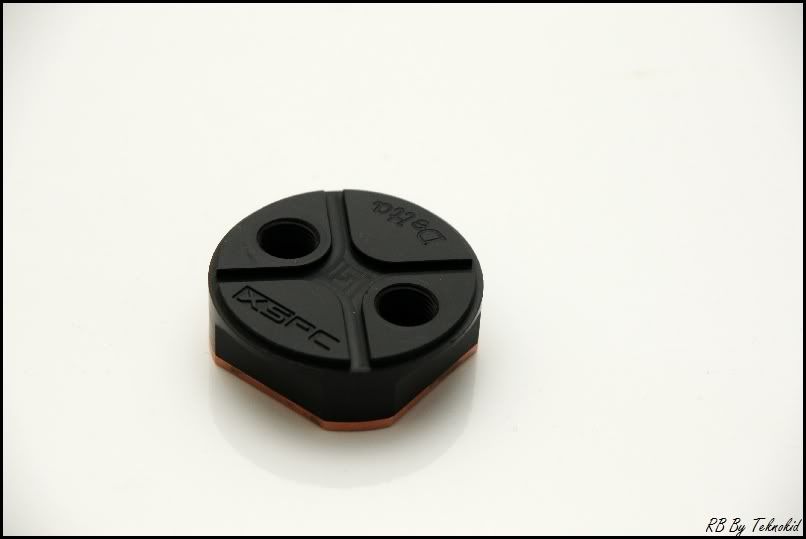
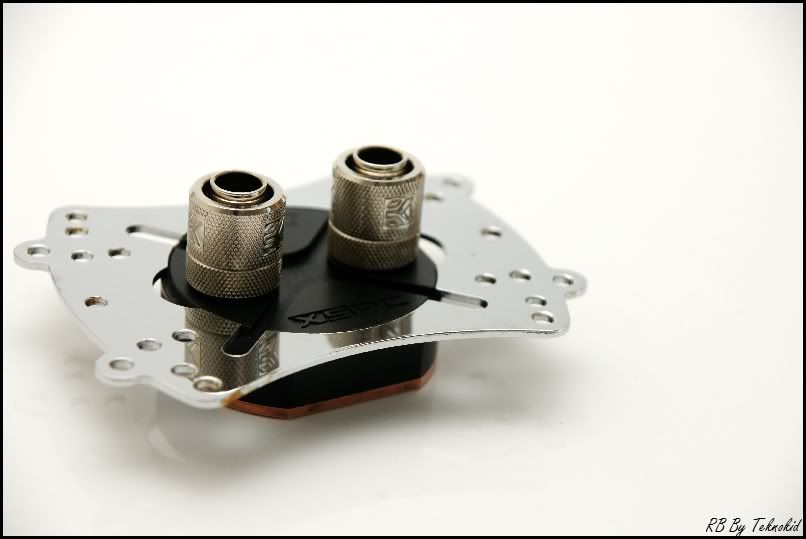
Big shout out to gcwebbyuk (bit-tech) for chucking in a load of extra barbs with the CH4 block I bought from him :rock:

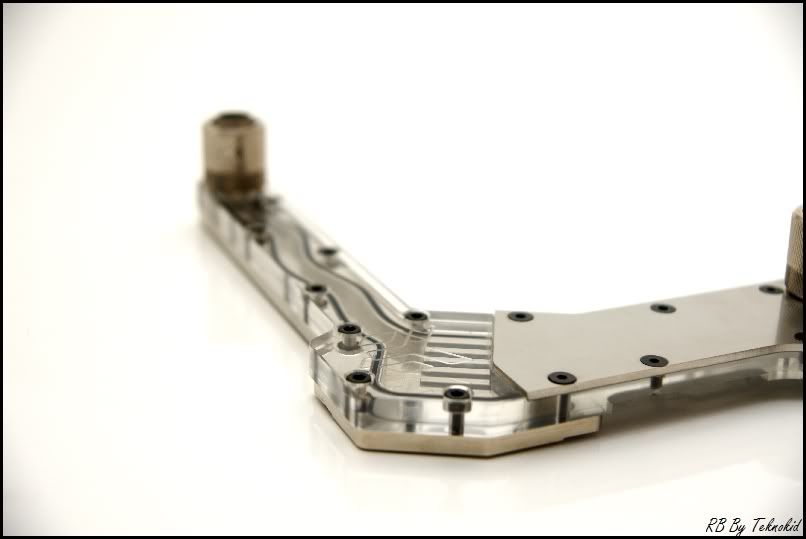
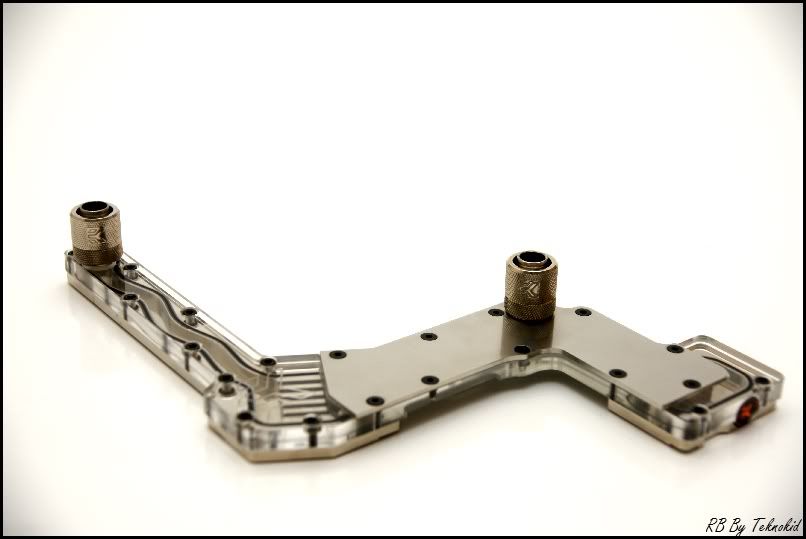
Anyway, enough talking, here's some pics of the bits and pieces I have already:
DSC04382.jpg

DSC04379.jpg

DSC04378.jpg

DSC04377.jpg

DSC04376.jpg

DSC04375.jpg

DSC04373.jpg

DSC04371.jpg

DSC04370.jpg

DSC04367.jpg

DSC04366.jpg


What do y'all think? Ill try and update it as and when parts come in..
 
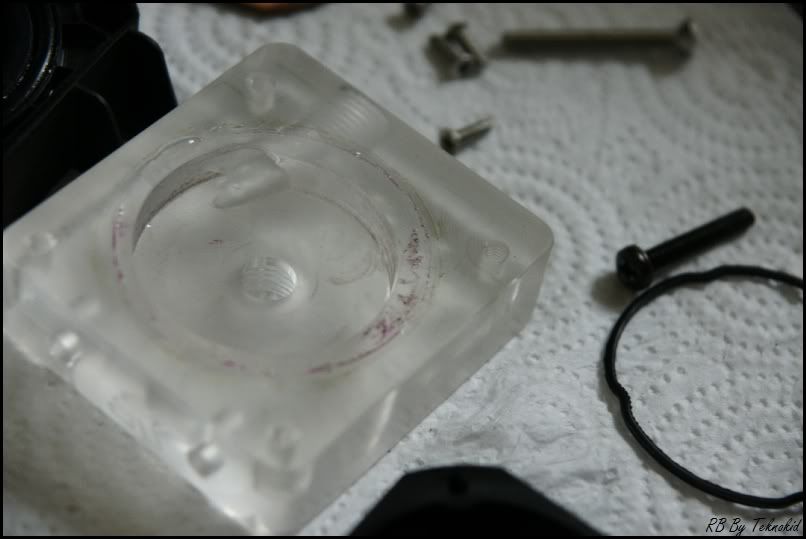
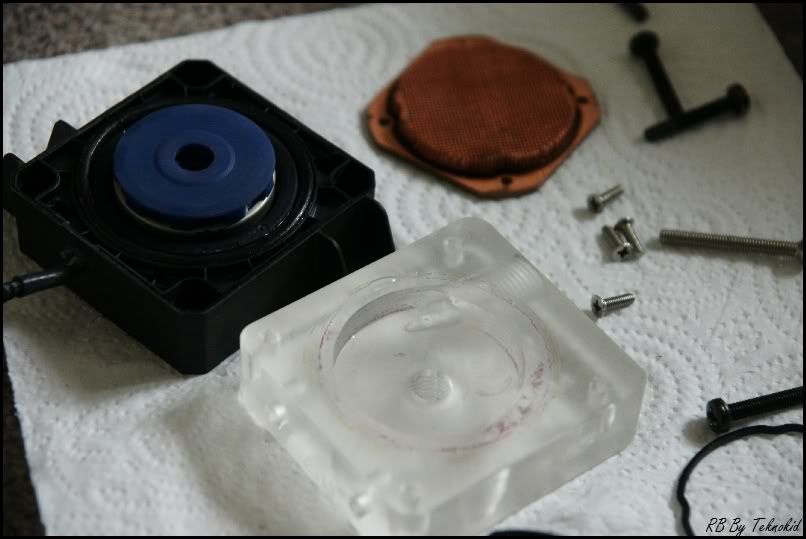
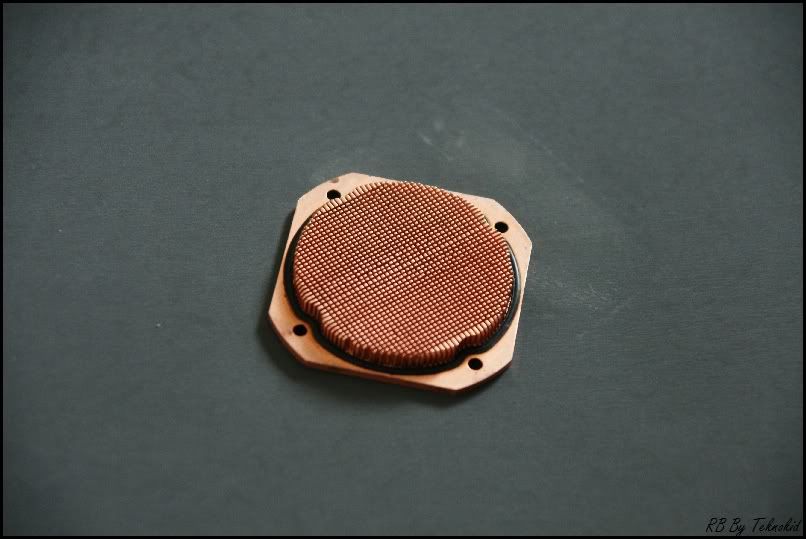
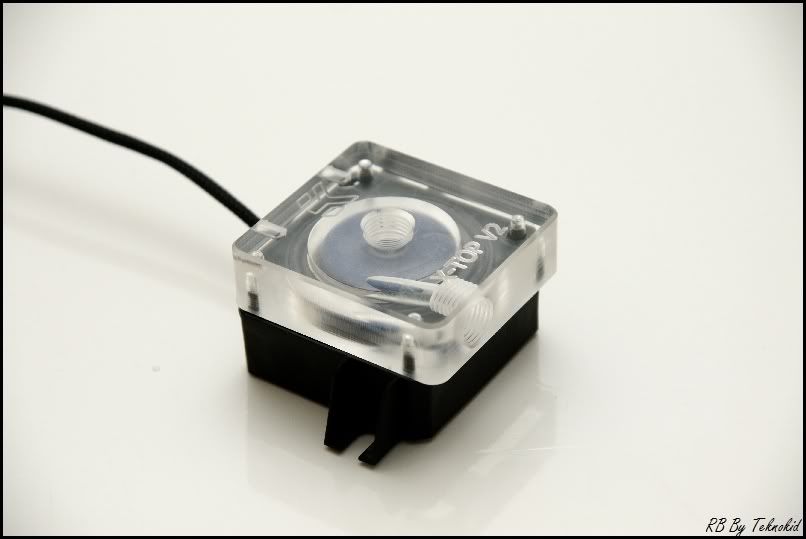
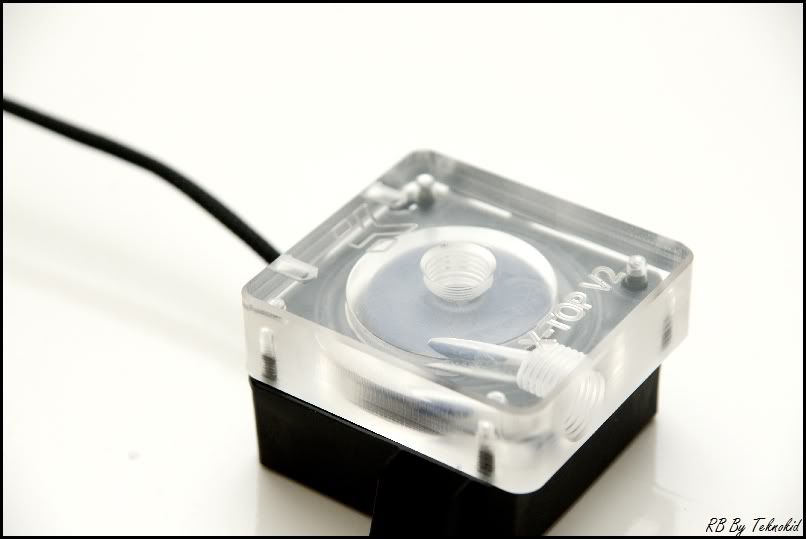
I received some more goodies in the post today. They'd all seen their fair share of usage, so I got the rubber gloves, ketchup and distilled water out and gave them all a good scrub. In particular notice the purple gunkyness on the pump - this was actually really sticky and a pig to get off.

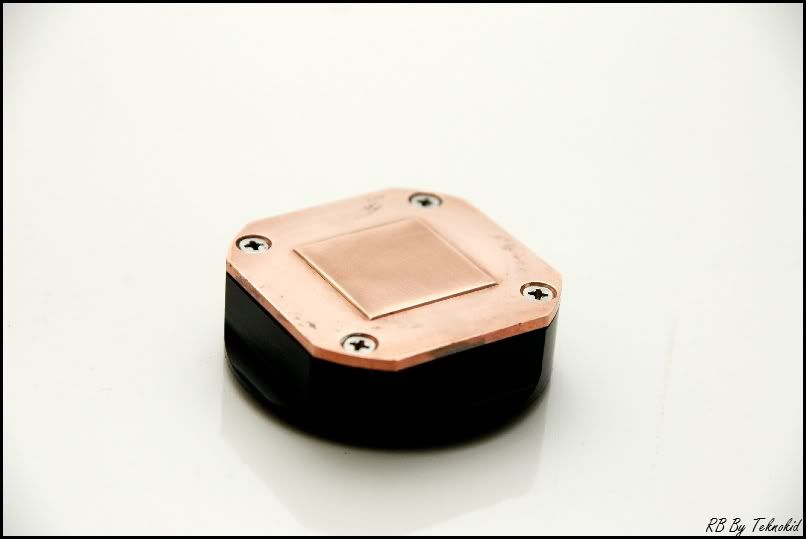
Anyway, what do you think? I also gave the bottom of the CPU block a quick sand with 2500grit, didn't quite get the shine I expected but improved it from what it was before.

DSC04384.jpg

DSC04386.jpg

DSC04389.jpg

This was after 40 minutes with the ketchup - it was all oxidised before but the ketchup worked a treat and it was no more!

DSC04390.jpg

DSC04392.jpg

DSC04394.jpg

DSC04399.jpg

DSC04402.jpg
 
Last edited:
It seems like an absolute age since I've updated this log - I've been snowed under with exams and reviews work, but at last I have an update for you.

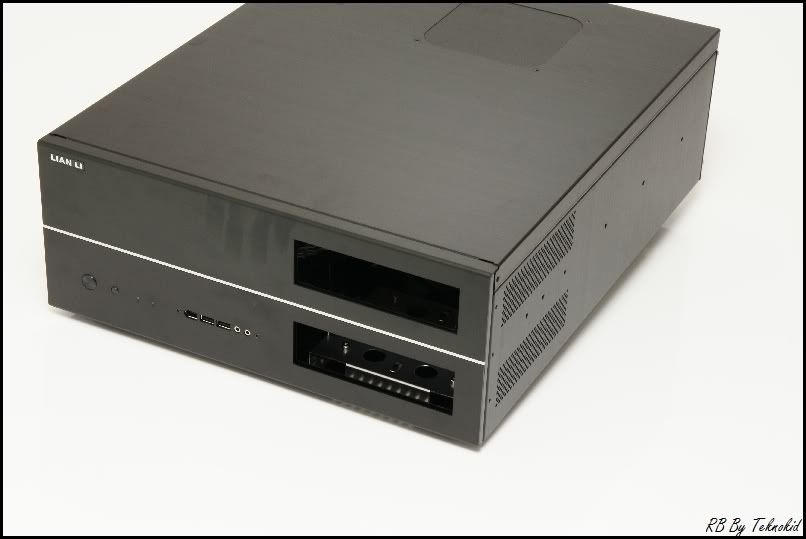
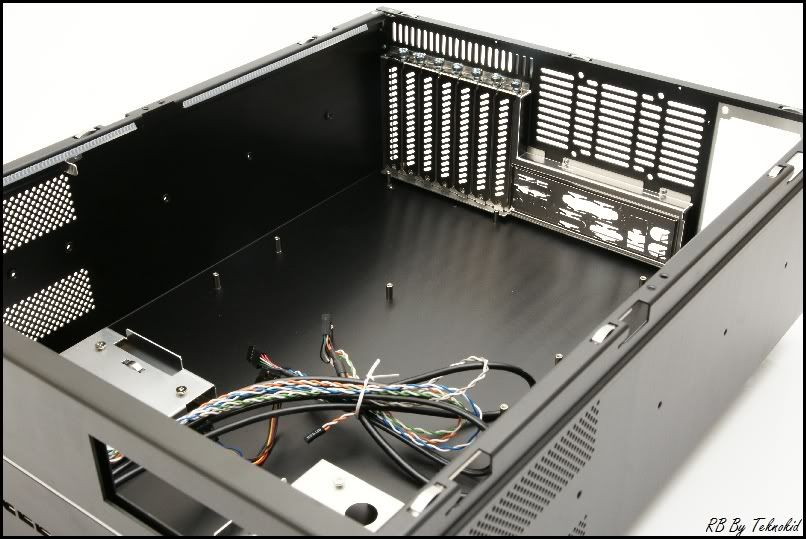
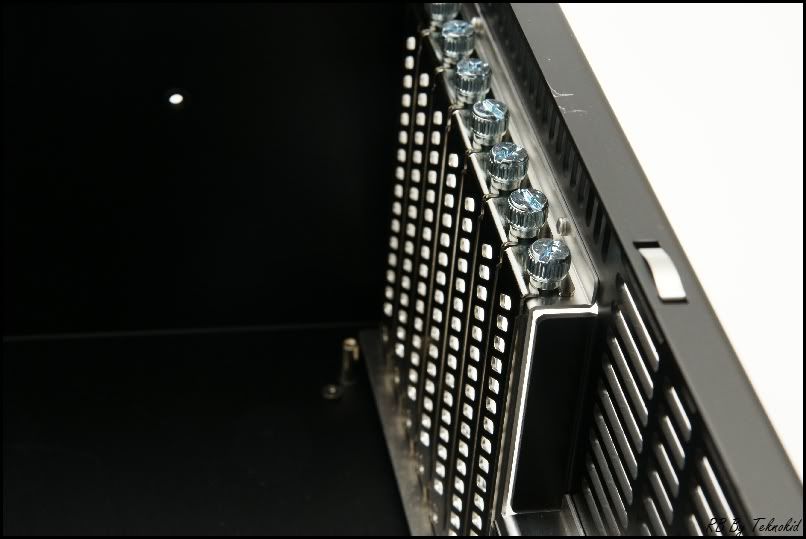
Unfortunately it's not as complete as I'd like, as I didn't have time to photograph everything. Instead, I've only got some shots of the case semi-stripped down. Over the next couple of weeks I should have the time to strip it down completely and reveal something that has quite literally taken me hours of CAD time...

Anyway, some pics:

DSC04725.jpg

Excuse the hand print!

DSC04727.jpg


DSC04728.jpg

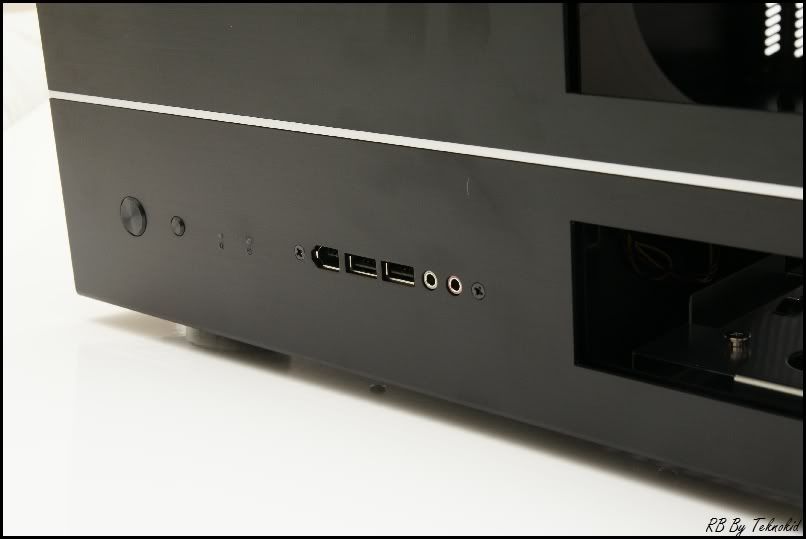
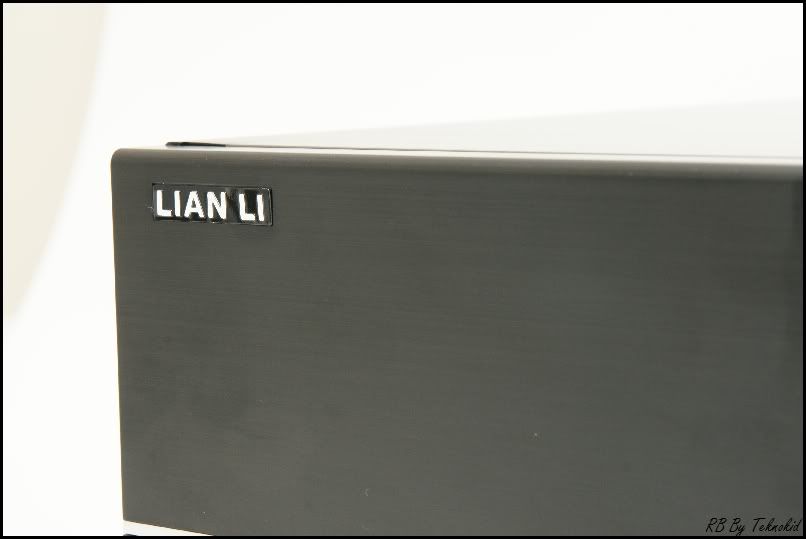
Not what you expect from Lian-Li - the case badge arrived half fallen of and there was quite a few scratches in the anodizing. Fortunately they're nowhere noticeable, but for £150 I expected better!

DSC04729.jpg


DSC04730.jpg


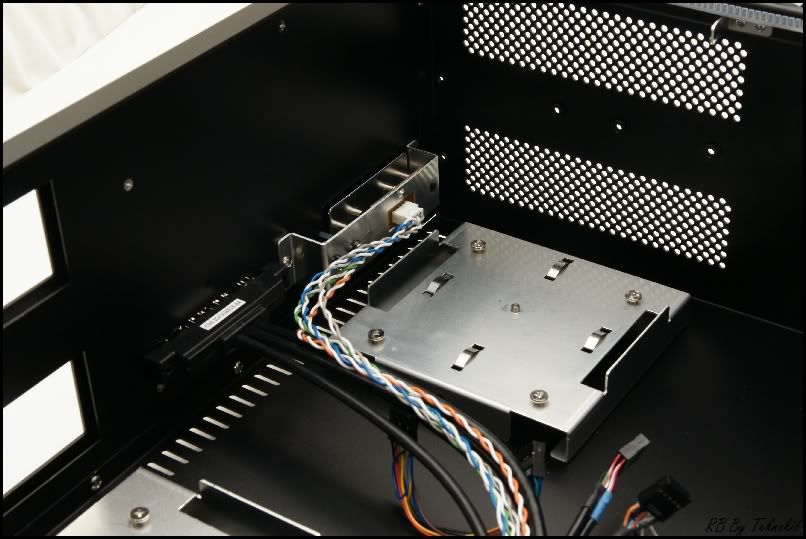
Just a little hint - the stock brackets for the HDD cage will be going, as will the mounts for the 5.25" bay - I've already fabricated my own mounts, but you'll have to wait to see them :P

DSC04731.jpg


Anyway, what do you all think? It's not a case I've really seen modified before, but as it can hold an ATX mobo yet it's still fairly small it fit the bill perfectly.

I hope to update ya'll soon!
 
I felt a little stingy with what I posted yesterday, so made some time today to update you all on what I've been working on.

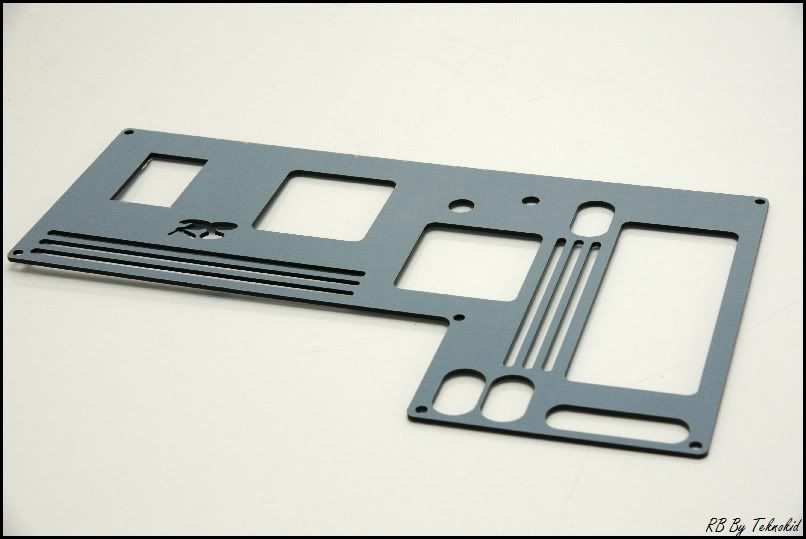
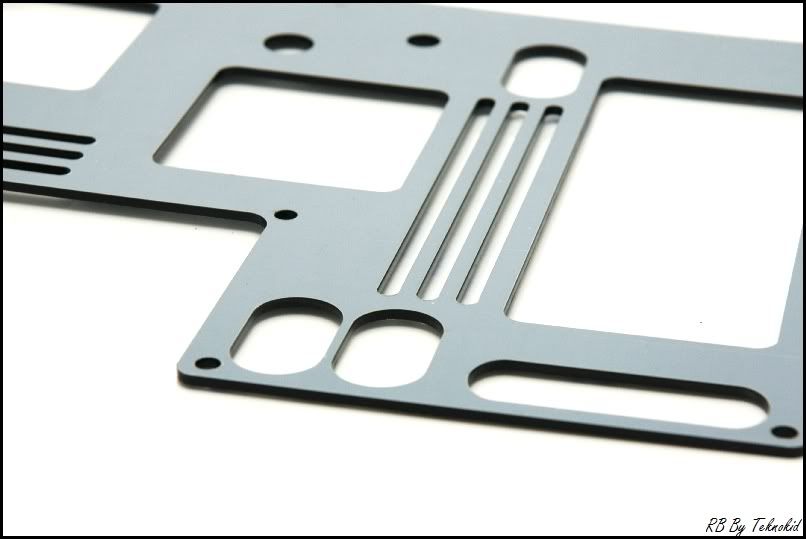
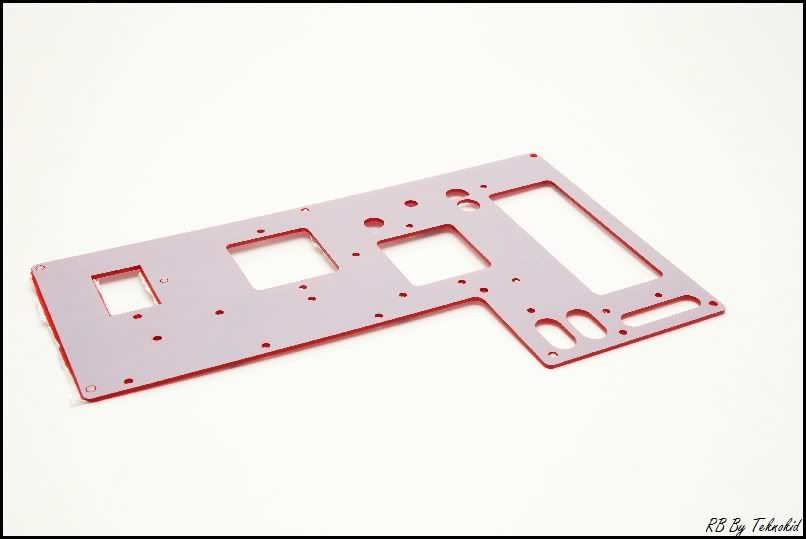
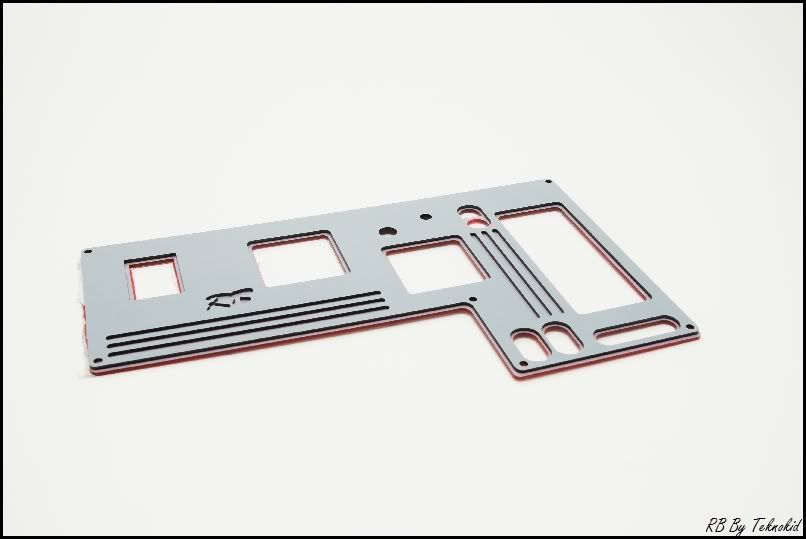
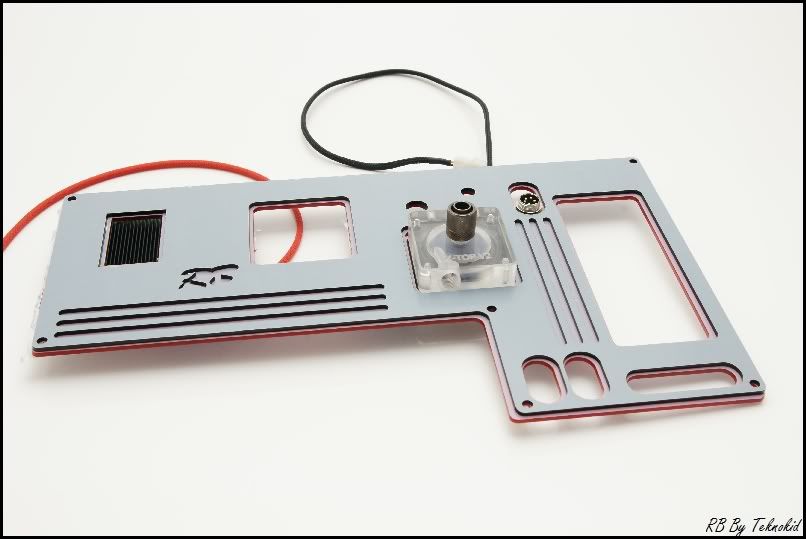
Basically, because the case won't normally accommodate all the hardware I want to put in it, I've created a custom floor, which reduces the amount of space taken up by the hard drive and removes the CD drive enclosure completely.

With CAD designs made, my College teacher kindly let me use the laser cutter so I could bring my design to life.

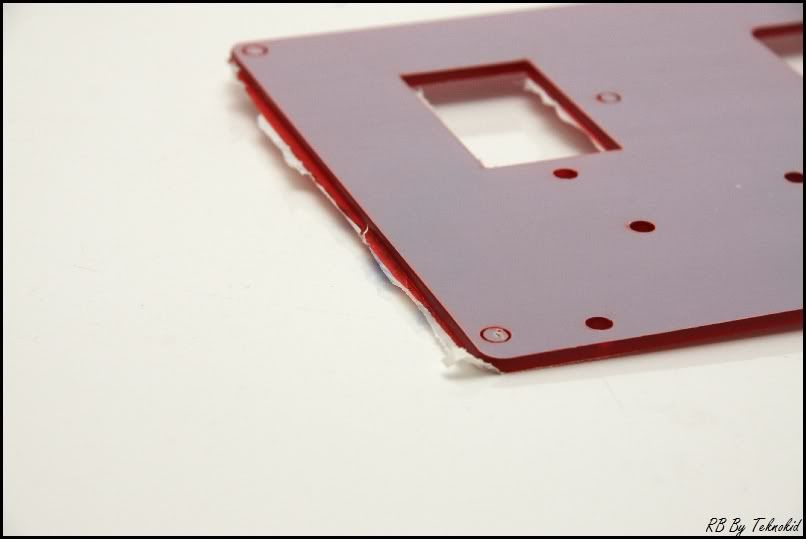
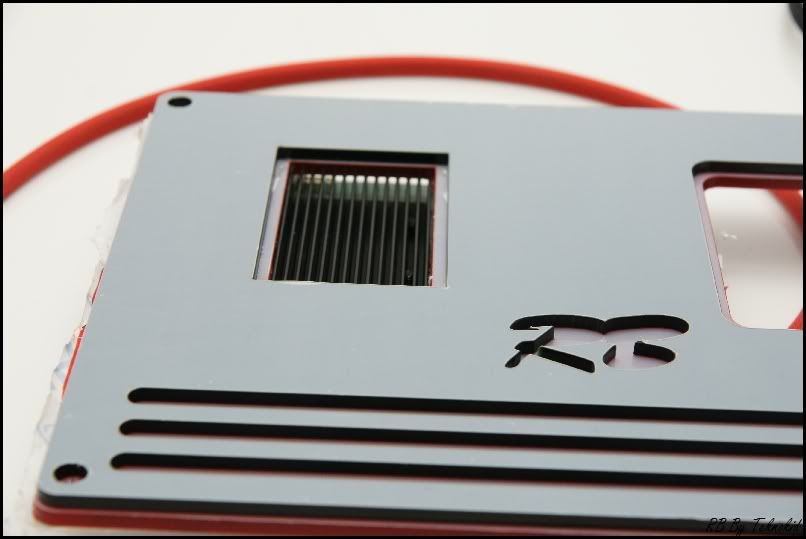
What I've got is a layer of red acrylic going beneath the black. The red acrylic has 'bullet holes' all over it so that I can fit some LED's in to make it glow :)

DSC04752.jpg


DSC04753.jpg

black

DSC04754.jpg

red

DSC04755.jpg

Laser cutter didn't quite go all the way through, leaving some rough edges in places where I had to snap the acrylic, so some filing will be needed!

DSC04756.jpg


DSC04757.jpg

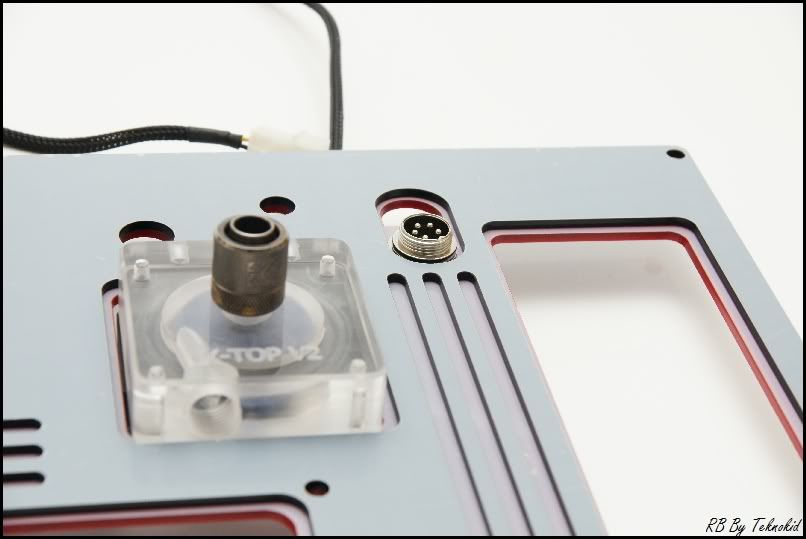
Mock install. I haven't got 2 pumps, but on the left is the T-balancer, then Ill have 2 pumps and the hole on the right is for the Hard disks...

DSC04758.jpg

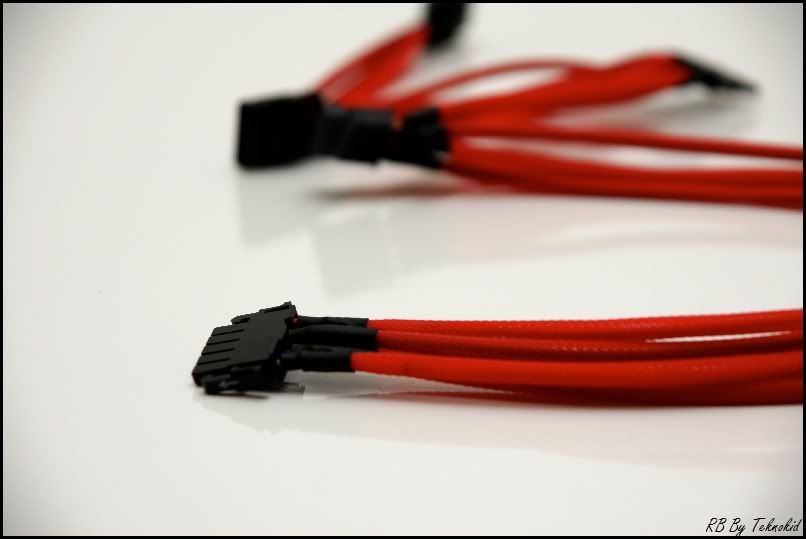
Little power pass-through for the hard disks.

DSC04759.jpg


DSC04760.jpg

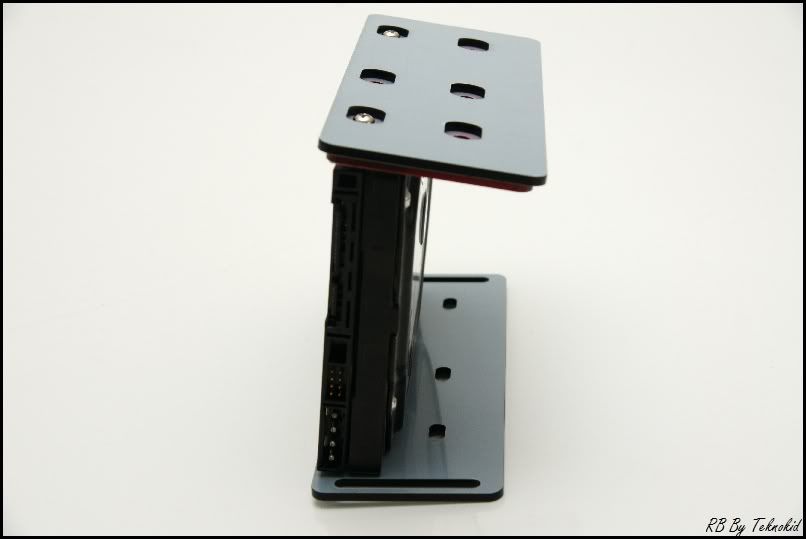
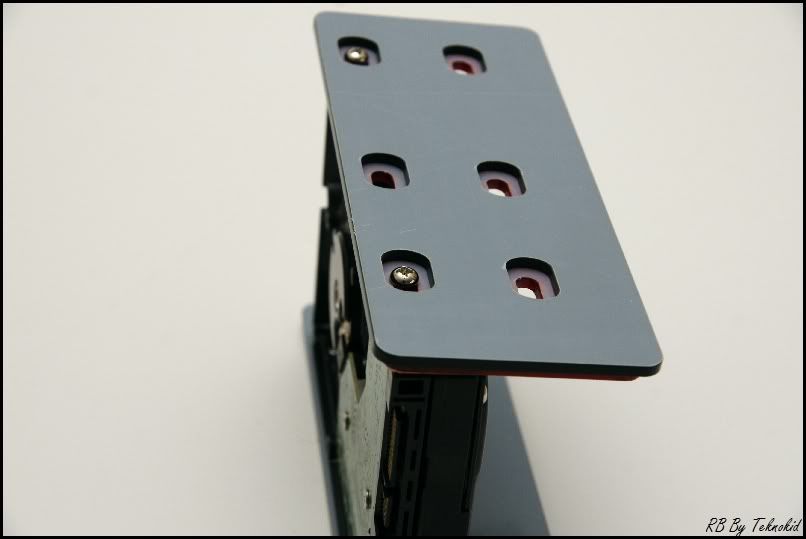
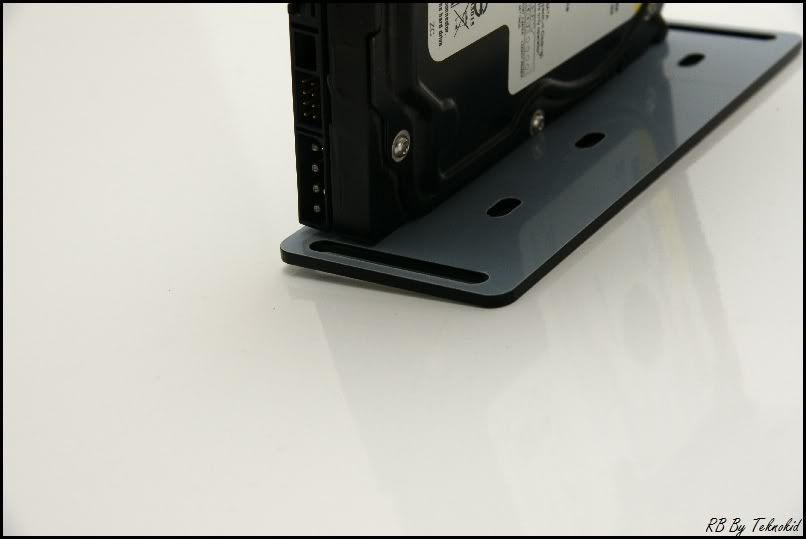
My custom Hard disk cage - the screws I had were completely the wrong lengths, but it's enough to show you how it will all go together.

DSC04761.jpg


DSC04762.jpg


What do you think?

Tom
 
Back
Top Bottom