Project: RB

Outstanding can't wait to see that floor plate lit up, as I have been pondering a like minded idea. I have to give a lot of credit to you for fabricating your own parts, as I work with cad a lot and I know it can be frustrating at times. Now if I could just find time!!!
 
Outstanding can't wait to see that floor plate lit up, as I have been pondering a like minded idea. I have to give a lot of credit to you for fabricating your own parts, as I work with cad a lot and I know it can be frustrating at times. Now if I could just find time!!!

Cheers - yeah time is a massive consideration when using the cad. I had to print all of this onto paper and cut out mock ups 4-5 times to get all the dimensions right, but now they're perfect so it was well worth it :)
 
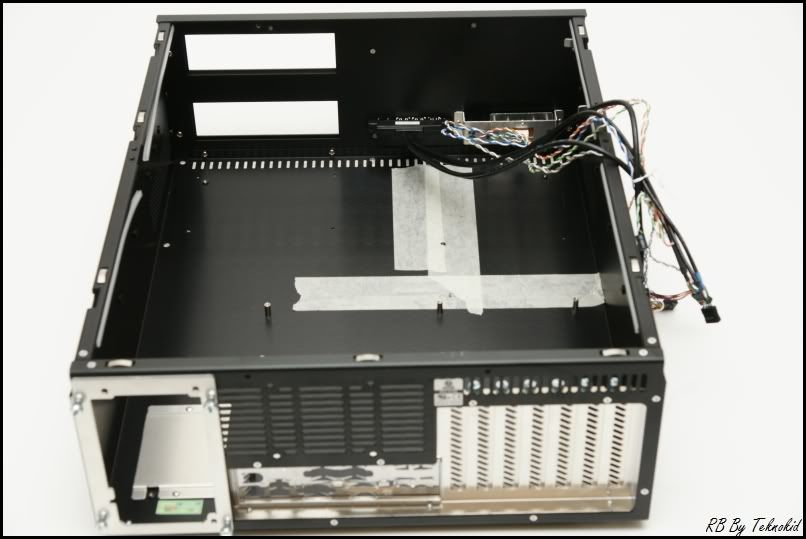
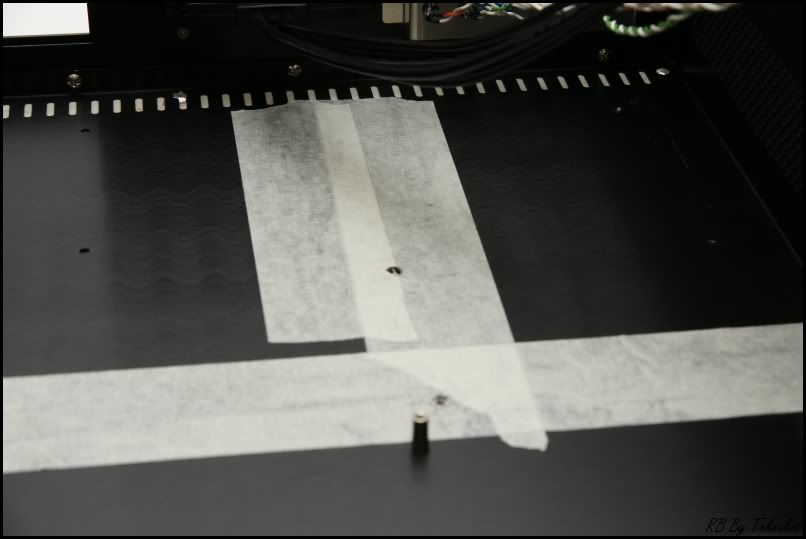
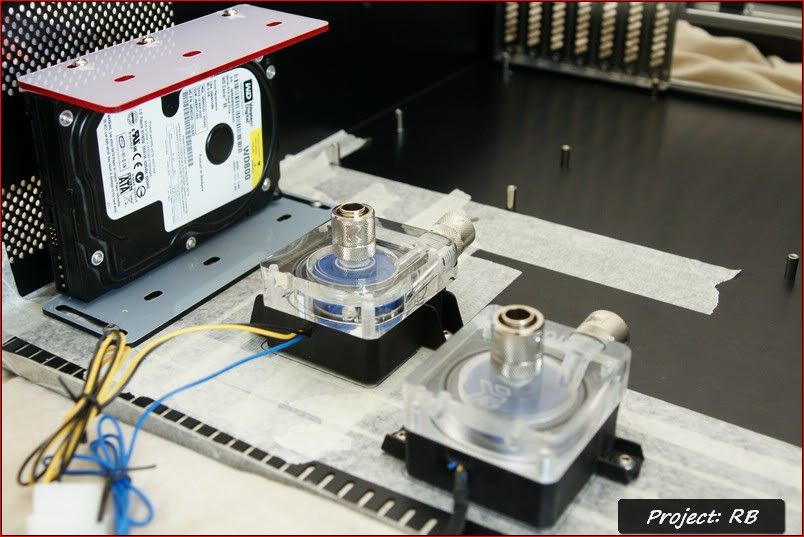
Today I drilled out the rivets that held in place the HDD mount and DVD bay rack. Doing so without scratching the case to buggery was actually rather hard, so I wrapped the whole lot in masking tape.

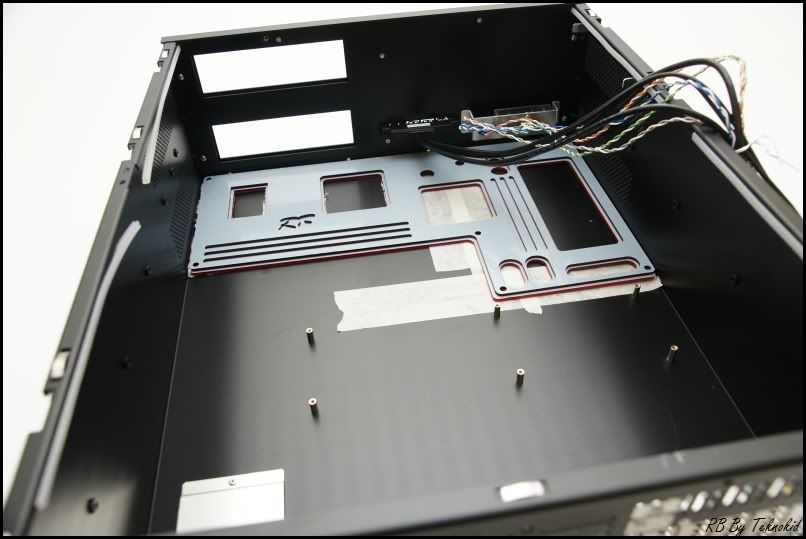
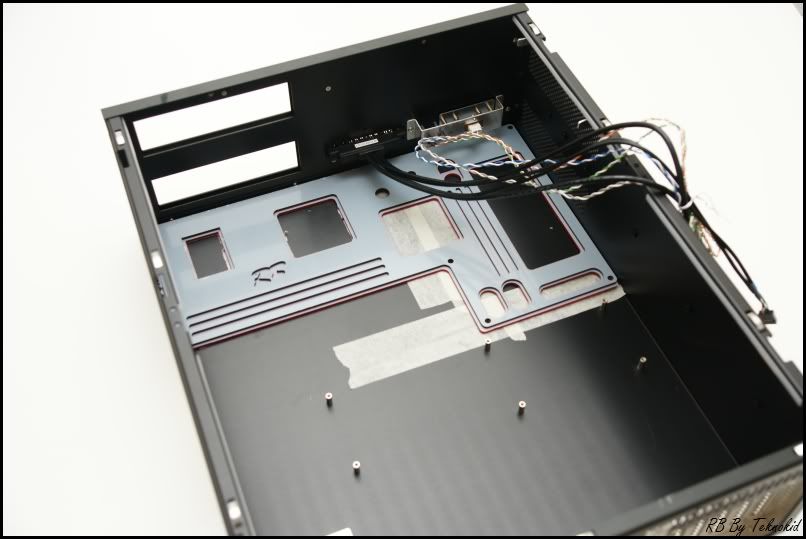
I also drilled the holes for mounting my false floor - hopefully ill pick up the fittings to mount it tomorrow and get it all installed :)

Anyway, some pics:

DSC04816.jpg


DSC04818.jpg


DSC04820.jpg

How she's gonna look..

DSC04822.jpg


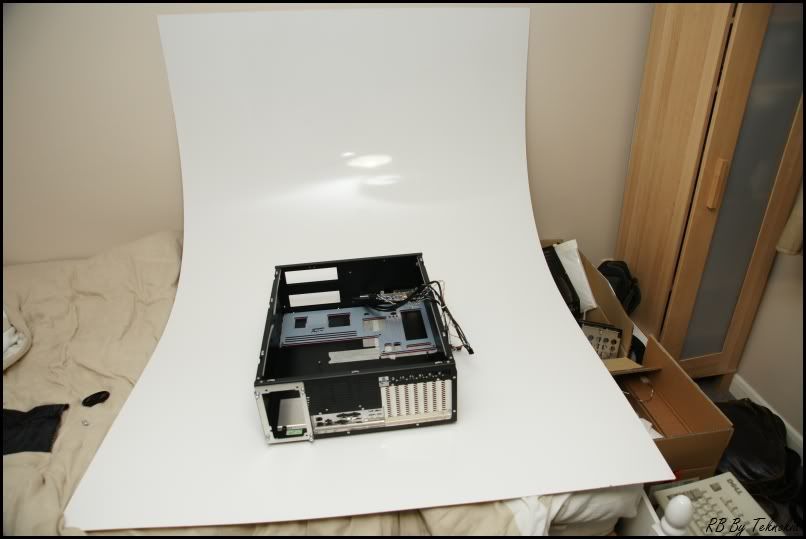
And my photography setup (using a Sony A700, flashgun and Zeiss 16-80mm).
DSC04821.jpg


Anyway, what do you think? it's beggining to take shape!

-edit-
Pictures are a little below standard - apologies. My brother used the camera and moved the focus point and I managed to use it without noticing :(
 
Last edited:
Im back - with an update! It's been a while, I've been busy busy busy with exams, which finished yesterday, so I can finally get back to working on the case.

I'd actually done some bits and pieces during my study leave, but didn't have the time to update you all (sorry!), so todays update is fairly substantial.

DSC04873.jpg

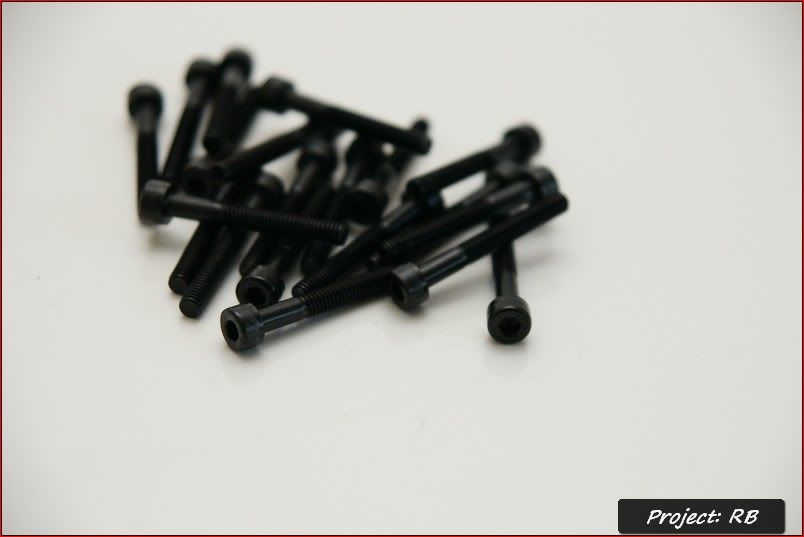
Got some black hex bolts for about £2 which seemed pretty good.

DSC04922.jpg

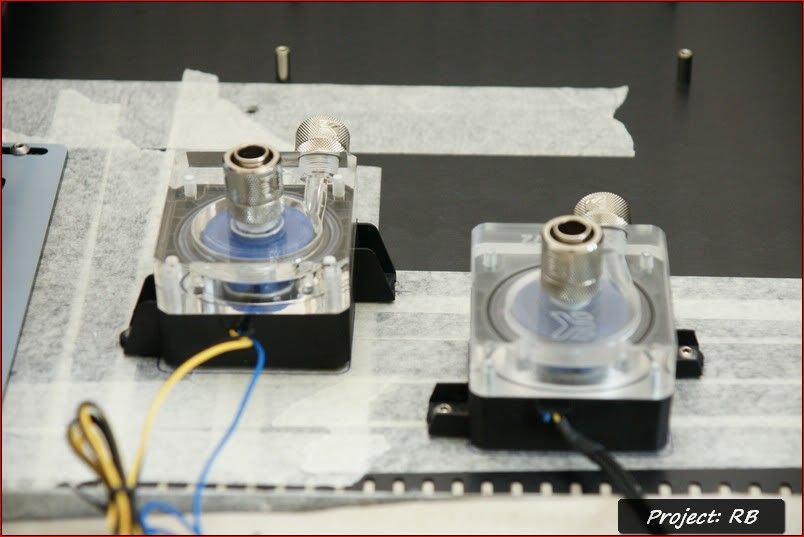
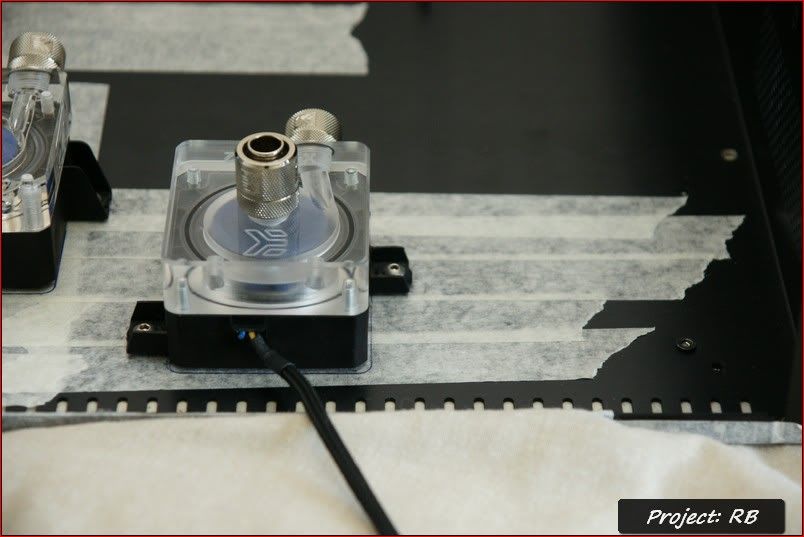
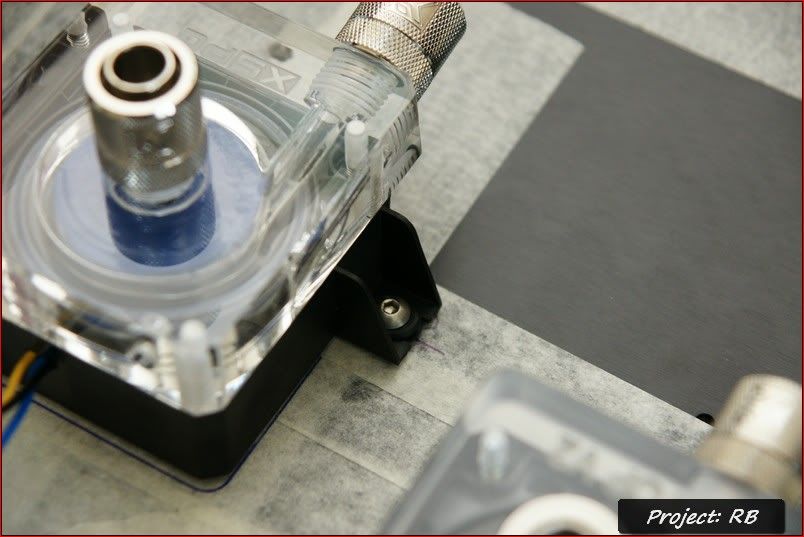
Pumps have now been mounted to the bottom of the case, with little rubber pieces in the mounts to reduce vibrations.

DSC04923.jpg


DSC04924.jpg

HDD cage is also in, again with rubber mounts for the hard discs to reduce vibrations....

DSC04925.jpg


DSC04929.jpg

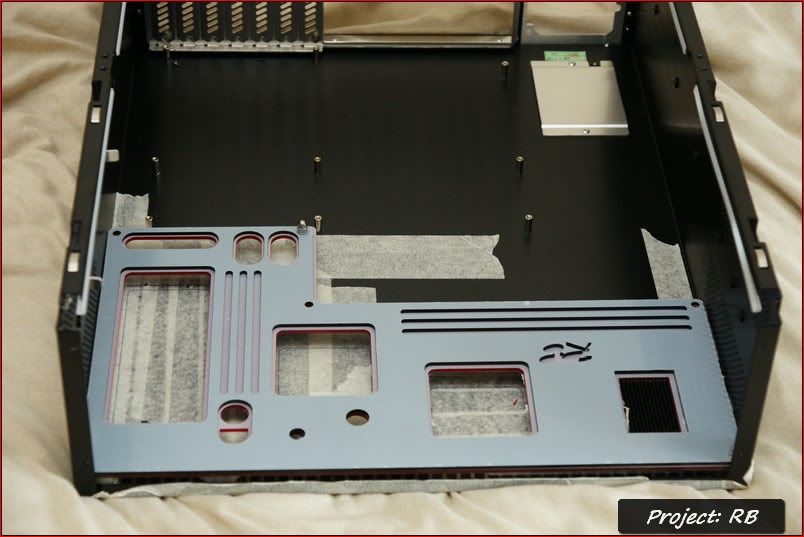
I installed the floor, with only 3 bolts instead of all 6. I also mounted the T-balancer (which bolts to the floor of the case, and took ages to get the holes alligned)..

DSC04930.jpg


DSC04931.jpg

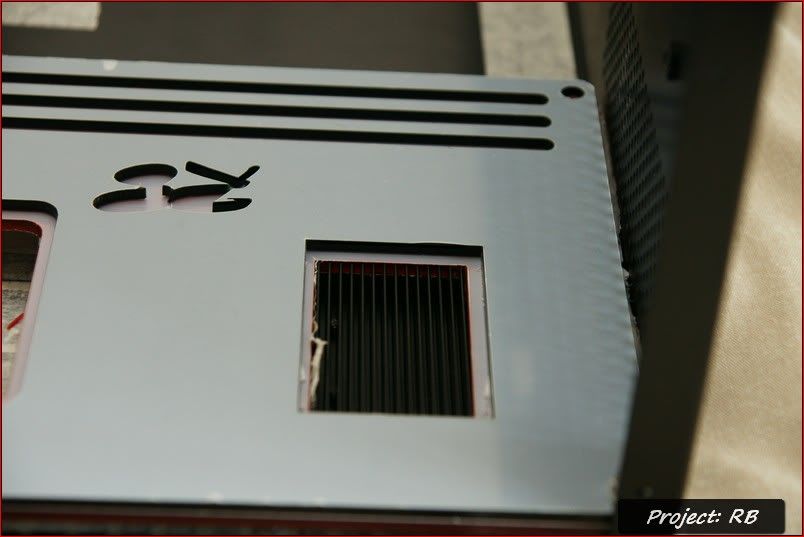
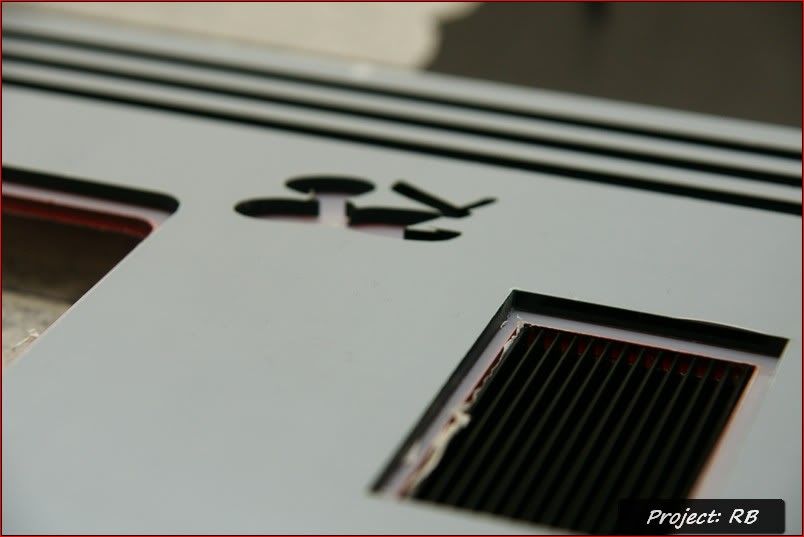
The air hole not only looks cool but should also keep the fan controller cool.

DSC04932.jpg


What do you think?

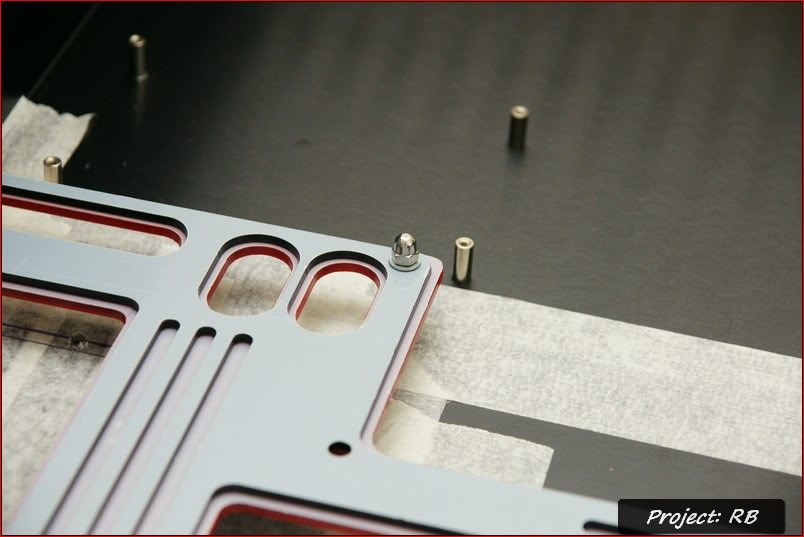
Im not sure whether to get black nuts for the top of the bolts or whether the silver ones I used here worked well? Let me know your thoughts!
 
I'm not sure I'm understanding how you are connecting your acrylic to the floor. If it is possible I would countersink the plastic and use countersunk black screws. If you have to use nuts I would choose I black
 
I'm not sure I'm understanding how you are connecting your acrylic to the floor. If it is possible I would countersink the plastic and use countersunk black screws. If you have to use nuts I would choose I black

Unfortunately the bolts really need to come up from the bottom, so I have to have a nut on top.. I think Ill go for black, although it's hard to really know till the protective layer is off the acrylic.
 
zocker24-albums-mein-smaragdene-s-lian-li-v2010b-2521-picture38450-aquatuning-logo.jpg


Wahoo! I've got my first sponsor. Aquatuning have agreed to help me out with this project, for which I am incredibly grateful - the enormous range of components they have of on offer will undoubtedly come in handy with this project.

Unfortunately I don't have that much of an update to show you, as I'm still waiting for the final waterblock, but here's a little teaser:

DSC04957.jpg


What do you think? Can anyone guess what I'm running?
 
Update time - wooo!

I've finished college now but due to review work I havent progressed with the log that much, but have managed to get some stuff done in the last few days (some of which Ill save for another update, when it's more complete).

Basically, I bought myself some spray paints, and got sprayin'!

I've also decided to run a 9600gt as a physx card, so that got the spray treatment too. It's an MSI 9600gt Hybrid freezer 1gb, so the cooler is pretty hefty. I was originally going to watercool it, but the cooler is silent most of the time anyway so i didnt see the point. Anyway, this is how it looks stock:

msi-geforce-9600-gt-hybrid-freezer.jpg


Shroud removed:
DSC05118.jpg


and back together (PCI plate also sprayed):
DSC05120.jpg


DSC05121.jpg


DSC05122.jpg


DSC05123.jpg


DSC05124.jpg


DSC05125.jpg


Sorry there's so many images - I couldnt decide which ones were best. I'd also like to apologise for the lack of formatting on them - as my pc is in bits I didnt have the chance to format them all like I normally do :(

I also took the opportunity to spray the backplate on my 5870, and some vented PCI plates for the case:

DSC05127.jpg


DSC05128.jpg


DSC05129.jpg


Anyway, what do you think? Im hoping to really get moving on the project now, and have some parts arriving soon.

Once again I'd like to thank my sponsor Aquatuning!!

aquatuning.jpg
 
As ever, my pc is still in bits so apologies for the photos not being upto their usual standard (I don't have the editing tools on my mac).

Anyway, Ive sprayed a few more pieces - what do you think?

DSC05131.jpg

PSU backplate and Fan Grills

DSC05133.jpg


Took the case apart to get the back panel off - what a pain! Anyway, here's it all sprayed up - doing the screws was a pain!!

DSC05136.jpg


DSC05137.jpg


Also ordered some LED's that are flat topped to go in the acrylic piece:
DSC05142.jpg


DSC05143.jpg


Wired up:
DSC05157.jpg


DSC05158.jpg


Capturing the light properly is proving difficult, this is the best I could come up with for now:

DSC05167.jpg


If you're wondering why I wired it in with a 3pin fan connector - it's because Im going to connect it to my Mcubed T-balancer fan controller. This way I can turn them on/off as I wish :)
 
Back
Top Bottom