Project: Silent Overkill

not sure there can be much more left to go wrong for you now :/

Have you not heard the phrase: You can idiot-proof something....but there'll always be a more talented idiot!
Just didn't realise before now that I was the talented idiot! Glad I'd only connected one pump rather than both!
 
I weakened and succumbed to the lure of a 60 degree fitting to got between the filter and the res. Found one by CoolForce. Looks good in the pics...but we'll see.
 
Can't post a pic as it's from a competitor - no other choice for a 60 degree in black. Nanoxia could be right as they turned up in the search but we're US based - assumed that was the shop name! :D They look very much like a Barrow fitting; diamond knurling on the rotary and matt black with no logo on the top. Will see if it's any good when it gets here.
 
Just spotted that there looks like a logo on it. Subtle...but almost certainly susceptible to anhydrous methanol...the Alphacool logo on the GPU to CPU fitting was! :D
Sorry Alphacool, it just looked out of place when nothing else had.
 
Ok, postie's been :D The Nanoxia Coolforce fittings aren't bad. The finish isn't as good as Barrow (some tiny, minor bare patches in the paintwork), the internal machining isn't as good either (some sharp edges internally where the Barrow are much smoother) and the rotary isn't lined up the same on the two 60°s I bought. The rotary is easier to turn than a Barrow but not as easy (or alarmingly wobbly) as an Alphacool. Slightly more expensive than the Barrow too at £4.
I'm not keen on the colour of the o-ring either - but that's somewhat nit-picky. It is thicker so it does show through though.
The logo seems to be lasered into the paint surface so even with methanol it's not going anywhere. It does mean that it's textured though so black pen applied for the moment...since the methanol just cleaned it up and made it look whiter!

Pics for comparison - taken at the same time in the same light with the same camera....just chopped together for your convenience because I couldn't be bothered to re-take the shot after I realised it was slightly blurry. Note the better definition (click pic for higher res) of the diamond knurling on the Barrow vs the CoolForce. Barrow double-45 on the top and CoolForce on the bottom:


Other Barrow parts have arrived and I've made up the new metal case to rad 'bridges'. Will drain and fit when I've finished hacking up a lung and generally feeling sorry for myself.
 
Yeah they look very much inspired by Barrow and/or Bitspower but lower quality...which is ironic when the packaging boats of German engineering. They seem to hold pressure so should be fine.

I've not had an Alphacool leak yet but some of them spin so freely it worries me...to the point that I changed all the fittings I'd initially bought for the case to door 'hinge' because I thought if they did leak, I'd never see it until it was too late.
 
Yes, precut and I would suspect cast rather than extruded - although I could be way off there. It was about 18/11 so should have had enough wall depth for the thread. There just isn't enough space for a fitting on the end of tubing. There is JUST enough space for a non-rotary 90 degree fitting that screws directly into the end of the tube with the thread being within the thickness of the panel. Short of swapping out with the same thing and hoping it doesn't do the same, all I can do is swap with metal fittings.
For the bottom I've got a 15mm M-F rotary (this does the rotation to get the 90 degree pointing the right way), 20mm M-F extension and then a 90 degree non-rotary.
For the top that was too long so I've got 15 M-F rotary, 10mm M-F, 7.5mm M-F, 90 degree non-rotary.
I've also got a 7.5mm M-F to go after the 90 so the collar of the EK-ACF fitting drops below the rolled edge of the hole in the motherboard tray - it's only a 0.65mm difference but it's that tight. I'd post pics but you can't see how tight unless it's closed...and then you can't see it because it's closed. Put it this way, I'm using A4 paper as a feeler gauge to see whether there's a gap! :eek: It could be that there was a mechanical strain that caused this but it didn't show if that's the case.
 
Hopefully. They're a bit random in quality; one rotates fine, the other sticks and grinds a bit. I'm happy with it as a good fine at a good price for a 60 degree fitting that should hopefully improve the fit of that hose...but I wouldn't be using them for a whole build.
 
It's quite tricky to get much pressure in them because of the small volume. Tried at first and it just leaked straight out but that was just my pump leaking. If you can disconnect quick enough it holds some. Currently got them on test with a length of hose, fitting, two 60's, F-F coupling and a stop cap. Haven't checked it today but it seemed to be holding yesterday - within the range of my dropped Dr Drop at least.
 
Well, I think I know why the fill-level sensor in the res didn't alert me to the fact that the res was emptying. It just sat there saying 100% the whole time. Did think I'd typo'd in the calibration but nope. Drained it all down...again...and replaced the acrylic rad links with metal. What is it about radiators? "Oh, yes, I'm definitely empty now. I won't be peeing coolant all over you again......FOOLED YOU!" :rolleyes:

So it wasn't my LED wiring that had caused issues with the MPS board in the bottom of the res....yeah, the thought had occurred to me too. Opened it up and it was soggy. I had a problem a while back with the connection from the MPS sensor to the body of the res and thought I'd solved it with LS-X....clearly not for long. So a replacement board and rubber gasket have just gone in and Dr Drop is having a think. This does mean that my 150ml res now has a hole in the bottom of it though.
 
Some small progress but mainly an opinion please.

Have res reassembled. My Dr Drop's a bit shonky so I've injected some coolant down the hole that leads to the pressure sensor and then put Dr Drop on the case. That way, I can see the drop (give or take inaccuracies and local leaks) and also see if there's any wetness by the pressure sensor.

Once the bubbles had settled out of the res, the lighting was much less spectacular. I'm contemplating running the res return to the centre column which will fountain it out the top. I'd not done that before because who wants to aerate their coolant?! ....well, me it seems. What do you think? Good idea, bad idea?
 
There is a deflector to discourage that from happening and the speed of both pumps is PWM controlled from the Aquaero. Talking of which, I found out yesterday that one is significantly louder than the other. Odd.
I think suck it and see is going to be the way it goes. Dr Drop didn't drop much - it's unhelpfully not 100% airtight - and the bottom wasn't soggy (ALWAYS a good thing!) so it's going back in with some testing of the new level sensor en route. Just have to make myself up an external to internal USB cable for it.
 
Mayhems Aurora? Yeah, it's a 'show coolant' and not to be used long term 'cos the particles in it can do nasty things to the impellor in your pump. Looks pretty though. Did you see JR23's Oil Black with silver Aurora in? End of this post: http://forums.overclockers.co.uk/showpost.php?p=30075837&postcount=15

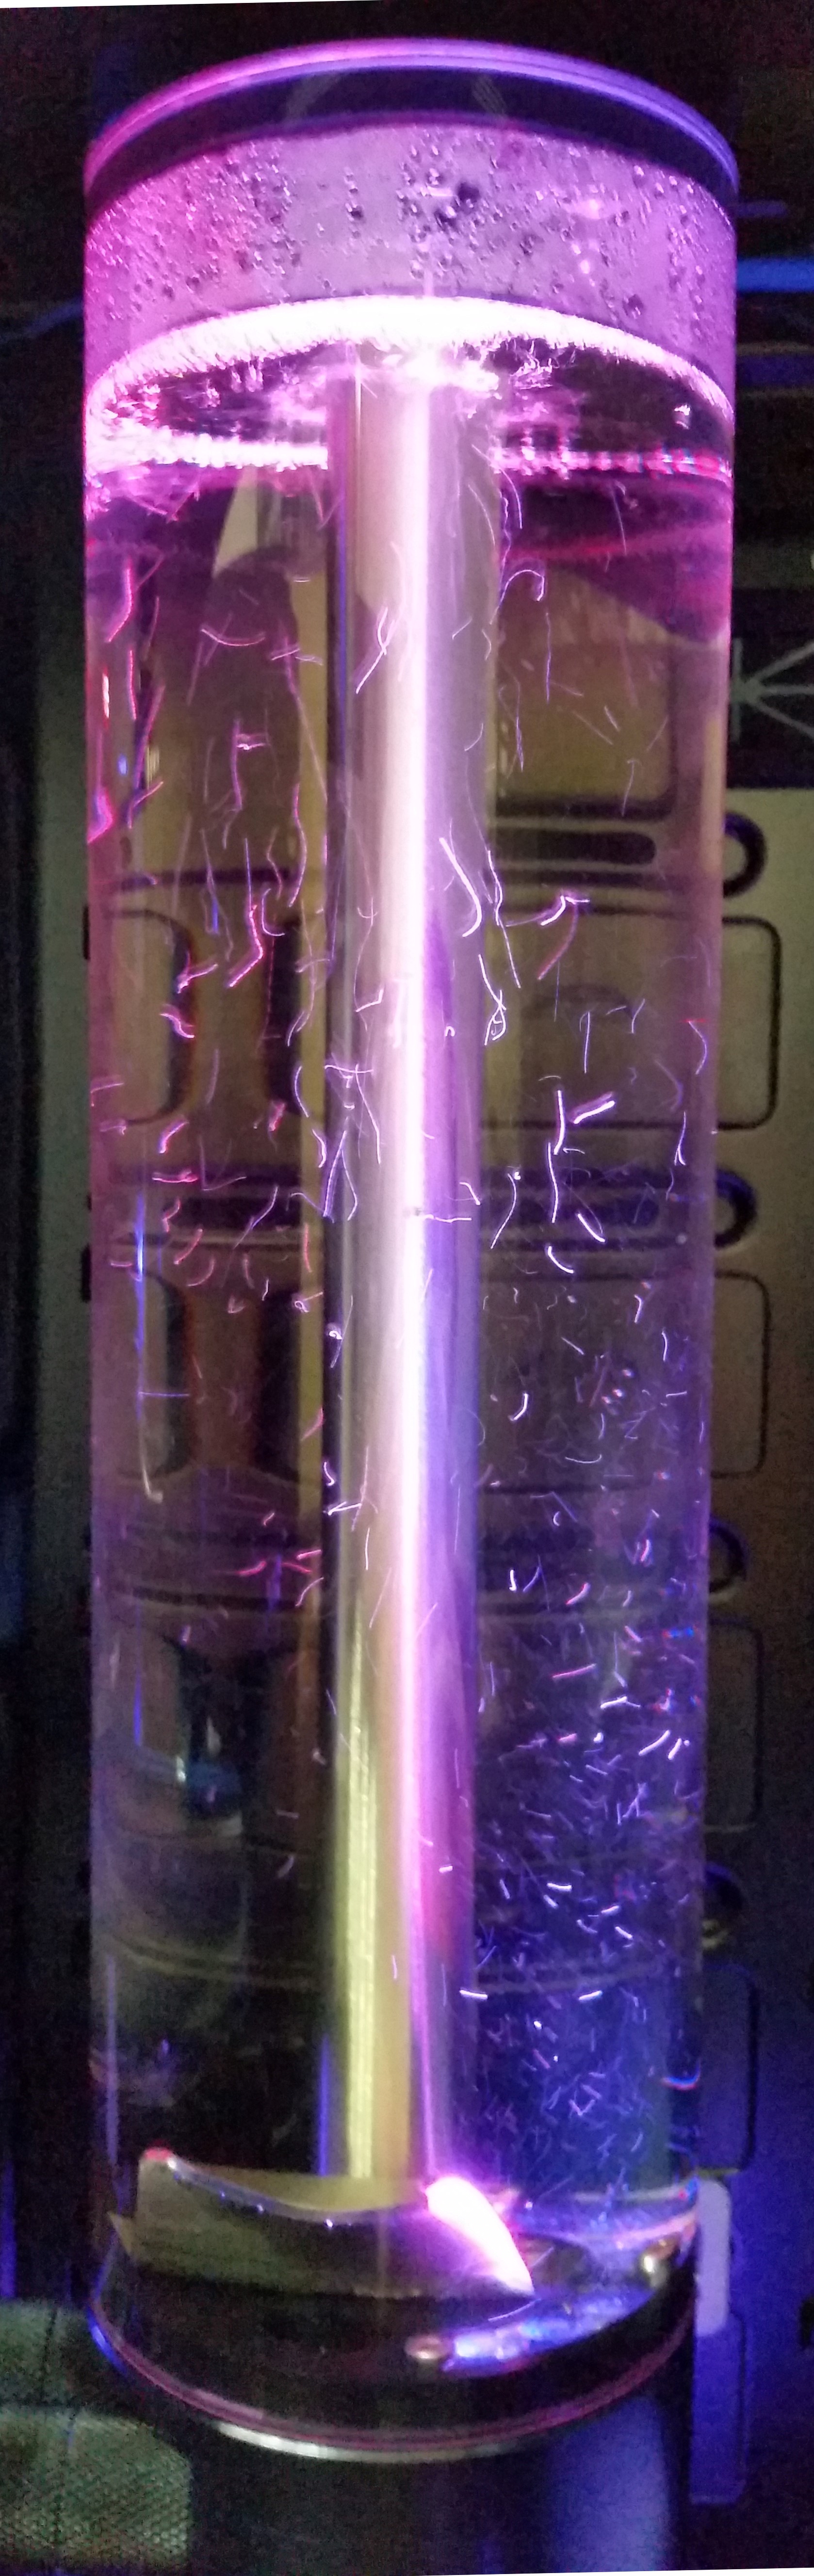
Well, res is back in. Giving the fountain effect a try. Not really going to know the outcome until the sidewall bubbles have had a chance to dissipate. Certainly at full pump speed with the ports off to fill, it sounds like an aquarium! :eek: The pump speed now seems to need balancing so that below 200 l/h the water doesn't hit the surface hard enough to trap any bubbles. Above about 220 l/h the bubbles get dragged into the pump. Currently got it around 210 so will see what happens.

Thoroughly tested the replacement MPS fill-level sensor and it properly read changing levels up and down as I filled the res. Accurate to the top after calibrating it near the bottom too. Plugged the old module into a spare cable with no res attached and it's reading a raw pressure of about 800 whereas the working one was reading something like 300-400 for a full res. That would be why it was saying the res was 100% full when it was 100% all over the carpet then!

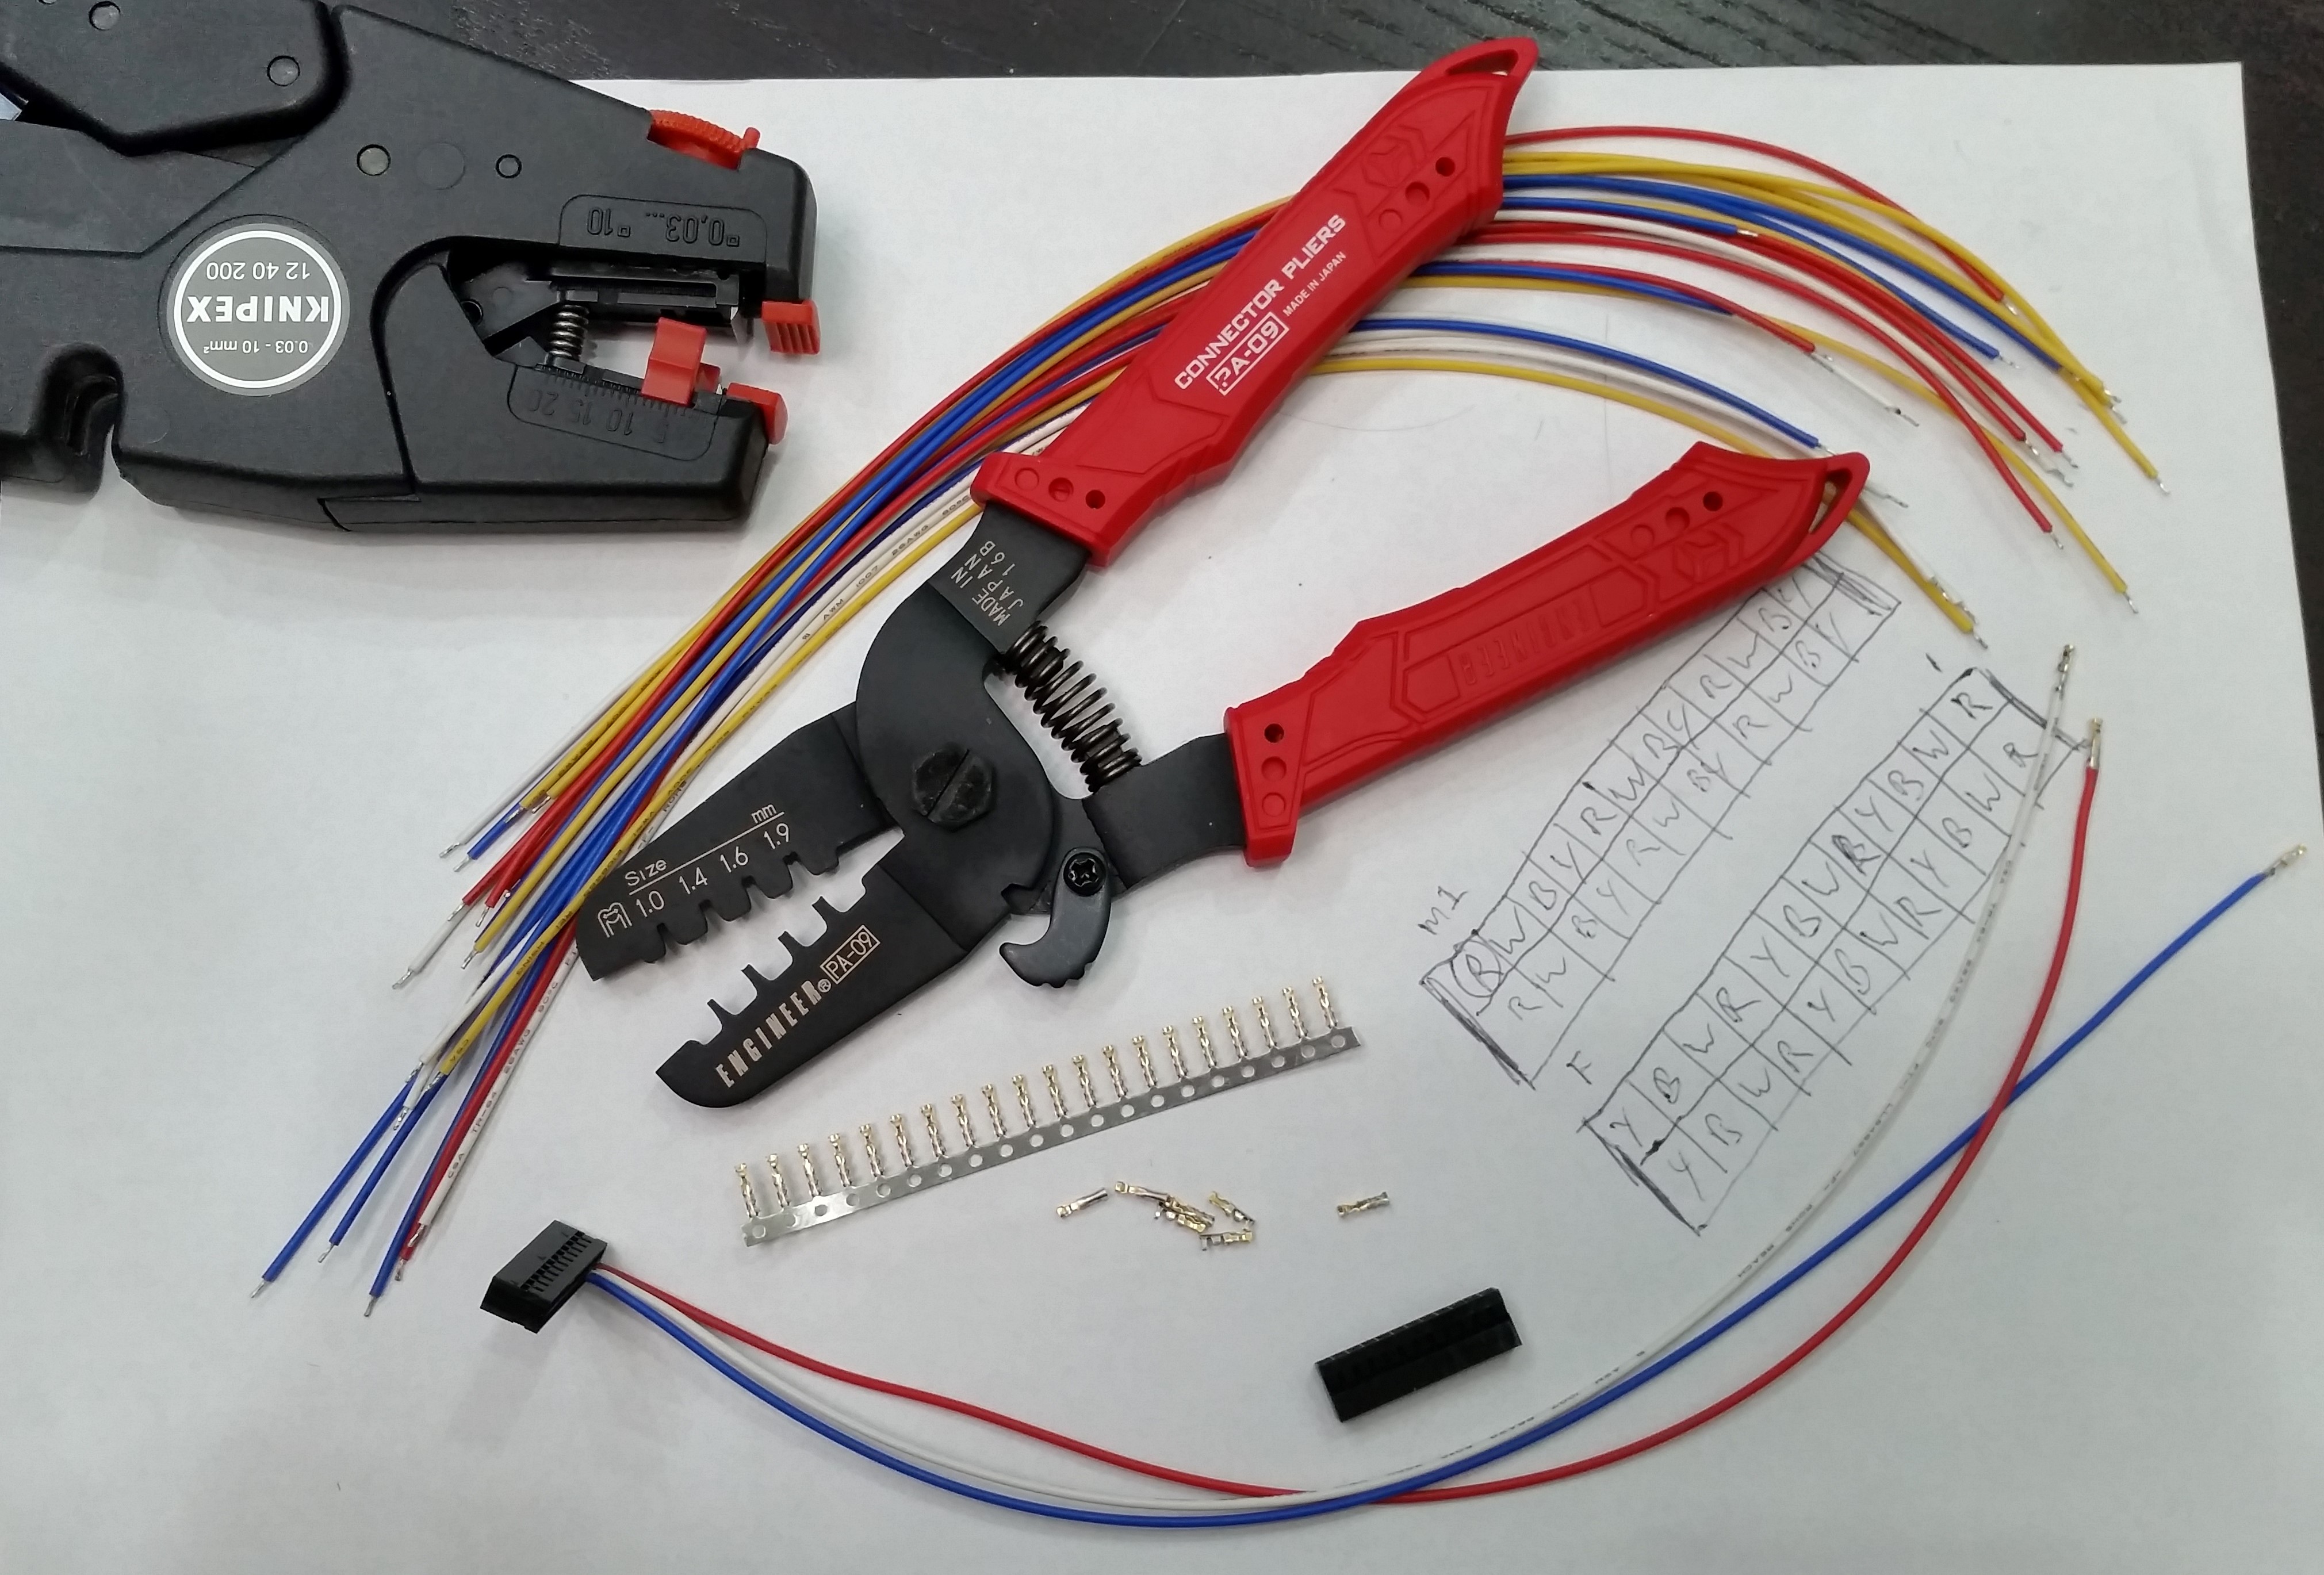
Couple of bad pics for you while I had stuff in bits. Will take pics of the updated res with dynamic bubbles once the static bubbles have gone - as is, it just looks the same as the last pic.

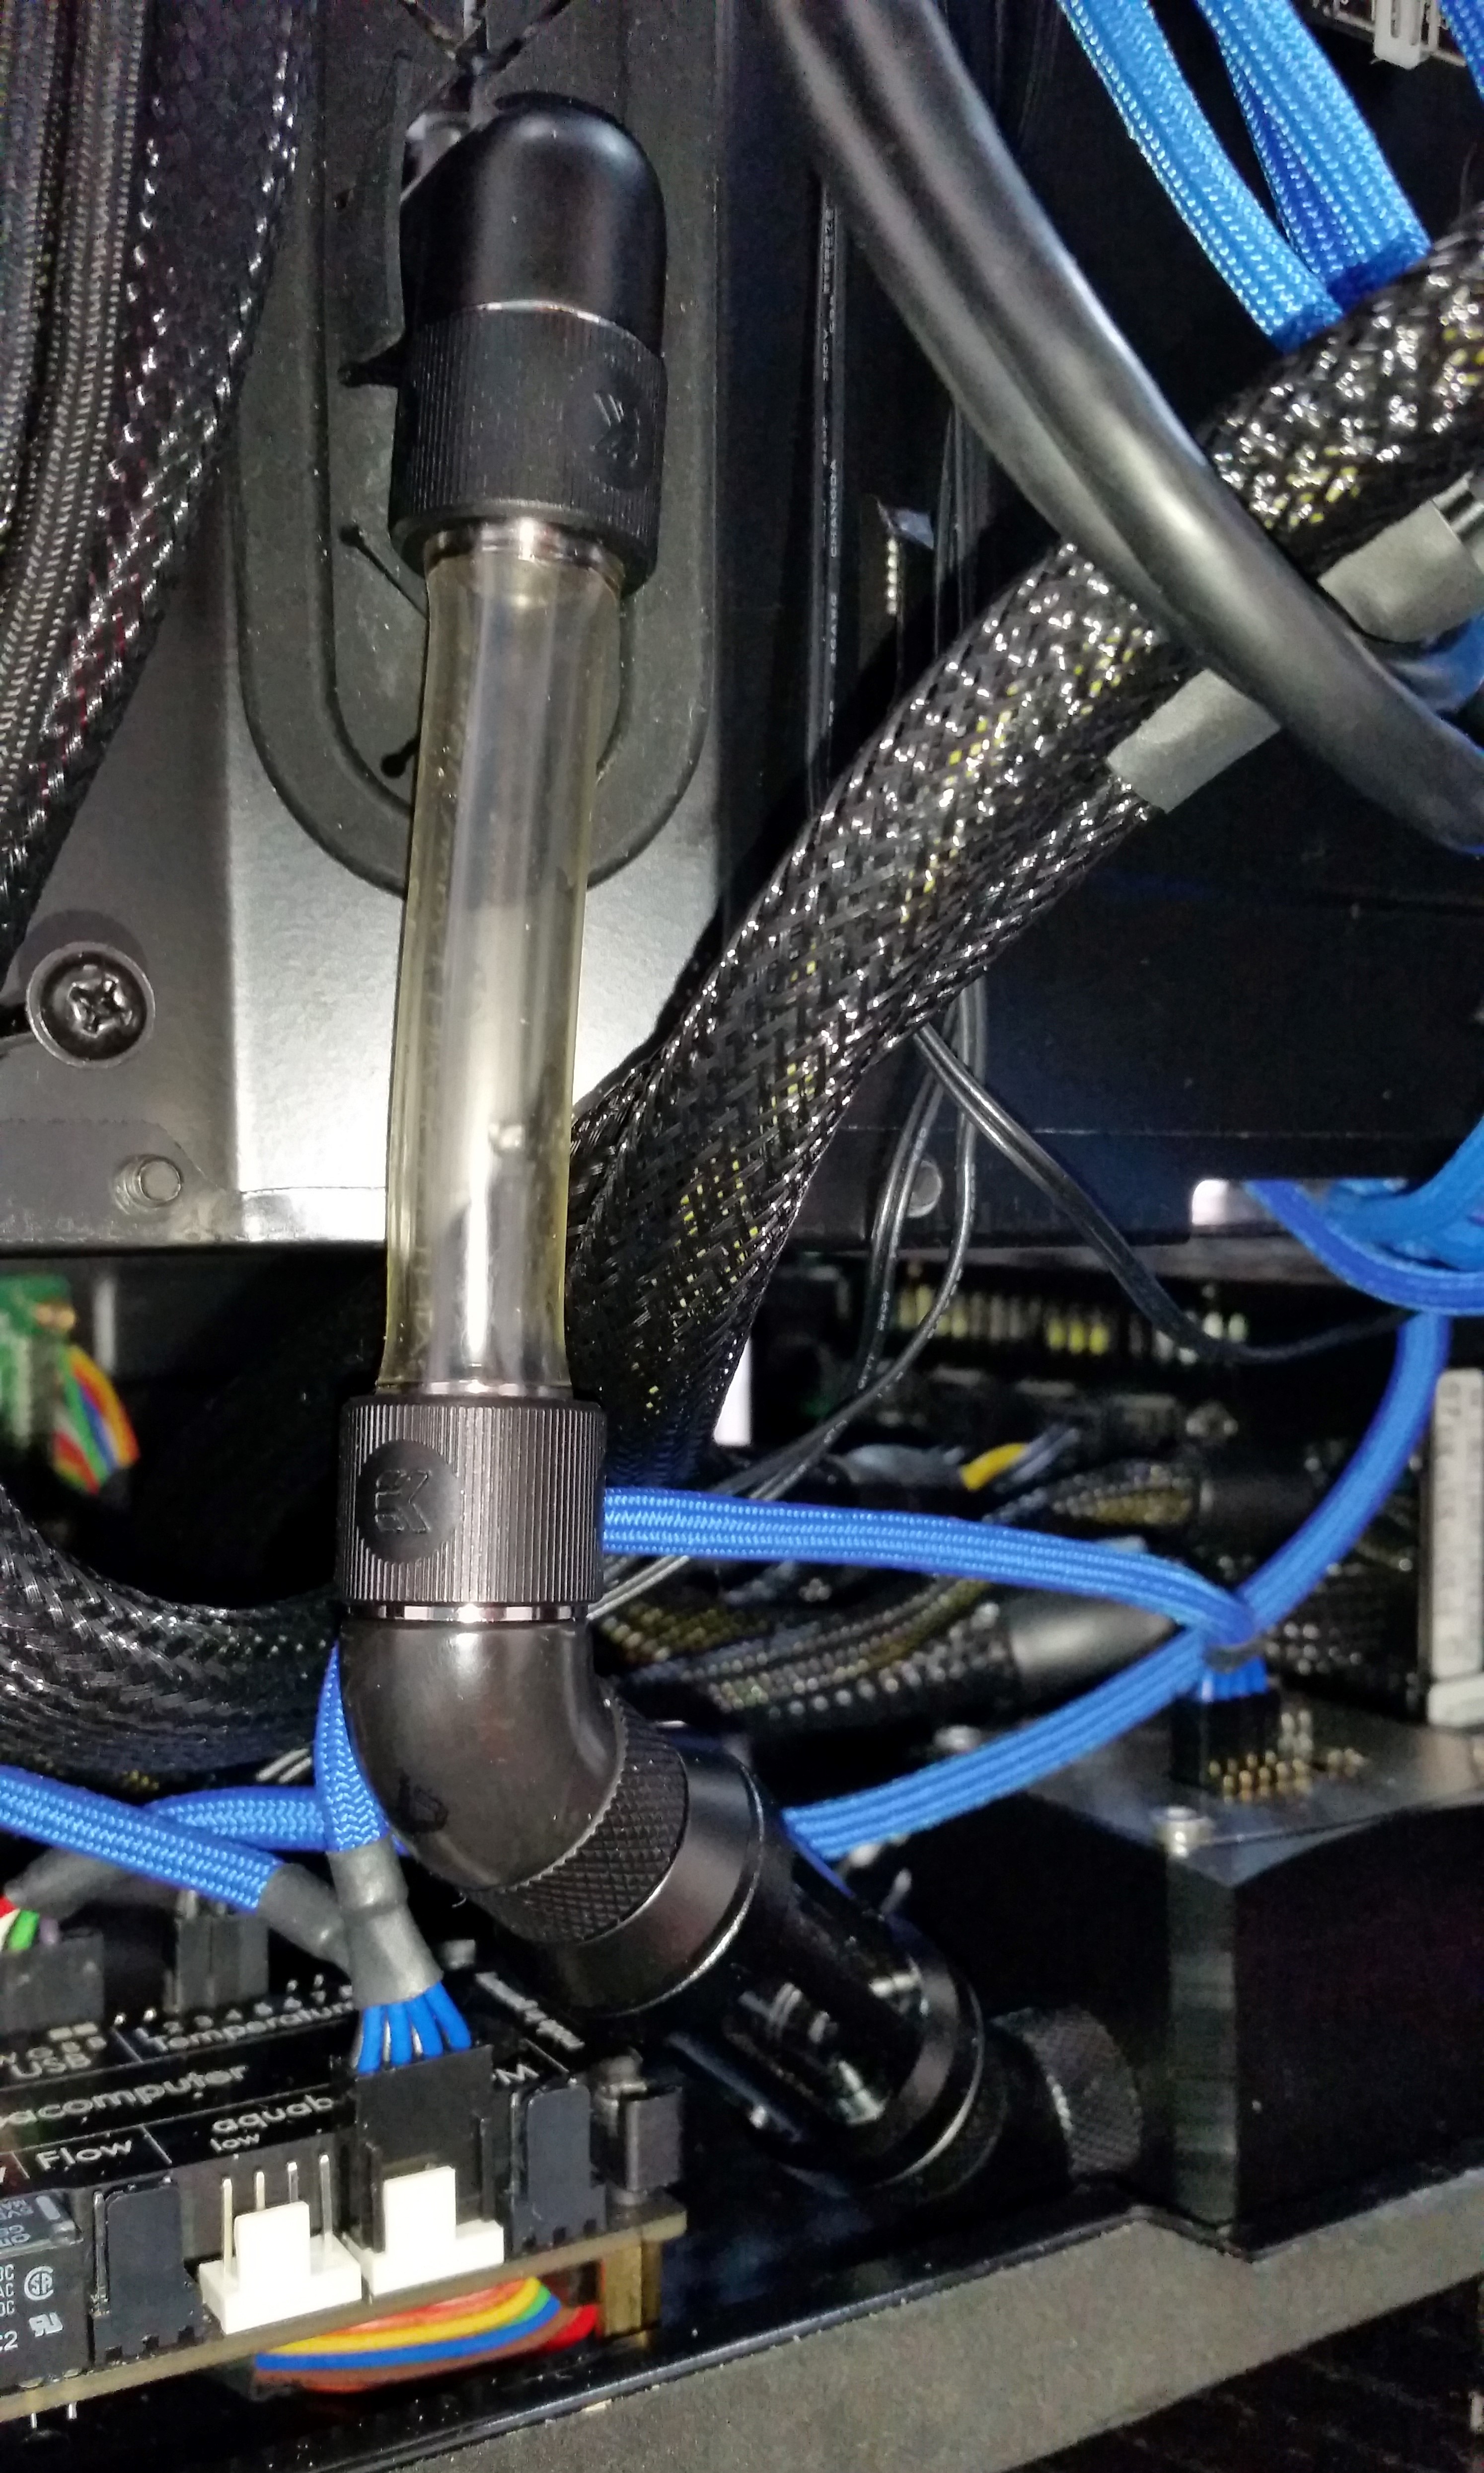
Flow meter to filter to res return via the new 60° fitting.


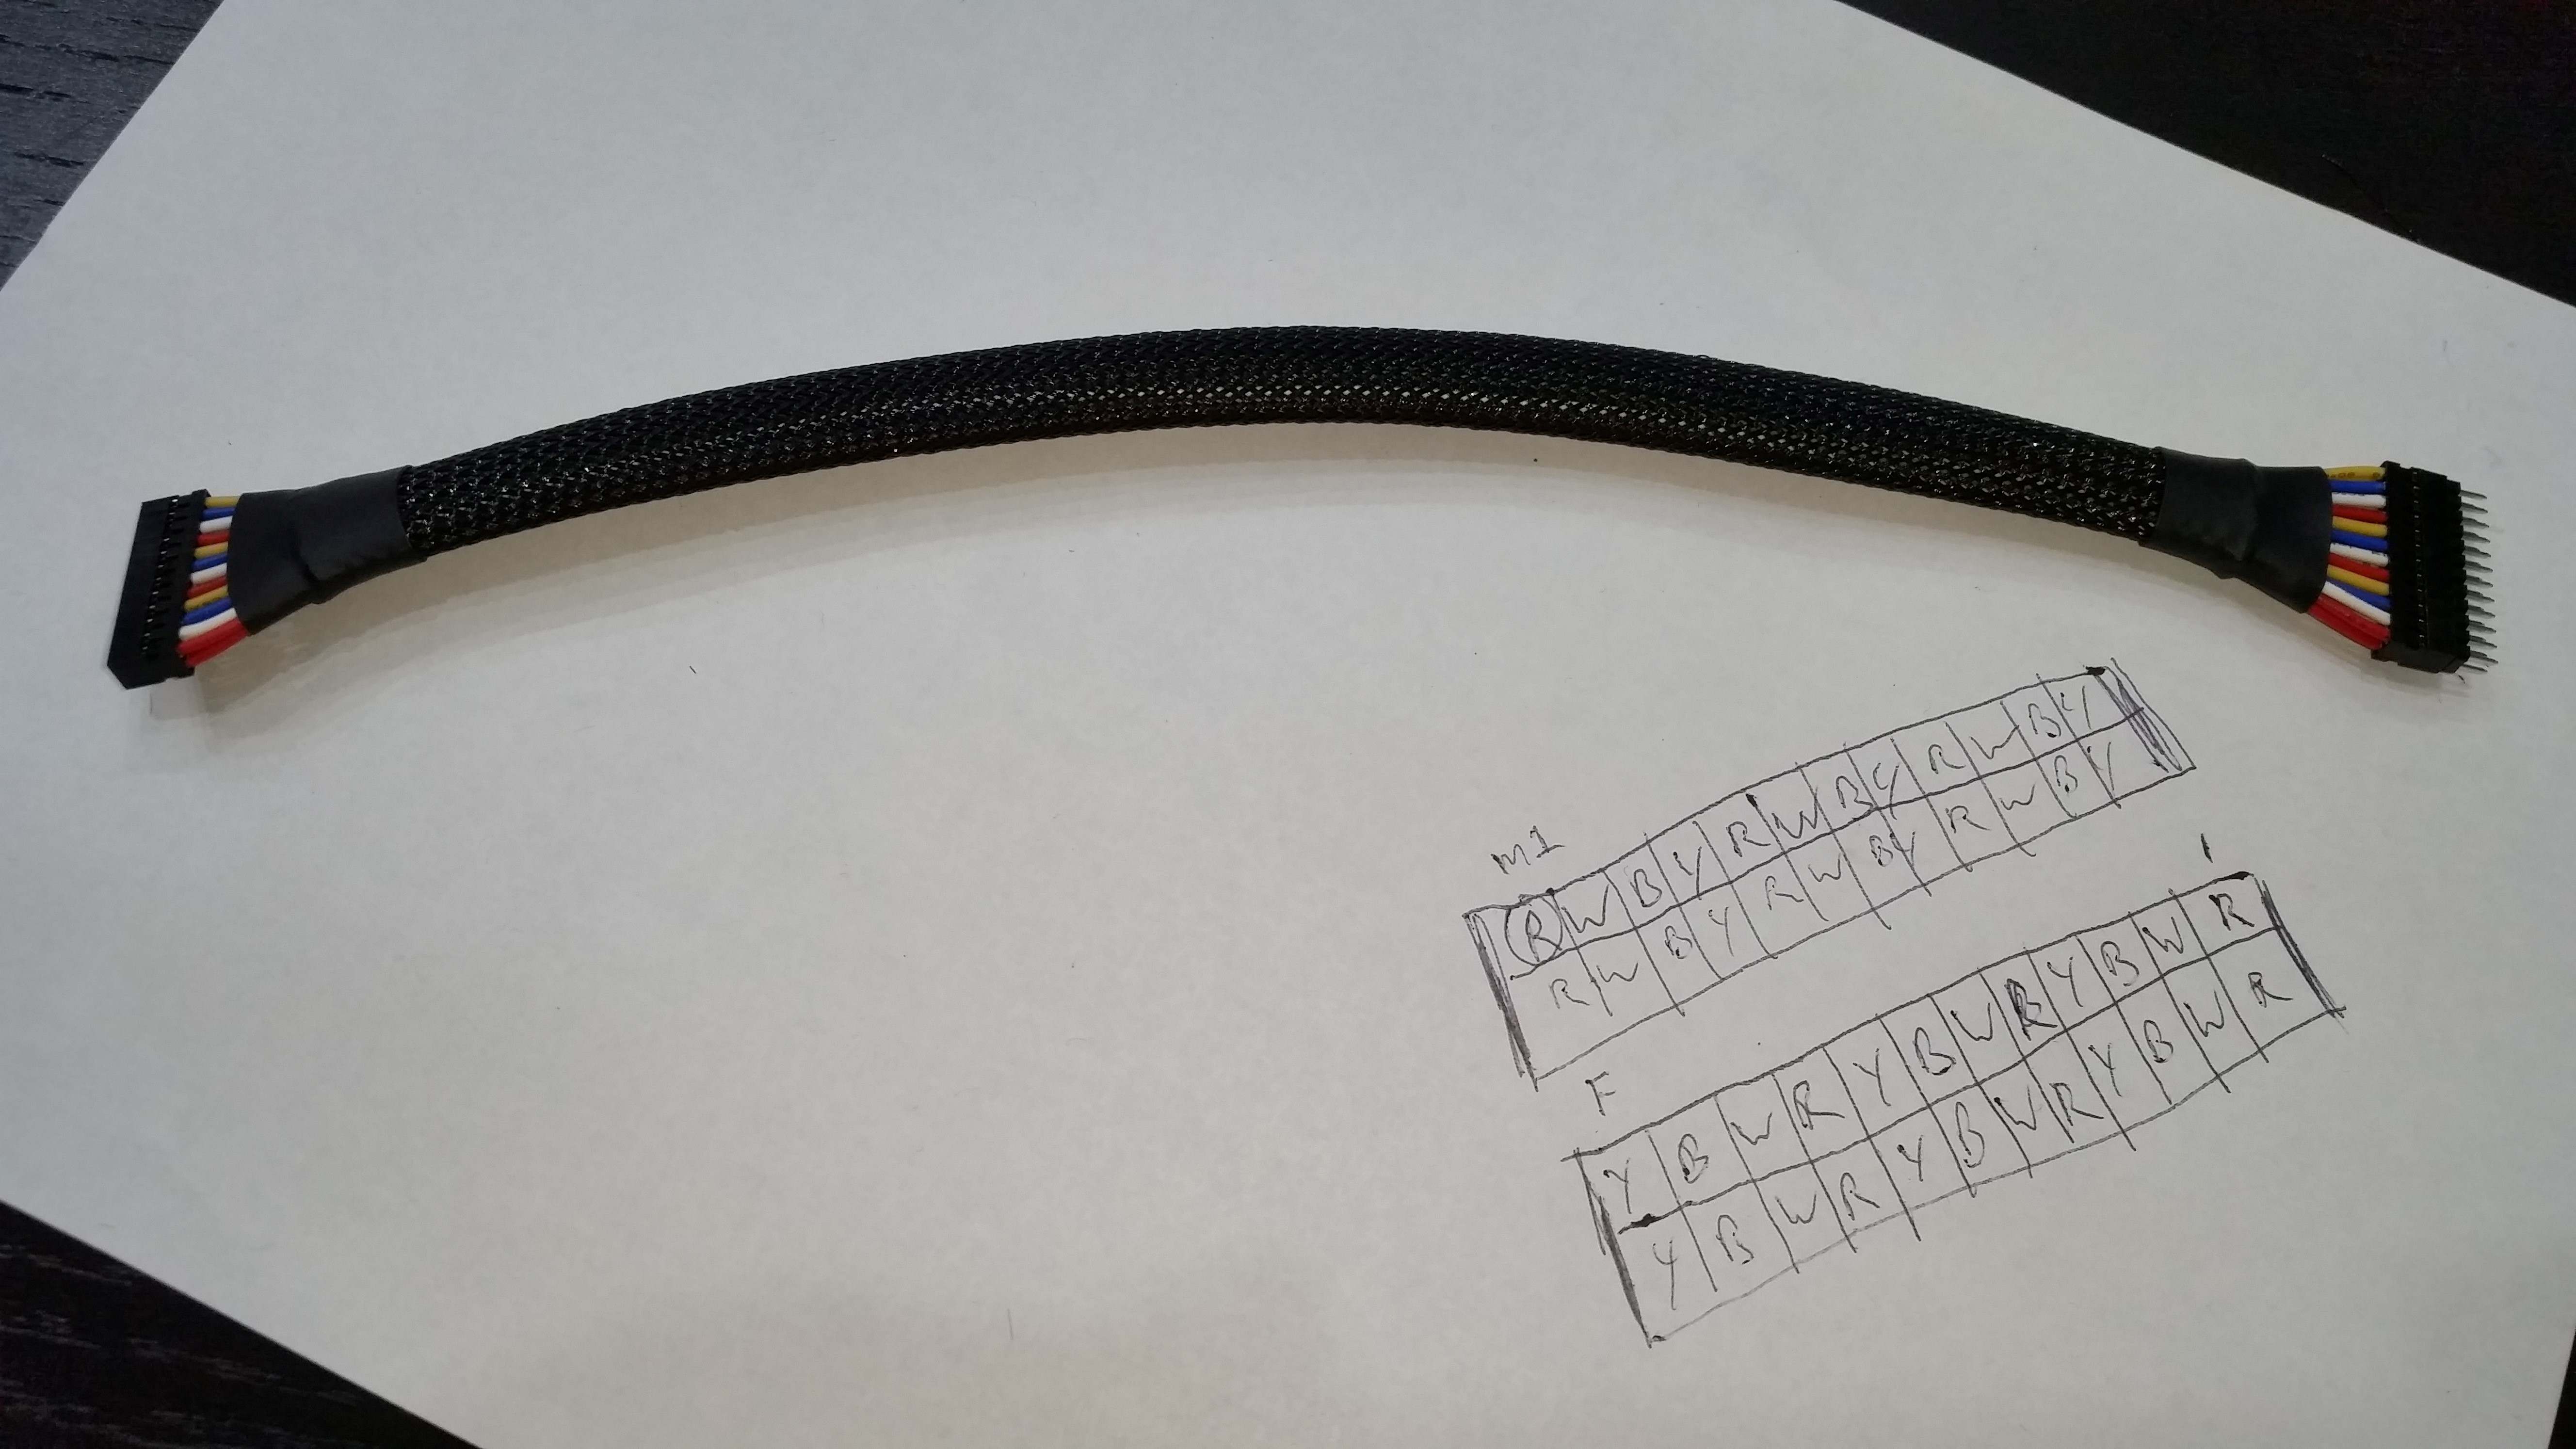
Same thing but with the wiring back in place. Tidy :D

 
A (bad) pic of the res for you now that the bubbles have settled. I turned one of the pumps up to increase the bubbles for the pic as it looks a bit sad idling along at silent speeds.


The next challenge to my sanity is to redo the Aquaero split cable. I want it shorter and I want the crimps of a better quality so I'm not convinced it's dodgy :D


Crimps are Engineer (brand name) PA-09 connector pliers. They crimp one set of wings at a time - either the wire crimp or the insulation crimp - but they fit these tiny 2mm pitch DuPont pins.

Wire is 26 AWG and the ends are stripped to 2mm and tinned....stops them fraying like my sanity :D

Wiring diagram - yeah, that's what that is :D - shows an end-to-end flip so that if you loop the cable round in a circle, the pins match up. This is important to duplicate the pin connection of the Aquaero halves.
Not shown is the pin header - a set of pins set in a plastic grid that connect one of the female plugs to the female plug on the Aquaero.
 
That'd be the snappy 'shutter' speed on my phone. I could freeze the bubbles with the flash....but wash out all the colour or just bounced off the glass. It's pink, by the way, because of the temperature of the coolant. Changes from blue to red from 20 to 50°C and it's usually somewhere in the middle because I've got the rad fans set to only spin up at 36°C and stay on until it drops below 34.

Yeah, I've not mentioned that until I'd given it enough time to be sure it was the problem. I think it has...but it's still odd. In a nutshell, I'd managed to drop a screw onto the Farbwerk when I was reassembling everything. It seems that was responsible for the occasional drop in the res level reading - to the point it set off the alarms. Everything else worked ok though....odd.
 
Now that's a better crimp.

aquaero-cable-crimp.jpg


The background is paper fibres on a piece of A4....these are tiny. To give you some idea of scale, the diameter of the wire's insulation is 1.30mm. And yes, they are a joy to crimp :D
 
Cable done and sanity nearly intact....pretty much like it was before ;)
So far it seems to have fixed the problem where the buttons on the screen would stop working after a while until you cold booted it. I think the pins I used this time were better and the crimper definitely was. I picked some up at the same time as a USB 3.0 20-Pin Internal Header MF Extension Cable. The pins are the same as the USB3 internal header you see.

Also, removing the screw sitting on the PCB of the Farbwerk seems to have resolved the issue with the level sensor (the new one) occasionally misreporting very low levels. The level sensor is plugged into Aquabus (4 pin to include power) on the Farbwerk so it's not quite as bizarre as it first sounds.

You can see the double-row pin header on the right hand side to make one end male.

 
But that's only 96 crimps: 24 pins at each end, two sets of wings to crimp on each pin.
I'd love to find pre-made cables like you get for Arduino's etc but they're all 2.54mm pitch which are larger wire and larger pins. Only way I've found would be to order a pair or USB3 internal extensions - 20 pins so you'd need two sets to get to 24 wires required - and then put those wires into some 2x12 shells. The extensions are available in 12cm or 30cm but at £12.30 each plus £8 shipping, plus the 2x12 shells off ebay and the male-to-male pin headers, you're getting to silly money for a cable! Much cheaper to crimp your own....if a little soul-destroying.
 
Thanks. Have to get round to sleeving the ATX wiring yet...but have got a bit distracted by the pursuit of audio that doesn't have half the channels missing (old Logitech surround system with blown centre channels). Cables finally arrived so I think we may now have appropriately overkill sound too :D
 
Thanks Frank. You're only assuming I've not gone mad....truth is I've just been doing it quietly! ;) :D

At the moment I'm thinking that I may get the ATX sleeving done and call it done....and then do the conversion to integrated acrylic work as a separate project.
 
Back
Top Bottom