

Associate
- Joined
- 1 Jun 2016
- Posts
- 486
- Location
- Cambridge
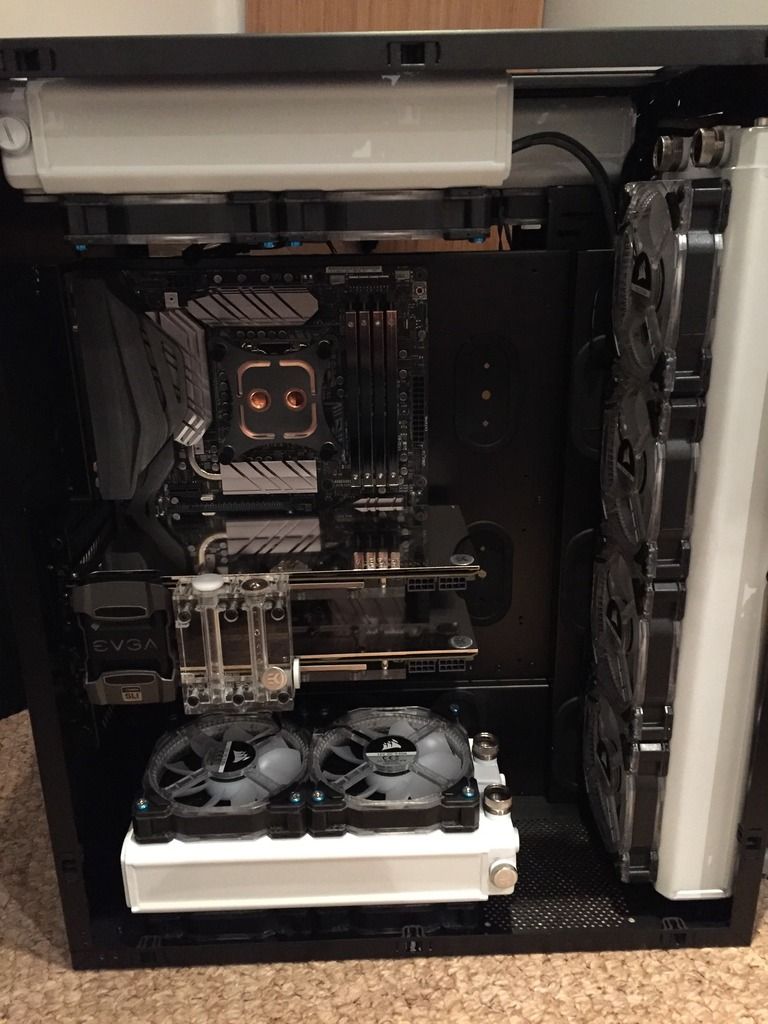
Haven't visited your log in a while. I'm so glad you went with the Hardware Labs SR2 radiators. I hope you like them too?

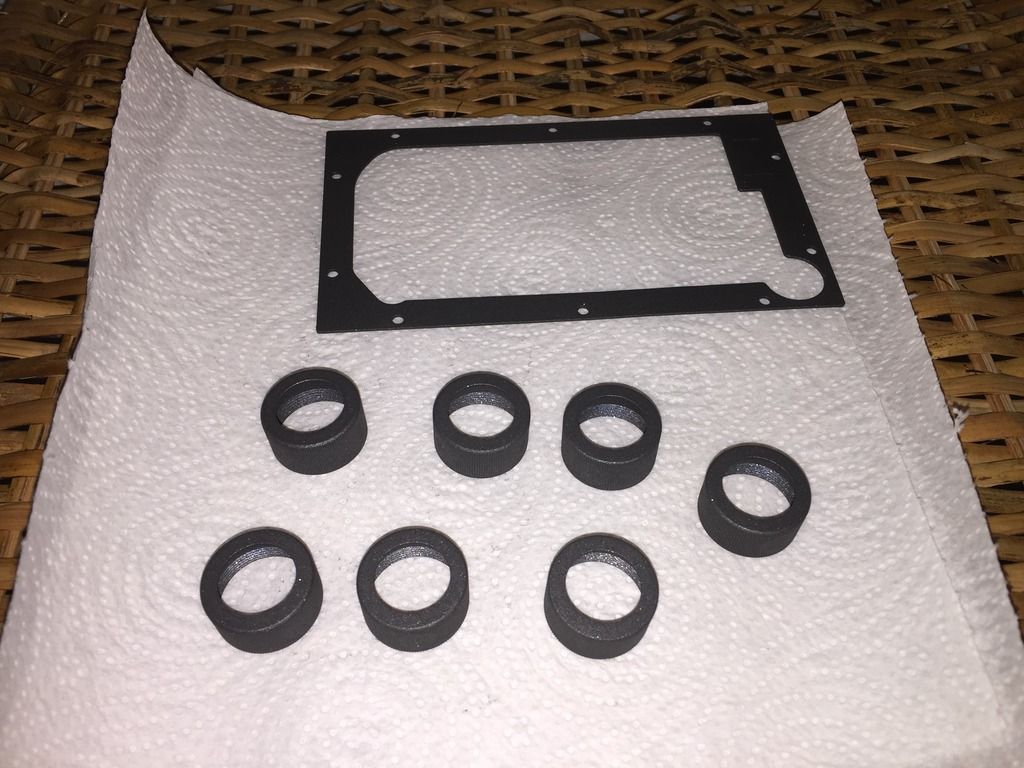
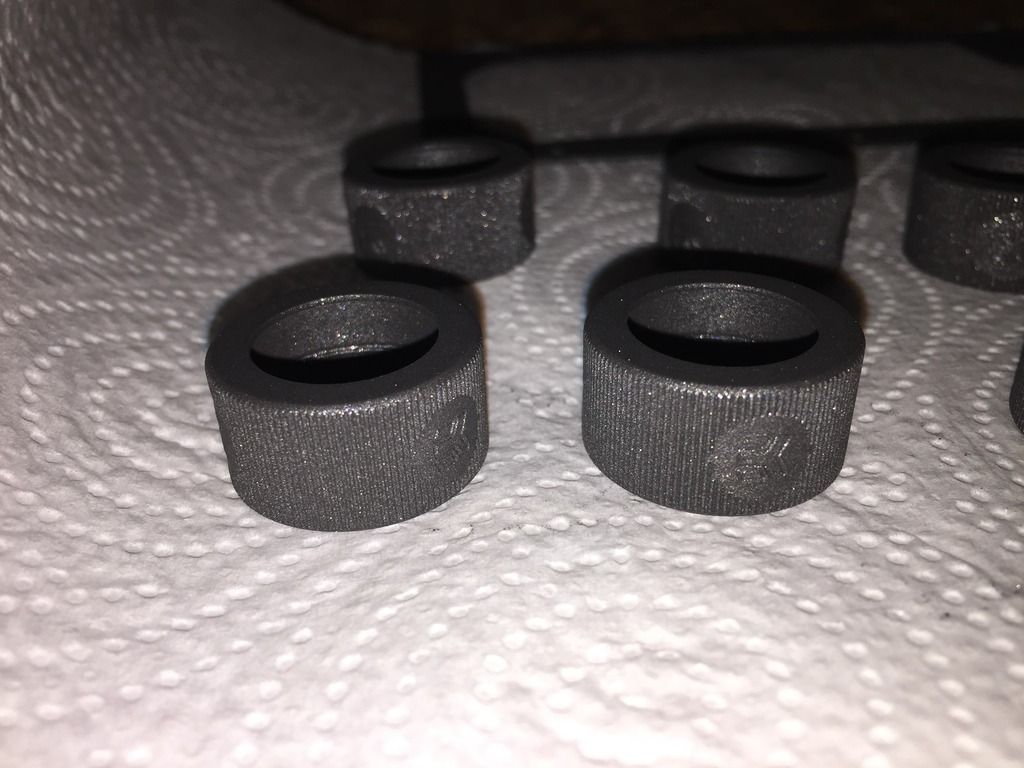
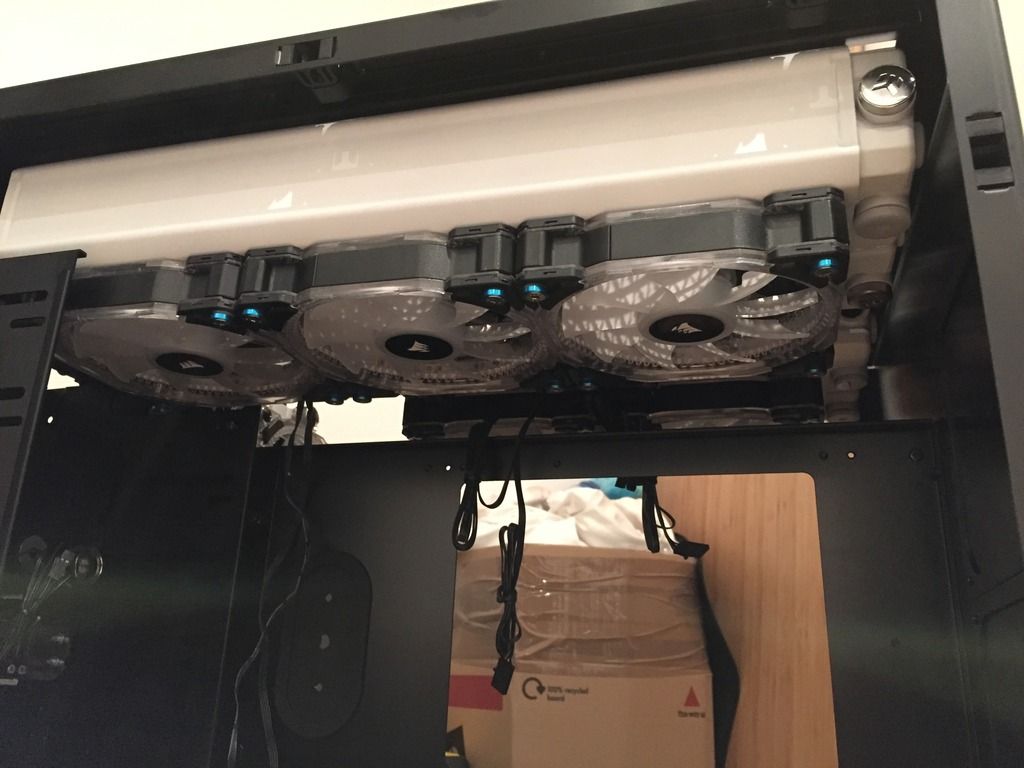
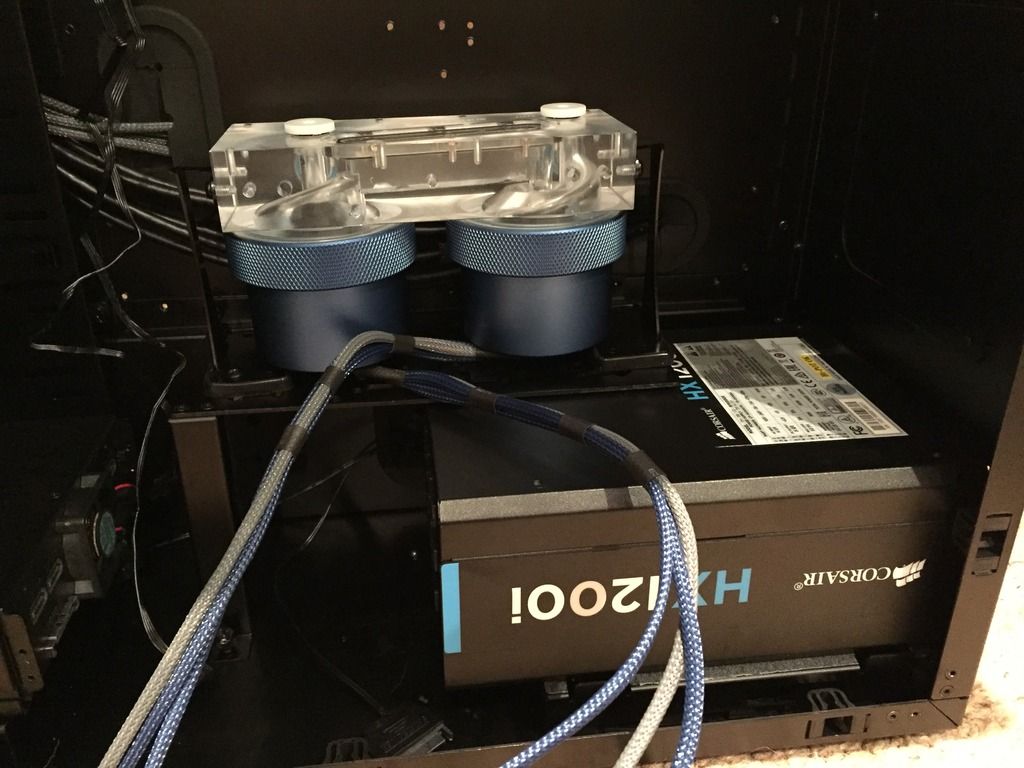
") . Decided to sleeve the fan cables in pairs to make life a lot less cluttered, I know it seems like time wasted because you can't see them but it was worth doing. Sleeved the front panel connectors also:
. Decided to sleeve the fan cables in pairs to make life a lot less cluttered, I know it seems like time wasted because you can't see them but it was worth doing. Sleeved the front panel connectors also: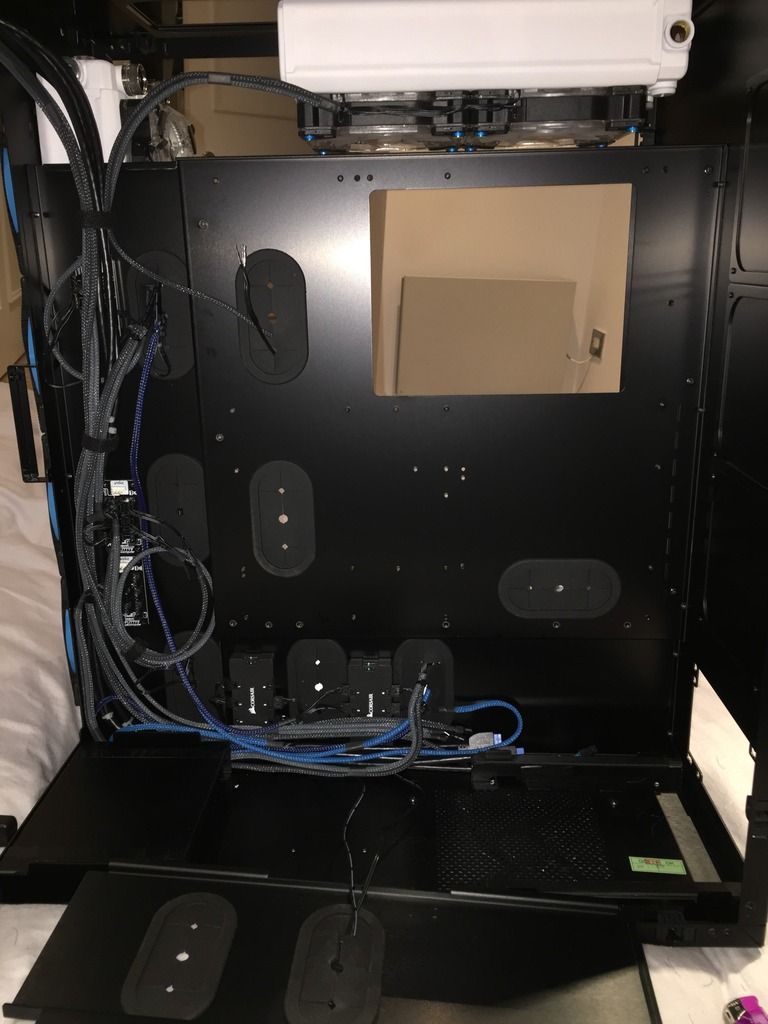
")
Haven't visited your log in a while. I'm so glad you went with the Hardware Labs SR2 radiators. I hope you like them too?
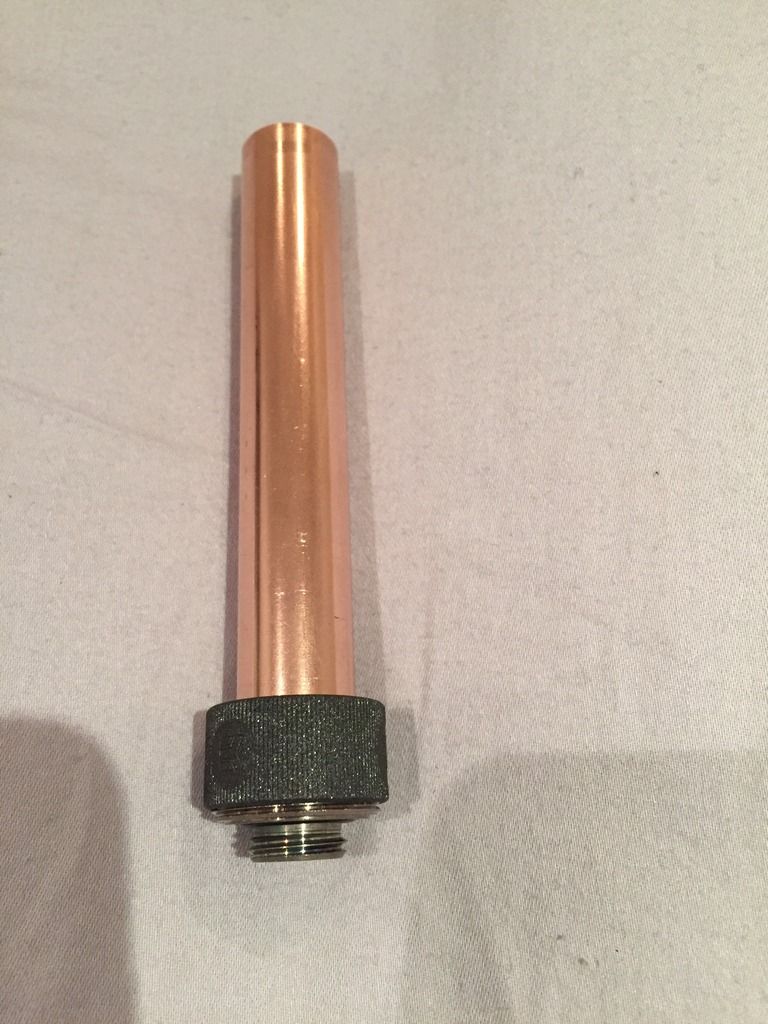
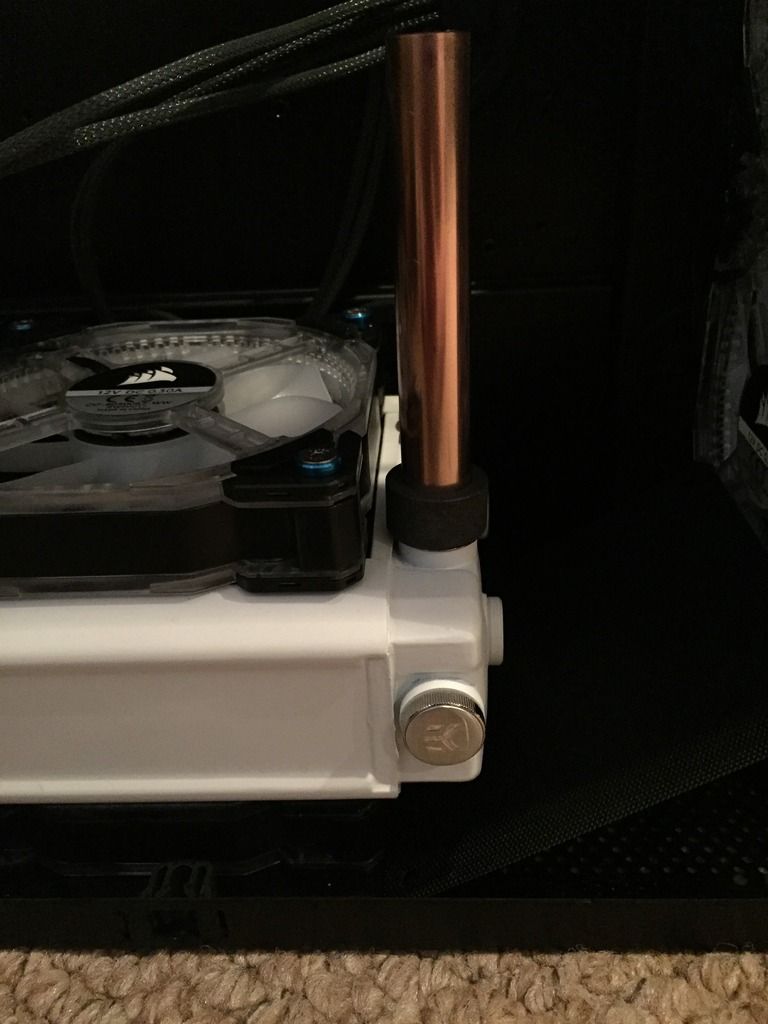
Copper could look quite cool. Far less common than white too. White would blend with your rads...which is either good or bad depending.
The silver booster is Aurora though so only short-term show use no? I think it takes chunks out your pump impeller if you use it long term...that and settles out.
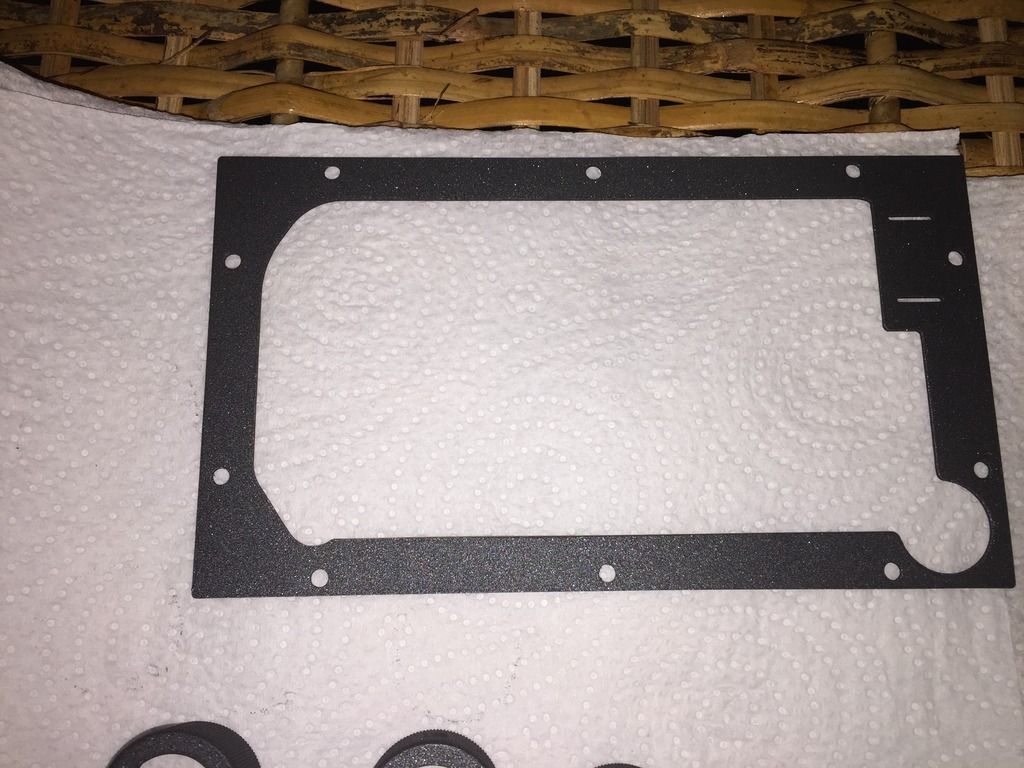
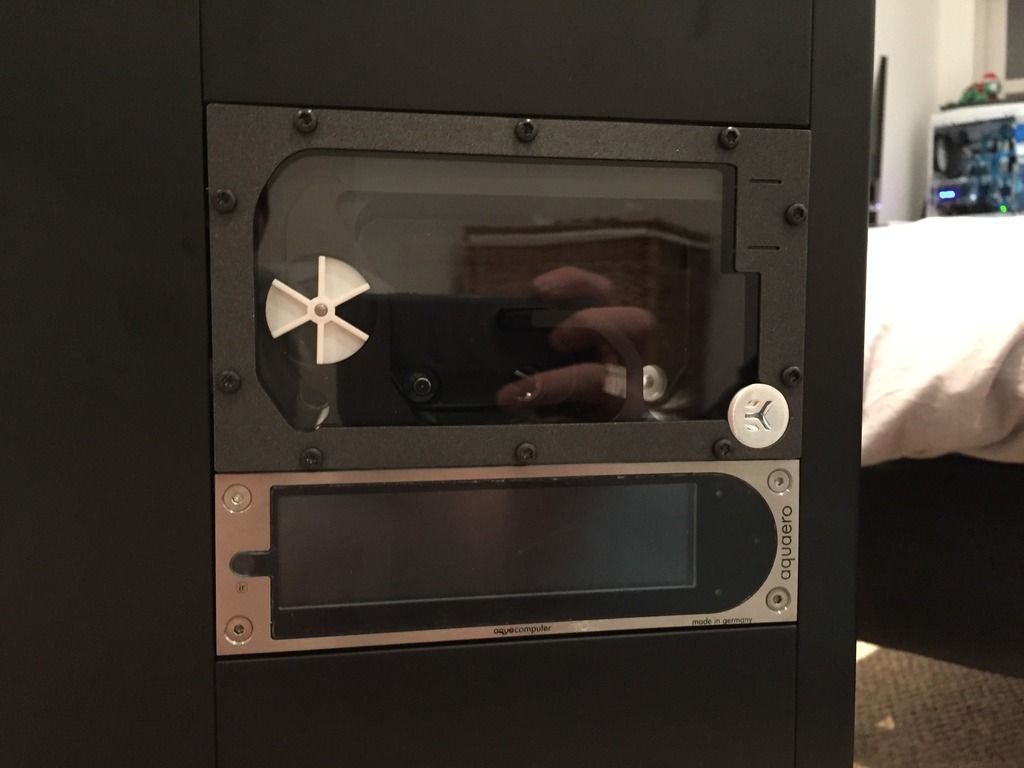
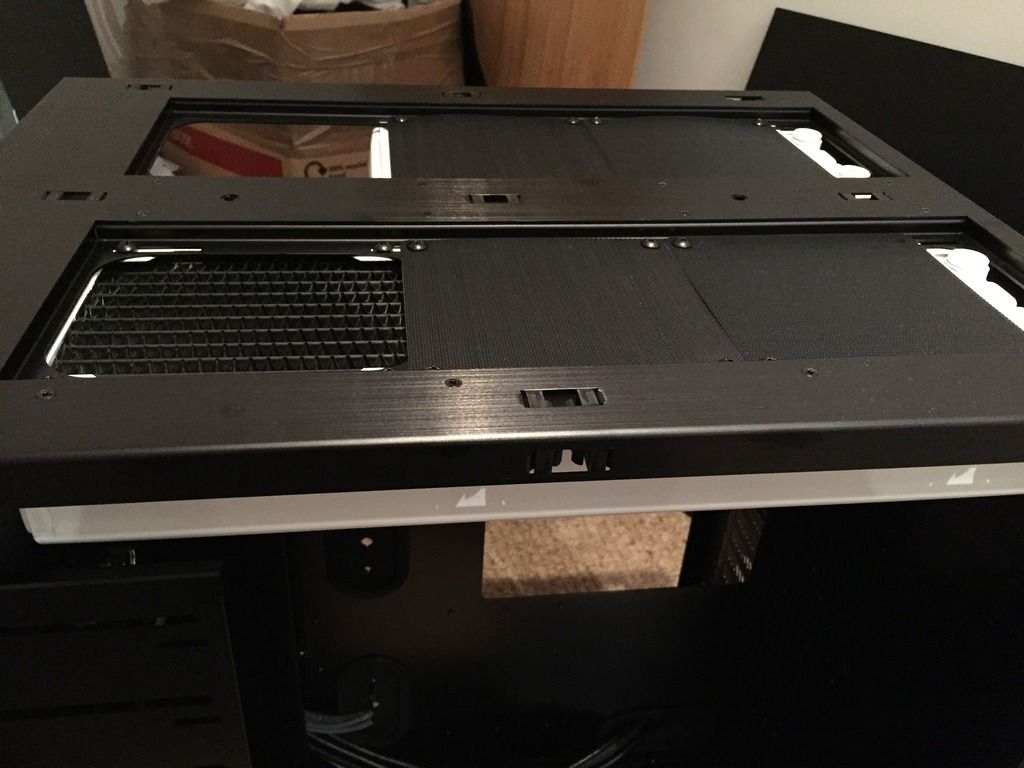
Face plate looks boss, I approve !

As far as I'm aware yes but my info old be out of date as there seems now to be an "Aurora 2" designed for "longer term use" but with no details I can find and it's not listed (that I can find) on Mayhem's site. TheRe is a link to their Aurora guide: https://mayhems.co.uk/mayhems-aurora-guide
you might get an answer from Mayhems if you post in the Watercoolin forum with Mayhems in the title.
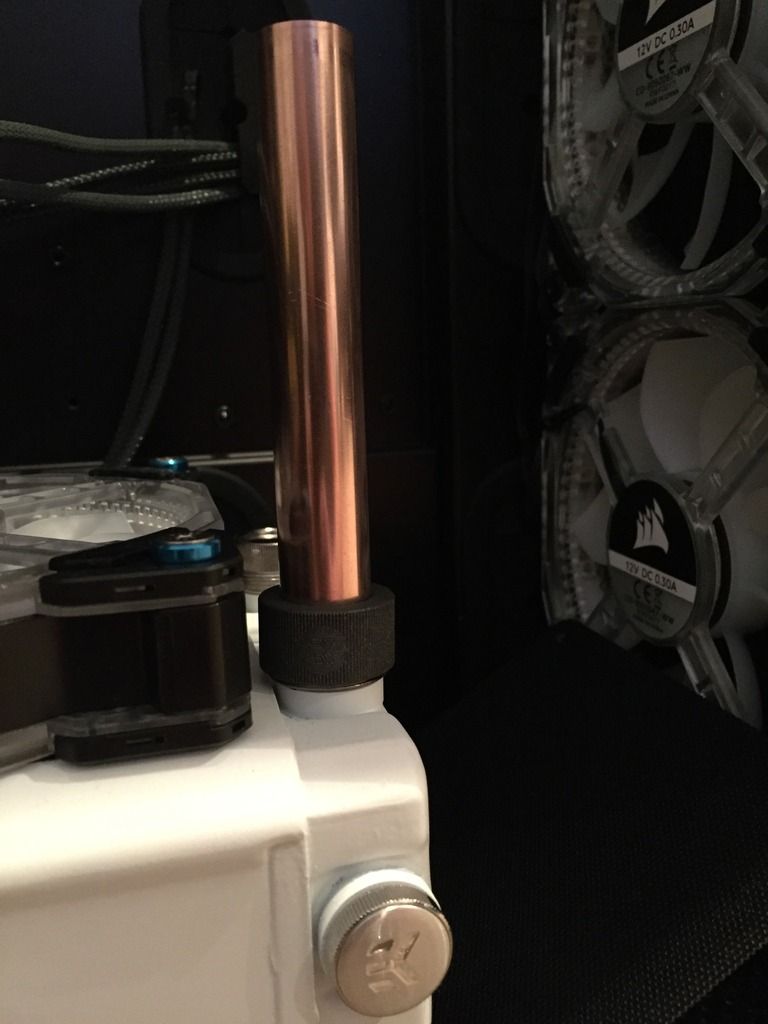
Sure one of the copper builds used some sort of clear lacquer to keep it shiny. Might be worth a search. If you put ridiculous amounts of elbow-grease in and go finer and finer, it's possible to get a mirror finish....but lots of work!It looks pretty - JR23 did a great looking reservoir with oil black coolant mixed with silver aurora. But is not friendly with filters, can clog, settle (if allowed) and damage impellers eventually.
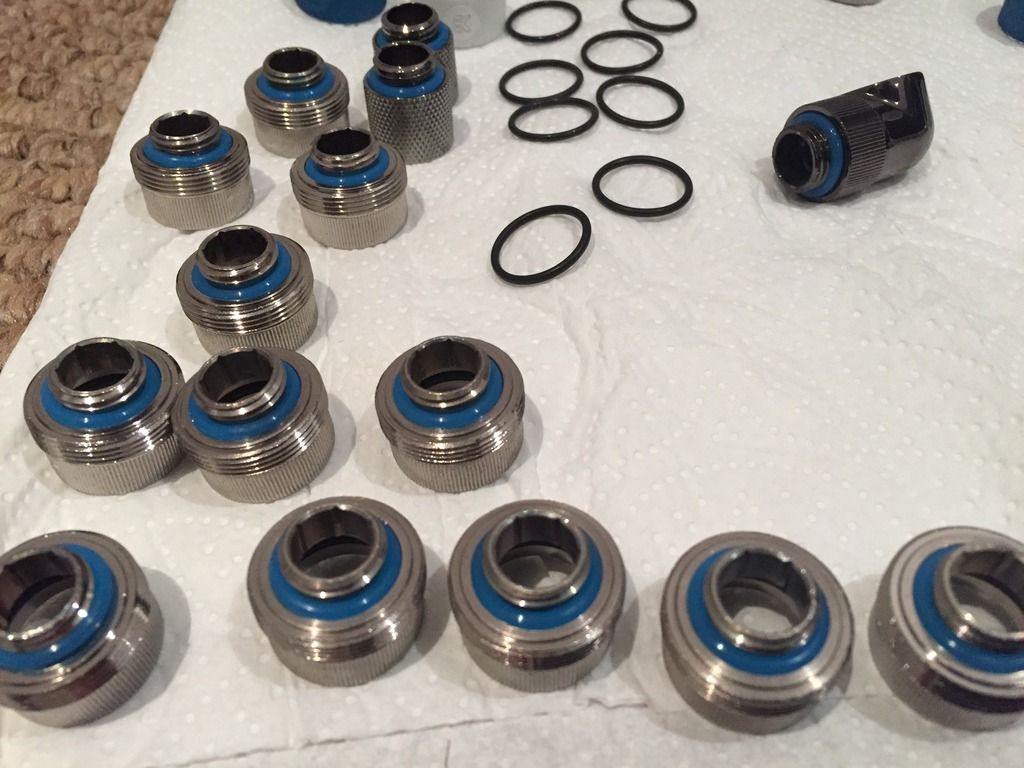
Pipework looks shiny
Was actually easy to drain because the res was literally screwed to MDF on the outside so just took the top off and poured it all in the bath.

Looks great, well done