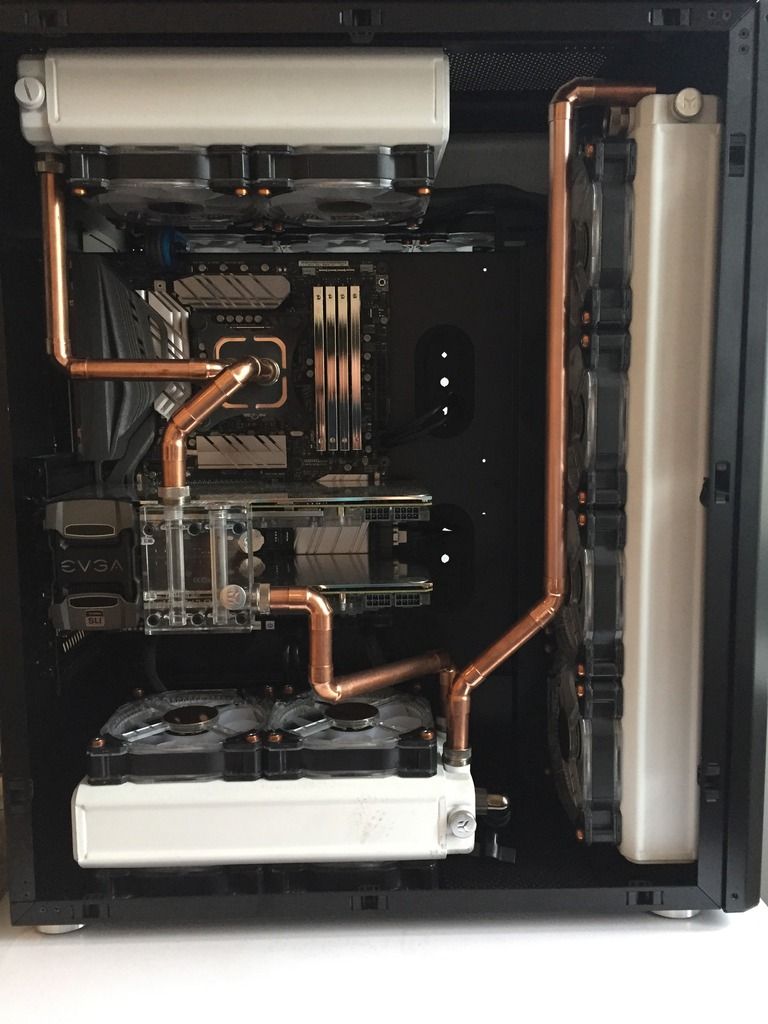
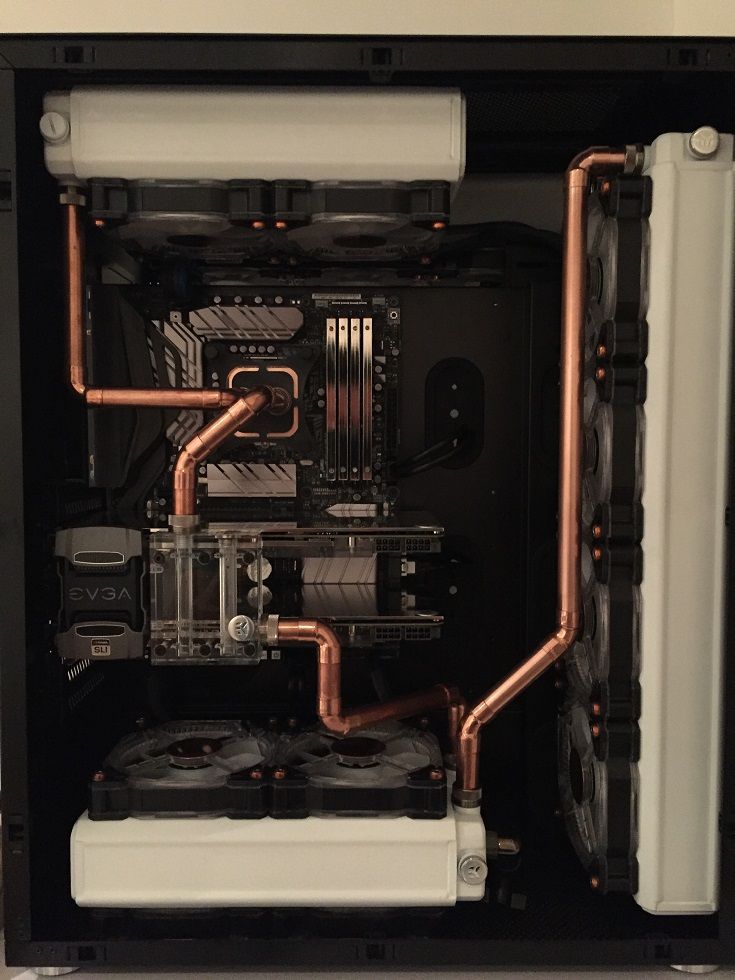
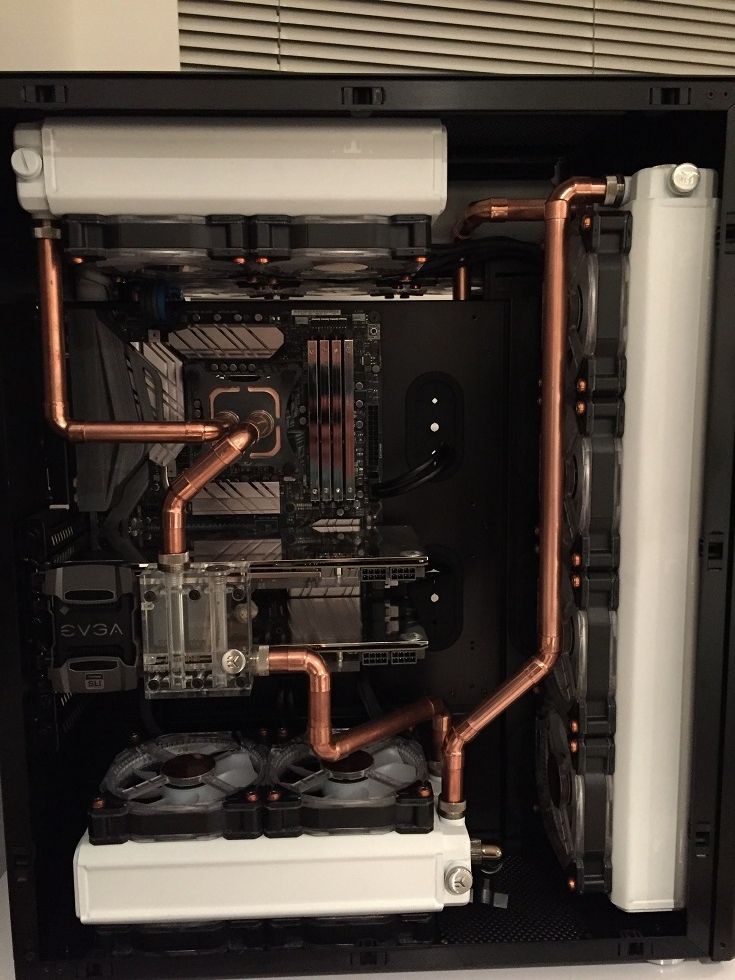
Project Smurf 3.0

You can always shove a Dr Drop on it. Up to 8.7 psi (0.6 bar) of test pressure with a working one (hint: mine isn't). Doesn't sound a lot but let me tell you that if the central column * gives in a res filled with that pressure, it blows the top off with quite a bang!

* that you've wisely replaced with threaded acrylic tube not quite sized correctly or threaded to the correct size
 
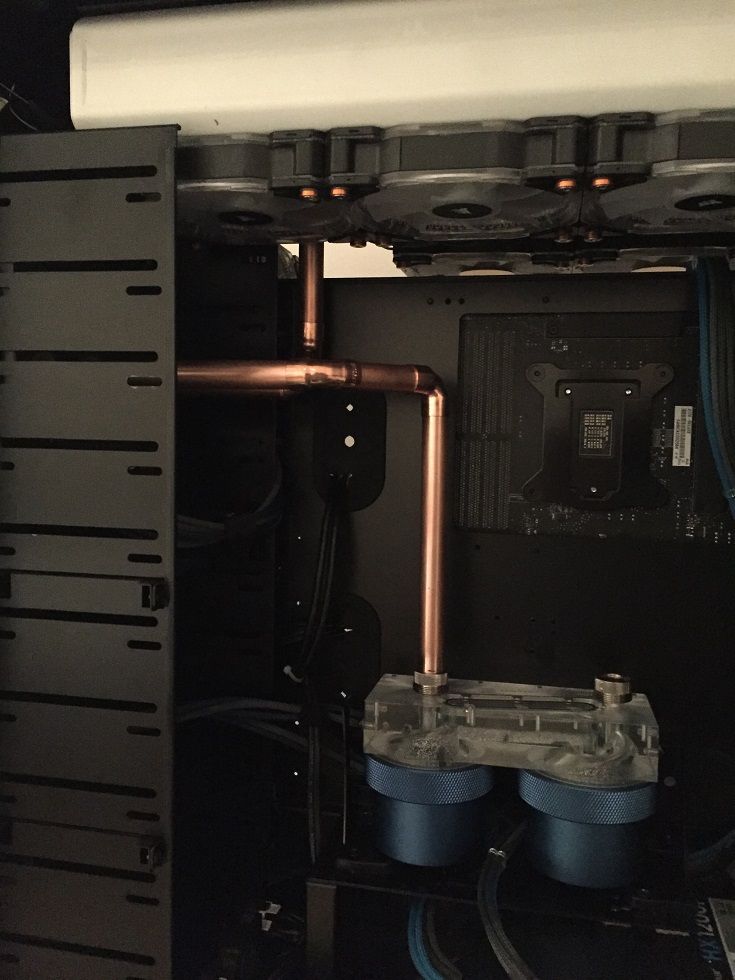
Bit more tinkering and the front of the loop is basically done (need to trim the right hand pipes but both mini pipe cutters are now broken, 1mm pipe was a bit much for them so just picked up a sturdy Barco cutter). Tonight i'll hopefully have all the plumbing done ready to start cleaning up all the parts properly in preparation for fixing together permanently.

IMG_2084_zpsrqhut0lf.jpg
 
Looks good. Like the copper screw-heads picking up the colour theme. If it's not a rude question, why have you connected the pipe to the top port of the front rad instead of the front port? Doesn't make any difference in the scheme of things; would just save you a 90. Or have I just missed the point and the pipe is left too long for the moment?

Extra rad ports seem to be damned handy for drains! Plus it probably lets you go neatly sideways across the top to the res I'm guessing.
 
Looks good. If it's not a rude question, why have you connected the pipe to the top port of the front rad instead of the front port? Doesn't make any difference in the scheme of things; would just save you a 90. Or have I just missed the point and the pipe is left too long for the moment?

Extra rad ports seem to be damned handy for drains! Plus it probably lets you go neatly sideways across the top to the res I'm guessing.

You did indeed miss the bit about that, I broke both pipe cutters last night so its just resting on top and needs about 15mm trimmed off. Now got a new one so after work time to crack on! To be fair to them they were £2.99 minis I was using on PETG so they did pretty well on 1mm thick copper!

They are damn handy ports but I do dislike the way they stick out on the front/back because mounting flat against the case is difficult (not on this one). I've got a drain on the lower 240mm rad at the front if you look closely, its connected to an EK 90 so swivels round when you need to use it and back hidden when you don't. All the other rads are at the top so drains would probably be useless, also these rads seems to drain like a dream compared to the EK previous installation.
 
Evening all... So how much do I regret not buying a quality pipe cutter in the first place, new one is simply ace. £20 well spent.

Ploughing on with the copper work ahead of getting the bonding agent next week, massively pleased to say its all done, cut and ready to be taken apart and properly wooled, reamed, fine wooled, pickled, rinsed and then finished with the wax... Boring task that lot will be but not for this evening!

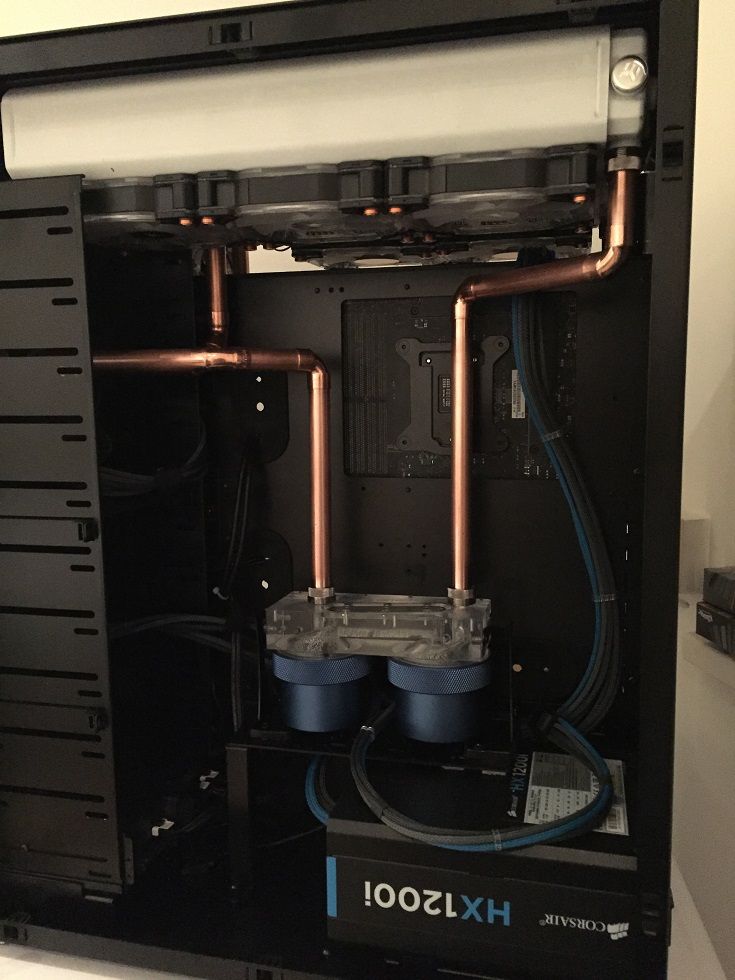
Finished front layout:
IMG_2090_zpsxwqeg5hr.jpg

84e80379-f761-4ed6-aaf5-02627da591d6_zpsnd21r4dp.jpg


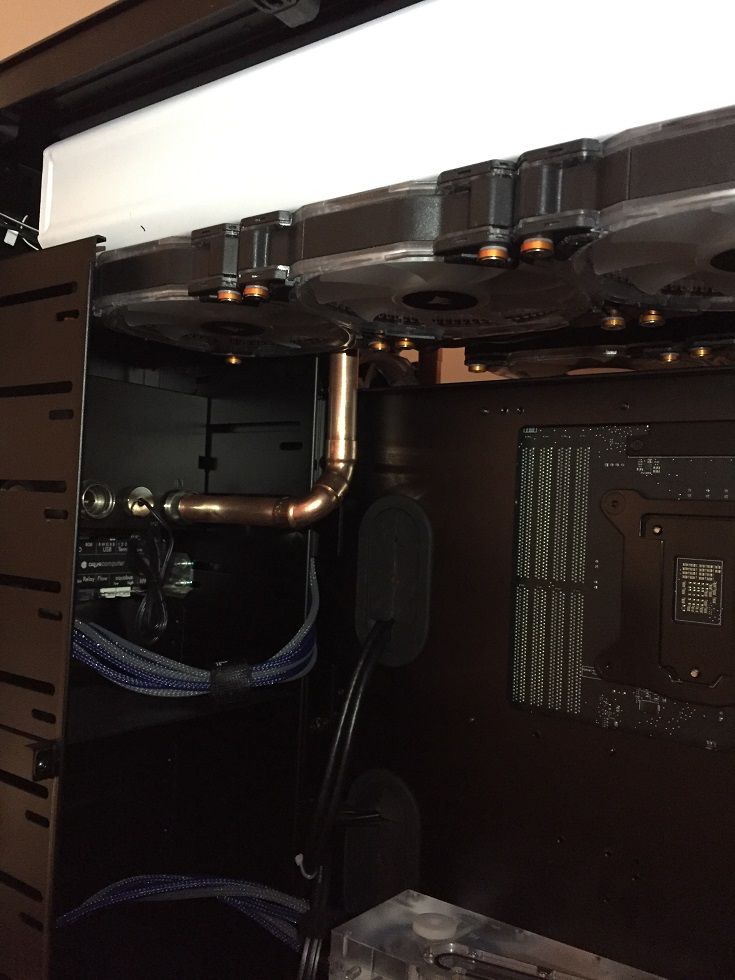
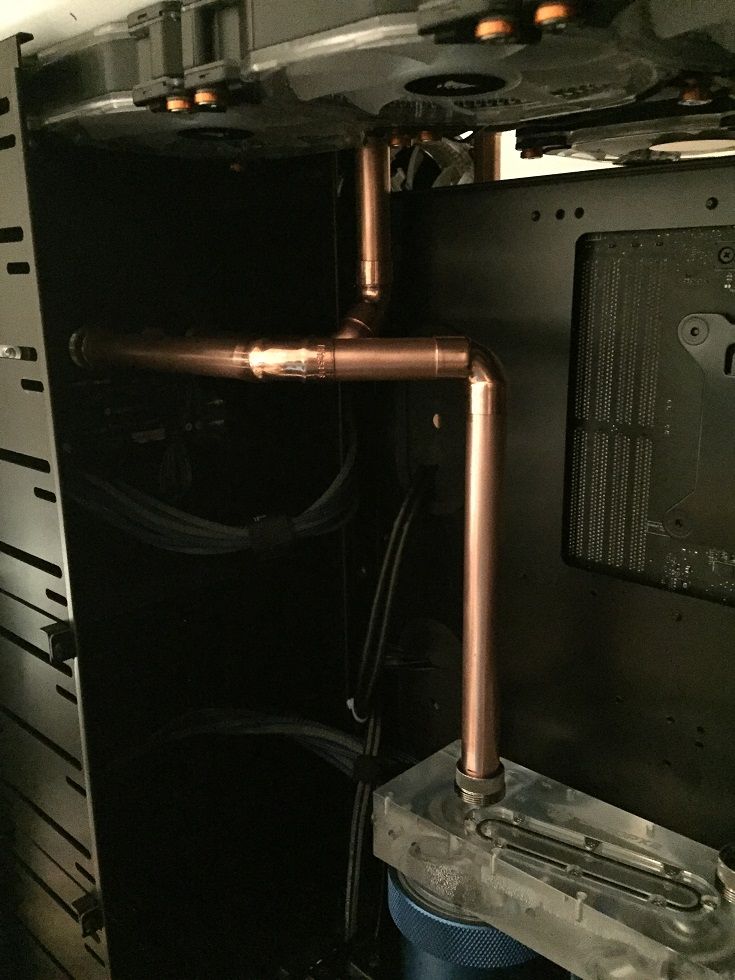
And the piping routes over the back in to the res:
IMG_2092_zpscaiepp2s.jpg


More work on the back, whats really annoying is the 2nd 3m pipe I had seems to be every so slightly larger than the 16mm first. Basically its a hell of a fit in to the elbows so very annoying to work with.

IMG_2094_zpsos61vrko.jpg

IMG_2096_zpszawgja6t.jpg

IMG_2097_zps0t7cuws0.jpg


And the most important thing to do now:
IMG_2098_zpsd8oyv4yp.jpg


Hands broken, back aching... but pretty pleased with the result finally!
 
Cheers folks, big fan of those screw washers too and to be fair they are about £4 for 10 on the bay.

Let's hope it doesn't leak once it's all sealed :)
 
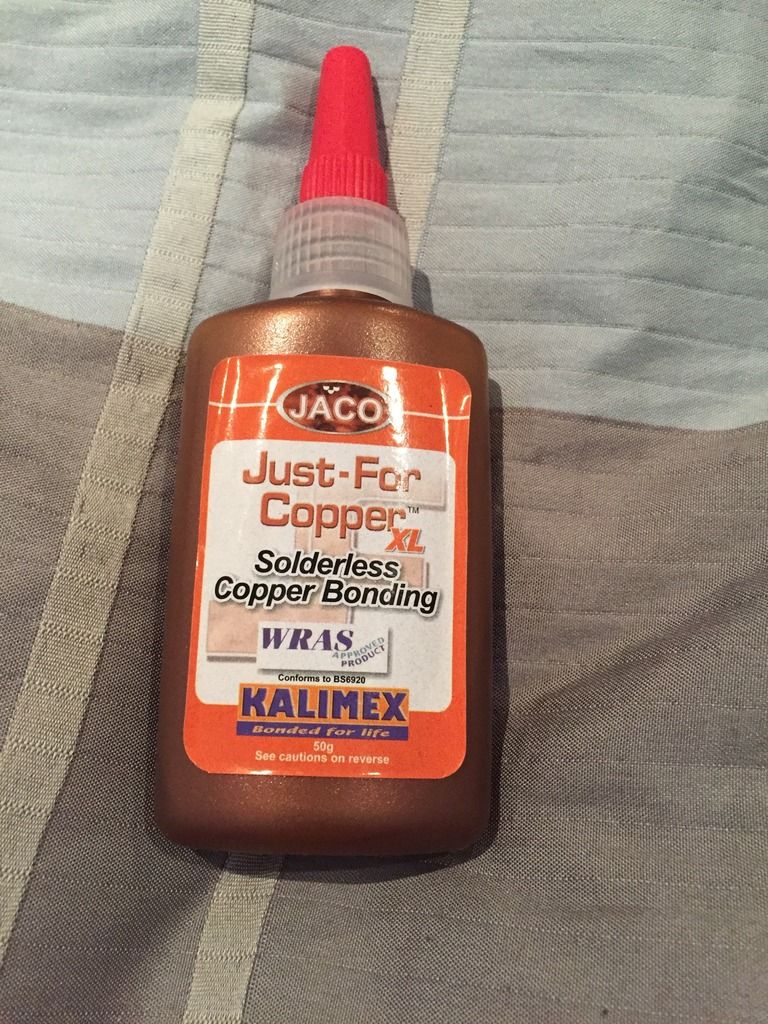
So this arrived while I was away this weekend...

IMG_2112_zps67ww71e1.jpg


Had a quick play with it before heading to work and made a join between a random offcut and elbow. Followed the instructions, the two pieces were relatively loose fitting unlike some of my joints but after about 10 seconds you can't shift the elbow... Left it 10 mins (after 7 mins its supposed to be safe to turn on water supply again and withstand 200 PSI) to cure and I cannot prize it apart.

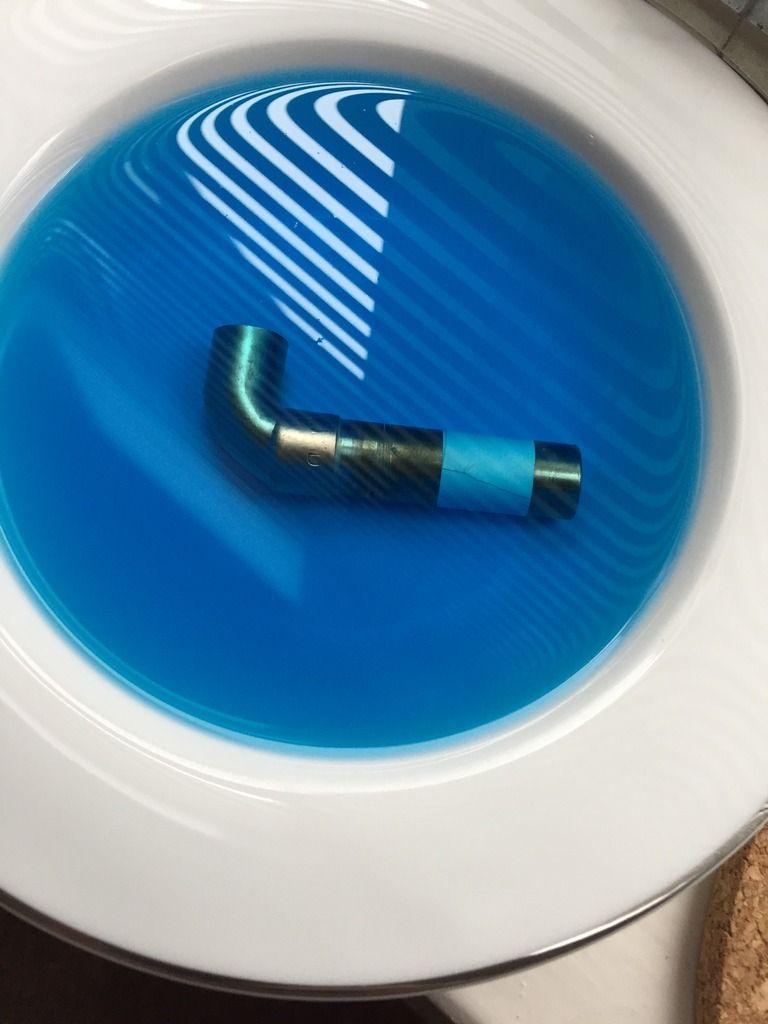
Creates a really neat seal and from the small initial test it will definitely stand up to the forces within a custom loop. The main question is really if it creates the air or rather water tight seal it looks to... Considering I couldnt twist or move it after 10 minutes its pretty tough stuff! Initially I was worried about some of the bits I can't rotate 360 once bonded (within 5 secs) but there are actually instructions for that in the guide so all good. Left it submerged in some spare EK fluid while i'm at work so will see if anything mental is happening when I get home later...

IMG_2113_zpsa1bxdqgl.jpg
 
Top work mate, looking good. Hope the Just-For Copper works and doesn't react with the coolant, will make life a hell of a lot easier than soldering every single join!
 
Looks superb man. I've not been around much but you've made some excellent progress :D

Ta mate, been a long old slog but getting there...

Top work mate, looking good. Hope the Just-For Copper works and doesn't react with the coolant, will make life a hell of a lot easier than soldering every single join!

Considering it is food safe, drinking water safe, hot and cold safe it shouldnt... But we will see. Be home in a few hours so i'll either be immediately going for a beer because its gone weird or cleaning up tons of copper to crack on.

They do make another product in the US which looks to be the same but guaranteed to be safe with all refrigerants - presumably for AC pipe/actual fridges. Guess I can always just stick with distilled and bio/corrosion inhibitors as a worst case.
 
The main question is really if it creates the air or rather water tight seal it looks to... QUOTE]

Got an Aqua Computer Dr Drop? Hard tube fitting on each end, female to female extension and stop plug on the other (or any other method of reliably closing the end - I'd suggest flatten it and fold it over but could break the bond) and you can fill it with air pressure and see if it leaks.
Dr Drop is available cheaper without the bicycle pump - provided you have a bike pump or car pump (it's a car type valve) you can save the money. You must disconnect the pump once pressurised to get a seal. The gauge is a bit delicate so don't drop it or get it wet but you could dip the joint in water and see if/where there are bubbles.
It's not a perfect system but it's better to see if the non-conducting air leaks out than if the coolant leaks all over everything!
 
I don't have one but might order one... Pretty sure this test piece is water tight, you can see the bonding agent inside it. First glance I thought it had gone funny in the coolant but its just I put a bit much on, tested again with dionised and same result the bond is set white inside visibly sealing the pipes even from that edge.

Just took it apart and remade a few loser sections with the slightly bigger pipe (idk why it is...), not sure how much i'll get done this week as I basically need to dedicate time to cleaning them all and i'm quite busy so the Drop might get bought while I wait.
 
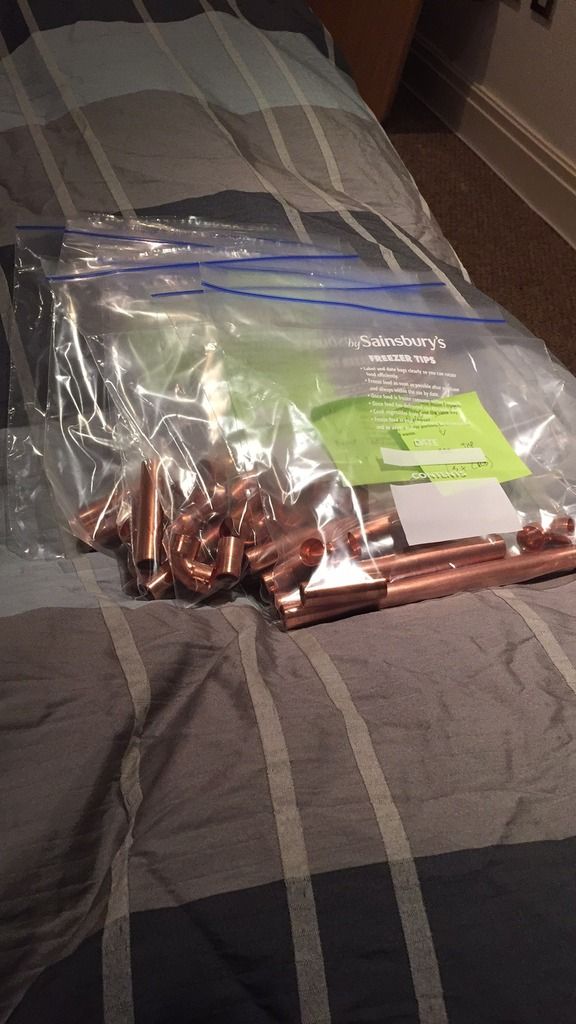
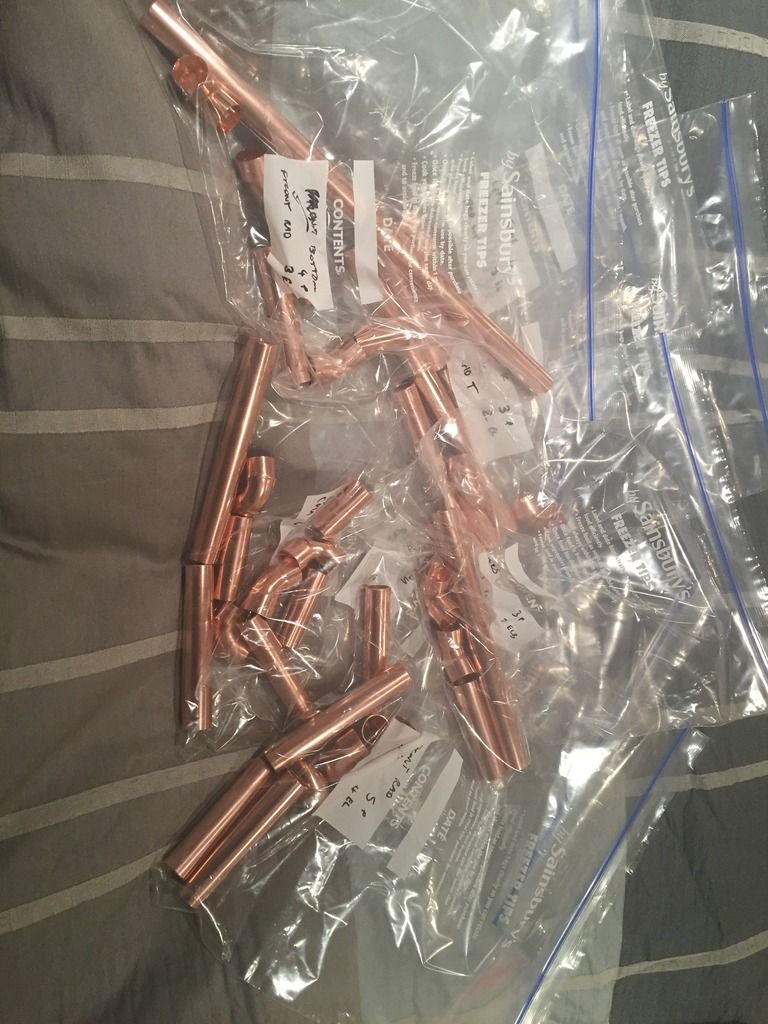
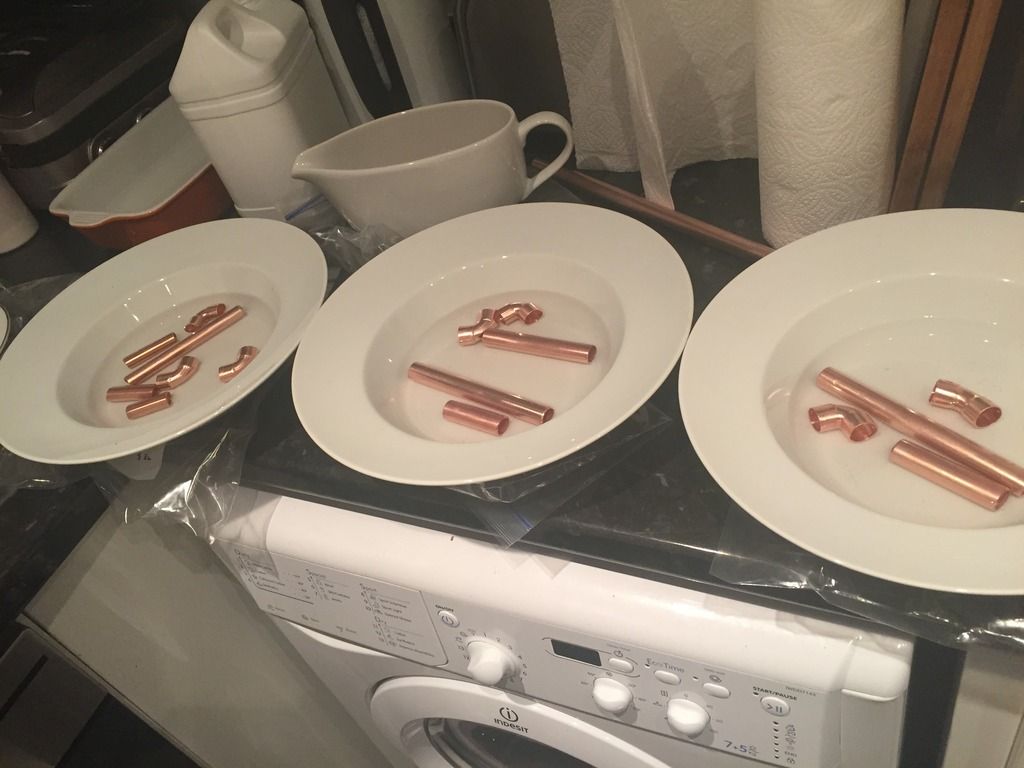
Boring updates but updates none the less... This is the bit i've not been looking forward to, taken apart the sections and bagging up (so it doesn't get confused given its about 40 bits of copper...). Everything needs cleaning up a lot, done the most soul destroying bit with the coarse wire wool and then ultra fine first go.

Bagged ready to be sorted
IMG_2119_zpstzmjgfaq.jpg


Many blisters and aching hands later... Cleaned up:
IMG_2140_zpsmi9cxesq.jpg


Copper soup... Pickling the copper to remove traces of oxidation etc before a good rinse in de-ionised. Using a home brew of vinegar and salt basically. Still attempting to keep all the stuff in the right batches!!
IMG_2141_zps5dmnemc3.jpg


Not around this evening but the next job will be starting to prepare and bond sections, some will be done outside the rig and probably the final connecting join inside to make sure it sets in the perfect angles. Also making it easier to fit it back in, not forgetting there isn't a lot of flex in 1mm copper like you can with a PETG pipe. Once its in place it will be a final buff up and then copper polish ahead of the micro waxing to stop it tarnishing. Then if it leaks i'll cry :)
 
Back
Top Bottom