WOOOP Okay so today made a little trip and got the things that i have been on about getting for the past few weeks! As some of you know, i've had problems with power supplies and cooling and at one point wanted to go a water cooling system but after some good advice from you guys and some persuading :'P i decided to go for the new case and aswel as PSU and fans etc :').
So heres what i bought today:
Antec Mini P180 (Gun metal)
Corsair HXUK 650W modular
2 x Sharkoon SE modular fans
Coollaboratory Liquid Pro (Came in a syringe)
White Cable Braid
White Heatshrink
Anti-Static Wrist strap

So here begins the transformation, i started this build at 3pm in the afternoon today and didnt finish till roughly about 10pm!!! It is my first build though so be gentle aha!
Theres quite a few pictures so please be patient and let them load if you have a slow connection.
A pic of my old case and current build: Very messy and just looks sorry for itself tbh!
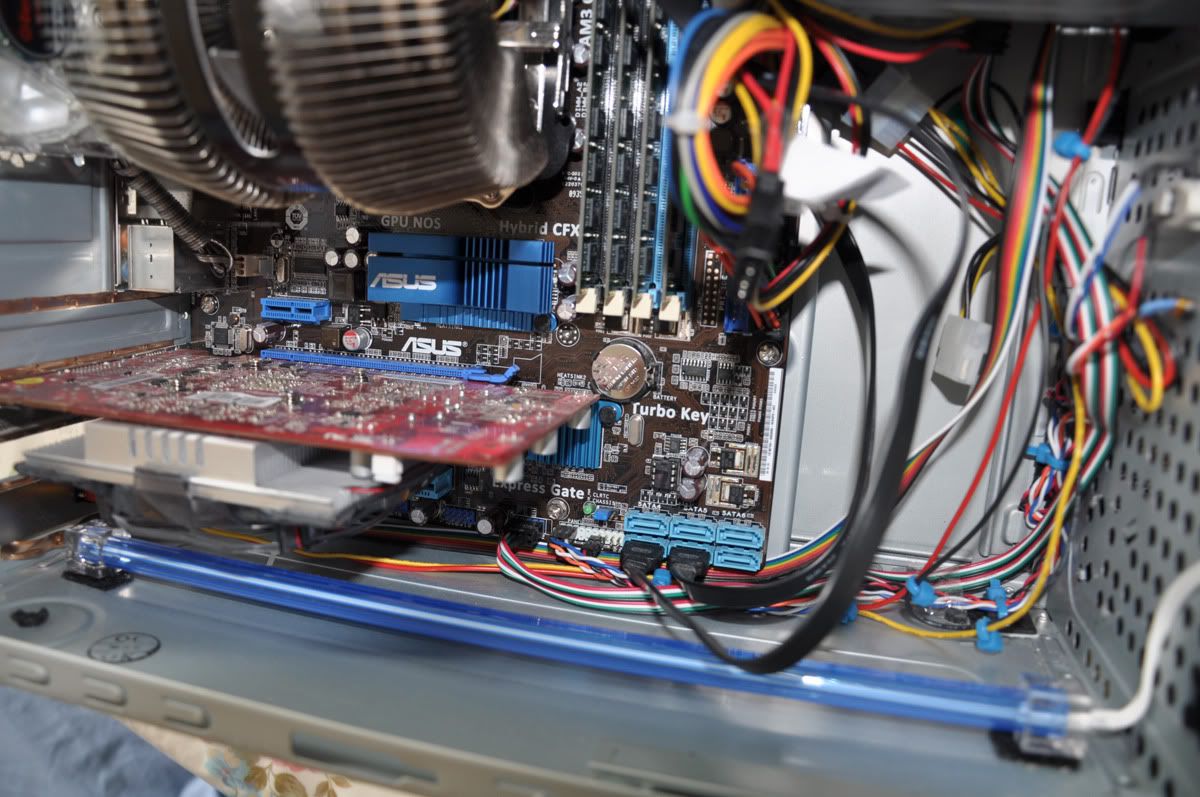
Started out with stripping the PSU out first to release some space aswel as removing the CPU cooler.

All components stripped out of my old case and ready to be cleaned and dusted off.
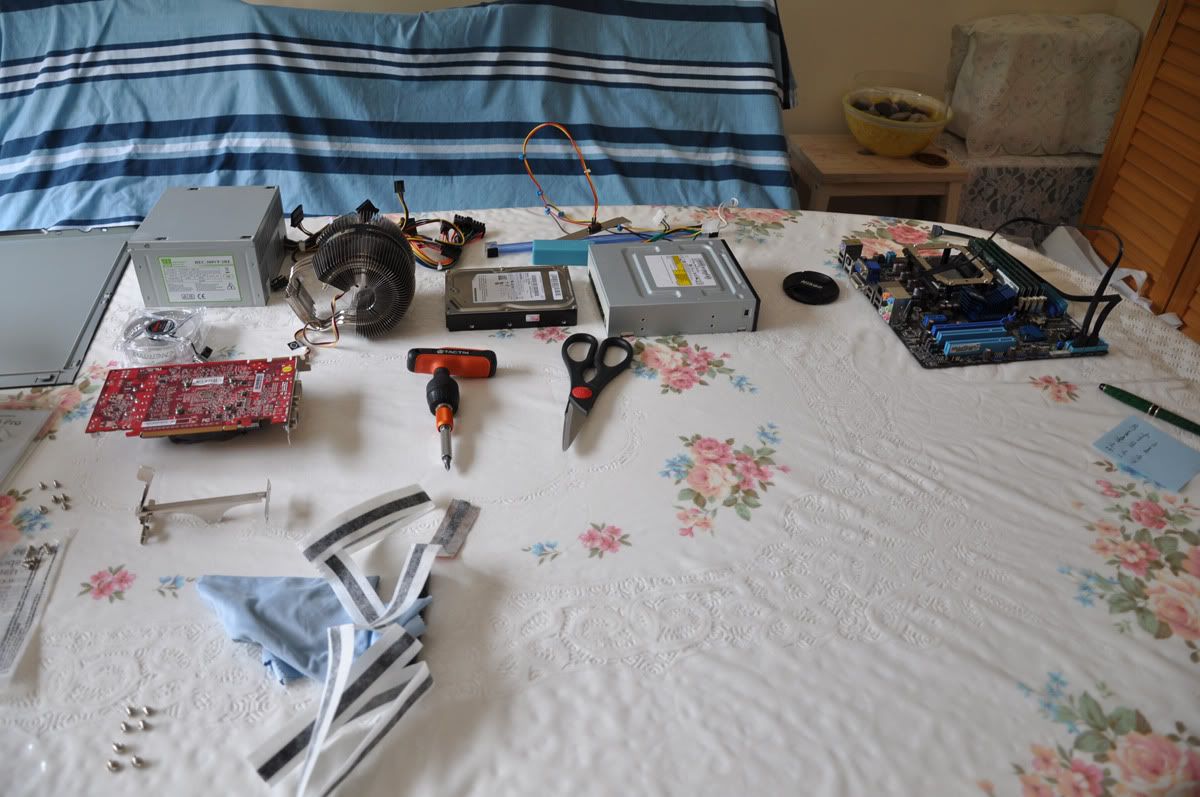
I was going to take pictures of the new thermal paste/gel stuff but i got carried away and totally forgot to do so! Heres a pic of what it looked like after though anyway. I changed the direction of the CPU fan so it blows out of the case instead of blowing in since my old setup was to blow into the case and out the front.


With that done and the parts dusted off, its time to put the board into the new case. I struggled abit here and had to remove the rear fan for more work space, don't know if anyone out there with the same case had to do so aswel but it saved me a lot of time i think.
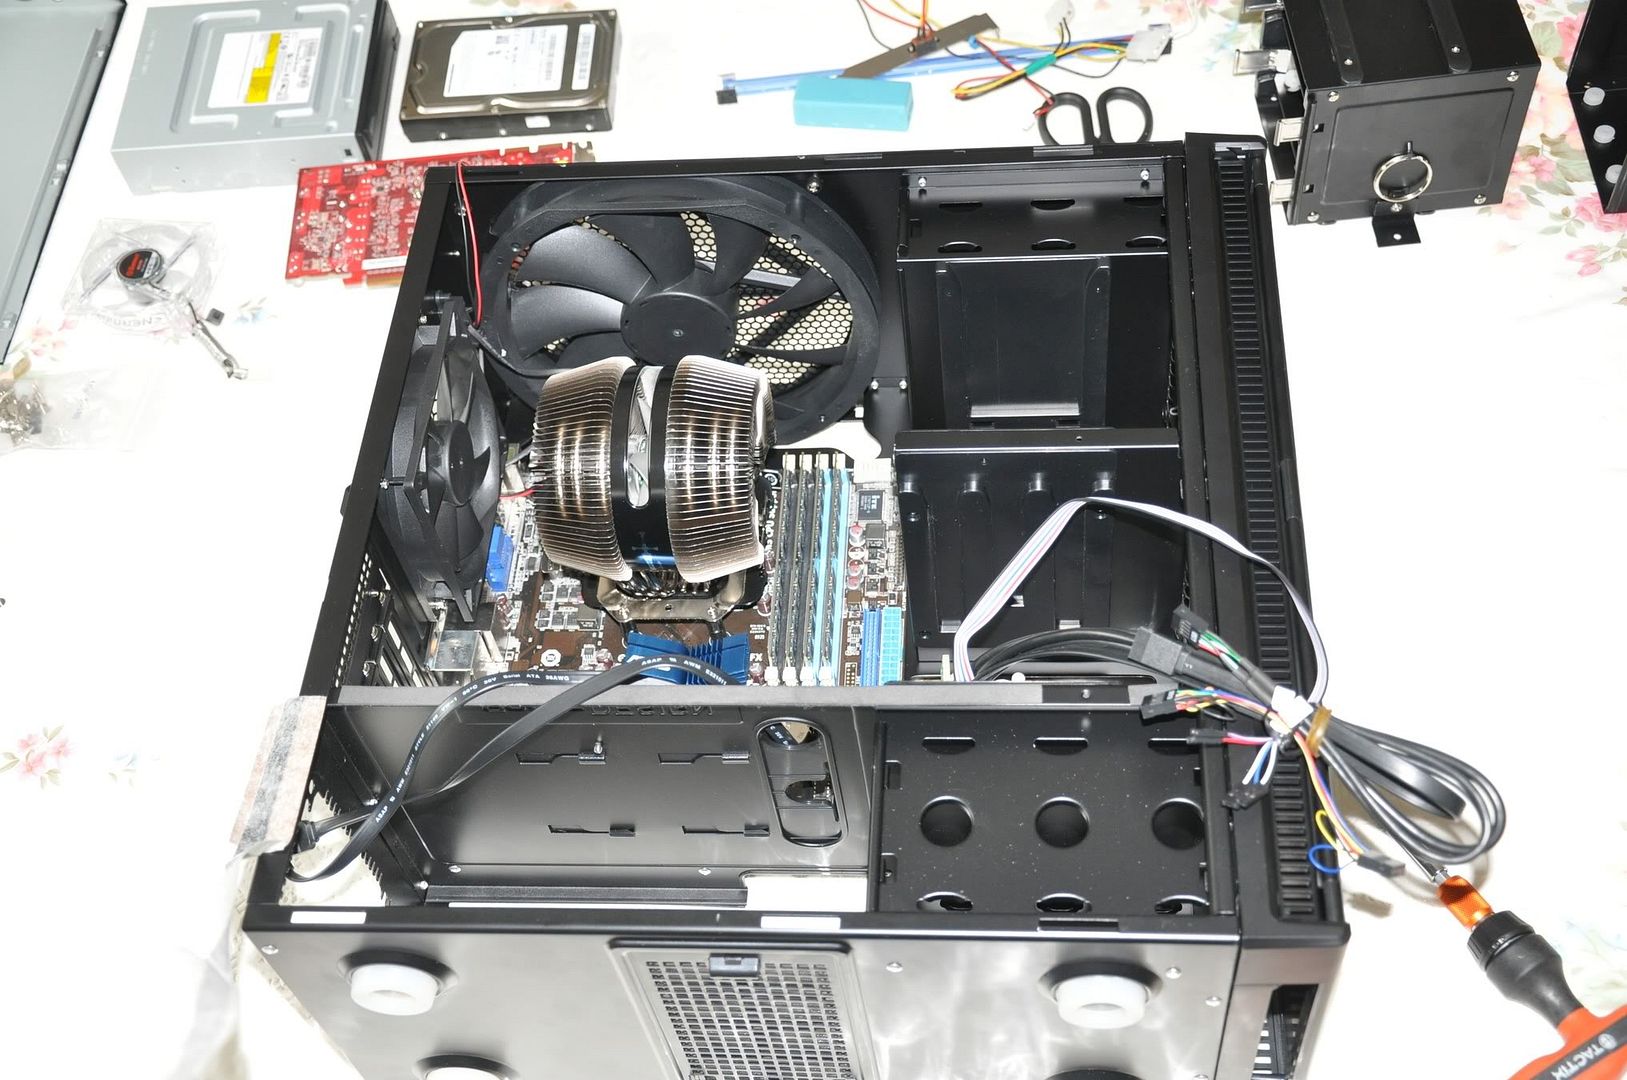
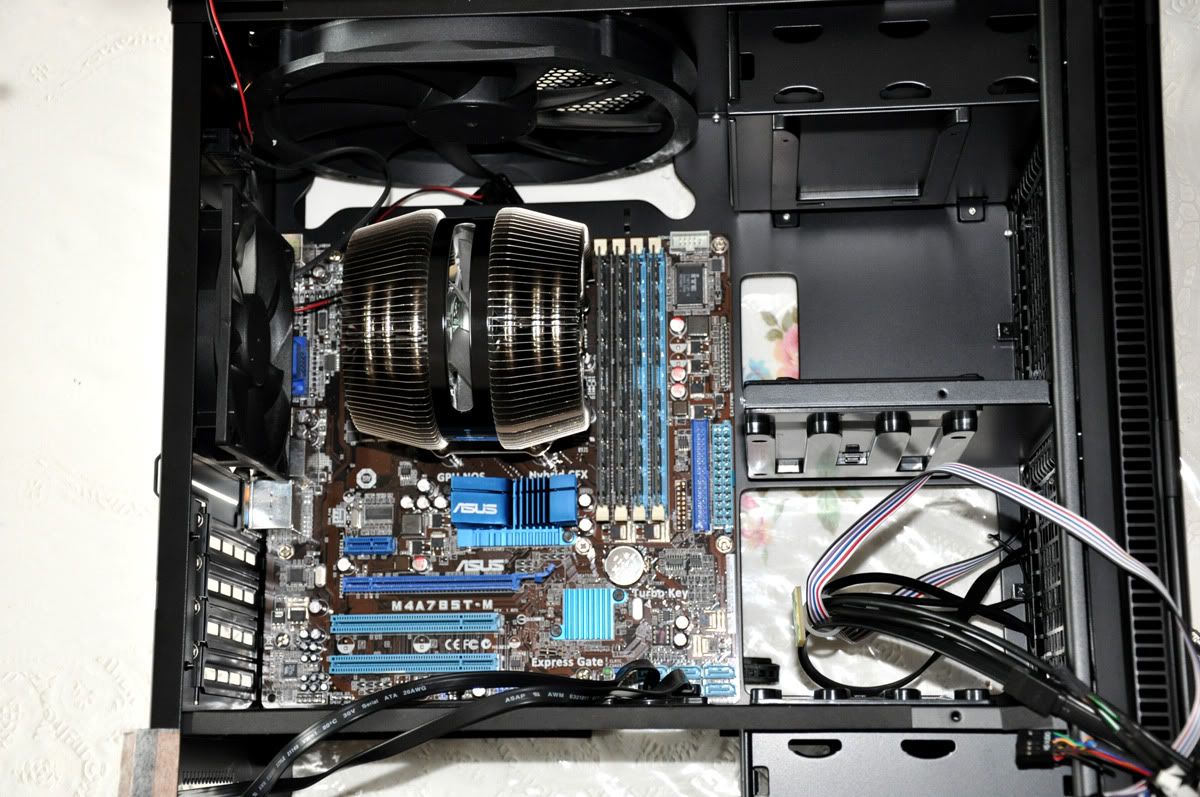
Hard Drive goes into the top bay and at the same time i did some cable braiding with any that needed doing so it looks all tidy and neat :'). White Cable braid looks lush tbh!


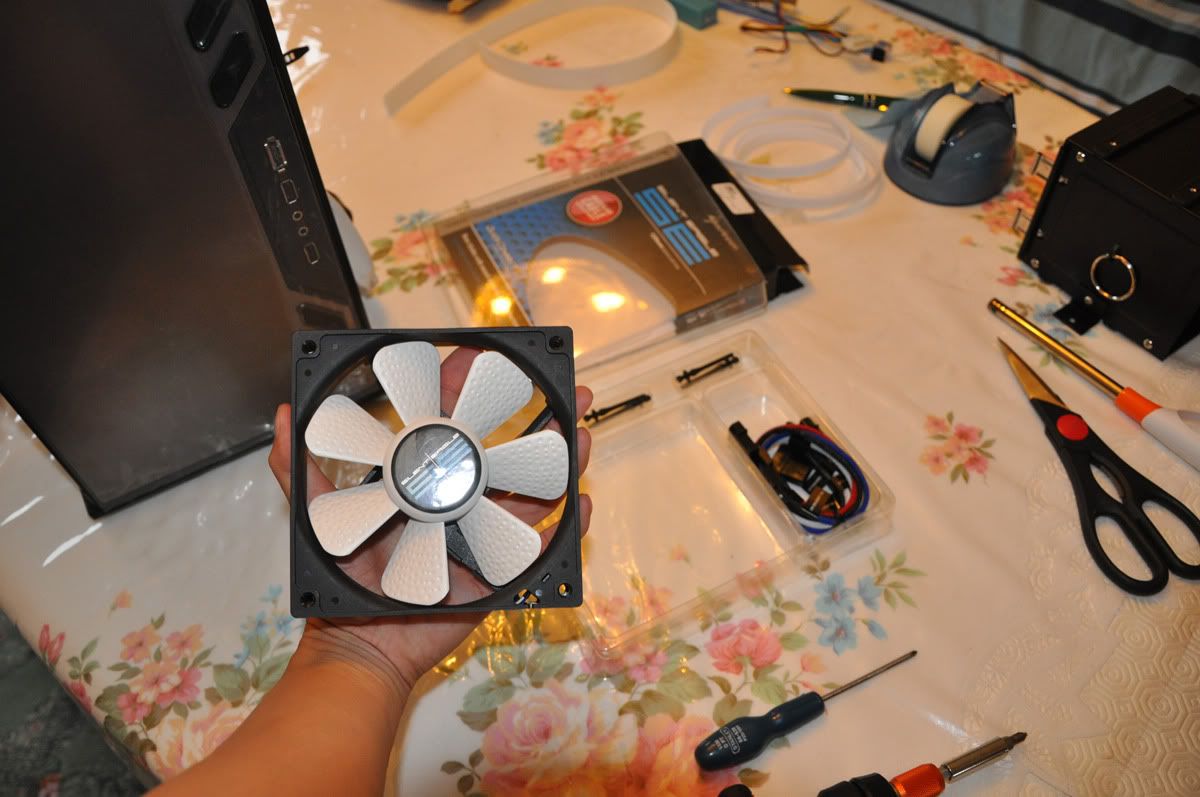
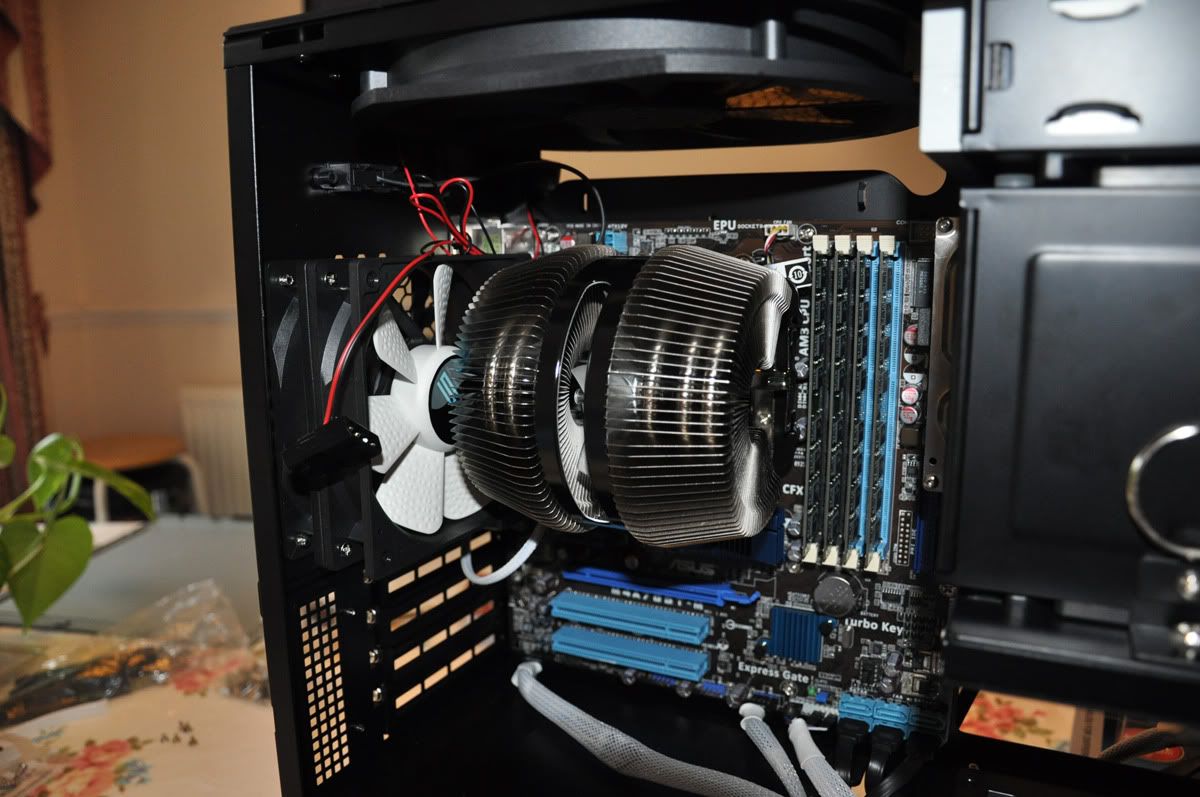
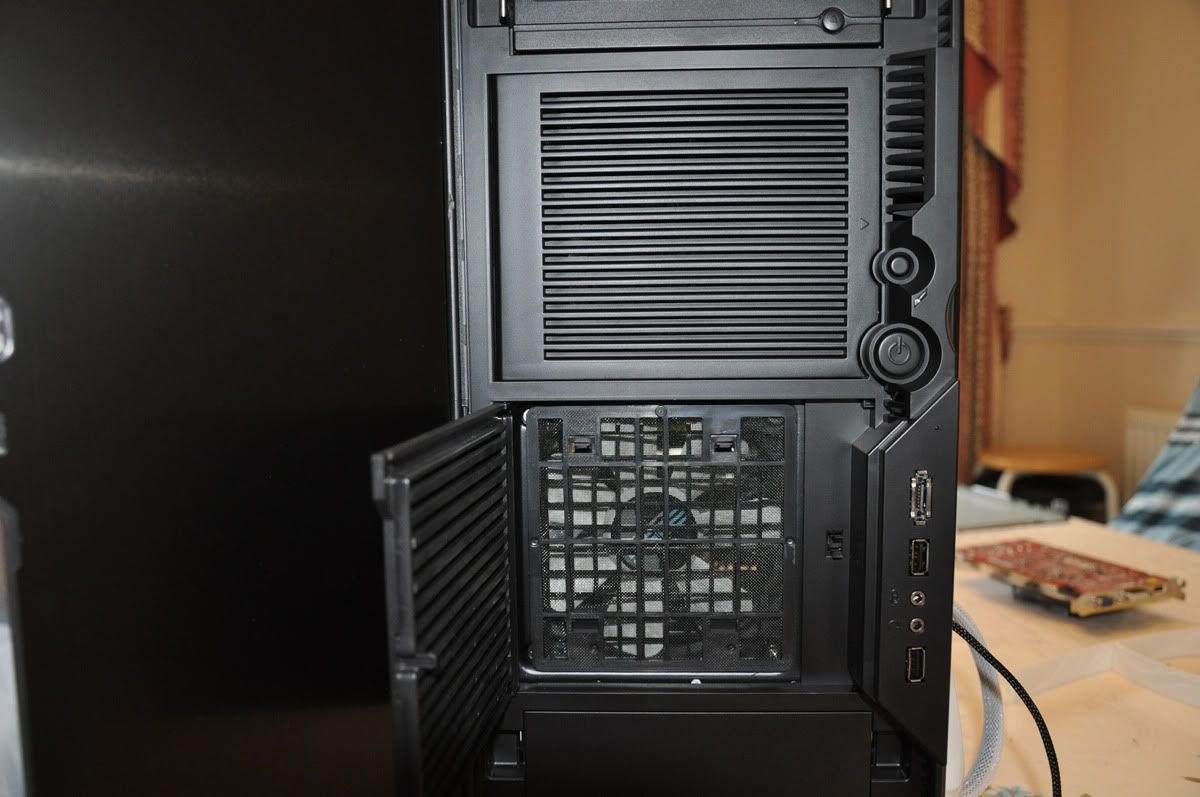
With that done it was time to install the fans! NOW, i bought 2 fans today in hopes of replacing both the antec ones but as i found out when i looked inside the case the existing fan is wired into the fan control at the rear so i can't remove it completely! So i decided to mount 2 fans together, the old one and the new one and set the rear fan on medium to help the inner fan. Not sure if this even works or if its a good idea but i didnt want it to go to waste :').

At this point i still had the PSU you to go in and the GFX card which had been cleaned up and dusted off aswel.
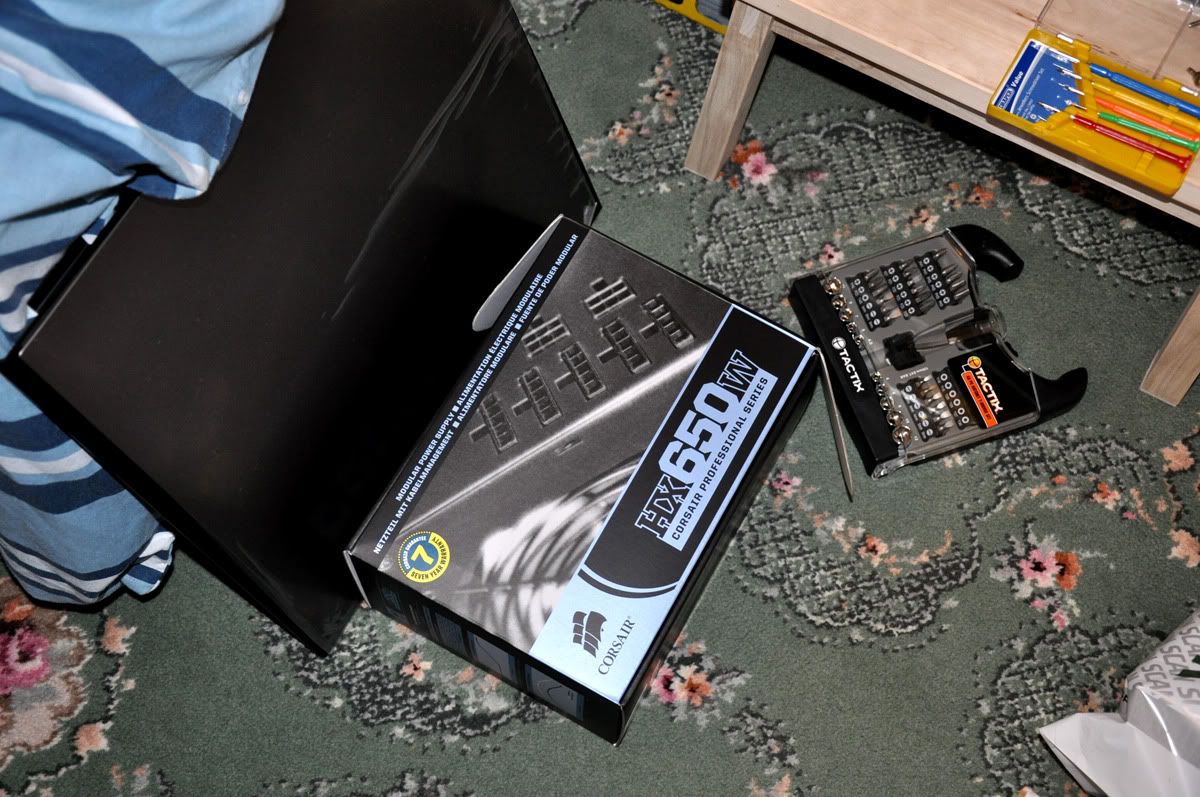

MODULAR!! and its CORSAIR!! YUM!

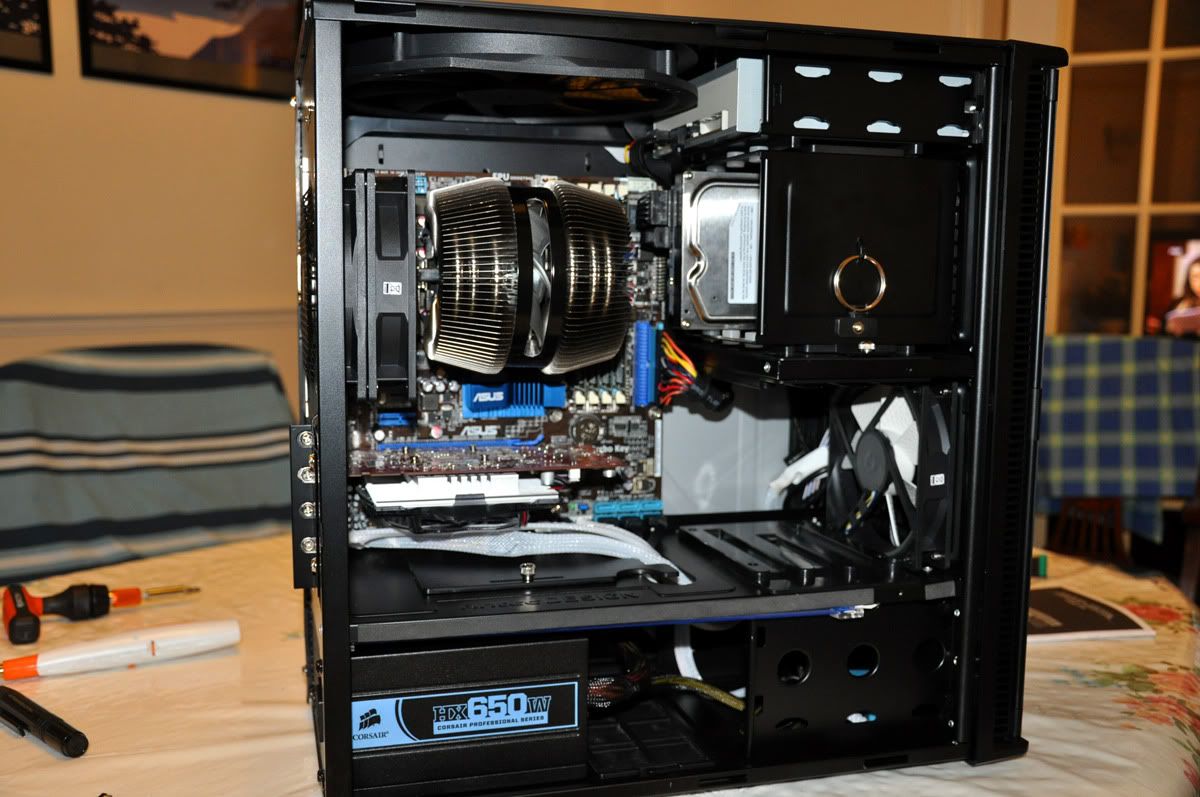

PSU is in and so is the gfx card, all thats left to do is to do some cable management! I suppose out of everything, this took the longest... purely because my fingers were actually really achey by now! But hey we pressed on and got the job done!
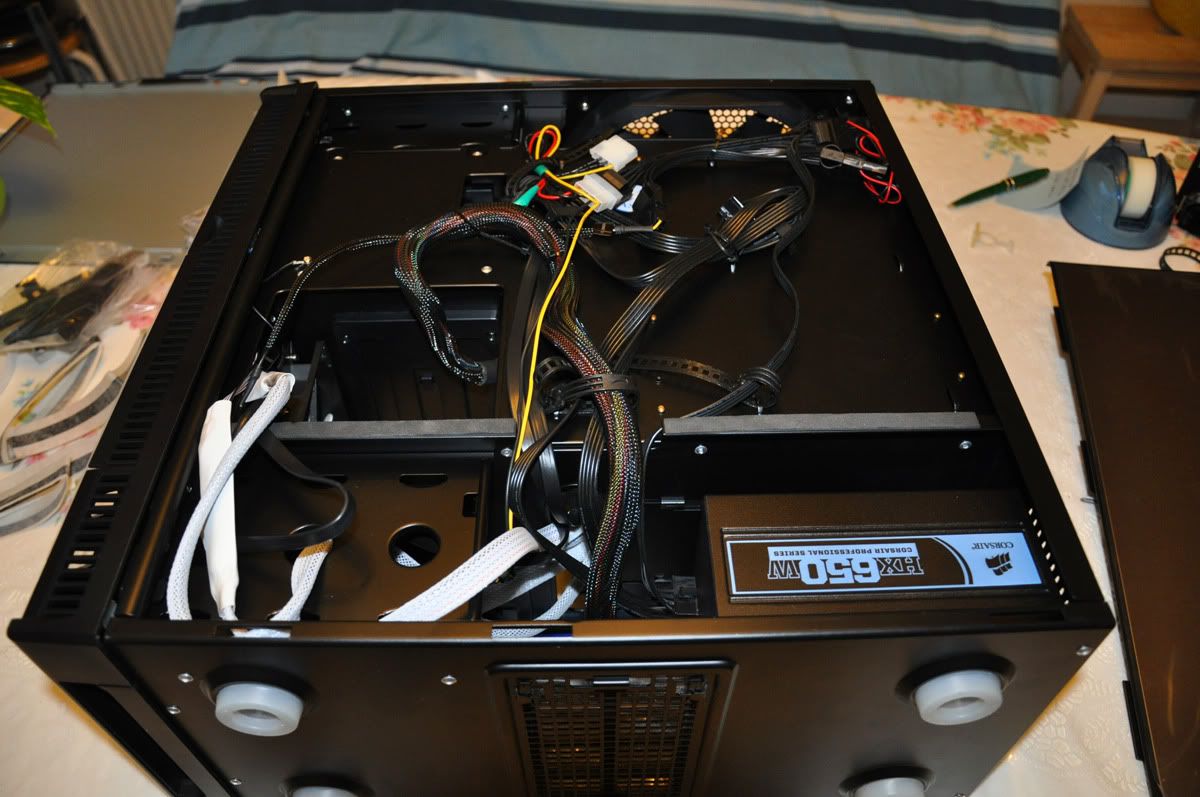
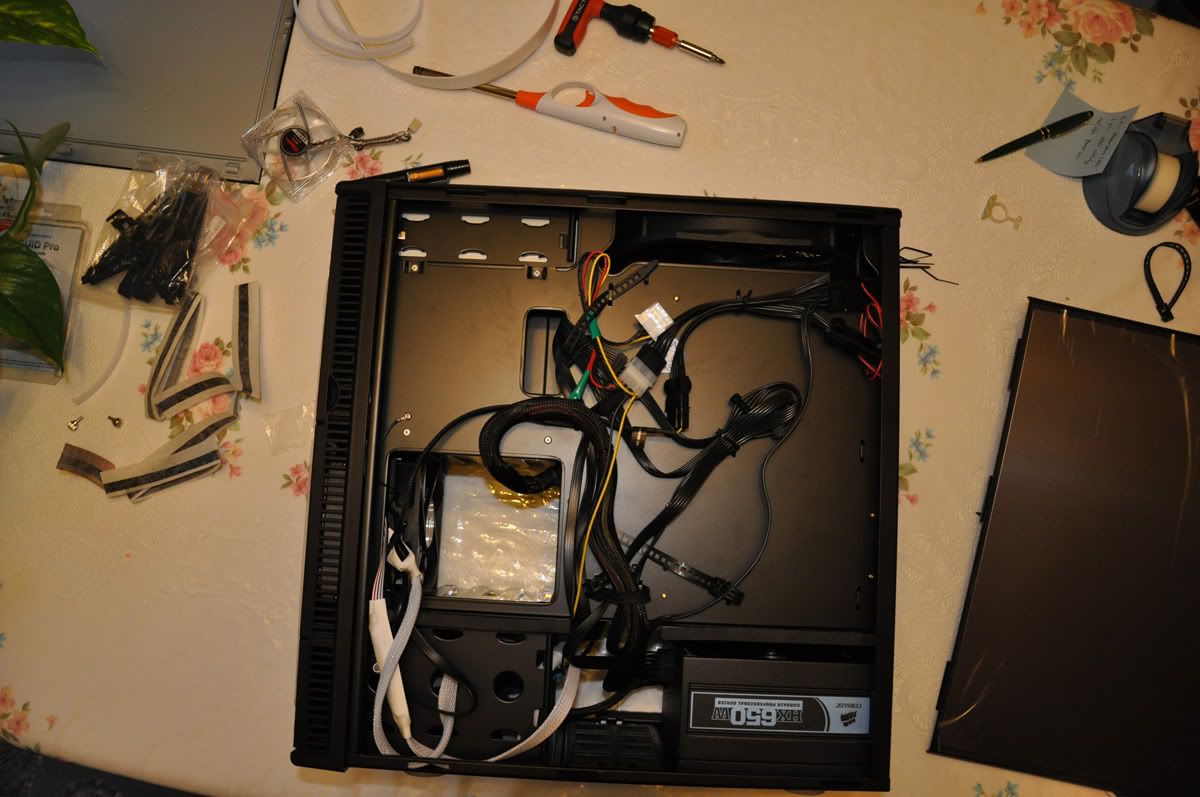
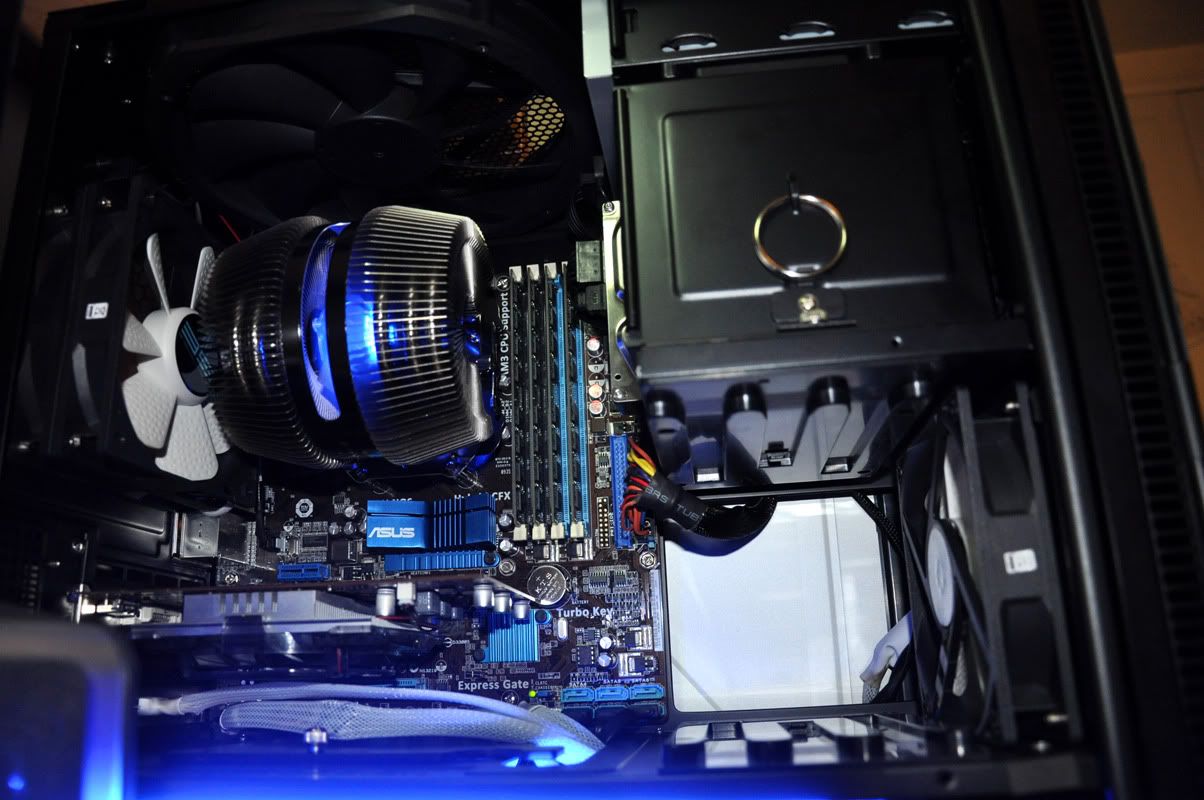
Finally the finished product, all new and shiney and tidy aswel! After god knows how long and much blood and sweat i reckon i did an okayish job but still not bad for a first timer :').

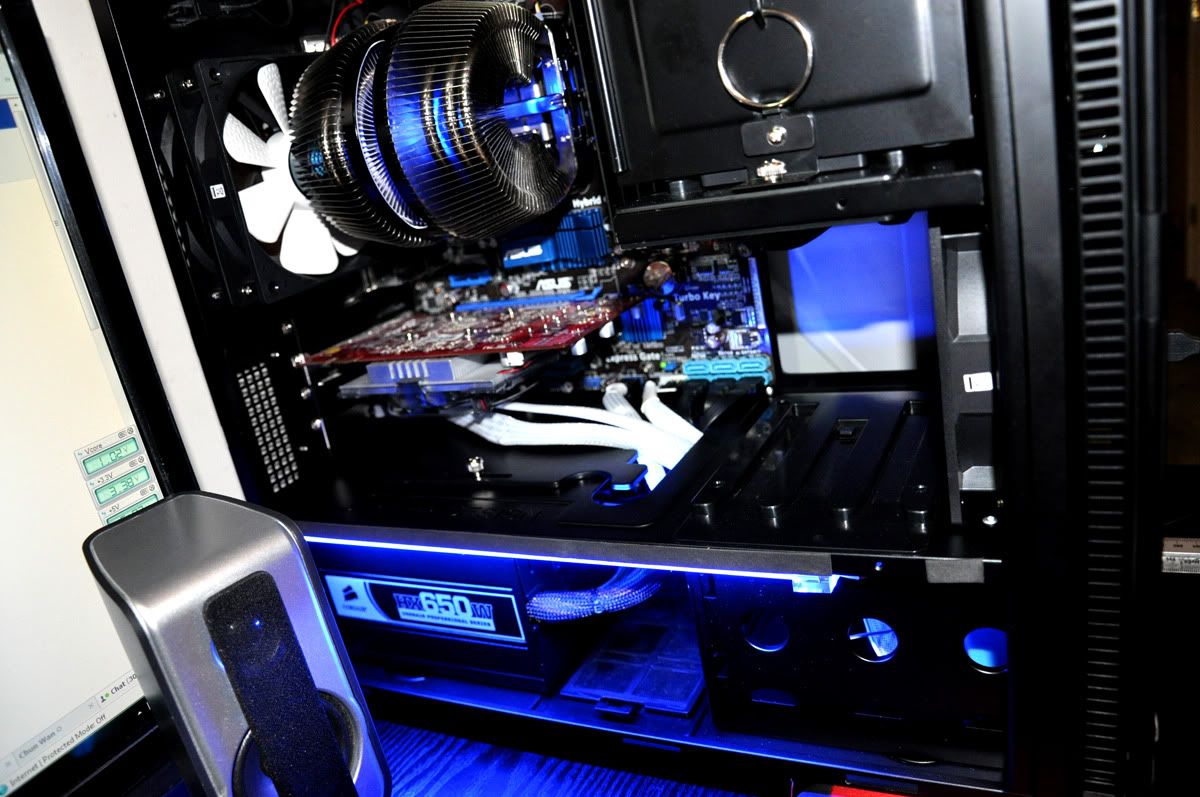

Whats next?
ATI 5850 and hopefully a new bigger and better cooler at some point so i can overclock further without having to worry about heat problems at a later date but right now i am dead happy that everythings gone well today!
Thanks for the advice and help guys these past few weeks, you've cleared up a lot of questions for me and i'm happy to be part of the forums.
Cheers OC'ers
Jay
So heres what i bought today:
Antec Mini P180 (Gun metal)
Corsair HXUK 650W modular
2 x Sharkoon SE modular fans
Coollaboratory Liquid Pro (Came in a syringe)
White Cable Braid
White Heatshrink
Anti-Static Wrist strap

So here begins the transformation, i started this build at 3pm in the afternoon today and didnt finish till roughly about 10pm!!! It is my first build though so be gentle aha!
Theres quite a few pictures so please be patient and let them load if you have a slow connection.
A pic of my old case and current build: Very messy and just looks sorry for itself tbh!

Started out with stripping the PSU out first to release some space aswel as removing the CPU cooler.

All components stripped out of my old case and ready to be cleaned and dusted off.

I was going to take pictures of the new thermal paste/gel stuff but i got carried away and totally forgot to do so! Heres a pic of what it looked like after though anyway. I changed the direction of the CPU fan so it blows out of the case instead of blowing in since my old setup was to blow into the case and out the front.


With that done and the parts dusted off, its time to put the board into the new case. I struggled abit here and had to remove the rear fan for more work space, don't know if anyone out there with the same case had to do so aswel but it saved me a lot of time i think.


Hard Drive goes into the top bay and at the same time i did some cable braiding with any that needed doing so it looks all tidy and neat :'). White Cable braid looks lush tbh!


With that done it was time to install the fans! NOW, i bought 2 fans today in hopes of replacing both the antec ones but as i found out when i looked inside the case the existing fan is wired into the fan control at the rear so i can't remove it completely! So i decided to mount 2 fans together, the old one and the new one and set the rear fan on medium to help the inner fan. Not sure if this even works or if its a good idea but i didnt want it to go to waste :').


At this point i still had the PSU you to go in and the GFX card which had been cleaned up and dusted off aswel.


MODULAR!! and its CORSAIR!! YUM!


PSU is in and so is the gfx card, all thats left to do is to do some cable management! I suppose out of everything, this took the longest... purely because my fingers were actually really achey by now! But hey we pressed on and got the job done!


Finally the finished product, all new and shiney and tidy aswel! After god knows how long and much blood and sweat i reckon i did an okayish job but still not bad for a first timer :').


Whats next?
ATI 5850 and hopefully a new bigger and better cooler at some point so i can overclock further without having to worry about heat problems at a later date but right now i am dead happy that everythings gone well today!
Thanks for the advice and help guys these past few weeks, you've cleared up a lot of questions for me and i'm happy to be part of the forums.
Cheers OC'ers
Jay
Last edited:


 .
.
