Project Whurple - White/Purple Watercooled Build - Changes to 3d printer build!!

For example
bearing_guide.jpg


That goes between my spool (mounted on top of the printer) and the extruder feed. Got a bearing in it so it's nicely free running so there's much less drag on the filament as the extruder pulls it in.

Combined with a spool holder with a pair of bearings
bearing_spool.jpg

There's practically zero friction on the spool or the filament as the extruder pulls it in. In fact, you should see it wobble when the extruder retracts a little :p

Both of these upgrades helped massively with an under extrusion issue I had at the start.
 
Thanks Vince, you've given me the kick I needed to get my printer back up and running, and get some new prints on the go.

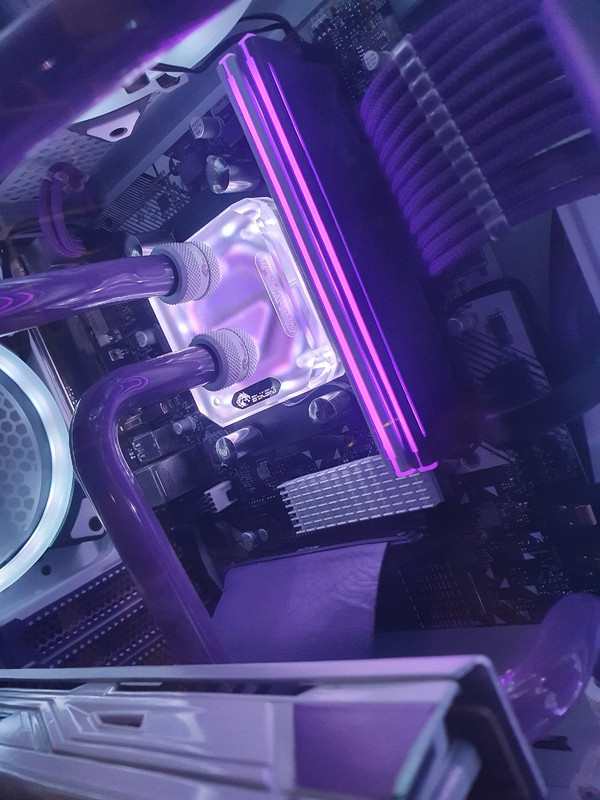
Love the build, turned out great for somebody who doesn't know what he's doing (allegedly). I know you're all plumbed in and running now, but I don't think you need to rebend tubes to get the flow meter oriented correctly. Unless the picture is misleading, those 2 ports are on the same plane, so will still fit: with the label back facing you, rotate the meter 90 degrees anticlockwise, then 180 degrees via the fitting on top.

Now, are you keeping this thread going for the printer odyssey or starting a new log? :p

You definitely need a free-spinning filament guide though, I hate to think how much drag is on the filament as it comes up from the spool, over the top gantry and sharply down into the extruder.

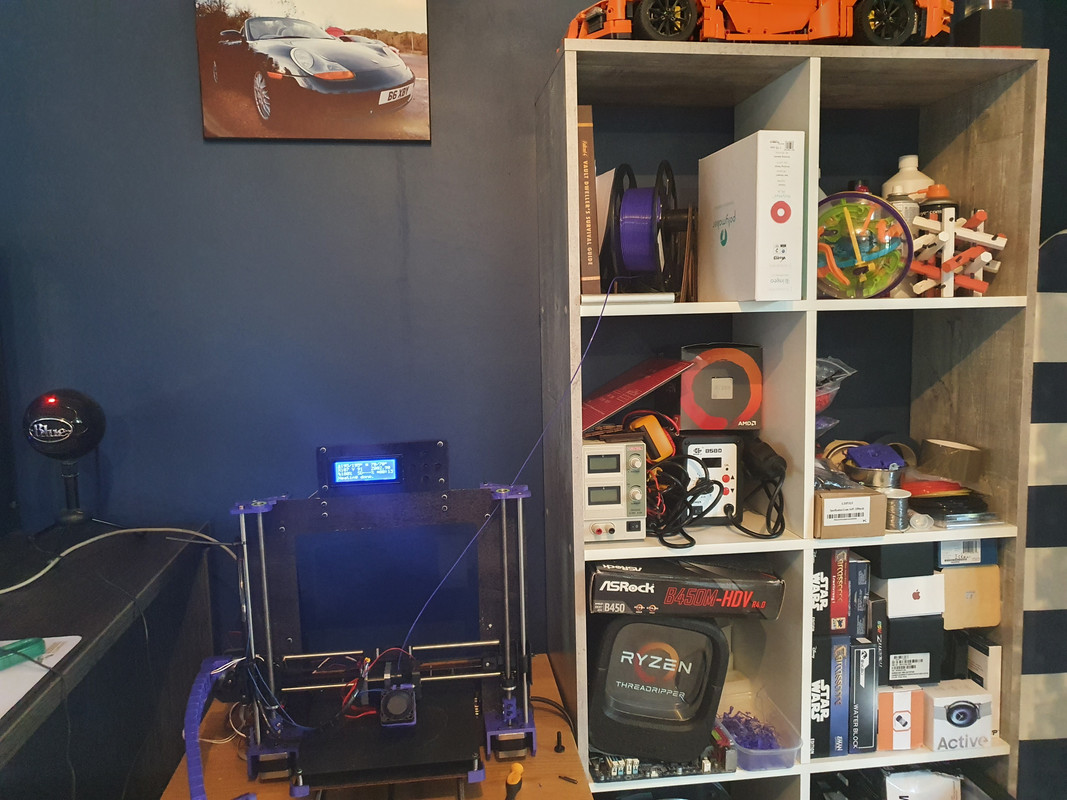
Bloody good question. I have designed an entire 3d printer on bits of paper and in CAD so will be rebuilding the printer in entirely my own design, probably with different Z axis drive but I am throwing around a few different designs right now, about the only parts being used are the motors and some of the extruder even the power supply at 15 amps just will not do so a 40amp one is on the way! I also have about 10 m8 rods, 10 m6 rods both threaded and non threaded and am going to print just about all of the other parts I need. Could be an interesting build log if people are interested or I could just continue in here. Ill do whatever people think. The printer will most likely also end up white and purple and will be connected to Whurple on a more everyday basis rather than being on a little table next to my desk.
 
For example
bearing_guide.jpg


That goes between my spool (mounted on top of the printer) and the extruder feed. Got a bearing in it so it's nicely free running so there's much less drag on the filament as the extruder pulls it in.

Combined with a spool holder with a pair of bearings
bearing_spool.jpg

There's practically zero friction on the spool or the filament as the extruder pulls it in. In fact, you should see it wobble when the extruder retracts a little :p

Both of these upgrades helped massively with an under extrusion issue I had at the start.

Check me out! I am far more ghetto than that. My holder is a shelf!!

 
Ive really enjoyed reading through your build log vince, and certainly like others youve inspired me for my next build and to dabble in 3d printing! For £400 id be well chuffed with that! Out of interest the upgrades for your 3d printer did you think of them yourself or are there plans available online?
 
Ive really enjoyed reading through your build log vince, and certainly like others youve inspired me for my next build and to dabble in 3d printing! For £400 id be well chuffed with that! Out of interest the upgrades for your 3d printer did you think of them yourself or are there plans available online?

Awesome thanks dude! That's the idea, a little bit of fun and something cheap to pass the time! So 3d printer upgrades there are a whole host of them already out there for any number of printers. Simply type what you want into thingiverse.com and you will probably find something for your particular printer, mine for example is a copy of a copy, of a copy of a Prusa i3, which is also basically the same as the copy of the Anet A8, so many of them are so very similar parts can be interchanged often with little to no editing at all.

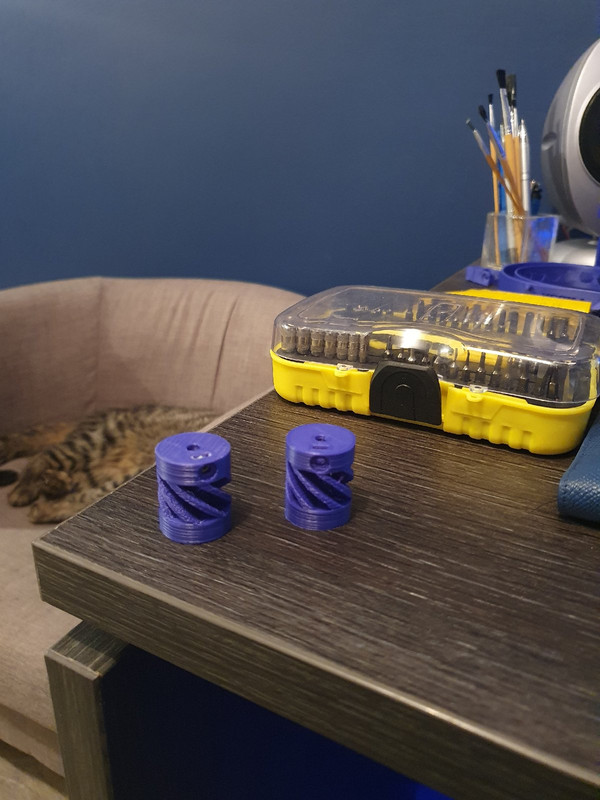
I printed these upgrade flexible couplings last night:


And installed them on my machine as the old ones were slipping slightly and I could see it in my prints.
 
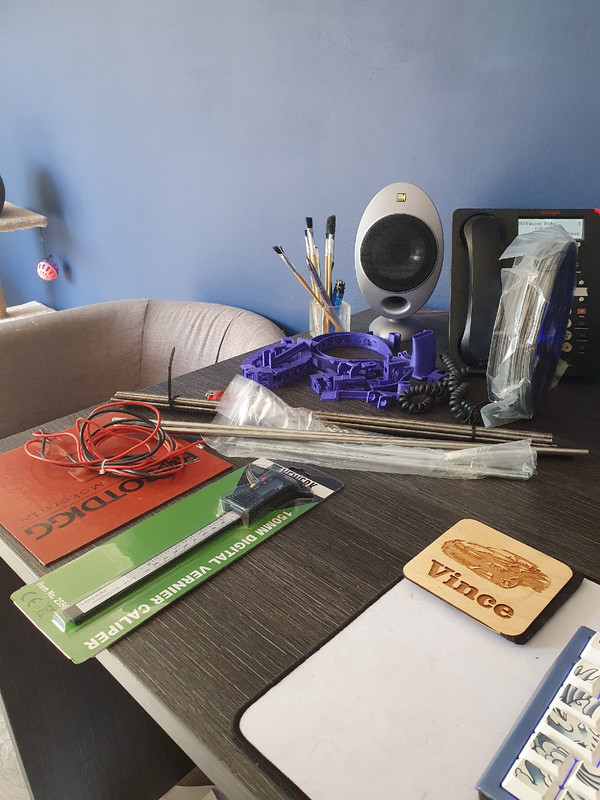
I broke my printer! Last night I was fiddling and I have fried the PSU (The cable to the hotbed thermistor broke and the thing went mad trying to heat the bed up to 60c). It's only some 15amp 12v supply and I had already ordered a 40amp replacement. I have also ordered the following on top of the stuff in the picture:

- 1x Geetech gt2560 mainboard
- 5x A4988 Drivers
- 5x Nema 17 Stepper Motors
- 1 x BIGTREETECH TFT24 V1.1 Touch Screen Display Compatible 12864LCD
- 2 x 15x 8mm Lead Screw Rod CNC Linear Rail Shaft Bearing Slide - This is for either end of the gantry.
- 4x SC8UU LINEAR MOTION 8MM SHAFT SLIDING BEARING BLOCK
- Alloy Y carriage plate
- 40 amp supply
- V slot rail 400mm x4 2020 vslot
- 12 v rail wheels.
- m8 rods threaded and non threaded.
- Cork Insulation
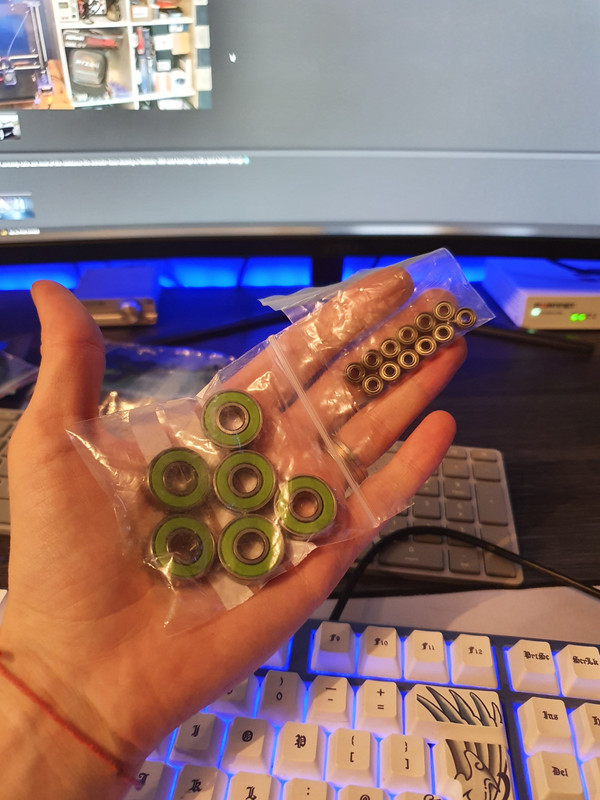
- Loads of different types of bearings
- a case full of m3 hex nuts and bolts in various sizes

More stuff is coming for the build every day some of it I probably don't need but I want a good selection of parts for to select from :) The idea is now to get the current one running again so I can print parts for the new one :) Think I may have got carried away... For the money I spent I could have just bought a better one in the first place. Then again where is the fun in that.

In the picture we have:

- 10x m6 500mm Threaded rods
- 2x m8 500mm solid rods (for the hot bed)
- 6x 300mm m6 threaded rods
- 150w hot pad (im told these are the daddy of hotbed heaters)
- Digital Calipers
- Some more PLA


Soon the franken printer build will properly commence. Really I need to fix this one to print parts for the new one so thats the goal right now.
 
Last edited:
I revived the board. Had it on the bench this afternoon and a couple of bodge wires later and it's back up and running. :) Its running on my bench supply at the moment :) This is good news!
 
This is what happens with kit printers. You get a base, tune it and immediately start identifying tweaks and printing upgrades for it. Then the printer outgrows your initial requirements so you add even more stuff to it. By the time it's finished, it no longer looks anything like stock. Then your requirements outgrow the fully upgraded printer so you start on an entirely new one, using the old one to upgrade the new one until the new one upgrades itself.

If I start doing ABS or exotics like wood or carbon fibre I'll just get an entirely dedicated printer for it so I don't have to keep faffing with different nozzles and enclosures, but even if I'm just sticking with PLA then my Ender 3 Pro will likely get expanded at a later date. Certainly a new bed is on the cards because mine is slightly warped. But dear God some of the things I've seen: doubled build volume from new extrusions, dual extruders, dual Z screw, a bazillion different fan ducts, Raspberry Pi and Octoprint for wireless prints, cameras for monitoring and time lapse, BLTouch and other auto-levelling kit, you name it.

Try doing this with a Makerbot :p

Yea it will look nothing like it did before. In just over a week I have sussed how all the electronics et work and last night I was this close on spending £500 on a pre built decent printer. Then I realised where the hell is the fun in that? The new one won't be using any of the parts really! Perhaps the hot end but even then I may change it from direct drive to a Bowden V6 setup. I have kind of copied some bits of the ender in my design using the v-rail gantry... I like that!

Also you said bl touch... So I bought the kit!
 
Last edited:
Back
Top Bottom