Rain's Parvum Watercooling Log

Bit of a delay on the updates but I got my new radiator yesterday and the work can continue!

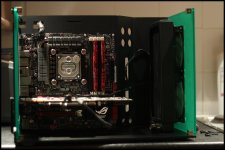
First thing I did today was finish off the draft loop from the other day.

Enwg7slh.jpg

Ideally I would like things to look a little neater and when I use the proper tubing and spend more than 30 seconds putting it together the result should be more refined.

v60vGbqh.jpg

Will also need to come up with a new way to attach the new radiator to the front fans as the screw holes are slightly off due to the size of the rad. I'm thinking velcro of some sort, but will deal with that later.

So with everything looking good it's time to strip the system down to parts and start cleaning & prepping for the real thing this time.

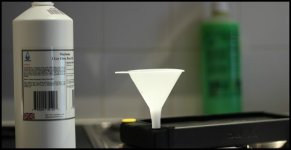
First on the list to do is flushing the radiators.

nA5Ondah.jpg

More updates soon!
 
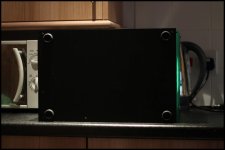
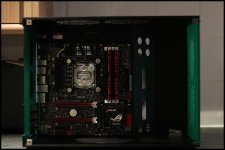
After stripping the case down, the first thing to do was slap some rubber feet on the bottom of the case.

Rmzn2wSh.jpg


After re-installing the mobo, I cleaned the insides down with a microfiber cloth and flipped the CPU waterblock upside down to how I had it in the draft build.

YqdDBlHh.jpg

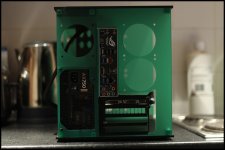
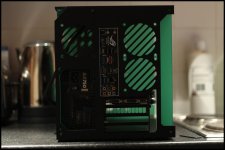
This was also a good moment to install the PSU on the other side of the case and connect the 8pin power as it's a pain trying to do this later on due to the tight fit.

1Zdgde9h.jpg

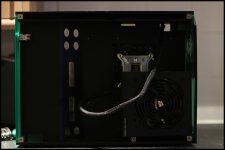
When I first ordered the case from Parvum the back panel had incorrect sized holes for the PSU. Luckily they sent me a new version that had the corrections needed.
What I realized today was the new back panel also had different cut out's for the back metal panel. This caused some fitment issues, so after a bit of cutting and sanding managed to make a quick fix that got around the issue.

QGsCxjBh.jpg

And now with the full panel on you can hardly tell the difference.

5cqRc5eh.jpg

One of the things I love about this case is it's versatility. Whilst working on fitting the front panel radiator, space was a little tight so I just unscrewed the case roof and had plenty of room to work with again.

3Ufp8cnh.jpg

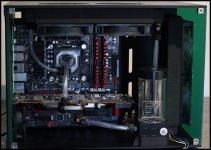
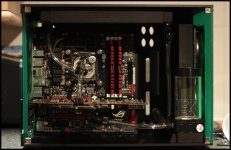
After a couple hours of work, the final loop took shape:

BZTTgnbh.jpg

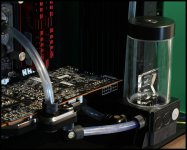
I was a little worried about my choice of tubing size as most people don't go with 8mm/10mm. However so far it's been great to work with, had barely any issues with kinking.

8wMmU5Kh.jpg

Getting ready for it's big moment.

2JG7EMDh.jpg

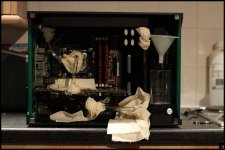
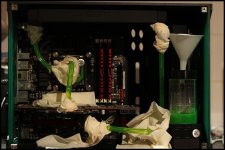
Nothing too exciting, but thought I'd record the fill process in case it failed and laughs could be had.


So far it's all going smoothly, will be running a leak test for the next 12 hours.

go268bQh.jpg

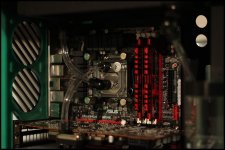
I'm a little let down by the color of the liquid, was hoping it would be less transparent. Has anyone got any recomendations for something I could add to make it more along the lines of:

LL
 
your using the uv green premixed, thats what its meant to look like, its just ultra pure with a dye in basically.

that pic you have looks like pastel green with another dye in to brighten it up to me, probably in clear tubing, or its just the colour of the tubing completly.

Pastel isnt opaque at all, you cant see through it and light doesnt go through it, its kinda (and for want of a better word here, "chalky" or "thick" not like water.

where did you get that picture from rainagul? if its from a website/build log see if you can find where, im sure it will say there what it is, and if it doesnt post in the mayhems thread on here and mike or th0rn0 will soon tell you what it is im sure.

*edit*

ive found the buildlog that pic came from, the fluid is and i quote

"Coolant - Distilled water w/ Mayhem’s Pastel Green Concentrate and UV Yellow Dye"

in primochill clear tubing....

that build log is bloody lovely tbh!!
 
Last edited:
Looks amazballs dude.

Pretty certain the green you want in the bottom picture is from the coloured hose rather than the coolant.

Thanks! It's slowly getting there, still got quite a bit to do though.


ive found the buildlog that pic came from, the fluid is and i quote

"Coolant - Distilled water w/ Mayhem’s Pastel Green Concentrate and UV Yellow Dye"

in primochill clear tubing....

that build log is bloody lovely tbh!!

Awesome, nice detective work. I was just googling randomly to find something that I could use to show something along the lines of what I wanted.

Think I will invest in some more dye and have a bit of a play with it later this week.

Weird how your fluid looks opaque in the res, but clear in the tubes.

Yeah I was wondering about that as well, still a bit of a mystery to me at the moment.


Been a few hours into the leak test now and everything has been going swimmingly. The next things on my agenda are:

- Sort out the dye color
- Install the rest of the hardware & fans
- Get some matching cabling
- Replace RAM with something more green.
- Figure out lighting setup
 
To stop it being so opaque you will need to buy pastel imo

The reason it's darker in the rez than it is in the pipes is just due to how thin the pipes are compared to how much is in the rez, means more light shines through the pipes more.. That's my theory anyway.
 
Are you thinking of getting a backplate for the GPU? Improves the look tenfold imo.

And yeah i think you need to swap out to mayhems pastel there, red fluid might work as well? With the ram, why not make it green and red themed?

Oh and it looks clearer in the tubing as its very small tubing, so your looking through less liquid maybe?
 
Last edited:
Back
Top Bottom