Random 3D printing chatter

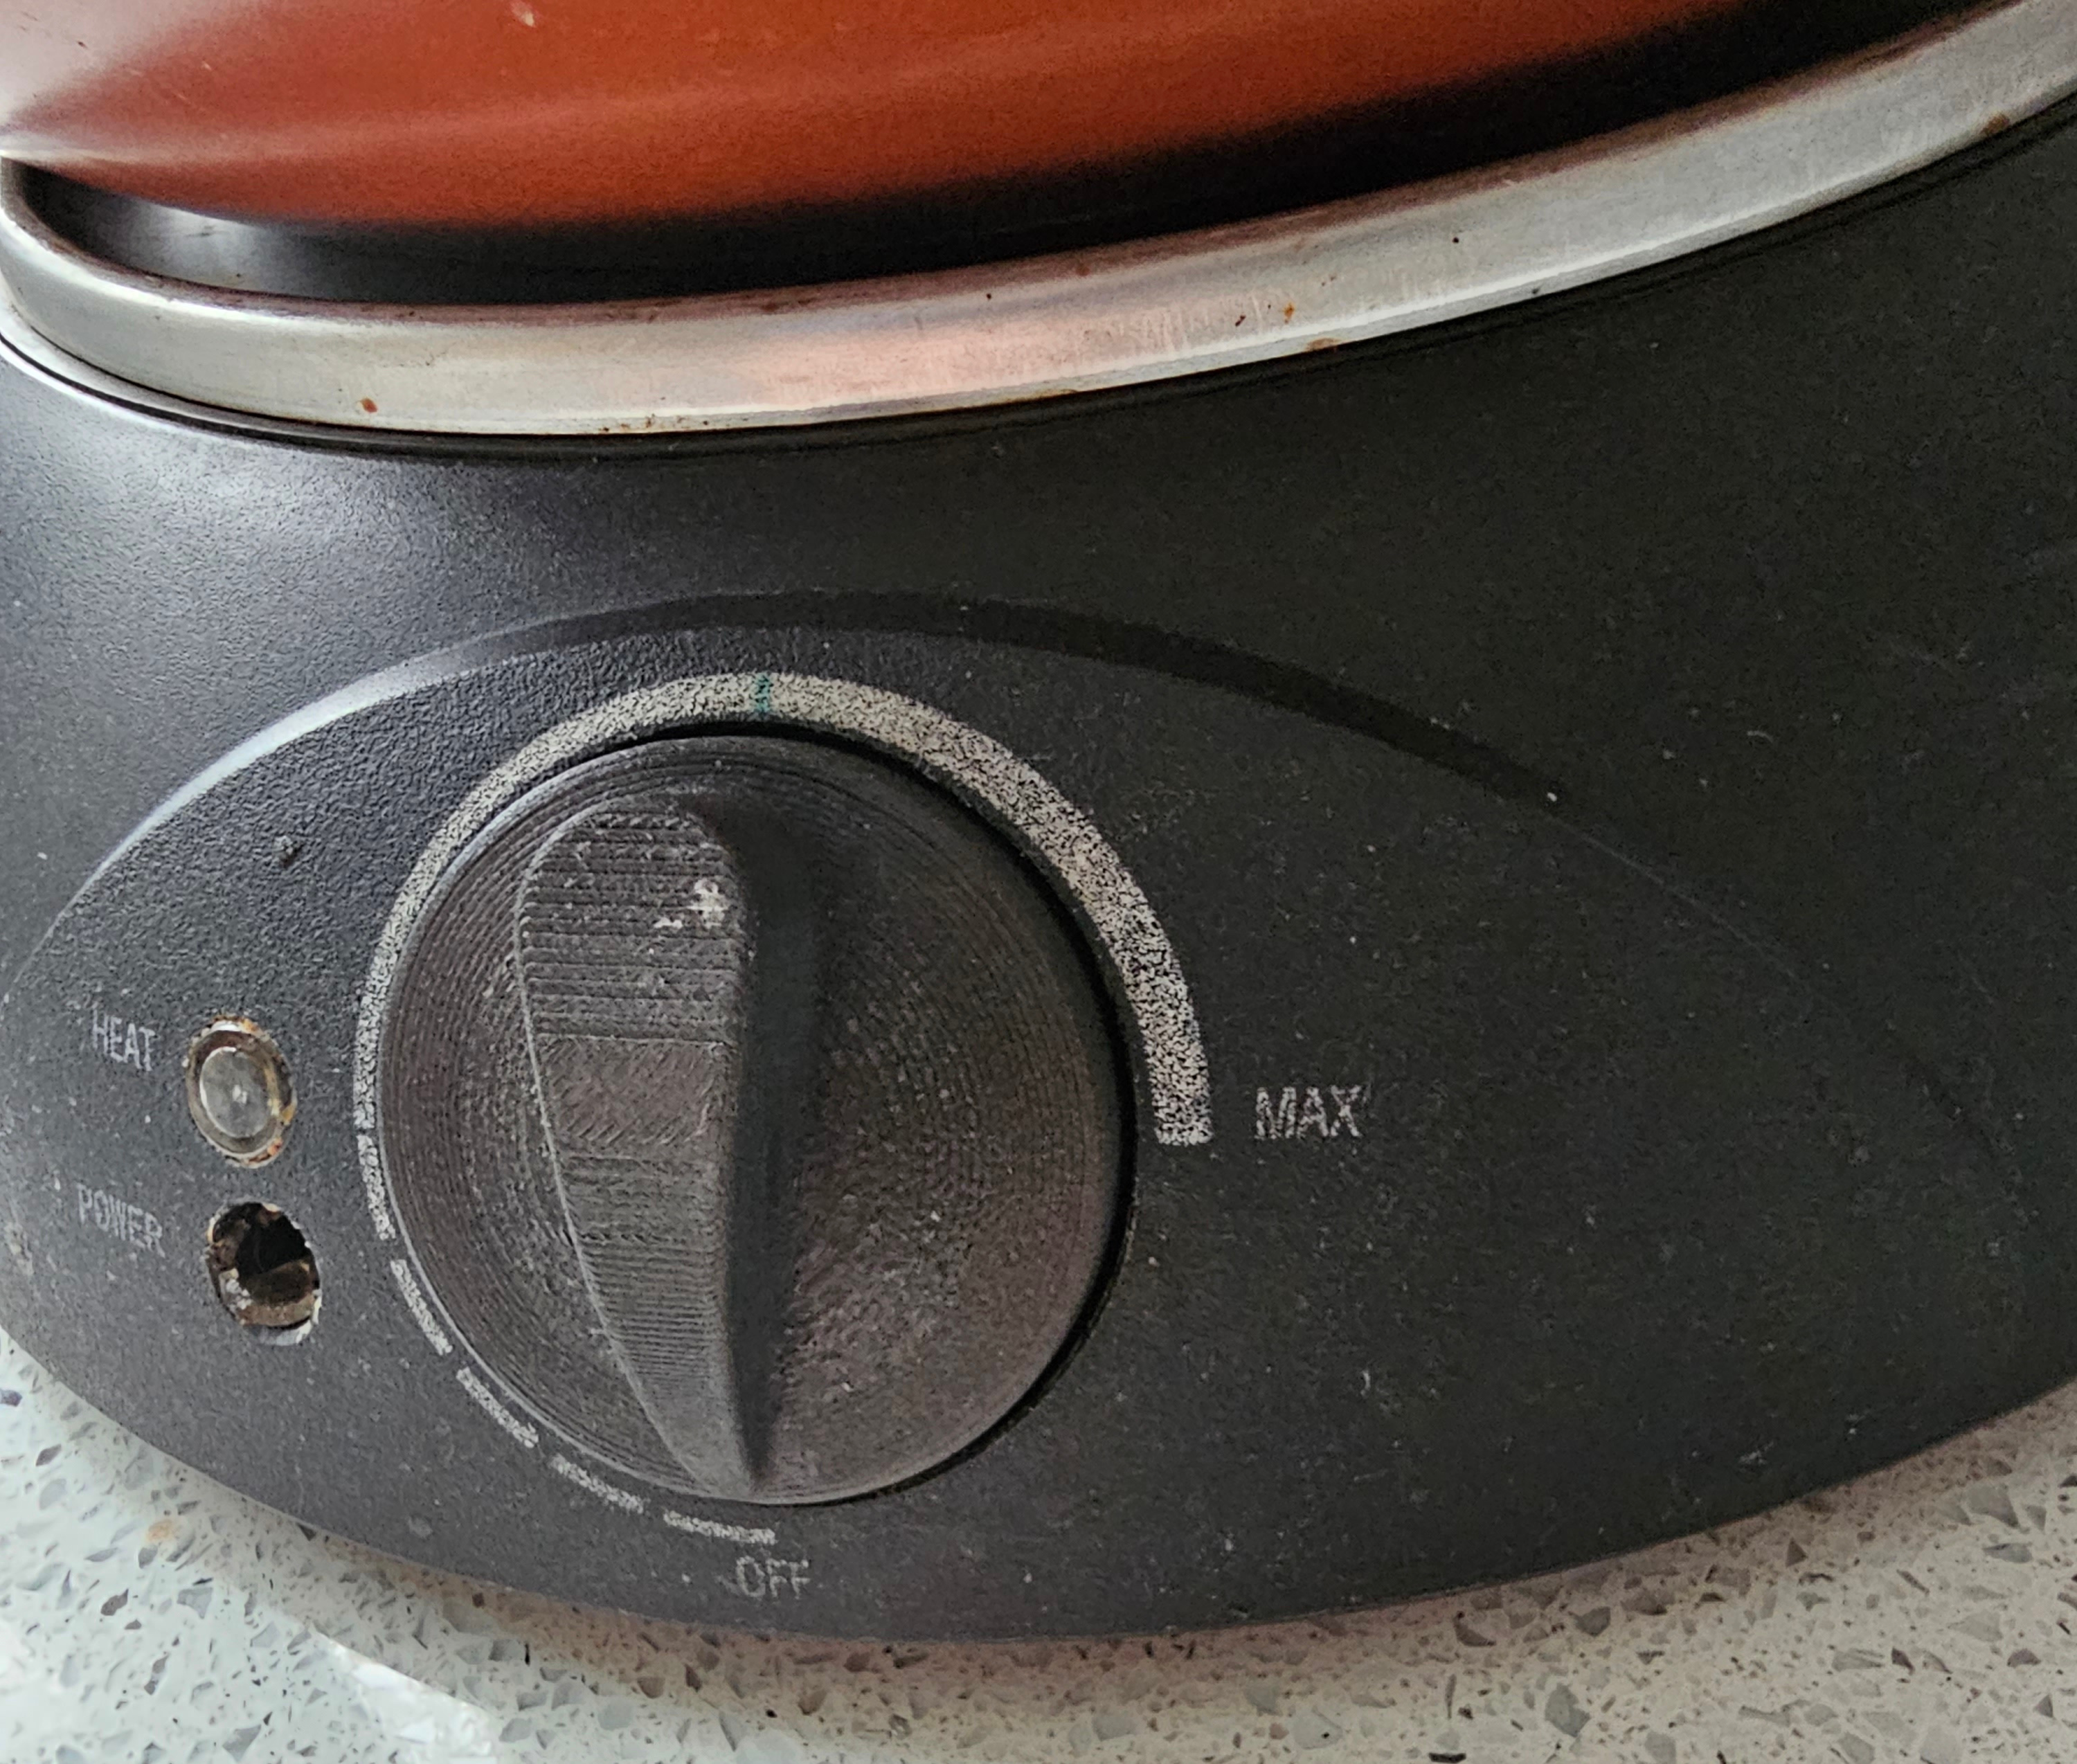
Had to do my weekly "cooking" duty today. Fire up slow cooker, place pre-loaded pot on top of it. Simple. Except the knob came off in my hand :eek:. Had a look and for some reason they'd moulded the knob and then screwed a piece into the back that makes it fit a flatted or D-shaped shaft. Designed something similar but push-fit instead of screwed in. Printed it in PETG, went to fit it and burned my fingers. Turns out the shaft it goes onto is at the same temperature as the heater so it was at 86°C :eek: I wonder if that genius design may have contributed to its failing?! Had a look through and I've got a half-spool of PET-CF (not PETG-CF) That apparently will handle up to a good 200°C before it deflects and 226°C before it softens. That should do it. Fits nicely between the two with just friction. Who said we only use 3D printers to print upgrade parts for itself?! :D
 
Not sure about that particular hotend but the Bambu X1C didn't have a problem with it. The PLA-CF is good for strength too but not heat - depends what your requirement is. Definitely some of them need drying first. The PLA-CF started ok out the pack and then started jamming the tubes on retract to swap for support. Dried it and problem gone.
 
Big improvement in what though? Are you saying that it's quieter, less banding/artefacts? If we're talking pure noise, I'm pretty sure that my one is louder than your one!...oh, wait that's a bad thing ;D
 
I can identify with that. The noise was terrible when printing....until I moved it out of the office I share with my wife and then the moaning noise substantially reduced! ;)
Seriously though, a stud wall in between and concrete floor instead on a cupboard and it's effectively silent now :D
 
  • Haha
Reactions: Zaf
Yup, the challenge is to be able to answer the question "Yes, but what have you used it for that isn't for itself?!" *
Same goes for a lathe or a mill. Easy option for you: print some of these and give them to the elderly people in your life. They go down a storm. https://www.printables.com/model/178035-cute-mini-octopus
Print it in the red/blue/green version of this for extra points: https://www.amazon.co.uk/ERYONE-Filament-1-75mm-Printer-0-03mm/dp/B0B5L4XRMB
If you go for the four pack of 1/4 spools, make sure that your printer is ok with small, thin cardboard spools. A spool holder will probably be fine (may need a sleeve if the carboard gets chewed) but a changer such a Bambu AMS willl need a full-size adapter printing.
Also, it helps if you use adaptive layer height for just the very top part of the head. It wrecks all the joins if you use it for the whole thing but if you apply it to just the very top, it smooths out the layers a bit.

Edit: Also seams aligned to the back stops what otherwise turns into a facial scar. As far as I know, the spiral and non-spiral versions are the same, just the spiral is more compact if you were going to fill the bed with them. The support version is worth doing as otherwise the nose/beak can fail.

*An upgrade, repair, accessory, storage etc Or something you wouldn't need if you didn't have the printer.
 
Last edited:
I am still thinking I may go ahead with a Voron to satisfy the DIY element, but know it would be such a long term build that it would probably never be complete!
Yeah, that's the thing. You can either do it for the building of the printer or to get on and print stuff. Both are valid but I think I clearly fall into the latter...given I actually bought a Bambu to get round the fact I'd procrastinated so long over fitting my upgraded hotend/extruder and control board! Technically I've removed the road-block to getting on with it (knowing I'd need to print parts after I'd dismantled everything)...but I've also removed the impetus to actually do it too!
 
Nice Cyber-Mav. I'll see your air-fryer and raise you a slow-cooker!


Printed in PET-CF not PETG-CF. Because it needs the carbon fibre reinforcement? Well, no but it's the only filament I had in stock that will do the temps (good for 200°C this stuff) and owing to a GENIUS of design, the brass shaft it pushes on to, is actually at full cooking temperature. No prizes for guessing how I first found this out! I measured it and it was 85°C so that explains why the original (polycarbonate outer with a high-temp centre screwed to it) slowly went brittle and failed.
Now I just need to work on the broken neon cover.
 
Oooh! Me! I know! ;) Only 'cos I had this exact thing recently. You printed it standing up with quite a small bed adhesion and very thin parts going up. Those thin towers moved - either wobbled on dodgy bed adhesion or flexed - and it meant that each new layer was in a slightly different place resulting in a rough, jagged finish. Once the two met up again, it was tidier because they reinforced each other...but there's also something else going on to compound the issue. Could be that it needs drying or it could just be that it wants either a higher or lower temp; difficult to tell whether it's had trouble extruding it (needs higher) or that it's sagged (needs lower). I'd start with a temp tower and then see if you need a filament dryer.

You might also need to print it laying down with support under the ring part to elevate it. It'd be stronger that way too because the layer lines would run in a more helpful direction for the main ring part. You could split the model so you have the ring part and the 'head' separate. Newer slicers (Bambu, Orca and presumably Prusa) allow you to cut the model and generate a peg and hole connection that you can use to join them with a dab of glue.
 
The 19.87 looks a bit off (nearly twice the next highest error) when compared to how good the other axes are.
Maybe a little something going on under the front of the top paw and possibly a bit of banding in the upright walls but probably either the pic or me being picky (we're grossly over-represented in the perfectionist and OCD stakes on here!). Generally looks good to me from here though.
 
I've not noticed any difference there but logically there could well be. Definitely some difference between brands and even colours within brands when it comes to settings (or just whether you get acceptable results or not - yellow PETG seems a particular pain) so it seems reasonable to assume that could also extend to bed adhesion.
I hate having to use glue or hairspray so I was running a glass bed on the Ender 5 Pro (slightly higher bed temp, very slow first layer and be careful of support as it goes too fast to directly stick) and that worked fine as long as I was patient enough to wait for it to cool before trying to remove. There are a couple of chunks out of it where it stuck too well.
The textured PEI bed on the X1C is good provided you want a textured surface. I picked up a Light-year 3D G10 (aka Garolite) bed and that seems very good. Not as shiny a finish as the glass because it's roughed up slightly for adhesion but good enough and sticks well.
 
You could resort to glue stick (or fancy liquid/spray glues) or hairspray. I find it a hassle and try hard to avoid it as it's a pain but with a removable plate and a water-soluable glue, you can wash it under the tap.
 
I usually found that higher on the bed temp helped...but I think mine under-reported and also with the slab of glass on the top, it needed a bit more. The cleaning is a good call though and reminds me of something. I was originally using only IPA to clean the bed and if I remember correctly it was when I was trying to print PLA after I'd been printing PETG that I had adhesion issues. I cleaned the bed with a drop of Fairy liquid and rinsed it off and it was much better....so much so that's when I lost a chunk out of the surface after a print!
 
I dont have heated bed, just normal flexible magnet bed with masking tape on it.
Ah, that makes more sense then. We'll stop telling you to try different bed temps then! :D
Probably worth trying a glue stick/liquid/spray then. Hairspray is supposed to work quite well and fairly even, if you have it available to try.
 
Usually direct to the bed instead of the tape. Some residue remains after a print so you may not need to apply it every time. After a few, you'd need to clean it off and start fresh - and that's where the water-soluable glues are better as they just wash off under a tap. My plate wasn't removeable when I was doing that (the glass welded itself to the magnetic bed) so I couldn't do that and I found IPA would do it but it was a bit of a hassle.
 
Gaarrrgh! Just lost a hotend :mad: Clogged with Ziro PLA-CF (which had been printing really beautifully), cleared it and got a successful print. That gave me the spool adapters (cardboard spool no worky in changer :rolleyes: ) so I could try the new roll of PETG-CF. Jammed solid and it merrily kept printing nothing with the extruder skipping away. Got it cleared so I thought but couldn't get a decent flow through it (by hand) even of straight PETG. Managed some cold pulls but it just didn't seem to want to live. Not sure if it's heat-creeped and welded to the tube above the heatbreak but it's not playing. New nozzle/heatbreak/heatsink combo and it's printing but this stuff oozes something horrible (I see some retraction tuning in the near future) and didn't really stick to the G10 bed that well either. Textured PEI bed and it's going but the first layer of support had a big blob in it where the head sat still for no massively good reason before starting.
Why is it that just when you think you've got it all cracked, the rules change?!
 
On the Bambu Labs printers it's all-in-one. The nozzle, heat-break and heatsink are one piece. You can order that as a part of the whole assembly that also includes the thermistor (temp sensor), ceramic heater and fan. Luckily it comes with a spare so I've reassembled the old heater, thermistor and fan onto new hotend.
Part came out ok but I'm going to have to try playing with temp and retraction to reduce dribbling that I had to chisel off. Also on the PLA-CF the support just fell off (literally) once cold. On the PETG-CF (much like PETG) it didn't and I had to take a hammer (gently) and chisel to it to get it off. Dimensions and strength both seem good though.
 
PETG has a tendency to string when it oozes out the nozzle while it's travelling (moving without extruding). Sometimes that builds up on the nozzle (it also like to stick to the nozzle) and eventually you get a blob deposited into a wall somewhere. This printer with its default settings was fantastic (at first) for PETG as it didn't string at all. This stuff has carbon fibre mixed in so it's different (and needs a hardened nozzle as it is abrasive) but I'm trying to get back to that perfect PETG print. You find a filament that works perfectly and suddenly it's not available and you're back to square one.
Support seems to break off PLA much easier as it's brittle. I suspect that PETG also spreads a bit more so the support is much more joined to it.
PETG was my go-to because I could run my last printer without the layer fan and just make do with the waft of the hotend fan. That was key as it was close to me whilst I was at work and Creality had done weird things with PWM that meant it was noisy and sort of crunchy - even with a Noctua.

A deburring tool is quite good for getting rid of brims if you are having trouble getting those off cleanly - again, more a PETG thing than PLA.
 
Back
Top Bottom