

Random 3D printing chatter

They are blocked because they don't work unless you have a paid account

Have a look here for suggestions
Ahh damn thanks and sorry for getting it wrong, I didn't expect that! Lets try again with Postimages...

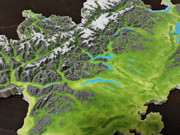
My settings are pretty dialled in now but in this crazy weather a little stringing is quite hard to avoid. However, bear in mind that close up images of 3D prints always show imperfections that are almost invisible from regular viewing distances.

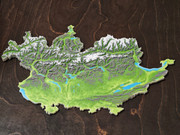
The topographic map was all printed in one go and is so beautifully detailed, it's amazing.


Yay, Postimages works! :D
 
Last edited:
Love the topographic map, been playing around with creating my own in Blender, but can't see it coming out as nicely without an AMS!
 
Yeah I'd like to do one for my mate who did the PCT but no AMS makes it trickier, they do look good.

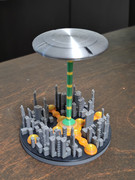
I've just printed an Aperture Science 1500 hundred mega watt aperture science super colliding super button and now I'm thinking to scale it up and use as a drinks coaster.
 
Love the topographic map, been playing around with creating my own in Blender, but can't see it coming out as nicely without an AMS!
Yeah I'd like to do one for my mate who did the PCT but no AMS makes it trickier, they do look good.

I've just printed an Aperture Science 1500 hundred mega watt aperture science super colliding super button and now I'm thinking to scale it up and use as a drinks coaster.
If you have a BL printer then imo an AMS is 100% essential. Just be aware the print would take ages with only one nozzle and all the colour swaps.

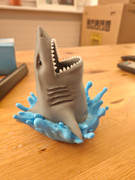
Couple more from the last days...


If you have a BL printer then imo an AMS is 100% essential. Just be aware the print would take ages with only one nozzle and all the colour swaps.

Couple more from the last days...

Unfortunately I’m rocking an Ender 3 S1 Pro :o

Need to convince my dad to give up his P1S and AMS now that he has a H2S as well!
 
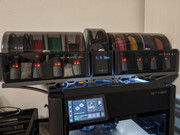
Just had my Canvas delivered. Everything was in a thick box and very well padded. All the parts are clearly labelled and there is a manual with clear instructions and illustrations plus all the tools needed to do the upgrade. With all the parts in the kit surely they are losing money selling it for just £38? The Canvas itself has four motors in it and is quite a weighty part, then you have the replacement circuit board, new fan, new poop chute and all the other parts which all add up. It seems to be a very good quality upgrade and I can't wait to get it up and running.
 
Upgraded my CC1 this afternoon with the Canvas kit. It took most of the afternoon mainly because I followed the manual plus I kept dropping the tiny screws. Ignore the manual if you are going to do this and watch the video guide instead as there are some important steps in the video that are not in the manual and left me scratching my head thinking what I had just done cannot be right. I have a cable and several screws left over as well although the cable is not mentioned in the packing list so I don't know what that is for. It's a pity that you cannot use the lid with the canvas kit but there are several "top hats" popping up to give us a cover again, some of them use over 2kg of filament though!!
 
I've been thinking of delving into the 3D printing world to create little movie props for myself to add to my Aliens display (I have a pulse rifle I bought on ebay, would like more...)

Things like the motion tracker, welder etc - I've seen printable files for them and the quality looks decent, but I don't know where to start printer wise, what would be a good, but not extortionate one to start off with?
 
I've been thinking of delving into the 3D printing world to create little movie props for myself to add to my Aliens display (I have a pulse rifle I bought on ebay, would like more...)

Things like the motion tracker, welder etc - I've seen printable files for them and the quality looks decent, but I don't know where to start printer wise, what would be a good, but not extortionate one to start off with?
Depends on how much multi-colour prints you want to do.

I've got an Elegoo Centuri Carbon 1 which is a single colour, it's pretty cheap but think it's being EOL.

They've moved on to the Carbon 2
Single colour https://uk.elegoo.com/collections/3d-printing/products/centauri-2
Multi-colour https://uk.elegoo.com/collections/3d-printing/products/centauri-2-combo or https://uk.elegoo.com/collections/3d-printing/products/centauri-carbon-2-combo (the 2nd one has an enclosure, only needed if you want to more exotic filaments like ABS that need a higher temp and are used for engineering type prints).

These single head multi-colour printers can generate A LOT of poop (waste filament) depending on how many colour changes it has to make.

(an extreme example)
You can get models where the designer has split the parts in to different colours and you glue them together.

If you think you'll want to print multi-colour then I'd look at the multi-head printers the Snapmaker U1 or Flashforge Creator 5, but they're more than twice the price.
 
If you want to reduce the poop, print more than one of the model, or, purge into something else that doesn't require specific colours and can just be printed in anything
 
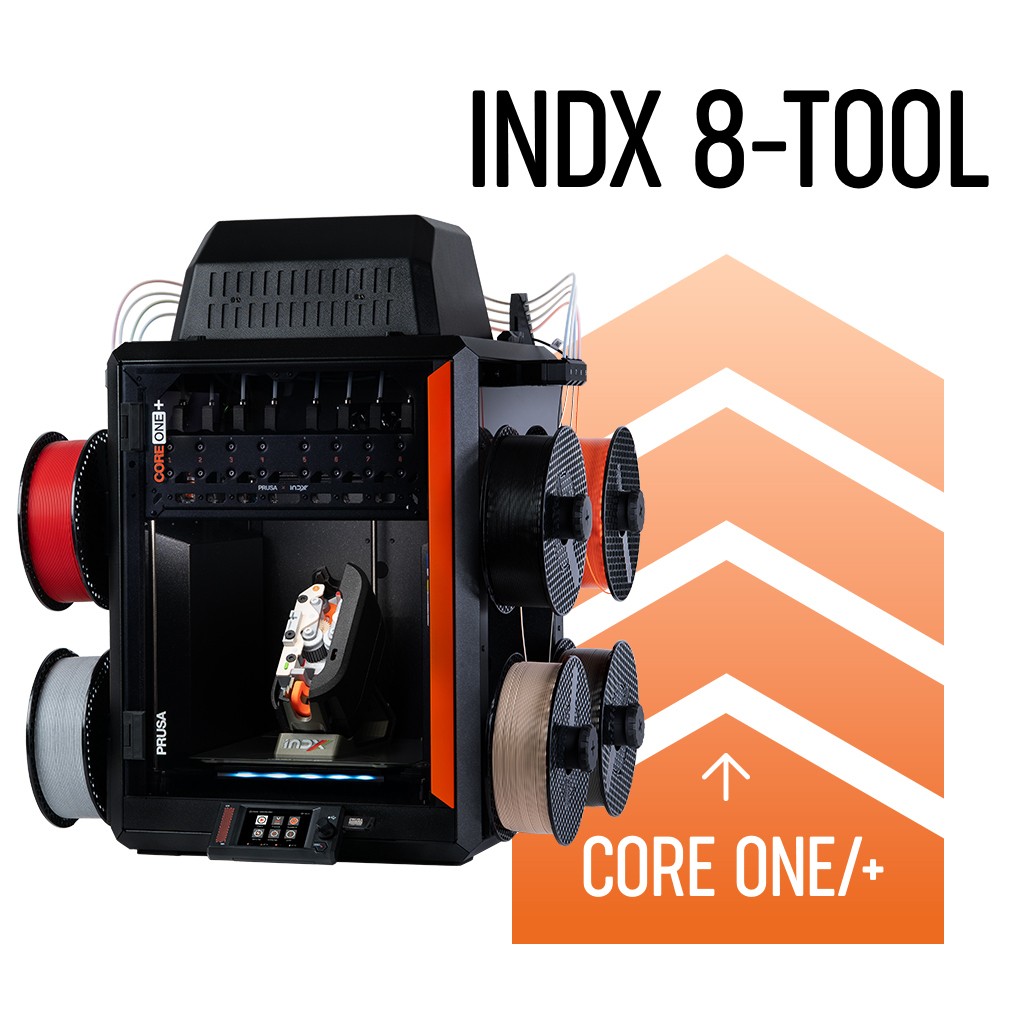
Prusa Indx add on for the Core One printer looks like another strong option for Multi Colour prints

 
Today my P2S had a stuck Feed Hall Sensor Module, printer kept thinking there was filament in the extruder.

I was printing PA12- GF last night and I thought it has snapped somewhere as it was not clear from the error code. The roll just kept trying to rewind and it looked like the snap was within my AMS-HT as it was blocking my attempts to put more filament into the tube. Then I tried to run a benchy from my AMS Pro 2 and it was the same thing again, would not load filament. Checked the tubes, disconnected the tube from the print head, no bits of filament anywhere.

So it had to be a stuck sensor module because of the PA12-GF I was using overnight had jammed it up.

looked up the help pages for Bambu Lab for a fix.

How on earth are you meant to be able to dismantle the print head without loosing all the tiny screws?

I ended up doing a cold pull and that seams to have fixed the module for now, never printing engineering filament ever again!
 
I was offered an Anycubic Photon M3 Plus last week and although I still need a ton of other equipment to actually use it, I now have it on a desk in the corner waiting till I clear a space in the shed to learn how to use the thing without poisoning myself.

It was cheap, that's all I'm saying :D
 
hBZW7Snq.jpg


Another good result in my ongoing game of filament chicken.
 
Back
Top Bottom