Repairing/Restoring my damaged Ford Capri 2.8i

Soldato
Joined
7 Dec 2002
Posts
4,008
Location
UK
I know some of you people like project threads so thought i'd make one, however this one is gonna take ages as i don't have lots of spare time to work on this thing and i'm definately an amatuer at this kind of thing.

Back in October 2009 had a minor bump in my Capri 2.8i which due to me moving in with my girlfriend a few months later left me with no spare cash to pay for someone else to repair it (didn't want to use insurance) and at the time had no garage to work on it in, so it got left sat outside on the drive, in the rain, collecting bird poo and occasionally getting buried under large amounts of snow for about 20 Months.

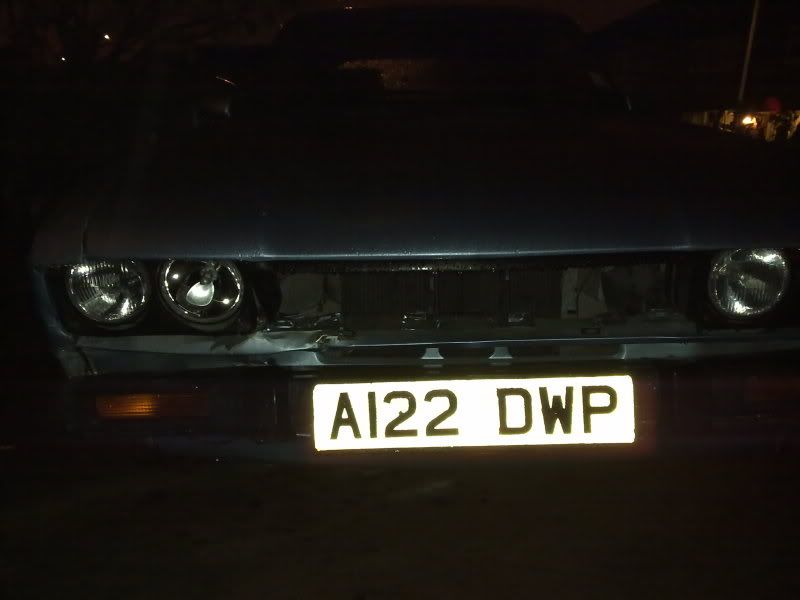
Up until the and of July it was still sat there looking like this -
06102009108.jpg


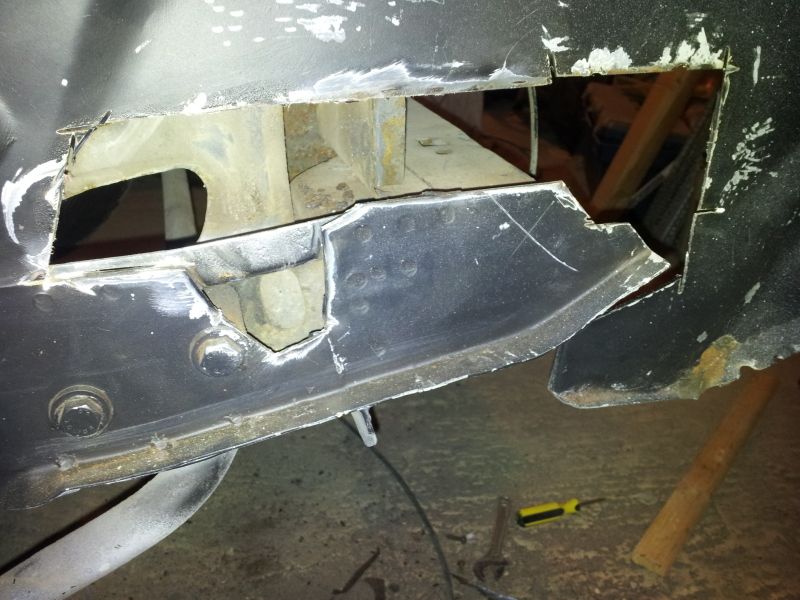
The actual accident resulted in a ruined front panel, headlight bowl (possibly salvageable), Bonnet (apparently repairable), wrecked bumper, and a slightly bent lower inner wing tip (again repairable) as well as misc bits like I need a new headlight & plastic bonnet lip.

I paid a fair bit to have the car resprayed about 6 years ago, as well as replace both rear arhces & rear lower 1/4 panels, it seems the company that did it did a pants job so their work is being re-done, i'm not even convinced they fully replaced the parts I paid for, guess i'll be finding out soon, it'll be interesting to see if any horrors lie underneath their work.

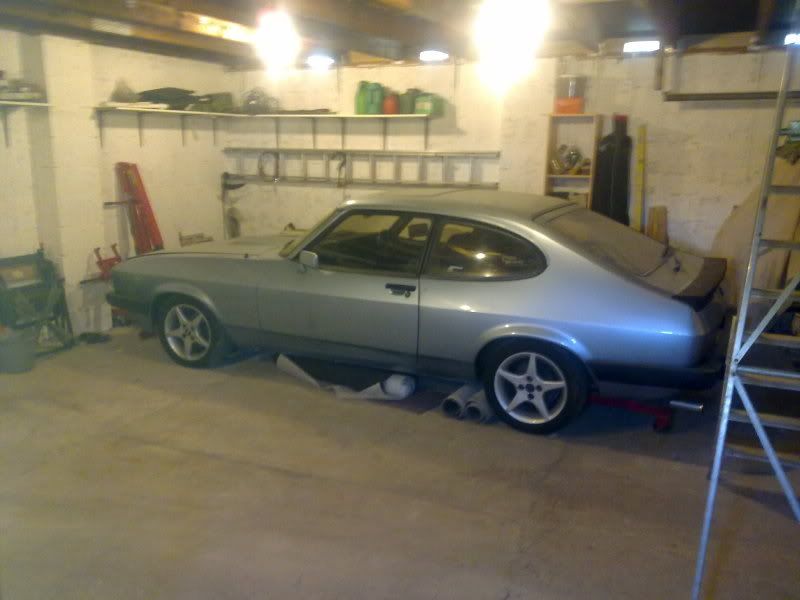
Now that the garage that me and my dad were building at his house is at a point that it is weathertight work can begin on it.

Thankfully i now have a decent amount of dry workspace :D
30042011217.jpg


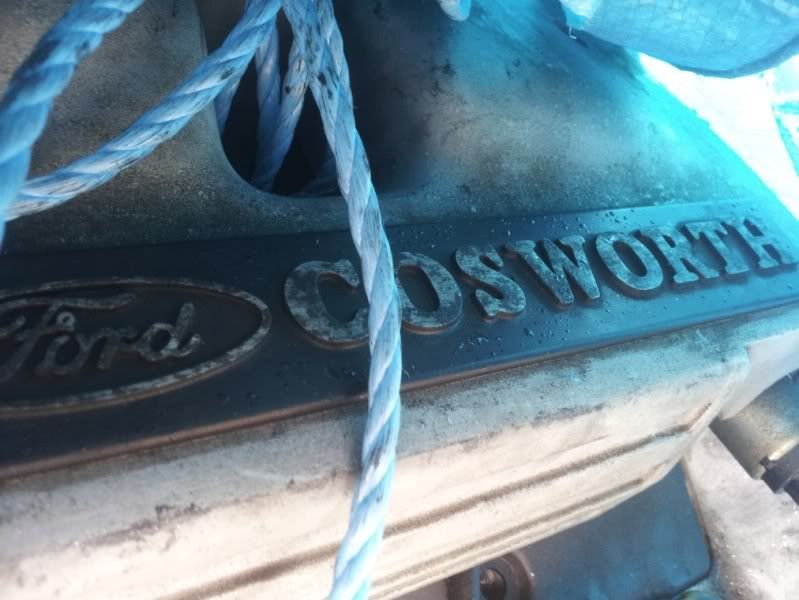
I also thought that by the time the car is done it'll have been off the road for 3-4 years so i'd buy it a little gift, it's also a nice incentive for me to keep at it on a weekend, picked this up on Monday along with all the electrics and ECU -
Engine.jpg


I'll stick some more pic's up later this evening of what's been done so far.
 
Capri's are slowly growing on me, is that a 2.9 cosworth v6

I'm guessing the cosworth lump has a better head design, than the siamese ports on the 2.8i

Yeah, gone are the siamese ports, pushrods & the overhead valves.

Replaced with a quad cam setup with 24 Valve Aluminium heads. Was really happy with the engine, only has 77K on it and i've heard it run in the car it came out of before I bought it so know it runs niceley, the timing gear is being checked anyway at a later date as well as the sump coming off (needs modifying slightly) and a new set of cams going in, the ECU has already been played with.

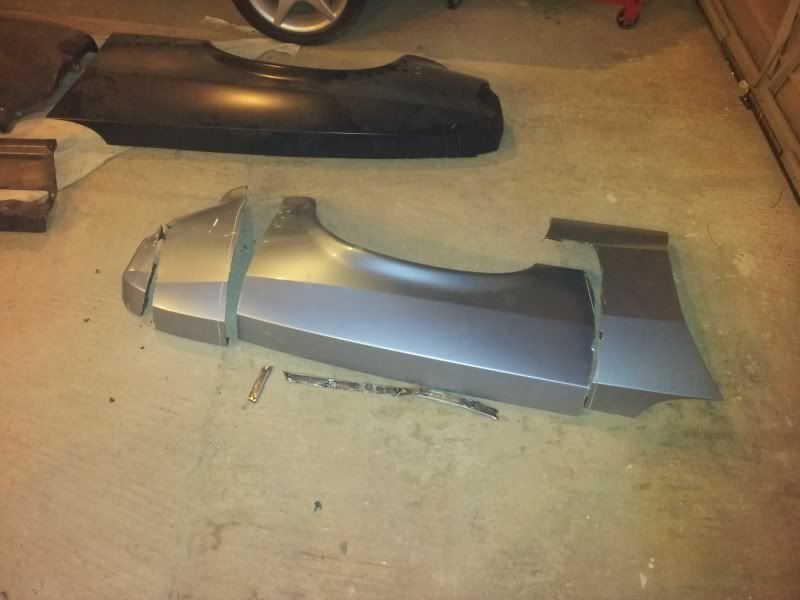
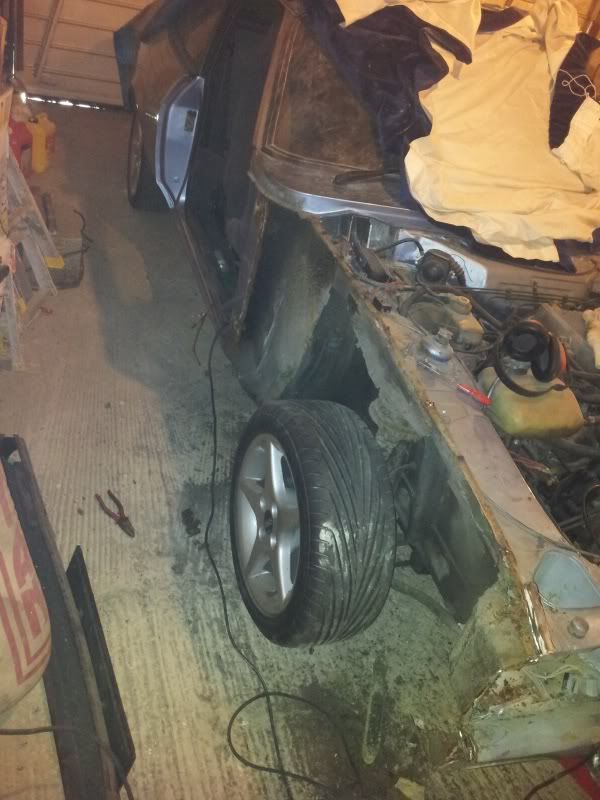
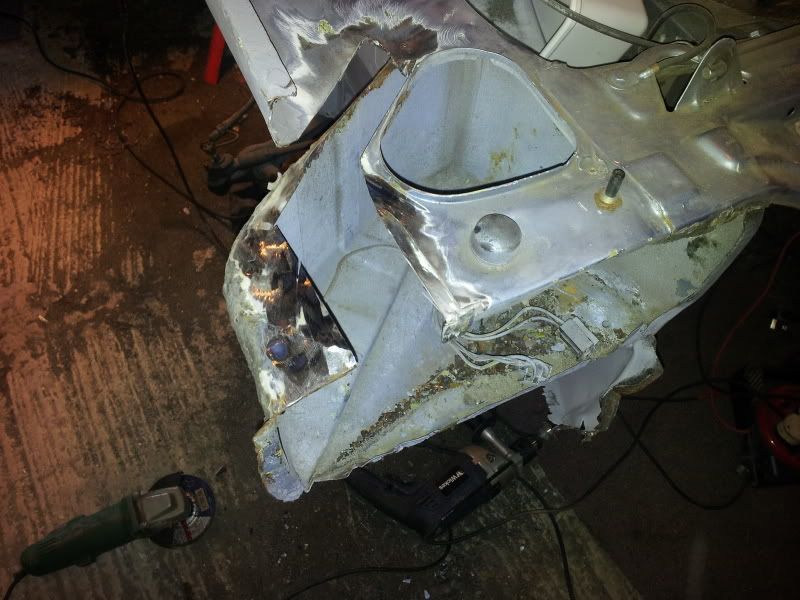
Anyway, a week or so after we got it in the garage I started trying to get the drivers side wing off, the spot welds were proving to be a pain in the bum to remove, and as the wing had a crease in it and was therefore scrap anyway I decided to just butcher it with an angle grinder and sort out the fiddly bits afterwards when access was a bit easier.

Choppy.jpg


FrontStrip.jpg


I've since stripped the whole inner wing area back to bare metal to check for rust, found a tiny bit of surface corrosion but nothing much which i was really happy with. Found a nasty bit right at the bottom of the A-Panel which has to be cut out totally where it joins the floor and a new section of panel put in which i've already purchased, found far less than I expected though so was really happy.

I have since decided that whilst underseal is technically a good thing, removing it should be a task reserved for convicted criminals, nasty time consuming job! :-(
 
Thought i'd post a little update although not really very much has been done due to me going on holiday so i've not had much time to spend on it in the last two weeks.

I've spent about 4 hours today trying to get the front drivers side suspension off but all the split pins & bolts just looked like blobs of rust, did manage to clean them up but there is still one in place stopping me from getting the shock & spring out so that i can get the last bit of inner wing back down to bare metal & then etch primer it. It took forever to get the inner wing back to bare metal as it was really thickly caked in a rubbery substance, i need to get more of the stuff as the metal underneath is in really good condition so it's done it's job well.

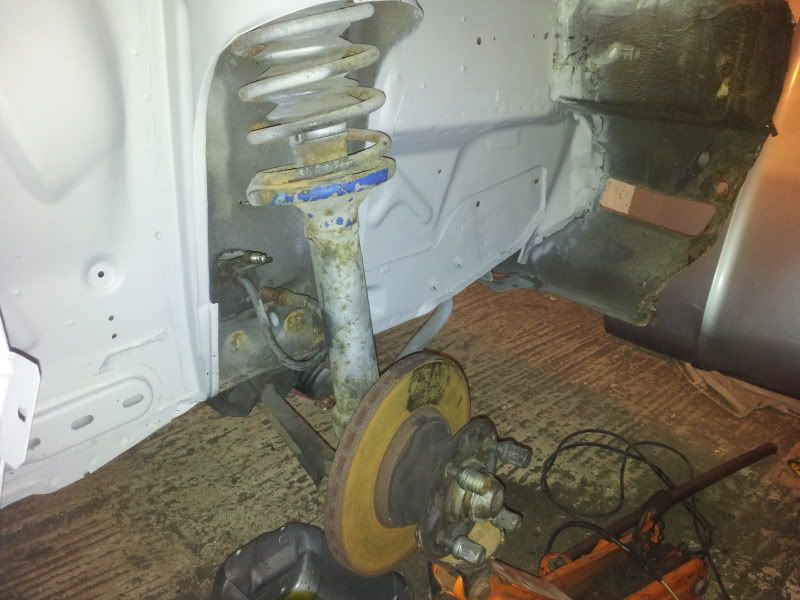
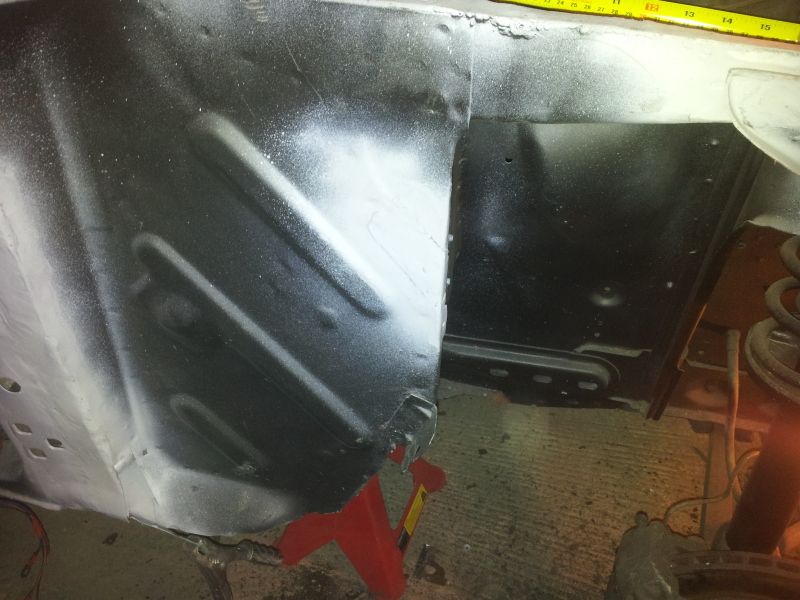
So basically i've got the inner wing as far as this, you can see the damage to the front of it where it's slightly folded because of the accident but it should be repairable.

innerwing.jpg


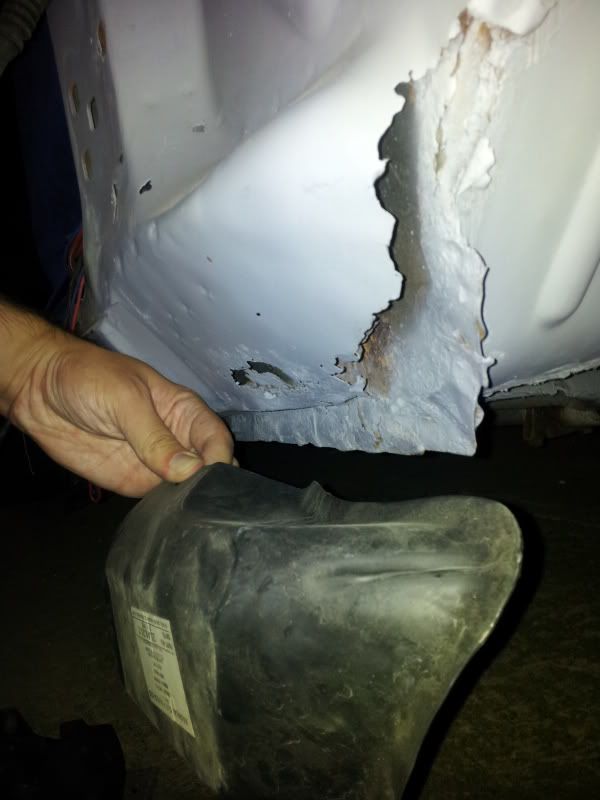
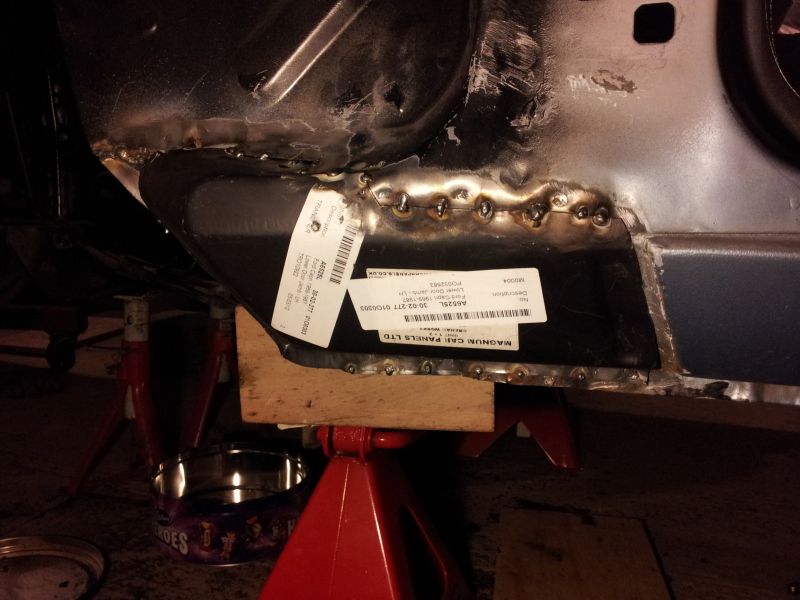
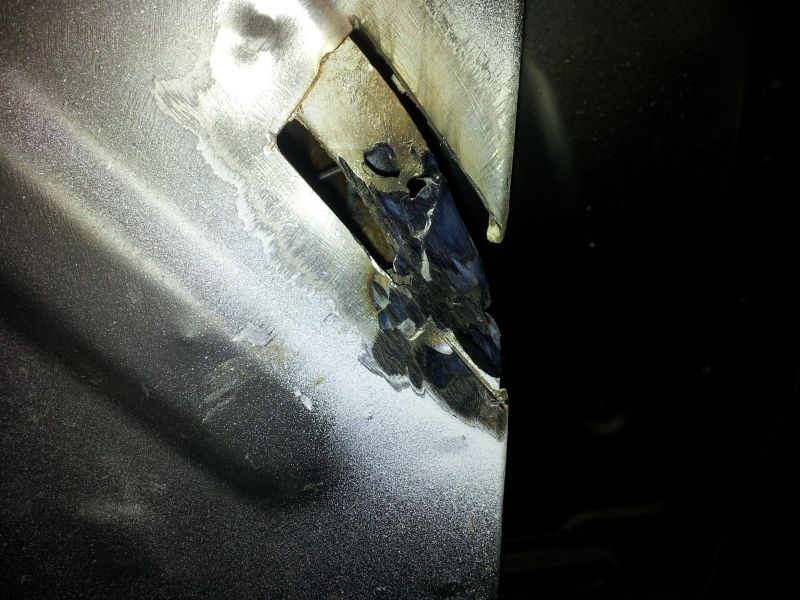
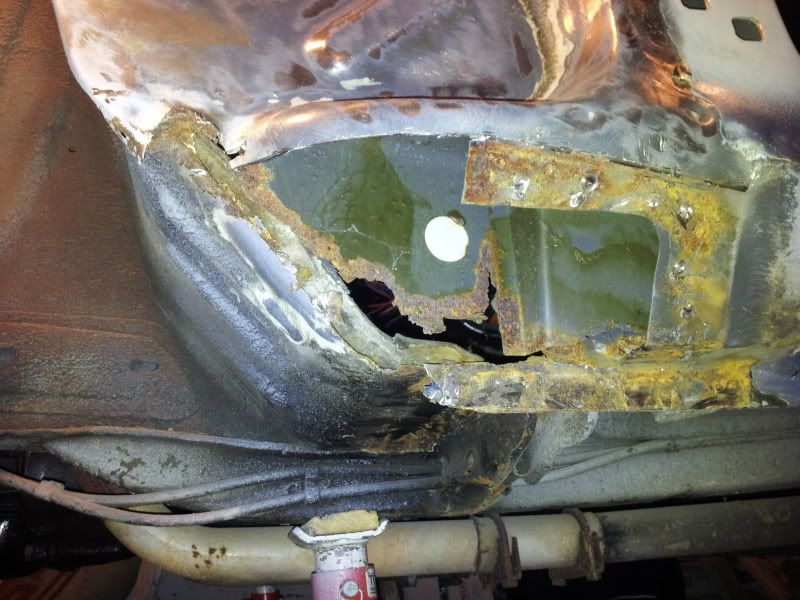
The bottom of the A-Panel has some nasty rust which needs cutting out which is pictured below, that section is normally covered by the wing so is pretty much inaccesible, i've already picked up a replacment section for it but i'm not doing the welding myself so this has to be fitted probably after Christmas. Also where the wing was welded on in front of the door there was a lot of surface rust where there seems to have been a bit of a water trap, the metal has been perforated in 3 places so it's going to need cutting out and a new strip welding in, these are pretty common issues on Capri's, in fact I was honestly expecting worse under the wing so i'm still quite happy with it.

LowerApillar.jpg


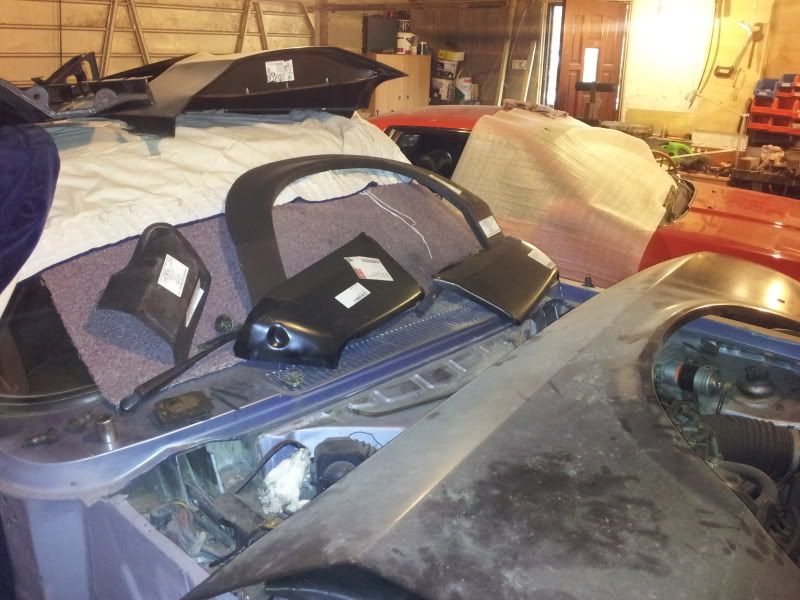
A rather nice collection of replacment panels -

Panels.jpg


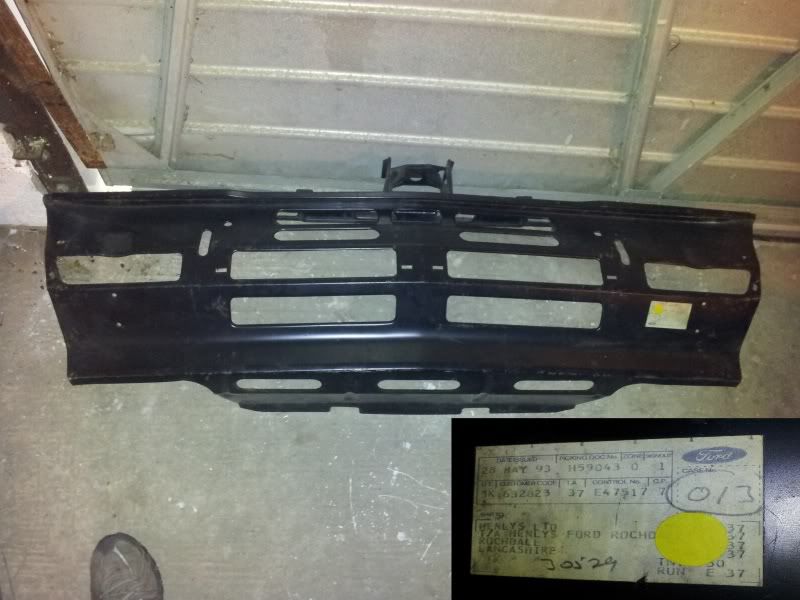
Which includes this one which was bloody hard to get my hands on as it's not a pattern part, genuine Ford Capri panels are real hard to come by now unless you are happy to pay silly money, it had been sat at the back of some guys garage for nearly 20 years collecting dust!

2011-09-24164310.jpg


Most of the interior is out now too.
 
Last edited:
Aha! Can you do me a big favour please?

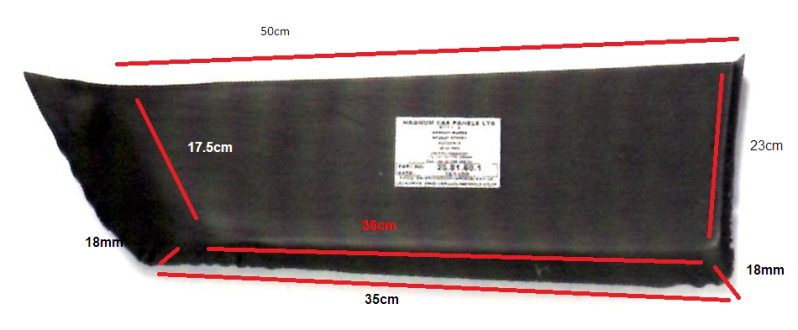
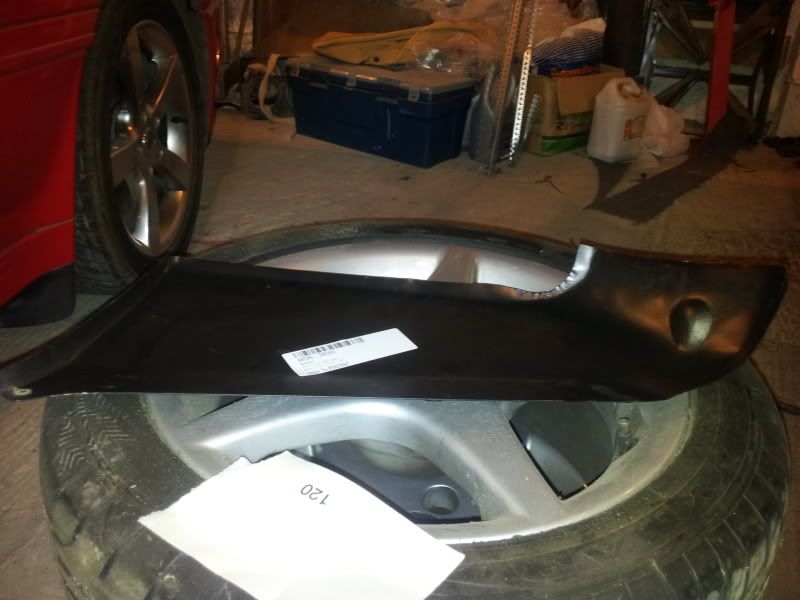
I really need the dimensions of the lower rear corner repair panels. Sounds like an odd question but the Manta is a very similar shape and repair panels are hard to find, I reckon Capri ones might be adaptable.

Yeah, i can get them measured up for you if you like, it'll probably not be until Saturday now though as the car & panels are all 16 miles away at my dads house and i've promised the girlfriend one of my amazing Sunday Dinners tomorrow, is there any particular measurment you are after or just the general dimensions?
 
Got a little bit more done Saturday afternoon, finally got the spring, shock & hub etc off but ruined one of the ball joints in the process, they are cheap to replace so it's no real worry and i want to polybush the car anyway so i'm sure more old suspension components are going to break in the process.

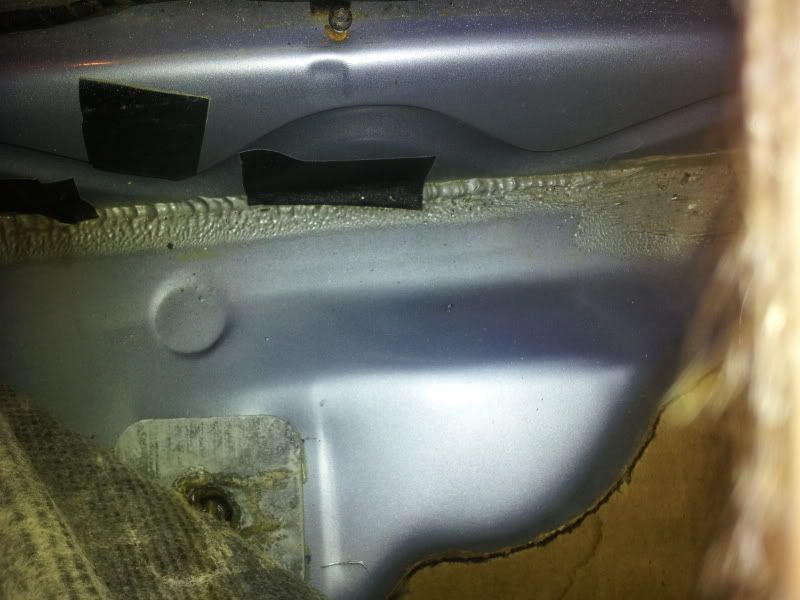
Anyway, i got the inside of the suspension turret all back to bare metal and only found a bit of surface corrosion in a few small areas, it came off pretty easily but it was a bit awkward to get to all of it, once back to bare metal and I was happy all rust is removed I gave it a lick of etching primer.

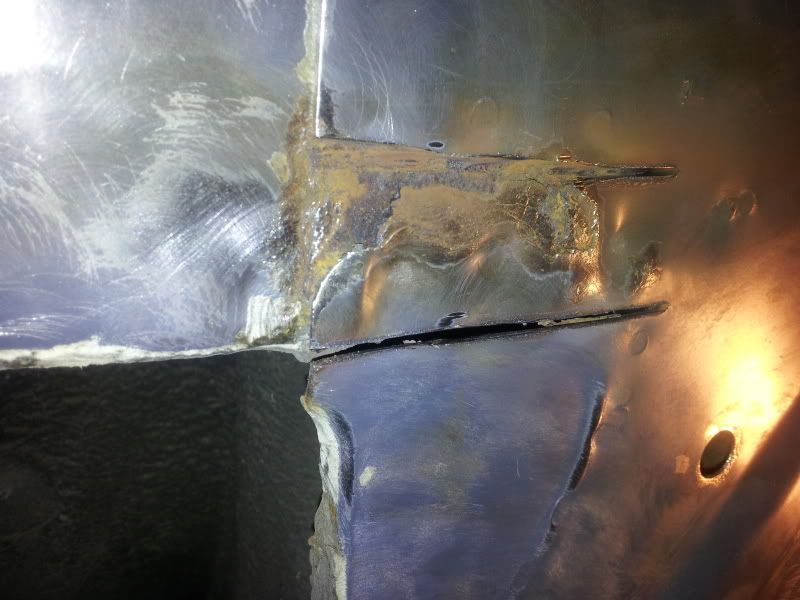
You can see at the very top of the picture there is a small piece of metal missing from the turret housing, it appears to have been melted there when someone has replaced the triangular strengthening plate in the past and they have welded it in.

I know in this pic I missed a bit but I made sure it was covered afterwards.

tower.jpg


And for Lopez, i took those measurements but they are probably not 100% accurate as the rear end of the panel is curved and i wasn't sure how far into the curve you wanted measuring.

If you want to draw lines on the very bottom pic and re-post it i'd probably be able to get something more accurate for you.

quarter.png


Quarterpanel.jpg
 
Little update.

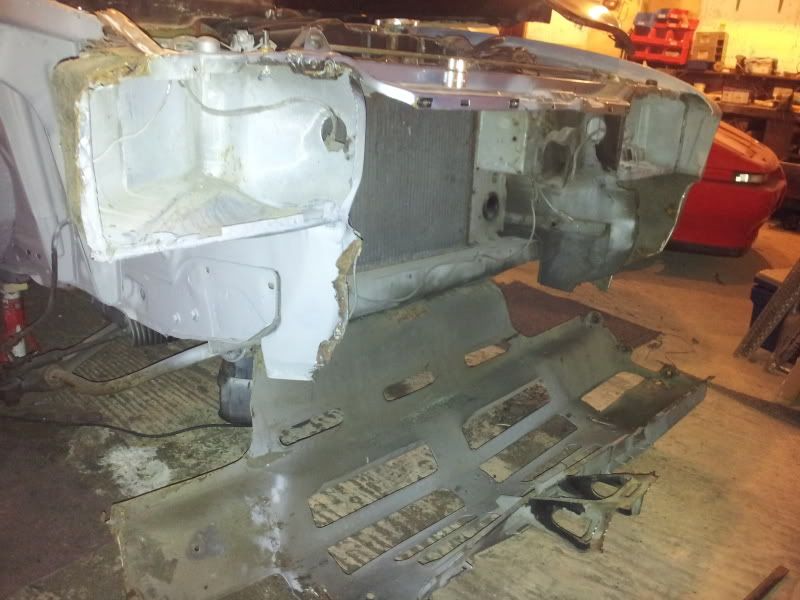
Finally got the front panel off! Was worried about doing this as i've never removed anything like this from a car that's welded on and was worried about making a pigs ear of the headlight bowls & inner wings whilst removing the spot welds. It went quite well however, it was time consuming as I was being careful (took about 3 and a half hours!)

Took this pic whilst i was half way through sorting the welds out at the bottom under the car.

2011-10-15191209.jpg


Started pulling the carpets out and been trying to figure out how to get the dash top out too without damaging it as mine is totally uncracked, need to get as much out of the car as I can as I don't like the idea of sparks flying allover with combustible stuff in there whilst there is welding going on in the front footwell corners at the bottem of the A-Panel, especially after seeing my grandad set his VW Camper on fire whilst welding when I was a kid.

Much to my relief i've discovered that the entire floor and inner sills (apart from the small bit mentioned above) is in this condition :-

2011-10-08144244.jpg


Not bad for a 29 year old car, can't find even the slightest hint of surface rust down there :D
 
Have you took the entire carpet out?

It looks good on the sills, how are the footwells?

Yeah the carpet is out. The footwell is the usual capri story, rust in the outer corner that needs cutting out and repairing, it doesn't seem too advanced though, i expected it to be worse. Sure i took a picture but i can't seem to find it.

Its the rear arches that worry me most, whilst mine don't look bad at all i've seen inner arches on other cars in a right mess once the prodding starts.
 
Done a bit more today.

Spent a few hours playing with the angle grinder and the drivers side footwell.

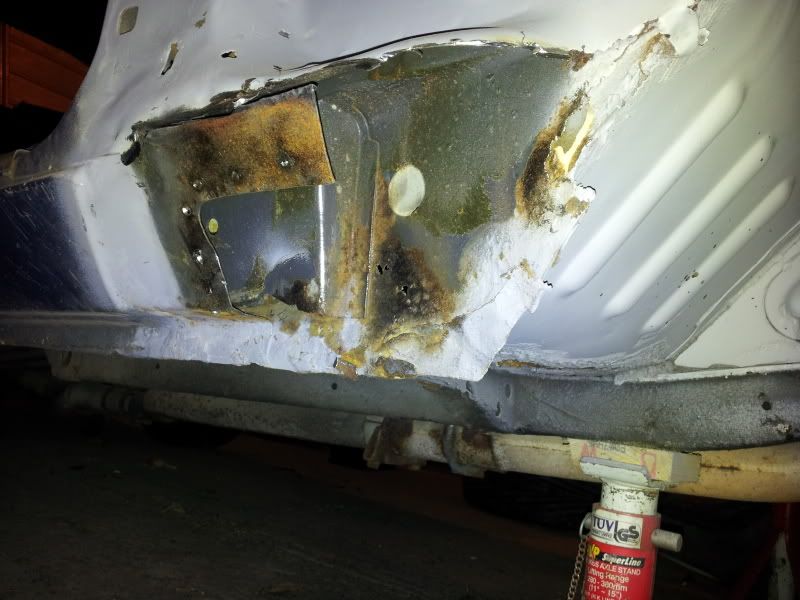
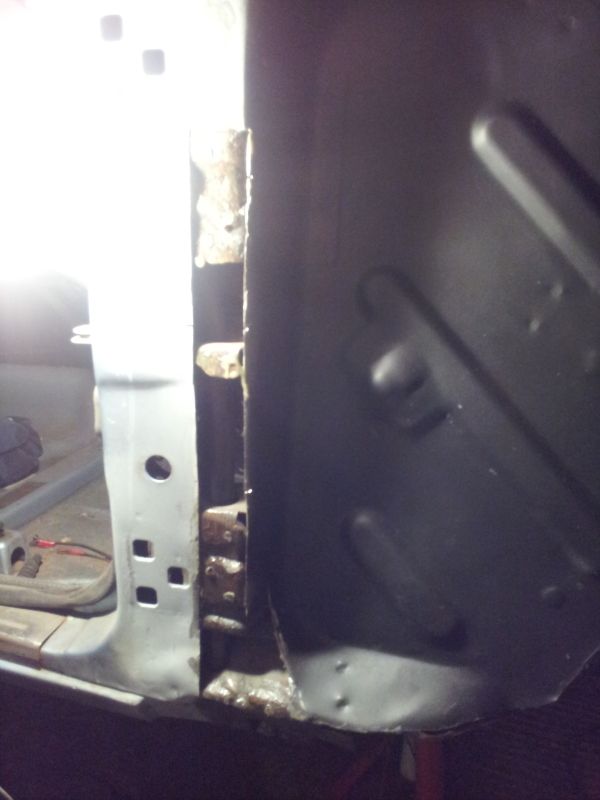
This is how it was under the wing

LowerApillar.jpg


Yet more corrosion underneath once removed, although not as bad of some other horrors i've seen on other Capri's.

2011-10-22181021.jpg


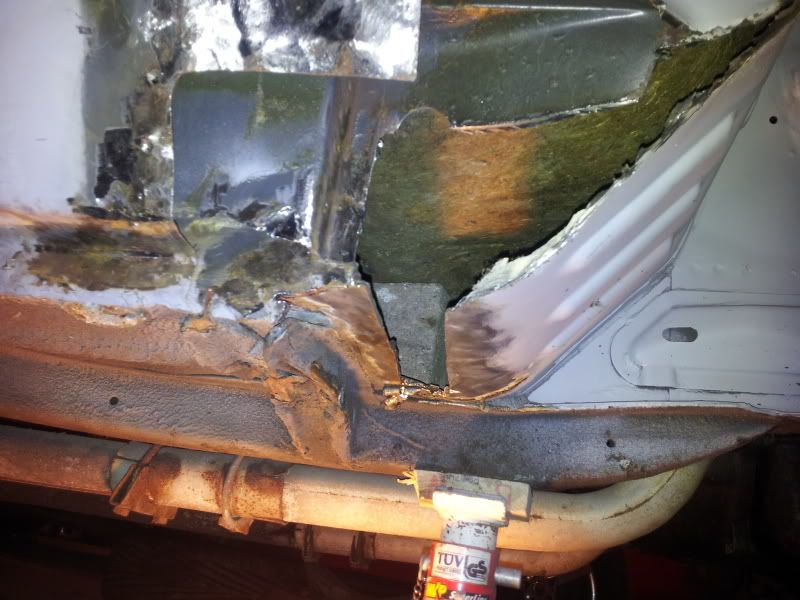
So the only thing to do there is chop back even further!

2011-10-29135559.jpg


I did a little bit more after, the drivers side footwell is now all nice clean metal as everything that looked bad has been cut off and binned. I've got all next week off work so i best stock up on angle grinder discs as i've got some metal to cut out where the back of the wing is spot welded on and the passenger side to tackle and I suspect it'll be worse than this side!
 
Also make sure you get the 1mm cutting discs, they are a revelation if you have never used them before. Oh and some flap wheels for cleaning up welds!

Before I started doing this i'd never even used an angle grinder before, in fact my power tool experience only went as far as putting pictures up for my girlfriend :eek:. I have taken yours & Jonny69's advise and got a few 1mm cutting discs, tried to get Makita ones but they didn't have any in stock. They are indeed much nicer to cut with, the grinder has not tried to launch itself accross the garage yet which is nice, but I haven't done any proper cutting today, i just feel a bit worried about them shattering as they seem so flimsy.
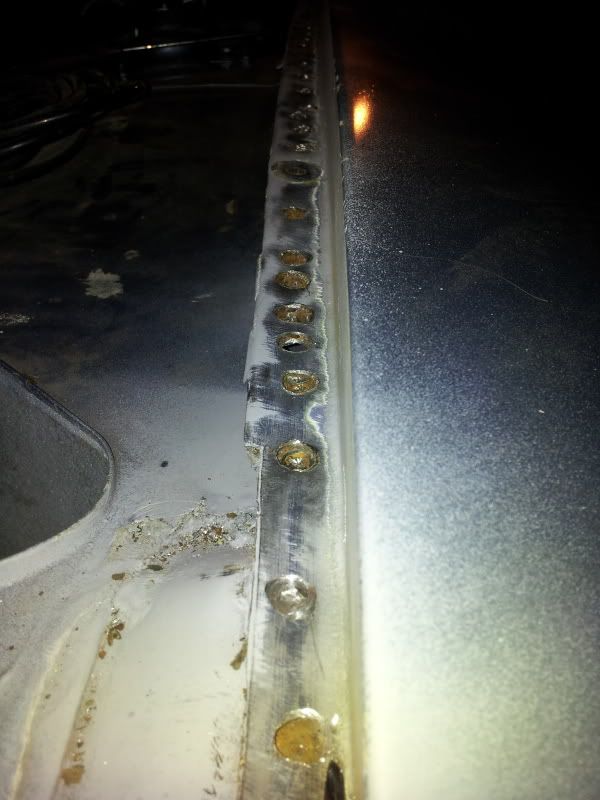
Spent the afternoon removing the passenger side wing, i'm keeping this one though as it's still the original ford one that the car left the factory with as far as I can tell (in fact so was the other one but it was creased) so i've been carefully drilling out spot welds as i'm hoping to save the wing mounting band too.

There are a couple of awkward welds to get off at the back of the wing tomorrow and then I properly can see if any horrors lie beneath.

2011-10-31163114.jpg
 
Look for rust by the door hinges

Also ... Will that engine marry up to your gearbox bellhousing ok ?

There is a small amount of corrosion on the drivers side but ut was on the outside of the panel, the inside is still shiny clean painted metal, someone put some sort of sealant along the inside of the wing and it looks like it created a water trap, most of it ground back to nice shiny metal but it's perforated in one or two places.

As for the engine, yeah it'll mate up to the existing Type-9 Gearbox just fine and even sits on the standard engine mounts, i'm not planning on leaving the engine standard though so I have a few concerns about the gearbox eventually going bang and might have to switch to a hybrid MT-75 box, different prop shaft and mess around with the gear box mounting, the gear ratios look better suited on the MT-75 anyway as on the standard box it'll hit 75 in 2nd so it's a little bit loo long legged.
 
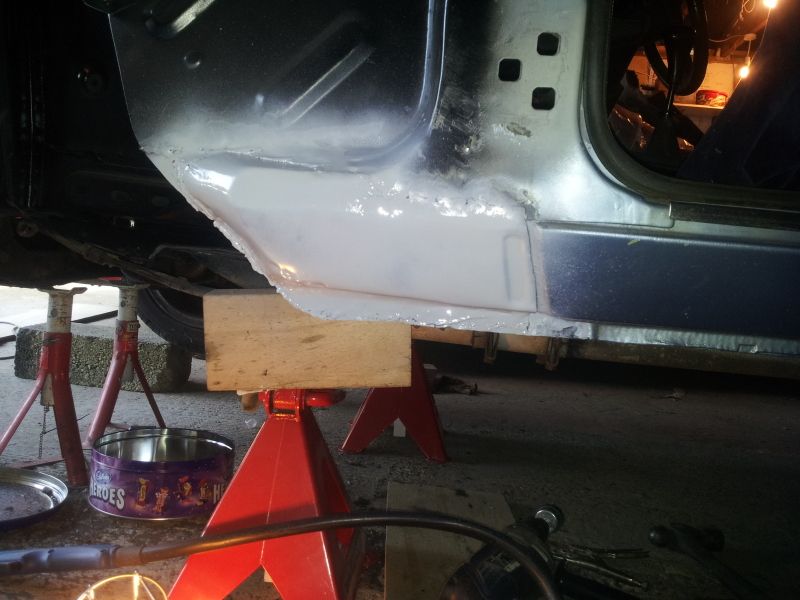
Been chopping into the passenger side A-Panel this week along with cleaning the underseal/stonechip protection from the inner wing on that side now that the wing is off.

Lower A-Bottom worse than drivers side, but only slightly.

2011-11-01173419.jpg


At the top of the A-panel there was some corrosion right in the corner as so-

2011-11-03130808.jpg


Corrosion removed!

2011-11-03170158.jpg


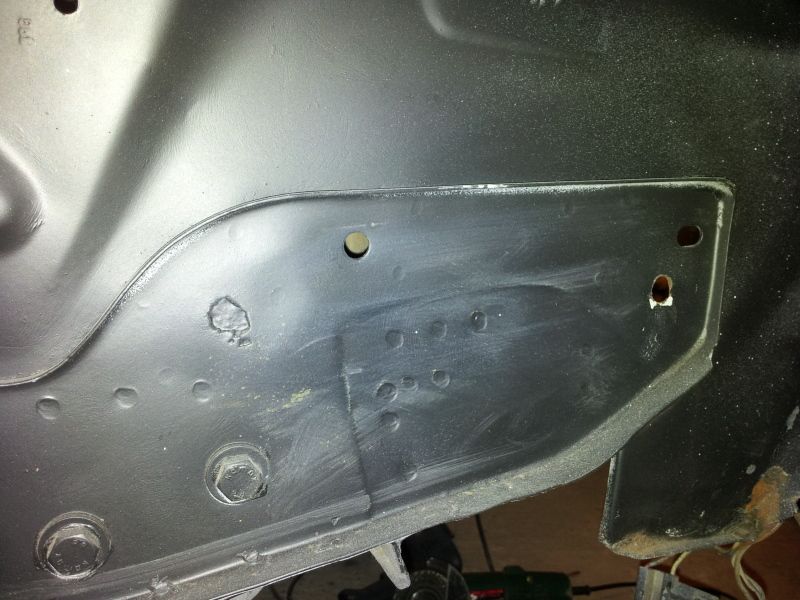
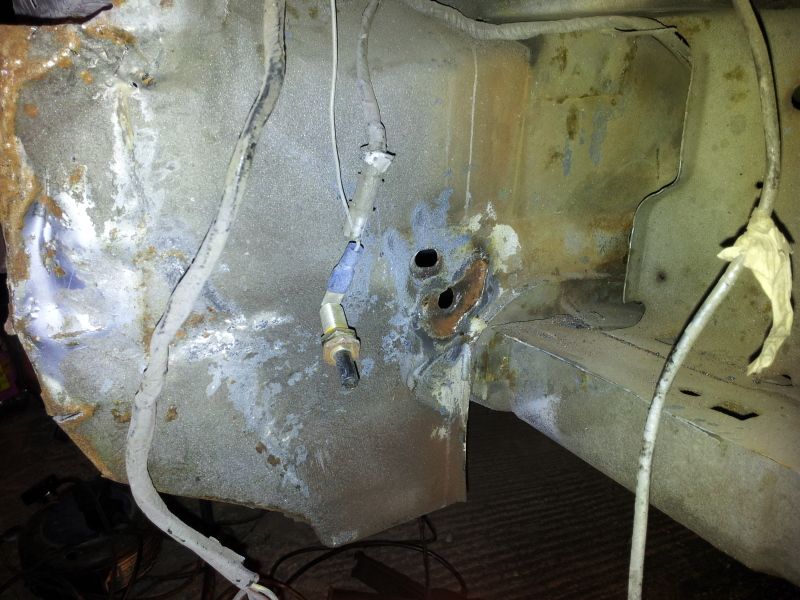
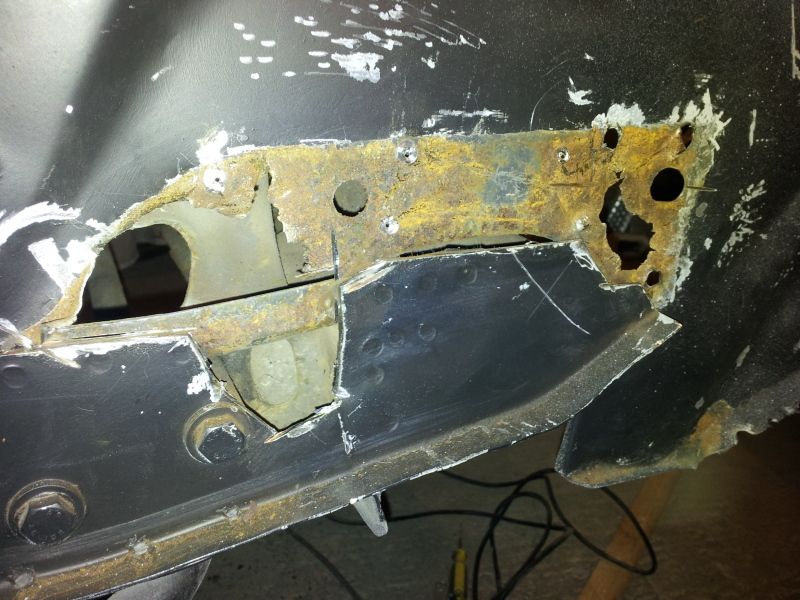
There has always been some rust at the back of the divers headlamp bowl area whilst i've had the car, and in a small area above the headlight on the inner wing, nothing serious but still had to chop it all out to be safe!

Before surgery-

2011-07-16180333.jpg


After Surgery-

2011-11-04142731.jpg


Also had the results of a V888 form that I filled in and sent off along with a £5 cheque a few weeks back, I now have loads of photocopied paperwork from the DVLA on the vehicle including the very first registration certificate filled in back in 1983 when the car was bought from a Ford Dealership in Wales on a private plate, the first owner seems to have kept the car for about 10 years from new.
 
Been a while since I've done an update on this, not had much time due to Christmas approaching but still been trying to get a few hours in here and there.

I've since cut out all the rust shown in the first picture in my last post, but forgot to take any pictures, it wasn't fun as I had to disconnect the fuel line or risk slicing through them if I slipped with the angle grinder, only problem then was I had to give up that week as I ended up spilling petrol on the floor, didn't fancy blowing the garage up with sparks from the cutting disc.

Recently had the windscreen repaired too as was worried about a stonechip turning into a large crack when I remove it soon.

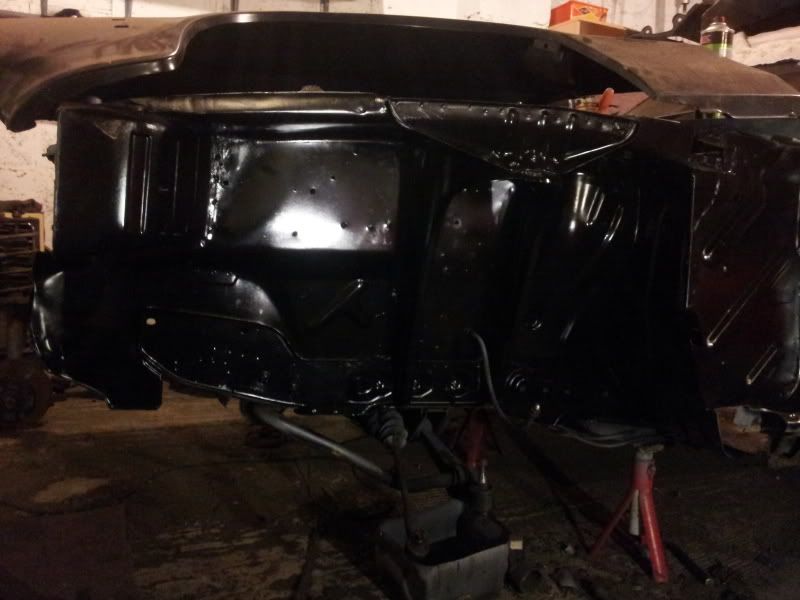
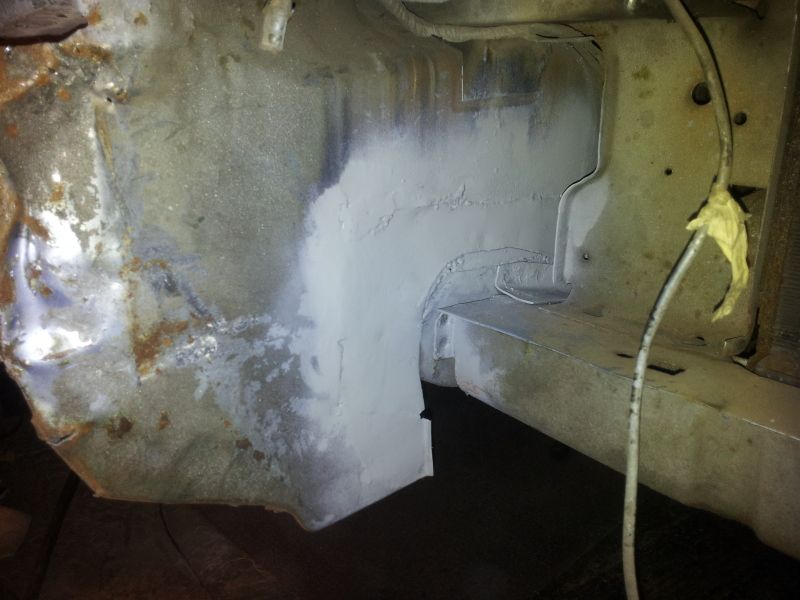
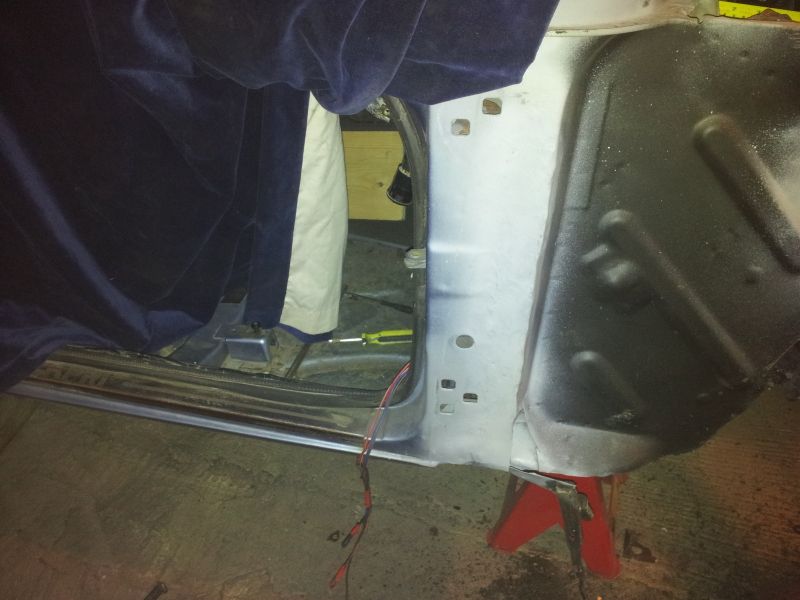
The inner wings now look like this to protect them from moisture until the welding can be done early summer after which it'll all be coated in a proper anti-stonechip coating.

2011-12-28192714.jpg


As i have 5-8 months 'till the shell has the welding done i've started tidying up suspension components as most of them are just caked in rust. The front struts don't appear to actually have any paint left on apart from the bits that were visible under the bonnet.

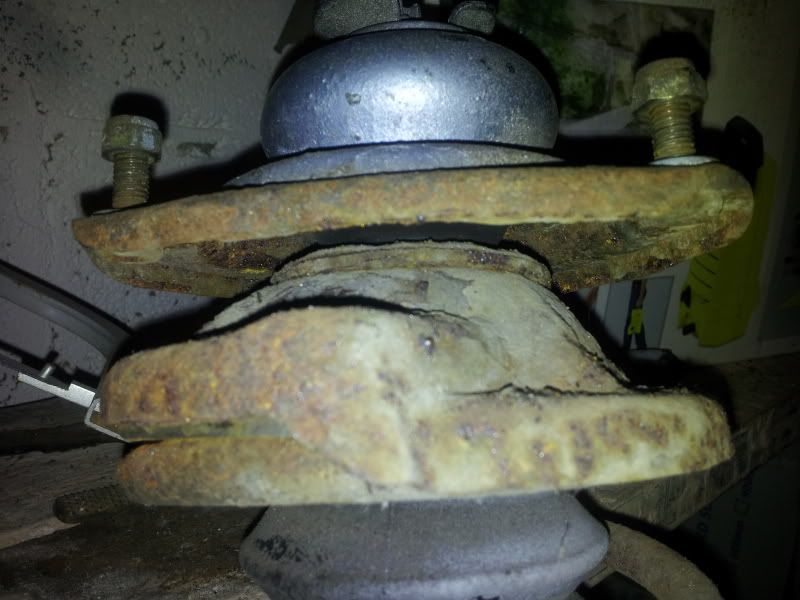
The top mounts looked like this -

2011-12-27162550.jpg


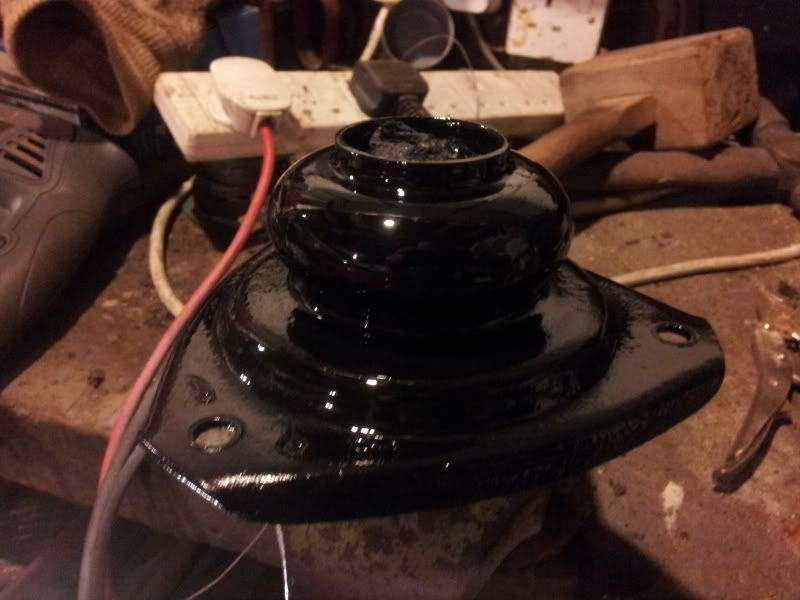
I bought 4kg of "Bilt Hamber Deox-C" as well as 2kg of Deox-C gel as it seems to get good reviews and it got recommended on here as without it even after attacking the top mounts with a wire brush drill attachment they were still a rusty mess after an hour.

After a 3 day soak and about 10 minutes spent on each bit they came up like this, that stuff is truly AMAZING! :eek: -

2011-12-28154008.jpg


(yes there is still a little bit left in the above but I hadn't finished :p)

2011-12-28192414.jpg


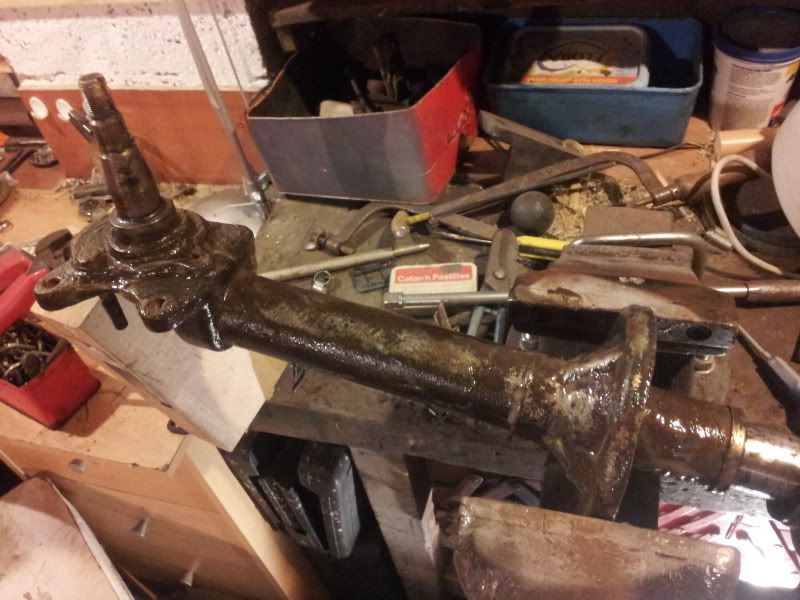
I've also stripped the legs themselves as far as I can short of removing the inserts which i'd like to avoid if possible and given them a generous coating of deox-C gel, shall see how they come out tomorrow, fingers crossed.

2011-12-28192629.jpg


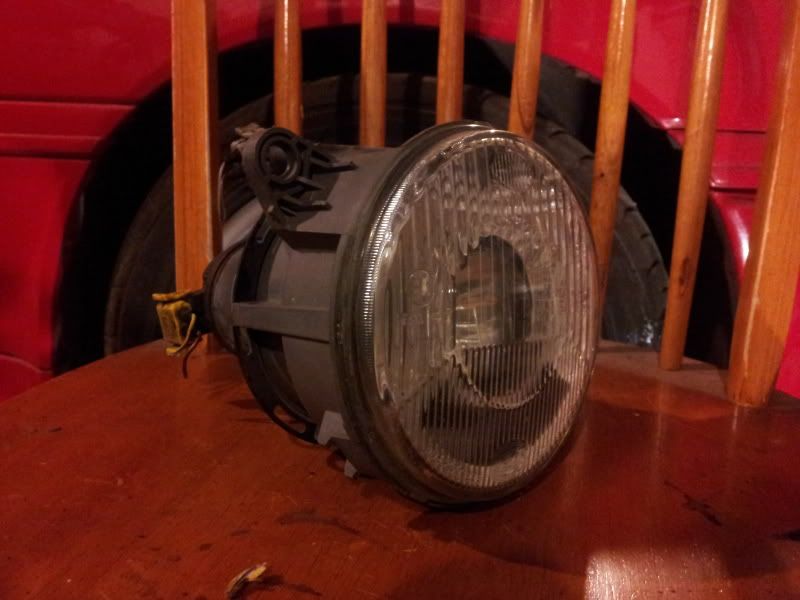
I also got my hands on a box full of these things-

2011-12-28193045.jpg


BMW E30 Projector headlights for a little headlight upgrade :)
 
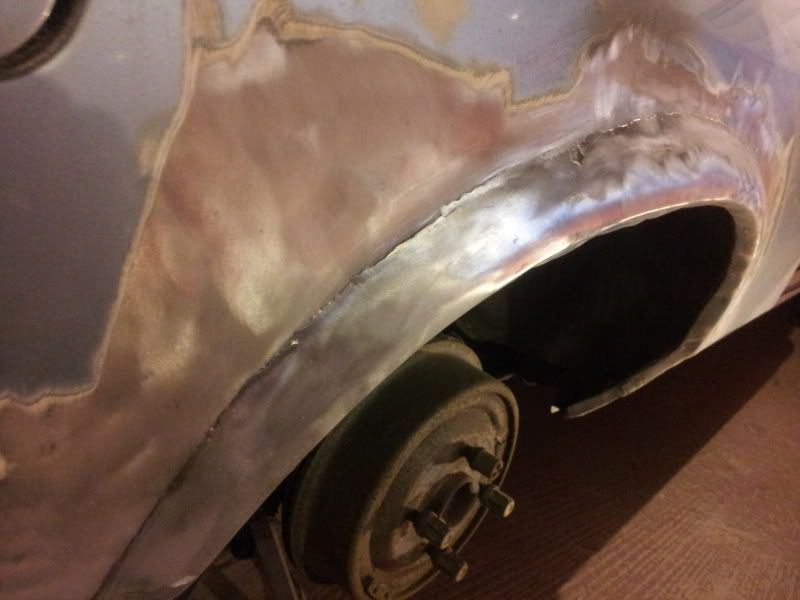
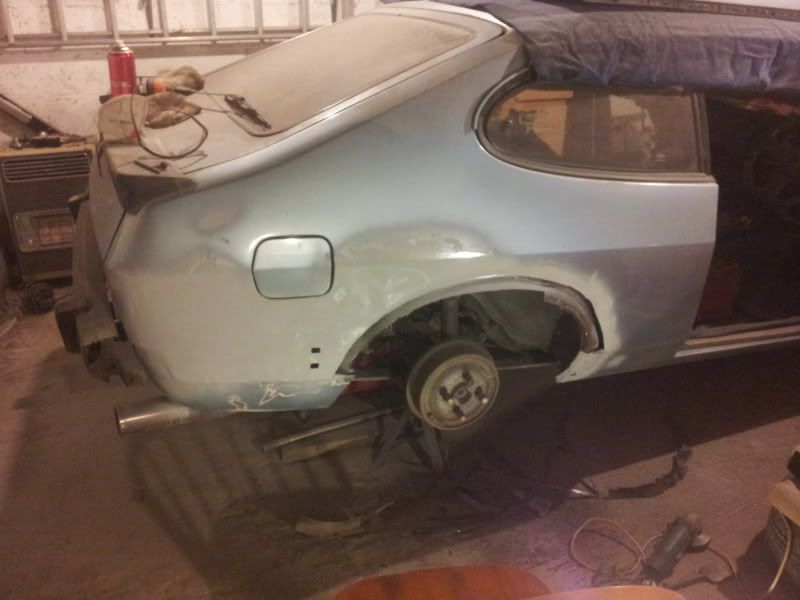
Having finished with the front end of the car for now and it now being back on 4 wheels i have decided to make a start on the rear arches, i thought i'd start on the drivers side first with it being the one that was starting to have the odd bubble appearing.

Whilst doing it i found that there was a hell of a lot of filler in the rear quarter panel, not due to rust but because it looks like someone has dented it in the past just below the fuel cap, not sure what to do about this yet.

Anyway, as for the arch i took it back to bare metal to see what it looked like under the paint.

2012-01-28144459.jpg


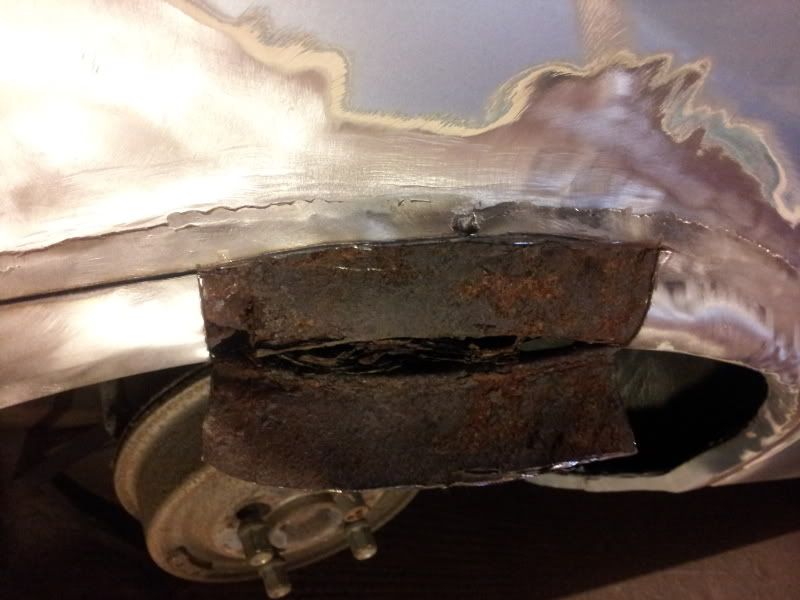
Not too bad but there was some small rusty bits coming through, i figured that this had been welded over the original arch, which obviously is not the best way of doing this repair job so it was coming off regardless of how little corrosion i found!

A bit of cutting has confirmed my suspicions!

2012-01-28145605.jpg


The inner arch doesn't seem bad at all though, just needed some of the lip cutting off along the rear half of it and the rest of it was totally solid.

2012-01-28164254.jpg
 
Bit more work done.

After thinking for a while about what there is actually left to do now that i've cut all the rot out of the shell I figured I was starting to get to a point where I needed the welding done before i could do much else, i considered doing the engine swap but that iteslf brought up a set of issues. Firstly i'd need to paint the engine bay and therefore would have to fork out for the spraying equipment earlier than intended as well as buy all the paint & materials, also the welding was due to be done around late July/early August so i'd have to have the engine in and running by then or have no way of getting the car out onto the trailer, that means relocating the battery, new radiator, hoses, loads of wiring, new downpipes made, spending money on the engine itself (new cams & injectors, checking timing tensioners, painting engine).

I just thought stuff it and went & spent £215 on a Clarke Pro 90 Mig Welder with no welding experience whatsoever! :eek:

I have since watched plenty of videos and had some practice on sheet metal where i can get nice smooth welds, but it's not so easy welding in awkward places.

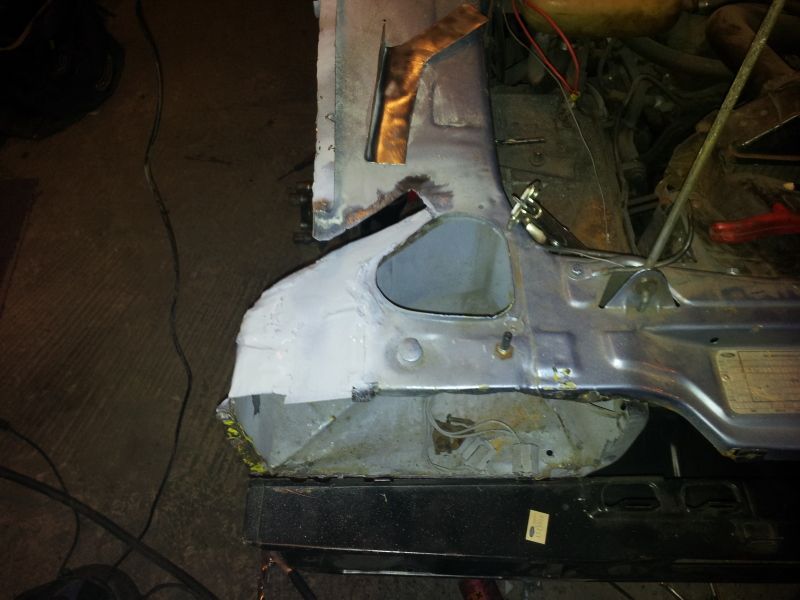
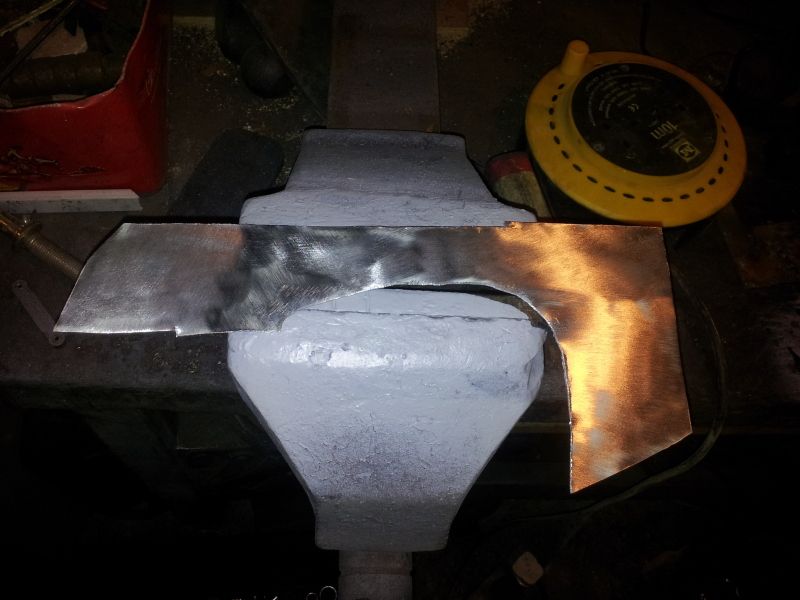
I've since rebuilt the passenger side wing mounting rail out of Zintec.

20120223_124301.jpg


20120223_133514.jpg


New mounting rail is a perfect fit, i was rather pleased!

20120223_134732.jpg


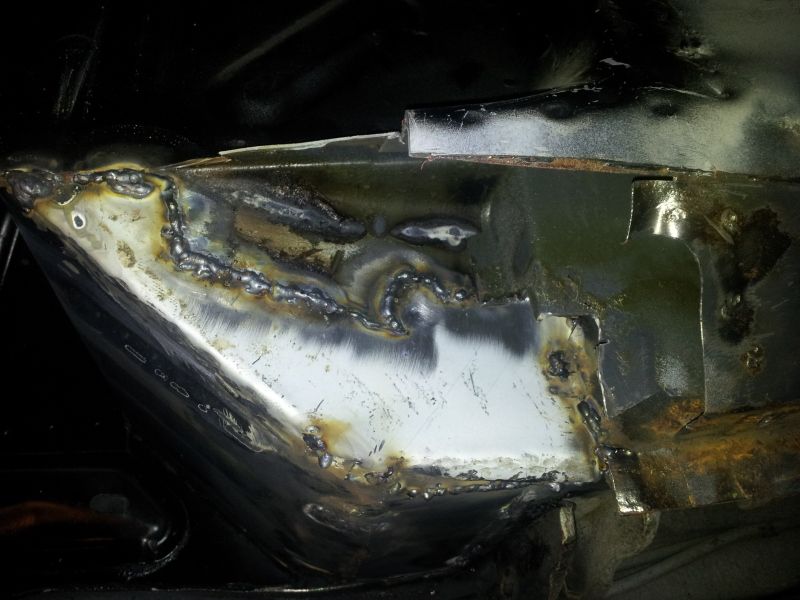
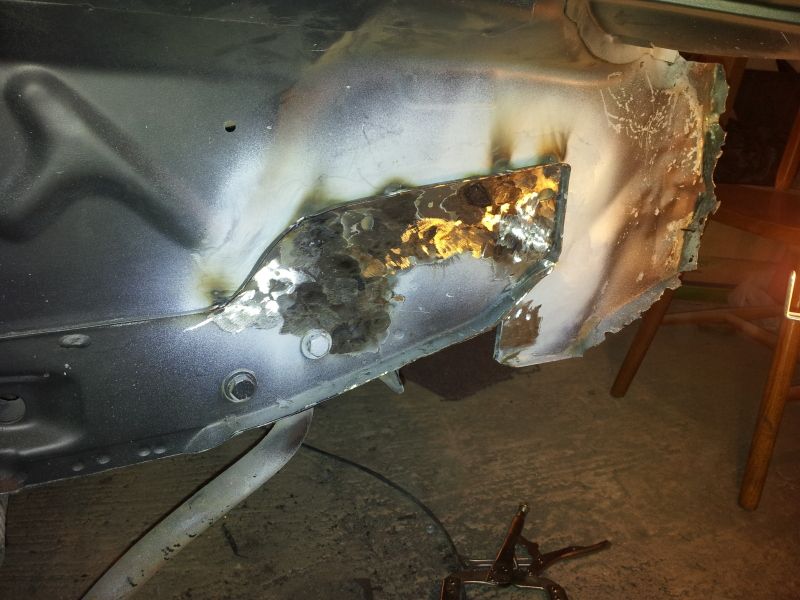
And i've welded a new passenger side floor corner in.

20120302_184953.jpg
 
Done some more in the last month or so -

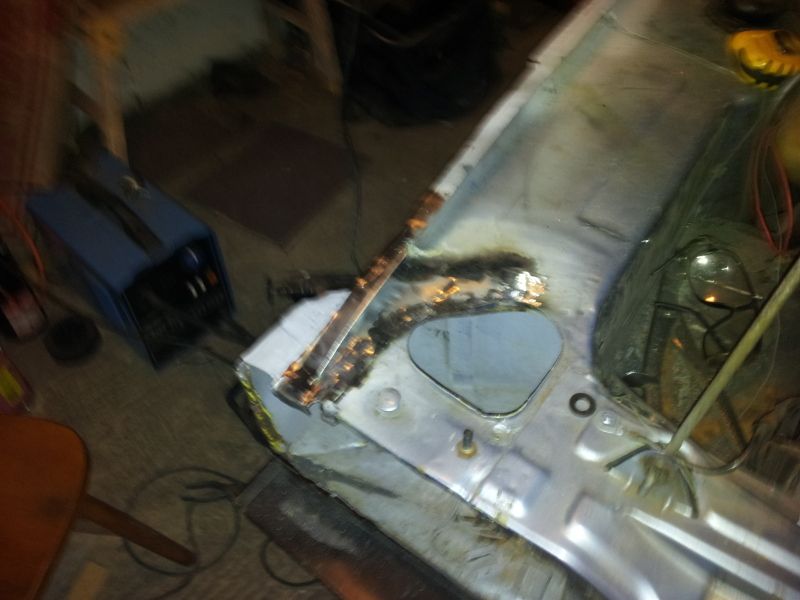
Passenger side A-Panel in progress

20120314_201947.jpg


Almost completed, a few pinholes to sort out in the weld (sorted since pics taken) but it's all closed up now. I've switched to a large bottle of 95% argon 5% CO2 since doing this and it seems to be much easier to weld with.

20120320_170103.jpg


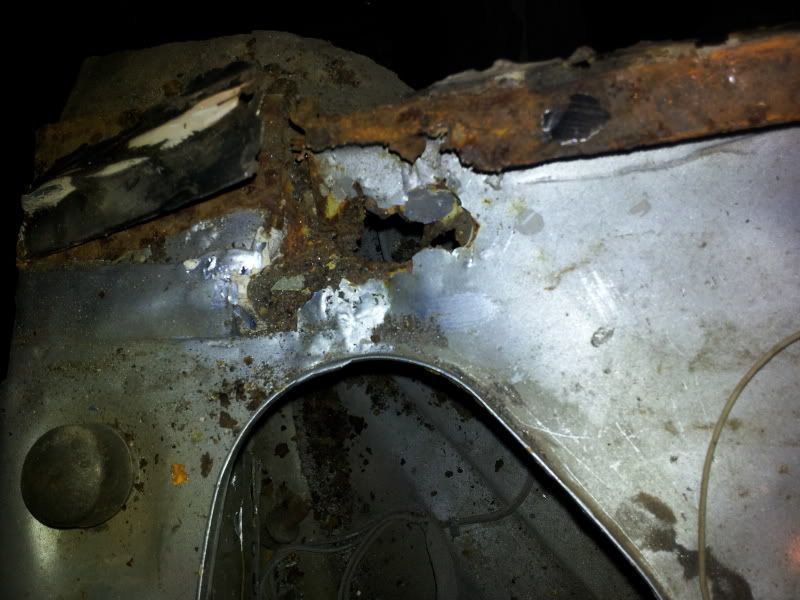
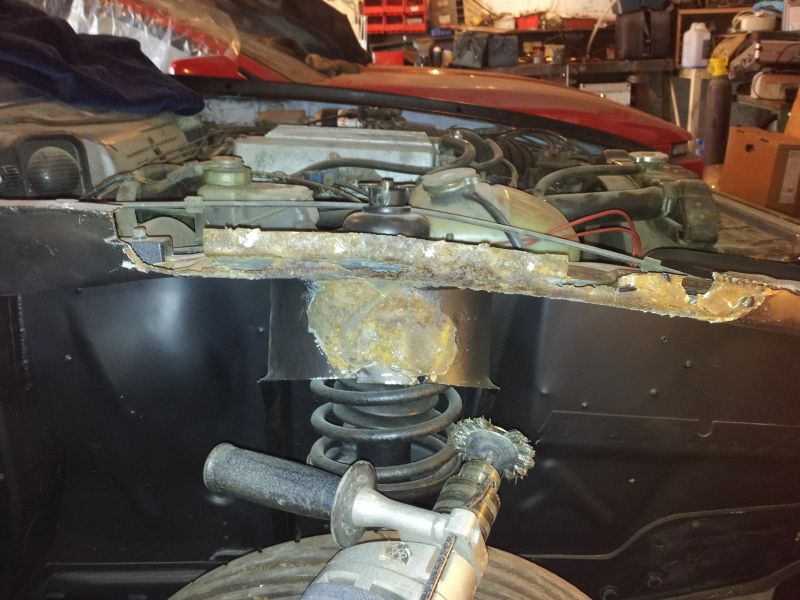
Drivers side inner wing top had some lovely grot hiding under the reenfocing panels-

20120329_122606.jpg

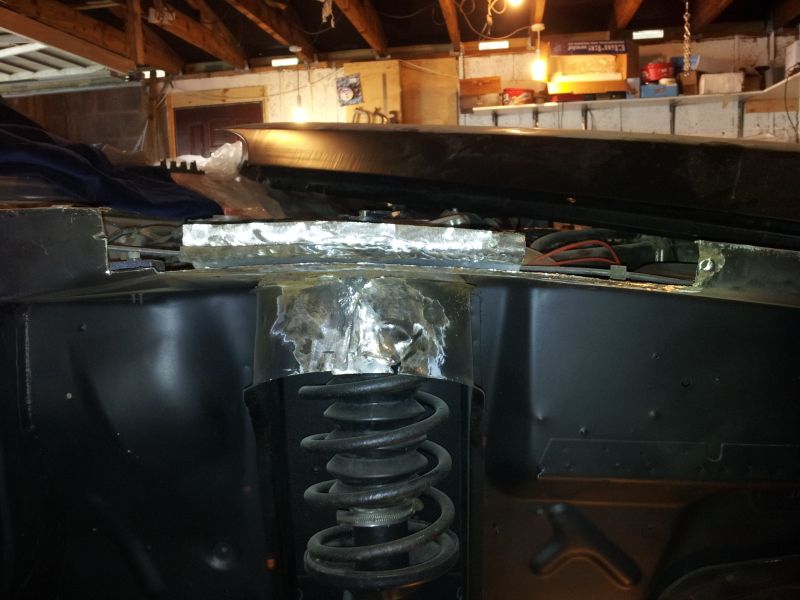
Choppity chop!

20120329_132416.jpg


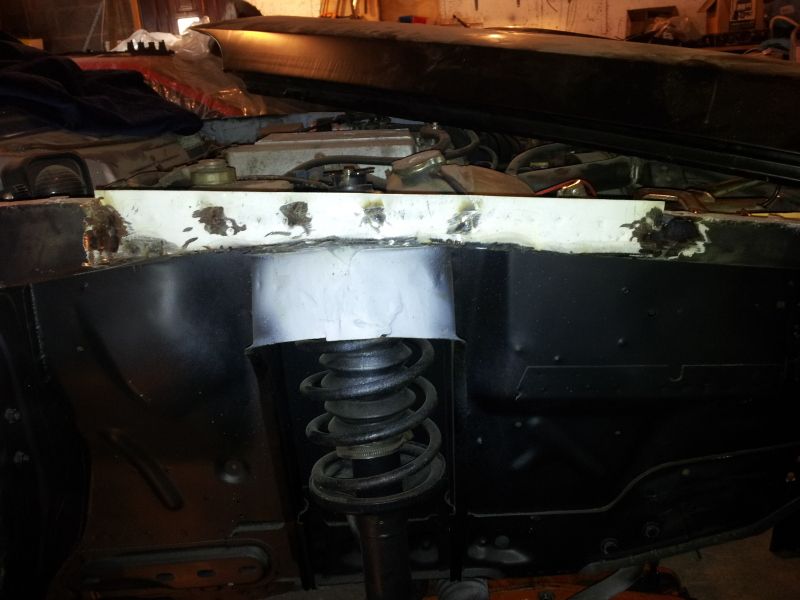
All replaced with new steel-

20120329_172507.jpg


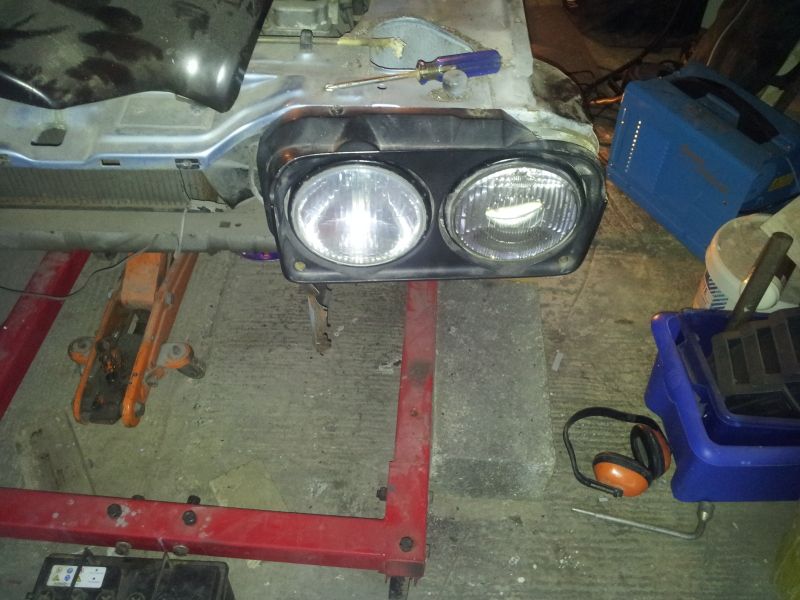
BMW Headlights fitted to one side, wired up and checked.

20120303_175015.jpg


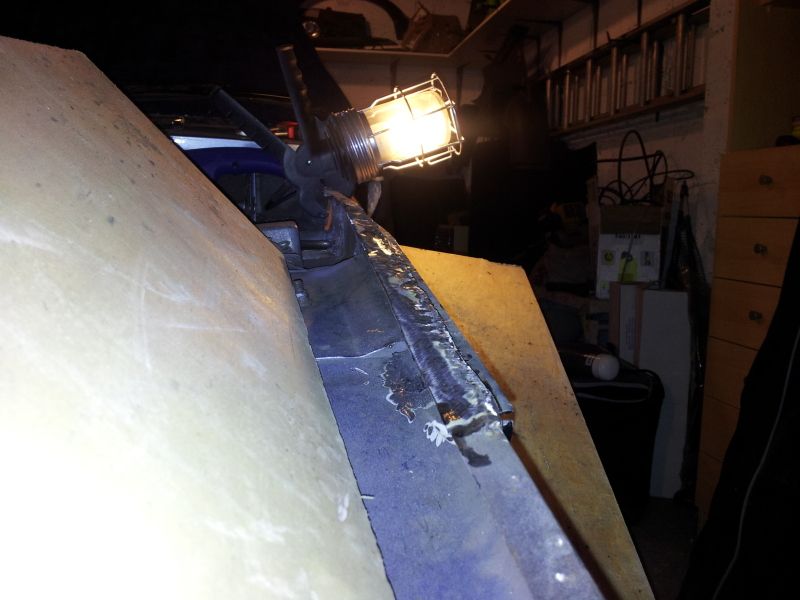
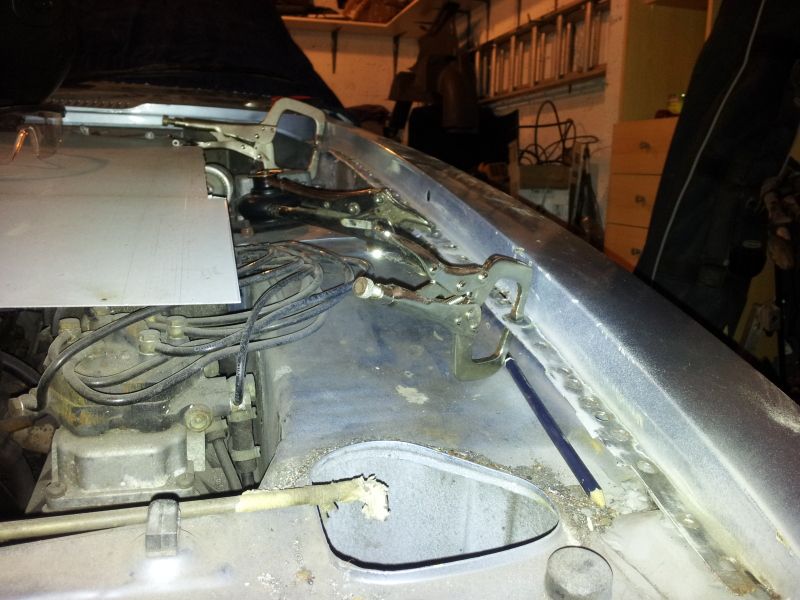
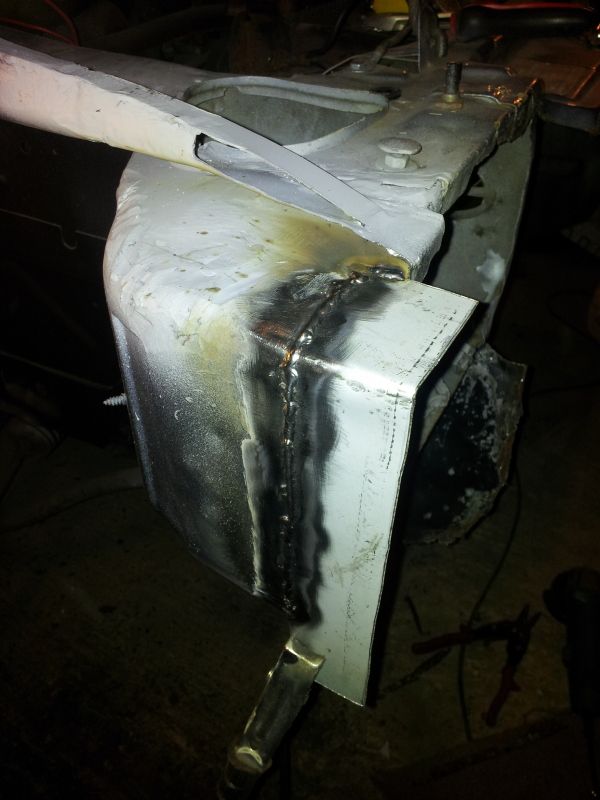
Had a job repairing the headlight bowl as the outer edge was still pushed back so rather than try & knock it back into shape and i've just re-built the front of it to bring it forward, this also deepens it by a few mm which means that the E30 BMW headlights fit nicely without slicing the back of the bowl off, i had to play around here fitting the new bonnet, wings & front panel along with the headlights & grille just to make sure it all lines up at the front properly, it was nice to see it sat there looking somewhat car like again even if nothing was actually properly attached but it all fits perfect! :D

Sorry for the blurred picture, all the rust has been replaced with new steel, you can see at the front where i've had to start to extent the headlight bowl.

20120414_160503.jpg


20120414_184542-1.jpg


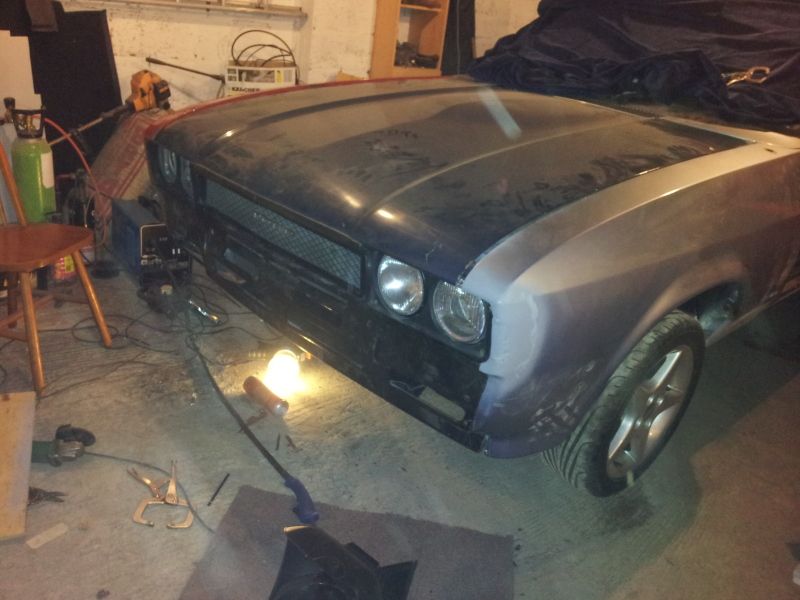
New front end looseley fitted to make sure everything at the front actually lines up. drivers wing is still sat funny but i've cut part of the mounting band out as it was rusty so it's not sat right in the middle and the rear of the bonned is sat a few mm too low, but there is no point adjusting that as it's gotta be removed again once the front end is sorted.

20120414_175258.jpg
 
Ahh the mighty Capri, once i'd passed my test it was the 2nd car I purchased after my Cortina. Was an absolute beast to keep on the road in the wet.

Mine was always ok in the wet so long as i was light on the throttle but i had decent modern tyres on it, it'll be interesting to see how the back end copes in the wet with over 200 bhp and a shorter ratio rear axle, wouldn't mind a quaife LSD in future but that would have to come well after it's back on the road as i need money going elsewhere.
 
ugh, bad welding! try to go side to side over the gap and move slowly along it. abit like building lots of tiny bridges in a continous S shape all touching each other. HTH

Thats sort of what i was doing but the earlier welds with co2 it was just popping and banging and generally being a pain. I'll find some pics of more recent ones prior to being smoothed off.
 
This is a more recent weld that the ones posted earlier, it does seem easier on argon and i'm blowing holes far less often than I was at first.

I do wish i'd forked out for one of those auto dimming helmets though.

20120417_120509.jpg


I'm working in a kind of overlapping "C" shape.
 
Done some more today as i had a day off work.

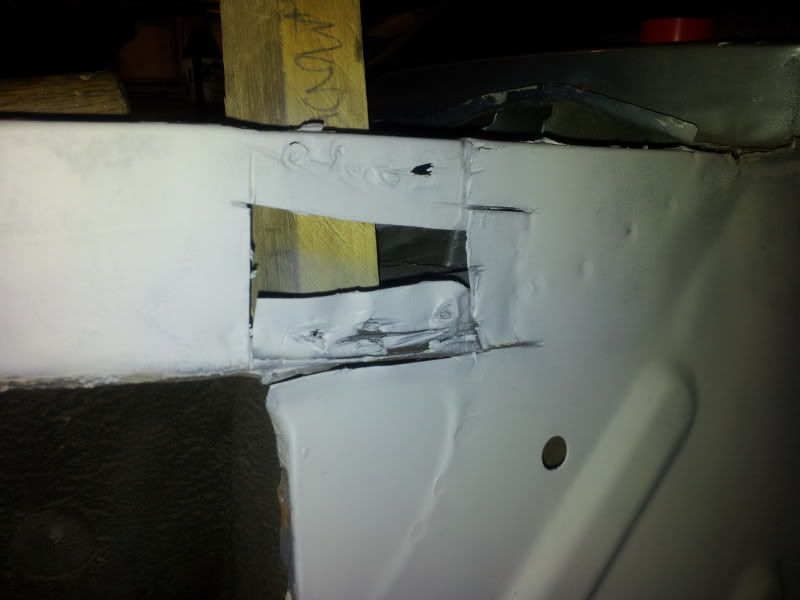
This was one of the bits that has been worrying me slightly as i expected this to be a challenge, it's a common place for rust to take hold.

First signs something is amiss-

20120421_164150.jpg


Having a look round the back shows more rust which i'd already poked out from behind.

20120421_165215.jpg


Part of the top panel obviously had to come off to reveal this -

20120421_191239.jpg


20120421_195610.jpg


New panel to replace the old one cut out of zintec, this was a pain to do as it was really fiddly, i ended up using an old magnet i found to hold it in place as access to the back is awkward.

20120424_140223.jpg


Rust be gone! :D

20120424_153845.jpg


20120424_175954.jpg
 
More done, i forgot to take a picture of the bit i was working on last week, which is now finished apart from re-drilling the holes for the bumper irons. The reinforcing plate that i cut off was left to soak in a large tub of Bilt-Hamber Deox-C (which is rather amazing stuff) to get the surface corrosion off the back and then welded back into place with a bit of new metal where the rust was starting to poke it's ugly head through.

Looked like this just before finishing up-

20120428_132433.jpg


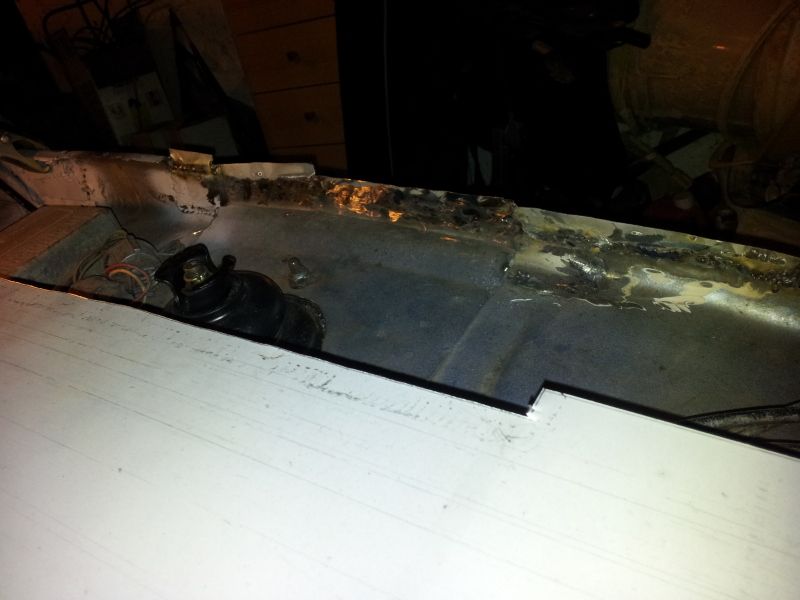
I then moved onto another little bit on the A-Panel that is right behind the dash so i had to spend an hour trying to get what was left of the lower dashboard out and the soundproofing out from right behind the pedals or risk torching the car and the garage at the same time. I decided to lap weld this bit rather than butt weld it in.

20120428_145700.jpg


And whilst i was at it i started to get this bit sorted out too-

2012-01-15151725.jpg


Left it looking like this -

20120428_185404.jpg


20120428_185346.jpg


Can't say i'm 100% happy with the weld in that last pic as on close inspection there are still a few tiny pinholes that need addressing, this is going to need a skim of filler to smooth out also as it will be partially visible with the door open and the nasty angle grinder marks need smoothing out.
 
Back
Top Bottom