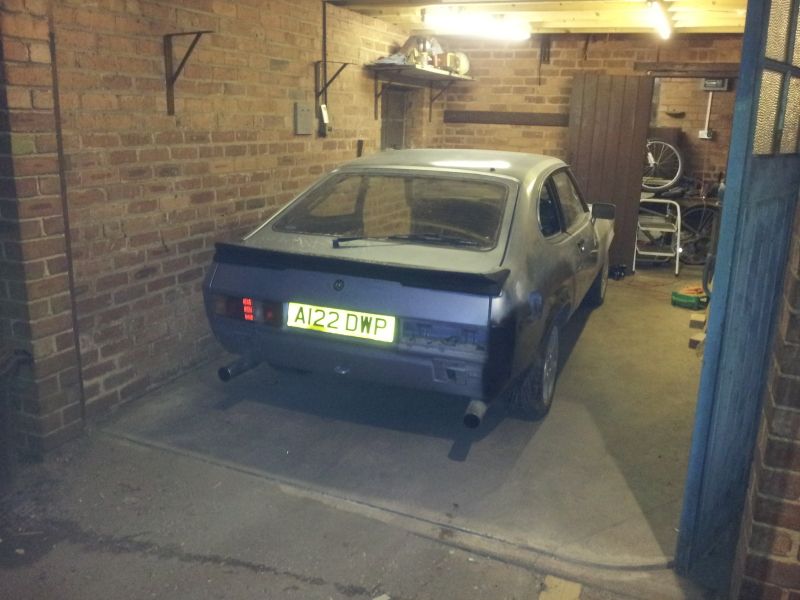
Repairing/Restoring my damaged Ford Capri 2.8i

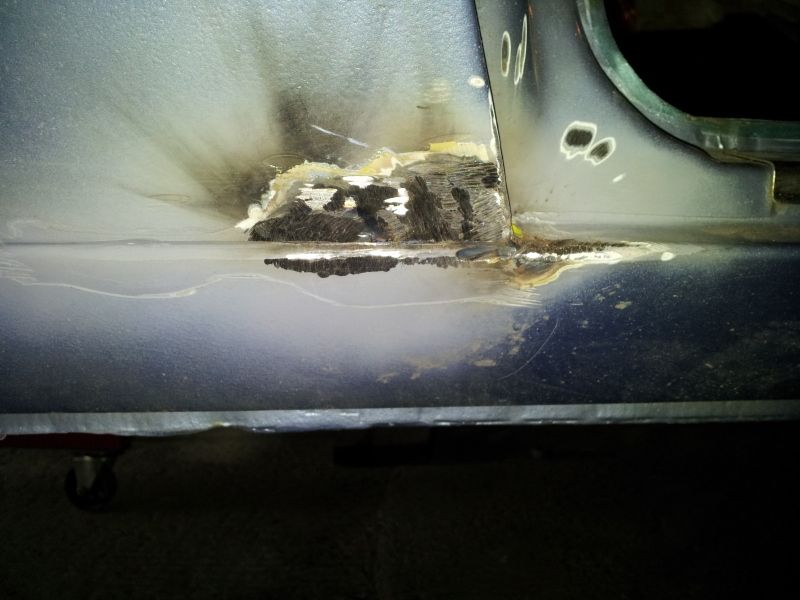
Got some more done in the last few days. Managed to get the floor on the drivers side patched up fully and also managed to close the bottom of the A-Panel up.

Much better with the gaping hole pictured near the start of the thread closed up.
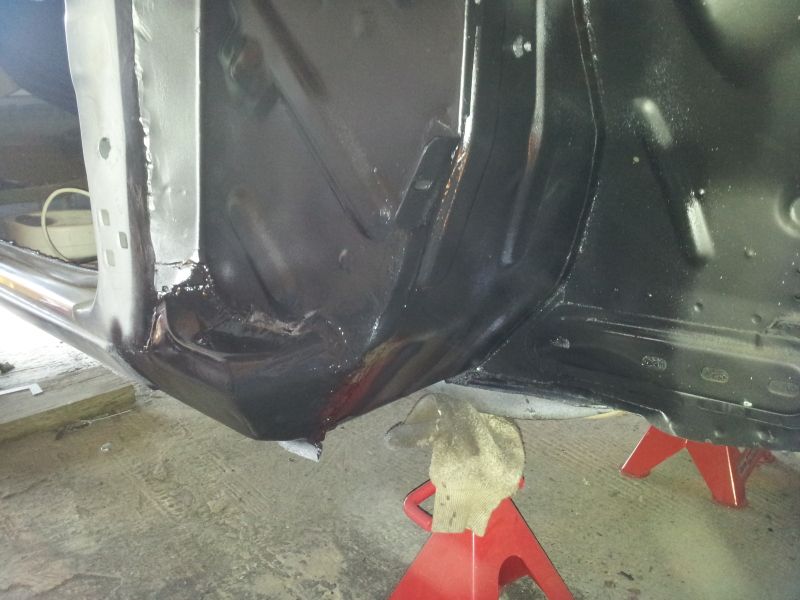
20120512_182622-1.jpg


I've also sorted out a bit where some paint was bubbled just behind the drivers door but my stupid Samsung Galaxy S2 was playing up and decided not to save any of the before pictures. I had to reboot it to get it to start saving photographs again :mad:.

Anyway, you can see where i was trying to make a repair patch & hold it in place with a magnet.
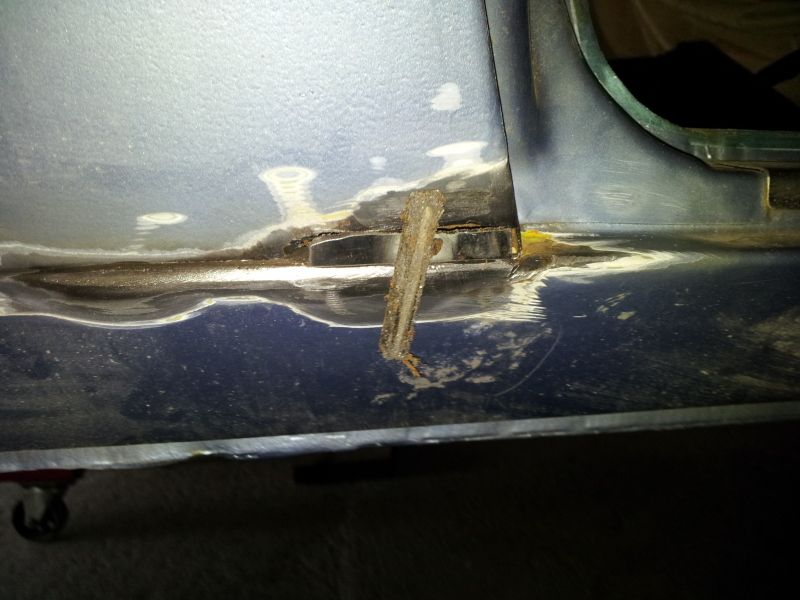
20120514_185121.jpg


Welded in & ground smooth (ish)

20120516_173306.jpg


Hole gone! :D

20120517_193736.jpg


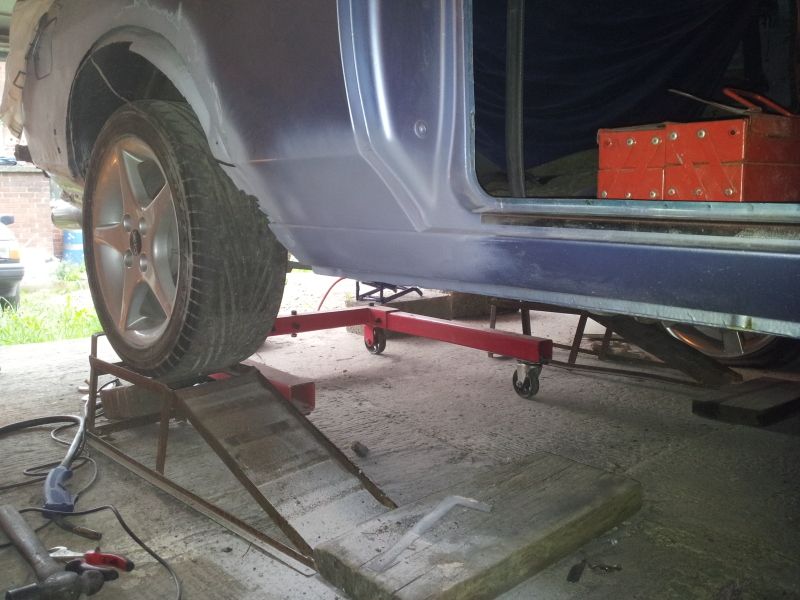
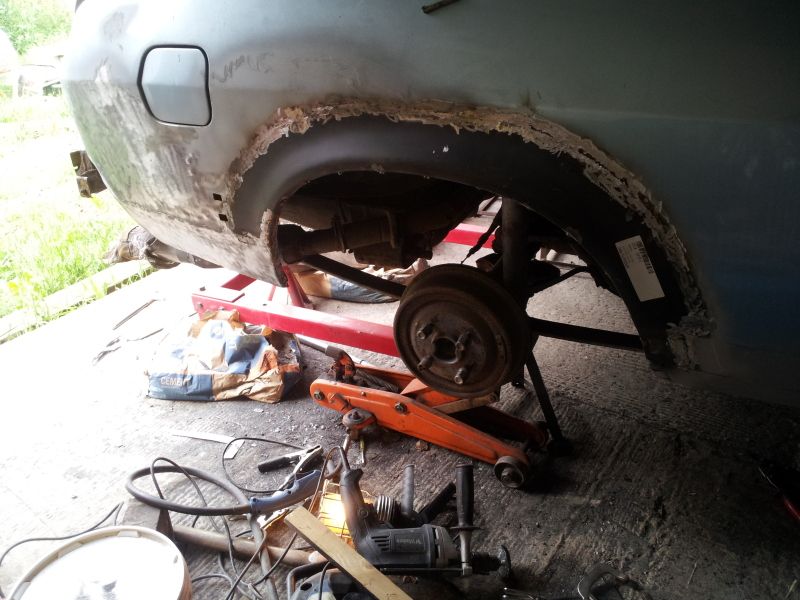
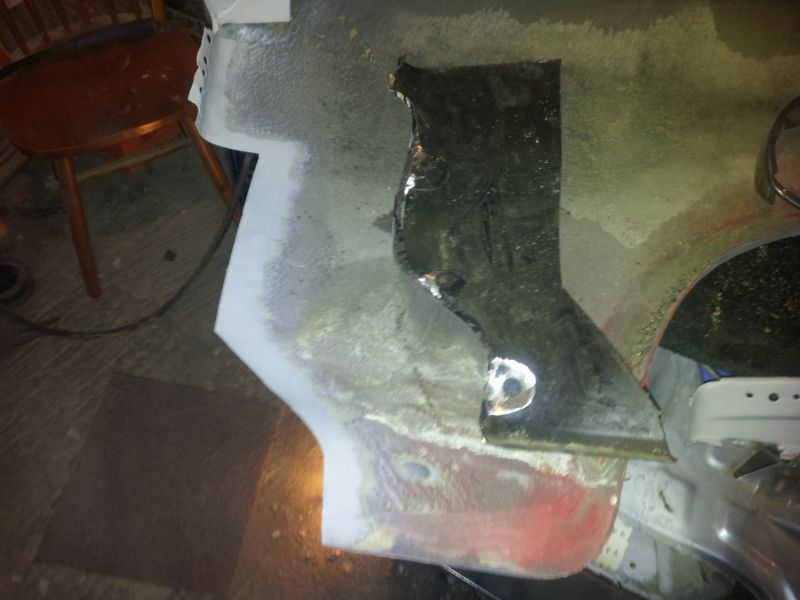
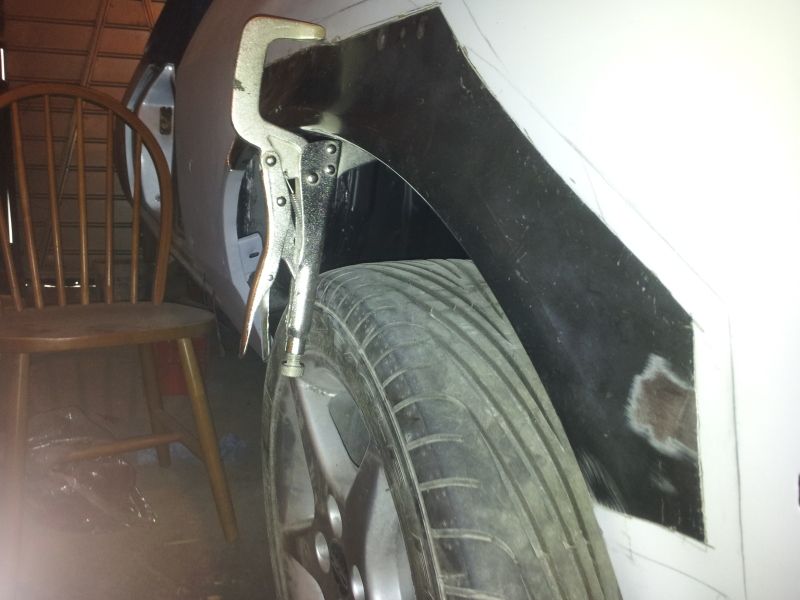
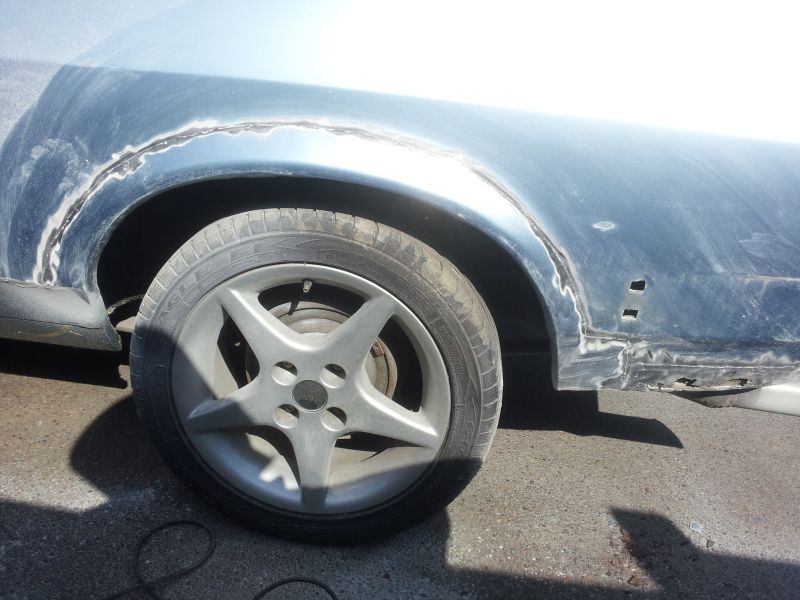
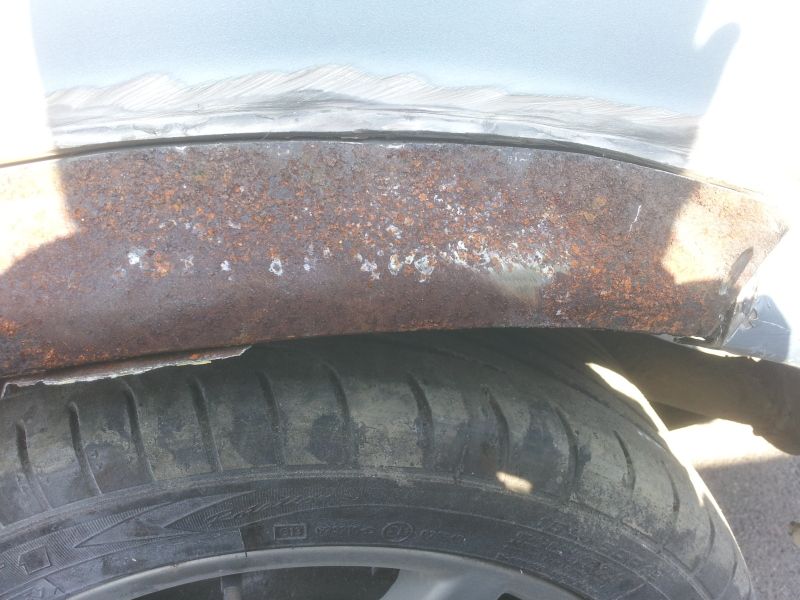
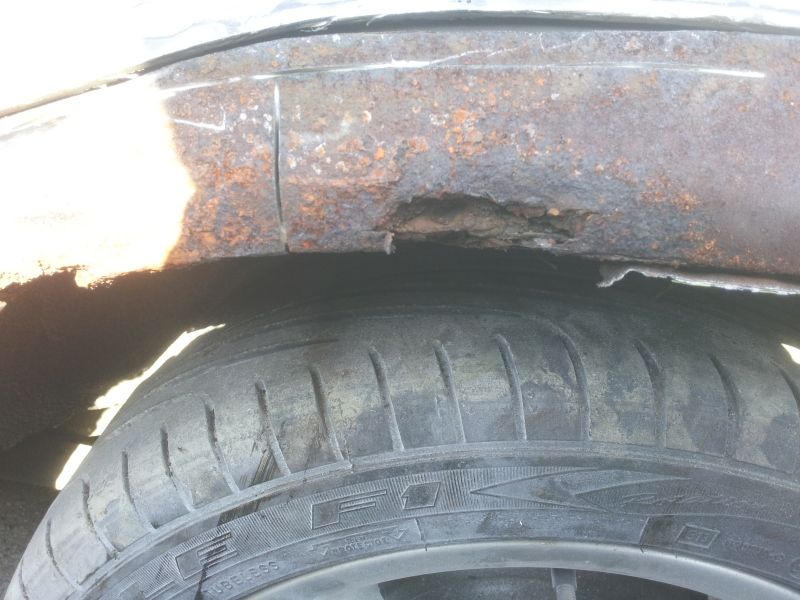
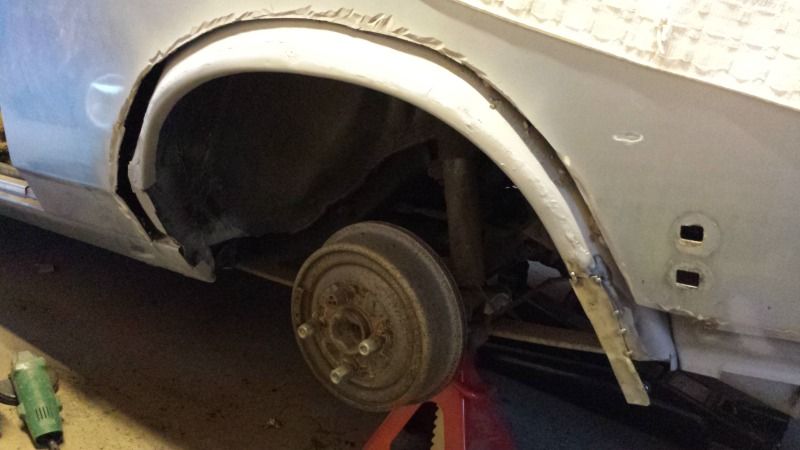
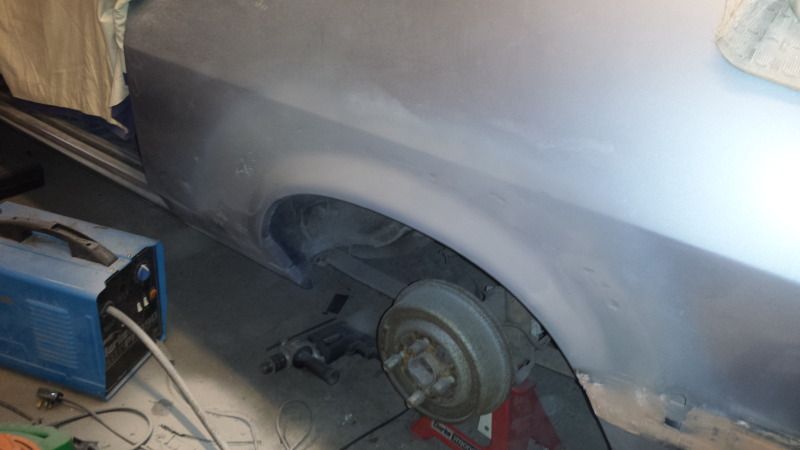
Made a start on the wheel arch too today, not looking forward to tackling that bit, as you can see in that last pic & previous pics much welding is required and i'm worried about distorting the rear wing :(
 
Take the wheelarch very, very slowly. Heat is the enemy!

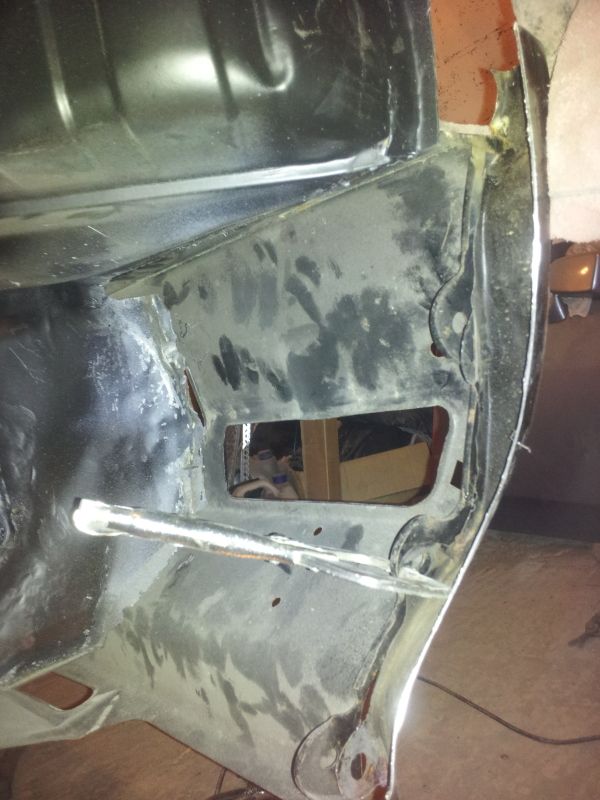
Started on the inner wheel arch today, went really slow with the welding so it took forever but it's mostly welded in now, can't see any signs of distortion. :D

Just need to finish the inner arch off on Saturday & then get the outer arch welded in along with the real lower panel & hopefully do a little bit that needs doing near the spring hanger then I think the drivers side is 100% welded up repair wise.

The drivers wing I bought which is a genuine ford one needs a day or so spending on it, then need to get the windscreen out to do a scuttle panel repair & do the passenger side arch. After that i need to start thinking about buying some painting equipment before stripping the engine bay down & painting it in the cars new colour.

Then the engine swap can begin :D

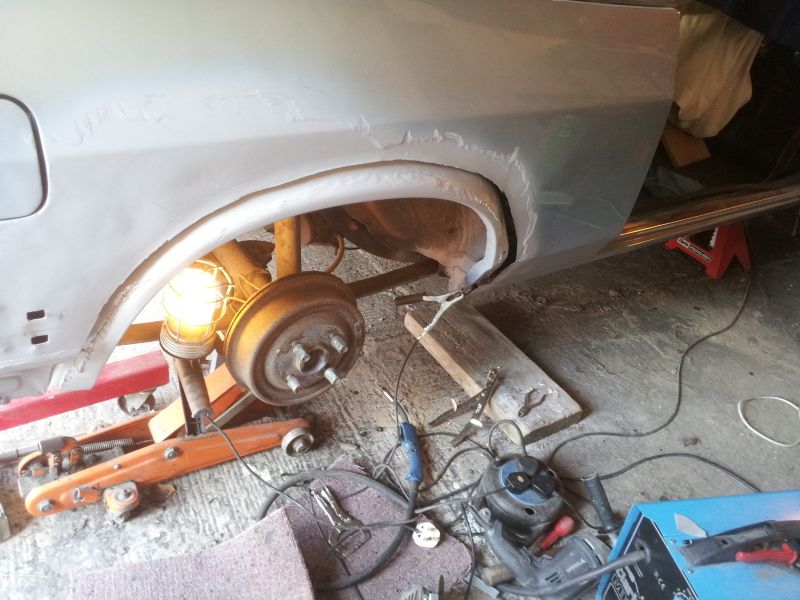
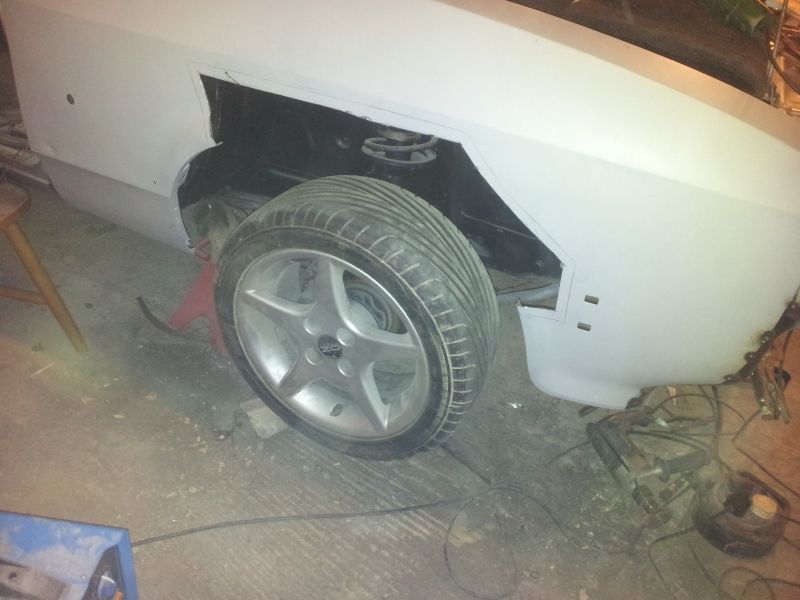
Anyway, i left the wheel arch looking like this, just a little bit left to do.

20120522_184028.jpg
 
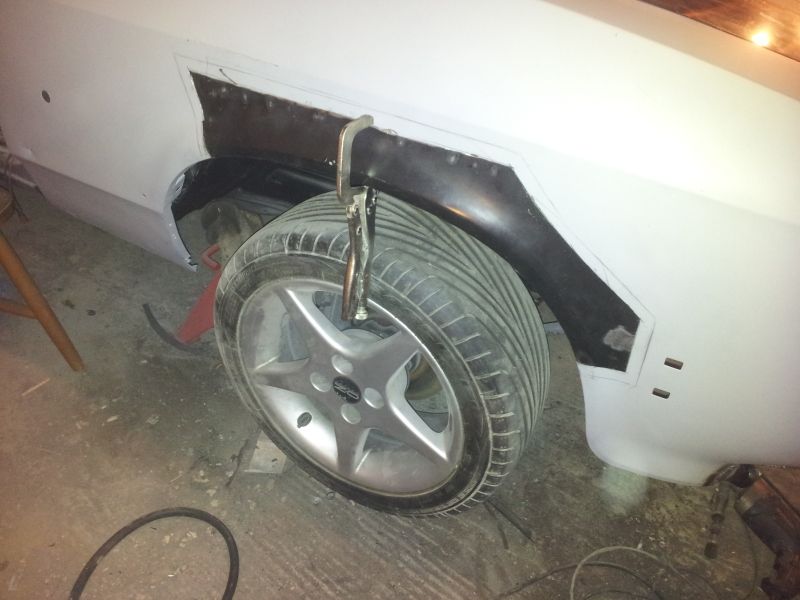
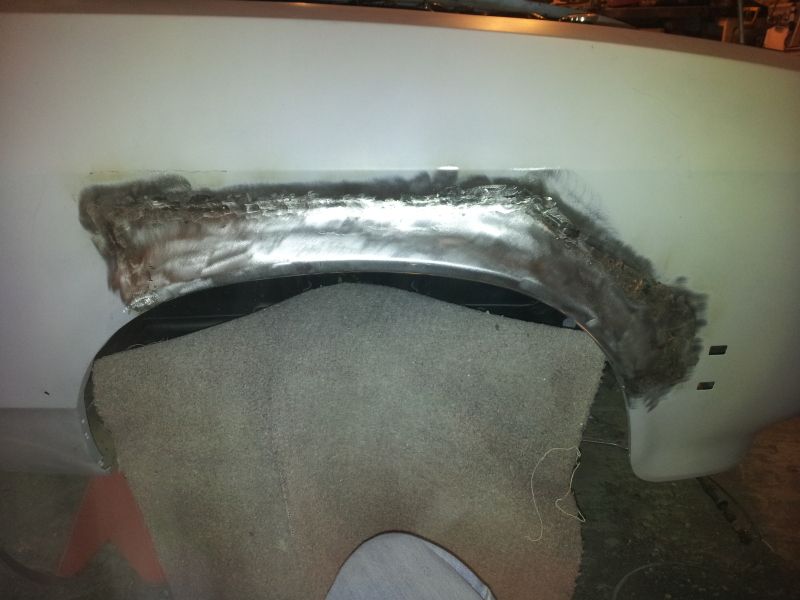
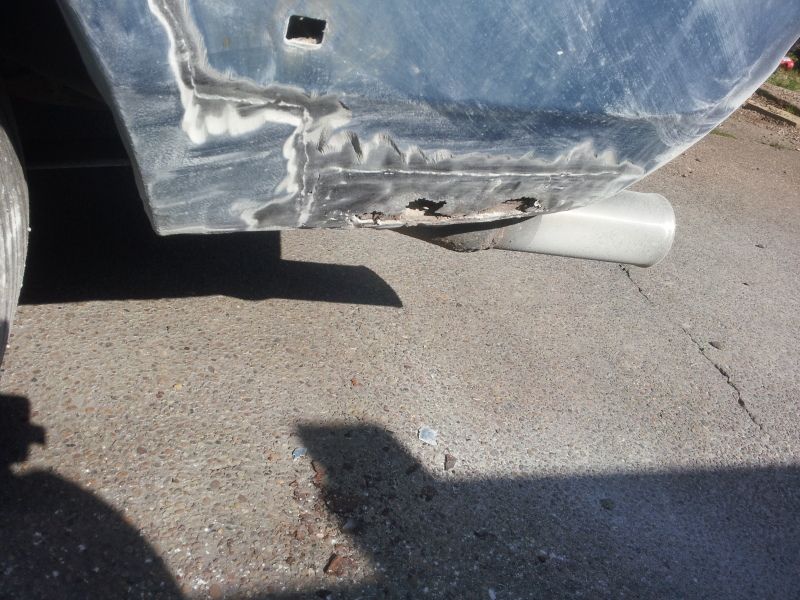
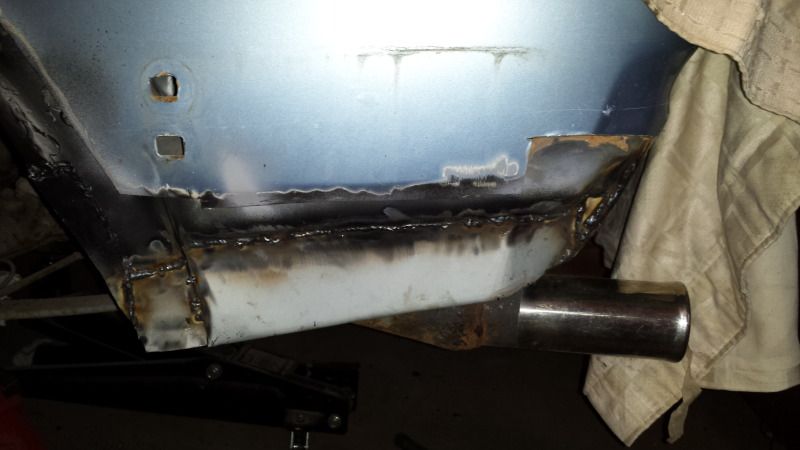
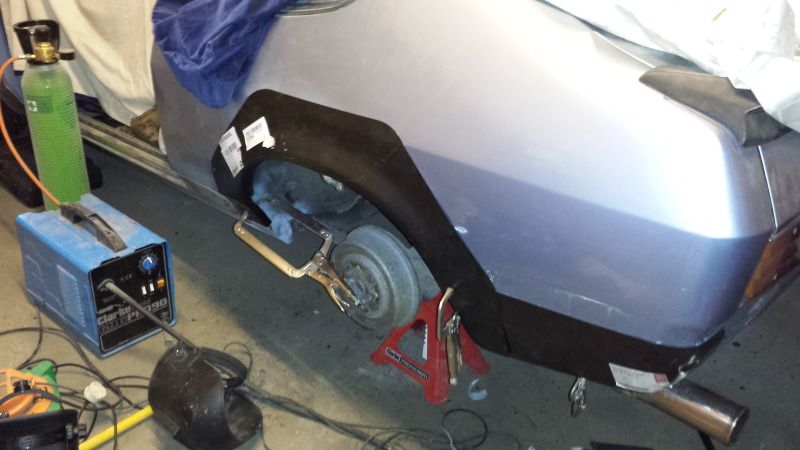
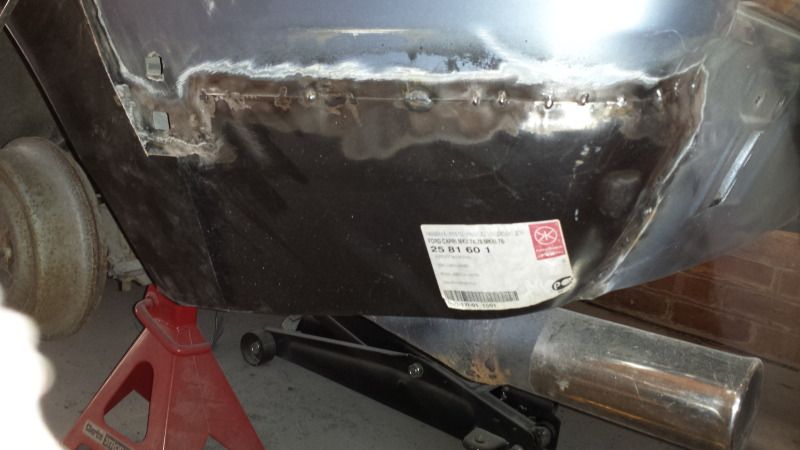
Outer arch & rear lower quarter panel fitted on the drivers side! And i managed to do it without warping anything, it did take me all day though!

This bit has been bugging me for ages as i was unsure how to tackle it, i know the best way is to butt weld the new arch in grind the welds flat & smooth off with a skim of filler, but due to the state of the rear quarter panel loads of filler will be needed here anyway, i did consider replacing the entire rear wing at one point but the costs involved in just purchasing one are crazy and the fact that i've had the car for 7 years & not even known that the rear wing was damaged makes me think that i'd be best just putting it back how it was (minus the new panels welded over the rusty old ones)

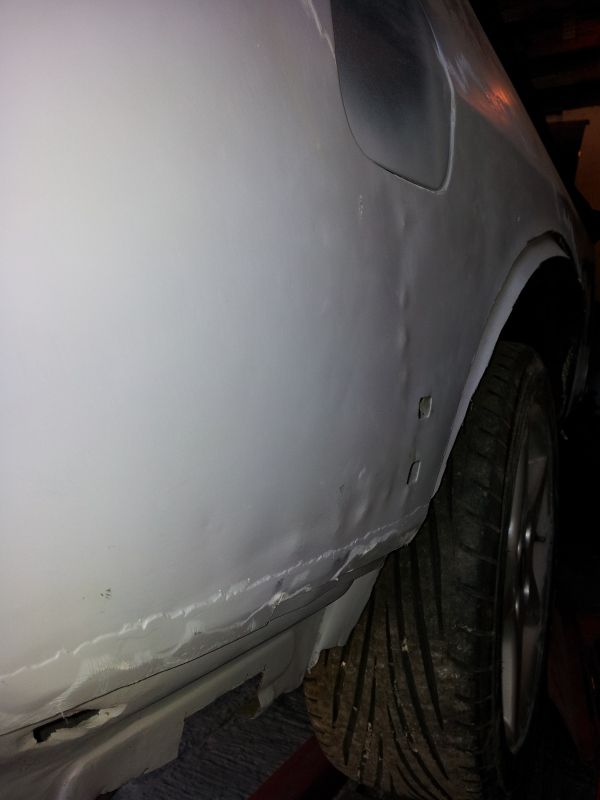
Here is what i found upon taking the rear wing back to bare metal (before i did the inner arch) looks like it's been dented below the fuel filler cap & then knocked back out from the inside & smoothed off with filler.
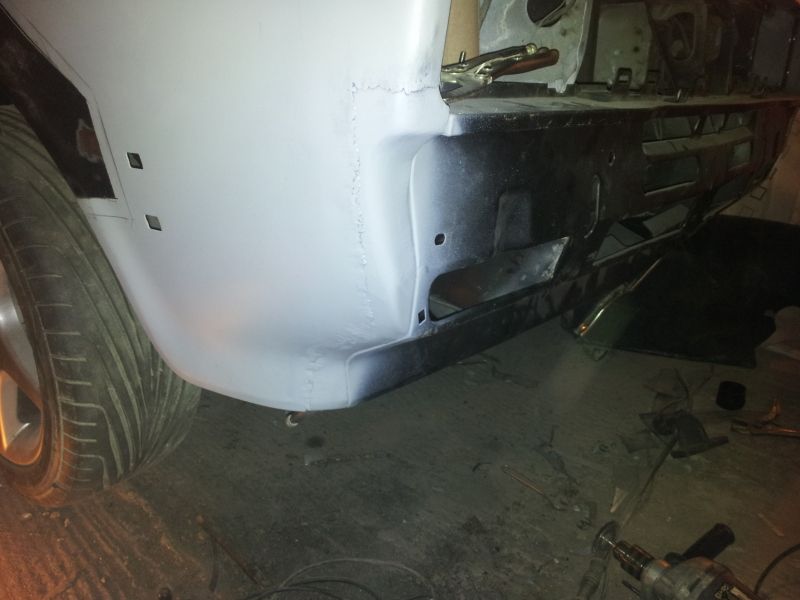
20120512_172120-1.jpg


I actually ended up doing a slight lap weld of the new arch, slightly bent the edge of the original panel in then welded the arch on it's obviously going to want sealing up at the back here & then skimming with filler at the front to fill the groove as well as a mm or so skim over the rear wing behind the arch to smooth out those ridges & bumps.
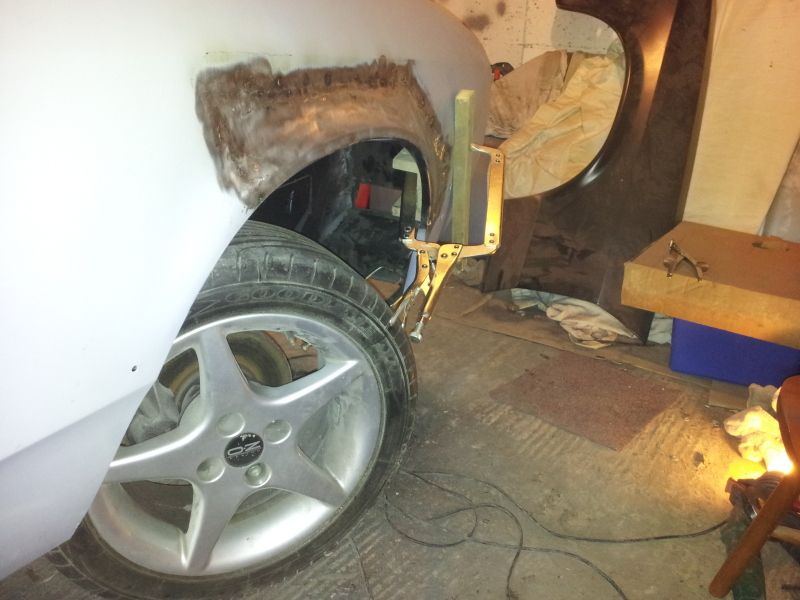
Arch & quarter panel welded in & just being smoothed out with the angle grinder.

20120531_165748.jpg
 
Awesome subbed , also reg looks familar to me how long have you had this car ? :D

I bought it in January/February 2005, so just over 7 years, i used to work near barnsley & it was a daily driver for about 3 years so I was up there in it all the time. Prior to me buying it it spent it's life around Birmingham (i have copies of all the previous reg certs from new).

I've tried to get information from the first owner of the car from new as he had it for over 10 years but my 2 attempts at contact have been met with no response, guess he aint interested or can't be arsed :-(
 
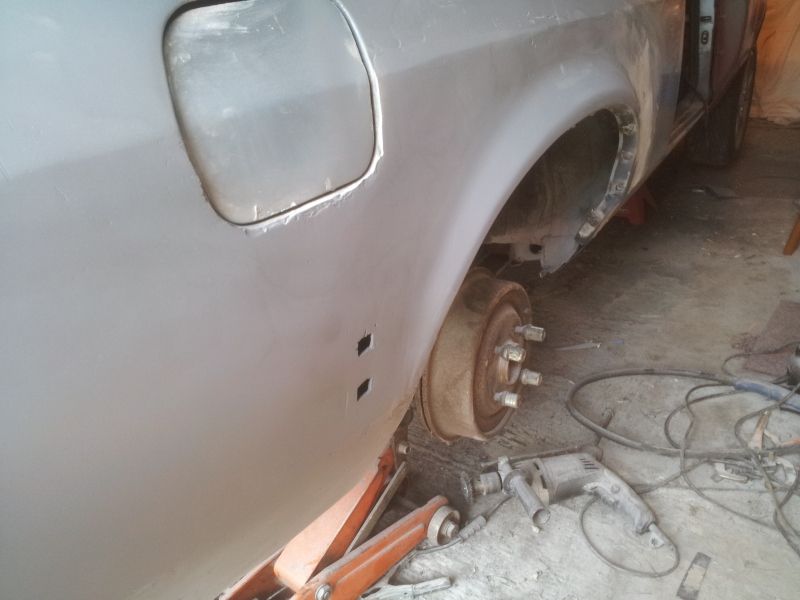
Managed to get a few hours in this afternoon, started smoothing the panel off with a skim of filler, there is still loads of work to do as the area is nowhere near finished but it's getting there, i left it coated in primer as it's easier to see where still needs work when the panel is a nice uniform colour.

It still needs bringing out a half mm or so at the back of the arch & i'll sort out all the other details later like sharpening & profiling the lines off and doing around the fuel filler cap.

I have a full week off work next week so i can put some proper hours into it then :D

20120605_155430.jpg
 
Got some more done in the last week but nowhere near as much as i'd hoped, i would just like to point out hat i now absolutely HATE bodyfiller, it's a nightmare to get perfect!

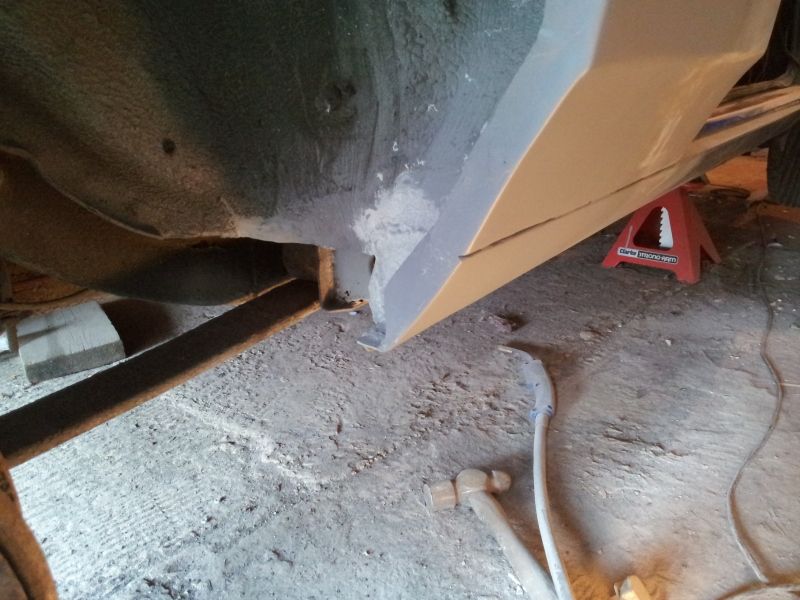
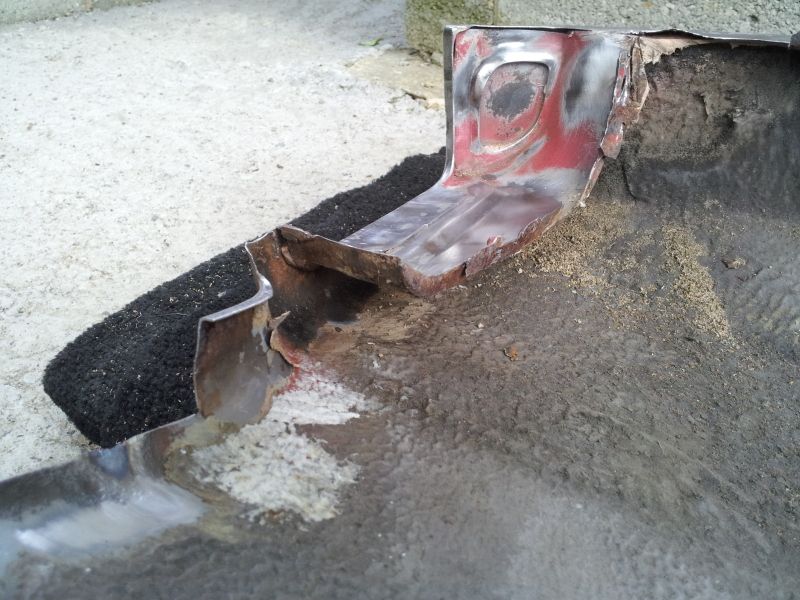
As part of the wheel arch repair i've had to replace the end of the outer sill which some idiot had decided to weld a plate over the rusty metal, needless to say there wasn't much left underneath!

I had to turn this -

20120522_111144.jpg


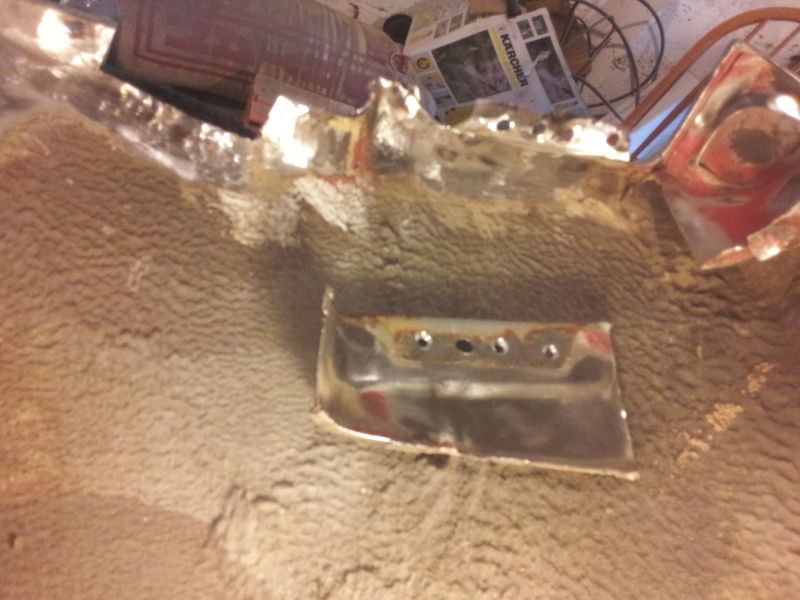
And this-

20120612_153145.jpg


Into this -

20120614_183253.jpg


The wheel arch now sort of looks done, it's still not perfect, hence why i now despise bodyfiller but i've decided to move onto another part and get that perfect once it's time to start prepping the car for paint, otherwise i was going to pull my hair out!

20120614_163216.jpg


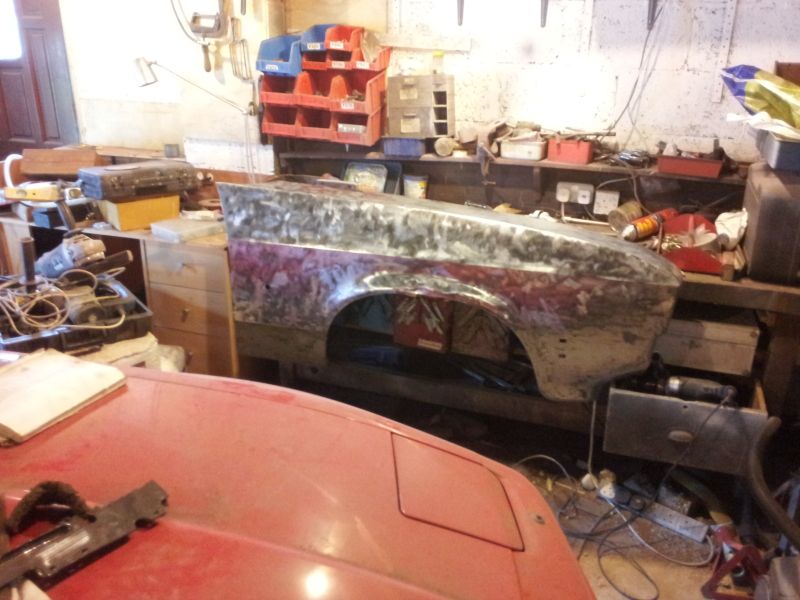
After this i've turned my attention to the drivers side wing, i abandoned the brand new pattern wing in favour of getting a genuine ford wing and doing repairs on it as ford wings simply fit better, pattern Capri wings are apparently a nightmare to fit and after trial fitting the pair i have i can see why!

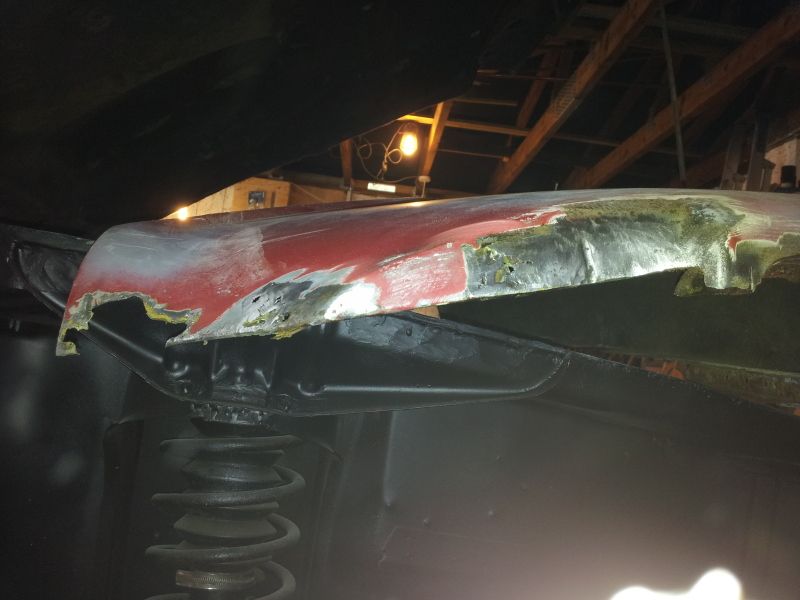
As you can see below the lower front end needs work! However rust has not penetrated anywhere else apart from a tiny bit in the very top rear corner, but i can sort that easy i reckon!

It also has a dented arch but i'm going to butt weld in a section of rear wheel arch to sort that out.

20120614_103554.jpg


Time for surgery to begin :D !! -

20120616_140551.jpg


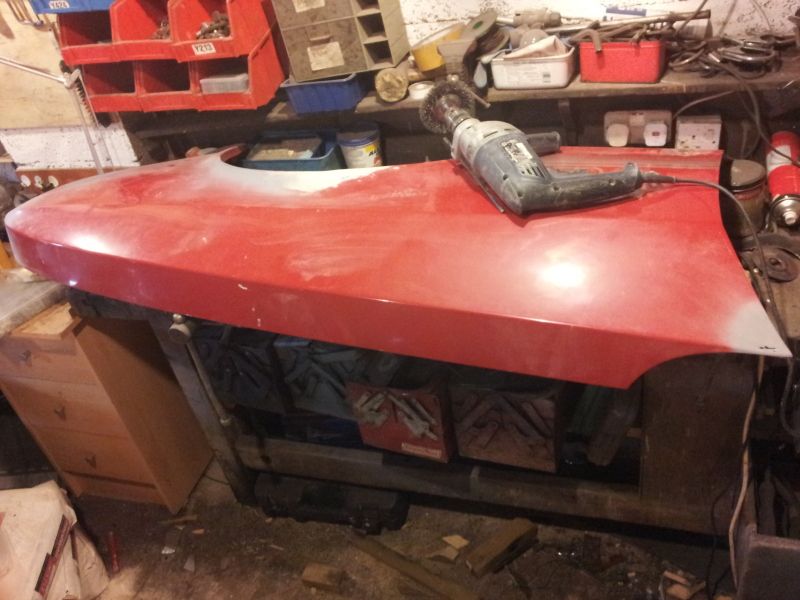
Started off by making it all naked so i can get rid of the 20odd year old red paint and also see what needs doing, there were a lot of stone chips on the lower half so stripping it back to bare metal makes sure there is no rust starting there.

20120616_174210.jpg


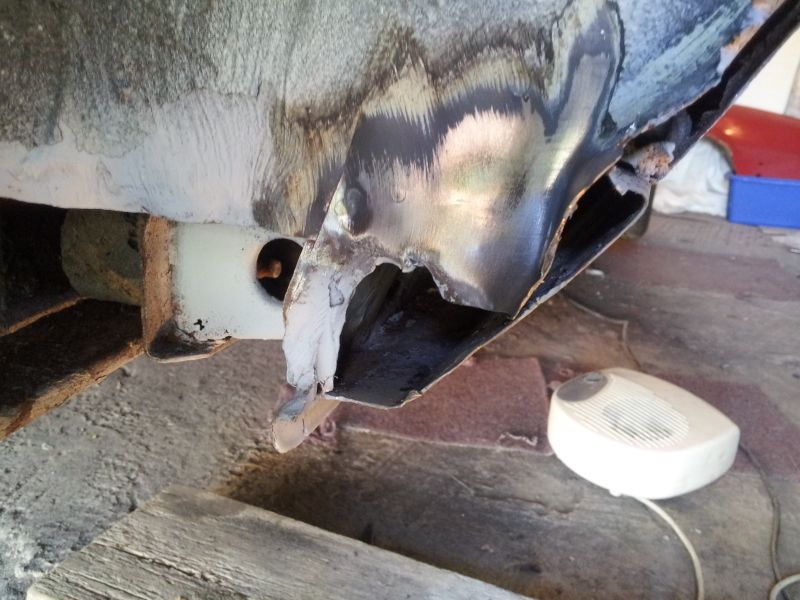
Moving onto the back it looked like rust was making it's attempt to creep up the side of the wing tip, a common area for these wings to become rotten, unfortunately i can't get any tools down there so more surgery was required :-(

20120620_161456.jpg


20120620_171022.jpg


At least when i weld the section back in now i can hopefully not have to worry about it rotting through nice new paint.

I've left it all nicely cleaned and etch primed ready to start welding new metal in on Saturday, i left the arch in just incase the wing needs moving as i reckon even in it's dented state it stil adds some strength to the wings structure, last thing i want is a bent wing and have to then try & source another.

20120620_195149.jpg
 
Why is it things always take longer than you expect when doing this sort of thing? Bloody car! :mad:

However i shall persist!

I had hoped to just weld in new sections to that wing, however the metal that i had left in between sections was slightly pitted and left a bit thin from grinding it out therefore upon trying to weld sections in it was disintigrating and the welder was just eating the panel, clearly another approach was required. One of the pattern wings that I purchased 3 years ago but decided not to use as the fit was terrible simply had to get the chop to make repair panels and i cut the front of the wing off right upto the bottom 1/6th of the headlight surround

I startted with a much larger than needed section like this and then trimmed it back to size whilst it was small and easy to deal with.

20120628_130946.jpg


I also had to deal with the fact that the fit of these panel wings is utterly terrible whilst i was doing it as even the little bit i'd cut off wouldn't match up to the front panel or the genuine ford wing properly.

I had to spend absolutely ages trimming and bending it to make it fit, i took a picture here just to demonstrate how useless a fit this wing is, the front panel is a proper genuine ford one btw. Look how far the bolt holes are from lining up the top one is the best part of an inch out, i had to cut the top and bottom ones off and then weld them on in the correct places. I'd love to see how someone actually gets one of these things to fit!

20120628_133341.jpg


I also got rid of the dented wheel arch by cutting a huge section out to get rid of the damage.

20120628_164140.jpg


Yet more metal sacrificed from the rather pants pattern wing, it actually matched up quite well here which surprised me somewhat, i've yet to weld this bit in however.

20120629_180544.jpg

20120629_180607.jpg


And the front end i was working on earlier, a couple of pinholes in the weld to sort out on the front of the panel and again on the back then a mm of filler to smooth things out.

20120629_184230.jpg


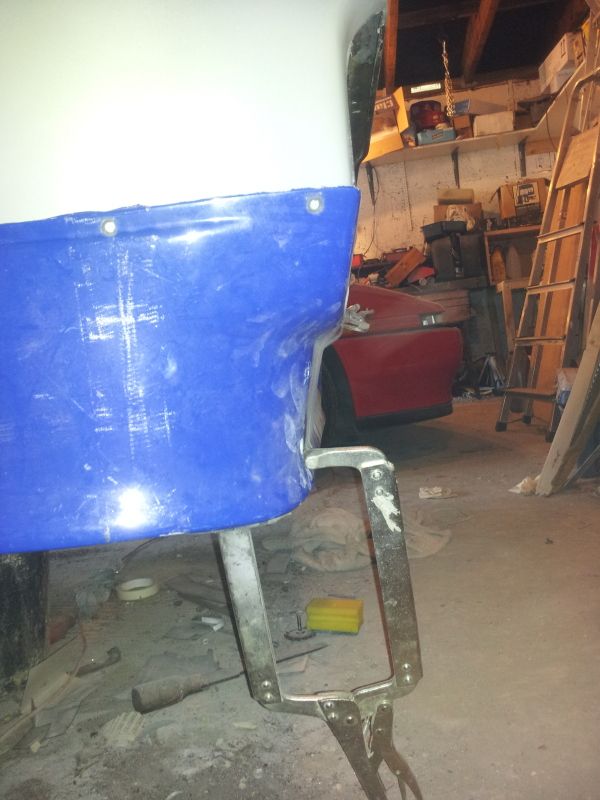
As the other wing needs very little work before welding back on and the front panel being brand new i'm hoping tho get the front end back on the car properly in the next month rather than it just being clamped in place. The list of bits to weld is now much shorter than it was originally. :D
 
Little bit more done today but I only had a few hours spare. I managed to get the front arch welded into the wing as you can see below but the wing didn't look right, standing from above it looked like the front of the arch was pushed in by about 8-10mm from whatever had dented it in the first place, so I then had to straighten the wing out too at the same time.

20120707_135342.jpg


I straightened the wing out by clamping it all into place, clamping my largest clamp onto the front of the arch with wood at either side & then turned the front wheel to full lock to push it all out, it actually worked :-)

Sort of like this.

20120707_154317.jpg


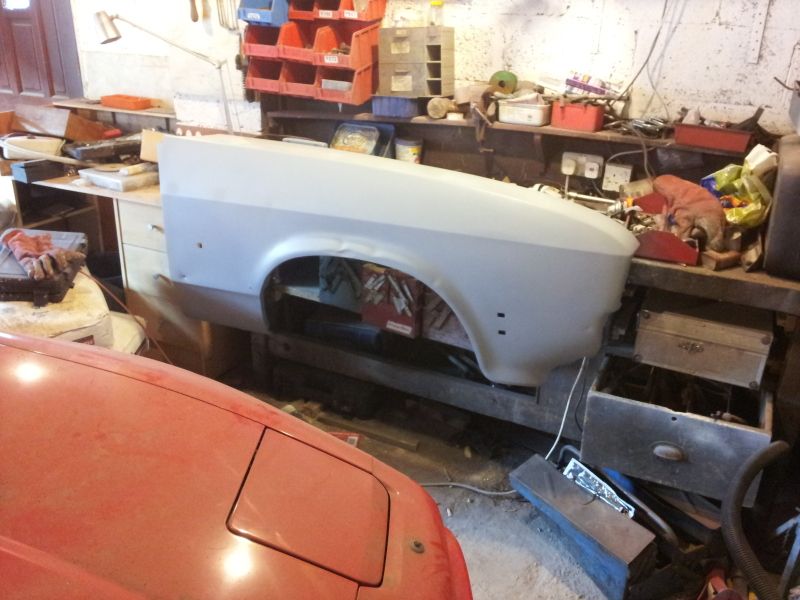
Managed to get a skim of filler over it ready for some smoothing off if I get a few hours tomorrow.

20120707_163011.jpg
 
Done a little bit more, but really only a little bit due to being busy working overtime whilst it's available.

Been smoothing out the drivers wing that I purchased, it's sort of there but the line down the panel needs a little work and there are a few imperfections to iron out. It actually turned out the dent in the arch extended above the line down the panel so i've had to do some work on that area too-

20120718_180805.jpg


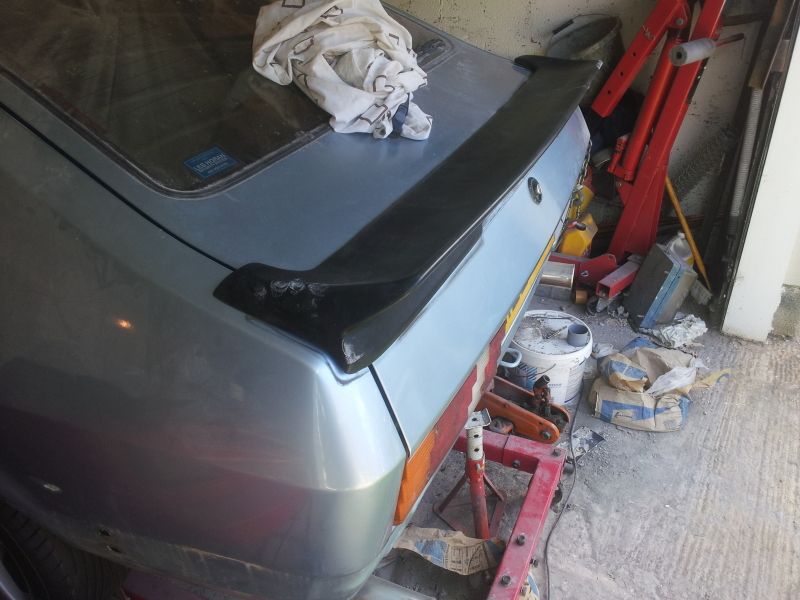
I also managed to get my hands on an RGA Rear spoiler that i've been trying to find for a few years, i'm not 100% happy with the fitment to be honest but then again in the picture it wasn't actually bolted on, just sat there so i could see what it'll look like-

Standard -

20120718_140558.jpg


RGA -

20120718_163123.jpg
 
Crikey, didn't realise it was so long since i last posted in here, not had much time for the car unfortunately as since this last post i've been on Holiday 4 times and have handed my notice in at work and I'm due to start a new job in two weeks, unfortunately as i've used most of my holiday entitlement it means I am now owing them holidays back and am therefore skint!

Should be good in long run as if i'm anywhere near decent at the new job it's far better hours, much shorter commute and better pay.

Anyway, onto more rust chopping-

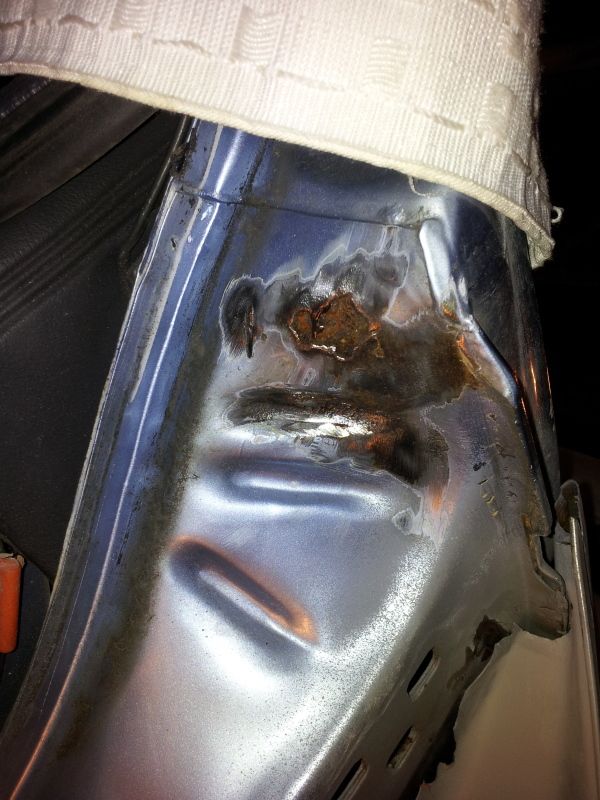
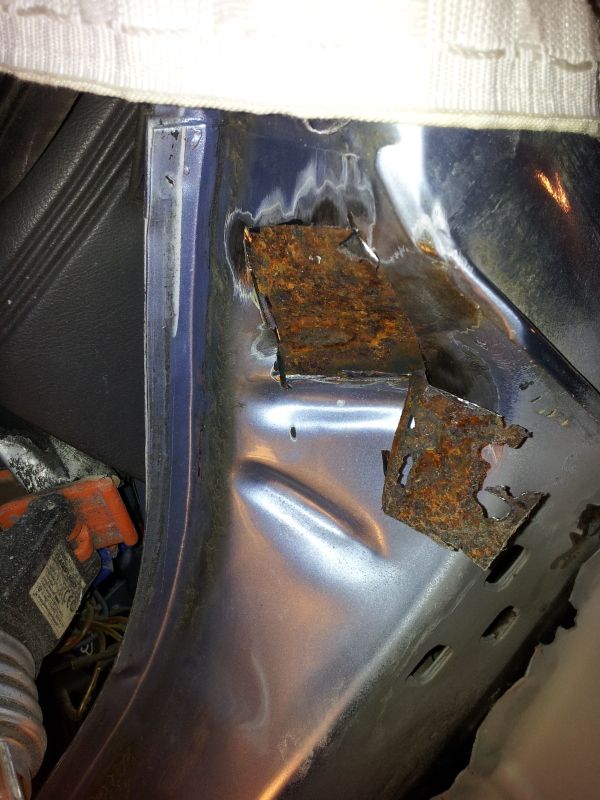
There appeared to be a little bit of bubbling in this slightly hard to notice location, upon further investigation and some wire wheel action it revealed a small hole! :mad:

20120814_142708.jpg


Obviously more cutting was needed and some cleaning up of the panel behind it, I kept gradually making the hole larger until i got to the edge of the surface rust then ground it all off and treated the metal, this has all been welded up now but i don't seem to have pics saved.

20120814_142954.jpg


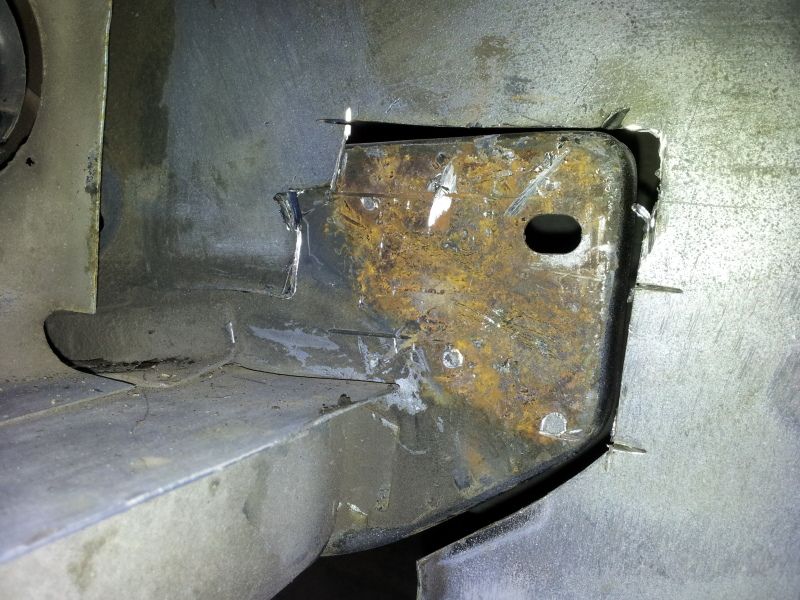
I also found more corrosion which was lurking near the area where the passenger side bumper iron mounts, this had to be cut out & repaired, you get the idea here, not as bad as the drivers side was however, but all fixed now. I didn't know this was there, I only found it whilst cleaning the area up for a coating of epoxy mastic after welding the front panel on.

20120906_130050.jpg


I also have stripped the back of the front panel, etch primed it then sealed all the little nooks & crannies ready for a nice coating of epoxy mastic once it was welded on.

20120828_151459.jpg


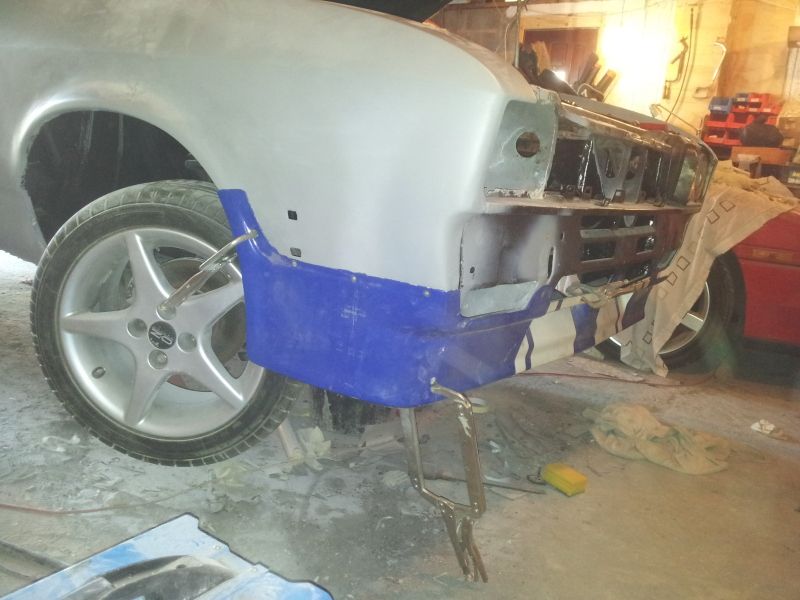
Came back to the car a week later (today) and after many hours of playing with panel gaps & bolting bits back onto the front end only to remove them again & re-adjust things a few millimeters I have finally got the front panel fully welded into position & all the welds have been seam sealed!

It was nice to see the front end of the car in one piece, with no clamps holding it all in place and no accident damage for the first time in nearly 3 years. The drivers side wing is more or less ready to be welded into place too.

20120906_182847.jpg


I got to the stage where I had a only a few hours left and needed to wait for the seam sealer to set before carrying on with what I was doing so have started removing the cooling system components ready for engine removal, gave the engine one last start up & recorded a video of it running fine to aid in selling it. The next time this thing turns a wheel it now should be with the new engine, god knows when that will be though.
 
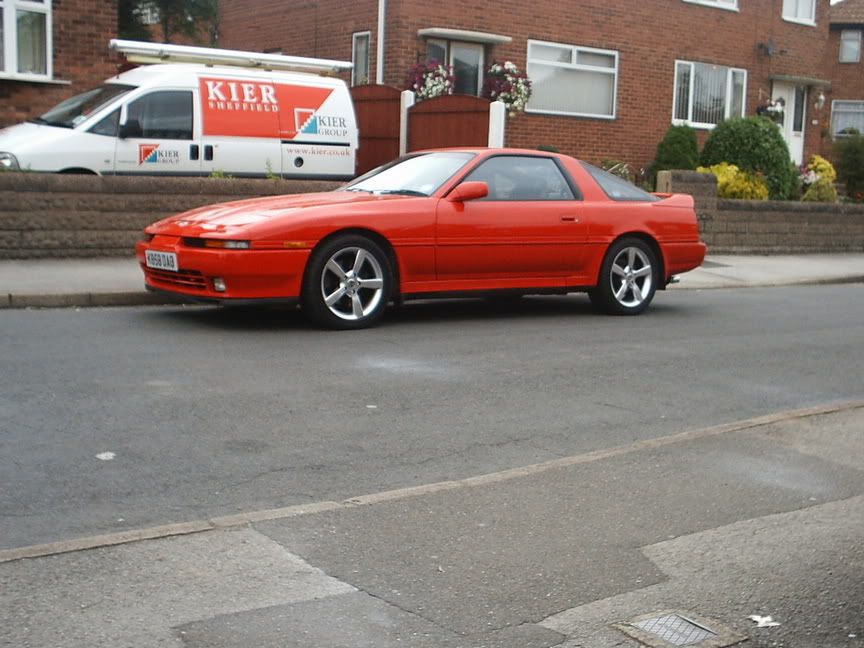
What's the red car in the last pic? 944?

Nope, i'd love one in future though.

It's a Mk3 Toyota Supra Turbo-

PIC_0002.jpg


It needs the headgasket sorting out & a new passenger side wheelarch, it's actually my dads car but i'm going to be doing the work on it to put it back on the road provided I get put on the insurance for it and the engine doesn't get rebuilt standard. It'll basically still look exactly the same as it always used to but should hopefully get a healthy power increase if I get my way.

The aim is to do the arch on the Supra whilst my dad does the electrics for my Cosworth engine then hopefully respray both cars next summer whilst i've got the garage rigged up as a makeshift spray booth, i can borrow a car trailer to shift one car whilst the other is being painted.

I'll probably start a thread when I start on that car too, should be fun as i've been told to use a Vauxhall Calibra arch, hope it's a nice fit!
 
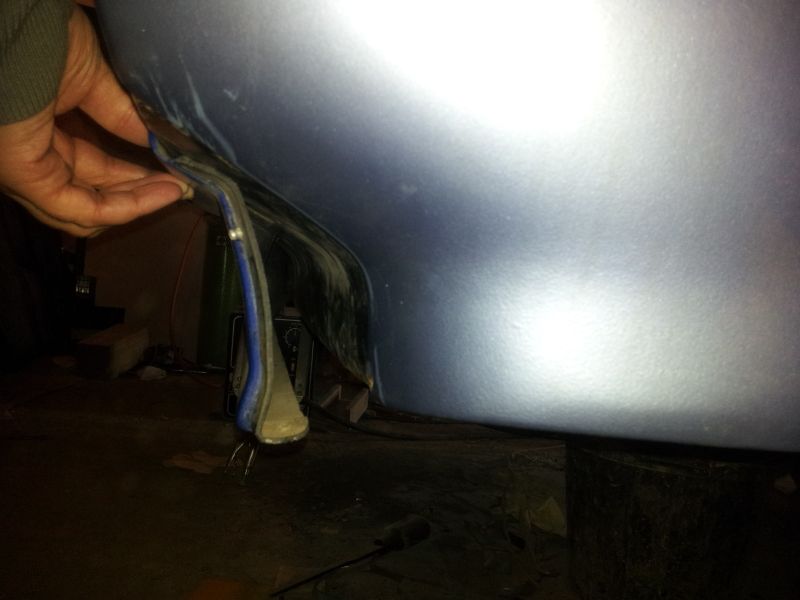
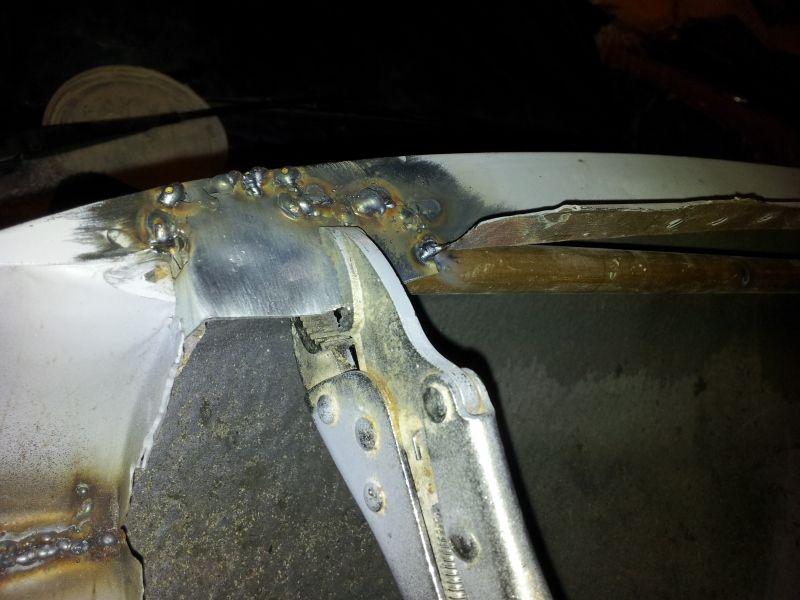
Another small update, i've welded the last piece of metal that was needed into the drivers side wing, I used one of the methods described earlier in this thread of just using heavy spot welds, i've even gone as far as clamping copper pipe to the back of it here as pictured to carry some heat away and avoid warping the wing.

20120815_150551.jpg


The inside of the wing, front panel, & inner wing have since been coated in epoxy mastic to give it some protection from the elements, there shouldn't be any stone chipping up here however as the car will be fitted with non standard arch liners.

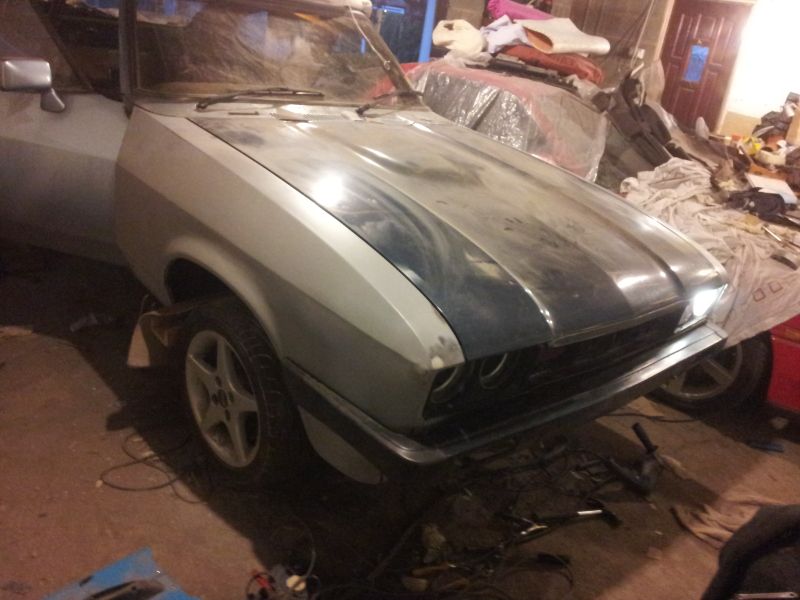
I spent absolutely ages this weekend playing around with the panel gaps on the front end of the car, when i finally got something that I liked i finally got the front wing welded into position along the top & front. I trial fitted the bumper to make sure it all lines up too.

I now feel like i'm getting somewhere, there is now far less work left to do on the car body than there is behind, especially considering the passenger side wing only needs about a day spending on it.

20121007_184458.jpg


:D
 
Has it really been October since I was working on the car properly! :eek:

Not really touched the car since late November due to it being so cold in that garage I couldn't feel my fingers & having too much other stuff going on. In the next few weeks (weather permitting) the car is going to be put on a car trailer & brought home as i've managed to get our own garage clear of all the junk that was in it. :D

Rather than a 32 mile round trip to work on it I will now have a walk of about 7 meters from the back door, this means that rather than only being able to put in maybe 3 days a month I can work on it three nights during the week, almost every week whilst the GF is out teaching dancing and most Saturdays whilst she goes Horse riding. This should speed things up no end!

The other week I managed to pick up an RGA front valance to go with the RGA rear spoiler that will be on the car, i'm not 100% sure about actually fitting it yet as it's hard to tell how it will look whilst it's still painted with stripes down it, so some opinions will be appreciated, if I don't fit it then i've only lost £27, however i'll make more than that if I sell it on.

As you can see it brings the front valance forward a bit but it also lowers it & makes it slightly wider which I'm a bit unsure if I like.

20130217_144900_zpse38954ad.jpg


20130217_144935_zpsb158b3f3.jpg


20130217_145006_zps7933af3c.jpg


If I do fit it i'll blending it into the front end & actually bonding it onto the car properly, no screws or rivets, it will be very permanent!
 
Finally got some more done.

I had the car moved a few weeks ago and it's now at my own house rather than my dads, it makes things so much easier!

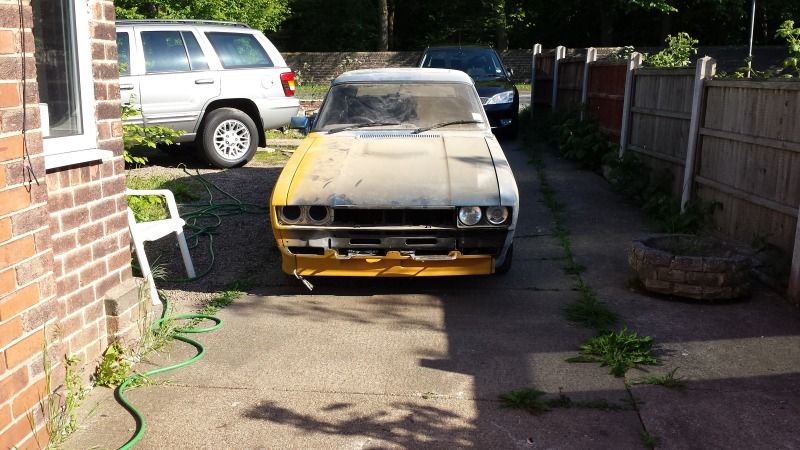
Not as much space as before but still enough-


Pulled the car out onto the drive today whilst the weather was nice to do some digging around the passenger side wheel arch, it's pretty much the same story as the drivers side, not sure if I mentioned before but it was done by a place called Minimod in Rotherham back in 2005, avoid at all costs!

Again all they seem to have done is weld the new arches straight over the old ones, they have not even prepped the metal, there are traces of shiny unpainted metal on the backs of the new arches and what is left of the originals, the pictures say it all-


Look at the next picture, that is the original factory wheel arch that they welded over, see the shiny bit where you can make out the sanding/wire wheel marks? That is bare metal that they didn't even primer!

I actually think that the original arches may have been salvageable with just a few repair sections needed, 8 years later their work has destroyed them!

Judging by the state of the arches I would guess they were mostly intact back in 2005.


here is the rear lower quarter, there isn't much left of what they welded in, hardly surprising considering they welded it over rusty metal & they haven't treated the back with anything, it's a shame it's been too long to do anything about their shoddy workmanship, especially when they clearly have not done what I paid them to do.


I did have more pictures but photobucket appears to have died!
 
Good to see this still going :cool:

It has to be completed, i've owned it longer than a driving licence, i was driving this thing the day I passed my test, not many people still have their 1st car 8 years later & intend to get another 20+ out of it!

In 15 years there will be a "Restoring my Capri 2.9 Cosworth" thread on here.
 
Update :eek:

Found some time & motivation over the last couple of weeks so have been doing more work.

Had another play around with the new front spoiler whilst it was out on the drive the other weekend, I think I quite like it now I've seen it from a distance and in a uniform colour so it's definitely being fitted, I've read that a product called sikaflex is good for bonding GRP to metal?


This week I've spent every evening in the garage as the GF has been busy doing various things so I got a decent bit done. I finished cutting the rot out of the rear passenger side, butchered a wheel arch section to make an inner arch & got that welded in place-


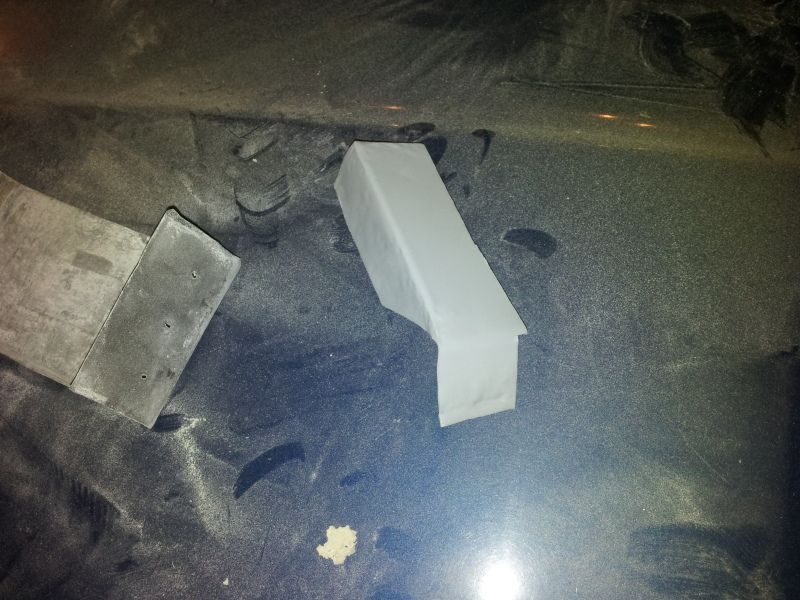
Made & welded in a new rear lower quarter inner panel, it's not easy to do with no workbench or vice, I did all my bends over the trolley jack handle & the edge of the patio with a hammer.


I have then spent god knows how long bending the inner arch lip bit by bit so it all meets up nicely with the outer arch, I need to get some more seam sealer tomorrow & some more wire wheels and then I think the outer arch and rear lower quarter panel can be welded in once I've applied sealer where I need it, then the horrible job of smoothing it off with filler begins again. :-(


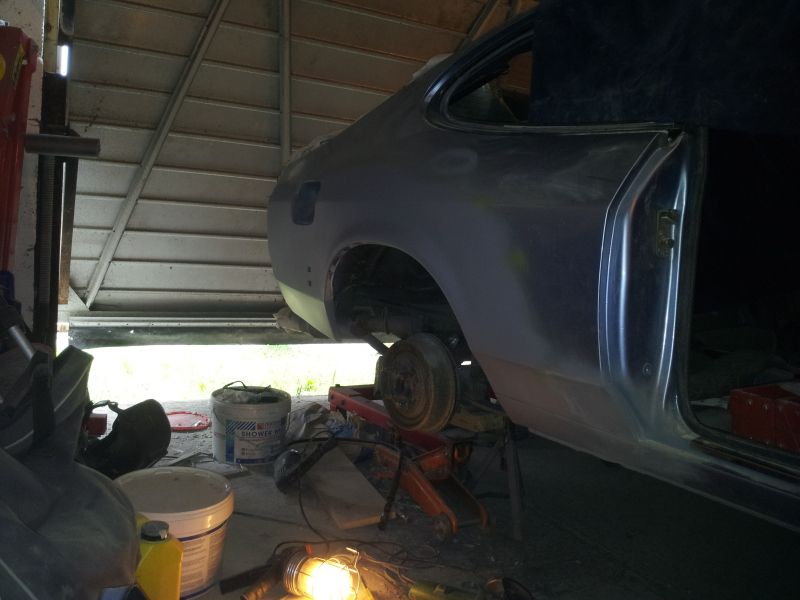
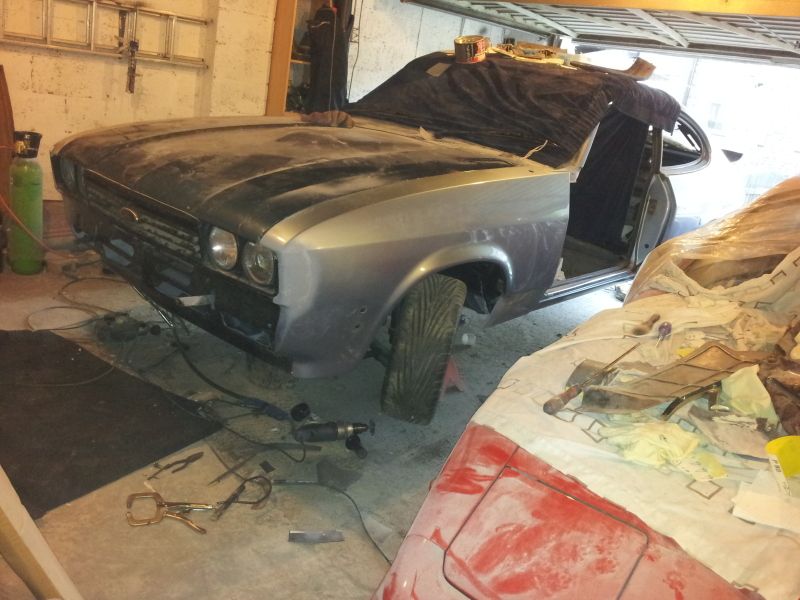
It's now sat as above with everything loosely clamped up, if I can get my ass in to gear there is not much left to do now on the shell of the car.
 
Done some more today, having a break and then might go back out there & do some more.

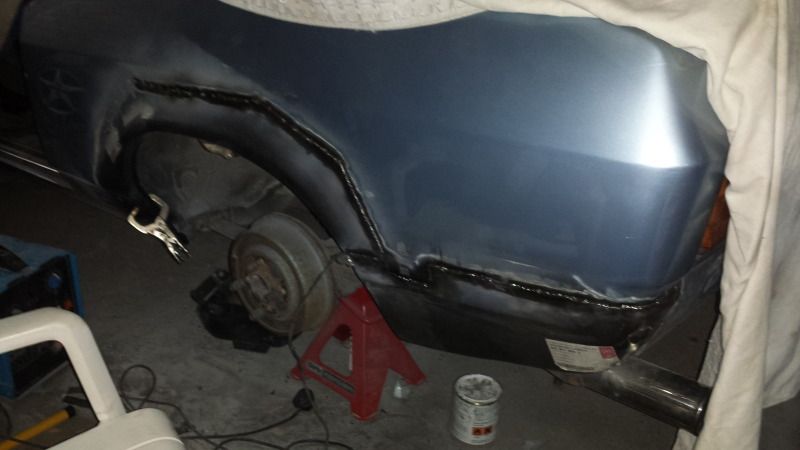
I have got the rear lower quarter tacked in place all the way around as you can see below-


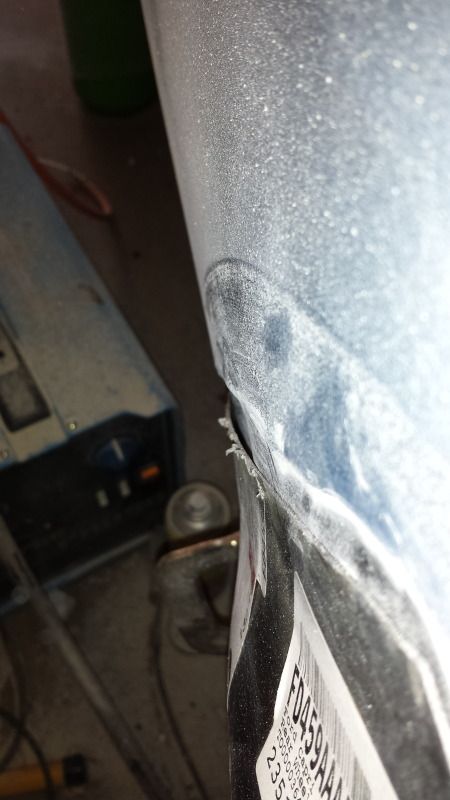
Then I set about trimming the rear wheel arch down to fit the rear wing without going too far into the panel and I came across a bit of a problem. It seems one of the previous careful owners has scraped the rear wing between the door & the arch down a gatepost or something and left a dent in the wing about 6-8mm deep right down the rear wing, from the inside it can be felt, it's been filled & I haven't known about it in the 8.5 years I've owned it but it's going to make fitting the arch a bit more tricky due to the fact it doesn't meet the panel snug all the way along as shown below-
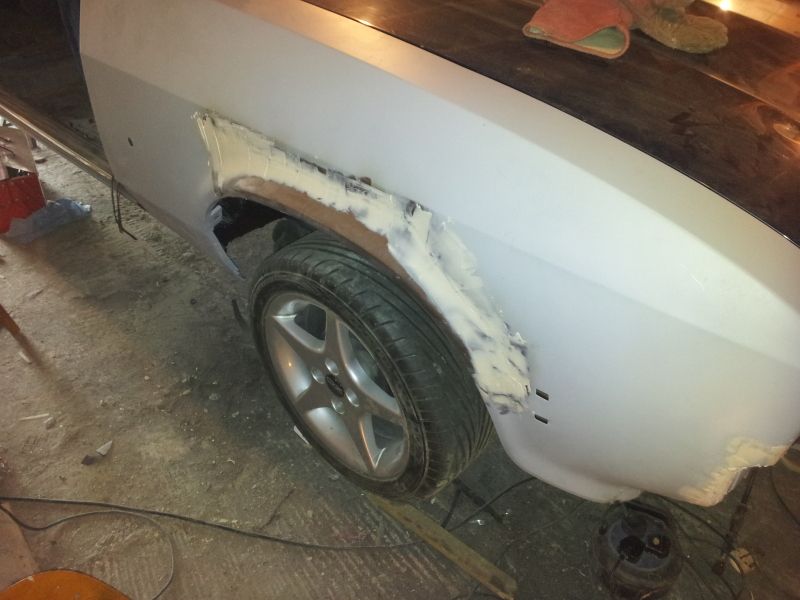
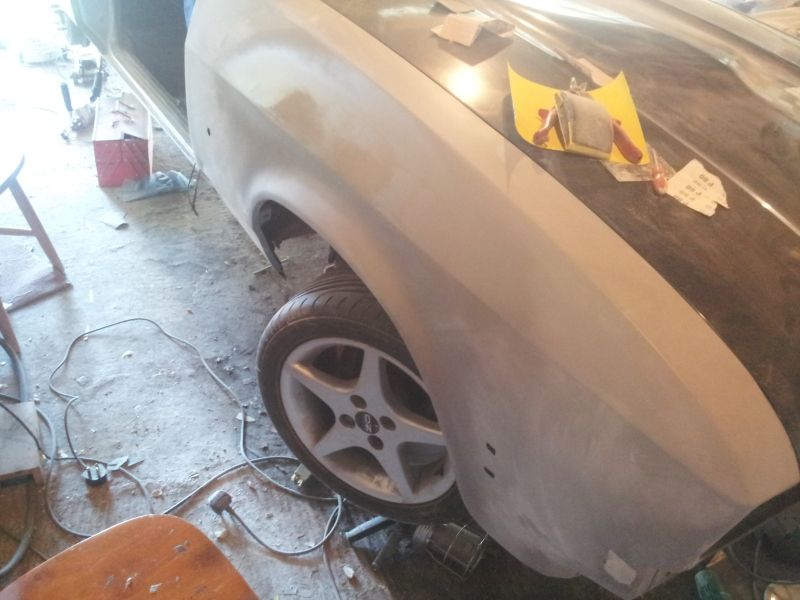


I see a number of options so far -

1 - Bend the edge of the panel out to meet the arch & re-fill it once welded in place, I don't want to bend the arch panel for I fear it may deform the curve of the arch.

2 - Cut out a large section of the rear wing & put new straight metal in, however I think this is overkill and may end up no better than before.
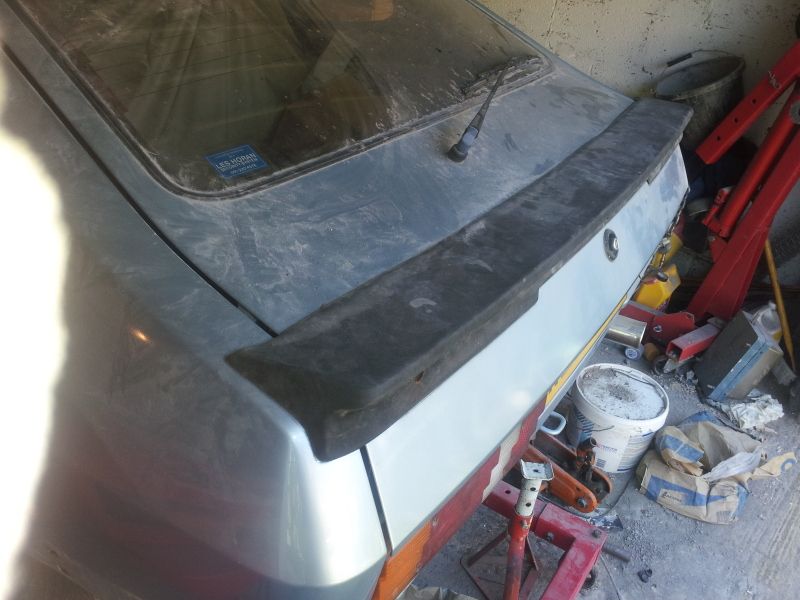
3 - Build up a beads of weld in the gap, then smooth the top off with the grinder so it meets the arch & weld onto it.

Any suggestions?, putting a new rear wing on it is not an option as they are horrendously expensive and it would be a made to order pattern one which i'd have to wait months for.
 
Problem solved, I was wanting to lap weld the arch in with a cm or 2 overlap, however I've removed some more of the wing forward of the wheel arch & bent it to meet up so i'll have to butt weld it there and hope for no blow through!
 
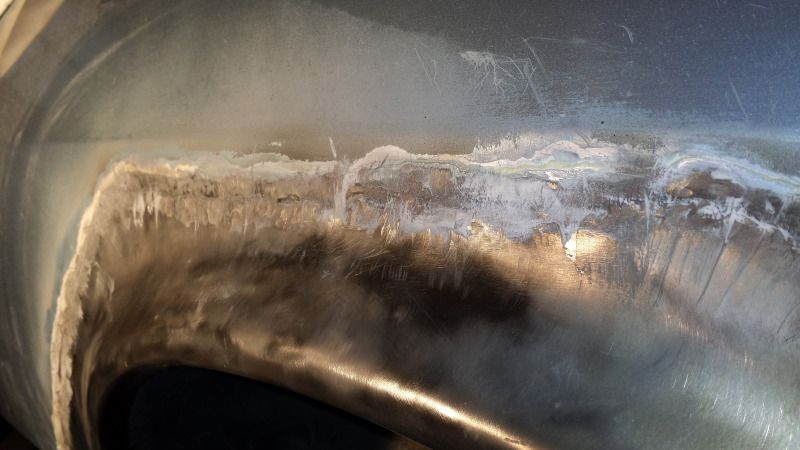
Just a little update here, after spending forever welding in the arch I have ground the welds back & then gone over them with a fine skim of fibreglass as I have this worry there may be a pinhole somewhere waiting to let some moisture through, how it will get there I have no idea as the arch is to be pumped full of excessive amounts of Bilt Hamber wax. Always better to be safe though :)
Fibreglass over the weld-


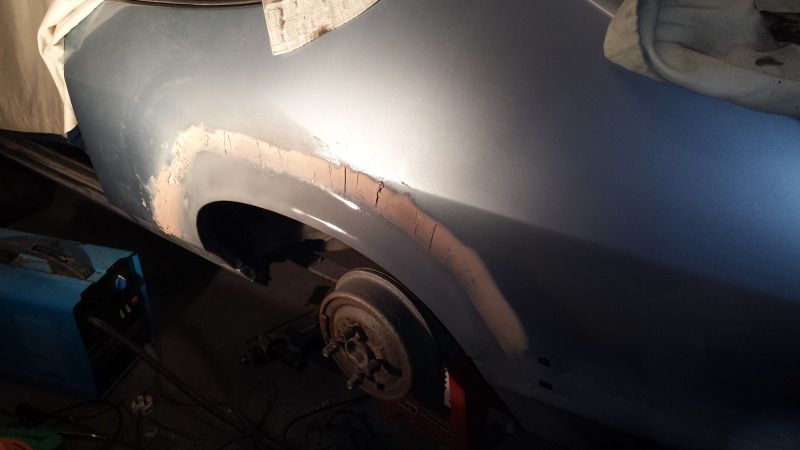
First skim of bodyfiller-


And an initial sand down to see what it's starting to look like, I did this tonight and although it does not feel as warm as it's been recently after 15 minutes I was sweating my nuts off! -


Should have this done by the end of next week I hope.
 
Back
Top Bottom