Rise of the triad, The 2014 Area 51

Soldato
Joined
23 Apr 2010
Posts
12,042
Location
West Sussex
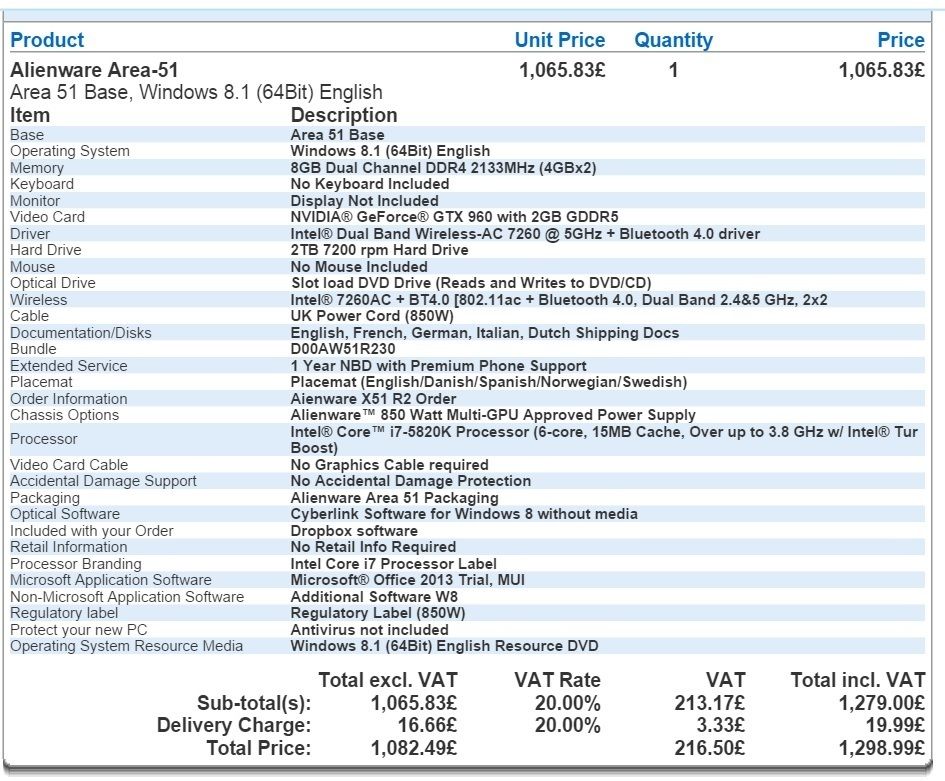
Hi all. So recently my wife bought me a 2014 Alienware Area 51.
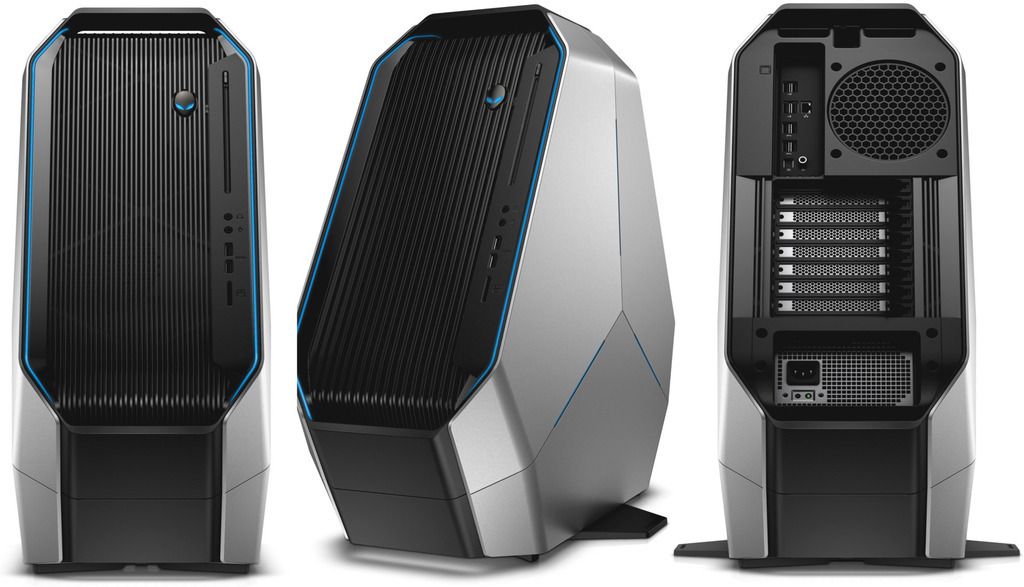


And the original spec.


OK so I have also fitted this.
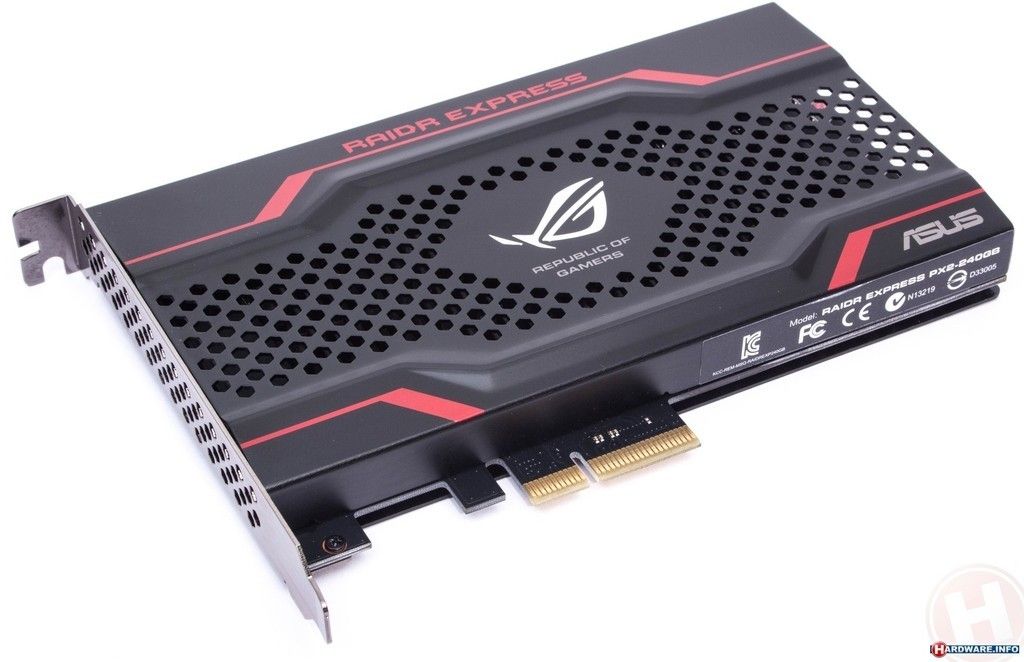


This.


And a Fury X.
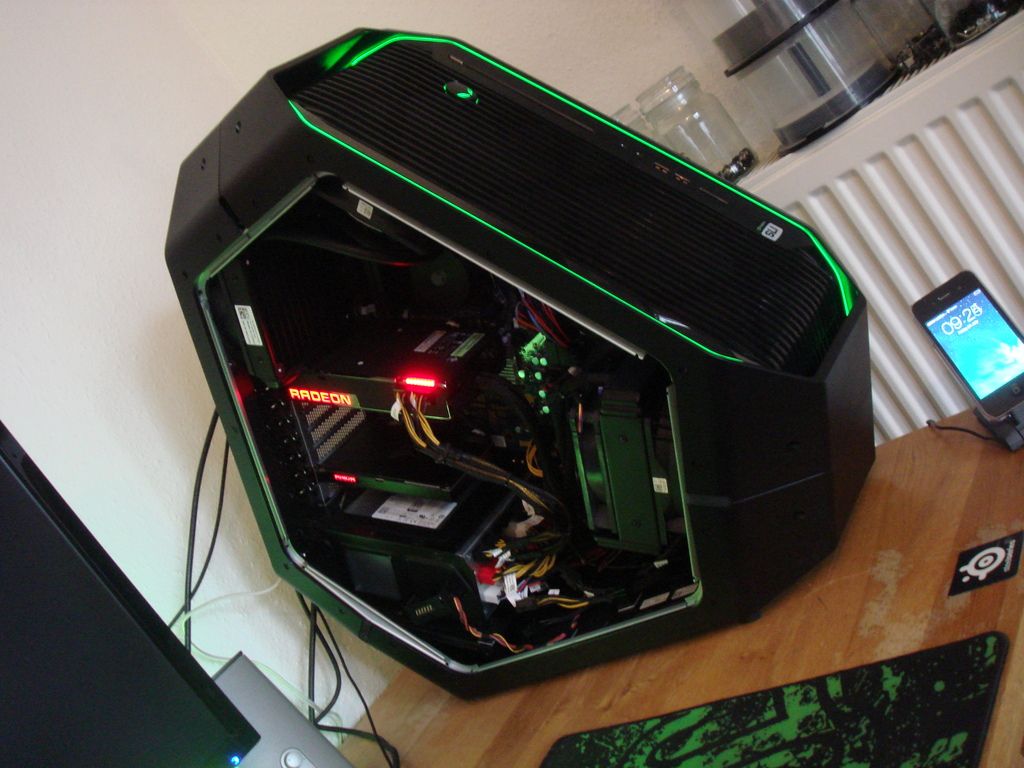


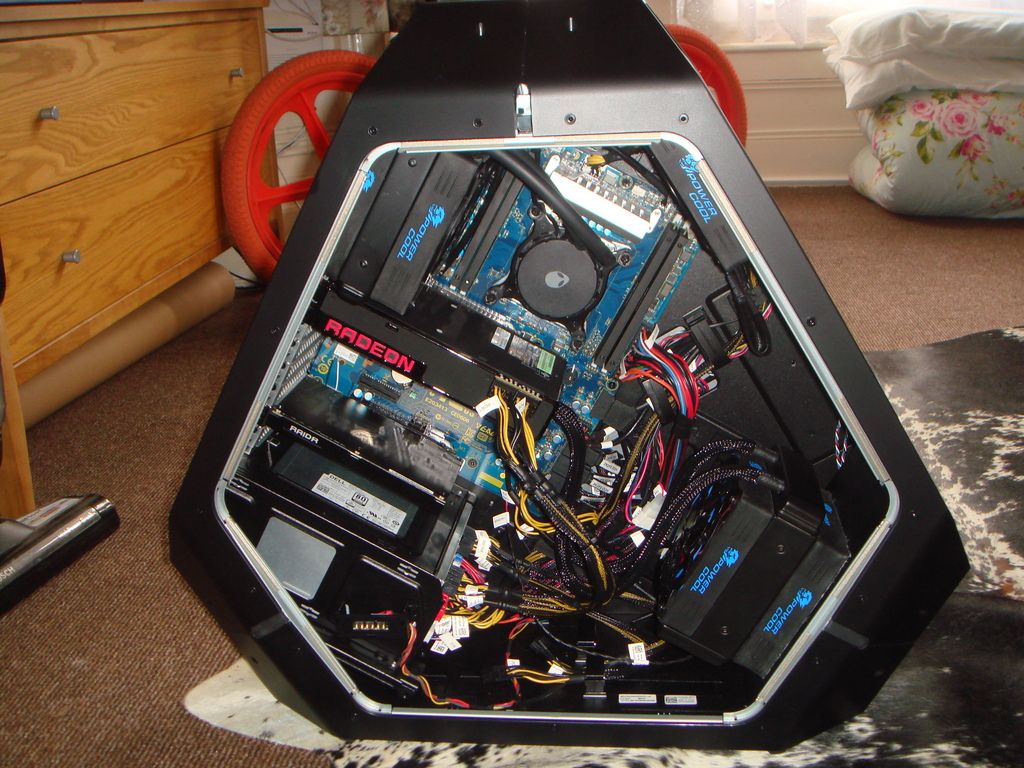
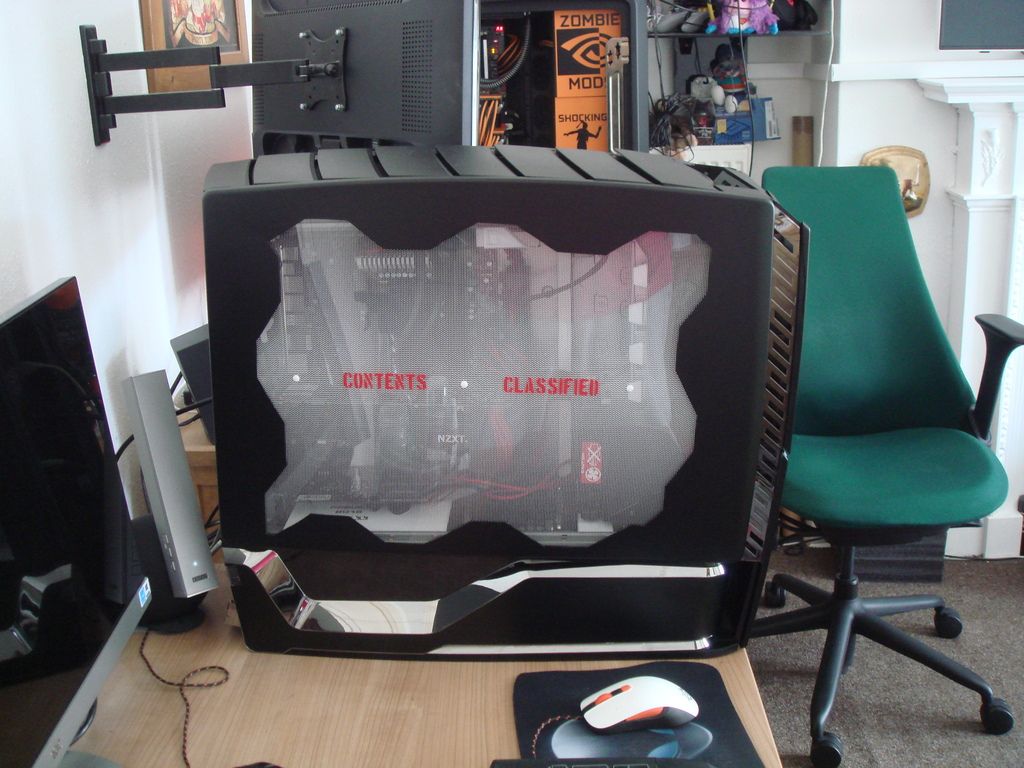
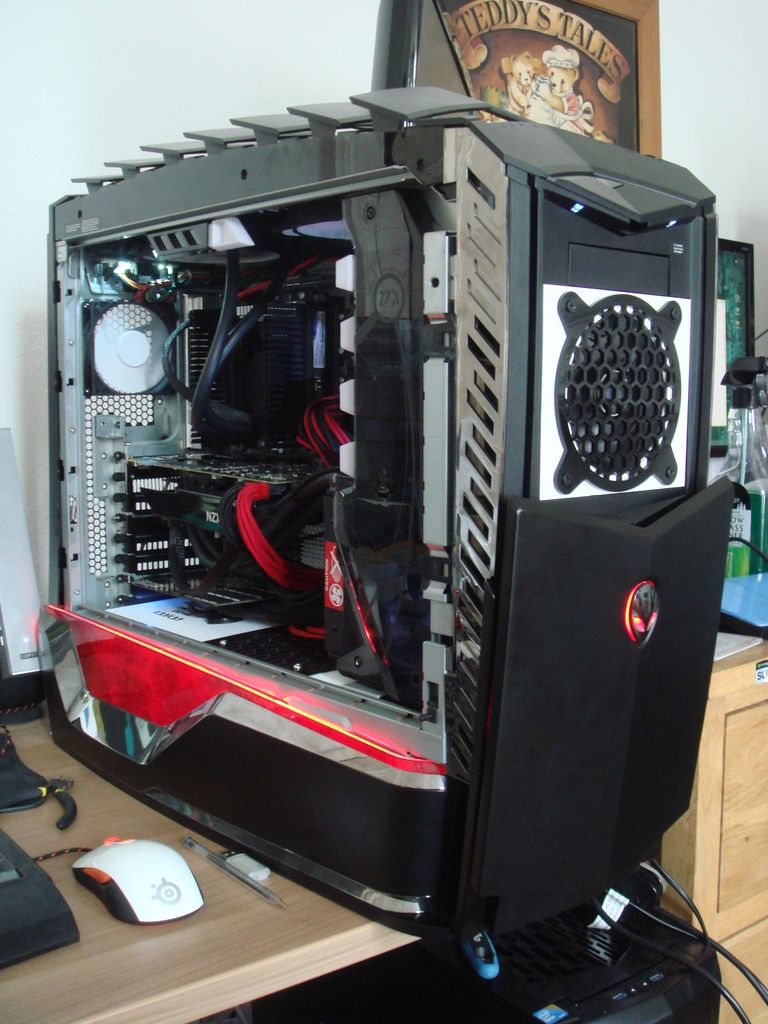
And it currently looks like this.
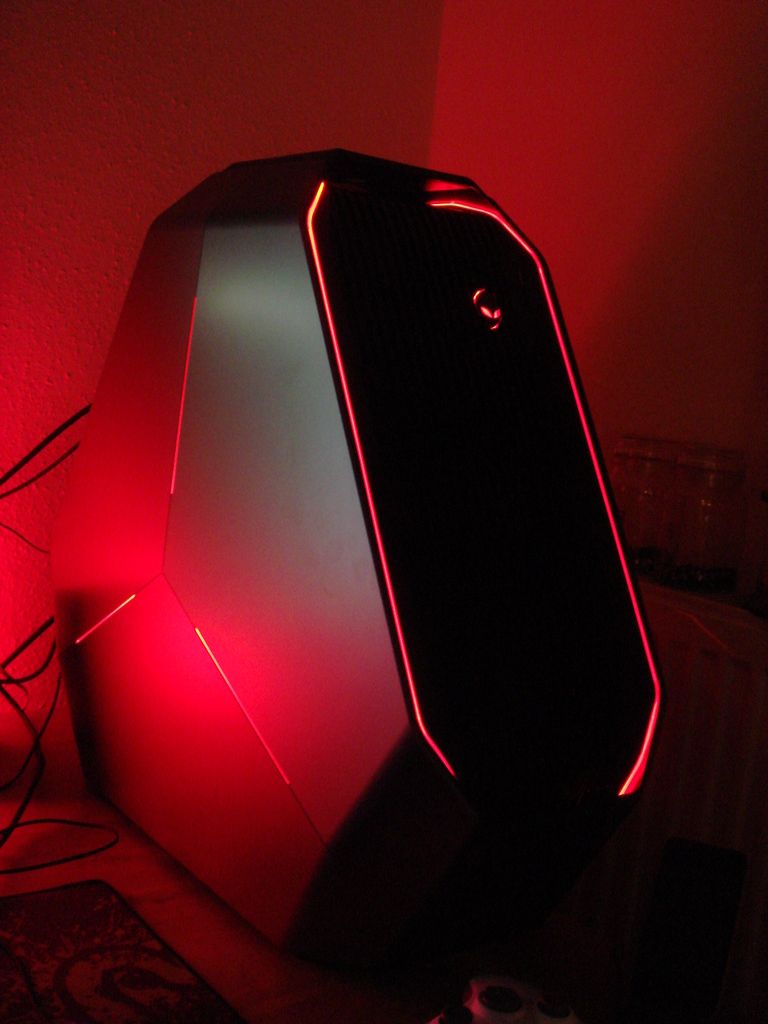


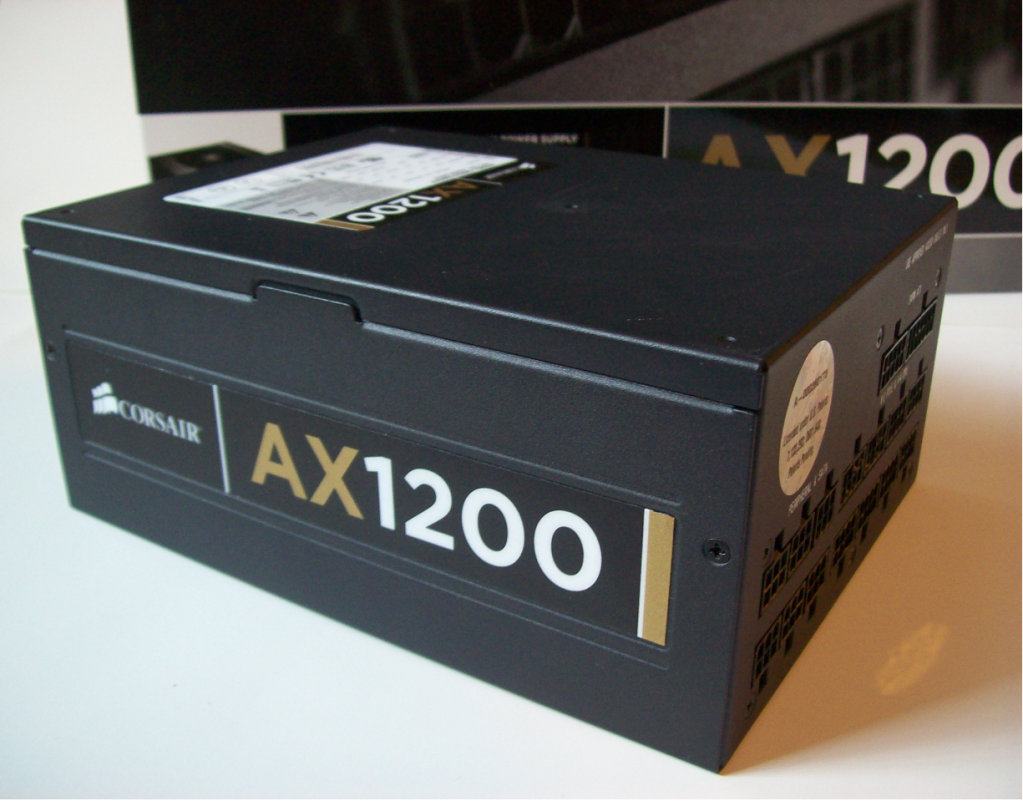
However I have a couple of issues. Firstly the power supply whines quite badly. However, Tom @ OC3D is supplying me with one of these.


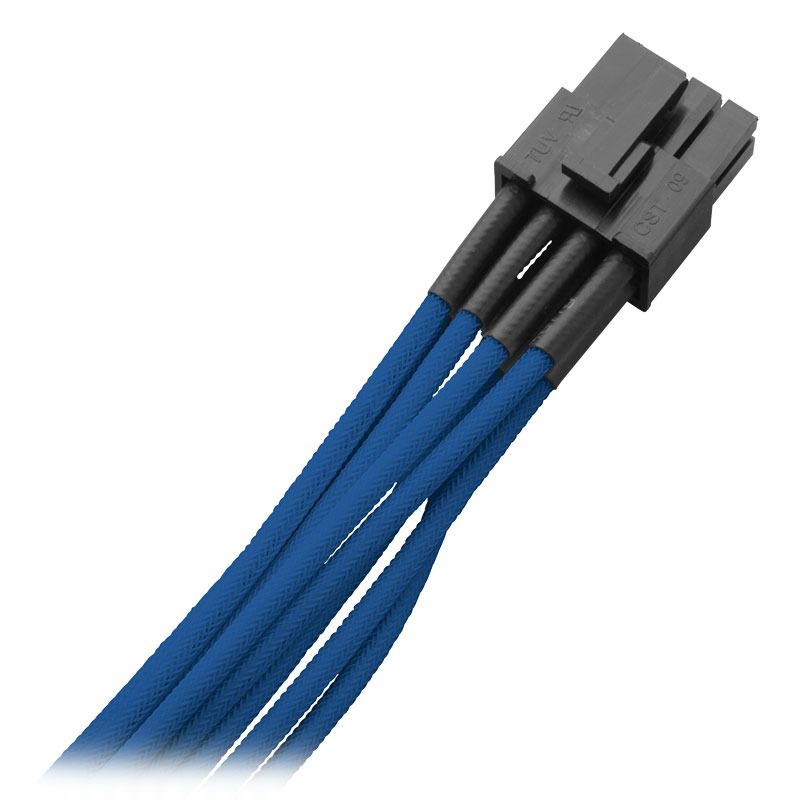
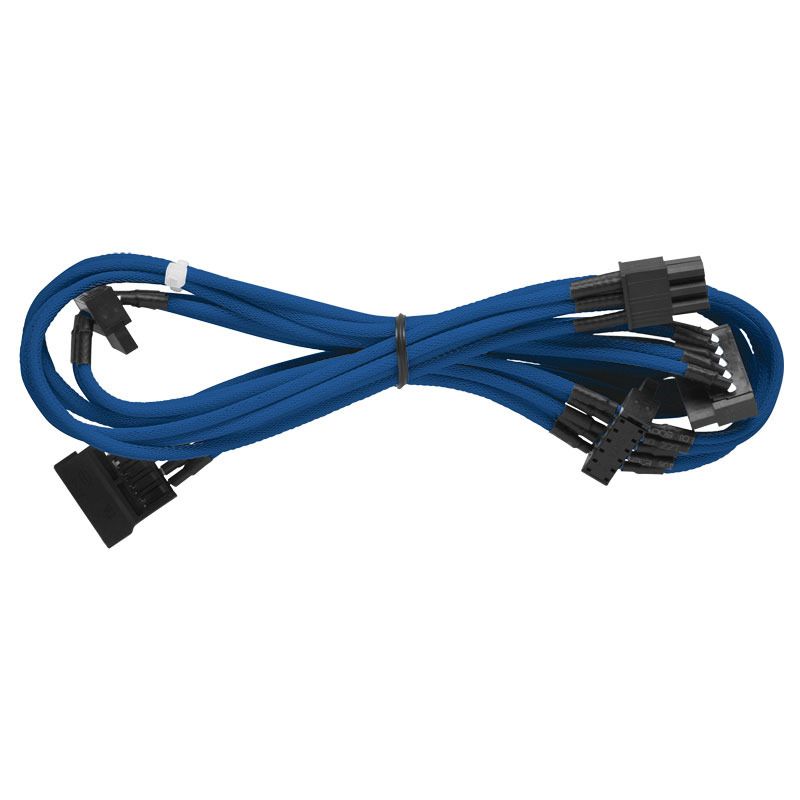
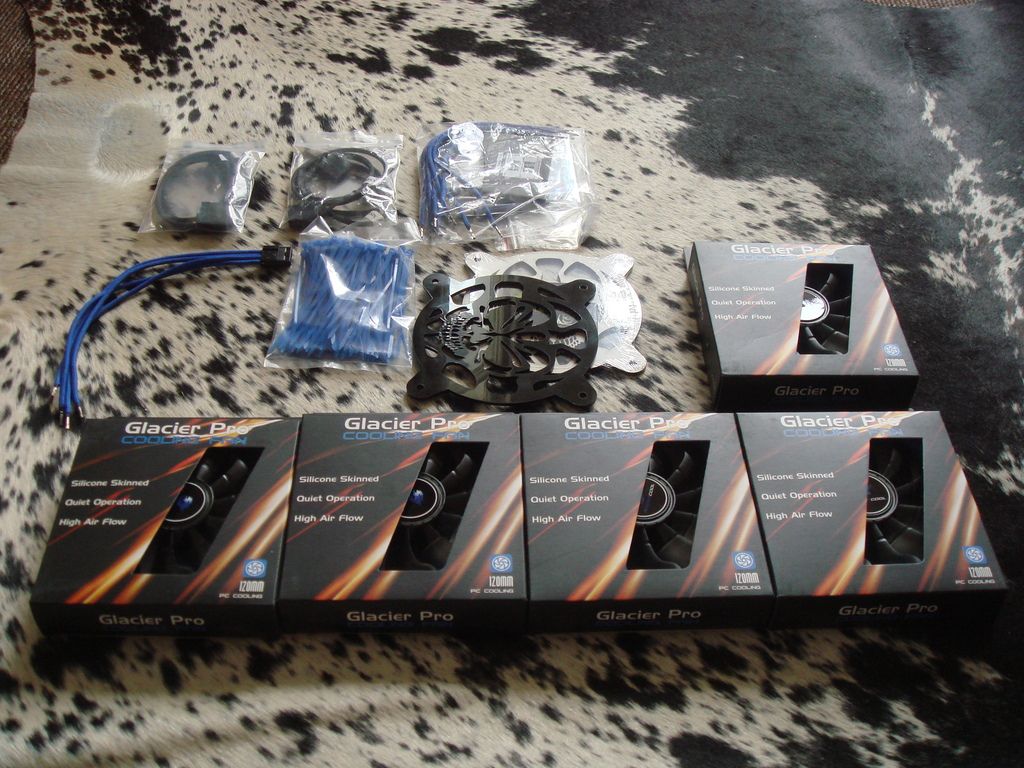
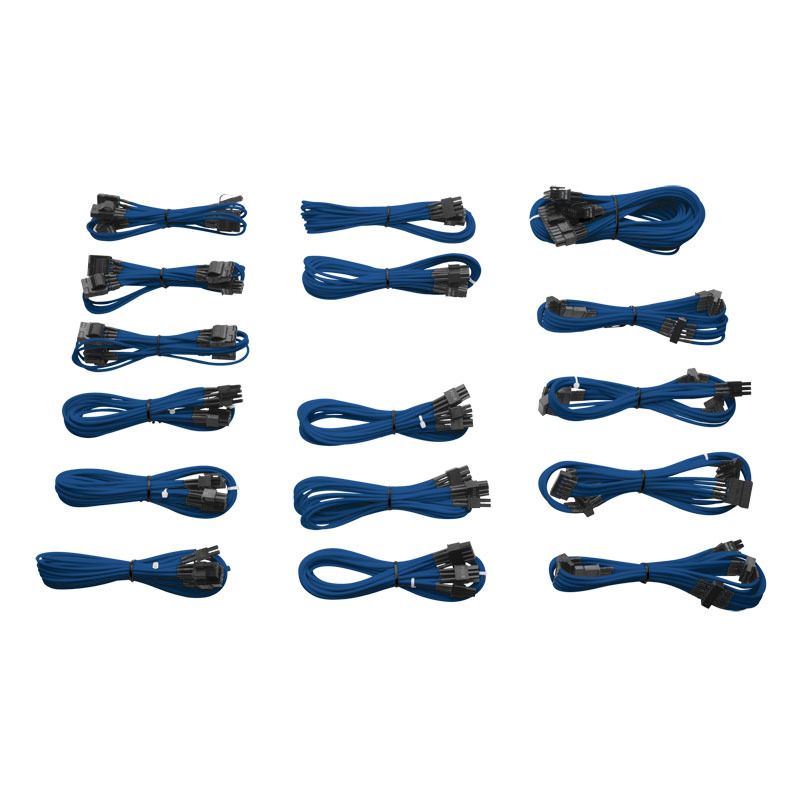
And a full set of these.


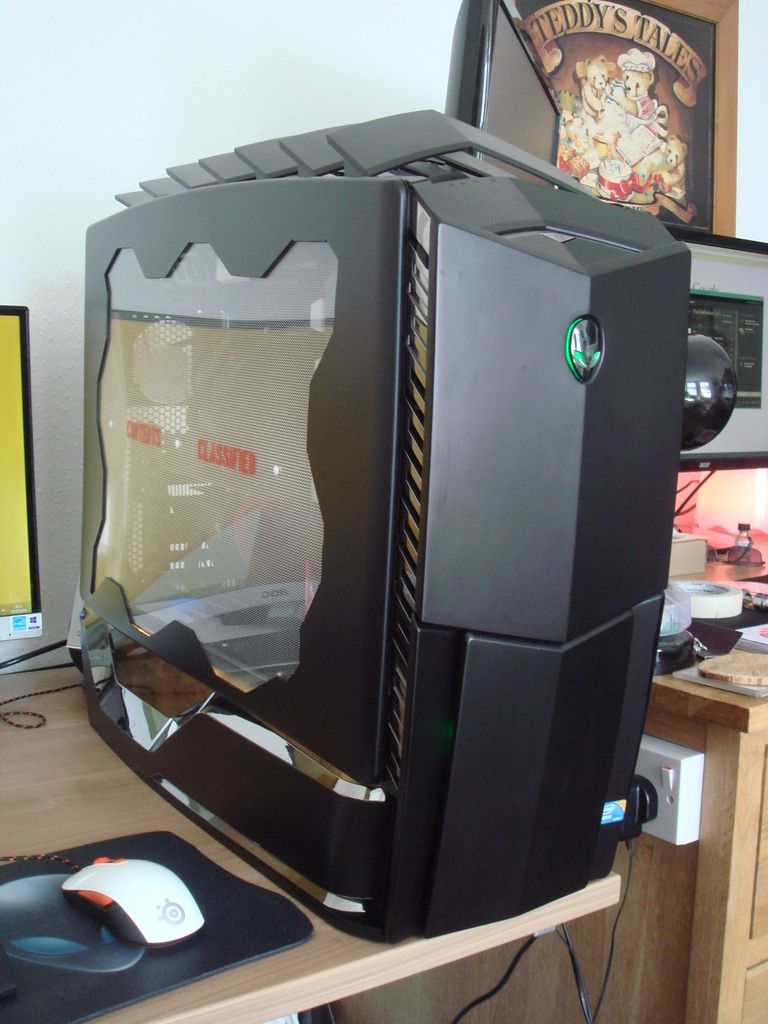
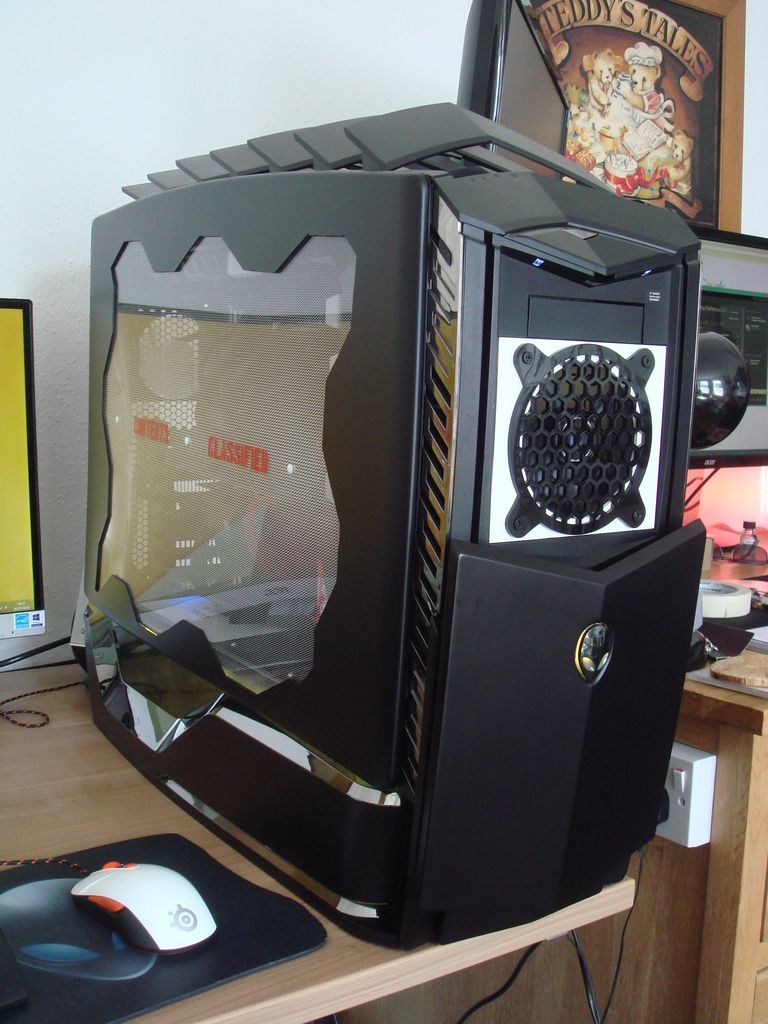
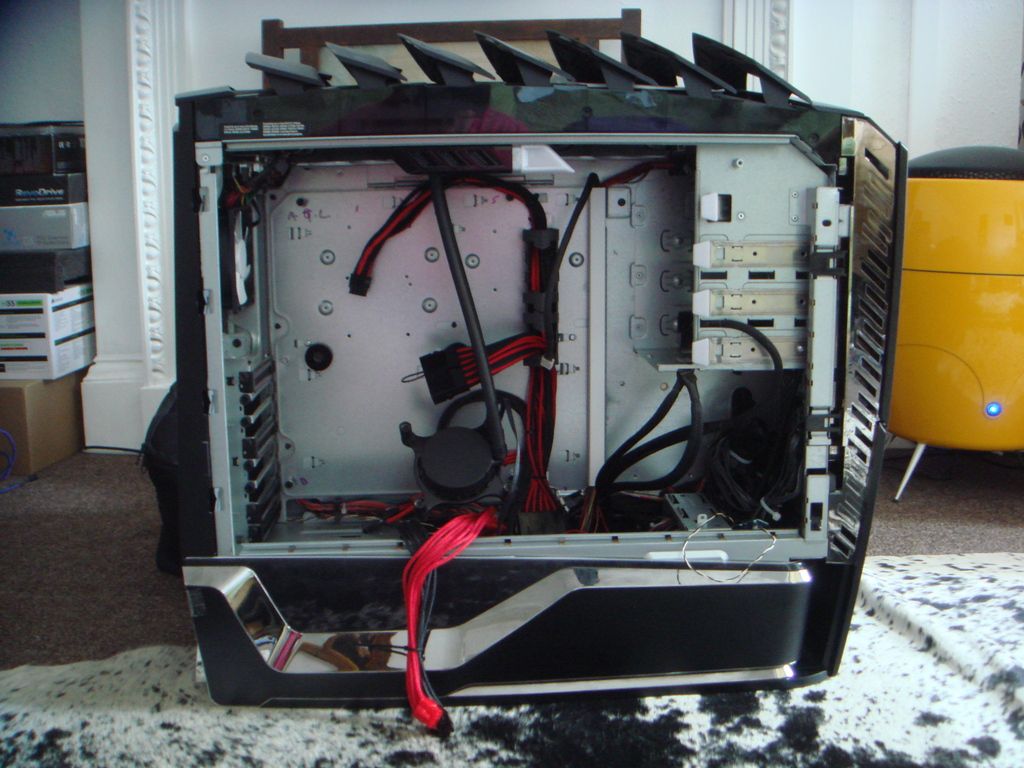
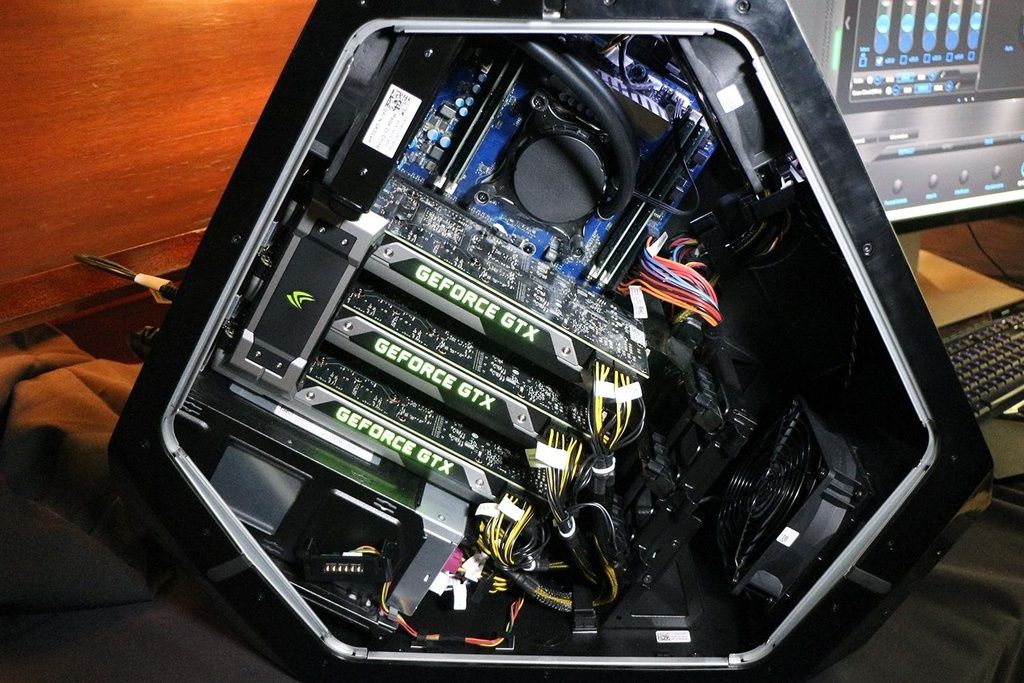
The idea is to totally convert the interior and make it a nicer place to look at. Currently a stock model will look something like this.


OK, so time for some cooling. At first I saw these for £12 each.
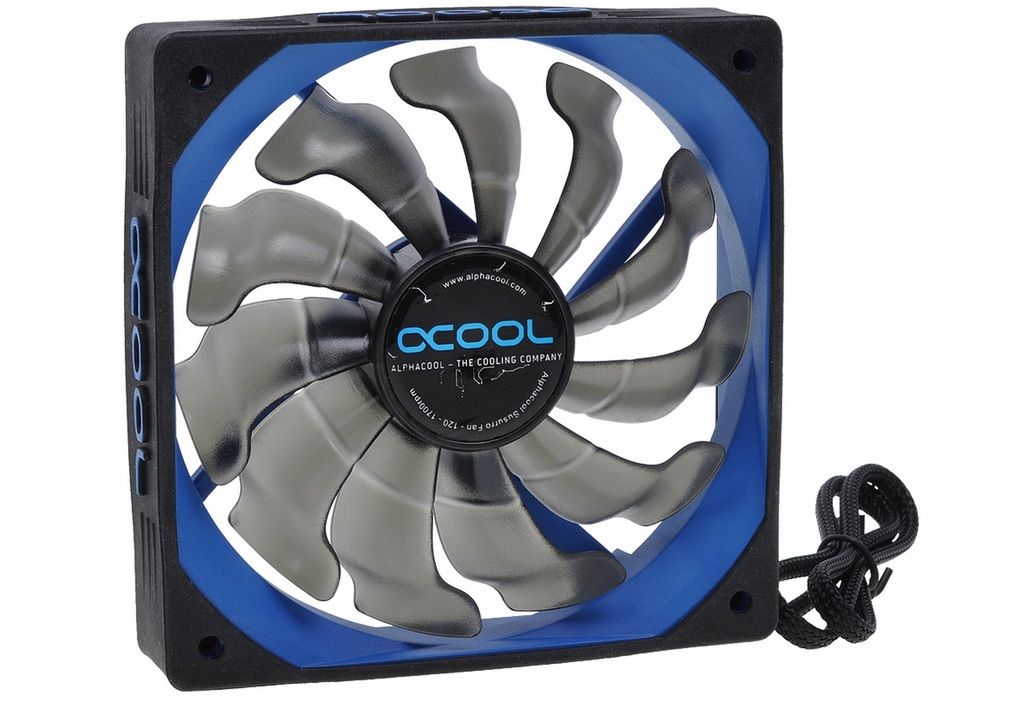


And thought they looked familiar. I was just about to order five (two for each rad and one to replace the intake fan) then realised they were actually these with a posh name on.
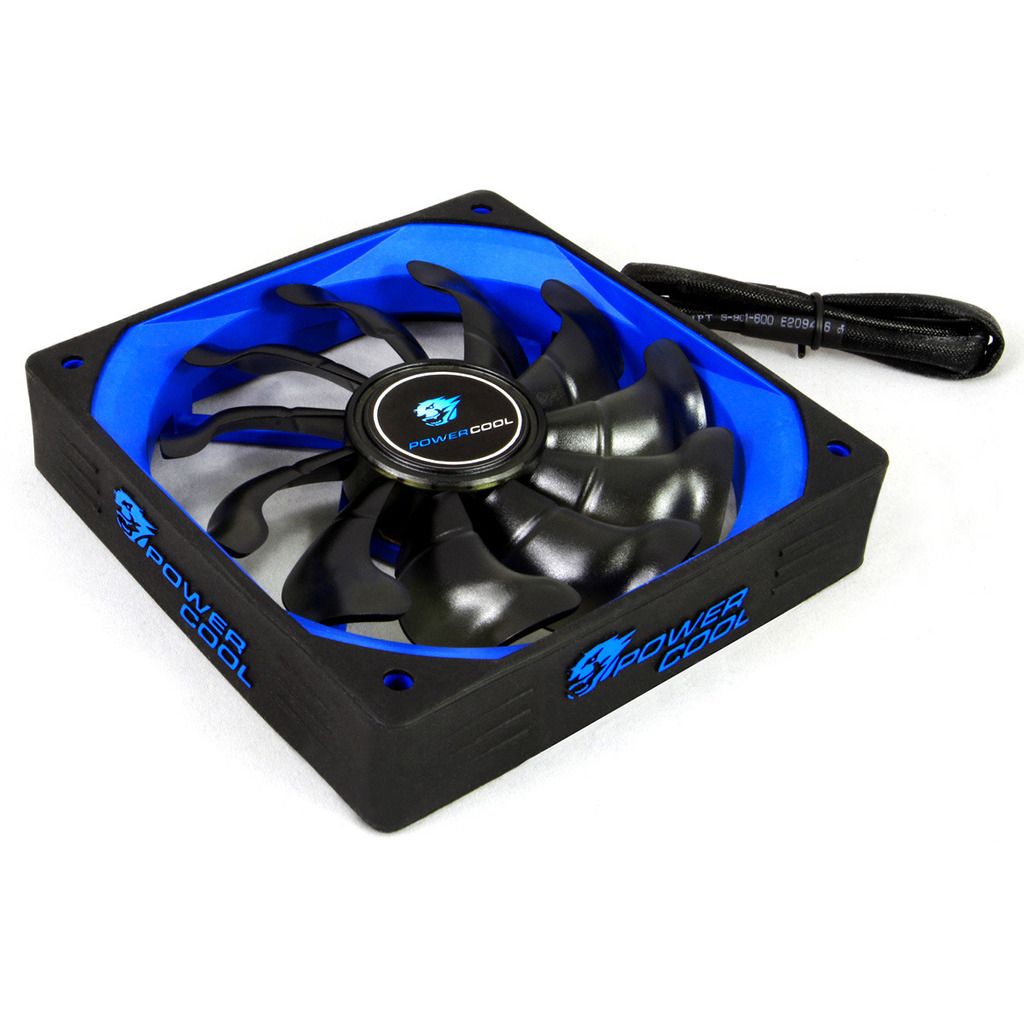
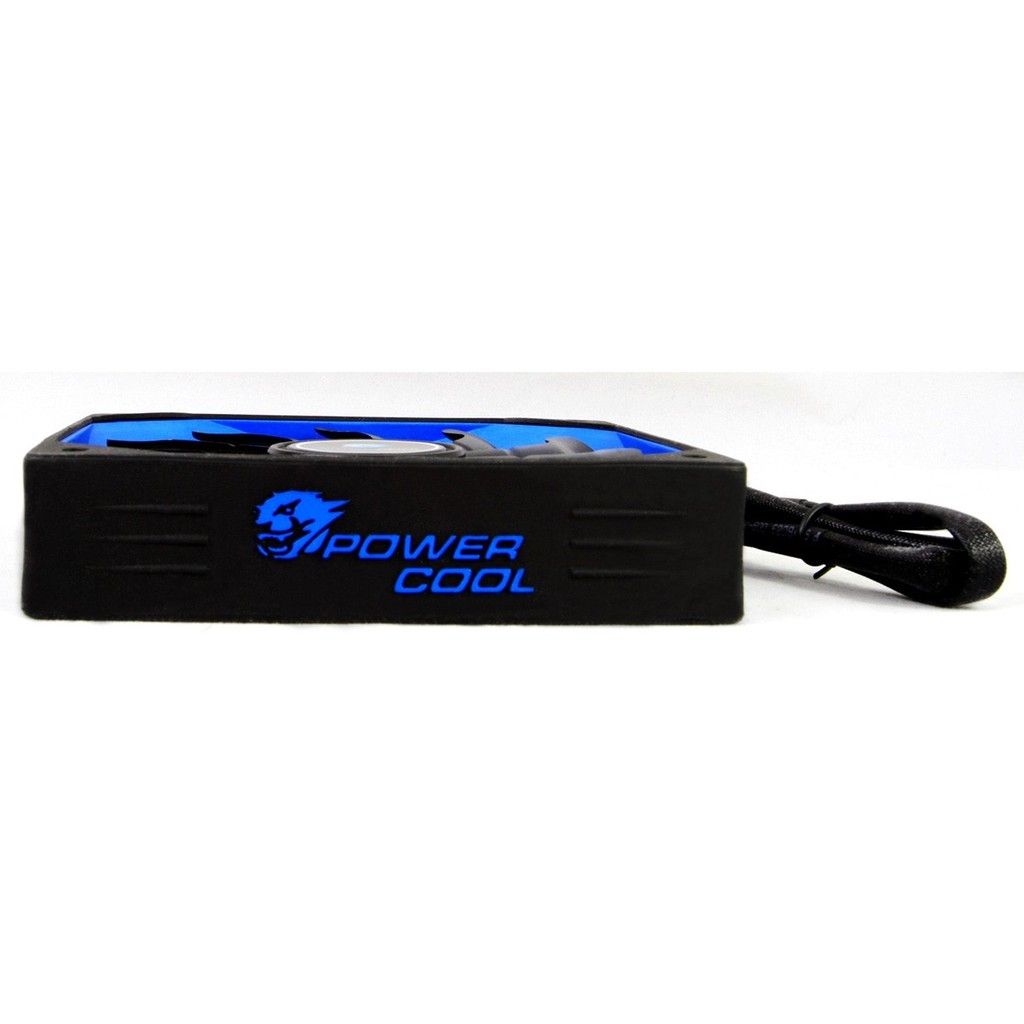


For a whopping £5 each. So I ordered five :)

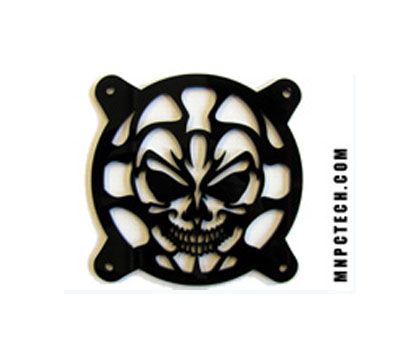
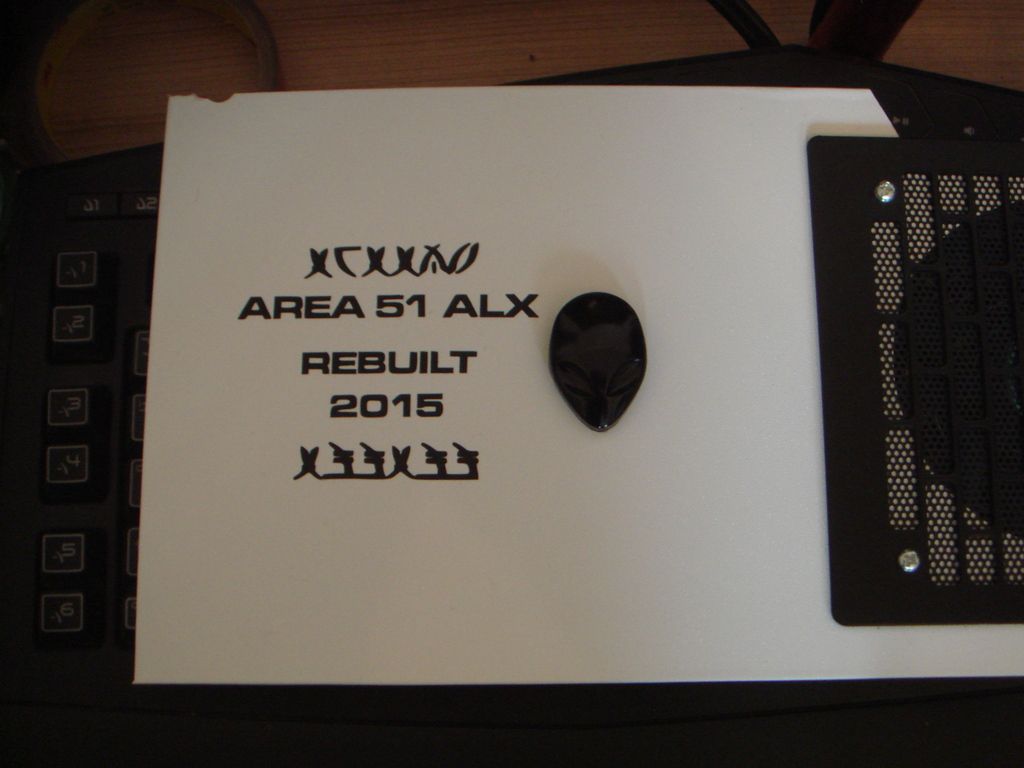
So that's the PSU, cabling and fans sorted, now I want some grills. I will need three and am currently tossing up between this.
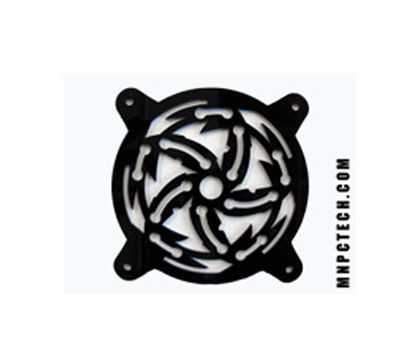


Or this.


Though I already have one skull grill so I will possibly just order two more.
 
Problem number one.

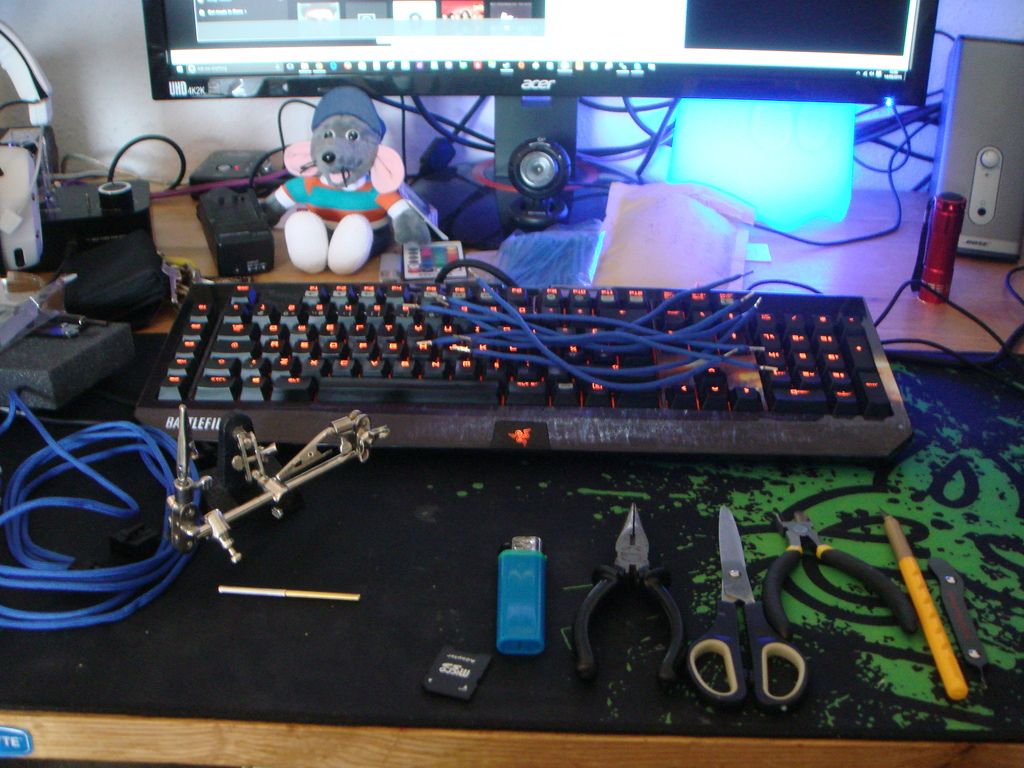
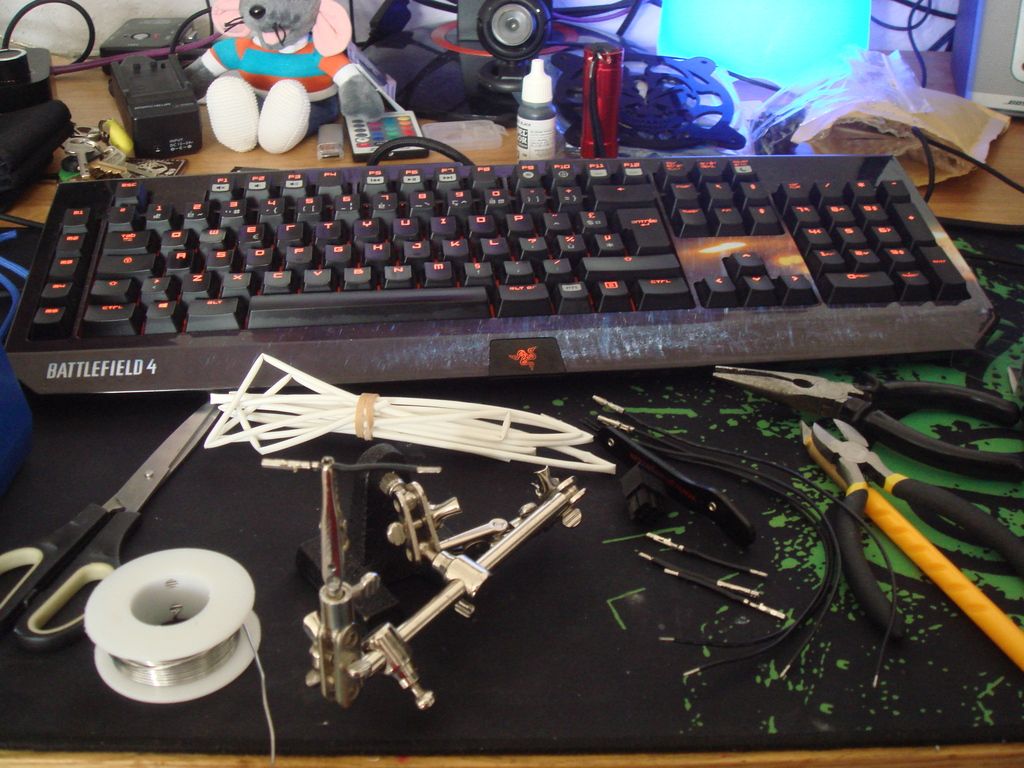
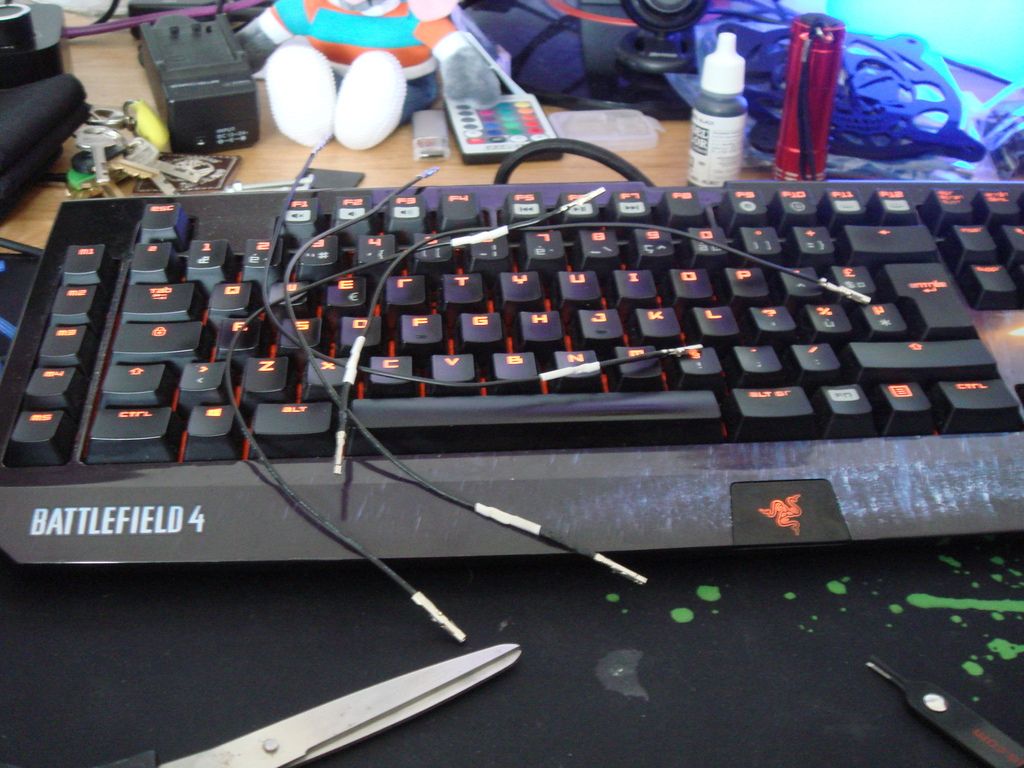
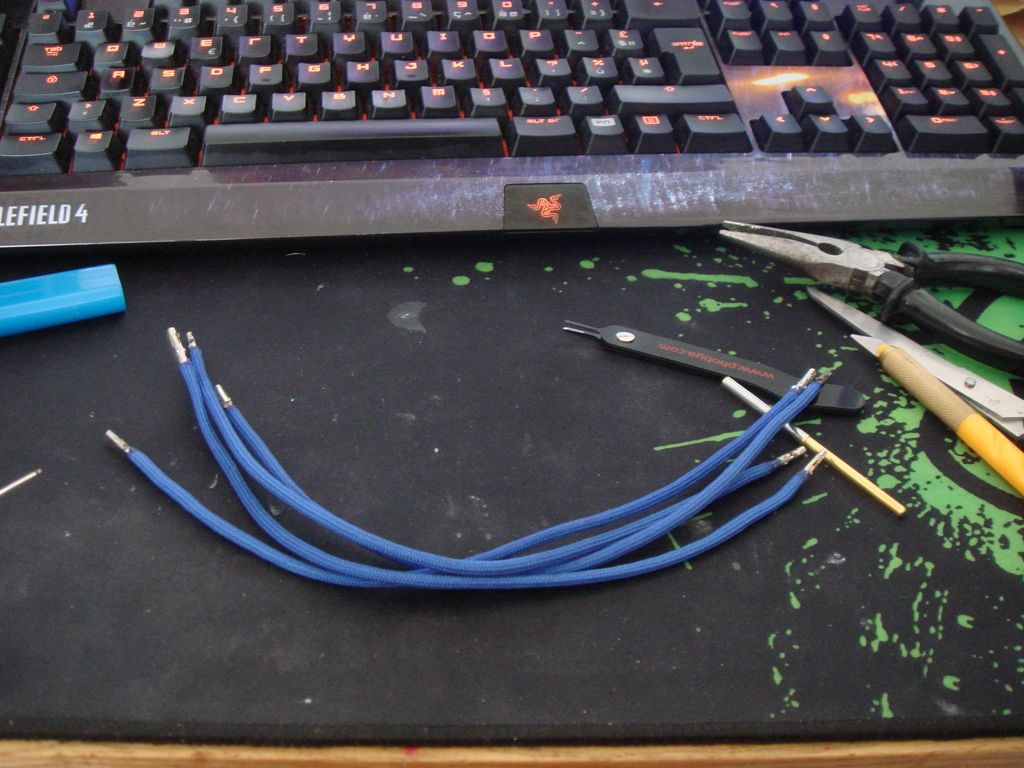
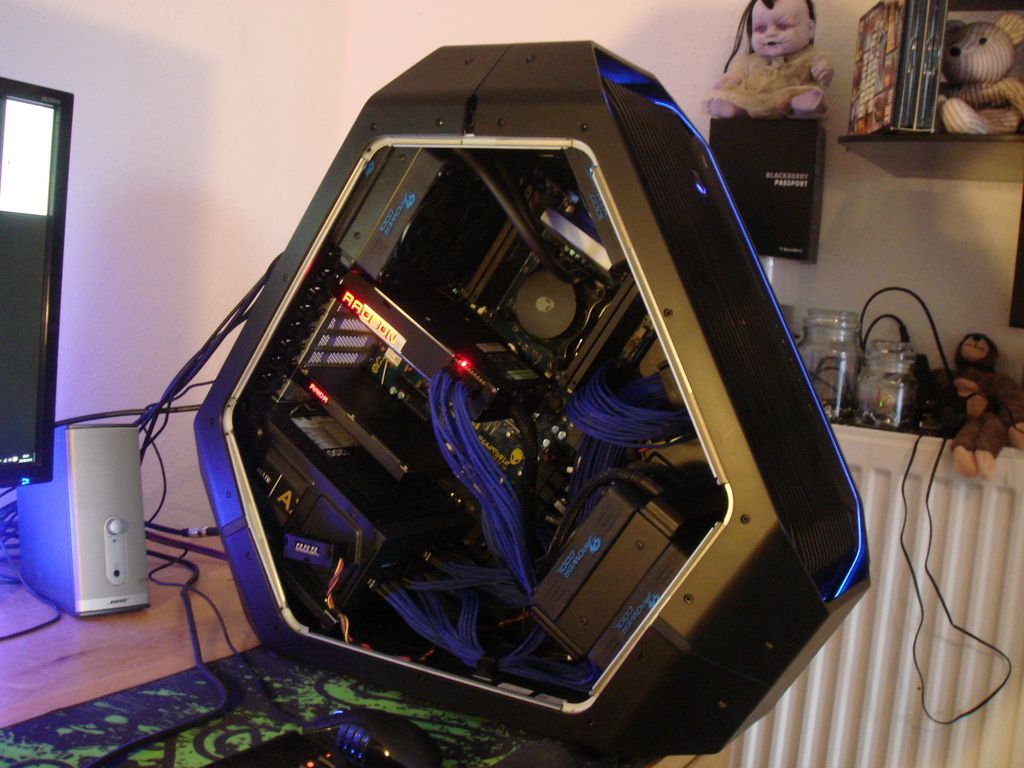
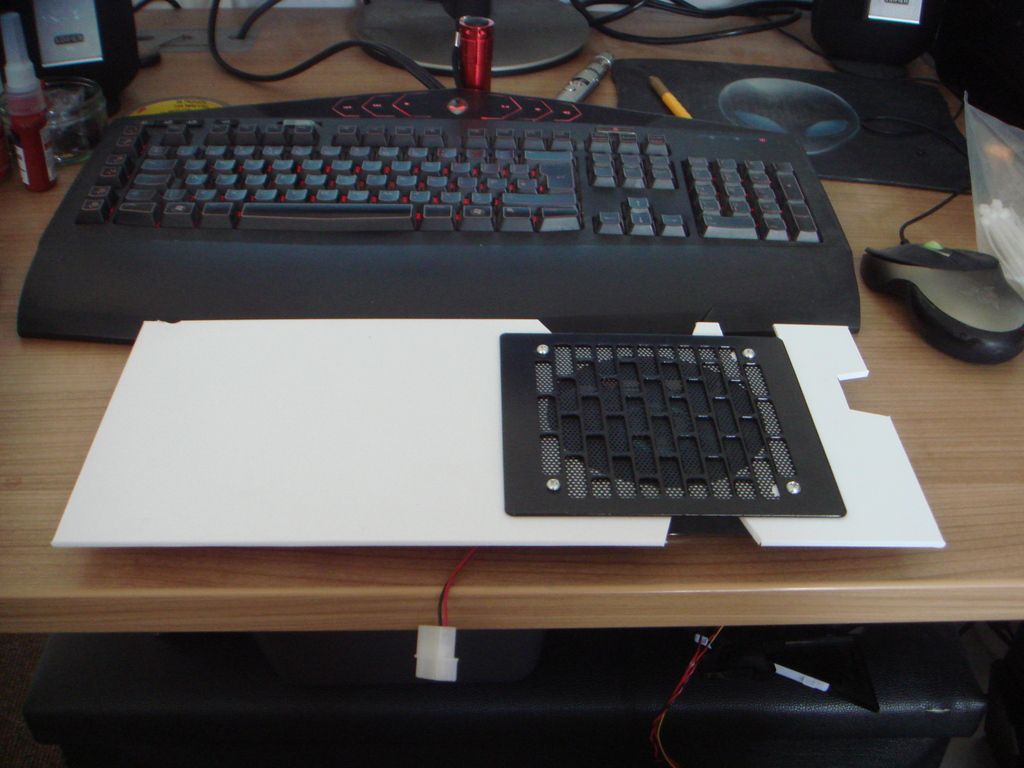
Whilst the Alienware uses a standard (if very large) power supply there are the odd couple of quirks here and there. The motherboard, for example, has a 8 pin EPS right at the bottom. Now the problem with this is there is nowhere to hide cables. they go right through the rig in plain sight. So what I did was make 8 blue cables myself (look on the keyboard) and I will swap those out when the PSU arrives next week.

 
Thanks :) Yeah there are a few annoying things about the case that need to be sorted. The current PSU is raw metal and so are the PCI back plates so I will need to crack out the paint and make those good too.
 
Looking good mate!

Thanks dude. Hopefully I can make it look even better.

nice looking case

It is. Right at the bottom it says "Manufactured by Micro Star International" so apparently is an MSI. I don't know if MSI designed it though. The motherboard and overclocking are all typical MSI and the rig overclocks like a demon. I've had the 5820k to 4.6ghz and 4.4ghz fully stable.

Just a quick update. I am currently in talks with a super talented designer who is hopefully going to consider designing fan grills for me.
 
Thanks Brian. It's literally just going around doing a huge cleanup. When I initially bought the PC I kind of knew that the 850w PSU was not going to be enough, but Alienware wanted stupid money for the 1500 watt model and it's still fugly.

It's almost like some one at Dell said "Go ahead and design it and make it nice" and they ran out of dev money when they got to the power supply.

The AX1200 is a monster and I would guess every bit as good as their 1500w model and the fact I got it for free is really pushing me into getting this done.. I looked through a box of old parts last night and found one of these I forgot I had.


So what I did was order another one last night and when I get paid on Friday I will get two flame grills?

As I mentioned though I am in talks with a guy who has more talent in one pinky finger than I have completely, so with any luck I can get him to design and put into renders what I see in my head and then get them cut by Parvum or some one else.

It won't matter either way because MNPC's grills are stunning to look at and aren't terribly expensive either. Posted they turn out at around £9.50 each and I only need two more :)
 
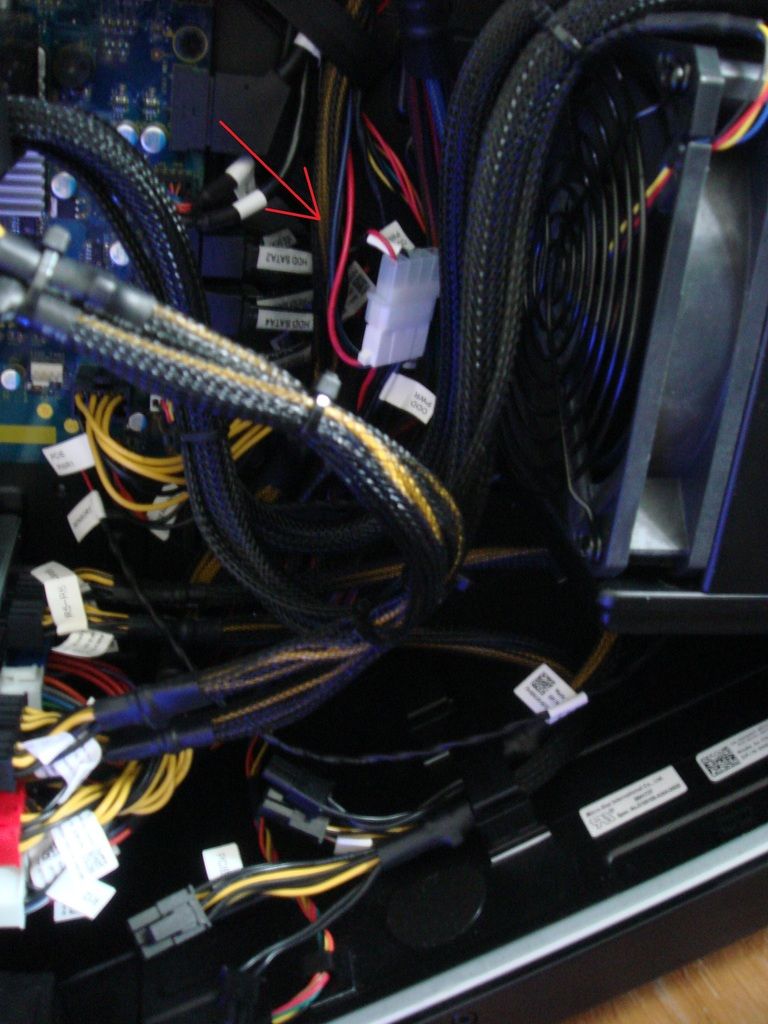
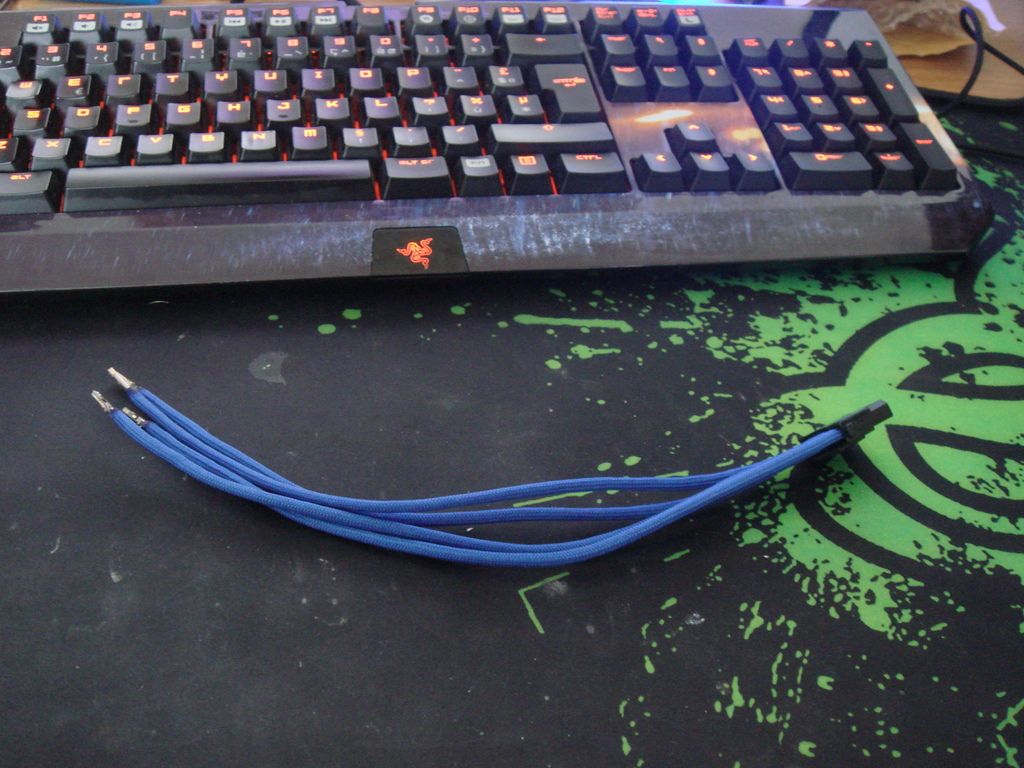
I did some more today. OK, so if I follow the PSU I get a molex connector here for "ODD" whatever that means. Now this molex then splits and goes off to the other side of the case for what I assume to be the IO board. However, split molex are fugly so I decided to rewire the PSU when it arrives so there are two correctly sized molex runs. One for "ODD" and one for the IO board. Here is the first one here.


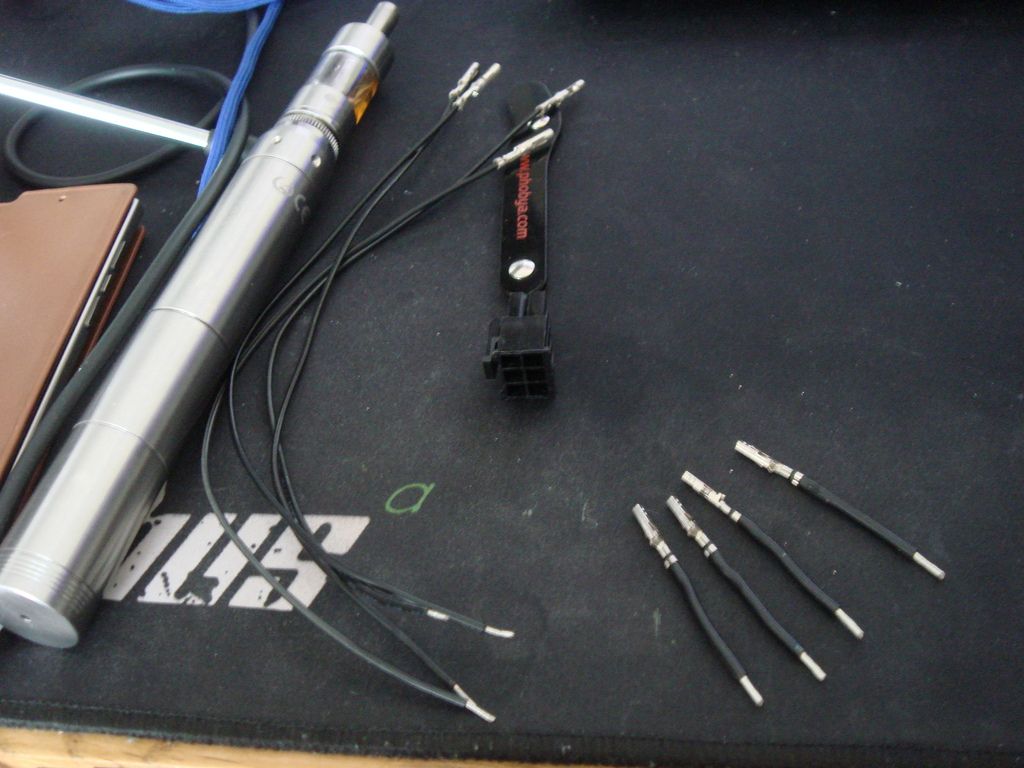
Note - I have already ordered a couple of male MOLEX connectors so that I can replace the white ones. So I took an old loom from a PSU and cut some wires with the connectors on. Removing them isn't possible.


Busted out the tools.


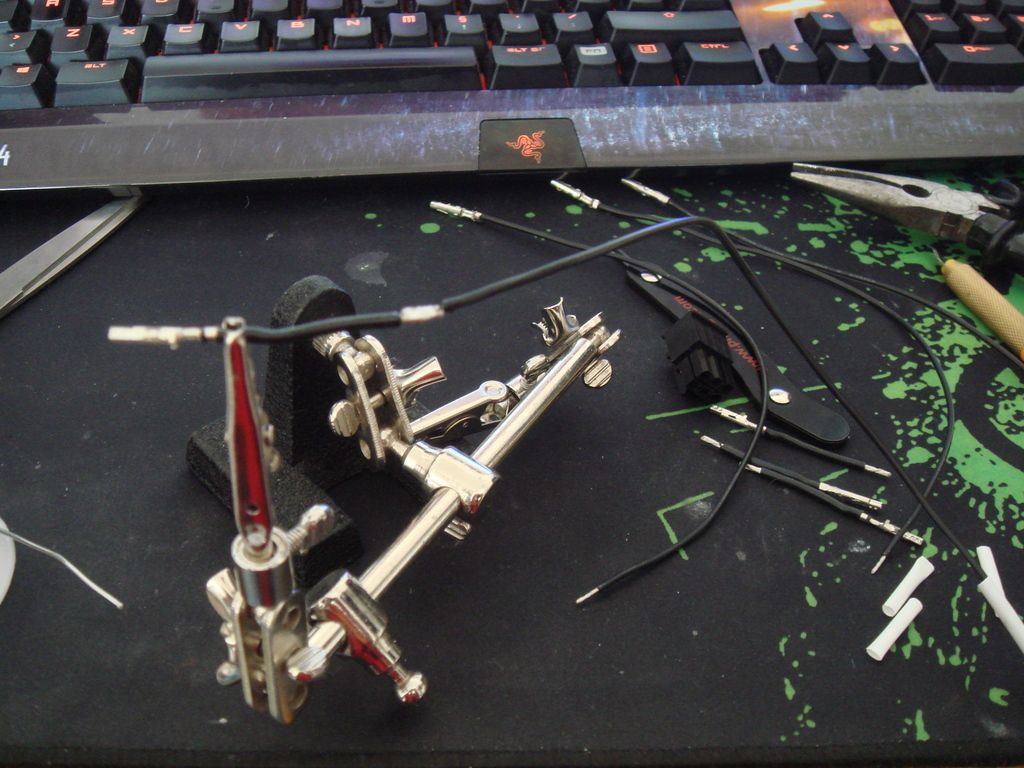
And solder.


And then.


Braid.


And fit the MOLEX connector.


OK so now when the PSU arrives I will simply take a SATA run and remove the wires and connect mine. That will give me a perfectly sized MOLEX run for the ODD.

So basically now I have to measure the existing split MOLEX and make a single MOLEX like this only much longer.
 
You guys are most probably spot on tbh. I've not investigated the other side of the case yet, but it certainly looks like it could be one of those in there.. Either way it needs to stay as I use the optical drive a lot. I have ordered a black male molex connector for it and will likely braid the two wires too.
 
I got all of the new cooling fitted.


It's a little noisier than before but nothing bad. It doesn't have that horrible whirr when the PC starts any more either which is nice. Apologies for using flash, it's a dark day here on the South Coast. The PSU has arrived and will likely be fitted tomorrow. I am going to make up the two custom cables tonight, then probably do the last one in the morning :)
 
They're lovely solid fans and for a fiver each they were a no brainer. I really like the silicon covers too.

Edit. Forgot to say the project is on hold for a couple of days. Corsair braided cables are pretty much not removable and I've snapped one from the pin and it won't come out so I am going to get the cables I need to be shorter custom made.
 
Cheers Deano. Well I had a bit of luck it seems. Apparently the AX1200 EPS cable has a 8 pin PCIE connector at the PSU side and a regular 8 pin EPS connector on the end. So I took out some old cables I have and managed to make the 8 pin EPS I needed (the one I broke) so I am now pretty much ready to fit the PSU.

Will probably do it tonight or tomorrow :)
 
I've done about the best I could in there. The cables are very long and there are only a couple of anchor points to hold them down.

Nice thing is there's no whine any more :)
 
Thanks man. Yeah, it really is a million times better in there. I still have to do something with the wires from the side panel edge connector but that shouldn't be too hard :)

I've had some good clocks out of it too, 4.6 bench and 4.4 solid. Very happy :)

I will try and get some proper pics of it when the sun comes out, it's been very dark the last couple of days.
 
No point if theres no window but it would be cool

An excuse to make one :D

With lights surrounding it

The possibilities are endless, but you have to remember this is pretty much a £300 case here. It was never designed to have a window but if one day I can get a spare from the USA I would consider it.

I recently restored the 2009 Area 51 that now belongs to my wife. 8 cores, Titan Black under an AIO.. Here it is here, and here is the window I made for it but bear in mind I do have a solid panel that cost me around £100 to import from the states.


This thing was serious work. With the full restoration, modding to take a Corsair PSU and braiding it took around two weeks.


The custom floor pan cover.


And some love for my wonderful lady.


And built.


Have you thought about an acrylic PSU cover that extends all the way across until its under the radiator? That would look sweet and majority of the cables would be hidden inside it.

It's possible :) the only issue is there is a edge connector right over that area that connects to the side panel to light it up once it goes back on.
 
Update ! things have gone quiet due to personal issues but that doesn't mean I'm not planning things :)

I wanted a largish PCIE SSD but they are expensive. The Intel 750 400gb is around £320 and I didn't really want to be paying that just to store my games on. So it's time to think out of the box a little.

I've ordered this and have it ghetto fitted to the PC ATM.


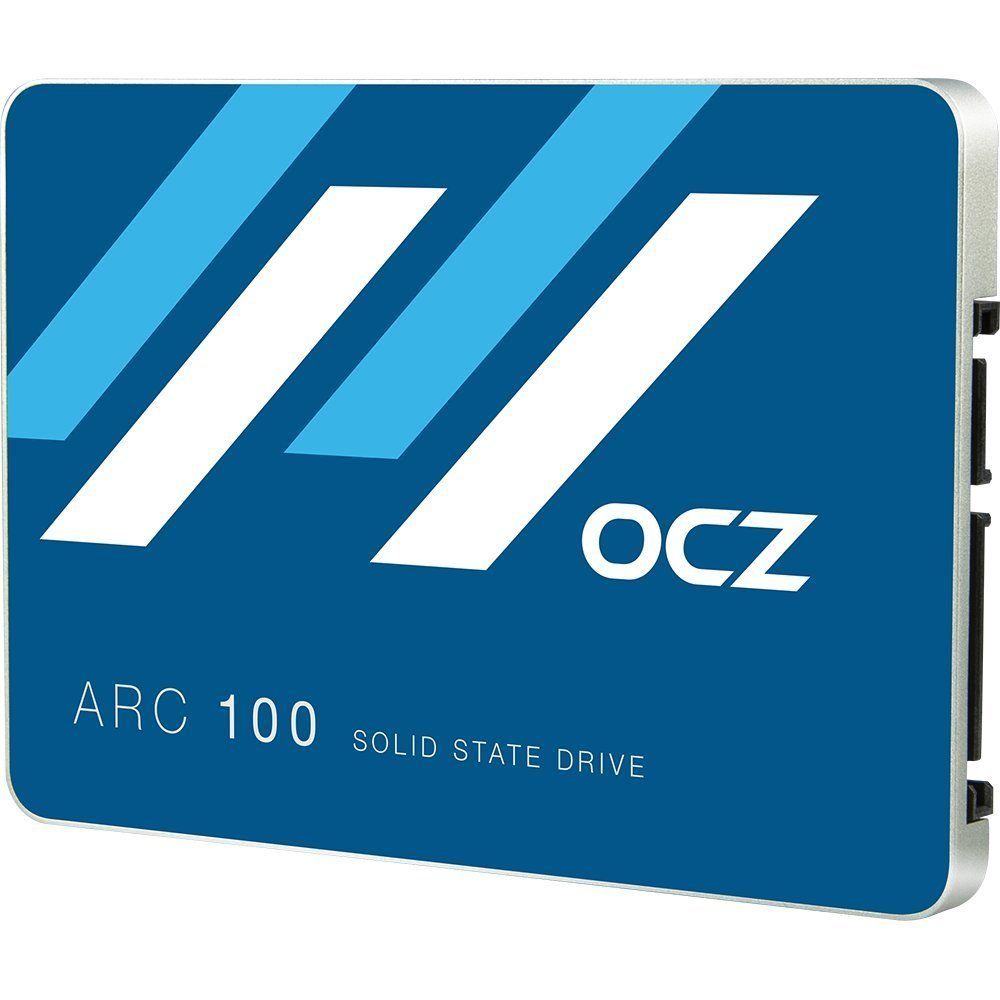
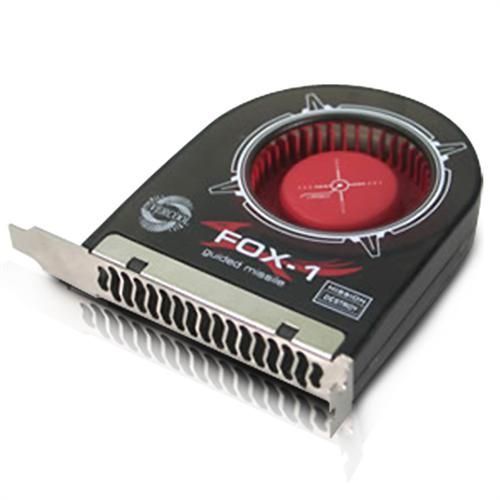
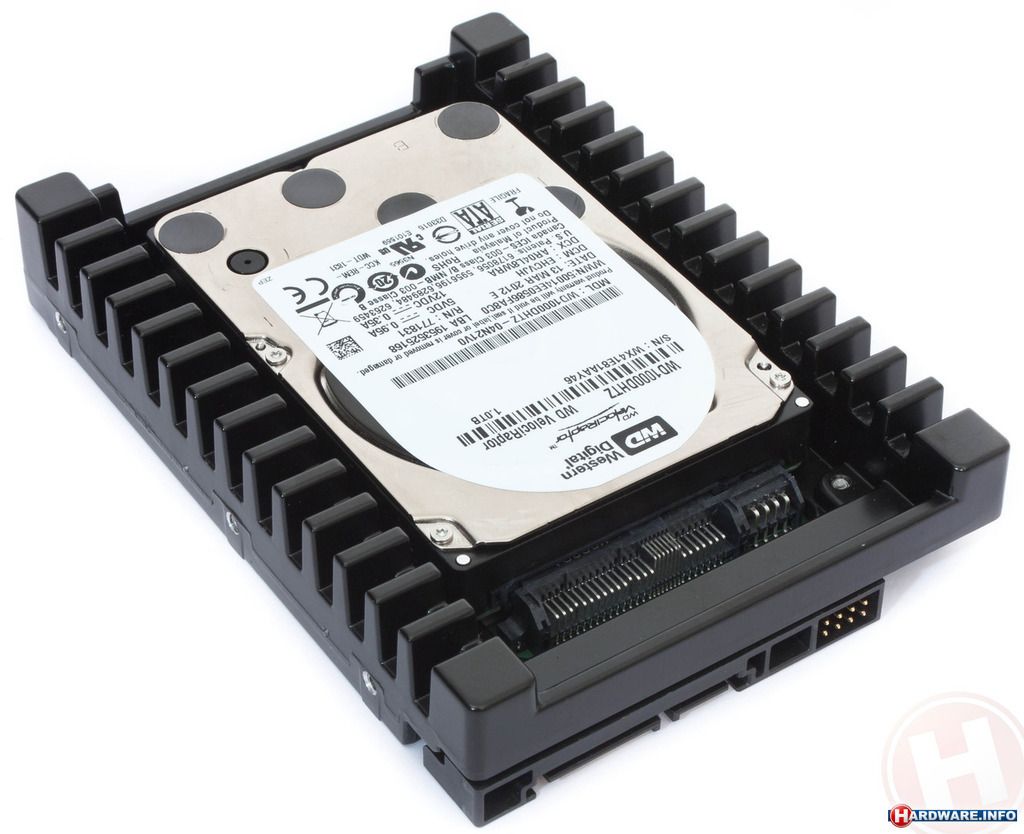
It's a 480gb. I have also ordered this (don't laugh !)


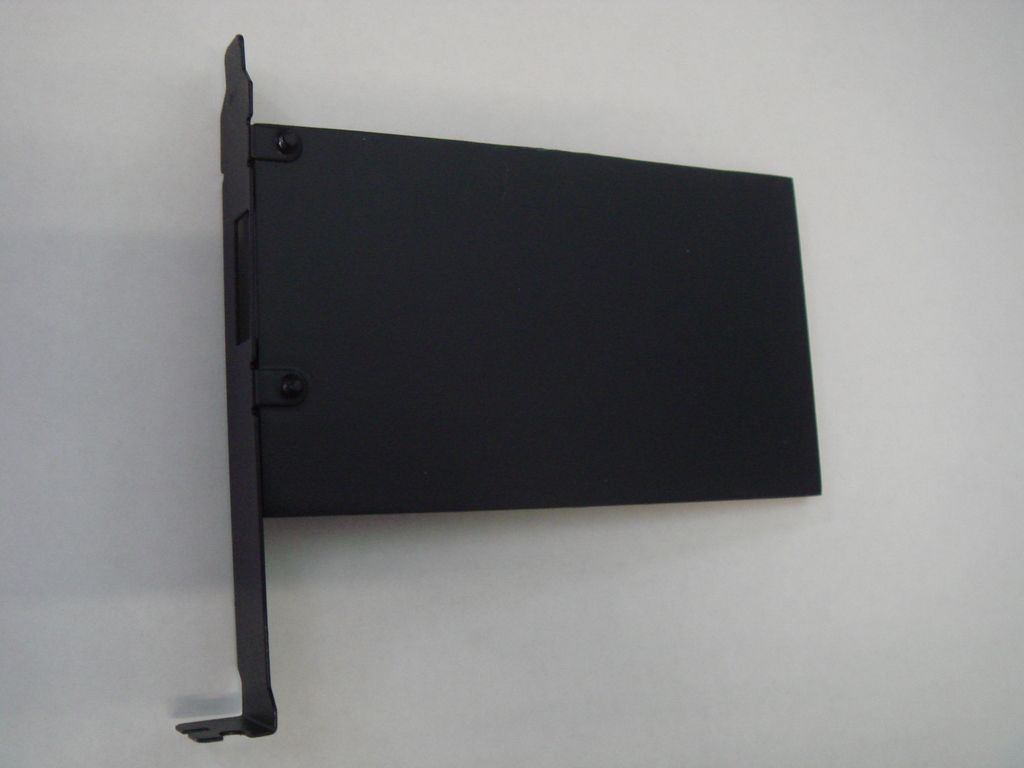
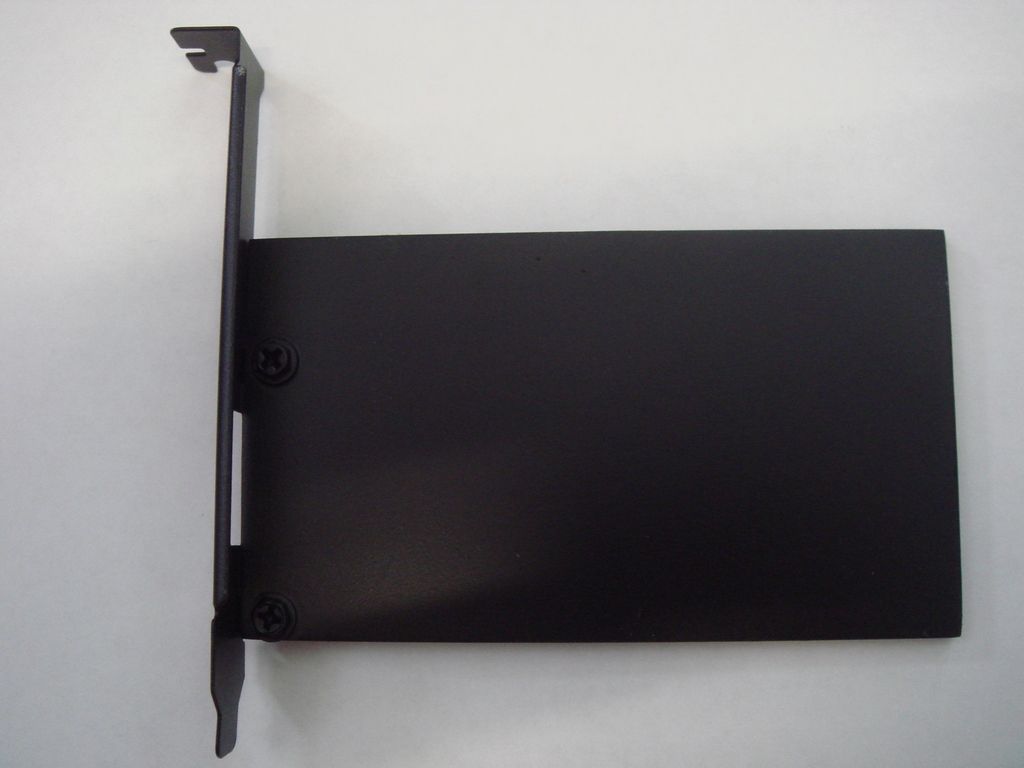
And plan to remove the end PCIE plate. This will give me the opportunity to drill holes through it and mount an acrylic board that will hold that lovely blue SSD. I will spray it all black (the whole board and PCI holder plate) then mount it in view in the PC. For that I will cut off a SATA run so there's only one connector on it, paint the cut wires black (you'll see I will get some photos) and then mount the SSD like that, into the computer.

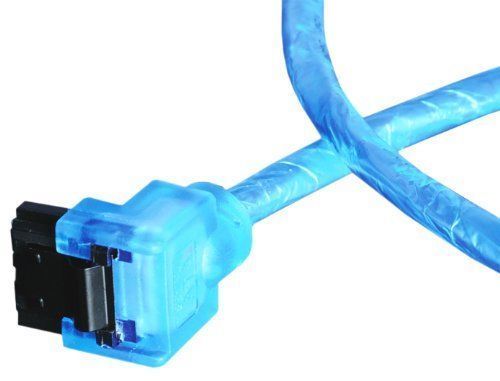
I will then fit one of these (AKASA blue rounded)


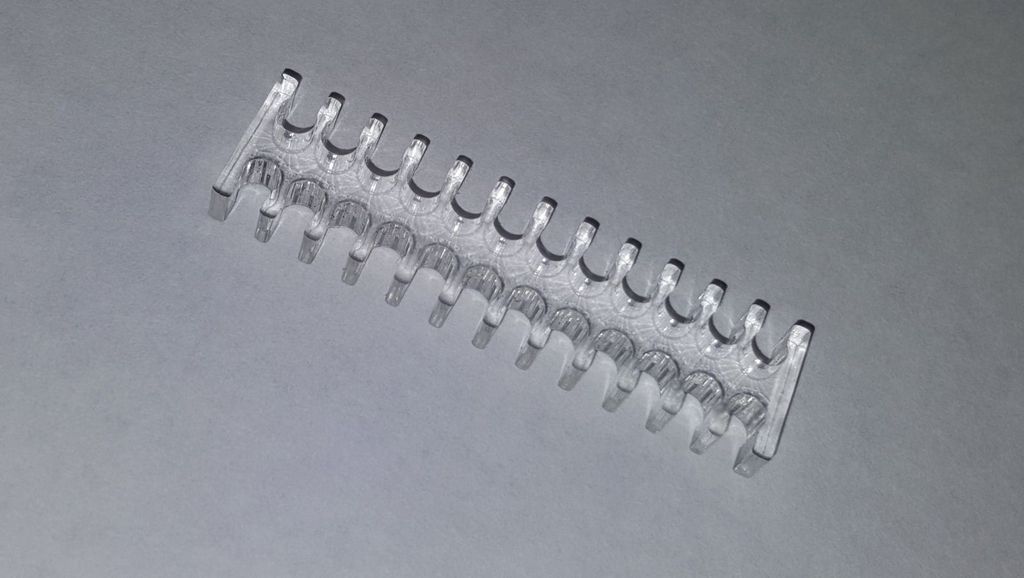
So that should look rather nice. I am also going to tidy up the PCIE power cables and main 24 pin cable using these that I have ordered.


So more should start happening once the parts start to arrive :)
 
Back
Top Bottom