Rise of the triad, The 2014 Area 51

Soldato
OP
Joined
23 Apr 2010
Posts
11,890
Location
West Sussex
And it's done :)

First up I found the cable I needed.


Cut off all but one.


Joined the OEM SATA cable to the blue one I bought.


The drive..


And fitted.


And you may have noticed I have fitted some cable combs.

 
Soldato
OP
Joined
23 Apr 2010
Posts
11,890
Location
West Sussex
OK so as I hinted at elsewhere I am now preparing the rig for Crossfire. A couple of weeks back I looked into the rig and it seems that you can not fit two Fury X radiators into the case because of the placement of the fan holsters that you have to bolt the radiators to.

So for a while I was just thinking "screw it" and was going to get a Nano. However, now that I have seen just how much faster Fury X Crossfire can be over Fury X Nano I decided it was time to get out the modding tools again, something I really did not want to do on this computer.

However, I spent today thinking hard about the situation and after lots of measuring and testing placements I have made an adapter that shifts the radiator up 10mm to make sure that it clears the one in the bottom. If you take a look at this picture you will see I have labelled the fan spaces 1, 2, 3


OK. So I already have a Fury X rad in position 1. However, if you bolt the fan onto the supplied bracket for position 2 the radiator hits the radiator in position 1. Not only that, but Alienware do not supply you with all three fan brackets they only give you two. Try to buy another one? £38 please.

So what I have done is make a plate that bolts to the fan bracket and then shifts the 120mm fan mount up into the case toward the top by 10mm. With this done the radiators then clear each other by about 3mm. It's very tight but I am pretty sure it will work, phew.

The only remaining problem now is that I need to mount a 120mm fan in the top position to bring air in for the CPU cooler which is bolted in the back only I don't have the bracket and I am absolutely loathe to spend £38 on a piece of plastic.

I am continuing to think about this and am trying to come up with ideas on how to do it.

More soon !
 
Soldato
OP
Joined
23 Apr 2010
Posts
11,890
Location
West Sussex
Since 2006 Dell signed an agreement with the EU to state that they would not throw anything useful into landfills. Once a system has been built it can not be taken apart and re-used. It's something to do with the law and how you can not sell used products as new. So what they used to do was basically throw the lot in a landfill. In 2006 that changed, and they started auctioning off all of their 'waste' products in Shannon, Ireland. Sadly they have wised up to that and now sell them on their own outlet as refurbished..

I used to have a contact in Ireland who could basically get me pretty much anything Alienware with a scratch or a mark on.

I got my 2006 chassis (the Area 51 ALX Predator 2.1) for free as it was damaged during shipping and I got a full refund. Easy fix, just needed to buy a new door hinge.

My 2009 Area 51 ALX was £200 from the auction site with a BDrom (which I sold for £50) DVDRW and 1200w PSU. They used to sell for £500 and up :O

Not seen any of the 2014 models as empty cases on the auction site yet which is kinda weird. Either they're not selling that many or they are basically selling it all themselves on their outlet.
 
Soldato
OP
Joined
23 Apr 2010
Posts
11,890
Location
West Sussex
OK so the adapter bracket is now complete as I painted it last night. I will take a pic or two as I put it all together later on.

Next up was figuring out how I can fit the top intake fan to the PC without the £38 fan bracket. Then I had a brain wave (careful now) and remembered seeing fan magnets in an issue of CPC many moons ago.

They look like this.


You fit them to each corner of the fan then simply attach them to your case. Job done almost. They come with little nipples on (hehehe) that may need to be shaved off because they won't be going into a normal fan mount hole set.


So hopefully they will do the job.
 
Soldato
OP
Joined
23 Apr 2010
Posts
11,890
Location
West Sussex
More headaches... When I was planning on how to get the radiator to clear width wise I completely and utterly forgot about the depth. As you will see in the following pictures, it matters. It matters so much that using a fan in 'push' configuration (IE behind the radiator) will then make the radiator foul the hoses on the lower radiator.

Any way, it's been solved now and will work (I just tried it but I've put the camera away now). Anyhoo, here is the adapter bolted together just so you can see how it works.


I did not realise either that the blue area there would be visible so I am going to make a graphic or something for it. This is how it looks stood up, and you can clearly see the offset here that I've added by making the plate.


OK, so we take a nice thick fan that just so happens to be the side thickness as a Fury X rad.


And then this pic shows the fan fitted into the position it will be in soon.


I then add the pretend 'radiator' and.


And it clears, just. However, as I mentioned previously, I forgot to take the depth of the radiator into consideration. After a moment of sheer panic (seriously my mouth went so dry it was like I ate 10,000 digestives without any milk!) I then realised that if I mount the radiator first and then fit the fan on the other side in 'pull' mode that the radiator will then have plenty of depth when fitted, phew !!!!
 
Soldato
OP
Joined
23 Apr 2010
Posts
11,890
Location
West Sussex
Success ! the fan magnets arrived and after shaving off the nipples they seem to work very well.


Sorry for the bad pic, it's proper crap down here today with barely any daylight :(
 
Soldato
OP
Joined
23 Apr 2010
Posts
11,890
Location
West Sussex
Wow I totally forgot to update this. The rig is finished now. To answer your question though Darwin no, there are no vibrations and the fan has been in place since I posted here last and hasn't moved. Here is the radiator adapter bracket I made to shift the rad up in position.


It was close but it worked. Here is the rig finished.


Here is its brother, my 2009.


As well as a new addition to the family, my 2006.


Soldato
OP
Joined
23 Apr 2010
Posts
11,890
Location
West Sussex
Good afternoon every one, been a while ;)

After suffering with two Fury X for about a year I decided enough was enough. Crossfire was crap and broken and even on a single card I was running short of VRAM. You don't even want to know what that's like... So I gave one Fury X to my wife and sold the other and ended up buying a Titan X for £480 recently. I also ordered a back plate from EVGA Europe (thanks guys, best packing of ever !) and bought a second hand Hybrid kit. Just one problem, it was the 980 version. So let's see what I did about that shall we?

First of all I ordered some brushed alu in blue (it's vinyl with alu film on). I covered the areas on the card I thought looked best.

Here is a pic of that, though this was taken at night. I also covered part of the shoulder too, as you will see later.


I did not want to use the stock fan as I heard they are very noisy. So I bought a Alphacool Eloop (same as Noiseblocker just come in colours) and a PCI slot fan controller.


The fan.


And the controller. This was after I had taken it apart, desoldered all of the wires, braided them, modded it so the braids fitted it and then put it all back together.


Then it was time to measure the shroud inner part.


Chrome vinyl. This stuff is really slick and my plotter was having issues with it so I glued it down to some paper so the plotter could get a grip.


Load up the plotter...


Then it was time to design what I wanted on there. Design.


Send to plotter..


And then cut :D


After lots of fiddly picking and swearing we have....


That's better.


One shiny new back plate.


Erm....


Precisely one hour later.


And in.


Back plate.


And some quick and dirty overclocking.

http://www.3dmark.com/3dm/12101880?
 
Soldato
OP
Joined
23 Apr 2010
Posts
11,890
Location
West Sussex
Thanks fella. I don't often mess around inside PCs any more so it took me a couple of weeks to get myself into gear.

I guess getting older just makes me more clumsy..

I had to clean it recently and it was a nightmare. All of those rads need removing as well as all of the fans on them.. Sheesh, not something I want to repeat any time soon :D
 
Soldato
OP
Joined
23 Apr 2010
Posts
11,890
Location
West Sussex
Hi every one. I figured I would share my latest mods. Maybe to inspire some, maybe just to give you a few ideas I've discovered :)

First up - hose management. Yeah, I know that no one usually bothers trying to make AIOs look better they just look kinda crappy and that's it. I saw this about a week back now and liked the look.


It's not my rig but it gave me a good idea. If you look closely at this pic -


You can see I have issues. Basically the radiator for the Hybrid on the Titan X needs to be fitted with the hoses at the top. It's so that it doesn't foul any of the wires. The problem is the hoses are very long and want to follow gravity and poke out of the side of the rig by about 5". That means I can't get the side back on unless I tie them to the hoses on the CPU AIO. And I don't like how that looks at all.

So, first thing to do was to find out what they actually are. It turns out they are hose clamps for nitrous systems on cars. Here they are here.


First up I needed to know what sizes I needed. So I ordered a set of vernier calipers.


Both AIOs are around 11mm, so I ordered 11mm clamps.

OK, so what I want to do is basically bolt straight through one into a second creating a + or X shape depending on how you look at it. Basically the hoses on the CPU AIO are around 90' in the opposite direction of the hoses on the Hybrid. So I am going to drill through one clamp so I can bolt all the way through two clamps. To do that I have ordered some specialised bolts.


And a M3 tap. (not an actual M3 tap...)


I also need a spacer, because they do not butt up against one another.


TBH it's kinda hard to explain it (and I'm not so good at that any way) so just keep an eye on the log and it'll all eventually make sense.

Moving onto the second part for today. Basically I want to make my rig look as clean as I possibly can. I mean tiny little details. So I decided that even though they looked far better with the back plates on, both of the sound cards did not look how I wanted them to look.

I am running an onboard Soundblaster Recon3D (going into one headphone amp) an Asus Xonar D2X (going into another headphone amp) a Soundblaster Titanium HD (going into yet another headphone amp) and a Asus Xonar U1 USB sound card that runs into the B&O speakers on my monitor and a Bose Acoustimass sub. Yeah, that's a lot of sound gear but that's what I have been doing lately more than anything else. Just chilling to music :)

So yeah, there were a few things that irked me about the sound cards. They were, in no particular order.

1. I will start with the D2X. First of all there's an orange disc/light diffuser inside the card. Fitted into it are four yellow LEDs. So there's a ring on the face of the sound card (cut out through the alu shield) that glows orange. Not only that but there's a hole cut out of the shroud along the spine so you can connect AUX devices and it too is ugly.

So let's deal with the Asus first. First mission, remove the back plate and take it all apart.


Then cover any viewable part of the orange with gloss blue. You won't see this when the sound card goes in but I don't care. It will also stop the orange disc glowing orange and lighting up the case in a pee colour.


I decided to use two 5mm blue LEDs, so got to work cutting off the yellow ones and soldering on the blue ones.


I then got out the braid and made my little LED cluster as tidy as I could.


Fit the modded parts.


Measure the disc size.


And then cut a double thick vinyl circle from matt black. This is solely to stop any bleed through the orange.


Then to address the nasty AUX connectors. I took out a sheet of flexible plastic. This is the stuff that goes "wooka wooka" when you flex it lol.


Mark.


Cut it out, cover in matt black vinyl and glue in place.


Noting now that the circular accent is no longer orange but blue.


And the spine looks a whole hell of a lot better than it did before.


OK. Now the Soundblaster XFI Titanium HD also had a huge hole along the spine. The only thing located in there was a front panel connector which would kinda look like poo if I used it and poo if I don't. Now sadly it wasn't recessed like the sockets on the Asus card so I had to get out the snippers and cut the connectors back so that a spine cover could fit in place. Here it is finished, using the same materials and process as the D2X.


And here they both are fitted back in the rig. The only thing bothering me now are the edges of the PCBs as they're clearly not black. I will address this at some point soon with some model paint and some ear buds. Shouldn't take too long. I'm holding back the rig pics because I have a couple of other mods going on that I don't want to show yet :)


But yup, I modded two sound cards lol. Next up - modding the Asus RAIDR to get rid of that nasty red lettering.
 
Last edited:
Soldato
OP
Joined
23 Apr 2010
Posts
11,890
Location
West Sussex
Hey guys what's up. I have now completed the hose dressing and I have to say not only does it look super nice but it has also pulled the GPU hoses back into the rig so I can now get the side on. Hurrah !

However, as I pointed out before I am now concentrating my efforts on even the most minute of detail. So of course, after I had tap cut the thread for the blue bolts and it stuck through by about 2mm I was not happy. However, the thread cut kind of loose so for safety (so it doesn't just all fall apart into the GPU) I have ordered one of these in blue.


It's just a simple M3 locking nut. It cost me three quid.. For one nut.... Worth it though

In other news I have realised that due to the channel around the outer edges of the rig blue LED lighting will not be possible so I have ordered two 6" cathodes.


I know, white LEDs for show... I like coloured lighting though I think it looks far better in person than white does.
 
Soldato
OP
Joined
23 Apr 2010
Posts
11,890
Location
West Sussex
Looking good, Andy.

Are you planning a side panel window mod? I feel it would be worth showing off the internals at all times.

No. Well not unless I can get hold of a spare panel. I made the mistake before of cutting holes in an Alienware and learned the hard way that replacement panels are expensive. To replace the panel on my 2009 it cost me £120 :eek: and £100 of that was shipping from the USA lol.

Today I decided to tackle a few jobs. There are certain parts of the PC that I don't like that I can change. Again, all minor details but I want them to be right. There is a side panel connector that fires up the LEDs and the cable looks like ass.


It's been bothering me for an entire year. So I figure what the heck I will just unplug the cable from the connector and braid it. Nice and simple... Wrong ! the cable is fixed to the connector and it's all one part. This meant about an hour of stripping down the case before I could get to this, the whole ruddy thing.


But man, so much better.


And hose clamp win. This has completely sorted out the hoses and they now sit inside the case where they belong without fouling the side panel when I fit it..


I've also decided that come next week I am going to replace all of the fans. The rubber gaskets on these fans are just dust magnets and very hard to clean as all that happens is the dust gets dragged across the rubber making it even worse. I still need the nut to cap off the bolt so it doesn't look nasty like it does now but there seems to be a long waiting time for them.

I am now in the process of beginning to sort out the PSU 'Box in' but I want to approach it differently to how I did it before and it will be in several pieces due to the shape etc.
 
Soldato
OP
Joined
23 Apr 2010
Posts
11,890
Location
West Sussex
Thanks guys. I have been trying to decide on which fans to switch to for the past week. I was torn between going all Eloops or putting in some Enermax Vegas blue LED fans.

In the end dark won out and I've ordered four more Eloops to replace all of the Powercool fans.

I've started marking up cover panels and will probably cut those all at the same time once they're done as it makes less mess. Once they are done I need to build some sort of spray booth I can use in the kitchen for small parts and I will paint them all at the same time.

The PSU cover will also be a part of the panels. That reminds me, I need to order a grommet set from Corsair !
 
Soldato
OP
Joined
23 Apr 2010
Posts
11,890
Location
West Sussex
Hey all. I am still working some stuff out in my head. That as well as having a mound of marked out plastic sitting on my desk and tools etc.

Any way, the shroud I am thinking about building is all well and good but I need a way to get the GPU cables out of it. All of the others can stay where they are but the GPU cables are kinda floating in space right now so they would need to be routed. And the problem is they need to come out of the shroud in some shape or form. Right now the cables look pretty tidy but if you look at the rig you can see how the GPU cables are.

So, I decided they will come out of the shroud at a set point and hopefully run in a nice straight line up to the GPU where they can be plugged in. Problem is how to make them look stock. It's about the detail again.....

After lots of searching high and low I finally found out that Corsair sell grommet sets for their cases. At a measly £3.99. Problem is they're out in the EU somewhere so the shipping is £8 :eek:

Ah well. £12 for a stock look is fair enough I guess (cue muted grumbles). It's kinda like when I bought the EVGA back plate for $1 on sale and the shipping was £17 :D


So that's them there. I had a bit of a splurge this month on headphone gear (addict, me) so funds were tight. Then I realised I have an enormous sheet of 5mm acrylic in the boot of the car that I was going to dump (the old windowed panel from the 2009). So yeah, that should provide me with more than enough material to make all of the pieces.

Also, talking of detail again. If you look closely you will see that the fets and VRMs are cooled by a large spiky heatsink with an odd plain alu cover on it. The reason I think it's a cover is because I *think* I can see two screws holding it down. Strange ! any way, if they are indeed screws then I will be taking that off and painting it black. If they are not screws I will fashion my own cover from alu sheet (got) and then paint that black and put it on with some double sided foam.

First job up though will be changing the fans out for these, which I've also ordered :)


In an effort to reduce the noise of the PC I have ordered three of those. The fourth is on a fan controller (it's 2300 RPM) and the others I ordered are 1200 RPM.

I am removing the push/pull from the CPU rad as I hardly ever overclock the CPU any way.

I now need to do some tests with 5mm acrylic to see if I can tap M3 threads into the edges of it without it splitting. If not I will have to glue it all up but I would rather use nice pretty blue bolts to hold it all together.
 
Soldato
OP
Joined
23 Apr 2010
Posts
11,890
Location
West Sussex
Why not run the cables flat against the back of the motherboard tray and use those plastic holders to give the cables a neater look.

I could do that in theory but sadly there are already a load of cables running up there and they didn't fit so well. What I'm aiming to do is basically make it so that the 24 and 8 pin run straight along the board and the rest are all hidden. However, now you've sparked another idea in my head so watch this space :D

Today was the day I have been dreading since I bought the rig. It's the one thing I have continually put off because I really had no ideas as to how to map out the area I want to cover without expensive tools.

I was going to do the "Edd China" method and use this.


Edd China Method explained. OK, so you basically use masking tape to shape the area and then draw around it with a black pen giving you the shape you require. Sadly that just wasn't working as the surface is 3D and not flat and so the masking tape was just flopping around all over the place. So I had to come up with plan B, and sadly I never took any pics of this being done because it was an idea that I wasn't sure would work.

In the end though it did work, and now I have this*


*note. The cable cut out square is too big and will be changed for the final piece.

It's that "wooka wooka" plastic ! basically I just made a part for each turn and then at the end stapled and glued it all together. I'm super stoked with it because for the best part of a year I have had no ideas as to how I was going to do this so that it fitted really well.

OK so the next idea. This is one I have had going around in my head for a while now and I'm not quite decided on it yet. It will take testing to see in reality what it looks like but around the rig I want to basically label all of the areas using Alienware gyphs. However, I don't want them to be "RAWR IN YOUR FACE" I want it to be subtle enough so that if the light doesn't catch it it will be almost invisible.

Now I had a couple of options open to me here. The box itself will be either painted with matt black or covered in matt black vinyl and then the lettering can either be mirror black.


Or satin black vinyl which will obviously be far less apparent. I have ordered both, so will do some testing and see how it looks.

I've also ordered ten of these to hold the box together.


And for now I am just literally designing and making templates for all of the many cover panels the rig will use.
 
Soldato
OP
Joined
23 Apr 2010
Posts
11,890
Location
West Sussex
OK so the work continues :)

Firstly I have fitted the locking nut to the hose clamp assembly. This offers security :)


The 6" cathodes also arrived. I set to work :)


A little while later :)


Took the horrid light blue ballast apart and modded it.


Have to fix the scratch..

Any way, I have ordered two of these from HK. You'll see why later.


Random box of bits that have slowly been arriving :D


Started fitting the fans.


And making the cover panels. There will be around ten in total, here is the back PSU cover (the white one) and the side of the floor box.


There will also be a top PSU cover, SATA connector cover as well as any others. I believe Aston Martin refer to them as "beautification panels".

They are all being painted, though, so I ordered this as I am using both acrylic and plexi glass.

 
Soldato
OP
Joined
23 Apr 2010
Posts
11,890
Location
West Sussex
Ear infection :(

Well actually no, not ear infection ear tissue infection. I'm a bit obsessed with headphones, me. For the past couple of weeks I've had them on for around 16 hours a day. Any way, this time last year (when we had our warm week) I got an infection in my ear tissue from over using my cans. This year is no exception, and I've got it again (spread into my cheek too).

It aches like buggery, throbs like a goodun and itches like fire. It's the worst :(

Sucks too, 'cause my modding supplies had started to arrive slowly. I just feel so off balance though, as my left ear canal has basically swollen shut. So I'm partially deaf too and my balance has gone to crap.

I have now finished the stepped PSU top cover and have been playing with plastic weld. Great fun. Sadly the camera died just as I had finished those and I've been in bed for the past two days so no pics for now.

-------------------------------------------------------------------------------------------

Ear infection confirmed. And it's bad too. So off I went to the docs yesterday arvo and was given the ear penis that squirts horrid vinegar (at least that's what it smells like) and have been told no work for a week and no headphones for a fortnight. That's like Chinese water torture to an aspie :(

Any way I have been having "side ideas". They're kinda like side quests in a RPG where you are concentrating on what you are doing but then you have an idea you want to use and so you basically stop what you are doing and spend ridiculous amounts of time on these "side mods".

I won't go into what the side mods are because some will not make it to the end (they're the ones that end up in the bin after about eight hours of cutting sanding and god knows what else) but a couple of them will definitely make it. I'm not going to talk about those either just yet as they may change :D

So yeah, apologies for boring post but I'm still waiting on deliveries. Side mods also cause you to order things at random times of the day over the course of about three days. The way my brain works is first to have an idea, then to fine tune how that idea will make it to fruition. You know? like the best way to do it, the easiest way to do it, what tools would make it easier and so on :)

Edit. More items ordered now.

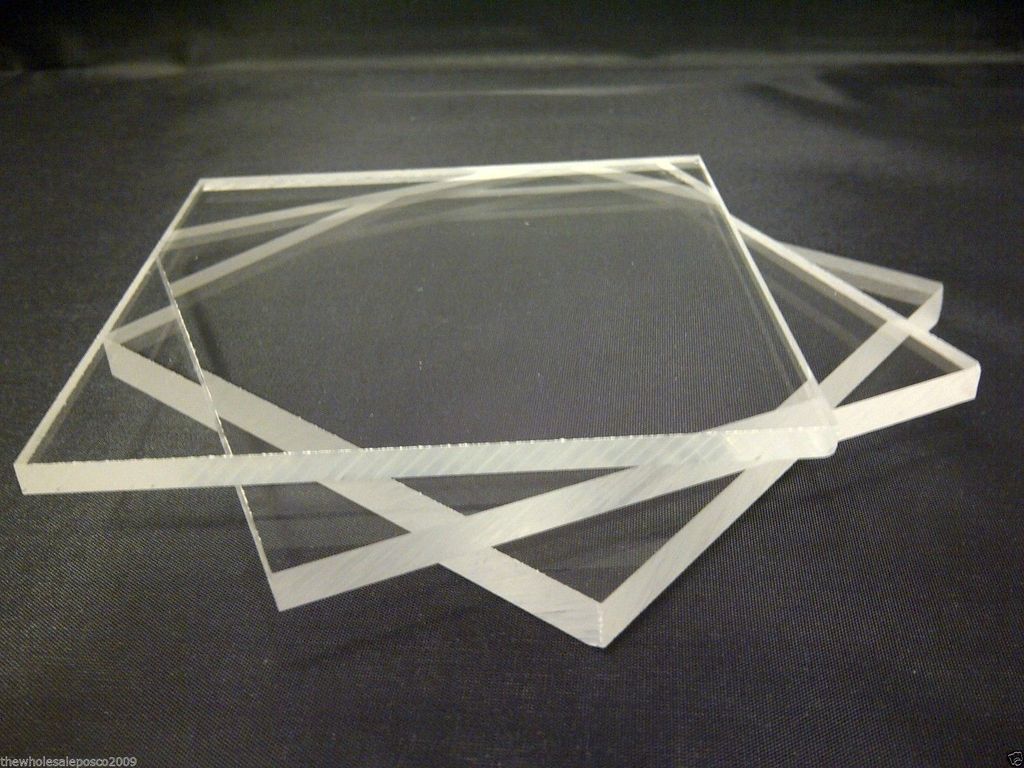
One 8mm slab of acrylic.


Which of course I can't cut with my existing blades as they're not big enough so these.


I've also got one of these now too, not sure how I did without it tbh.


It's like writing with a chisel, then realising you can do it with a pen.

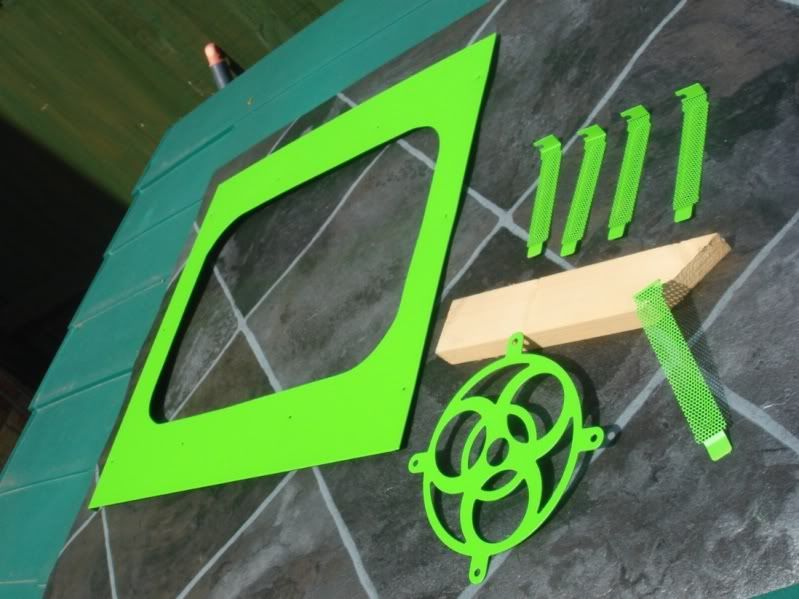
I've been a pretty good boy so far. I've reused all of the off cuts and panels removed from other projects mostly. That's why it looks like ass ATM because I am using clear plexi (not acrylic) yellow 3mm, white and black 5mm and so on, there's even a bit of purple in there. Obviously working with this stuff is easiest when it's transparent so I have ordered an A3 sheet of 5mm smoked.


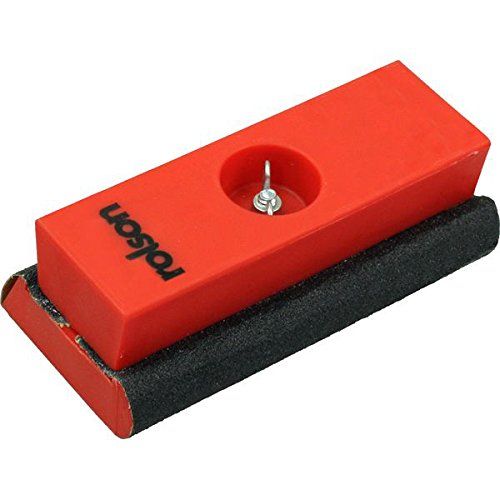
I also needed a decent sanding block, given these parts all need sanding and so on.


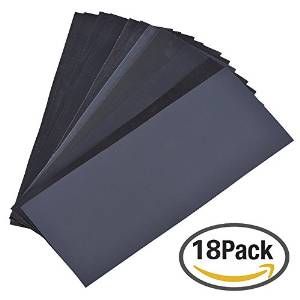
And plenty of wet and dry for prep.


I also had not read this properly.


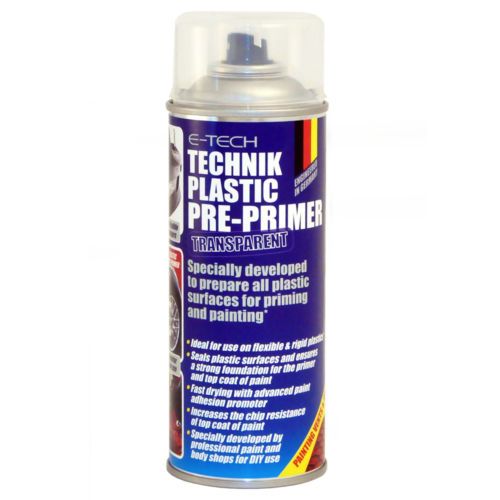
And it seems it is not exactly primer. I know what it is, it's KO seal. Basically anything nasty that escapes from a surface is sealed down so it does not bleed through. I would say this is pretty important given I've used Frankenstein pieces of acrylic lol. I will need primer though as I mentioned before..

In a little bit I will grab my phone and take a few pics of the parts I've fabricated so far.

--------------------------------------------------------------------------------------------

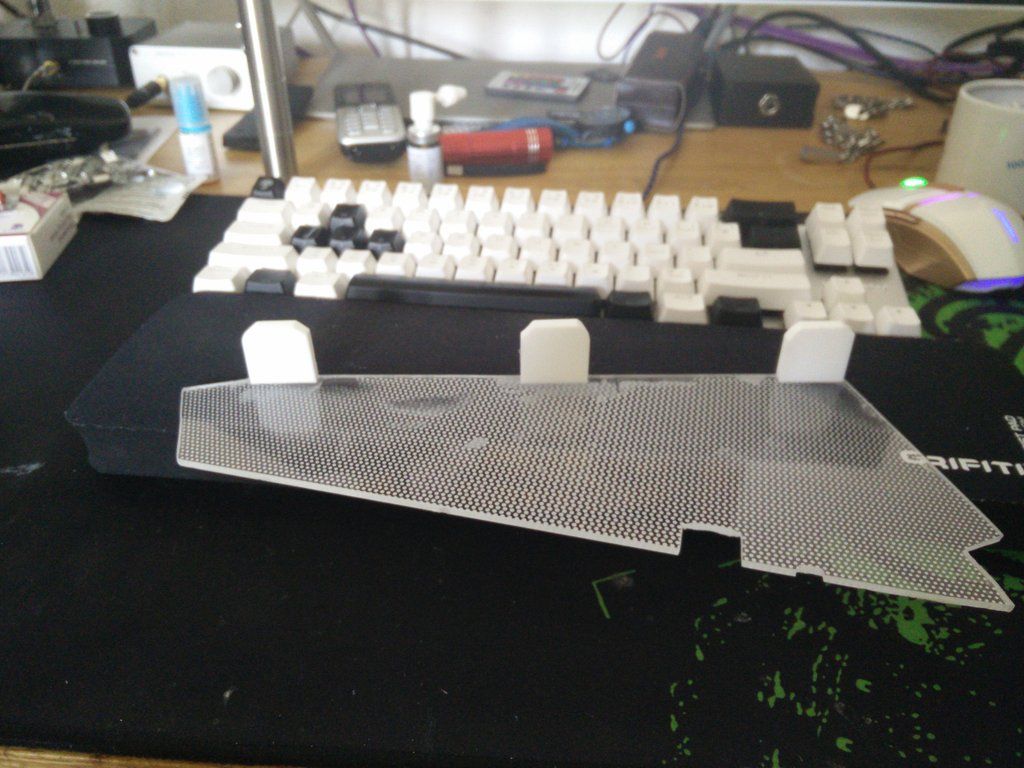
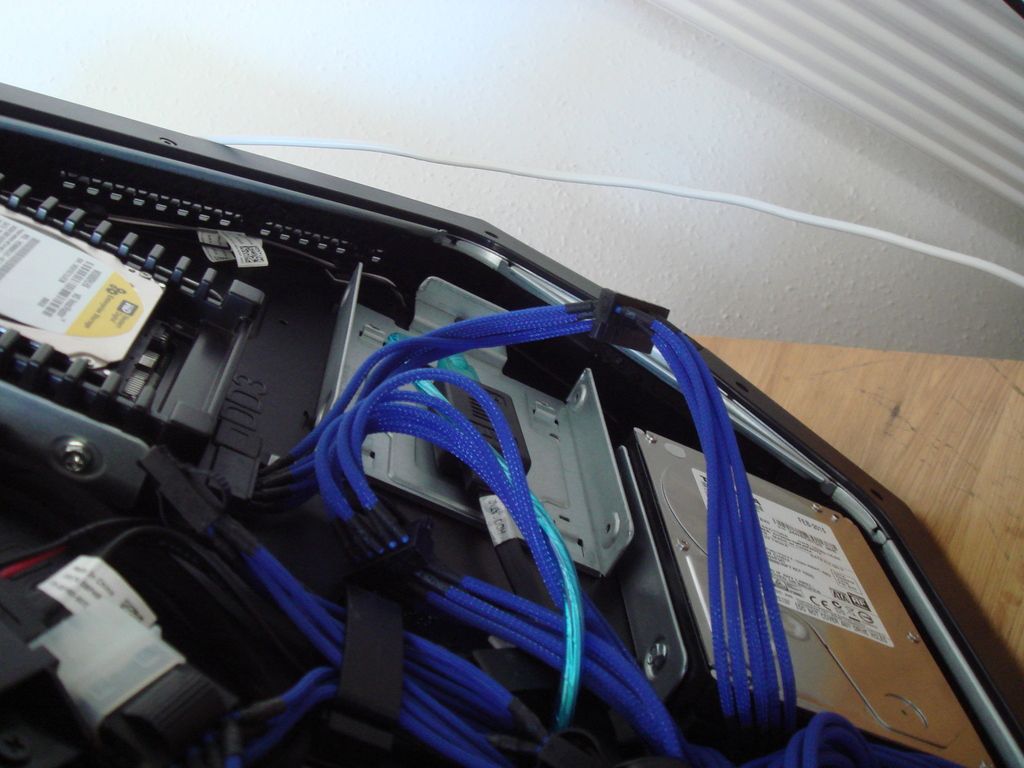
K so here is where I am at. First of all there is the side of the box. This will hide all of the wires sitting in the bottom of the rig and the top for it will have Corsair grommets fitted (tbc out of that smoked 5mm).


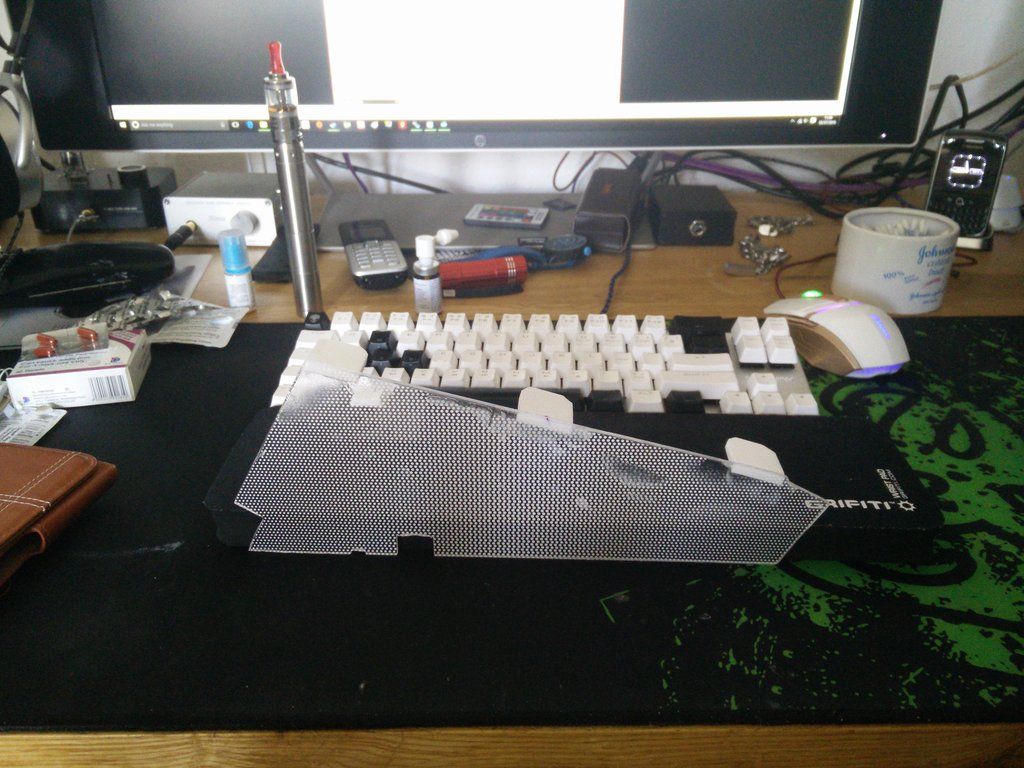
OK things to note. It looks like a dog's dinner atm. It would do. It has tiny little dots silk screened all over it and the plastic weld has melted them a bit. This will need serious sanding and prep, so ignore the fact it looks rough. You'll notice I have glued on three tabs. Well, not glued, welded. These will get 8mm block supports welded under them when I can cut the 8mm.


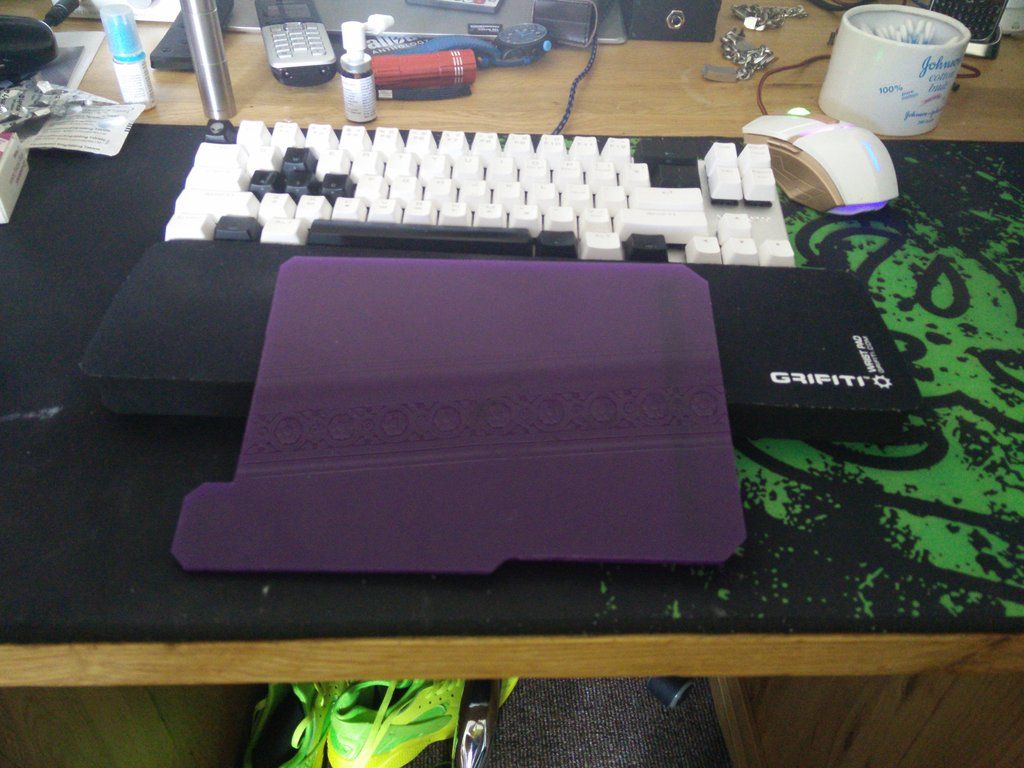
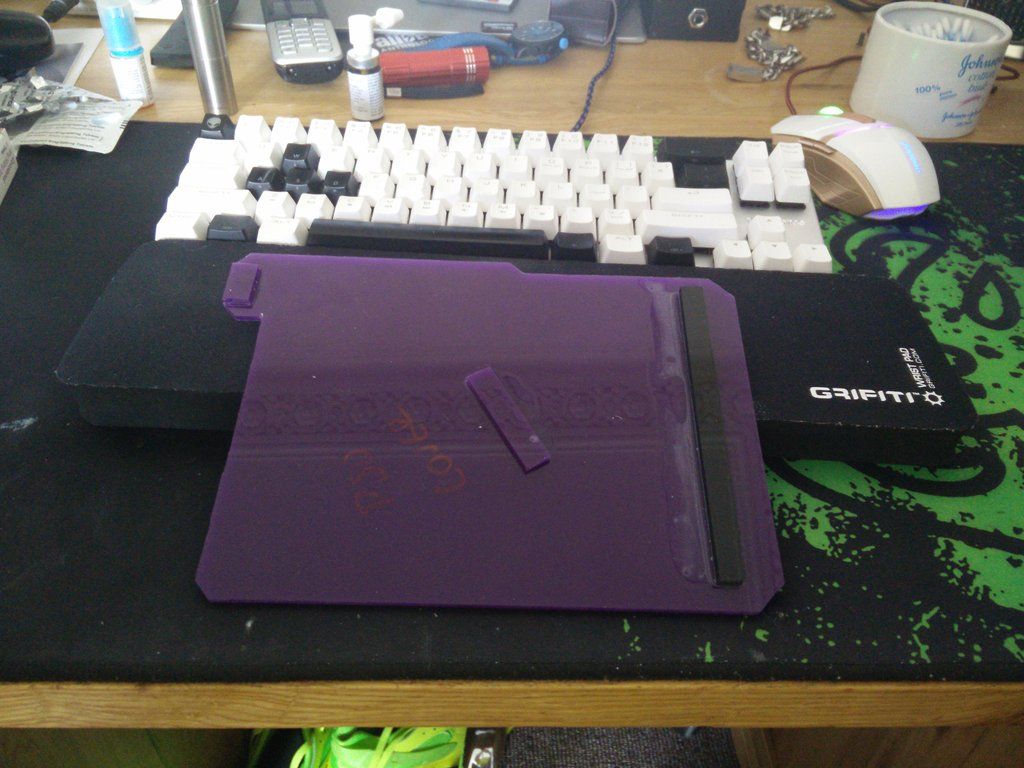
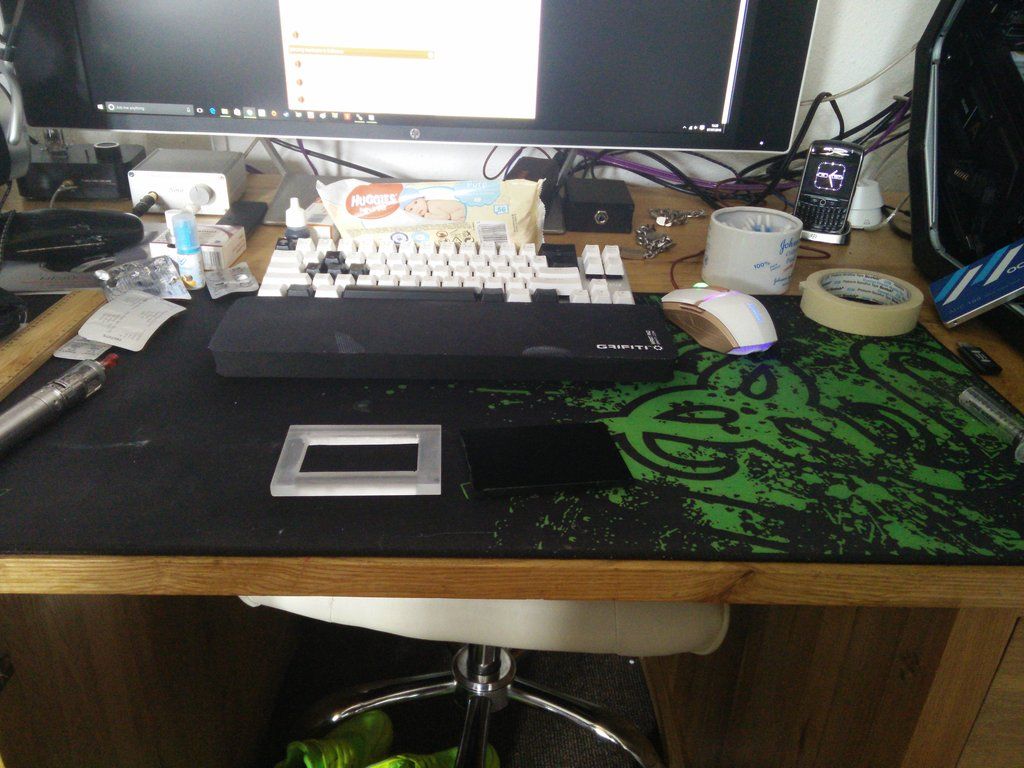
OK, so as you would have noted from an earlier post I have ordered two blue LED buttons. These are not momentary they are latched, which will allow me to control the internal lighting. However, the side piece where I want to mount them is 3mm plexi glass and this stuff is super brittle and usually cracks when you drill it. So, to counter that from happening I have marked out a 3mm acrylic support panel which will double the thickness.


As I say, it's going to look a lot worse before it looks better :D

Also cut now is the PSU top cover panel.


And parts have been welded on to make sure it stays where it should.


Again I have not even taken a piece of sandpaper to it yet because I do not have any. I would say there will be at least a whole day of prep once I am done making panels.

Two secret panels. One 5mm one 8mm. Just think UFO.


I have 50 3mm LEDs at my disposal for that :)

The last time I did a mod of this magnitude I used this stuff, which I will be using again.


And a sample of the finish.


I still have four or five cover panels to cut. Shame about this ear infection I was really enjoying myself :(

-----------------------------------------------------------------------------------------------

Not been able to do much due to waiting for stuff and having this ear infection but I soldiered on today.

Firstly I finished cutting the reinforcement piece for the side panel.


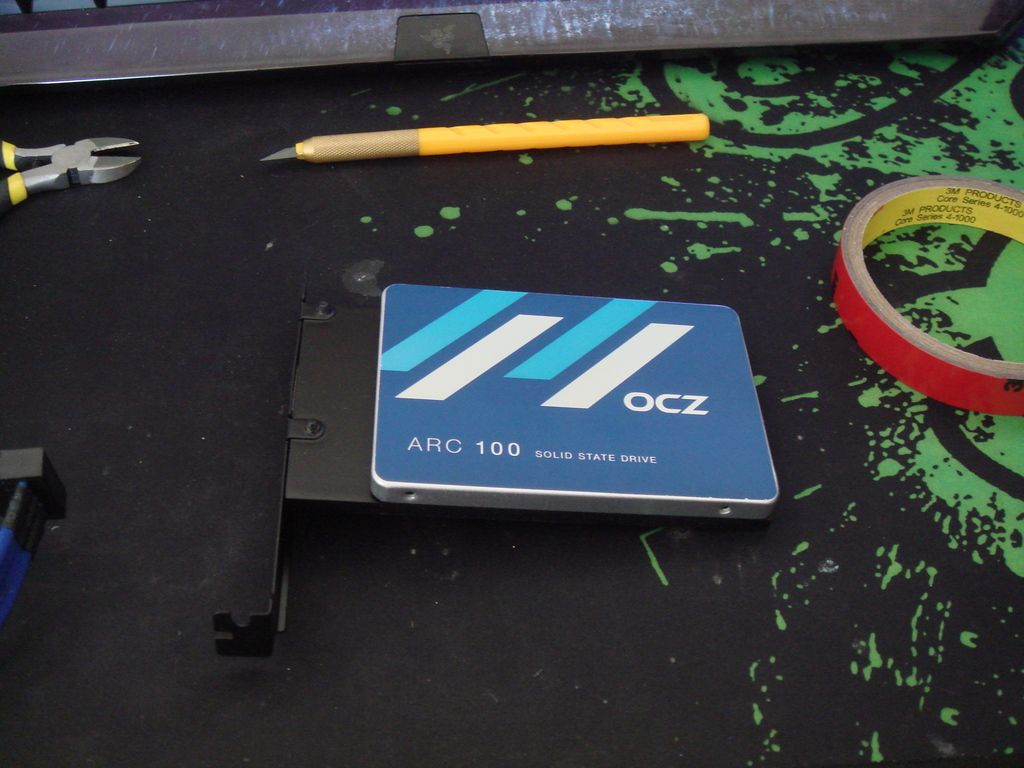
And then started work on the SSD-UFO.


An acrylic sandwich. I have since welded them together and sanded the edges flush ETC. I've got forearms like Popeye and I only just started with P400.

I kind of knew this part would take a while so I'm just taking my time.

-------------------------------------------------------------------------------------

More work on the SSD-UFO.


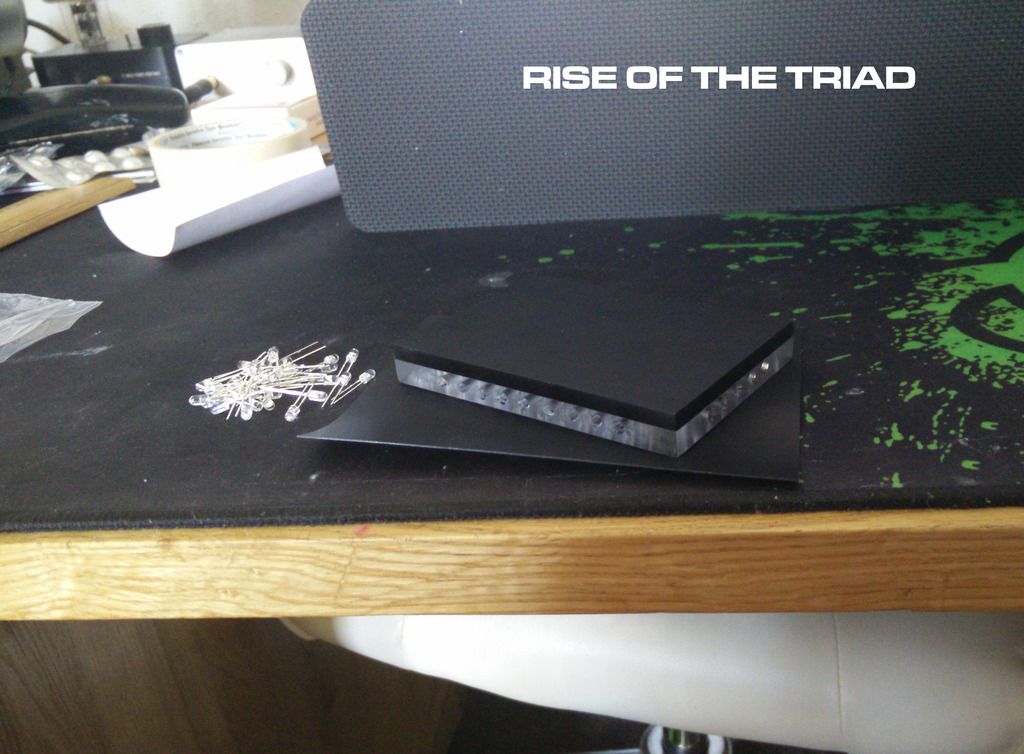
Yesterday I welded two pieces of acrylic together (8mm clear and 5mm black). I then sanded the edges flush which took about an hour. Then today I marked it up and drilled 28 3mm holes into it (5 on each small edge and 9 on each large edge, 8mm apart).

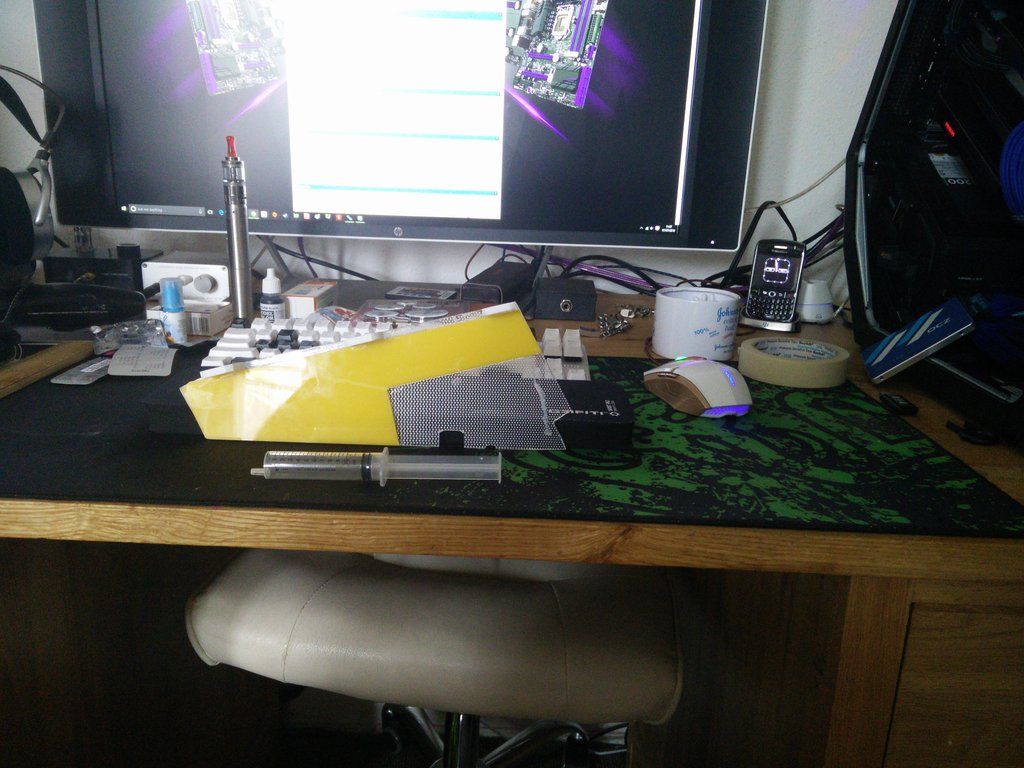
Then I've just spent the last hour going from 400-600-800-1000=1200-1500-2000-2500-3000 grit to get it almost transparent. I don't want it glass clear because it will show too much of the inner workings (28 3mm LEDs for a start).

The piece of thin material you see it resting on will be cut to size and will cover up the internals when it is all built and finished. Annoyingly I only added 25 LEDs to my original order so I have just ordered 25 more.

Once they arrive I can start fitting them and soldering :)

In the meantime later today I will start sanding the pieces ready for priming and so on.
 
Soldato
OP
Joined
23 Apr 2010
Posts
11,890
Location
West Sussex
Quick update. Not much been happening because I found out I had ordered 3v LEDs that pop if you give them 5v. I'd also ordered 25 more too. Turns out this was cheaper than replacing all of the LEDs.


Basically you feed it with 5v then adjust it to give you the desired voltage.

So I'm kinda stuck atm waiting on parts. I can't finish the panels because I need those two buttons and everything else is just sitting waiting to be worked on.
 
Back
Top Bottom