

You are using an out of date browser. It may not display this or other websites correctly.
You should upgrade or use an alternative browser.
You should upgrade or use an alternative browser.
Rise of the triad, The 2014 Area 51
- Thread starter ALXAndy
- Start date
More options
Thread starter's postsJust a quick note on OCUK's customer service. As you guys know I got a clear res instead of a red one. I was perfectly happy about it as I am using pastel red coolant. Any way, yesterday I noticed the chrome filler cap. I wasn't very happy with that given every other fitting will be black or red. So I popped a note on OCUK's customer support forum and within about an hour they had dispatched me one of these via DPD.

It's the little things like that which make such a big difference these days. Just awesome.
It's the little things like that which make such a big difference these days. Just awesome.
OK so today I started refining things a little. First up I milled out some thumb nuts to use as spacers.

Much cleaner than three silver washers.. I will paint the bolts as well. I also added some graphics to the res mount.

Which has also been edge polished too.
Much cleaner than three silver washers.. I will paint the bolts as well. I also added some graphics to the res mount.
Which has also been edge polished too.
Well, that's not playing fair! Worked out it is rotated 90 degrees but I was briefly scratching my head wondering what "UPG" was.
Looks good. Bet it was a pain to get all the angles spot on!
It was difficult yes. The virtual protractor did the work for me in the end though

And then the hype train crashed into a wall at 140mph

Last night I fitted the complete unit.
And then it dawned on me. Can you spot it? (be honest, did you?) because I didn't. The problem is the area where the pump is going to be. See, for some reason I stupidly thought that once this thing was in the pump would have acres of space. I blissfully forgot about the god damn GPU that sits right in its path. And to compound matters even more check out the ******g back plate I bought.
Yup, it's got a lovely "sticky out" part right where the pump goes, making it even worse.
And then, just when you think life has done kicking you in the nuts and you can breathe you have a sickening feeling come over you about the res. And then this happens.
Once again for the second time I totally forgot to allow for hose and fittings. Which has dropped the res down by 20mm. Oh goody !
I was starting to panic now. Like complete blind panic. I can easily make two new holes for the upper res bracket (and I will) but that does not fix the massive pump issue. All 80+ mm. To explain how bad it is before I dropped the res as the closest point from that space to the GPU it was 65mm. So I was already 15mm short before at least 5mm from that cooling plate on the new back plate and the 20mm drop I had to do to the res.
The answer lies in this video.
https://www.youtube.com/watch?v=XTGLVstUBHY
If you skip to 2 minutes you can see how my prayers have been answered. I already have one of these pumps (2400) and it's kinda noisy but I never really dialled it in. I've ordered the better model (the 2600) on sale for less than the 2400 and I've ordered the near on microscopic pump top too.
Not a bad price for a life saver. So today at some point I need to break it all down (ignore the clear hose that's just a size guide tube) and drill in two new res holes then reprint the GPU logo (in alien glyphs) and drop that down and also make two more hexagons and cover up the original holes.
Are you thinking of screwing the pump top directly to the bottom of the res with a rotary extender? If you are, you might want to think about some vibration isolation somewhere in the res mounting as it'll transmit all the pumps vibration into the res which may act as an amp.
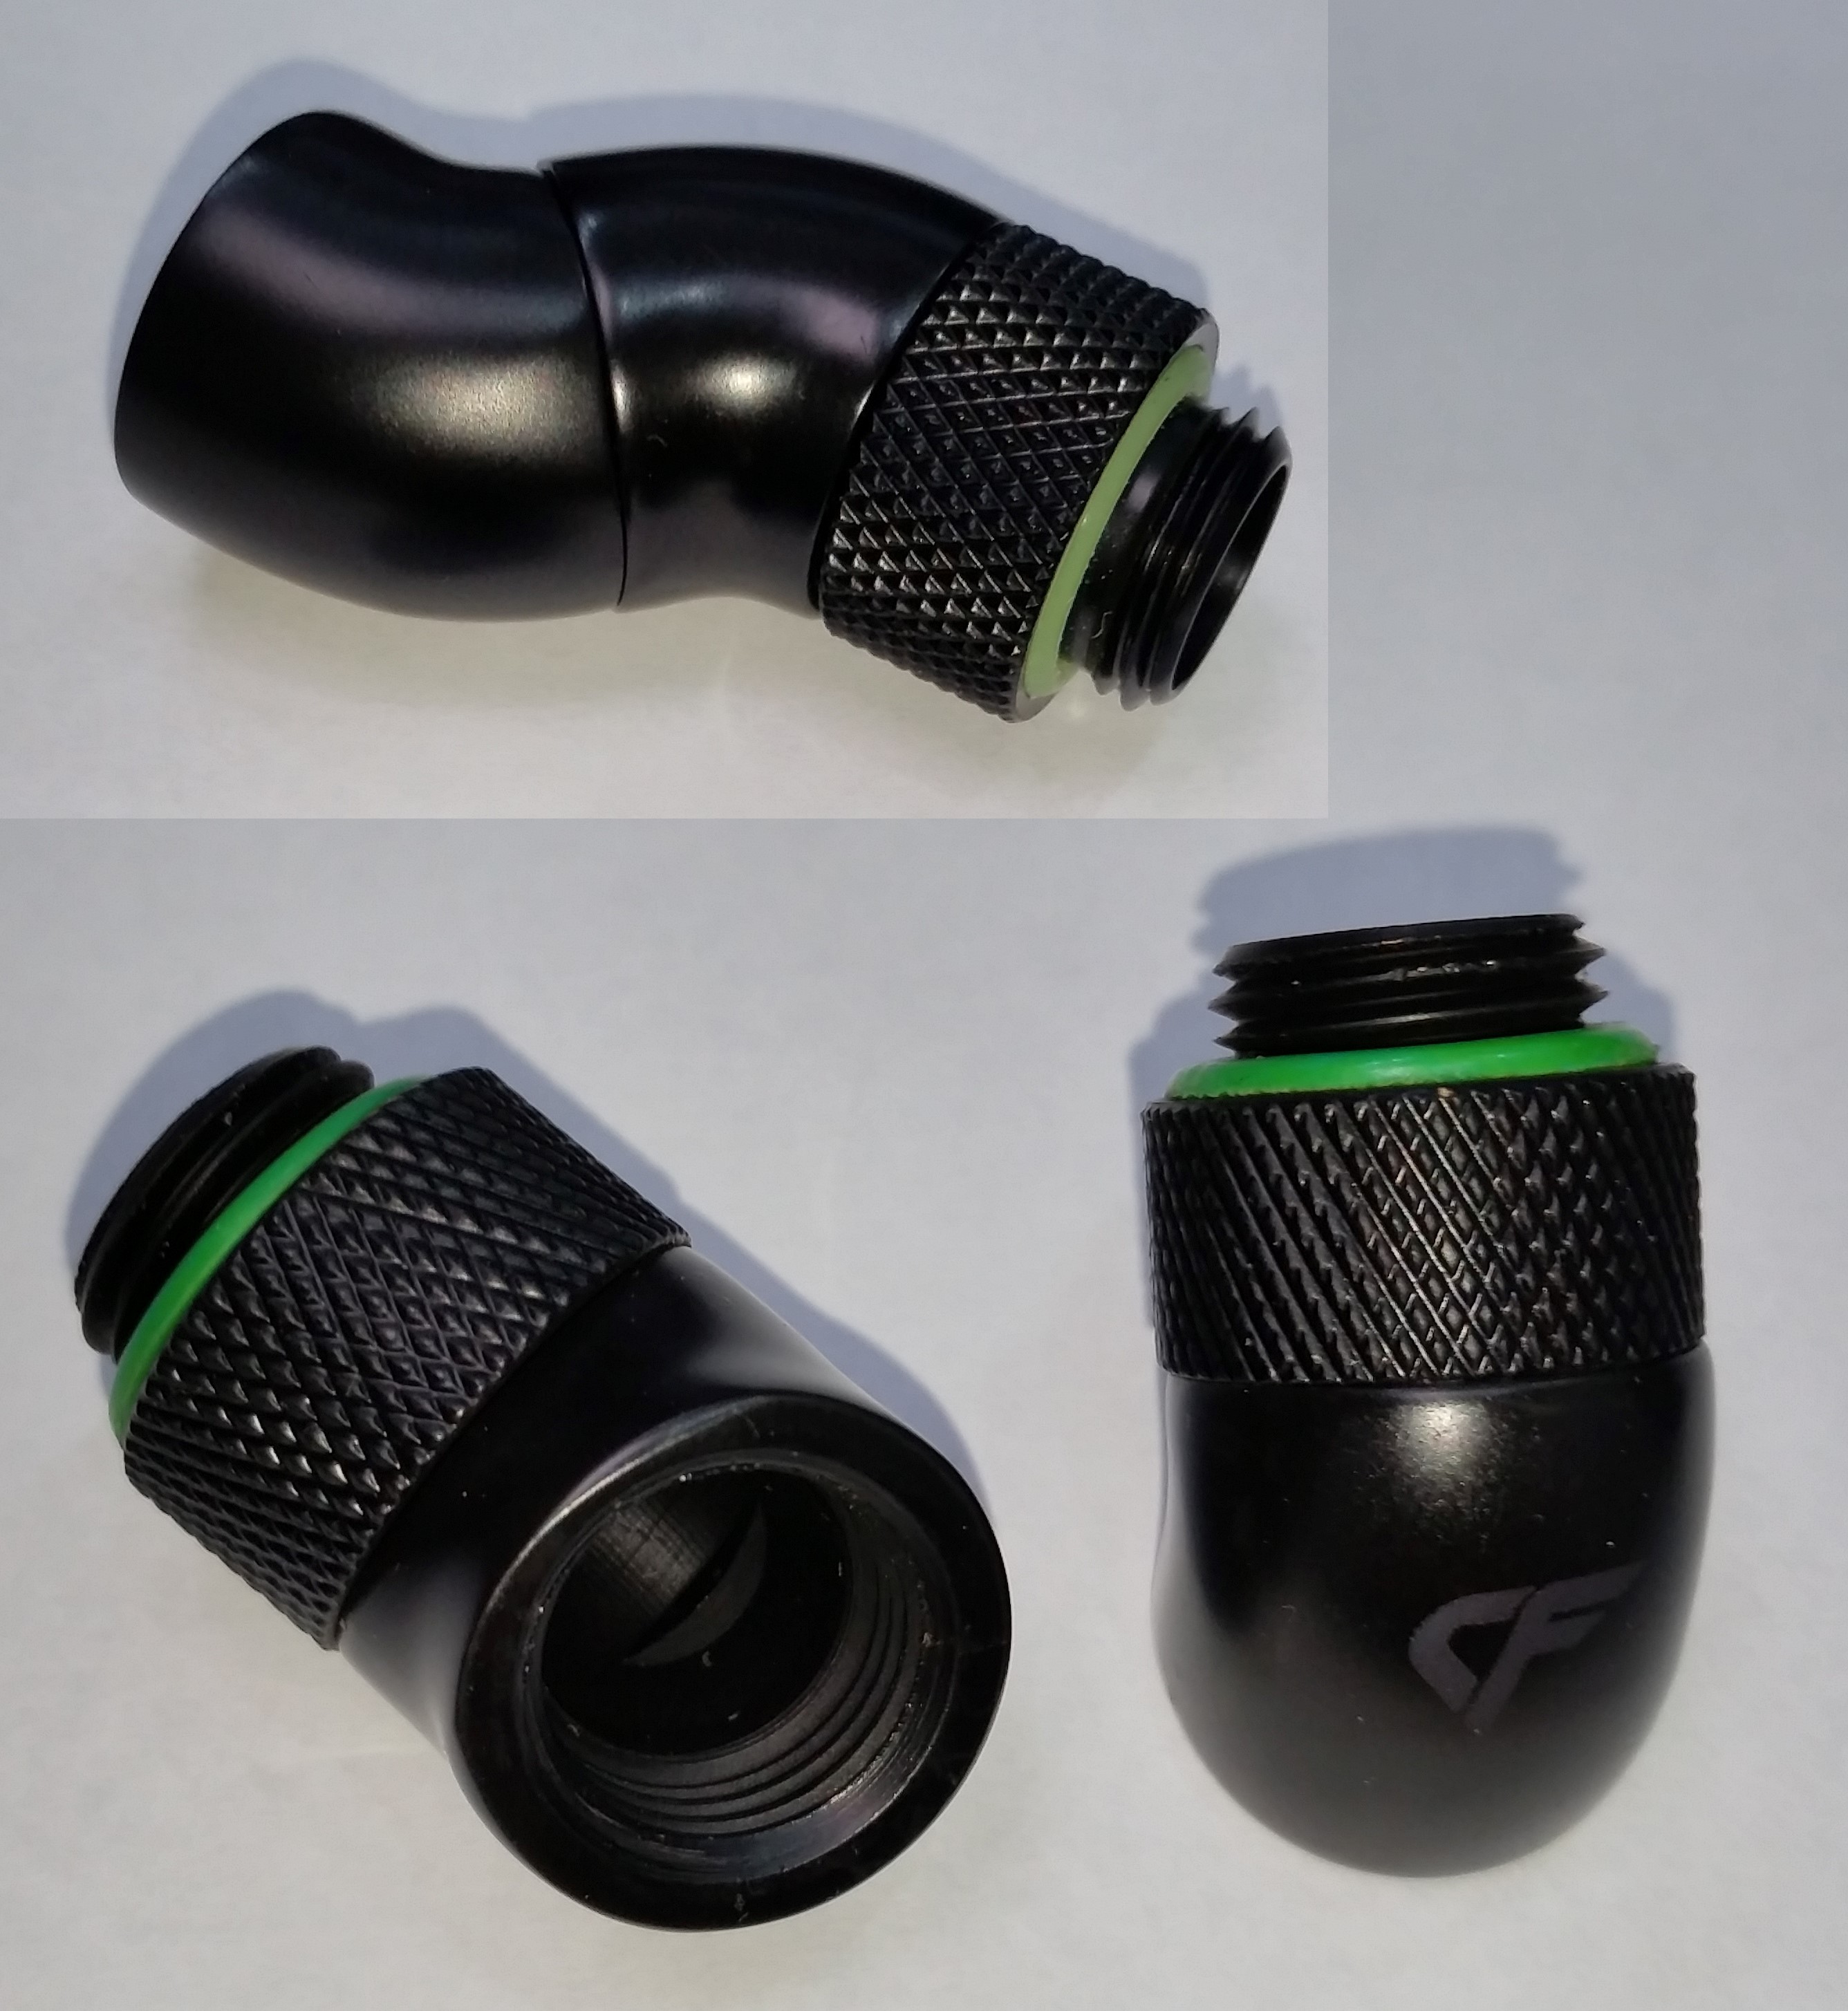
If it's of any help with the res to rad mounting - difficult to see if there are any compound angles from the picture - I've got a single 60° fitting left over from Overkill you'd be welcome to. Pic as the bottom two below - just ignore the top fitting.
Glad you stated the time for that video. Stunned to come across someone less suited to public speaking than me!
No rotary fitting no. One of these.

If it's a tw@ and the exit hole ends up somewhere daft I will consider rotary. Just got that in the post actually
Well the res holder etc has all been adjusted now and sorted.

Don't worry about vibration dude. As you can just about make out in that ^ pic (look to the left side of the brackets) there are round rubber washers before and after the bracket, as well as a piece of 3mm double sided foam down the middle. It's completely isolated, and any leftover vibration (if there is any) can be taken out by the acrylic itself. I can also make a bracket that extends down and holds the pump down, then use two fittings and a very small piece of hose to connect it that way. Or, if it really pees me off put the pump somewhere else entirely. I bought 12 fittings, should be more than enough.
If it's a tw@ and the exit hole ends up somewhere daft I will consider rotary. Just got that in the post actually
Well the res holder etc has all been adjusted now and sorted.
Don't worry about vibration dude. As you can just about make out in that ^ pic (look to the left side of the brackets) there are round rubber washers before and after the bracket, as well as a piece of 3mm double sided foam down the middle. It's completely isolated, and any leftover vibration (if there is any) can be taken out by the acrylic itself. I can also make a bracket that extends down and holds the pump down, then use two fittings and a very small piece of hose to connect it that way. Or, if it really pees me off put the pump somewhere else entirely. I bought 12 fittings, should be more than enough.
That is as good as it gets sadly. The fitting is 45' and of course the radiator is not. So there's a slight movement from that. Using one of the other two holes is much better, but obviously the inlet can only be where it is it's due to the chrome pipe that goes down into the res to stop splashing and vortex I would imagine? dunno man but hey, it's sealed. Can't say I think very much of these Bitspower red fittings either. Touch them and the anodising bloody falls off. Good thing I have a red sharpie I know that much !
Just glad I ordered the pump and top. Yesterday they had the LT 2400 and 2600, today the 2400 was sold out. I am going to need to seriously reduce the power, because they sound like bumblebees if you run them too fast. Had a look over the manuals for the block and back plate, looks like a bit of a pig. You need to put thermal paste on all of the memory modules and the core, then assemble it all before you can put any screws in. Gonna be a right bloody rubiks cube !
it's due to the chrome pipe that goes down into the res to stop splashing and vortex I would imagine? dunno man but hey, it's sealed. Can't say I think very much of these Bitspower red fittings either. Touch them and the anodising bloody falls off. Good thing I have a red sharpie I know that much !Just glad I ordered the pump and top. Yesterday they had the LT 2400 and 2600, today the 2400 was sold out. I am going to need to seriously reduce the power, because they sound like bumblebees if you run them too fast. Had a look over the manuals for the block and back plate, looks like a bit of a pig. You need to put thermal paste on all of the memory modules and the core, then assemble it all before you can put any screws in. Gonna be a right bloody rubiks cube !
You sure? That res looks like the end caps unscrew from the tube. Once open, I'd guess that chrome tube just screws into the remaining thread of whichever port you have your inlet fitting screwed into.Using one of the other two holes is much better, but obviously the inlet can only be where it is
Join the dark side. Go'won, you know you want to!I am going to need to seriously reduce the power, because they sound like bumblebees if you run them too fast
https://www.overclockers.co.uk/aqua-computer-aquaero-5-lt-usb-fan-controller-wc-011-aq.htmlI can't afford it mate. Really pushed my finances to the limit doing this as it is. I've spent nearly £300 FFS. Not sure where I would put it either.
Work continues. Today my hose clamps arrived and I set to work.

Comes out where I wanted it to.

And a cover panel.

Which hopefully will light up from the fan")
Work continues. Today my hose clamps arrived and I set to work.
Comes out where I wanted it to.
And a cover panel.
Which hopefully will light up from the fan
Not much to report because I have been doing the tedious stuff. Pump is processed whatever that means and should ship soon.
In the mean time I got cracking on a 5v and 7v pump cable (red is 7v black is 5v) and three LEDs (two for the res plate and one for the pump)

So now it's back to the waiting game
In the mean time I got cracking on a 5v and 7v pump cable (red is 7v black is 5v) and three LEDs (two for the res plate and one for the pump)
So now it's back to the waiting game
OK did some final planning earlier and realised I would be better off with rotary fittings to connect the pump to the res and for the GPU outlet. So I ordered two of these.

And some of this for building the GPU. It uses paste all over not pads.

Was cheap enough on OCUK.
And some of this for building the GPU. It uses paste all over not pads.
Was cheap enough on OCUK.
Block and plate were fitted last night.


Apologies for the image quality. It's literally dark here today on the south coast
Block and plate were horrible to fit tbh. You have to prepare the card for the block, then press it onto the card but not put a single screw in. Then you have to put small round pieces of plastic into holes in the inside of the back plate and then somehow get that onto the card with them all in place. The heatpipe is a pain, you need to rotate it but then it becomes a bloody weapon. Took me about an hour all told.
Pump is coming tomorrow, as should my last order from OCUK (the rotaries).
Today's log. So I started out finding a 3D model of the pump and pump top so that I could get the measurements spot on.

Then I moved on to designing/making the LED holder. There are two LEDs that are fitted behind the res. They go into a plate that is 30mm wide and 80mm deep.

This then attaches to the back of the main holder behind the res. I used a trick here, and only put double sided foam tape behind the res brackets so that you can't see it. Then if you take a look at the back plate for the GPU you will see the "XCS Xtended Cooling System" plate. Well they actually sent me two of these by mistake, so what I did was attach brass mobo mounts to the back of the LED holder and then the plate goes over that to hold the LEDs in and deflect the light into the res. I will get pics of all of that tomorrow, but here it is lit up.

The Pastel coolant will obviously soften the light a little as they are a bit bright. Here is the fan side.

More pics tomorrow
Oh yeah, ignore that third LED that is just sitting there lit. That goes into the pump top
Then I moved on to designing/making the LED holder. There are two LEDs that are fitted behind the res. They go into a plate that is 30mm wide and 80mm deep.
This then attaches to the back of the main holder behind the res. I used a trick here, and only put double sided foam tape behind the res brackets so that you can't see it. Then if you take a look at the back plate for the GPU you will see the "XCS Xtended Cooling System" plate. Well they actually sent me two of these by mistake, so what I did was attach brass mobo mounts to the back of the LED holder and then the plate goes over that to hold the LEDs in and deflect the light into the res. I will get pics of all of that tomorrow, but here it is lit up.
The Pastel coolant will obviously soften the light a little as they are a bit bright. Here is the fan side.
More pics tomorrow
Oh yeah, ignore that third LED that is just sitting there lit. That goes into the pump top
OK here is what I did around the back. The plate was fitted, then some posts were melted into holes (to thread them) and then the plate attaches to the posts. This works in a few ways, but mainly it holds the LEDs in to stop them falling out, stops light being wasted out of the back and also acts as cable management.

Good eh? remember, when you are modding anything is fair game. Including household items and fittings
OK so this is probably the last time you will see the "clump" or where I have been working for about two weeks now.

All of the work, and all of the hours, have gone on that. The pump came so I wasted no time building up the top.

So now I am literally waiting for the doorbell to go off and the postman to hand me the final pieces of the puzzle.
You will also note I have removed one of the hose clamps to alter the direction of the hose. That was deliberate
Good eh? remember, when you are modding anything is fair game. Including household items and fittings
OK so this is probably the last time you will see the "clump" or where I have been working for about two weeks now.
All of the work, and all of the hours, have gone on that. The pump came so I wasted no time building up the top.
So now I am literally waiting for the doorbell to go off and the postman to hand me the final pieces of the puzzle.
You will also note I have removed one of the hose clamps to alter the direction of the hose. That was deliberate
Remove GPU, move sound card down, move fan controller down etc.

Fit GPU. I had planned to put it in this slot all the way through the build, regardless of whether the pump would clear or not. Good thing really, it wouldn't have

Fit hoses. This was after about an hour of sorting loads of stuff out at the back (wiring etc)


Fill.

Run for an hour from an external PSU.

Then connect it back to its own PSU and..

And then pray for every single second until that monitor switches on
Wonderful thing about having an RGB case is you can pretty much make any colours work.

Idle.

Still got a few things left to do. Clean off all fingerprints etc, fit a rad cover, make a cover decal for the rad (the white logo) and so on. Nothing major though. Will get some final pics later today
Fit GPU. I had planned to put it in this slot all the way through the build, regardless of whether the pump would clear or not. Good thing really, it wouldn't have
Fit hoses. This was after about an hour of sorting loads of stuff out at the back (wiring etc)
Fill.
Run for an hour from an external PSU.
Then connect it back to its own PSU and..
And then pray for every single second until that monitor switches on
Wonderful thing about having an RGB case is you can pretty much make any colours work.
Idle.
Still got a few things left to do. Clean off all fingerprints etc, fit a rad cover, make a cover decal for the rad (the white logo) and so on. Nothing major though. Will get some final pics later today