Rise of the triad, The 2014 Area 51

Soldato
OP
Joined
23 Apr 2010
Posts
11,896
Location
West Sussex
Yeah I removed it because it looked stupid. Too many numerals in order all look almost the same, kinda weird.

Part two of today's fun !


And with the grommet in place.


And lit.


I'm probably one of the most morose, melancholic person alive but man, seeing that really made me smile.
 
Soldato
OP
Joined
23 Apr 2010
Posts
11,896
Location
West Sussex
I like the way it shines through the grommet....which probably wasn't the intention.

Corner holes I think some of the lettering has come off. Is it "BOLT"?!

It is indeed BOLT, well spotted :) All but one of the bolt holes are labelled. I don't think anything came off? I just think they look a bit odd 'cause I've curved them.

Some detail is lost in transition sometimes sadly. The plotter can only really cut down to a certain size before it starts mushing things together and making mistakes.

Now recently I ordered some more blades and I noted that they come in different offsets in degrees. So I have ordered some 60'? IIRC? something like that. Maybe the tip is more pointed and thus more suited to tiny details?

It's a shame, because I would have liked some of the graphics to be smaller. Sadly as I say the plotter has a mind of its own. It's not helped by the fact that this chrome stuff is a pig to cut. It's thick and it has a protective layer that you have to peel off first. Trying to load it into the plotter is a nightmare (it just throws the vinyl sideways, ruining it) so I have had to come up with a method of basically pritt sticking it to a piece of A4 paper then running masking tape down both sides.

Aggro tbh. I would have thought that people automatically assume that a plotter makes cutting graphics easy. I mean it does, but you've still got to get off all of the surrounding vinyl to remove it and it catches. Then you've got to try and get it down, and when it's small it loves to stay on the masking tape. You'll see what I mean with the last pic below. Some of the detail has been destroyed in transition from Photoshop to the finished item.

Last update for the day as I'm knackered now ! The SSD platform is now being made.


So basically both of the SSD plinths (the UFO mod and a standard 5mm) are now fitted. I need to then make a comb that can be bolted down, as there will be quite a lot of wiring running over this panel.

The message on there is how I feel about modding some days :D

 
Soldato
Joined
4 Jun 2007
Posts
2,619
Location
Watford, UK
The "L" of BOLT on the right hand side is missing its middle bar.

Yes, it looks like you've had plotting fun for sure!....and yes, I was under the misapprehension that it'd make it easier!

Struggling with the last set. Seems to translate as:

APOBTHAT
??OKTLLSYOP

I think some of the pips are missing on A's and I's and the last letter is missing a down stroke which would make it a U instead of a P. So that would be
??O? THAT
??O KILLS YOU

How am I doing?! I see what you mean about the smaller details being painful!
 
Soldato
OP
Joined
23 Apr 2010
Posts
11,896
Location
West Sussex
...badly it seems. Just realised that it's the same as the image before that I've already decoded. Doh! Some missing bits though.

Yeah it says "A job that slowly kills you". Well, it said that before it went off to the plotter :D

It's from a Radiohead song called No Surprises. The line after is "Bruises that won't heal". Yup, that's modding alright !
 
Soldato
OP
Joined
23 Apr 2010
Posts
11,896
Location
West Sussex
The front intake panel is now complete.


Just waiting for the glue to dry, it should be good tomorrow. Then I soldered the loom onto the switches. This loom provides two +/- 5v for the LEDs in the switches, as well as 12v switched (for the cathodes) and 5v switched (for the SSD UFO and nose cone).


I've promised myself a new XXL mouse mat and wrist rest but only when the build is complete. Here it is all lit up.


And all working as it should :)

I have decided I want custom GPU cables made up with a 14 pin comb x4. So they should be in some time next week, then I can press on and build it all :)
 
Soldato
OP
Joined
23 Apr 2010
Posts
11,896
Location
West Sussex
So I just placed an order with a chap on Ebay, who makes up custom cables. It was quite expensive, but I wanted four 14 pin combs in there rather than the two he does normally. These cables need to be as straight from their source as possible, hence me wanting more combs.


So hopefully they (well it, it should be one thing) will arrive soon, then I can break the rig down and start building it back up :)
 
Soldato
OP
Joined
23 Apr 2010
Posts
11,896
Location
West Sussex
Can't believe I'm actually posting this.

Well guys and girls, this will be the penultimate post in this thread with work in it. I really can't believe it's actually almost finished.

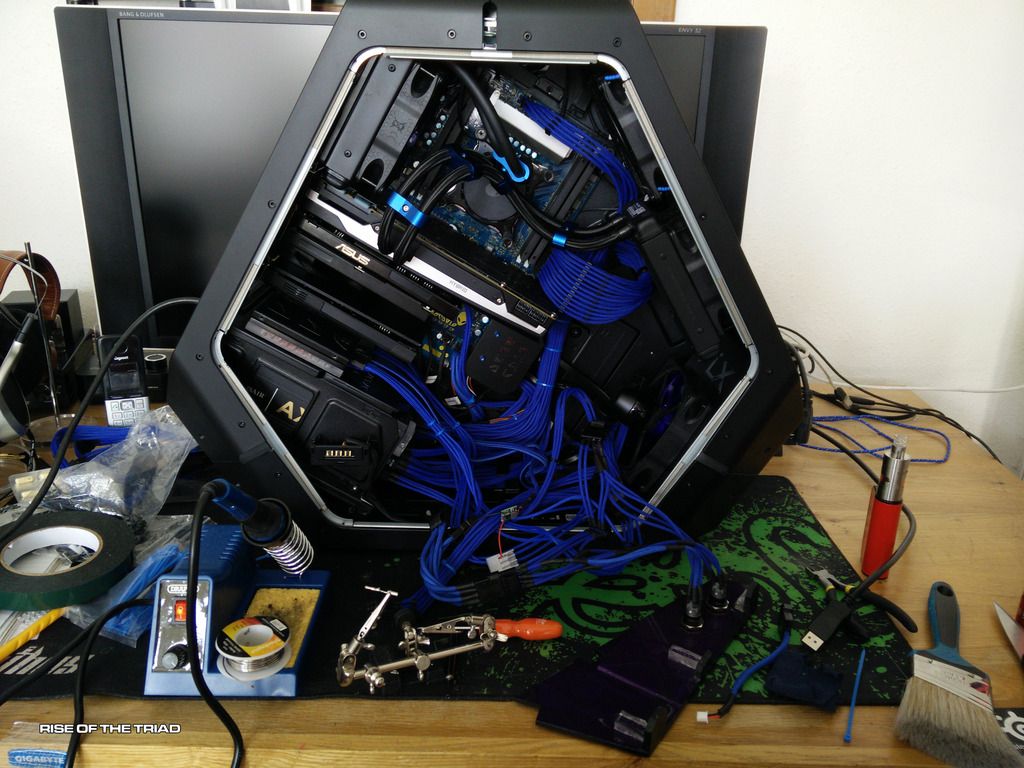
I started out today with the rig moved around so I could work on it easily.


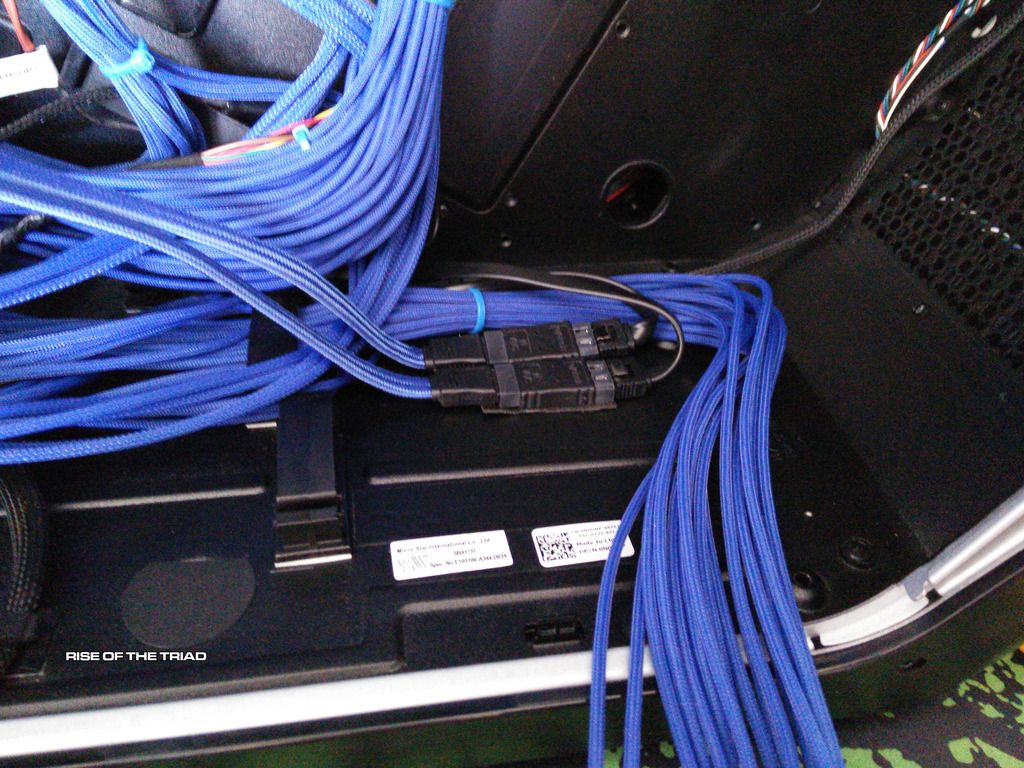
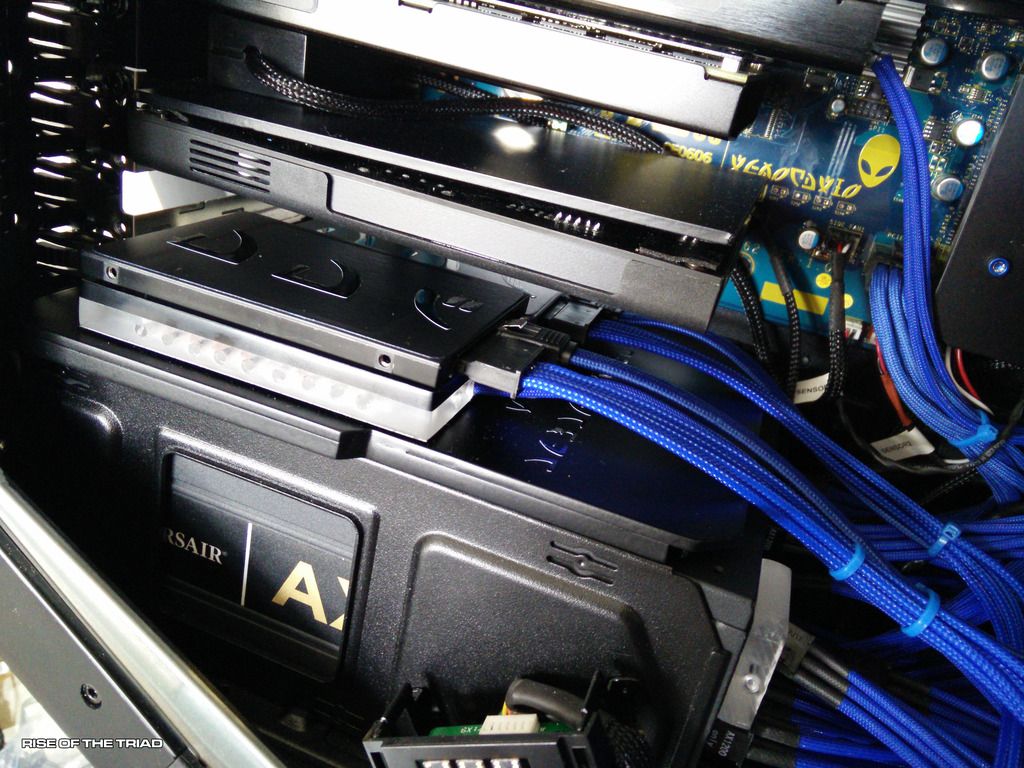
After some jiggling I realised that the SATA cables Tom sent me (hail the Tom) were not long enough to loop around and then go to the SSD floor. It was OK though, as thankfully I had a couple of joiners left kicking around from an old project.


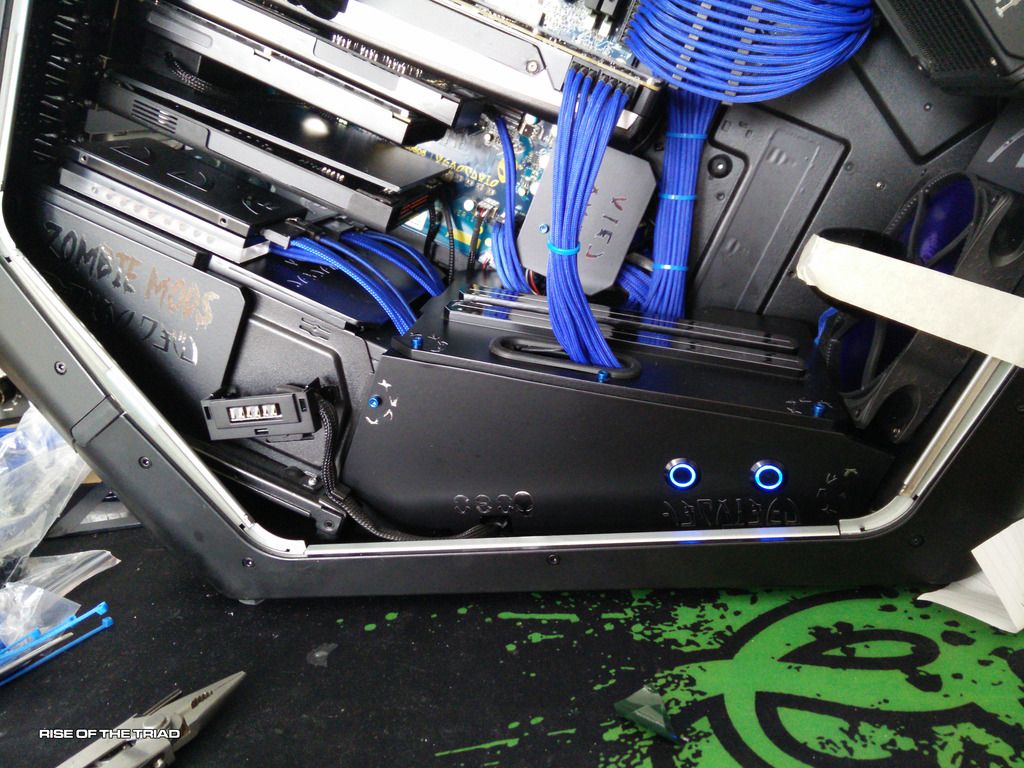
I then fitted the SATA port cover.


And finally completely built the SSD panel.
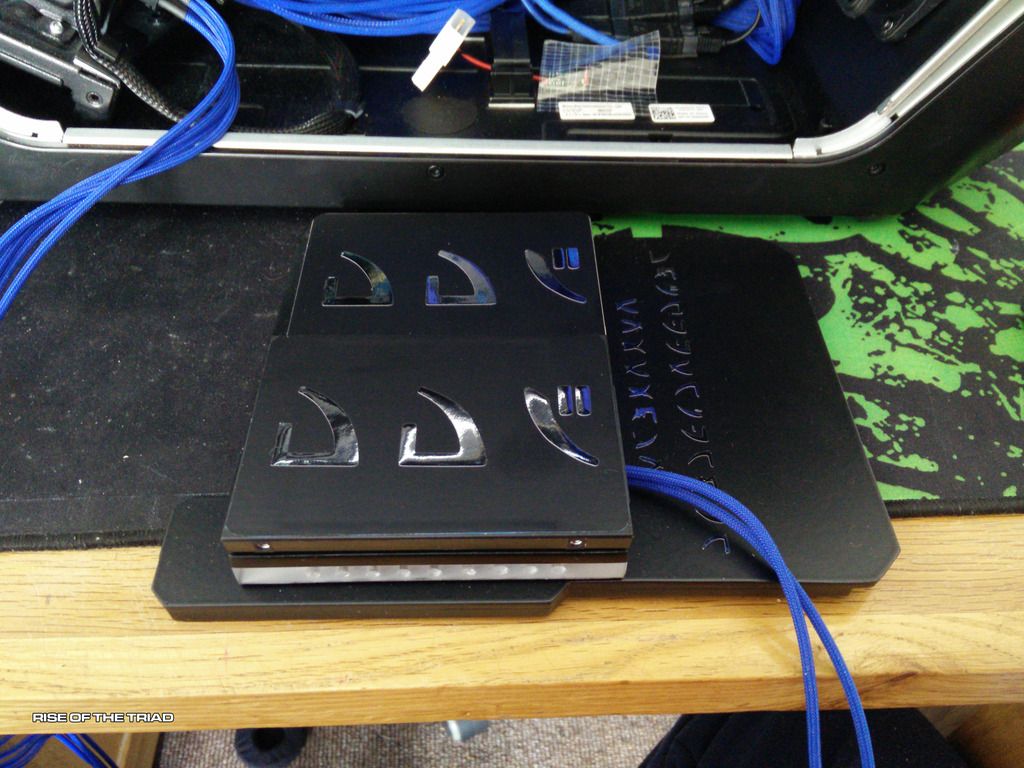


And fitted it.


Then I started to wire up the side panel but catastrophe hit and the positive wire for the nose cone snapped off :( so it was out with the soldering tools ! the nose cone also decided it wanted to fall off too.


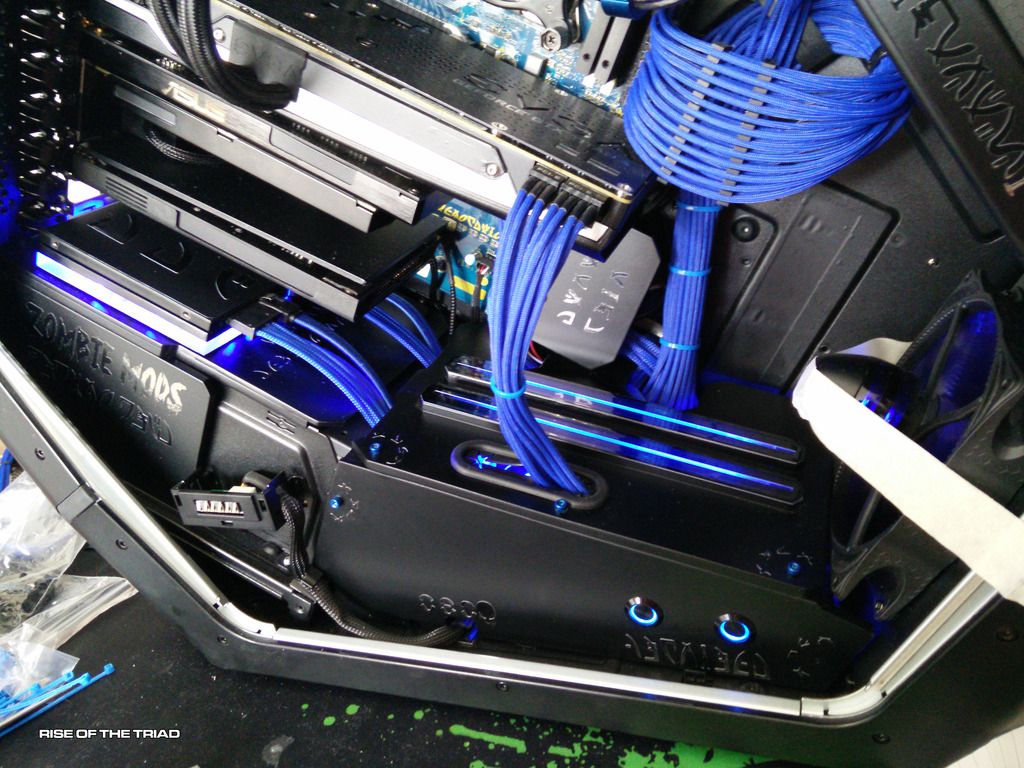
Then I fitted the main floor and glued the nose cone to the fan.


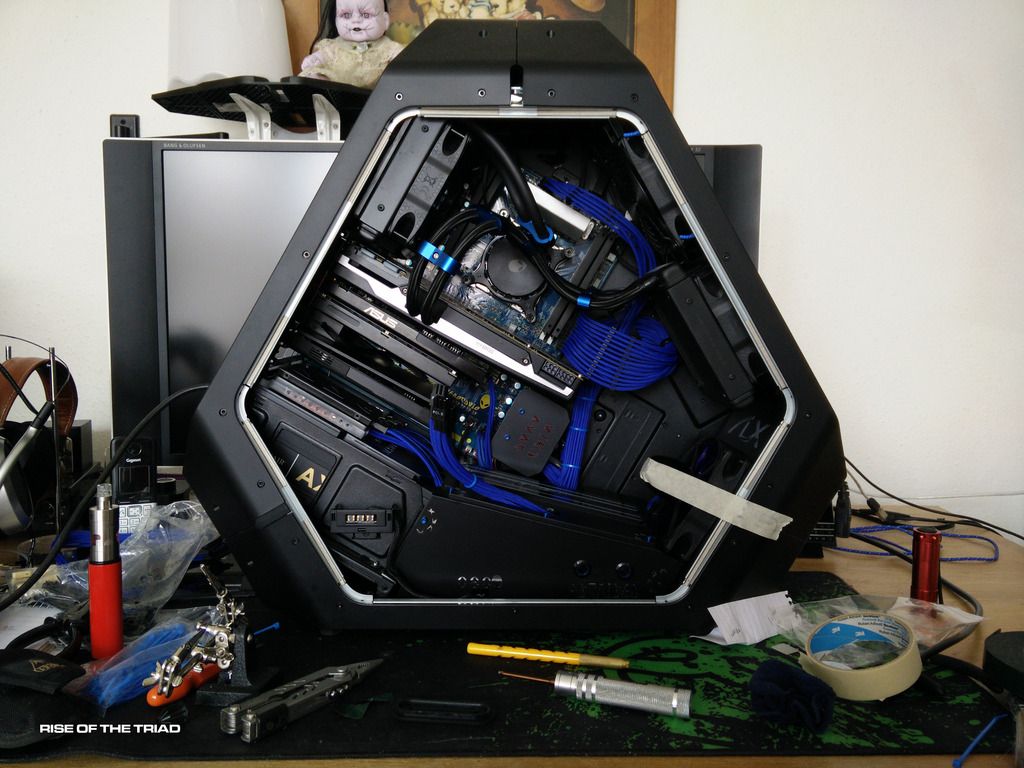
Then I fitted the radiator covers.


And then the back side PSU cover.


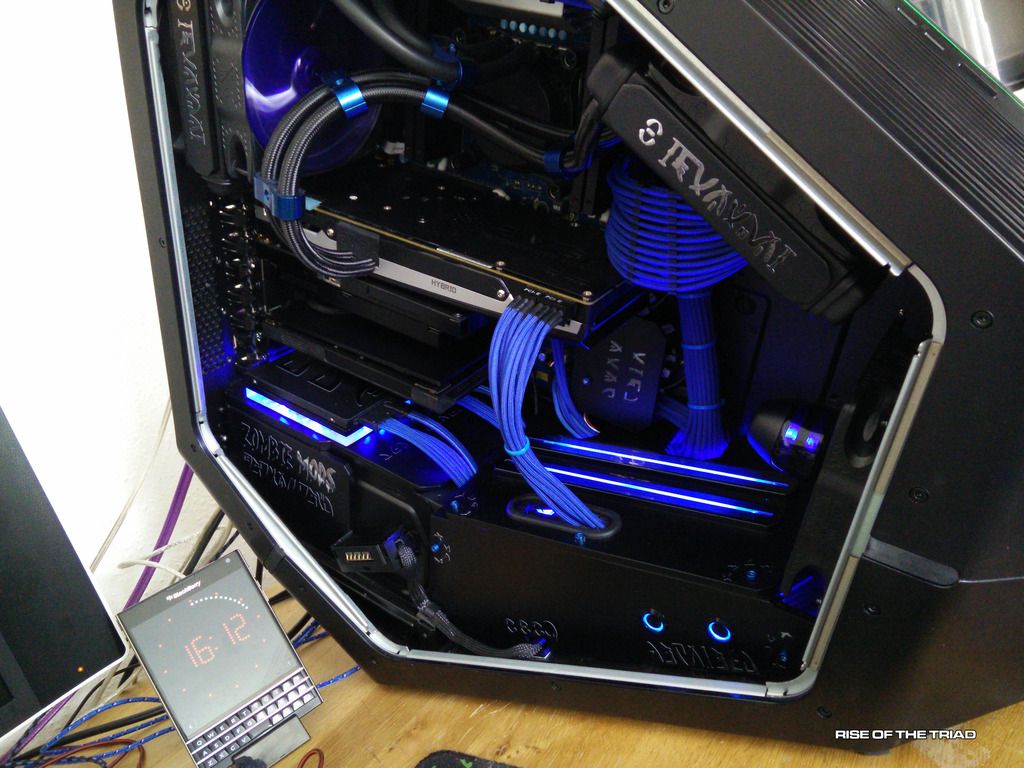
Then I powered the rig on.


And pressed in the two buttons whilst holding my breath...


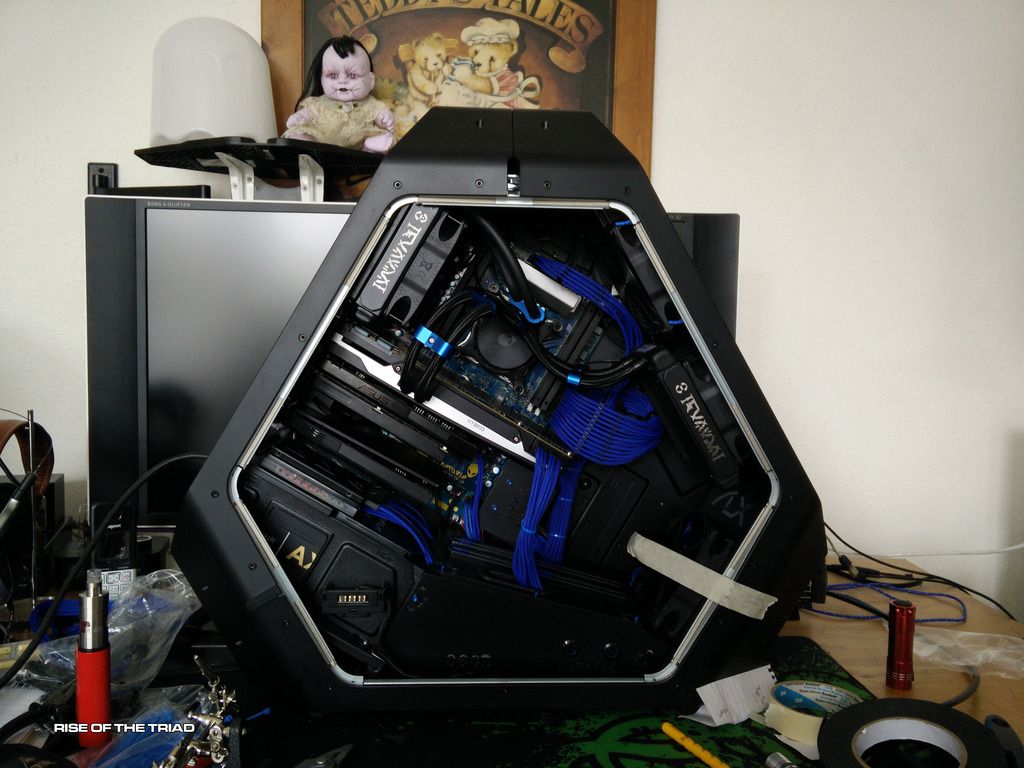
And tidied everything up.


Then tested the lights again.


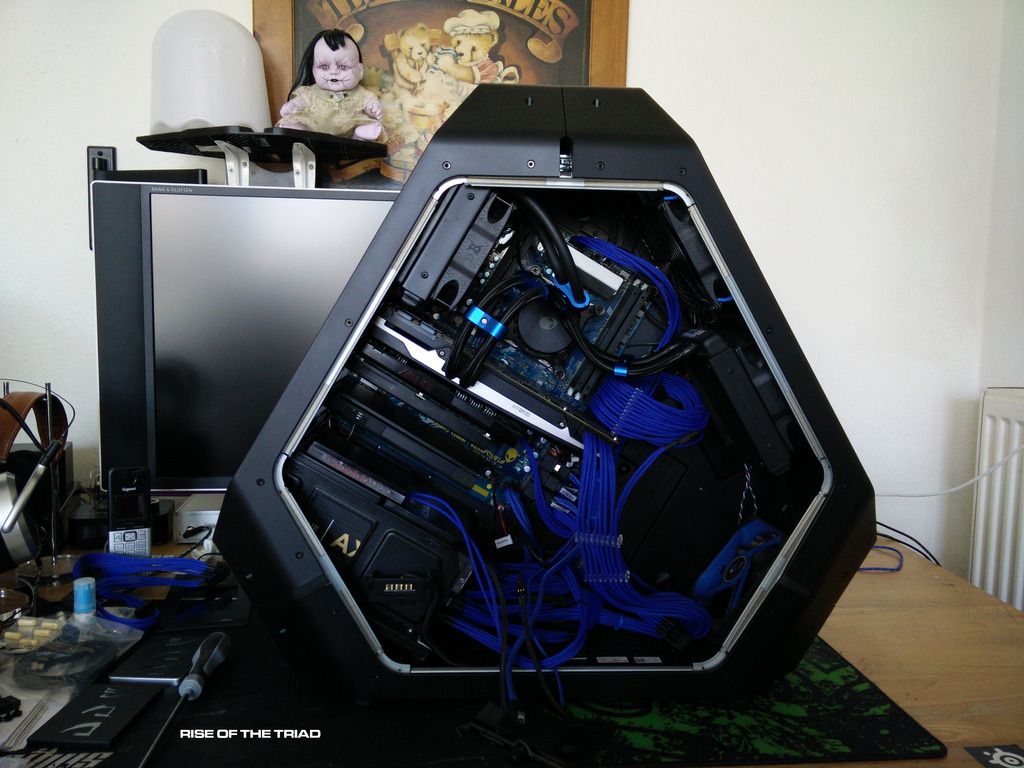
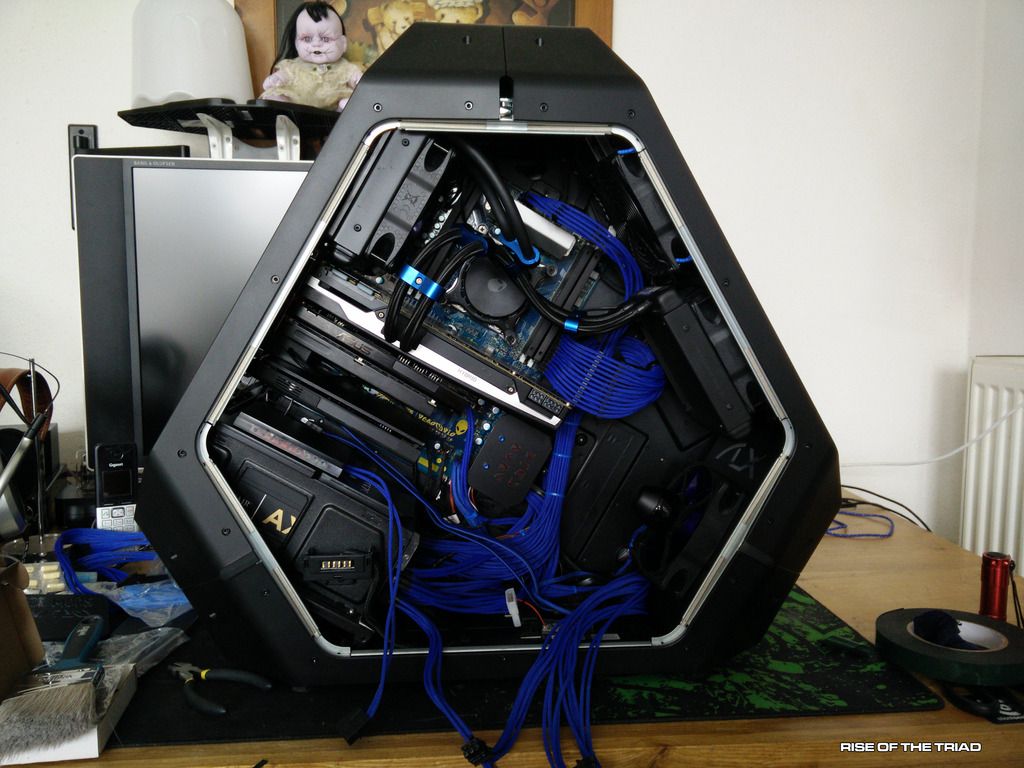
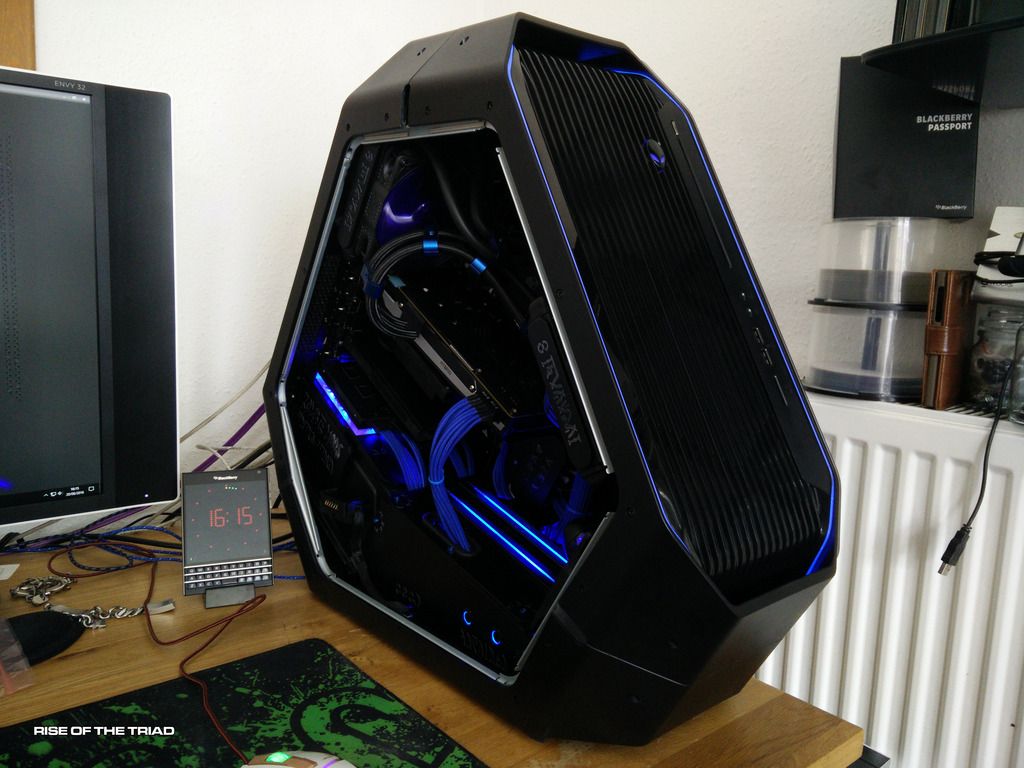
Wicked, nice and subtle ! let's take a peek in the rig..
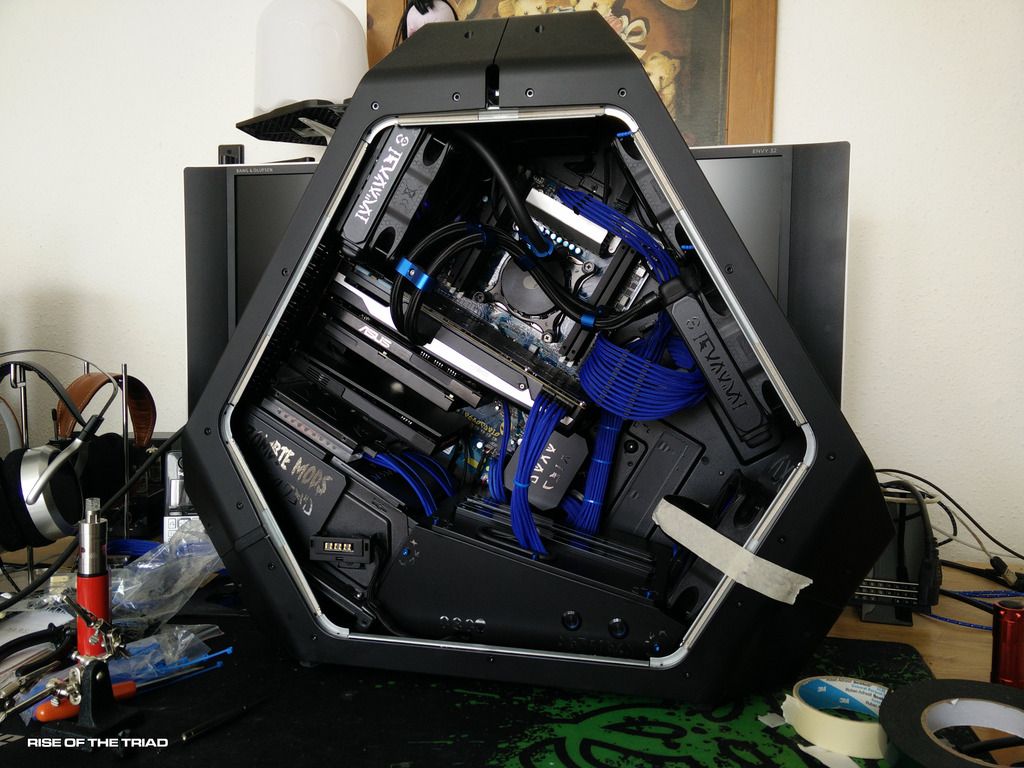


And a rig pic.


So all I have left to do now is fit the new PCIE extensions, fit the mobo cooling cover (for the top fets) and well, that's really about it. Hard to believe that in one more hour or so of modding this will be all done !
 
Soldato
OP
Joined
23 Apr 2010
Posts
11,896
Location
West Sussex
Thanks fella I'm chuffed with it :D need to get some dark pics now !

Once these go in (on a 14 pin comb) it'll be finished. Well, and the cooler cover..


If he screws them up there'll be hell to pay !
 
Soldato
OP
Joined
23 Apr 2010
Posts
11,896
Location
West Sussex
Thanks :)

I got an email from the guy building my cables today with two pics of them, so they should be here pretty soon. Once they arrive I will get them fitted and take some final pics of the build :)
 
Back
Top Bottom