Rise of the triad, The 2014 Area 51

...badly it seems. Just realised that it's the same as the image before that I've already decoded. Doh! Some missing bits though.

Yeah it says "A job that slowly kills you". Well, it said that before it went off to the plotter :D

It's from a Radiohead song called No Surprises. The line after is "Bruises that won't heal". Yup, that's modding alright !
 
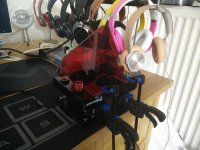
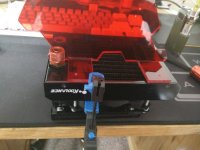
The front intake panel is now complete.


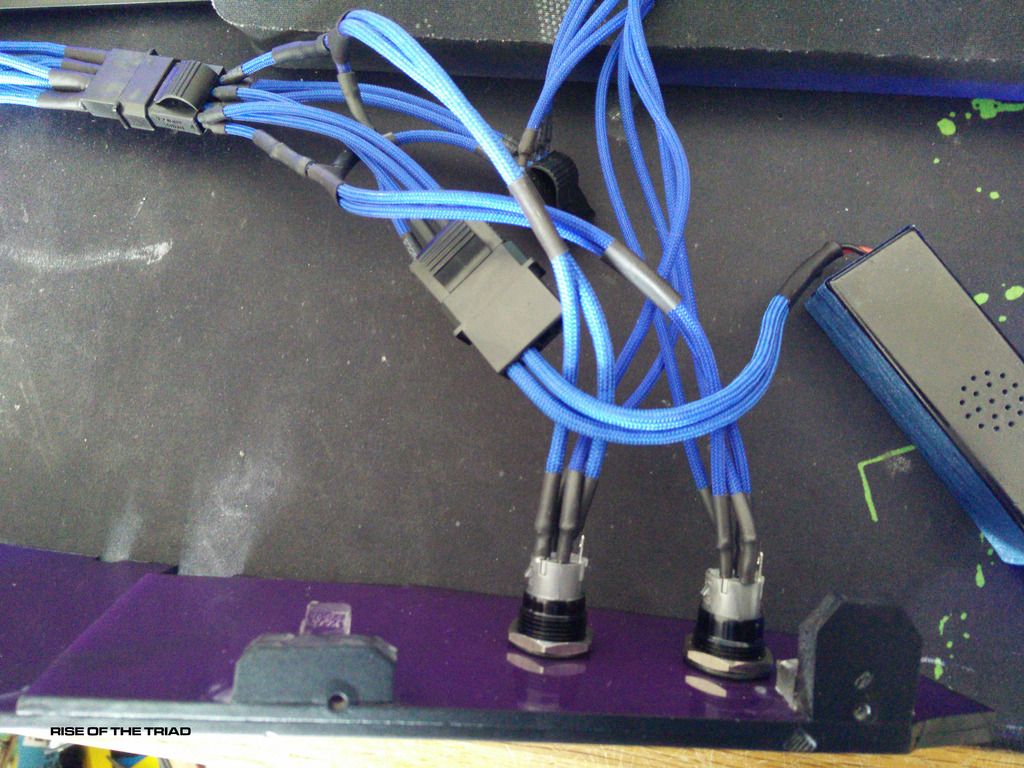
Just waiting for the glue to dry, it should be good tomorrow. Then I soldered the loom onto the switches. This loom provides two +/- 5v for the LEDs in the switches, as well as 12v switched (for the cathodes) and 5v switched (for the SSD UFO and nose cone).


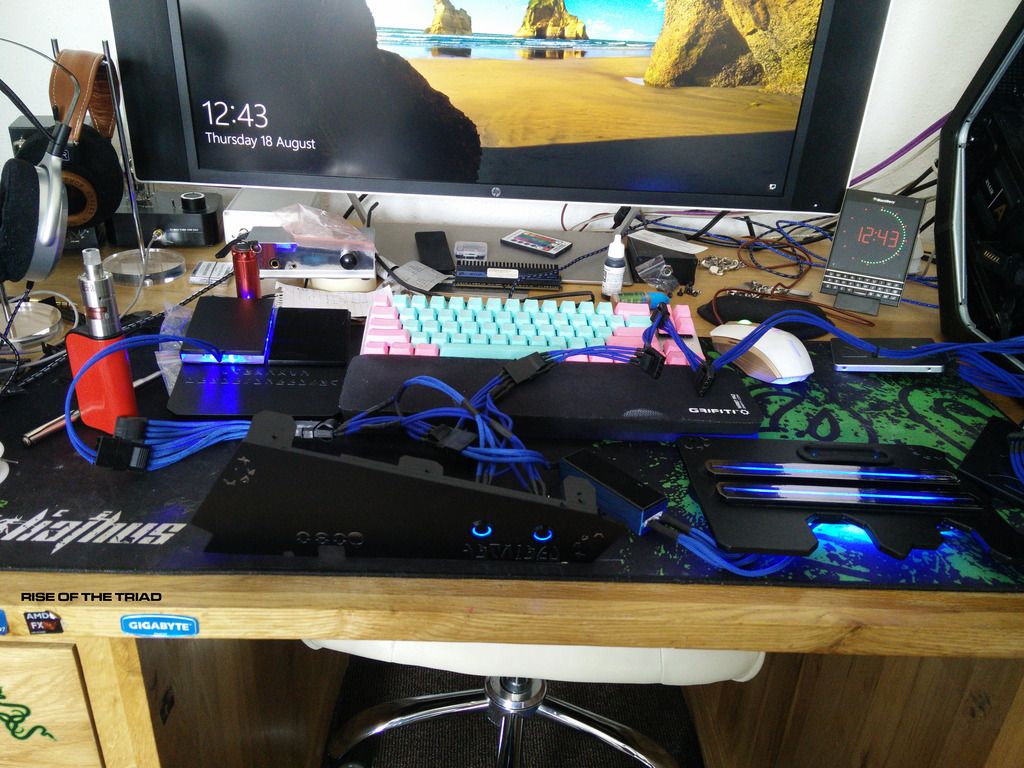
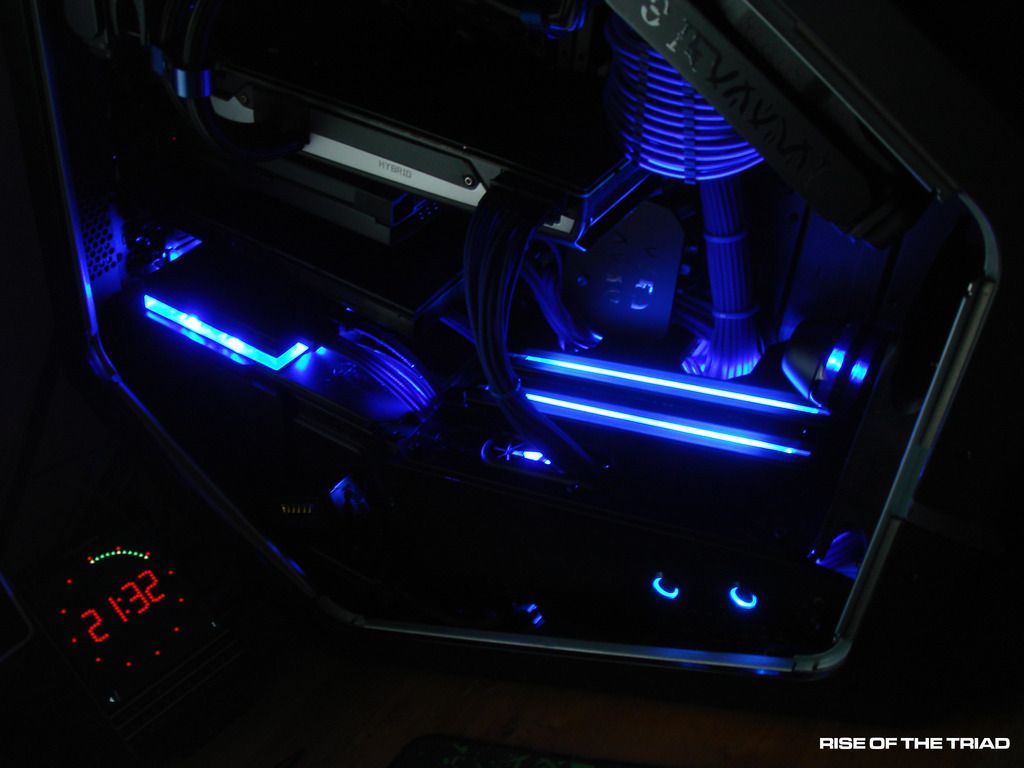
I've promised myself a new XXL mouse mat and wrist rest but only when the build is complete. Here it is all lit up.


And all working as it should :)

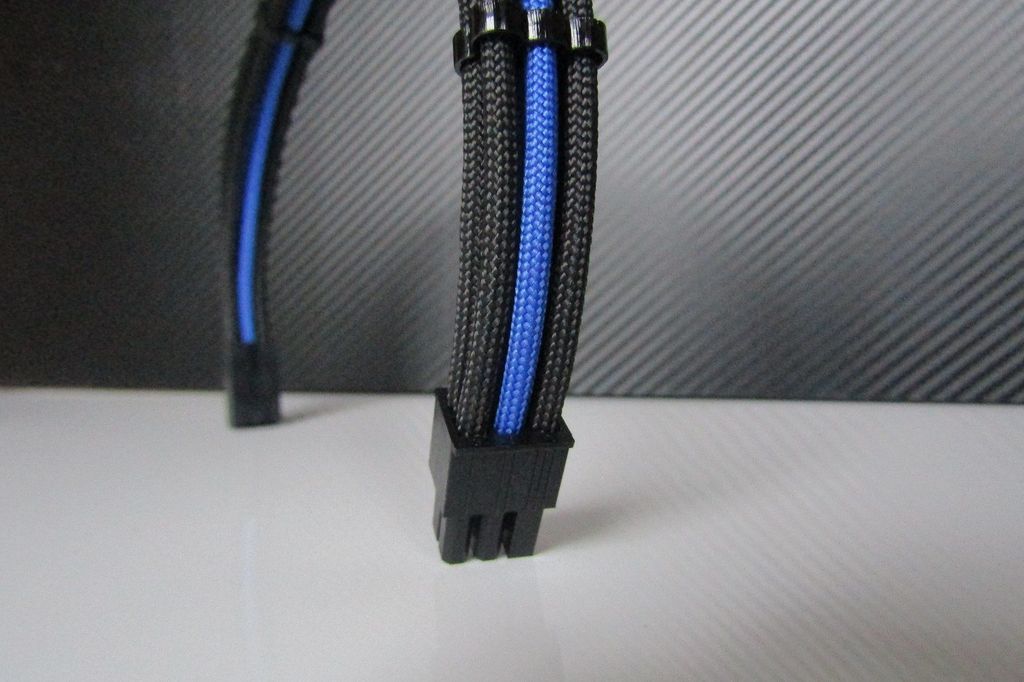
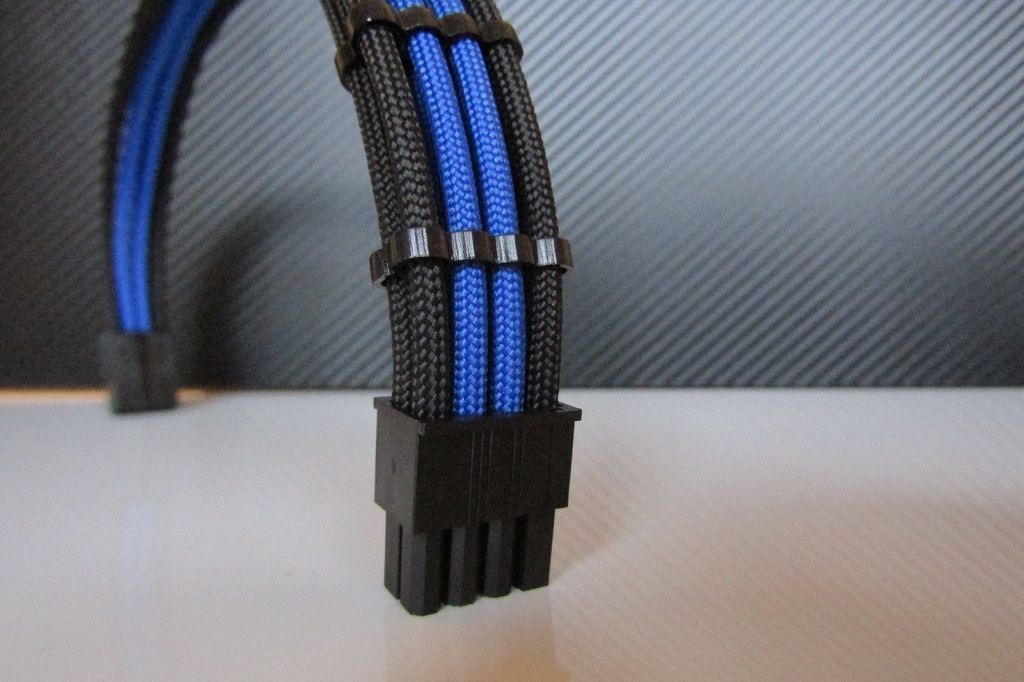
I have decided I want custom GPU cables made up with a 14 pin comb x4. So they should be in some time next week, then I can press on and build it all :)
 
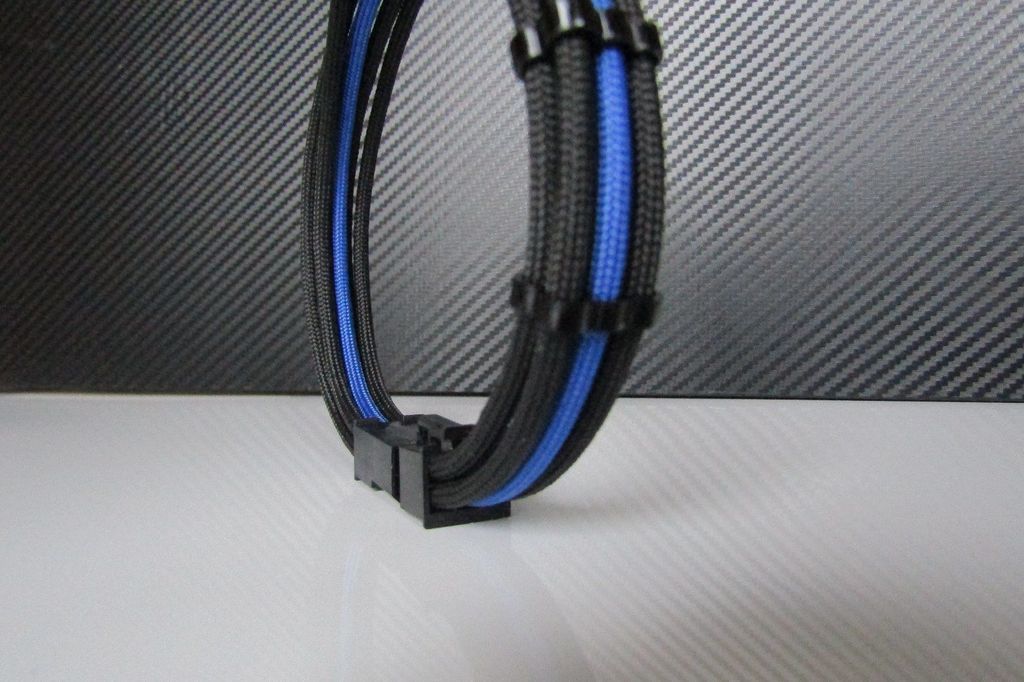
So I just placed an order with a chap on Ebay, who makes up custom cables. It was quite expensive, but I wanted four 14 pin combs in there rather than the two he does normally. These cables need to be as straight from their source as possible, hence me wanting more combs.


So hopefully they (well it, it should be one thing) will arrive soon, then I can break the rig down and start building it back up :)
 
Can't believe I'm actually posting this.

Well guys and girls, this will be the penultimate post in this thread with work in it. I really can't believe it's actually almost finished.

I started out today with the rig moved around so I could work on it easily.


After some jiggling I realised that the SATA cables Tom sent me (hail the Tom) were not long enough to loop around and then go to the SSD floor. It was OK though, as thankfully I had a couple of joiners left kicking around from an old project.


I then fitted the SATA port cover.


And finally completely built the SSD panel.


And fitted it.


Then I started to wire up the side panel but catastrophe hit and the positive wire for the nose cone snapped off :( so it was out with the soldering tools ! the nose cone also decided it wanted to fall off too.


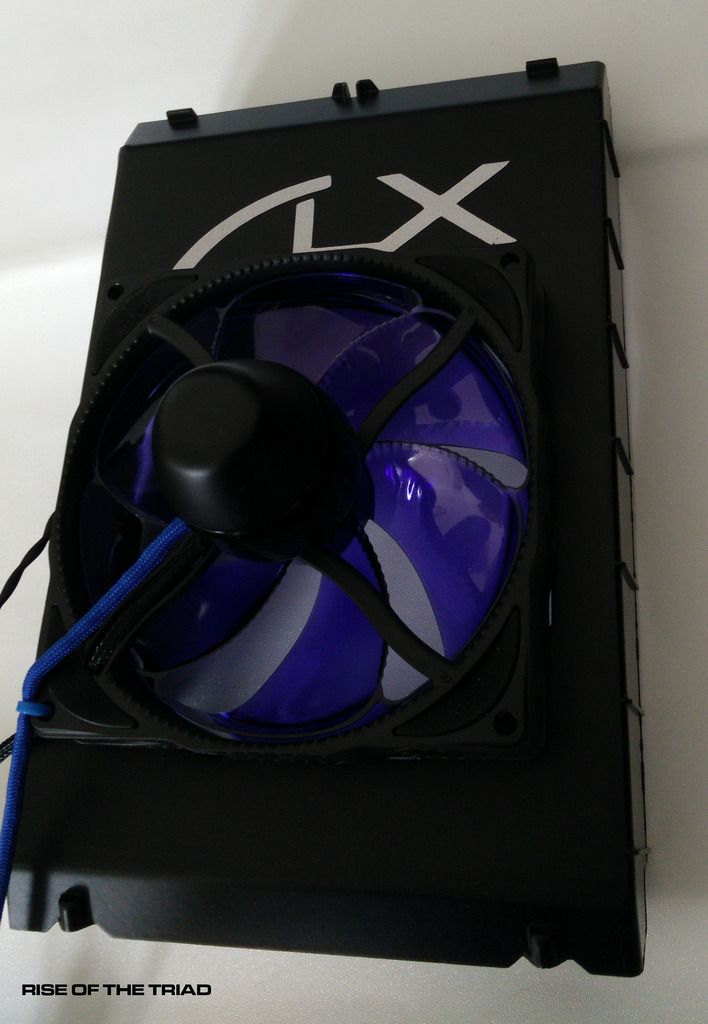
Then I fitted the main floor and glued the nose cone to the fan.


Then I fitted the radiator covers.


And then the back side PSU cover.


Then I powered the rig on.


And pressed in the two buttons whilst holding my breath...


And tidied everything up.


Then tested the lights again.


Wicked, nice and subtle ! let's take a peek in the rig..


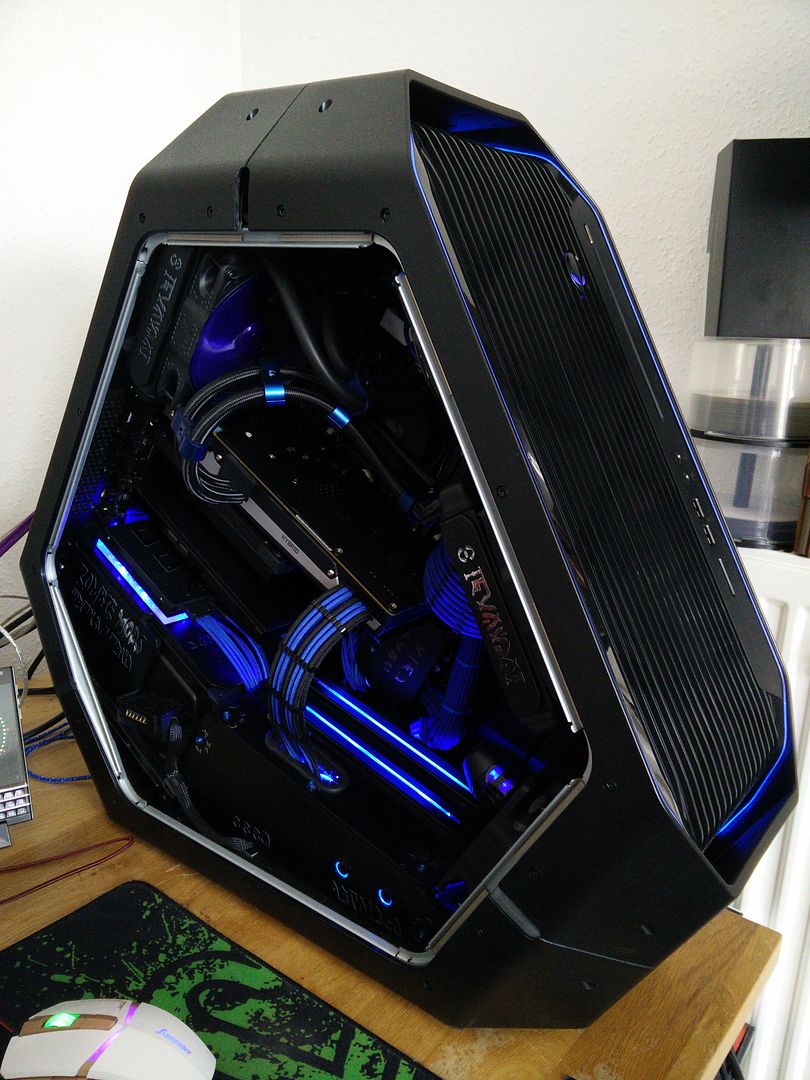
And a rig pic.


So all I have left to do now is fit the new PCIE extensions, fit the mobo cooling cover (for the top fets) and well, that's really about it. Hard to believe that in one more hour or so of modding this will be all done !
 
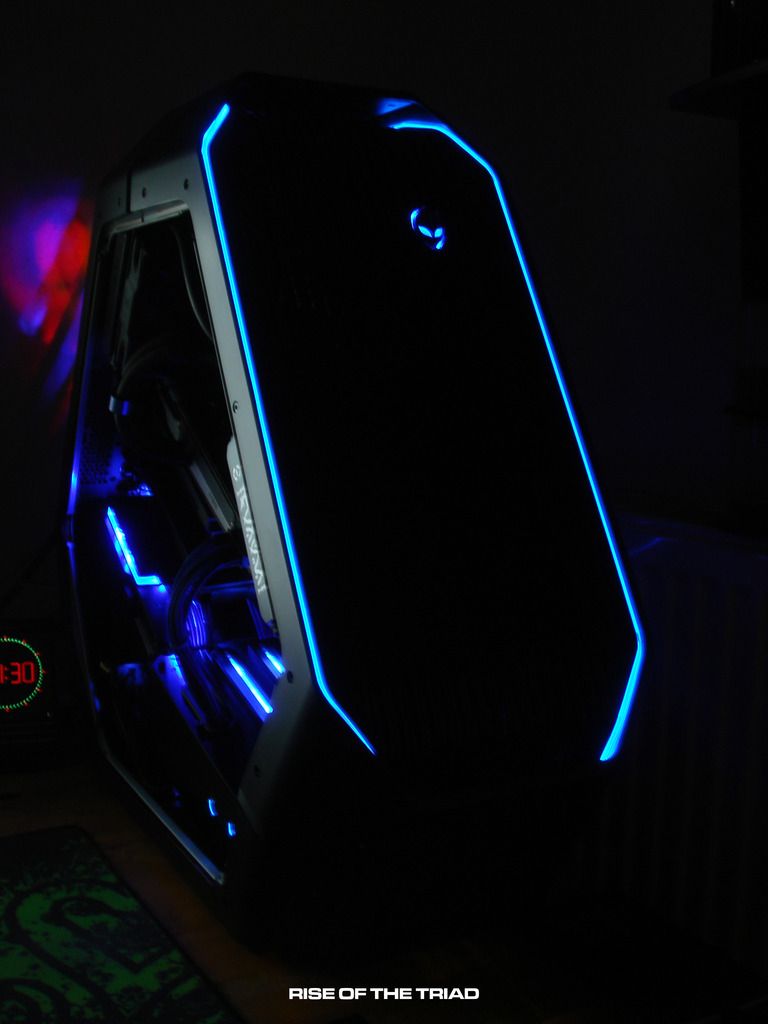
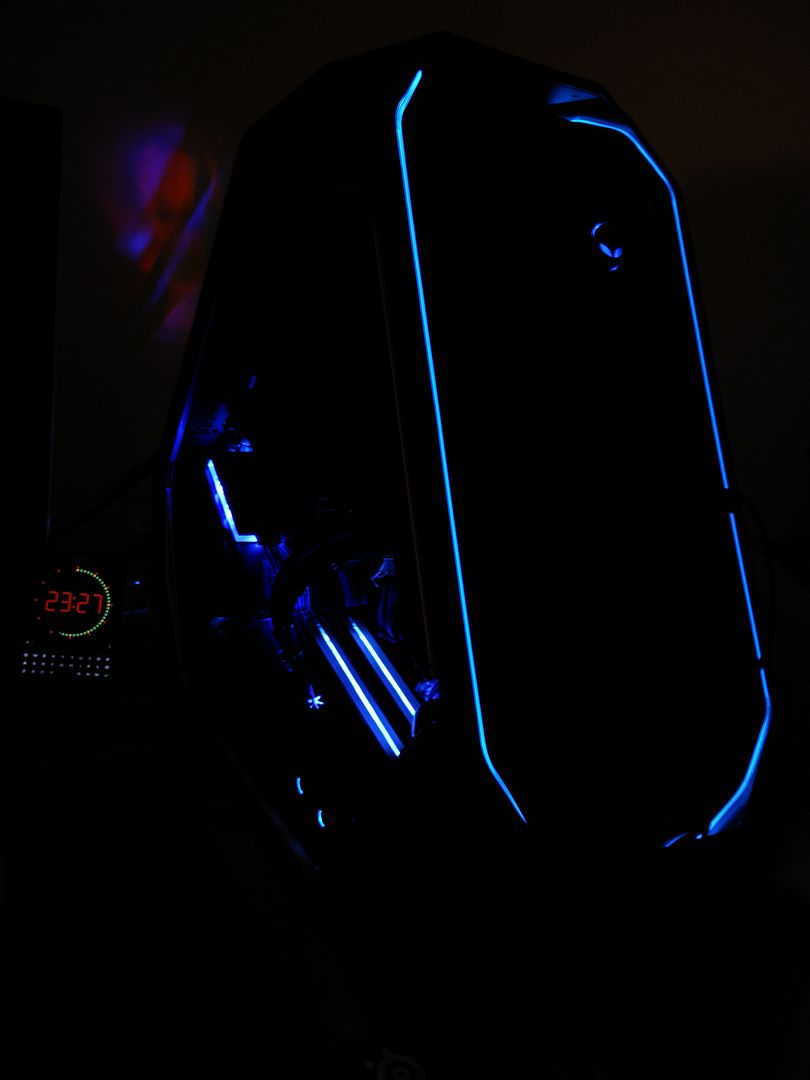
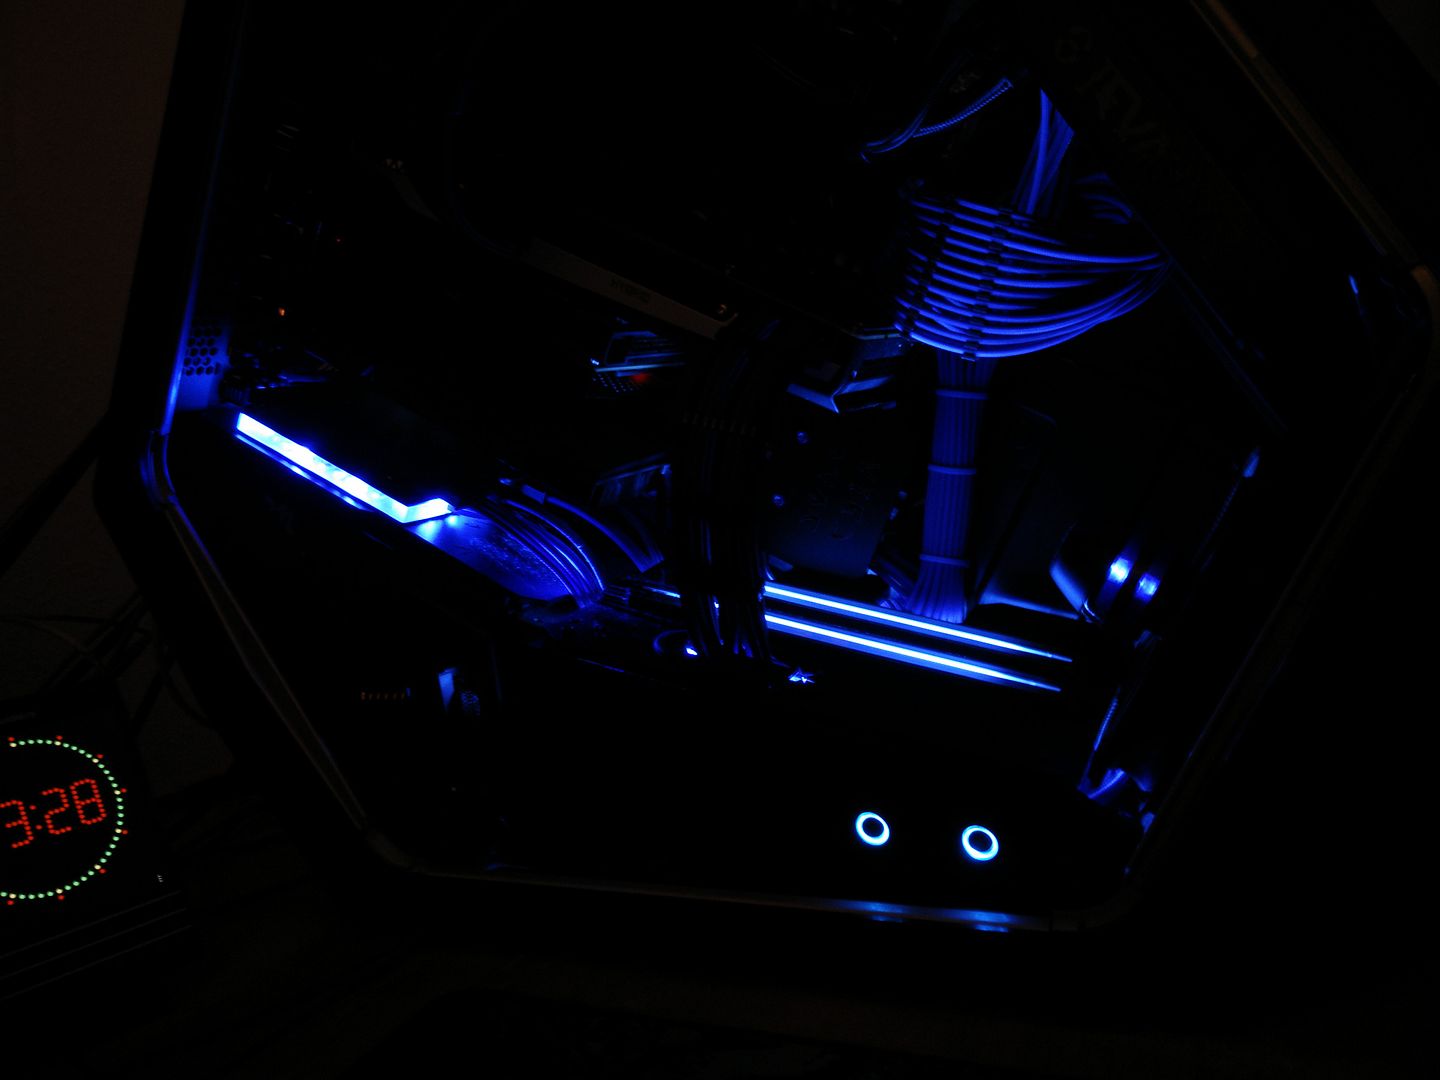
Thanks fella I'm chuffed with it :D need to get some dark pics now !

Once these go in (on a 14 pin comb) it'll be finished. Well, and the cooler cover..


If he screws them up there'll be hell to pay !
 
Thanks :)

I got an email from the guy building my cables today with two pics of them, so they should be here pretty soon. Once they arrive I will get them fitted and take some final pics of the build :)
 
I couldn't quite think of the word I was looking for earlier but it's a lever and a catch. On the side panel there is a metal bar that comes out from the side panel and goes into a latch hidden away in the top. It would be impossible to replicate it really.

The worst part though is that the side panel is not flat. If you look at each corner of the triangle (so the very top, front bottom and back bottom) you will see the case bends inward. The side panel is shaped like a claw and sort of hugs those areas, covering them.

Maybe I could take it apart if the inner metal skin is flat (I'm not sure it is though) and draw around that? not sure. I would definitely want it smoked though as I have gone right off clear acrylic, looks tacky.
 
Yeah not cutting the panel dude. When you figure out what this costs when all is said and done you've paid around £500 for the case. Normally Dell sell off their leftover stock and it ends up on Ebay so panels are usually easily had for older models. However, because this one is made by MSI I would imagine that Alienware are not even assembling them they're just getting them directly from MSI who obviously don't send Dell damaged/slightly marked etc stock.

In all the time I have had it (well over a year) I have never seen either an empty one or parts for one on the auction site. That worries me..

Just after I posted yesterday I realised how it fits. If you look at the top middle part of the rig outside the opening you can see a slot. A square C shaped bar goes in there..

However, if I am right and the metal part on the side panel is flat I should be able to remove it and put it in like that. I would have to cut it myself though, and it will probably be quite spenny given it's large (meaning higher material and postage costs).

TBH I am happy with the side off. It gives me a chance to clean it regularly and keep an eye on things. The case does not have dust protection so I'm not sure having a side panel on there would be good any way.

Right now my head is firmly with the stereo project. After that I might just dip my toes into water cooling*

* My old AM2+ rig with a 1055T in it is prime candidate for playing with water cooling. However, I would basically use nothing but cheap Chinese stuff (so £9 for a CPU block, £14 for a GPU block, £8 each for the rads) and so on. It wouldn't be a waste of money either because I have seen people use the parts and they function perfectly well, plus it may finally get me over my phobia of water and PCs.
 
Stunning build Andy. Best Alienware build I've seen.

Thanks Dave :) sorry for the belated reply, brain is too busy lol.

I'm hoping that the next one will beat this. Not in power terms or computing terms but I'm probably going to go to a complete skeleton which will give me more flexibility in choosing what I want and where I want it :)
 
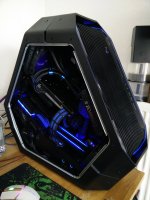
Apologies for the missing photos. I will do a little to catch up guys. OK, so the last time you guys all saw the Triad it looked like this.
MsKI91U.jpg

I had not touched it for over a year. I decided to strip and clean it all recently, and then do some upgrades. Upgrade 1, 14 core 28 thread Broadwell E Xeon

4yZmYVC.jpg

It clocks to 3.1ghz on up to four cores (and selects the best) and then clocks to 2.8ghz on all 14. It's pretty bloody impressive for £360. I could have probably ran it in the board I had, but I decided to buy a new MSI X99 SLi Plus for £117.

nViCAcq.png

Far better and much more befitting of the build tbh. I bought this 180gb M.2 drive for another build, but decided to use it on the upgrade.

kY3Ga9i.jpg

It's nothing too fancy, cost £30 does about 550 R/W. Any way, then I got this.

wX5mO8N.jpg

And sold the Maxwell Titan X. Here is how the rig looked then, and still does now.

ceynSyr.jpg

And it was all sort of going OK. Fallout 4 makes the fan spin up every so often, but nothing terrible. So my plan was to basically make my own Hybrid doodah for it and have the GPU AIO cooled. However, last night I met this lovely young woman.

EQhgfCa.jpg

And my GPU went ballistic. Not sure if you guys have played this yet but due to the *incredible* graphics and total lack of cut scenes my Titan XP just went mental and the fan immediately jumped to 100% and stayed there for twenty minutes. Then I touched the back of the card behind the GPU and bugger me, I wish I hadn't. I had to do something drastic and quick.

So it was OCUK to the rescue again.

I'm not quite sure how this is going to look. I want to make it look like a heart with blood and veins, but not sure how well it is going to drop into the blue. However, at the prices I paid I could not help it. I can not afford to spend £18 on each fitting, these were £2.99 each.

UHtGjUA.jpg

10/8. I have ordered 12. Why not at that price eh? OK, so I also ordered this. You'll see why shortly.

auaUMMS.jpg

As well as this.

ygn1OQm.jpg

And then this.

LDT46yp.jpg

OK, so that rounded up the OCUK order and it has been sorted and will be here soon. Then I wanted a block. So I decided on this.

gzxNcFt.jpg

And then I looked at back plates. They are £23 for an AC one. However, for £34 you can have this.

wK7IGUw.jpg

And TBH? I have never had a GPU get so hot on the back. So I figured that was a bargain and ordered that too. What you do is remove the edge connector from the block and bolt on the back plate one which then cools both. Pretty sweet.

For the pump I decided to use this again @ £10.

fJpJgiv.jpg

I've already got one cooling my other rig and it's excellent. Ceramic bearing and shaft etc, very strong motor. No point spending £100. Any way, that is what the coupler fitting is for, so I can fit it directly to the bottom of the tank. I also ordered the tubing.
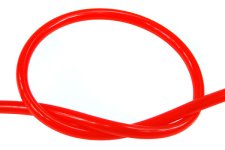
oXWaC7R.jpg

And had two fittings left over from before. I have one of these.

9uBlIWI.jpg

And one of these in white that I need to paint (it's also BP)
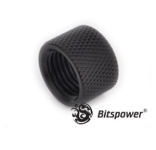
E0VUyY3.png

I am going to replace any green Orings with black ones (I've got tons because Monsoon give you two in different colours).

Any way, yeah, not sure how the red will fit in but I wasn't spending over double to find out. I will paint the white coupler black with matt model paint and I need to make a weird bracket to hold the pump and tank to the 120 mount.
 
OK progress. Had a lovely day out yesterday and started planning this afternoon. I hit a couple of problems, though. I originally planned to have the rad in the middle fan location. However, what I forgot to plan in was the total depth of the res and pump once fitted together. The pump would have hit the nose cone on the bottom fan and I was loathe to take it off. So, I decided to fit it here.

6StzQRC.jpg

First I needed to know the offset of the case as obviously it's not straight. So I used an overlaid protractor.

oasyxdt.jpg

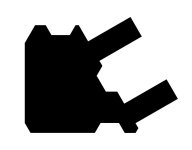
OK so now I had my angle I could design to scale.

White = res width
Green = proposed res width with clamps fitted
Red = rad
Blue = tabs. These will be part of the black main body eventually, but for now I need them to move.
Yellow = fan/rad screw space.

428pxqK.jpg

The blue parts will be bent with a heat gun backwards. The res will sit about 40mm into the rad. If that makes any sense, of course.
 
Morning update.

OK so the night before last I made a cardboard template of the pump holder/carrier. I offered it up and immediately there was a problem. It hit the hoses on my AIO. I tried clamping the hoses to move them away, but due to the design (to fit this case one way only) one of the hoses was still very much in the way. So I removed the AIO, turned it around 180' and moved the hoses down. This means the pump is now upside down and so is the rad. And it worked, hurrah. The alien head is now upside down though, but that is easily remedied with some matt black vinyl.

The rad will fit, but in the stock orientation the G 1/4 would be inaccessible. So I am going to have to drop the rad by about 30mm or so. This means I need to mod the rad carrier.
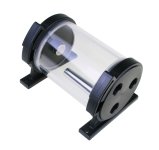
Good news. The Bitspower Z Multi 80 tank I ordered arrived in clear. Wasn't happy at first, but eventually came around. It looks like this (this is the 100mm though)

OSJ7Heq.jpg

I have refined the mount a little too, though this may be subject to change when I get the time to measure the res etc (I was building flat packed furniture all day yesterday)

CWx9F2f.png

The rad and fittings arrived too, but I have two other fittings coming also. A 45' and a couple of other bits and bob fittings I may or may not need. I've also decided to change things up a little this time and instead of using XSPC EC6 I have been a bit more daring.

EoDFsw3.jpg

Which is part of the reason why I was happier with the clear res. I may change the hosing to clear too (I should have that kicking around already).

Just want to say an enormous thanks to Overclockers. Every time I do water cooling I always order from them, but their customer service guys are the stuff of legend. They really are awesome.
 
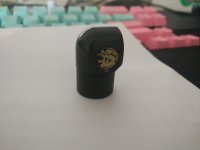
Quick update. Not much done really because I am working on the flat. Any way, here is the 90 deg fitting with the extender (that was white). It's (the extender) been painted black and clear coated.

I0EQABE.jpg

And I began mapping out the area where I want the rad to fit to the bracket.

J7d6SiD.jpg

Nothing terribly exciting to see, but something :D
 
OK so I finalised the design for the res and pump bracket.

MHaYFiy.jpg

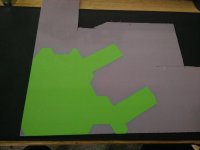
Dug out some leftover vinyl and cut my template. I use my plotter more for that than cutting actual graphics lol.

jtKbCjb.jpg

That will meet the rotary tool this evening (got deliveries coming so can't make noise).

The rad and fan I am using (red LED) are now mounted.

rmMSnaG.jpg

IZz5c4K.jpg

It needs some tidying/refining but the important part is it works and it fits. And I can access the ports.
 
Back
Top Bottom