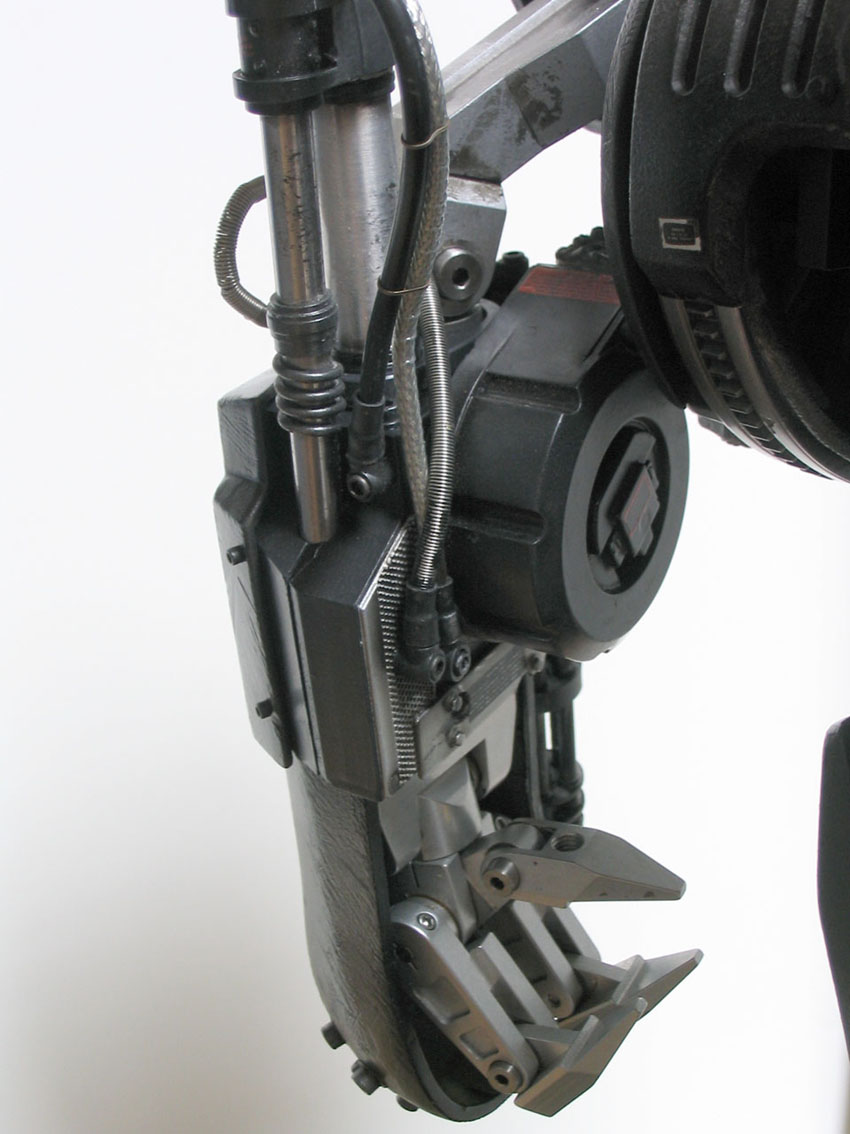
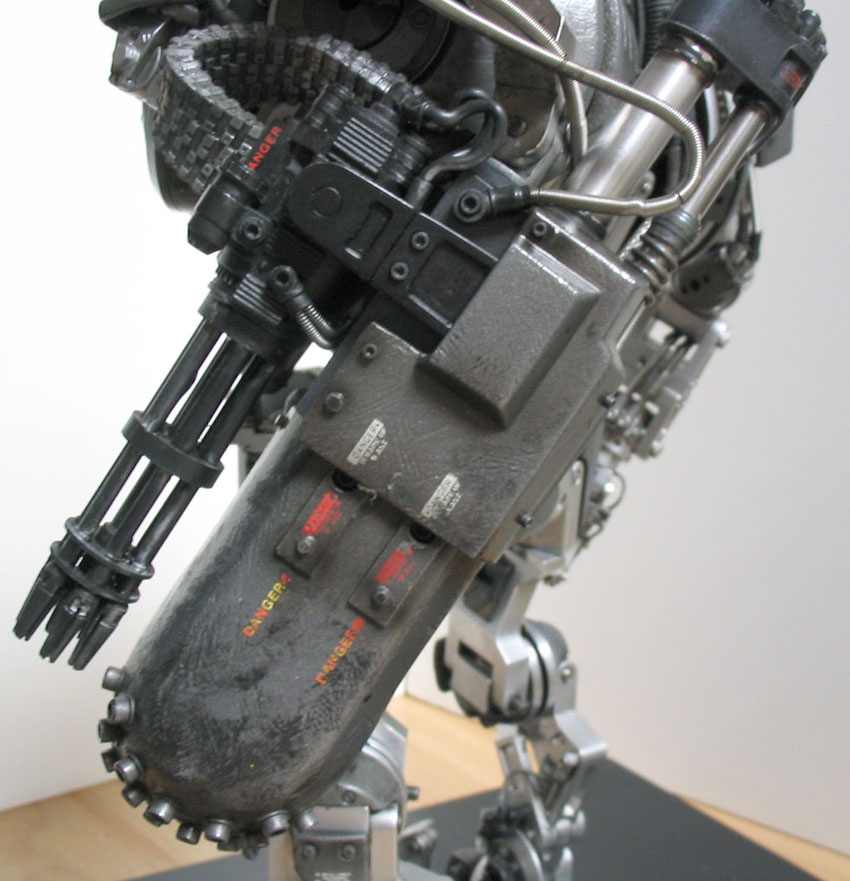
Robocain - Robocop 2 robot

what are u using to shape the plastic on pieces ?

epic work :cool:

the black delrin I machine on the mill, but all the shaping curves, detail etc I do by hand with a file.

I'm also looking into getting hold of a lathe after being inspired by this project :). I've always wanted to have a go at making a few custom air rifle silencers. Not 100% sure a cheap lathe would do the job though, so I have a bit of reading up to do first.

im no expert on the lathe, mine was £300 its a C2A.
 
Starting on arm 2 now, from the shoulder down. I already did the pivot joint, so onto the upper arm.

DSC08950.JPG


DSC08951.JPG


DSC08952.JPG


this goes on the back of the big claw/minigun dealy

DSC08953.JPG


I struggled with an idea of where to begin on this, when I look at the picture I try to break it down into its component pieces. Problem is this is quite complex and im almost at my limit of what I can imagine.

This is the real thing for reference:

cainref2.jpg


cainref3.jpg


cainref4.jpg


so a lot to think about there.....ive started with a block

DSC08954.JPG


started as I usually do by drawing a naff picture and filling in a load of dimensions that I make up. From this I decide to start with the rod things on the back

DSC08955.JPG
 
I hope you don't sell it, it will be too awesome to sell :)

Hand crafted robot like this, seeing all the work you've put into it, I reckon it would be worth a few £k to the right person. It'll be a totally unique piece of awesomeness.
 
I hope you don't sell it, it will be too awesome to sell :)

Hand crafted robot like this, seeing all the work you've put into it, I reckon it would be worth a few £k to the right person. It'll be a totally unique piece of awesomeness.

Thank you all again :)

I have had a lot of emails, some form people I have heard of and a few about buying the finished item, I will sell it if I get an offer in the region of 30k.

One of the problems with spending a year on a project like this, is by the end i'll be sick of the sight of it.
 
Got everything attached to this blck now, cut a slant on it too.

DSC08956.JPG


cut a piece for the end, curves, took a chunk out the thin end and put a slightly larger semi circle in. Held in place by my large hydraulic fitting.

DSC08957.JPG


this too ages, lots of work here and very small, so much so my camera cant focus on it! the tiny brass hex heads are about 2mm across

DSC08959.JPG


crap picture but you get the idea

DSC08960.JPG
 
Added the collars on the large rod, also a smaller collar and a spring thing.

DSC08962.JPG


turned this on the lathe

DSC08963.JPG


it sits on the back of the gun and is the drum of ammo. the basic shape was easy enough to turn then I had to mark out 8 segments and mill a half moon out of each section.

DSC08964.JPG


next bit, no idea what it is

DSC08965.JPG


careful milling here, I will in time buff out all the machine marks

DSC08966.JPG


after some thinking and another awesome diagram (this one actually quite legible) I started on the fist that houses the big claw. Using delrin for this shape and using what I like to call "precision guesswork"

DSC08967.JPG


bit more shaping and filing

DSC08968.JPG


carefully hollowing the inside out, very hard to clamp in the vice now for milling.

DSC08969.JPG


marking out where to drill for the studs.

DSC08970.JPG
 
have you got pics of what you've done so far all fitted together?

or are you far off that stage yet?

I havnt, it would take a while to fit everything together, time better spent working on new stuff in my mind. I will have to have a partial assembly after the gun arm is done. Im paranoid its all going to be out of proportion :(


i think the piece you're unsure about, this one:
http://www.ukmonsters.co.uk/robocain/DSC08965.JPG

is the mount that would allow the minigun to tilt on the Y Axis. it's either double sided (one on each side of the minigun) or single-sided, and also swivels in the X axis too :)

yeh........ i see that but it doesnt move in the film I dont think. Anyway its on there, there is only one on the outside.
 
Back
Top Bottom