You are using an out of date browser. It may not display this or other websites correctly.
You should upgrade or use an alternative browser.
You should upgrade or use an alternative browser.
Robocain - Robocop 2 robot
- Thread starter Building Candy
- Start date
More options
Thread starter's posts- Joined
- 8 Nov 2006
- Posts
- 1,423
made some more little fittings

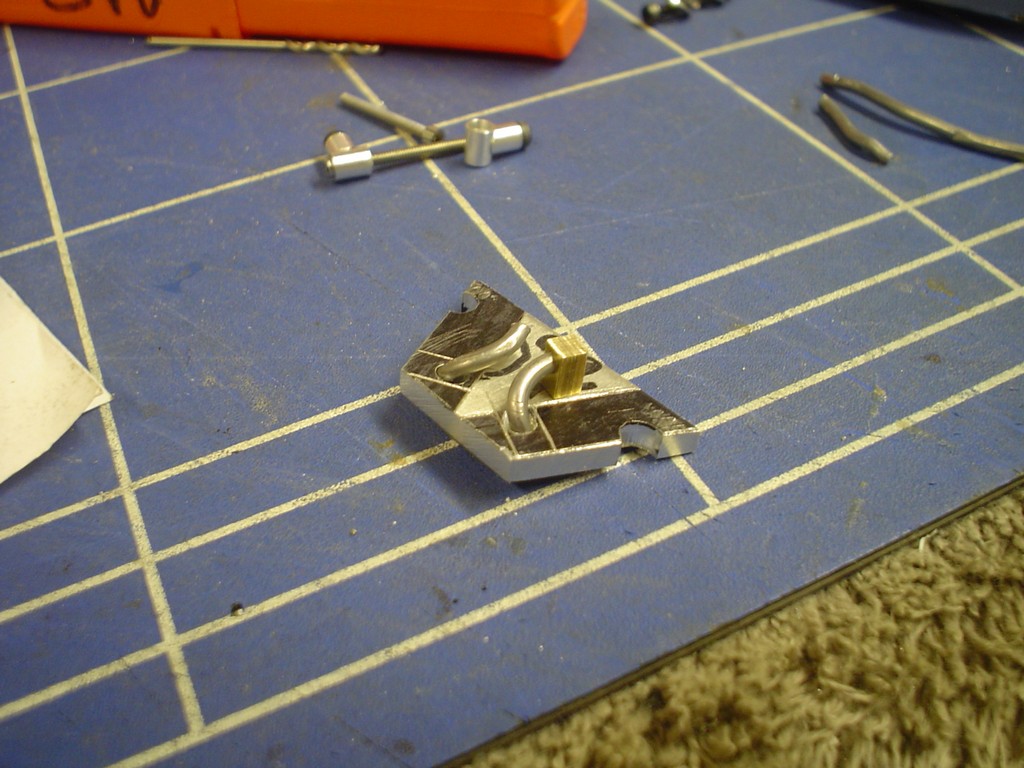
this is the little plate at the front of the collar, im not sticking too strictly to the real one here, close enough.
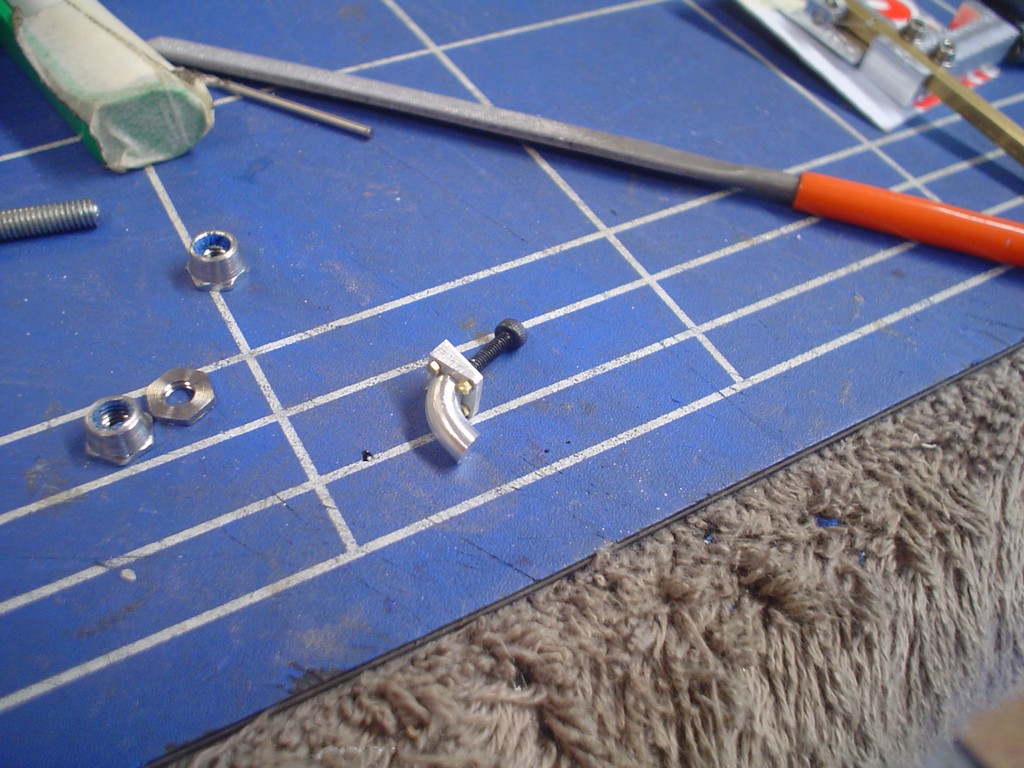
these are the catches that hold the head locked dpwn when its in park. They are rather fiddly!

tiny tiny
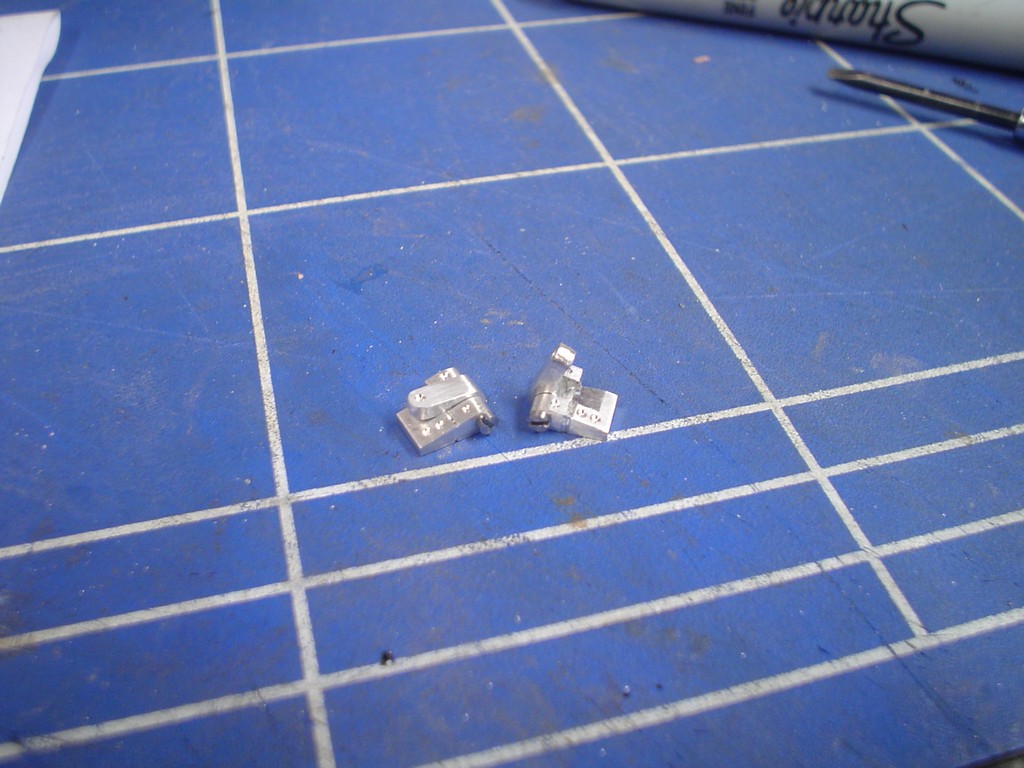
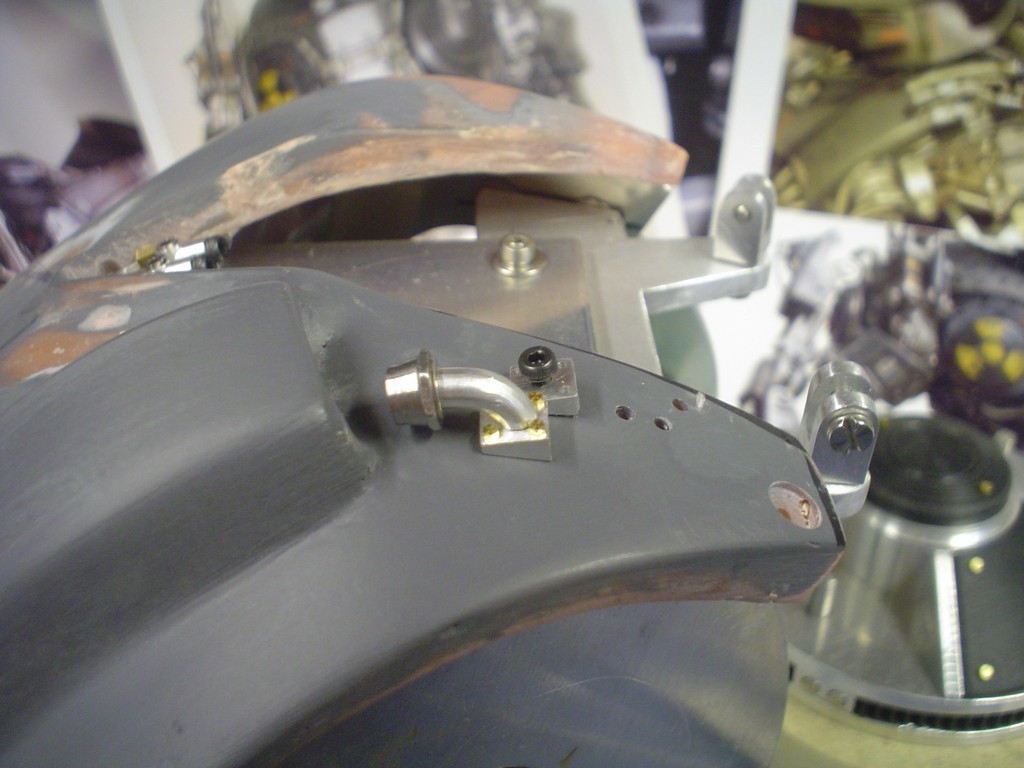
they will attach up here somewhere
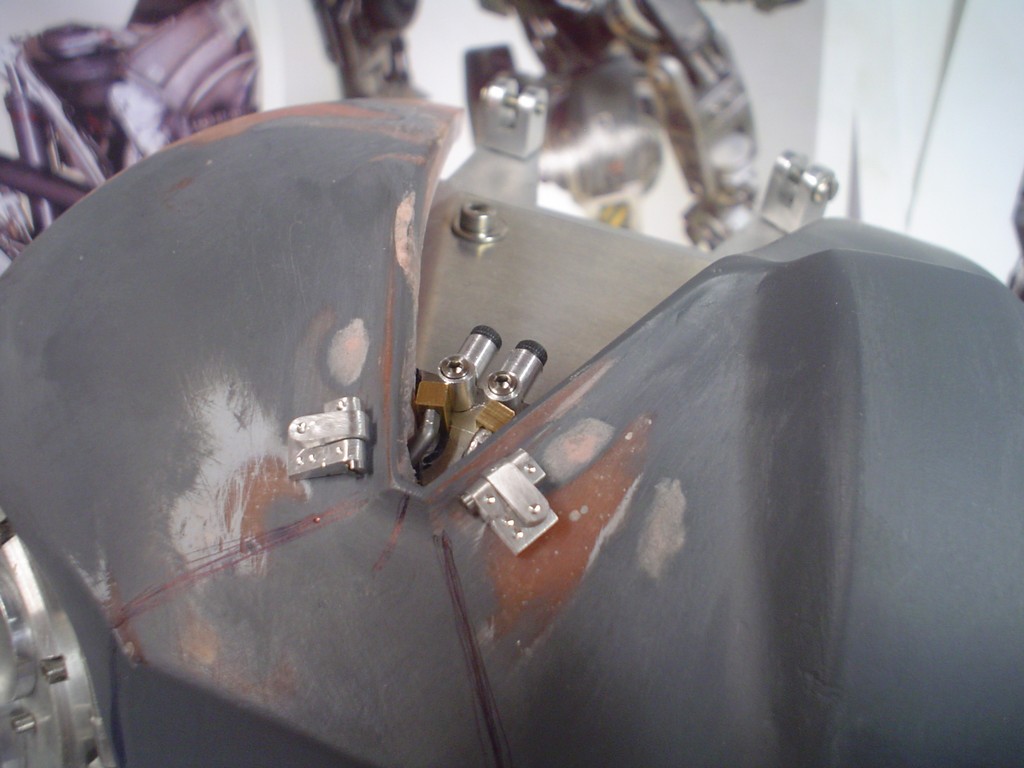

Turning some large nuts down to make the big pipe fittings at the top
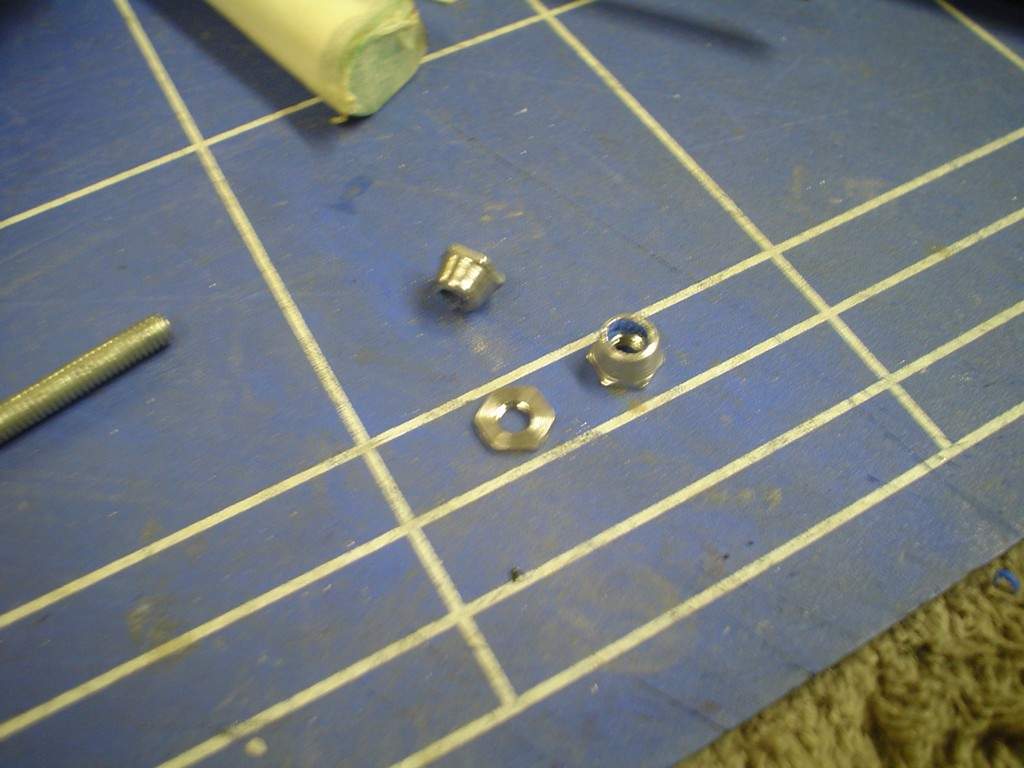
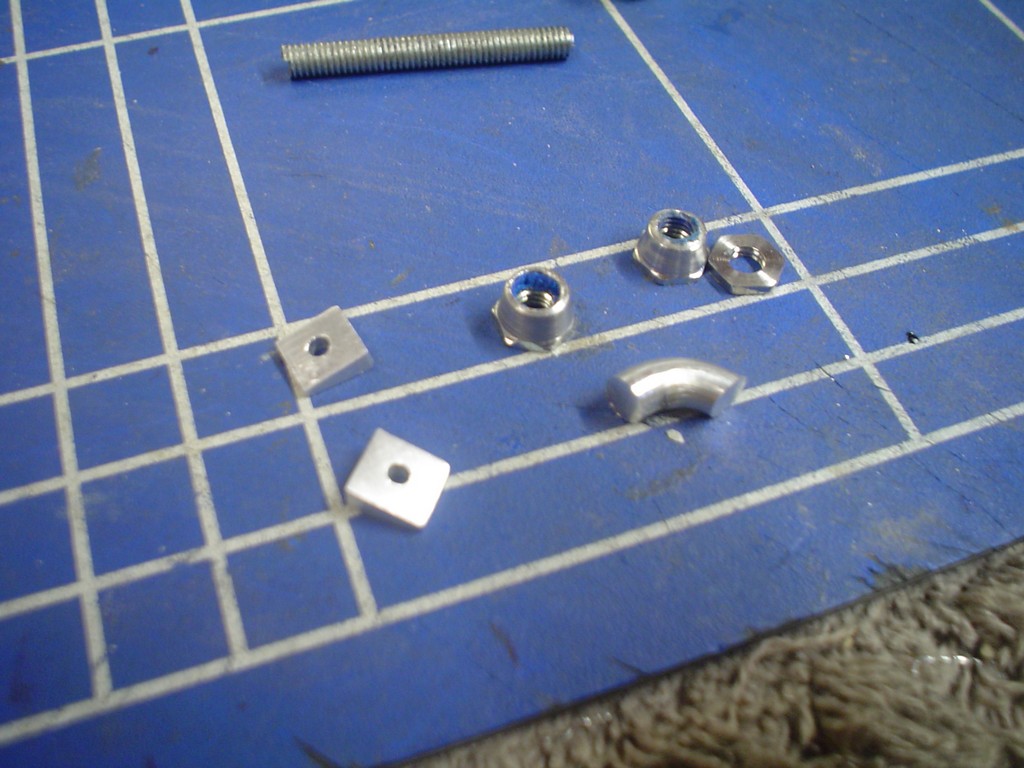
using some of the micro hex head screws, half a mm thread width
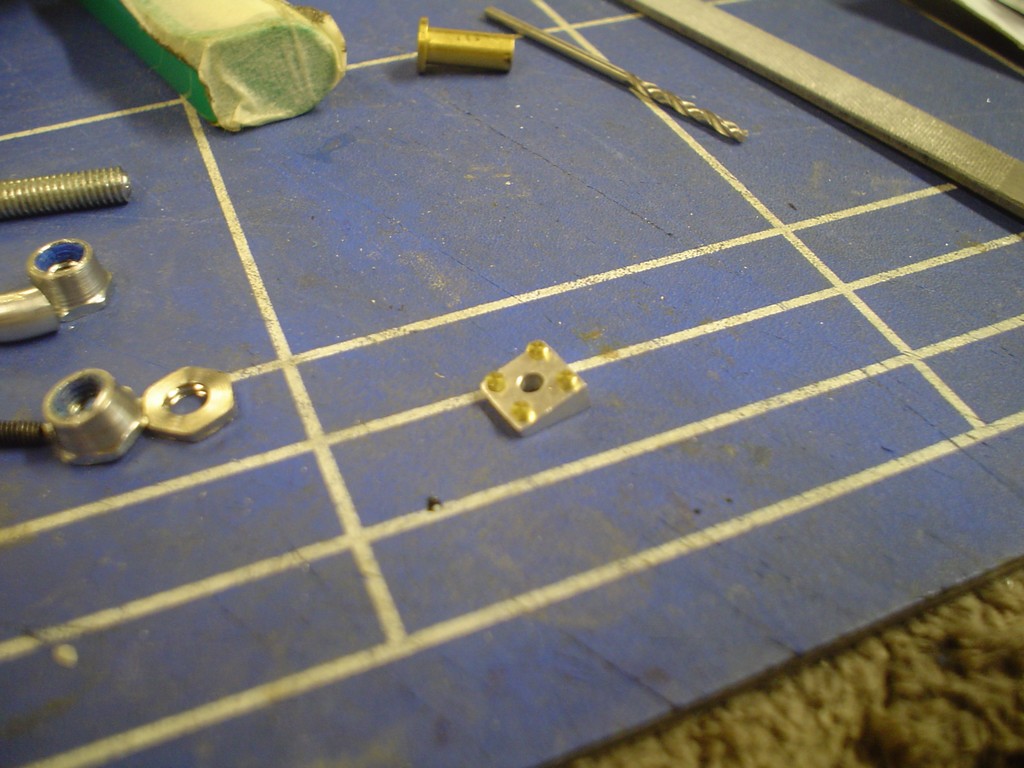
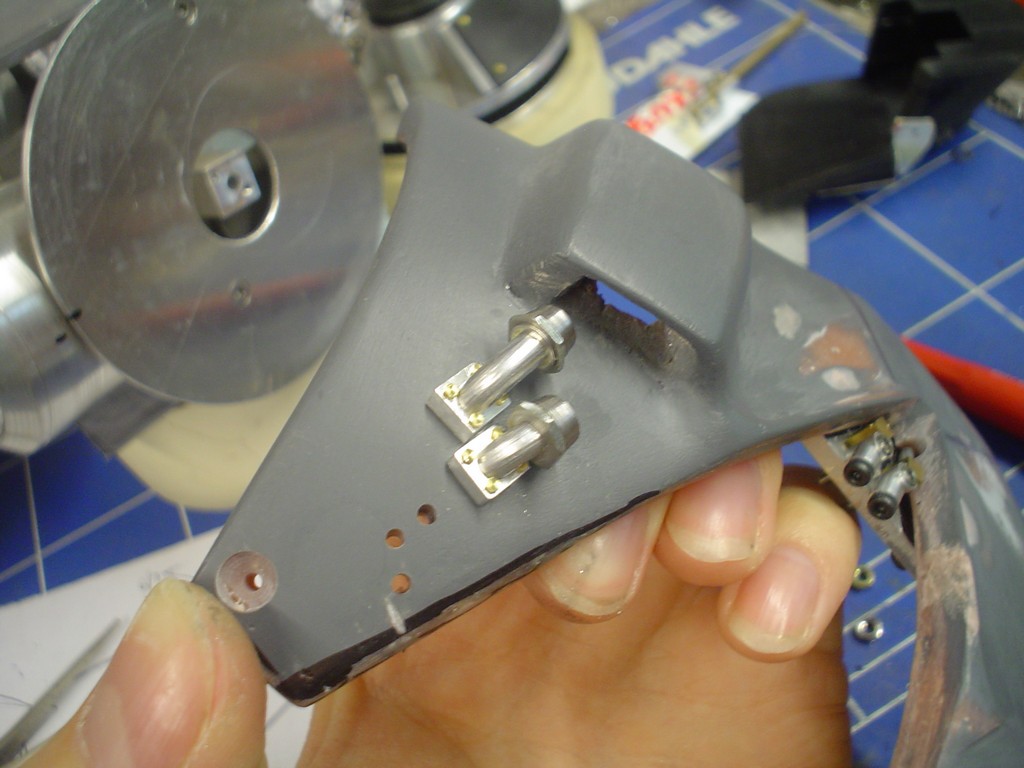
this is the little plate at the front of the collar, im not sticking too strictly to the real one here, close enough.
these are the catches that hold the head locked dpwn when its in park. They are rather fiddly!
tiny tiny
they will attach up here somewhere
Turning some large nuts down to make the big pipe fittings at the top
using some of the micro hex head screws, half a mm thread width
Man of Honour
Another great update. Are you still on target for Christmas? 

Soldato
The level of detail just keeps on getting better and better, great stuff as always.
- Joined
- 8 Nov 2006
- Posts
- 1,423
Another great update. Are you still on target for Christmas?
Yup should think so
- Joined
- 8 Nov 2006
- Posts
- 1,423
Yes, at one stage I think I had dropped so many bits on the floor it would have been easier to start working down there.
Just a mixture of tube, rod, threaded rod, nuts etc to make up the fittings, when painted they should look correct.

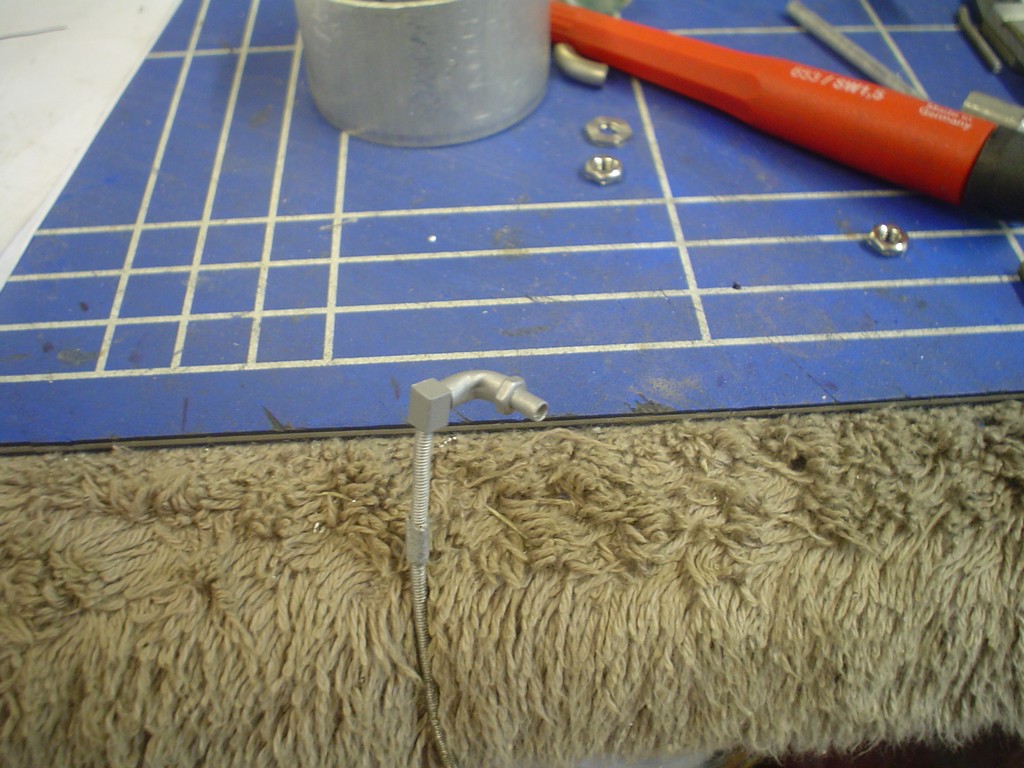
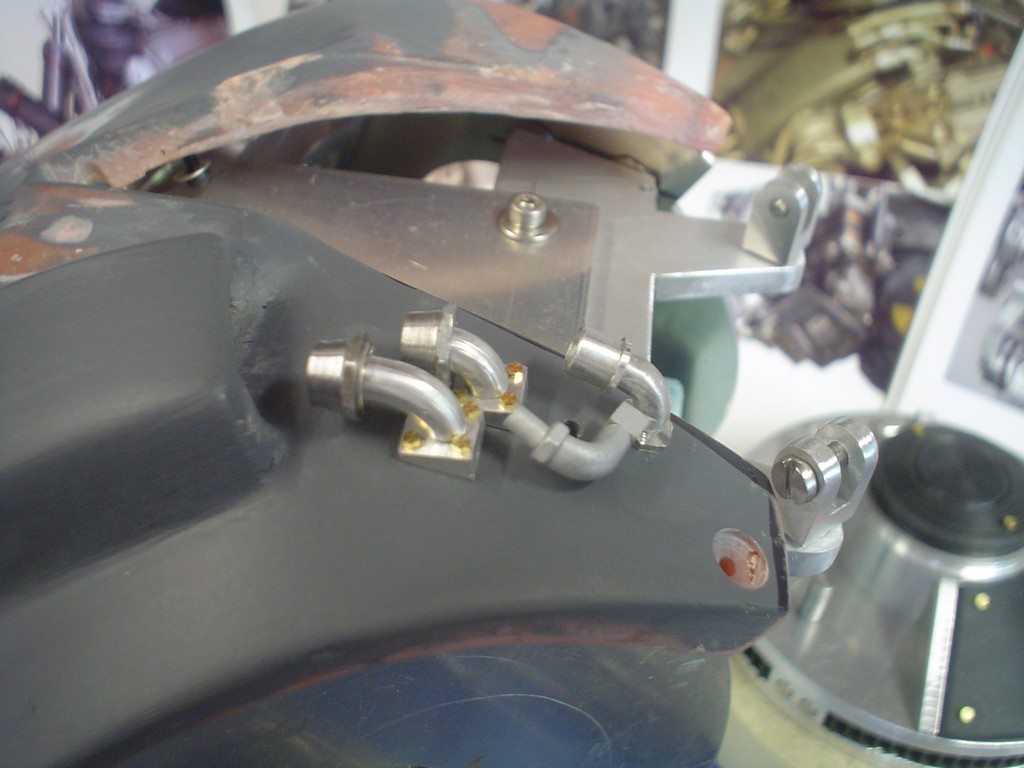


Just a mixture of tube, rod, threaded rod, nuts etc to make up the fittings, when painted they should look correct.
- Joined
- 8 Nov 2006
- Posts
- 1,423
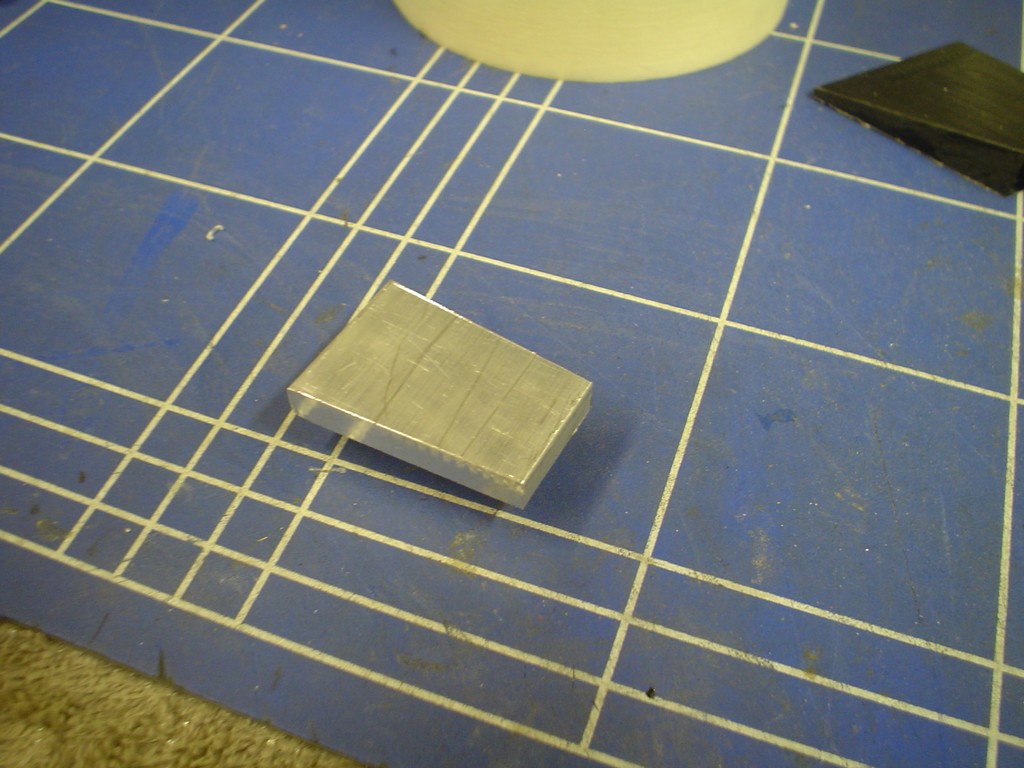
Made up one of the armour plates for the back, the other side doesnt have one in the pictures but I will probably make another for that side, it looks like it needs one.
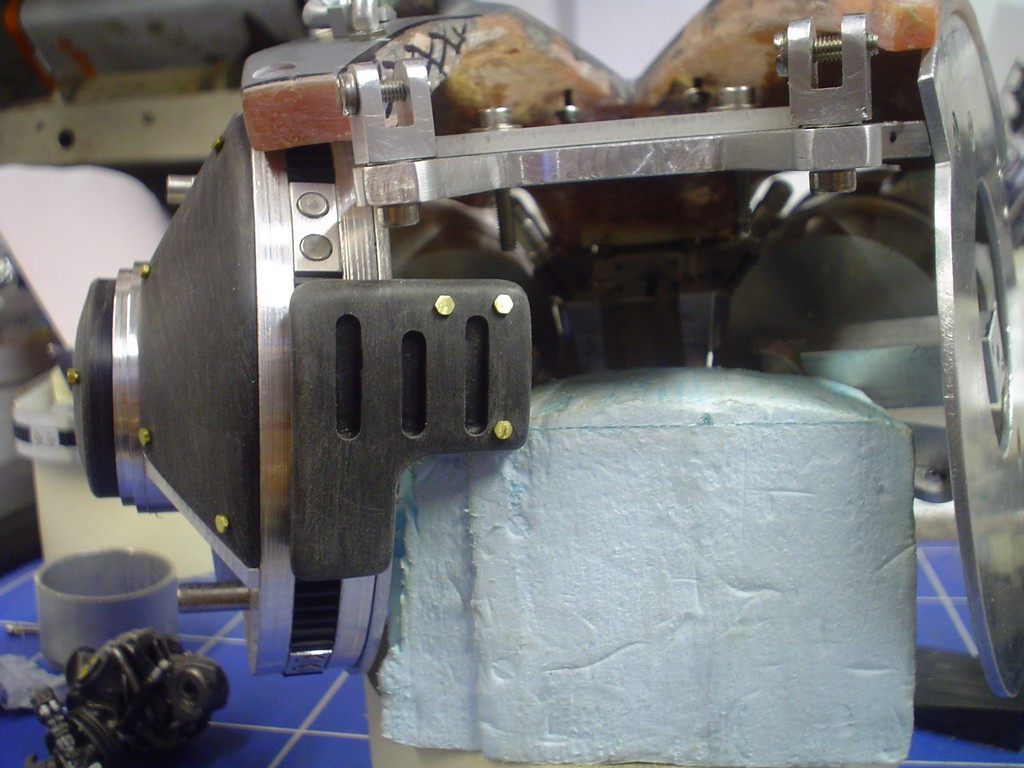
metal plate for the back
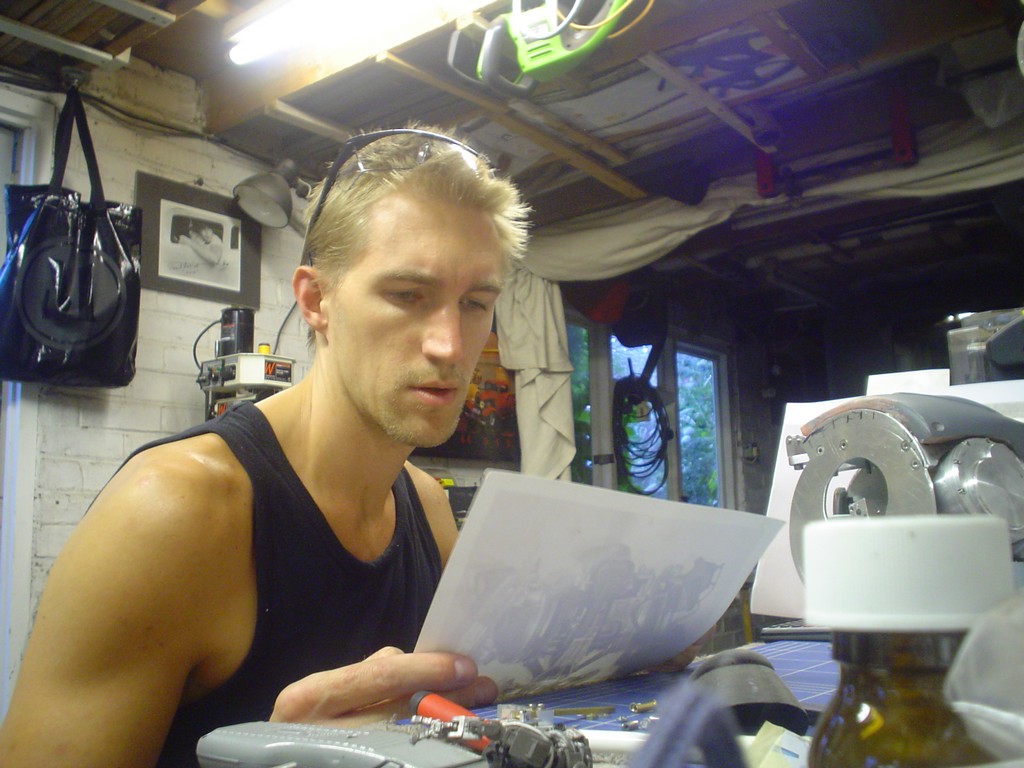
where I have spent a great deal of this year, sitting staring at a picture with a slightly stupid look.
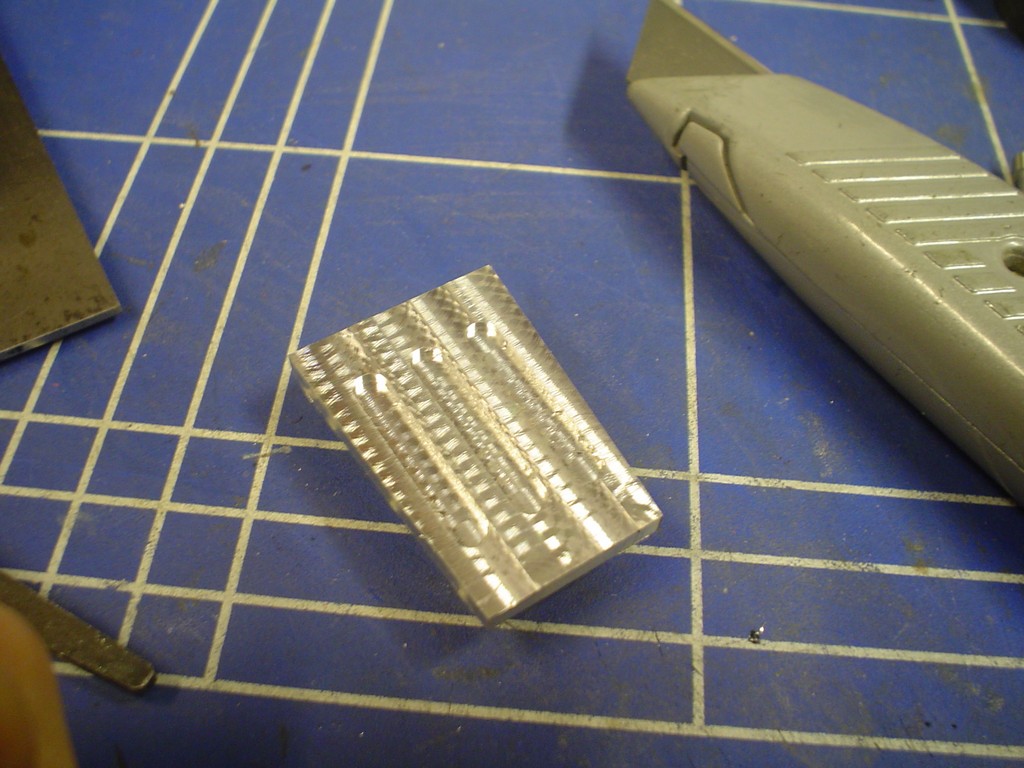
recesses cut and thinned out a bit
rubbed down and holes drilled for tiny hex head bolts, just about spot on i think

metal plate for the back
where I have spent a great deal of this year, sitting staring at a picture with a slightly stupid look.
recesses cut and thinned out a bit
rubbed down and holes drilled for tiny hex head bolts, just about spot on i think
i don't think i'll look better with symmetrical armour plates on the back though...
I do. Maybe try it and see how it looks
- Joined
- 8 Nov 2006
- Posts
- 1,423
The original model I have pics off doesnt have it, however it is in the movie, so I will add it.

and another panel I needed to make
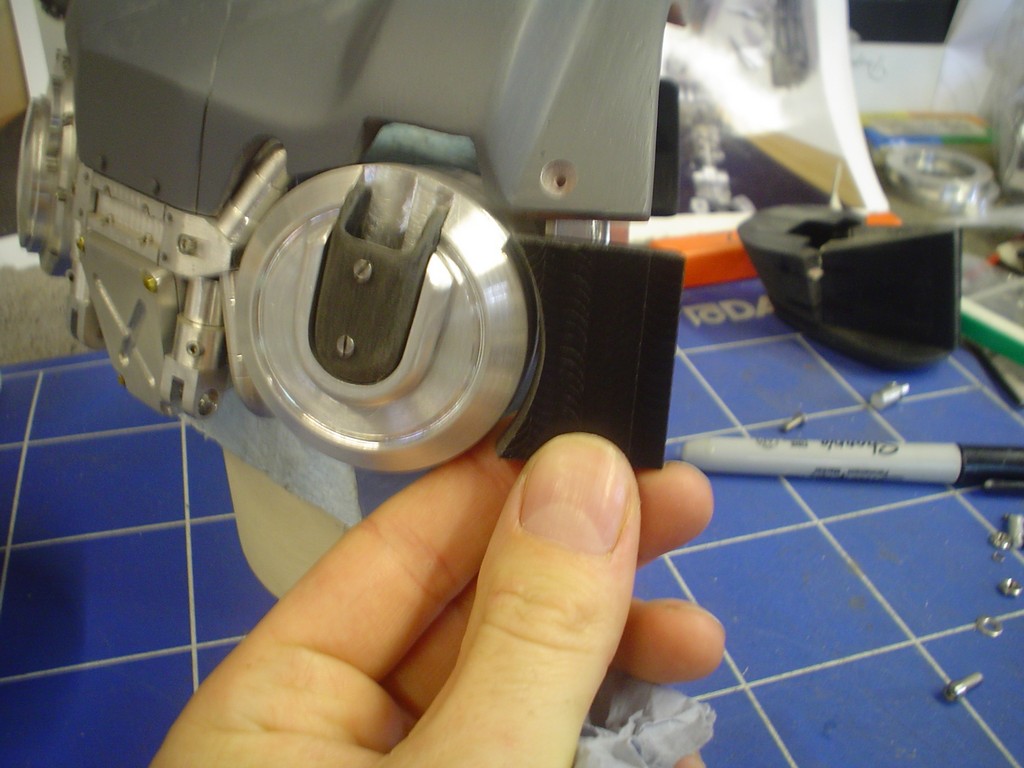
should blend when its all the same colour
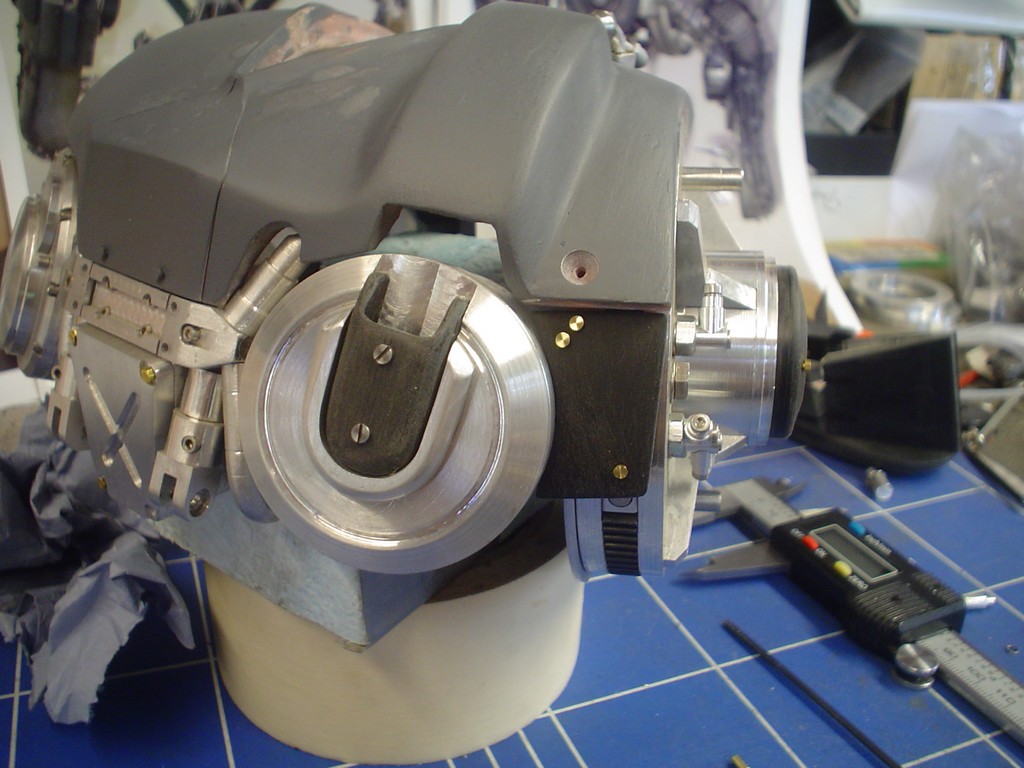
and another panel I needed to make
should blend when its all the same colour
Impressive work, really have to get a move on if you plan on finishing it by christmas.
Personally id rather not see it rushed, top job either way
I have an engineering mind myself, and would love to do things like this i just don't have the space, anyway kudos for the effort
Robocain is still one of the few things that scare me to this day, so please don't send him down this way.....
Personally id rather not see it rushed, top job either way
I have an engineering mind myself, and would love to do things like this i just don't have the space, anyway kudos for the effort
Robocain is still one of the few things that scare me to this day, so please don't send him down this way.....
Last edited:
- Joined
- 8 Nov 2006
- Posts
- 1,423
Its ok, as the weather turns bad I spend more time working on it. In the summer I spend most evenings out but now its time to get down to it!
Got a new chunk of delrin a last, im using the other as a template
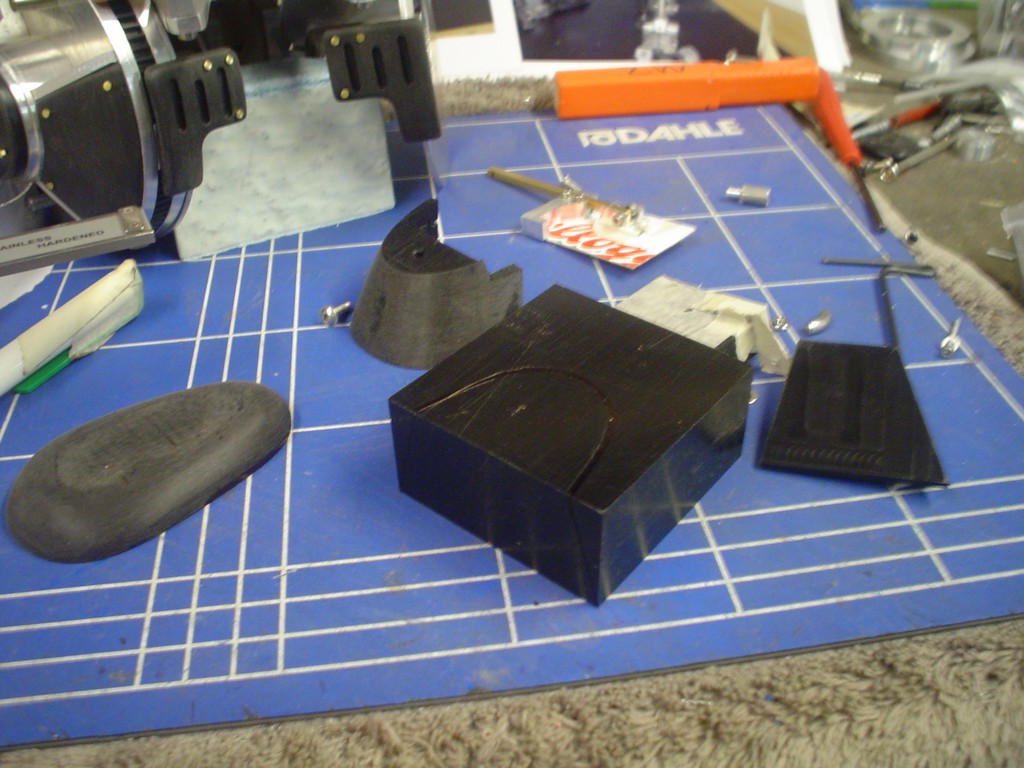
cut the sides, this is hard as there is 2 angles to worry about and both sides have to be the same.

using my nifty vice, I can pivot to the correct angle then use my bevel box to twist it in the jaws to get the other angle, make a not of them, then repeat for the other side.
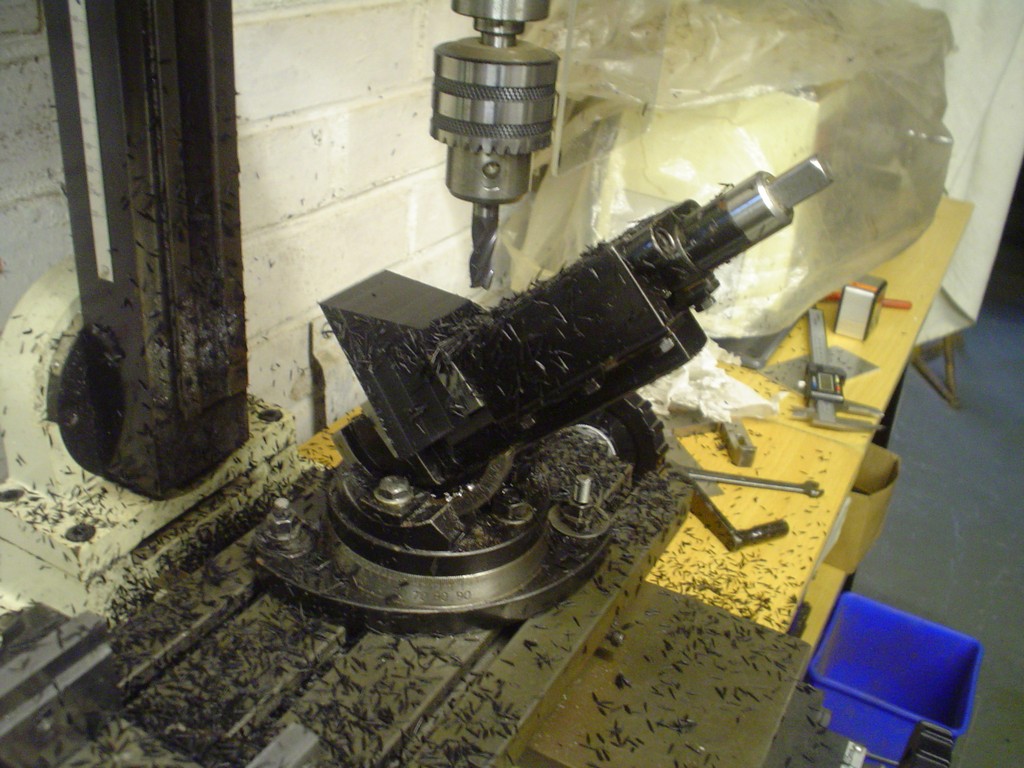
much bigger slant to start with, some of it will be lost when i trim the bottom.
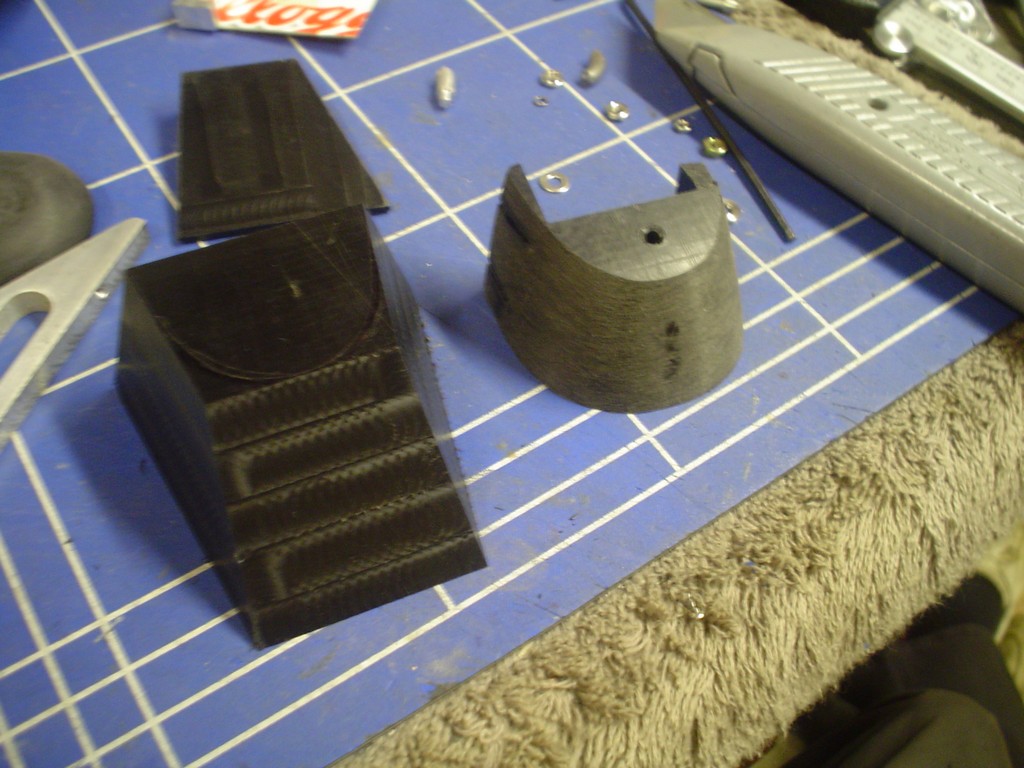
its a good start
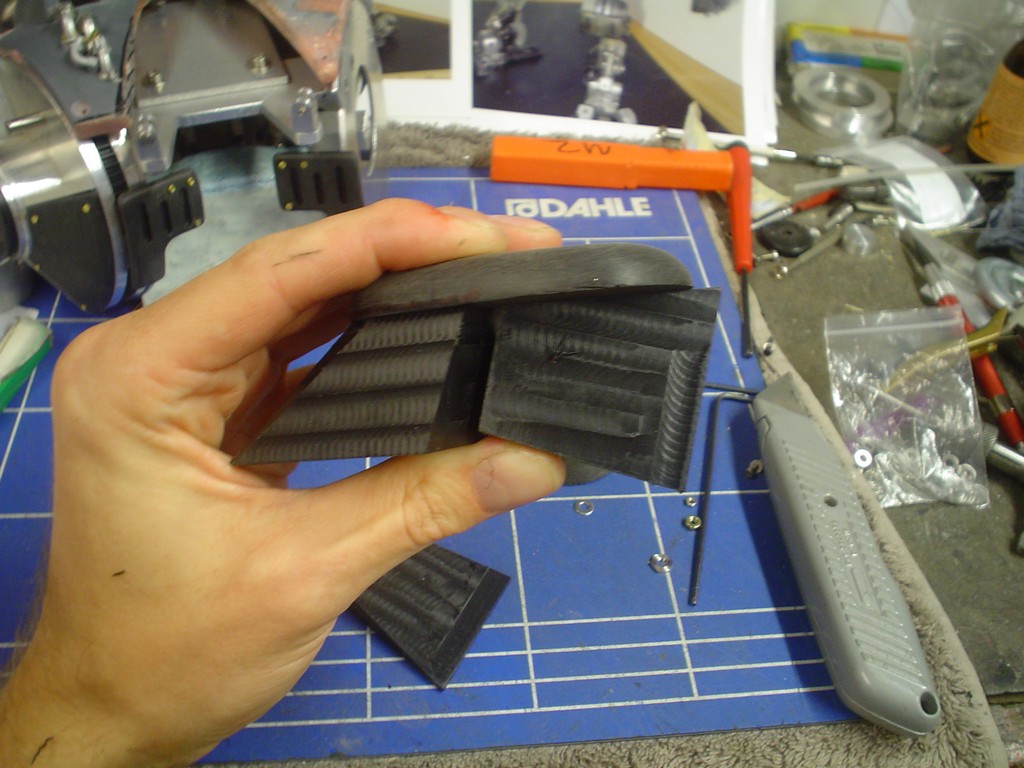
Got a new chunk of delrin a last, im using the other as a template
cut the sides, this is hard as there is 2 angles to worry about and both sides have to be the same.
using my nifty vice, I can pivot to the correct angle then use my bevel box to twist it in the jaws to get the other angle, make a not of them, then repeat for the other side.
much bigger slant to start with, some of it will be lost when i trim the bottom.
its a good start
- Joined
- 8 Nov 2006
- Posts
- 1,423
Looks like you have a severe insect infestation, there!
lol, yeh horrible isnt it, worse still when the chips come off it seems statically charged and sticks to everything, including me. I managed to eat a bit the other day

lol, yeh horrible isnt it, worse still when the chips come off it seems statically charged and sticks to everything, including me. I managed to eat a bit the other day
at least it isn't polycaprolactone where the heat of trying to machine it causes it to liquidise and thus chemically adhere to itself instantaneously on contact!


- Joined
- 8 Nov 2006
- Posts
- 1,423
Originally I was going to open up a cheap chinese MP4 player for the screen

however after looking at this a bit closer the screen will have to be some distance from the board that controls it due to the complex movement the screen will have to do. The pitch of the cable is very fine and trying to solder an extended version on is a bit of a pain. So I have been hunting on the web for a solution, most of the tft screens of about 1.6/7/8 inches have to have a board with them, plus a video source as well, not only that but they are backlit and so quite thick. Finally after hours of searching I have found an Organic display (OLED) that should do the job, no back light and the whole unit is only 6mm thick which I should just be able to pull off. The other downside to the MP4 player is when you turn it on you would have to navigate through the menu to the video, with this module I have bought it can be set to auto play a file as soon as power is applied. Only down side is its a development module and so I might have to learn a bit of programming to actually get the thing to work, oh yeh ands its nearly £90 . If anyone is interested its coming from 4D systems in Australia.
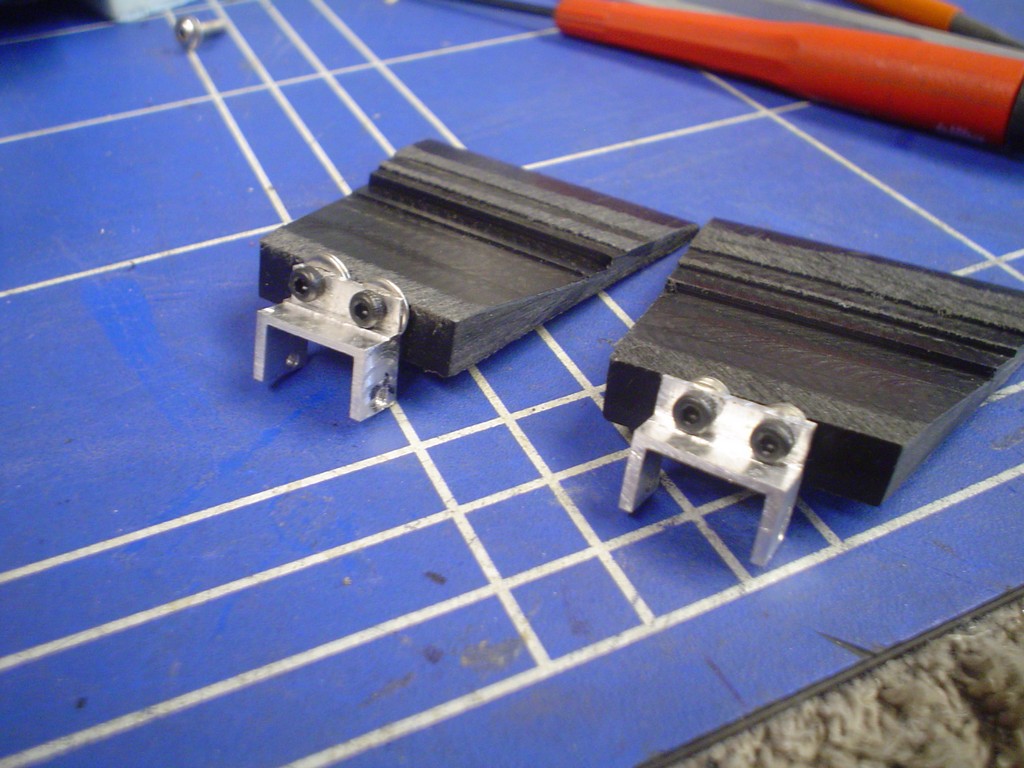
Made up some brackets for the head doors, also trimmed the doors down on the inside to give me some more room.
Im using an old battery as a mock screen, its more or less the correct size! I made a aluminium bracket thing and a brass rod with a little plate on the end thats hinged.
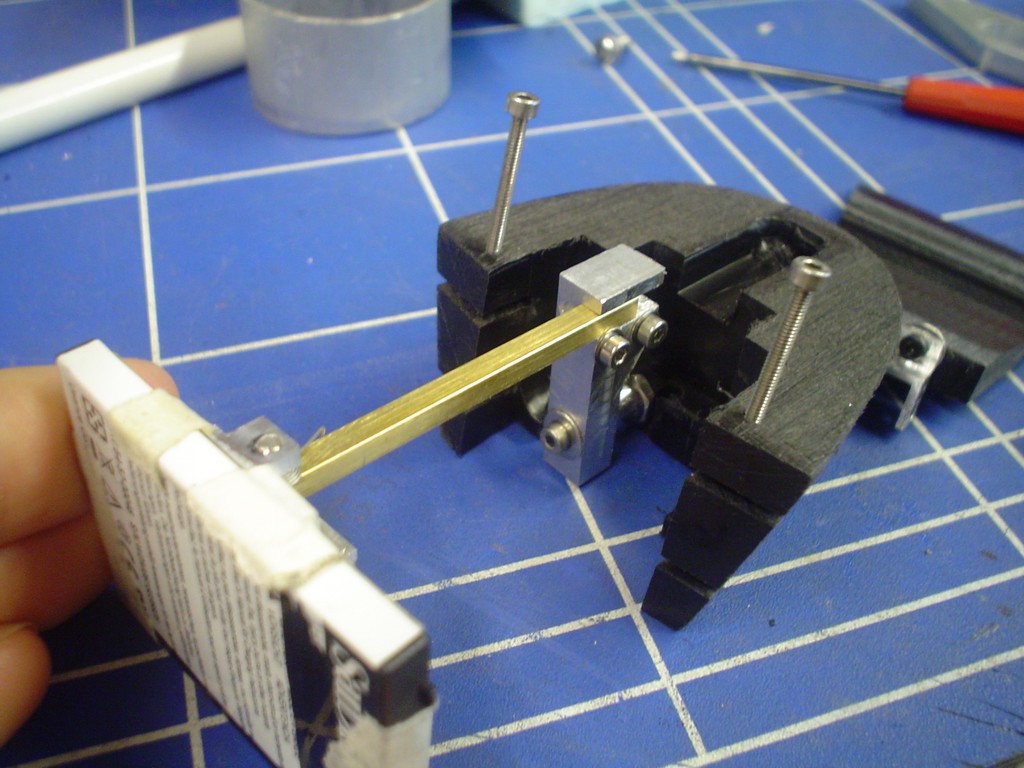
The idea is the screen will twist sideways and slide into the head and the doors close.
Had to carefully remove material from the inside of the head.
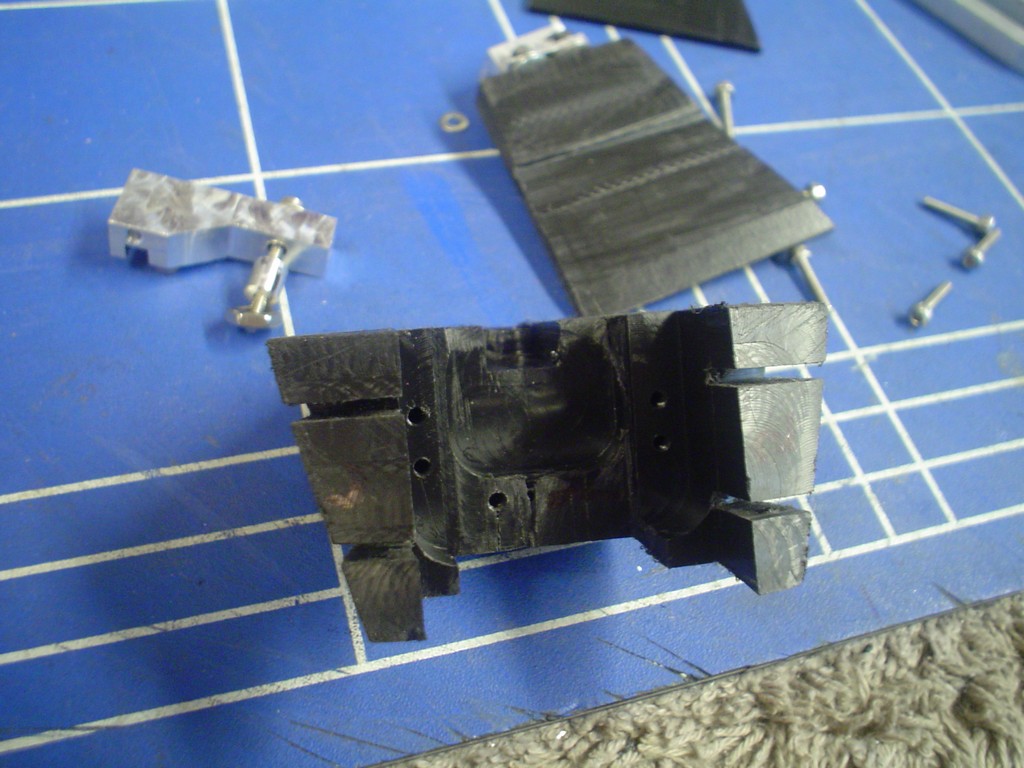
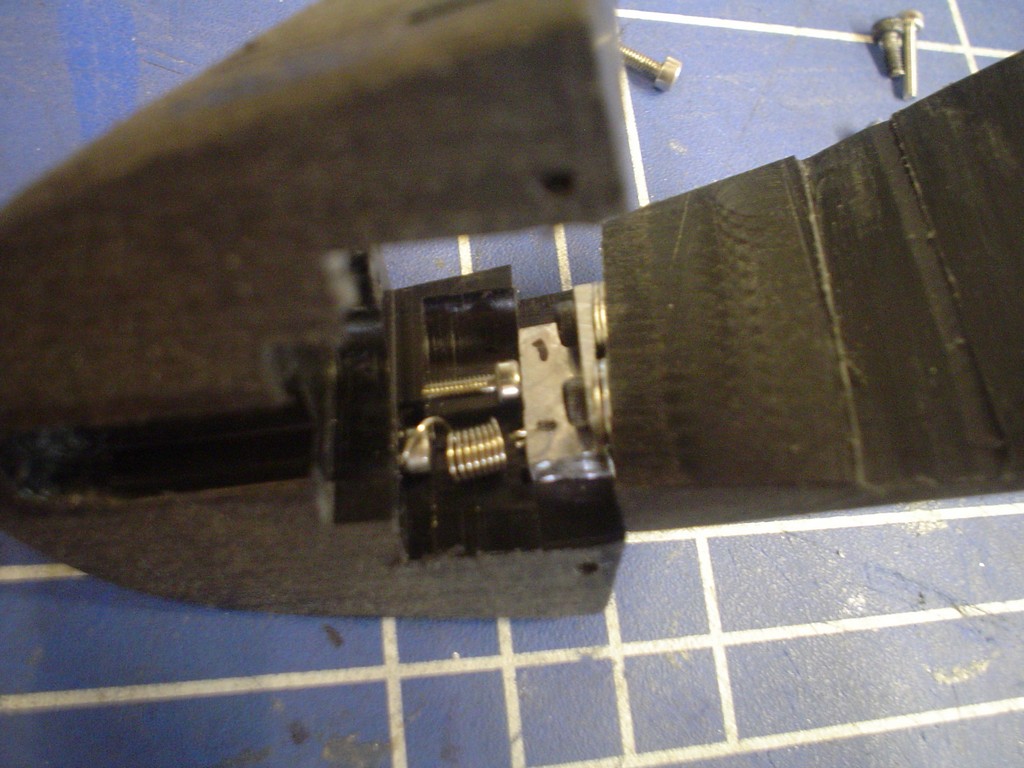
Got the doors in and drilled in the right place, they hinge ok, but still a bit of resistance, some screws inside are there to adjust where the doors close so they meet in the middle.
adding a tiny spring to pull the doors closed.
im just hitting this head on at the moment, not 100% how im going to get it to open the doors, screen out, twist and the reverse the whole sequence at the push of a button but im sure I can manage it somehow.

however after looking at this a bit closer the screen will have to be some distance from the board that controls it due to the complex movement the screen will have to do. The pitch of the cable is very fine and trying to solder an extended version on is a bit of a pain. So I have been hunting on the web for a solution, most of the tft screens of about 1.6/7/8 inches have to have a board with them, plus a video source as well, not only that but they are backlit and so quite thick. Finally after hours of searching I have found an Organic display (OLED) that should do the job, no back light and the whole unit is only 6mm thick which I should just be able to pull off. The other downside to the MP4 player is when you turn it on you would have to navigate through the menu to the video, with this module I have bought it can be set to auto play a file as soon as power is applied. Only down side is its a development module and so I might have to learn a bit of programming to actually get the thing to work, oh yeh ands its nearly £90
 . If anyone is interested its coming from 4D systems in Australia.
Made up some brackets for the head doors, also trimmed the doors down on the inside to give me some more room.
Im using an old battery as a mock screen, its more or less the correct size! I made a aluminium bracket thing and a brass rod with a little plate on the end thats hinged.
The idea is the screen will twist sideways and slide into the head and the doors close.
Had to carefully remove material from the inside of the head.
Got the doors in and drilled in the right place, they hinge ok, but still a bit of resistance, some screws inside are there to adjust where the doors close so they meet in the middle.
adding a tiny spring to pull the doors closed.
im just hitting this head on at the moment, not 100% how im going to get it to open the doors, screen out, twist and the reverse the whole sequence at the push of a button but im sure I can manage it somehow.

