[Scratch case] Project Duplex

Associate
OP
Joined
11 Dec 2012
Posts
90
Thx Guys!!!

Hey guys,

Finally an update!
Recently bought a house and have been moving things (mostly to the garage) so now i can start modding more and close to home so updates should be more frequent now

After thinking a while about the front and the back panel i decided the best way would be to have them water cut, i have countless times milled thin aluminum sheet and it usually ends with the flute snapping. Still need to cut a lot of holes in the back panel for all the connectors but i will do that at a later stage
2_zps69a299da.jpg

1_zpsd1a842c5.jpg


One step forward two steps back, or however the saying goes. I wasn't very happy about the shape of the frame and the quality of the work i had put in it so i sat down and re-drew the frame and decided it was time for plan C. This time it is made from a 10mm aluminum sheet, it's 15mm wide. I changed the angles a bit and shortened it a bit length and depth wise, the width it still the same
3_zpsab465c89.jpg


Time to drill some holes
4_zpsd7c38a0c.jpg


One drilled, one to go, hopefully it fits!
5_zps762fb1d6.jpg


Time for some threading, i always use the cordless drill to tap with, so far i have never snapped a bit with it and its so much faster.
6_zps121610cc.jpg


Had to change the "shape" of the mill so i could drill and tap the support bars
7_zps3f5b612f.jpg


The support bars
8_zps86a78f66.jpg


Done
9_zpsf410d6b7.jpg


Seems like it fits!
10_zps77fed504.jpg


So much better than the other frame, a lot of work but now i like it and it won't bug me anymore.
11_zps0f981de0.jpg


Bottom plate for the frame, drilled and counter sunk
12_zps2989ccbd.jpg

13_zps8012cba4.jpg


Perfect fit except one hole which i need to file a bit.
15_zps8debed8e.jpg

16_zps3d0b7631.jpg


Old vs new, i don't know what you guys think but i like the new one a lot more
17_zpsdf54f6af.jpg


New part arrived!
18_zpsdf5723f7.jpg


Another box in the box
19_zps52bc87d3.jpg


Everything is very well packed
20_zps1546cfd5.jpg


Lots of cables with it, needs some sleeving though
21_zpsd182abb7.jpg


Love the brushed steel look on the top of it
22_zps132ee195.jpg

23_zpsef73c4ff.jpg

24_zps45b64de6.jpg


Scale photo
25_zps8d0d8283.jpg


More updates coming soon!

Very sad news about OCZ, the only SSD's i've owned are OCZ and i have been very happy with them.

Sponsored by
b926c380-48f3-44ba-aeb9-fa63383cfa0d_zpsc8add0f1.jpg
 
Associate
OP
Joined
11 Dec 2012
Posts
90
Hey guys!

Finally all moved in to the new house and got internet up and running again.

Just a short update but another one hopefully this weekend.
Milling the motherboard plate and the Gpu plate. Only milling the shape for now and doing all the holes and cutout later.
update41_zps985b4cac.jpg


More milling and drilling, these are for the other panels on the side.
update42_zps96ddb921.jpg


All slots cut out
update43_zps41ec6f58.jpg


As i haven't had any access to the press break for a while I started looking for an "affordable" sheet bender, but the quality on them are horrible. So i decided to take a different approach to bending the sheets.

60 degree V-flute, 1mm in the bottom
update44_zps19f70f9c.jpg


Milled a 1mm deep slot in both panels
update45_zps09276766.jpg


Clamped it to the desk with the slot facing upwards
update46_zpseb35db05.jpg


Put a small flat bar across the sheet so i would bend it equally everywhere
update47_zps1f897e12.jpg


Worked a lot better than i thought it would.
update48_zps8fe8d4d6.jpg


Test fit of the panels. Had to try the grommet too to see if i made the hole the right size
update49_zpsc639c2b2.jpg


More panels.
update410_zps5c8fcf29.jpg


Also made a cut out for the motherboard in HDF, It's a lot faster and easier to redo if i have some measurements wrong :)
update411_zps80629023.jpg

That is all for now, hopefully another update over the weekend!

Sponsored by
b926c380-48f3-44ba-aeb9-fa63383cfa0d_zpsc8add0f1.jpg
 
Associate
OP
Joined
11 Dec 2012
Posts
90
Thx AuXDubz!

Back with an update, was supposed to be a bit earlier but have been sick so haven't had much time. Anyways...
Did the motherboard and GPU side in aluminum
Update52_zps0abb6c08.jpg

Update53_zps37462b19.jpg

Test fit of components
Update55_zps95c95c6d.jpg

Update56_zps1ba17985.jpg

Update54_zpsc1d0323d.jpg

Made some covers for SSD's so the cables will be hidden. No pictures of the installed yet but there will be soon enough
Update510_zpsea89ad69.jpg

Same for the Pci-e extension cable
Update514_zps1b8076f9.jpg

Update513_zps324e2fc9.jpg

Update51_zps5c9b38e5.jpg

Made a sheet for holding the rads and fans. Decided to make it in two separate pieces, one for each rad.
Update57_zps8e1466f5.jpg

A bit of bending
Update58_zps0e82f012.jpg

Test fit
Update520_zps7092019b.jpg

Time for some acrylic. This is for the front panel. Was a bit tricky before i figured out how to make it in two runs. Milled some holes and put some centering axles in it. worked out pretty well.
Update517_zpse10b7344.jpg

Installed. Made it slightly bigger so i can sand it to the right size. Still need to do the rear and top and bottom. Still not sure if it will be painted or led lit. But i will need to decide very soon.
Update518_zps46be2925.jpg

That's it for this time

As you can see i have some new parts :) Will do some unboxing as soon as i can get it set up
Sponsored by:
ocz_logo_lrg_zpsa0ced67d.png
 
Associate
OP
Joined
11 Dec 2012
Posts
90
So been crazy busy trying to get as much done as possible. The Cooler Master mod contest ends on the 31st so i am freaking out a bit right now :)

have had a lot of parts lying around for a while now but thought it was time to upload some photos.

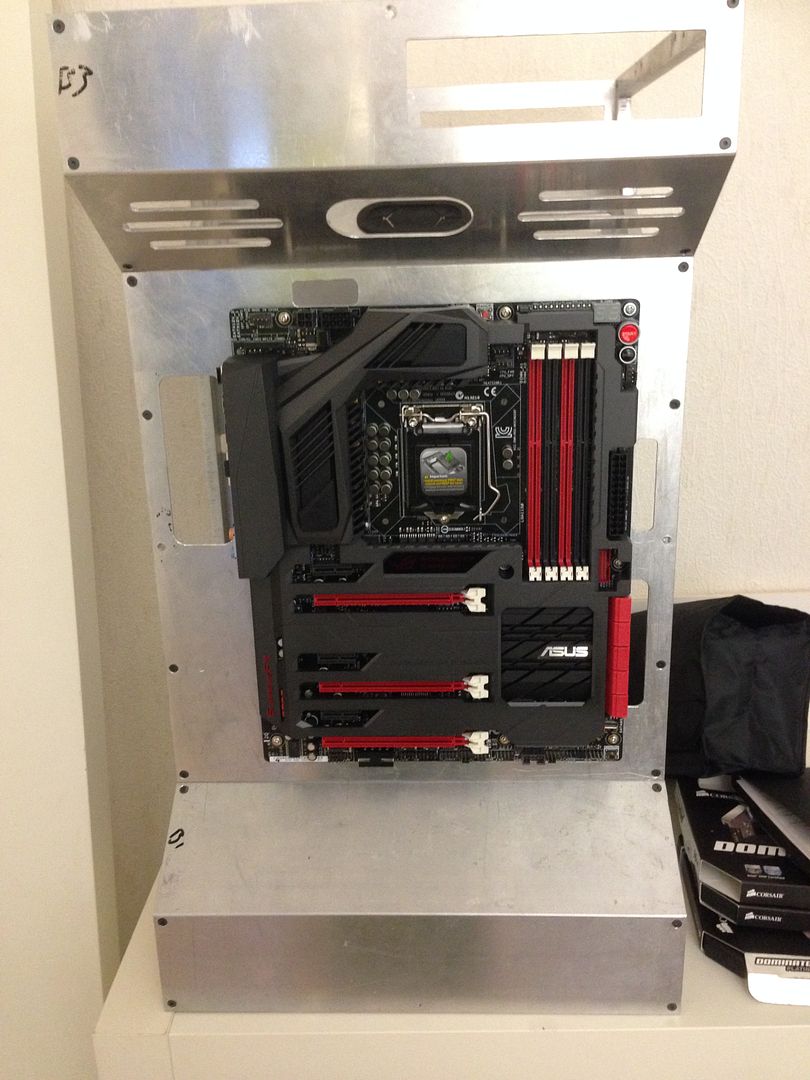
Ever since i saw the Maximus Vi Formula i knew this was the board for my next computer. I generally don't like "naked" pcb's so this is perfect for me!
Formula1_zps8636ef69.jpg

Formula2_zps8a9d7b77.jpg

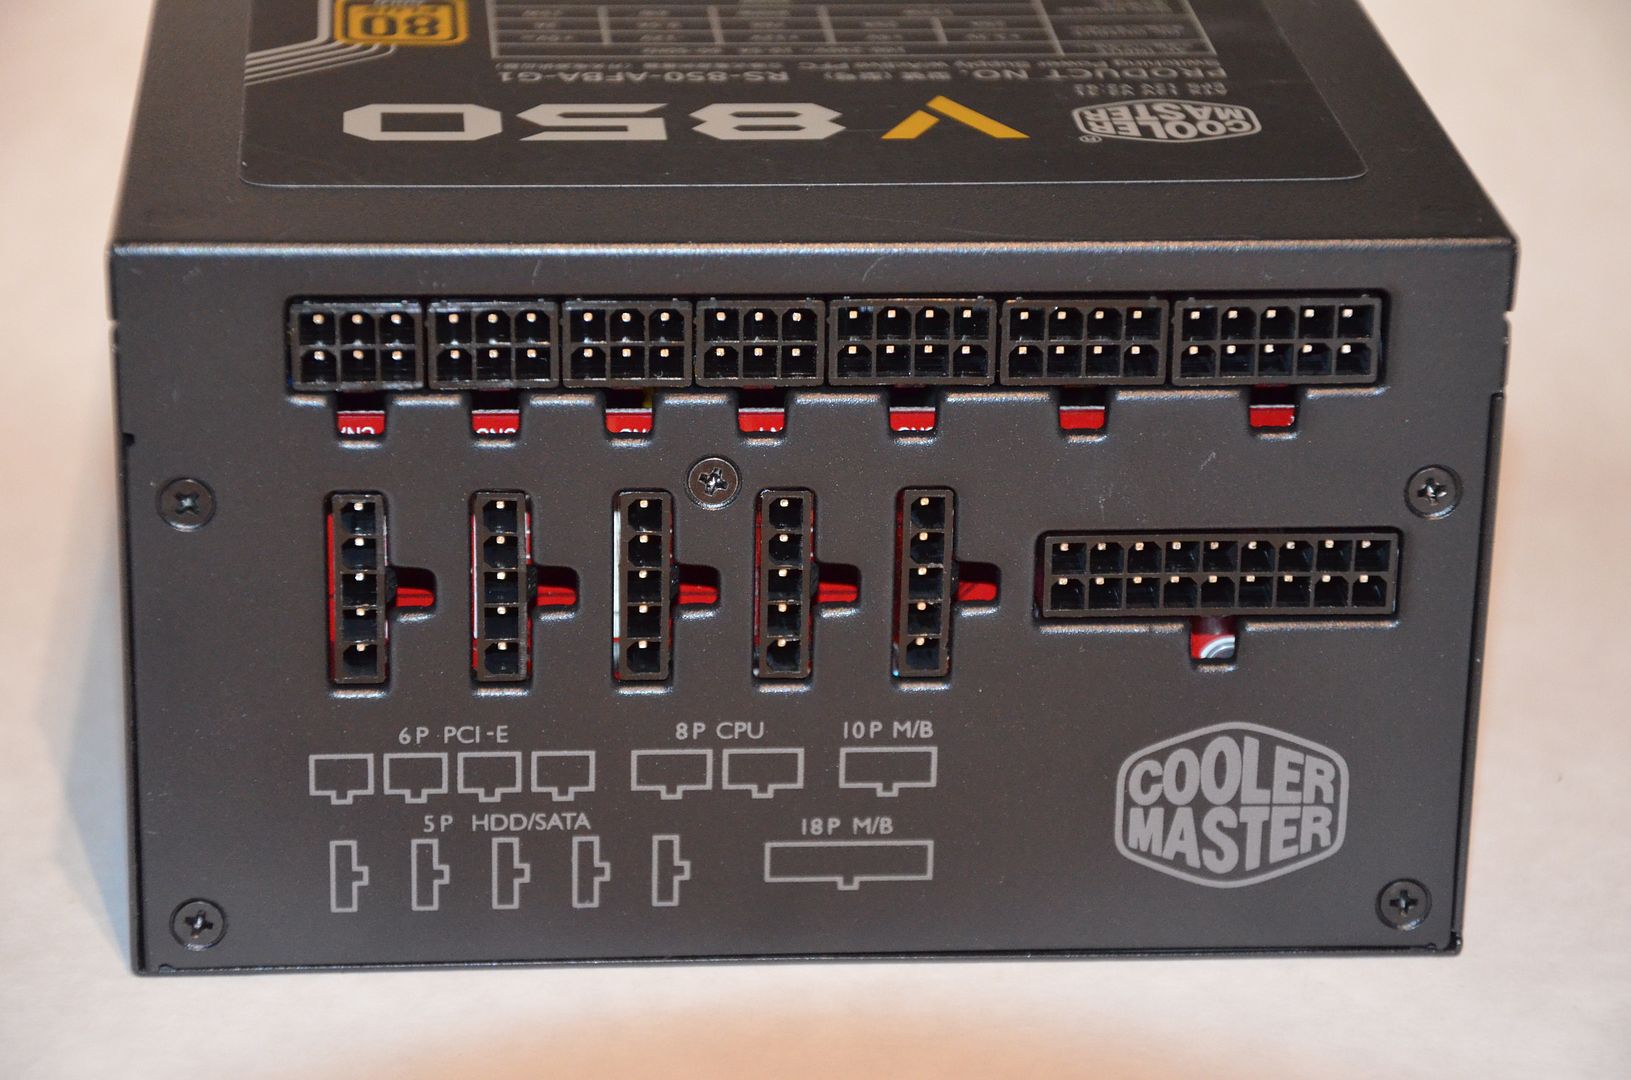
A lot of accessories.
Formula3_zps3223831d.jpg


Just sexy, great color scheme and as a bonus its ready to be water cooled!
Formula4_zpsa26aa73b.jpg

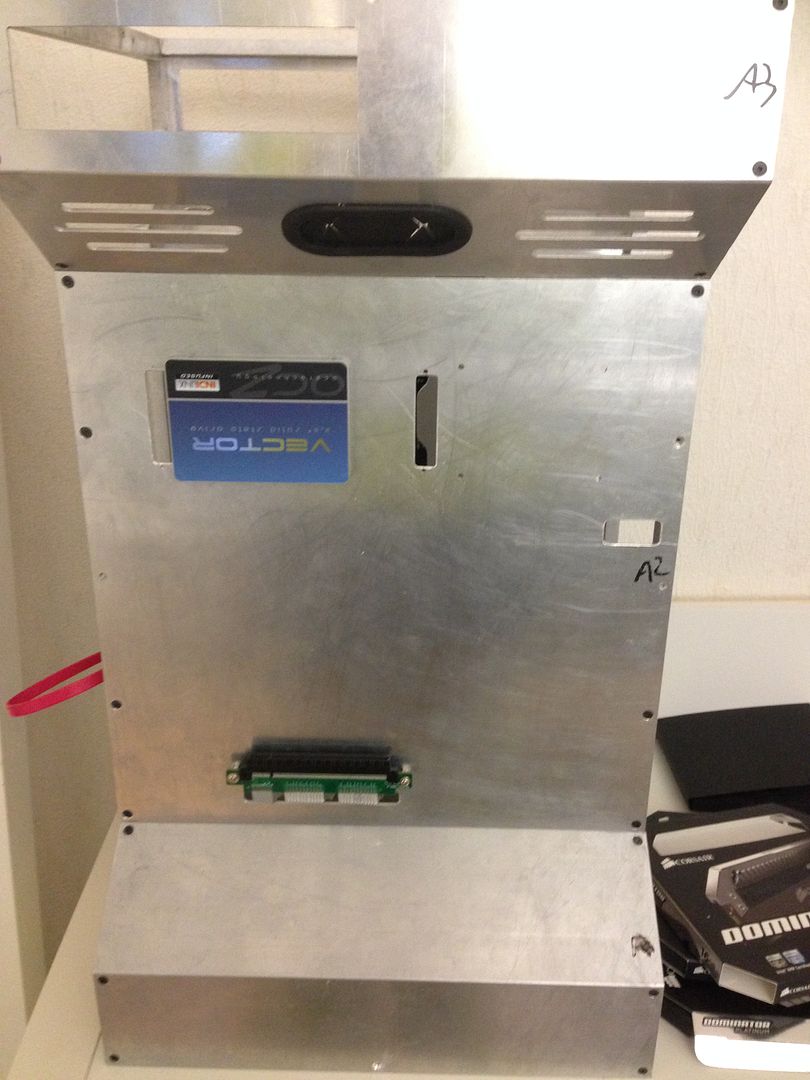
Even has a backplate, this just keeps getting better and better!
Formula5_zpsa089b7d0.jpg


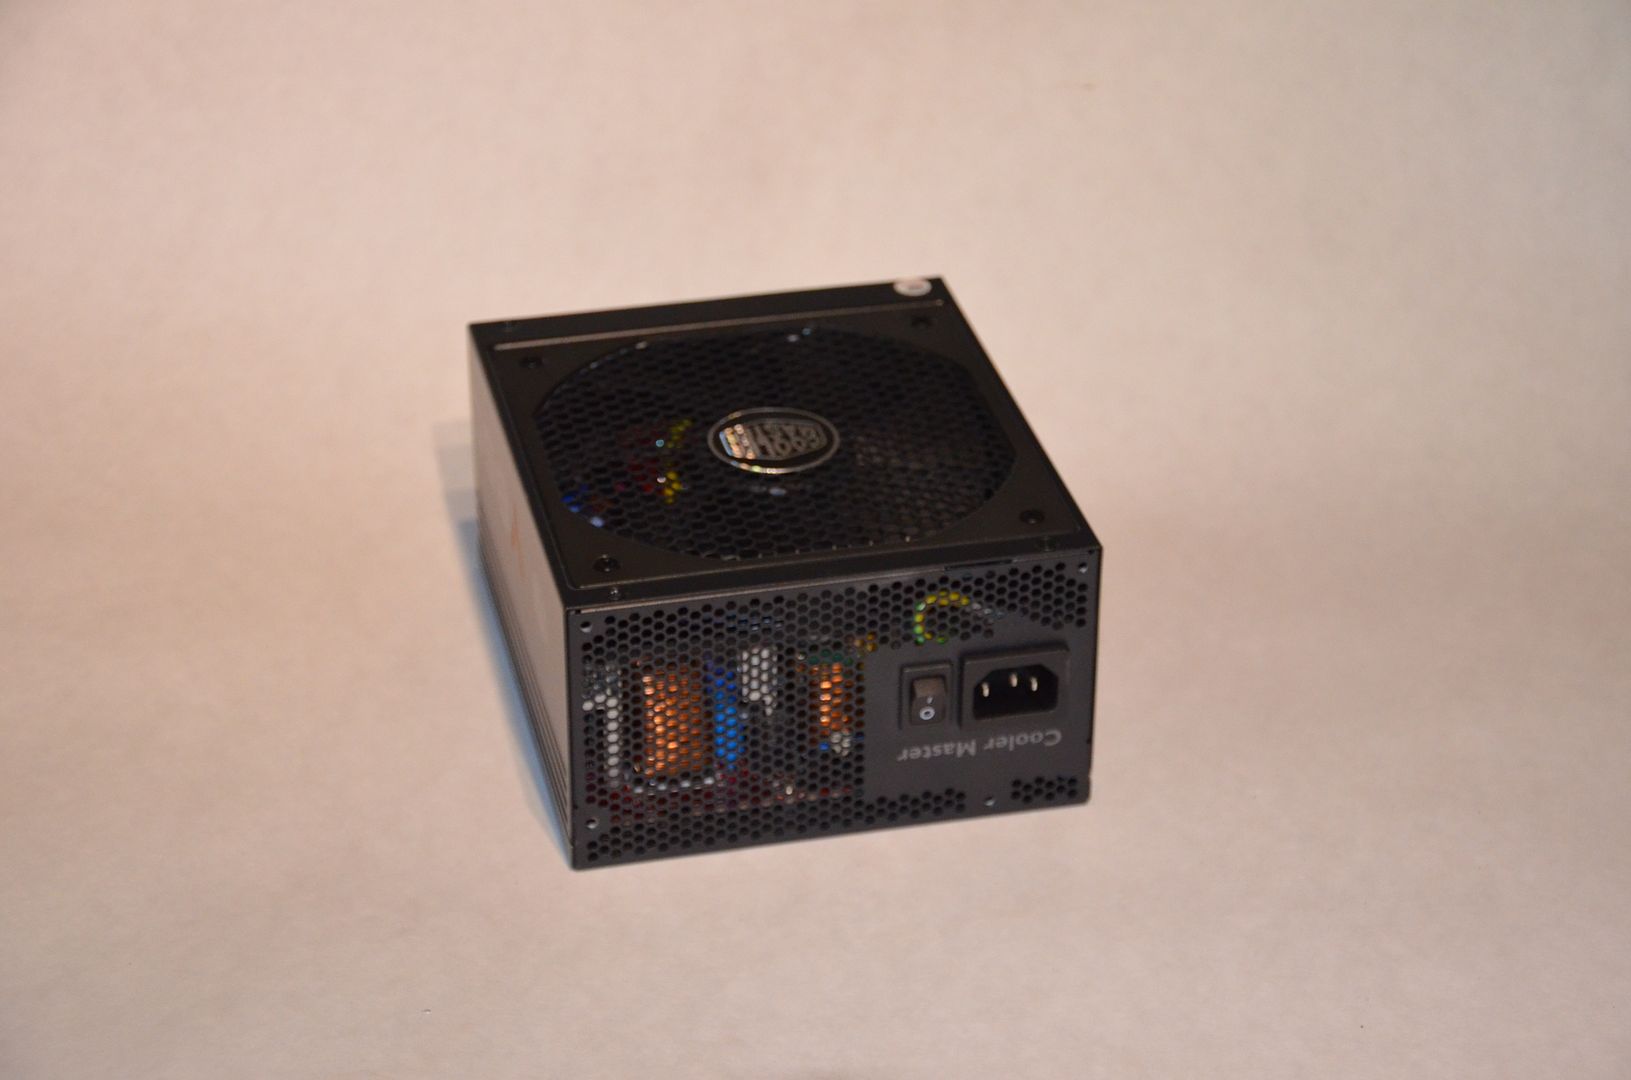
Next up GPU, decided on a GTX 780 since i seem to have no time for gaming anymore. Still there is nice to have some power when i need it.
GTX7801_zps6552dfab.jpg

Even the inner box looks great
GTX7802_zps1dadb685.jpg

Awesome, almost a shame to water cool this.
GTX7803_zps5c6df455.jpg

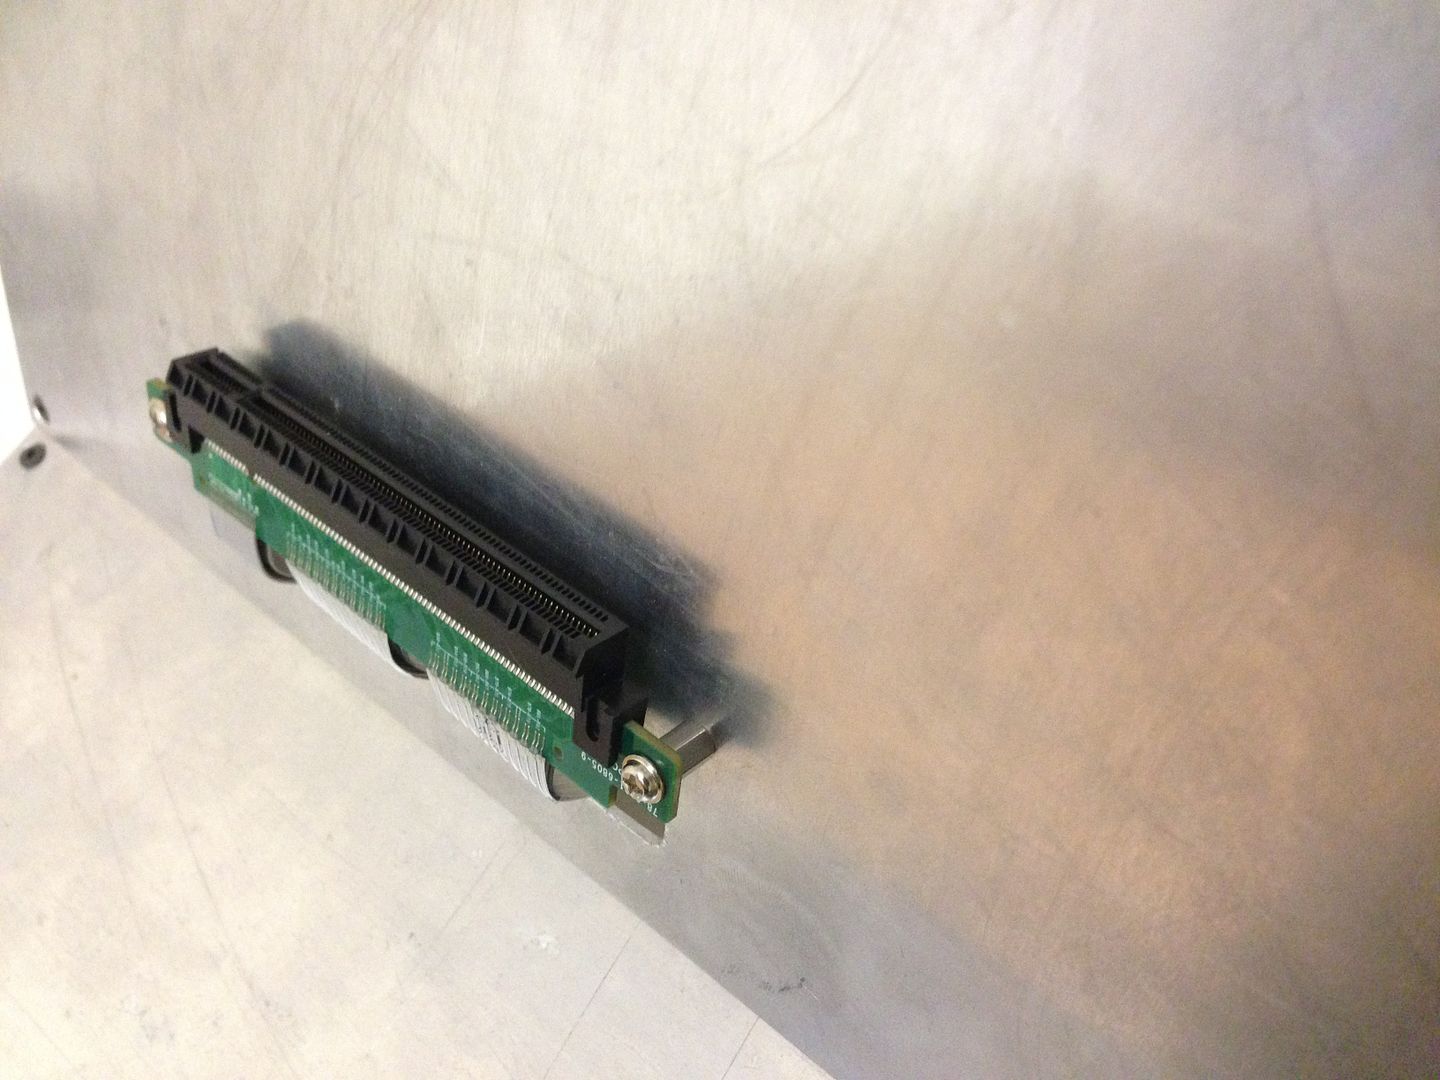
Great looking backplate, won't be seen though due to the way it will be mounted
GTX7804_zps8fd674d4.jpg


Have always wanted an I7 since i do use Solidworks quite a lot. Never could justify to buy one. This time i just bought it and didn't think about the cost
Intel_zps9cfa28d6.jpg


I had 16Gb of platinum ram from before. Bought another pack just for the looks. Won't really need 32gb but it does make the case look better. And some light bars.
Corsair1_zps8a6f6935.jpg

For some reason the old ones does not look like the new ones. The old ones still have milling marks and are slightly shiny. The new ones looks like they have been blasted with some media. Lucky i bought the light bars.
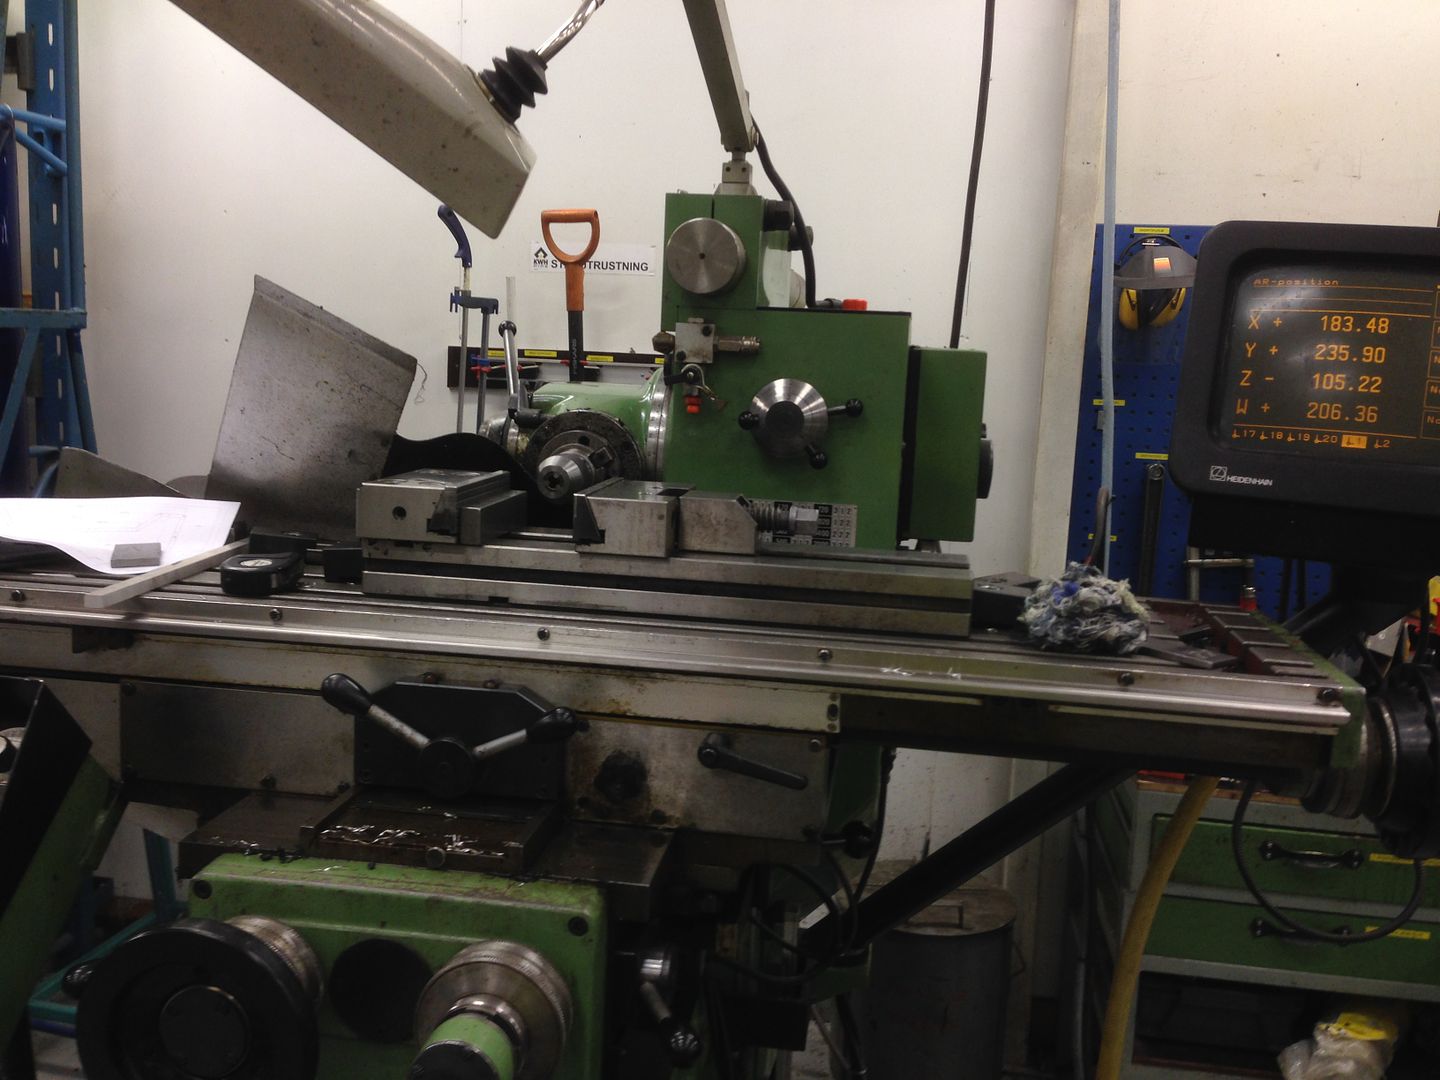
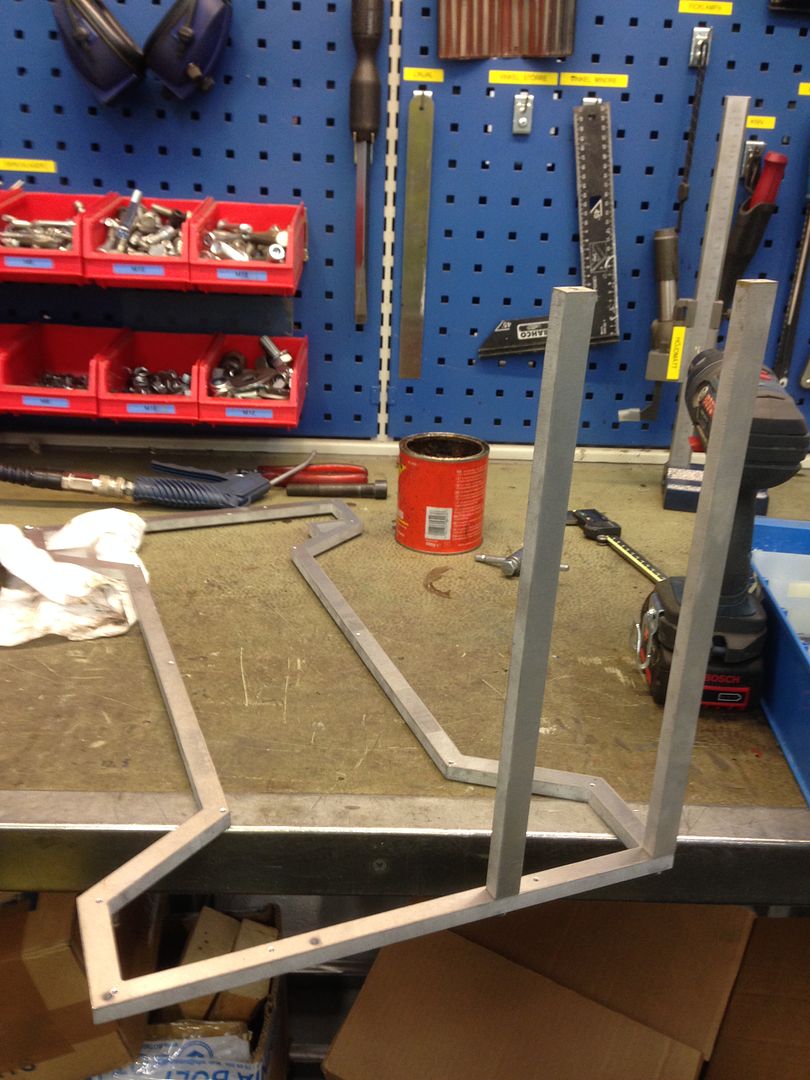
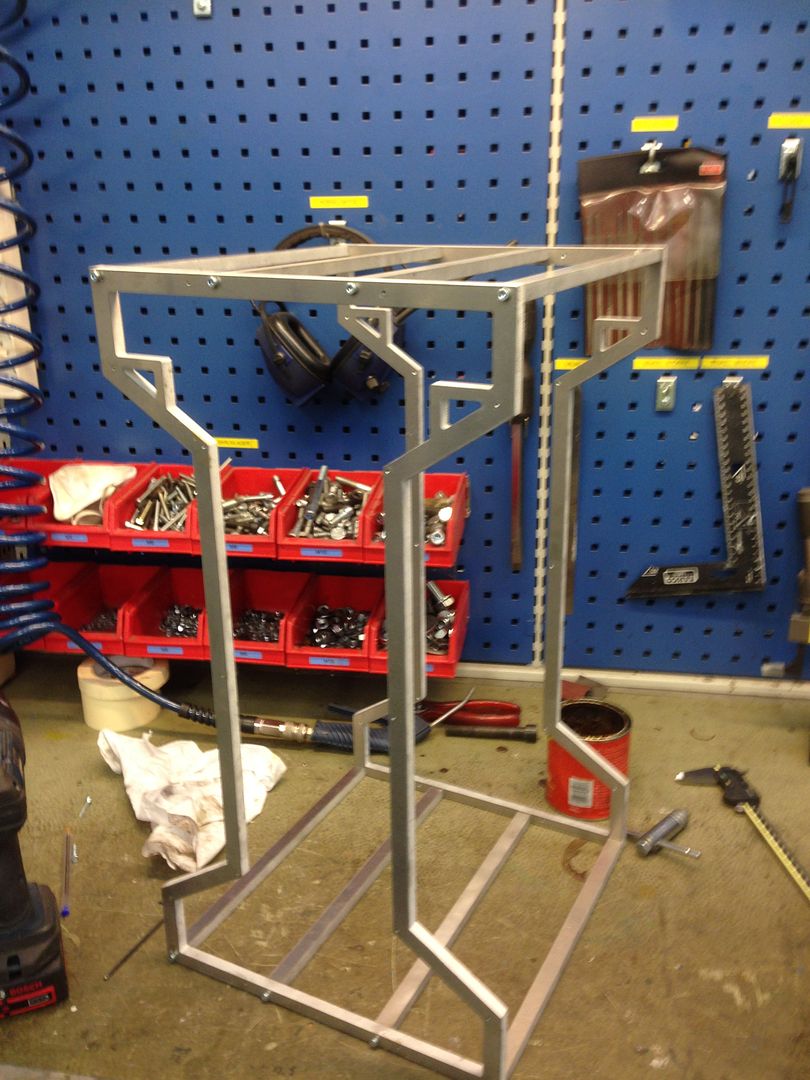
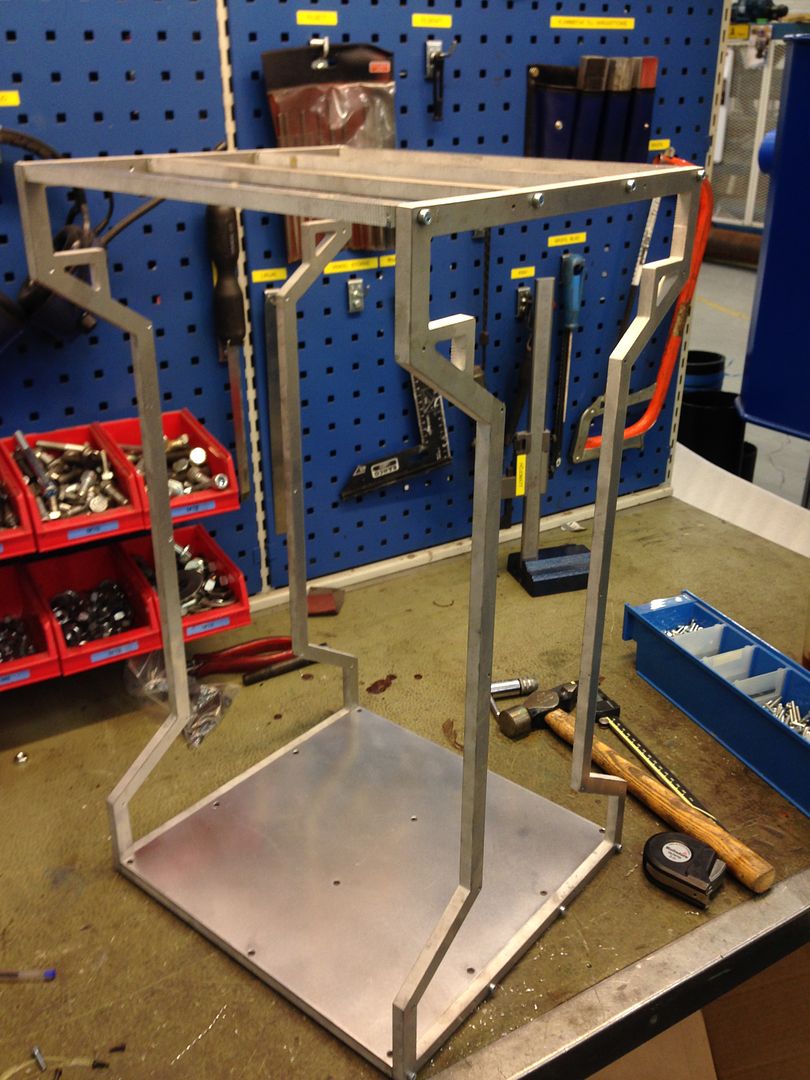
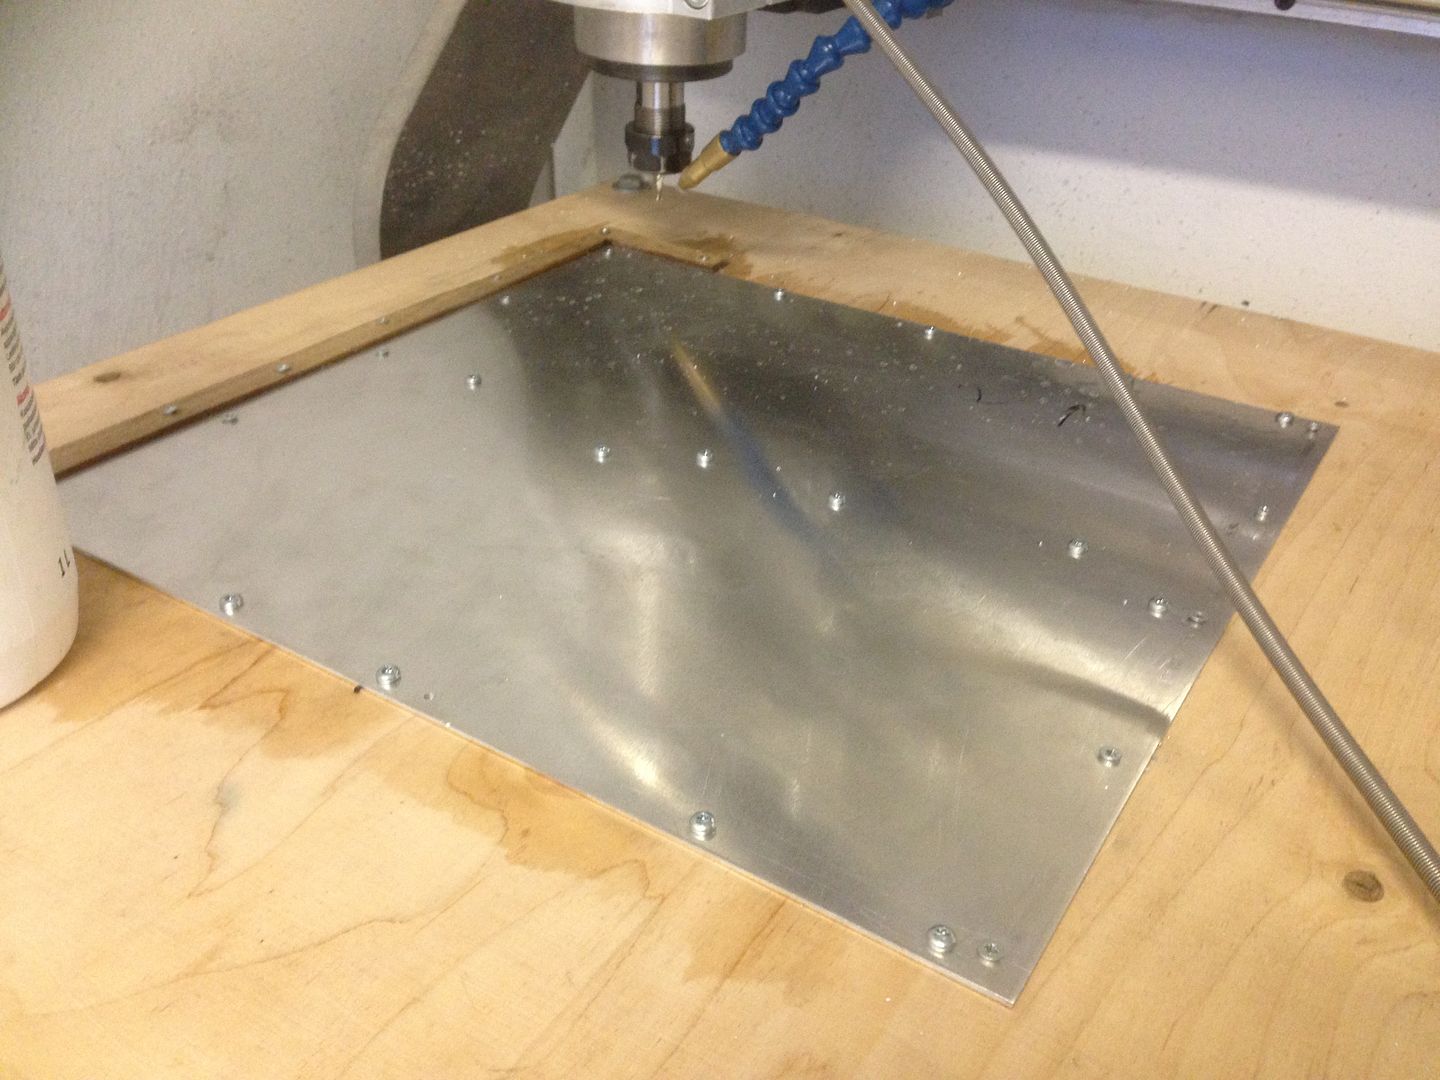
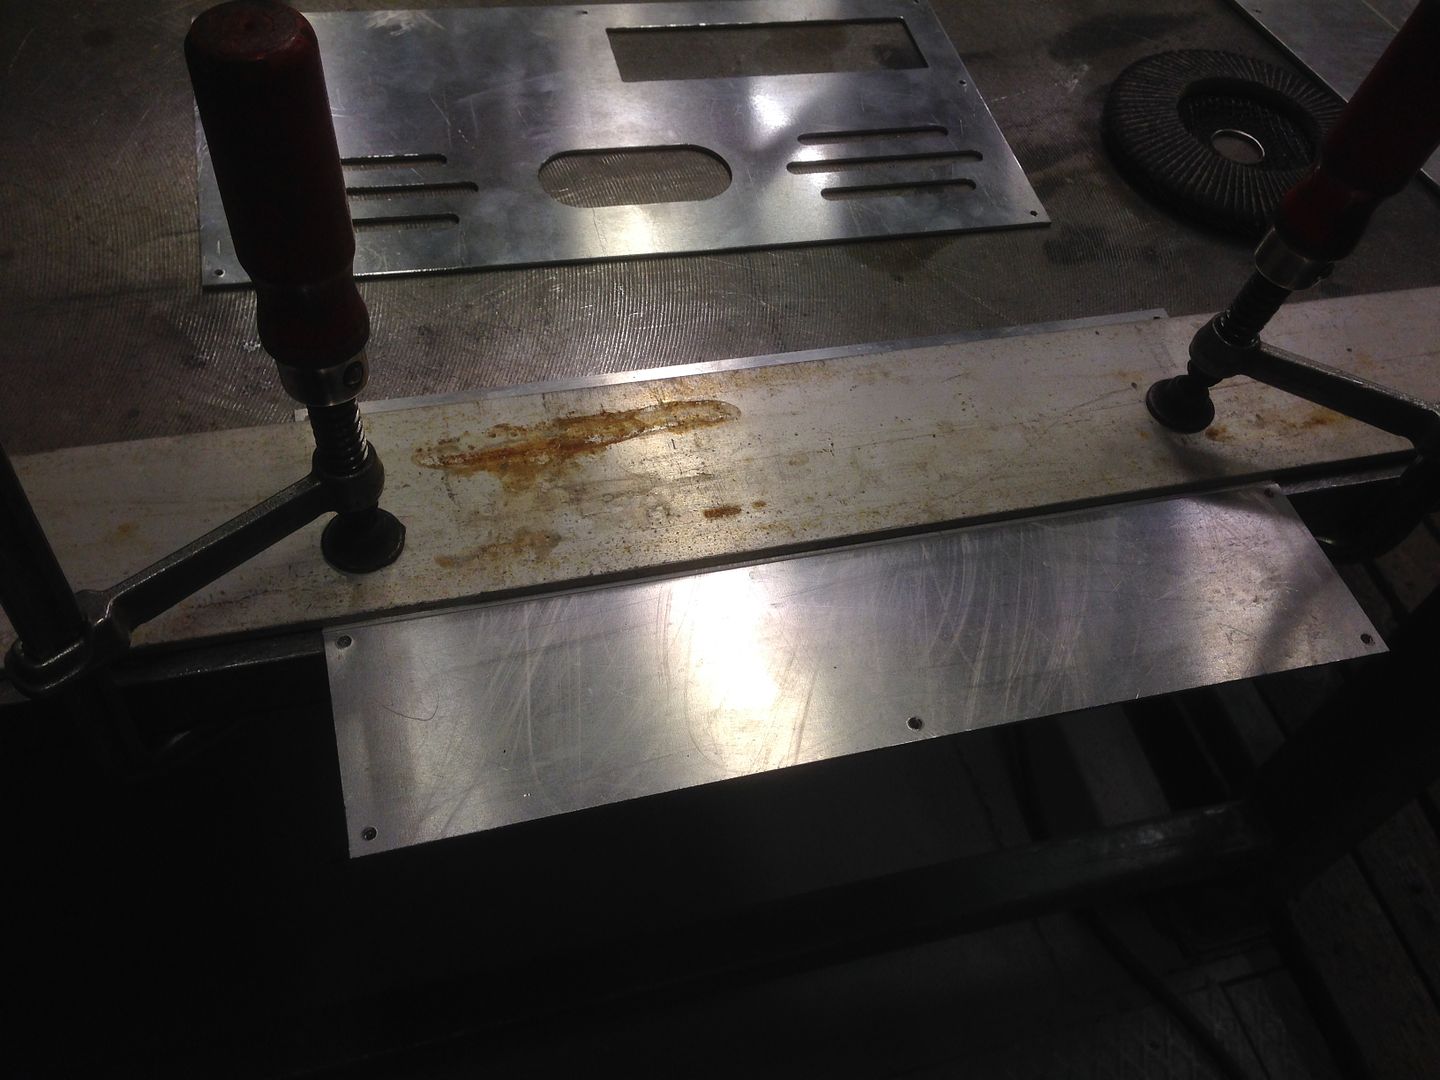
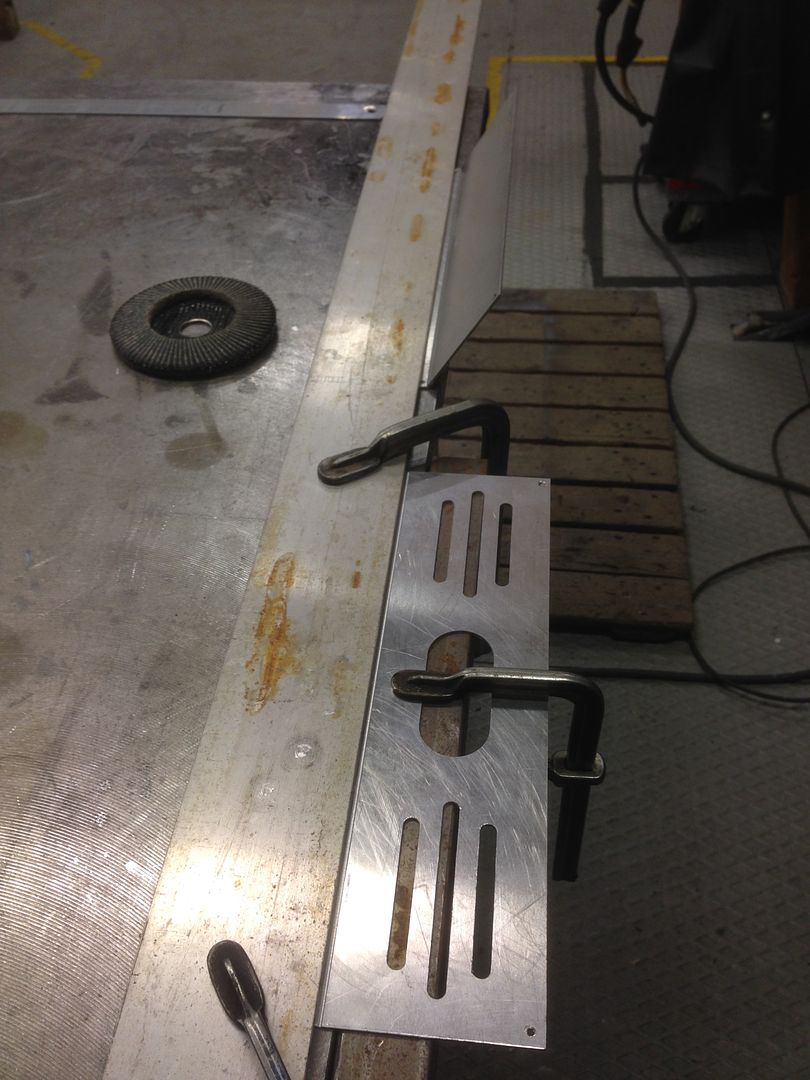
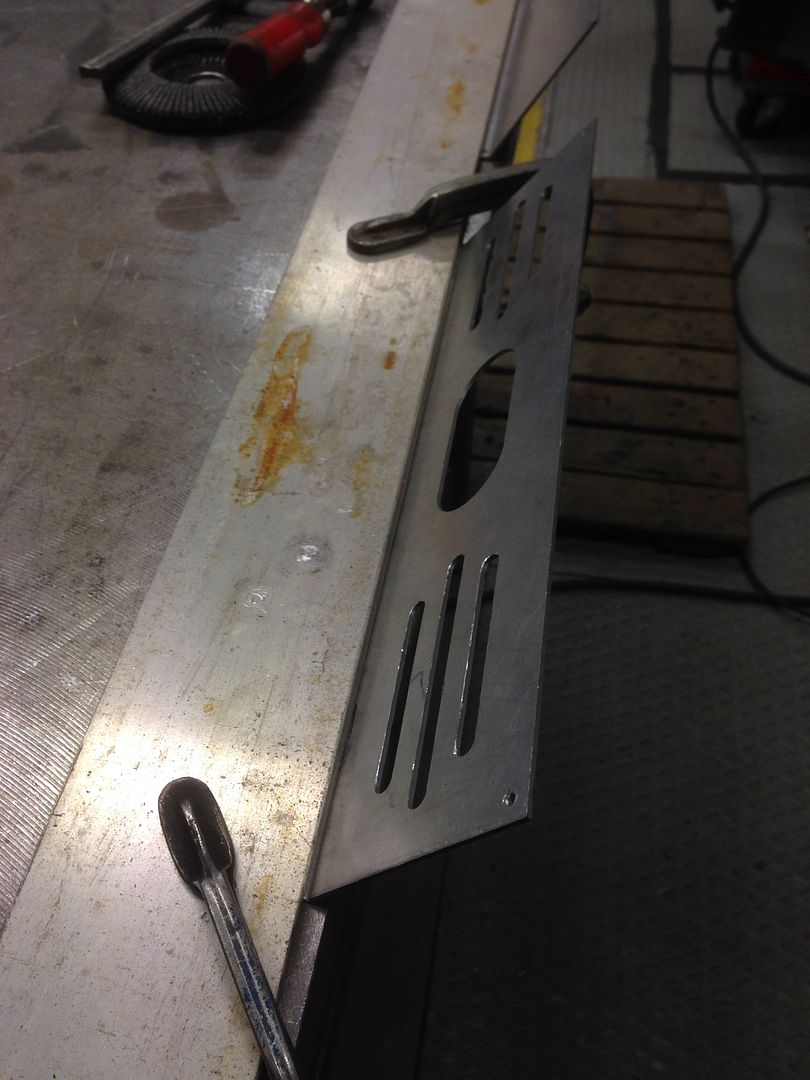
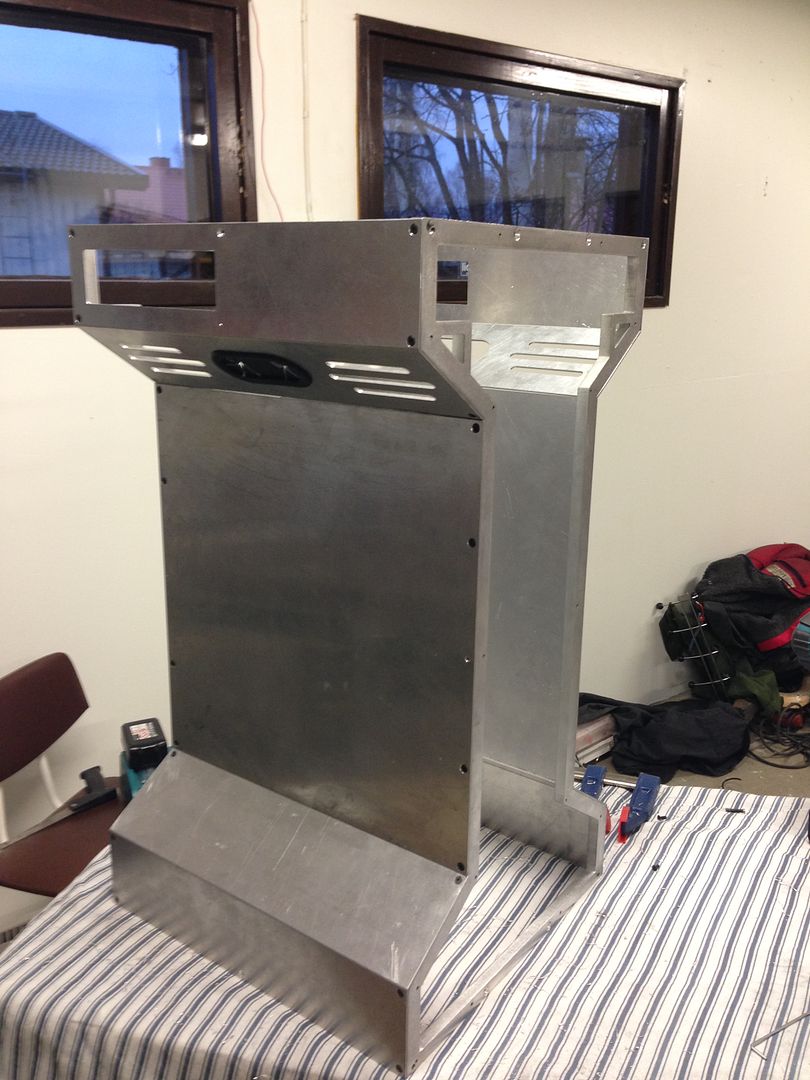
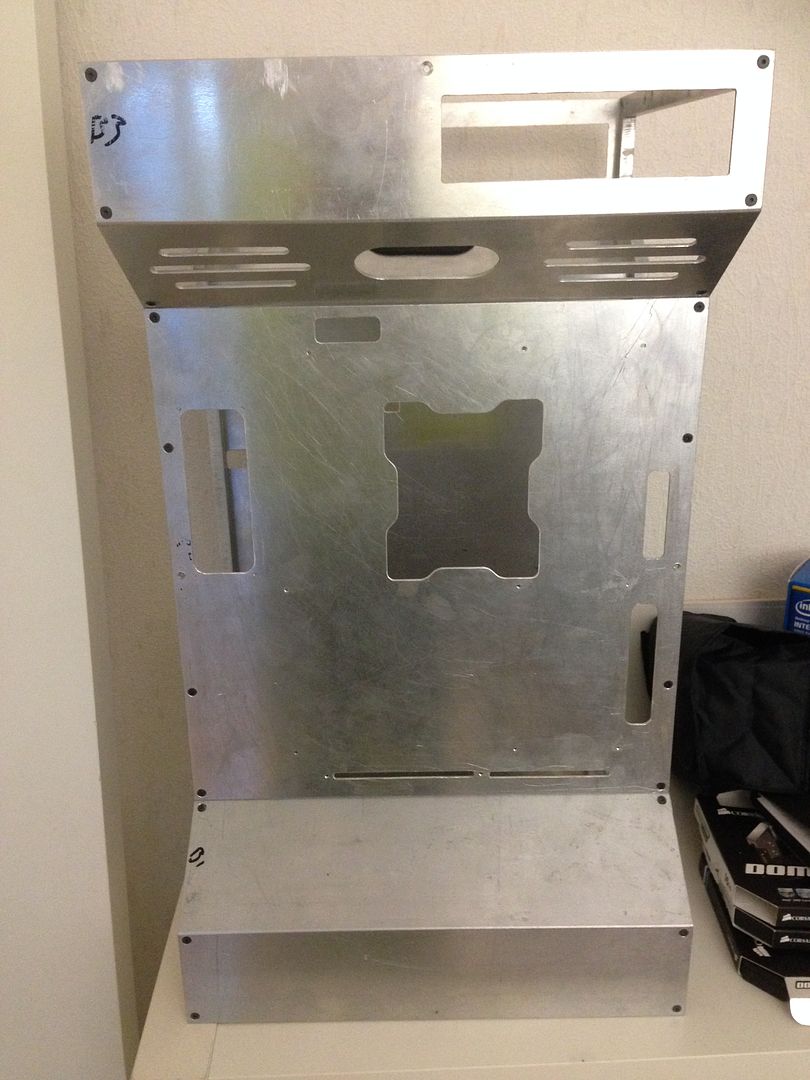
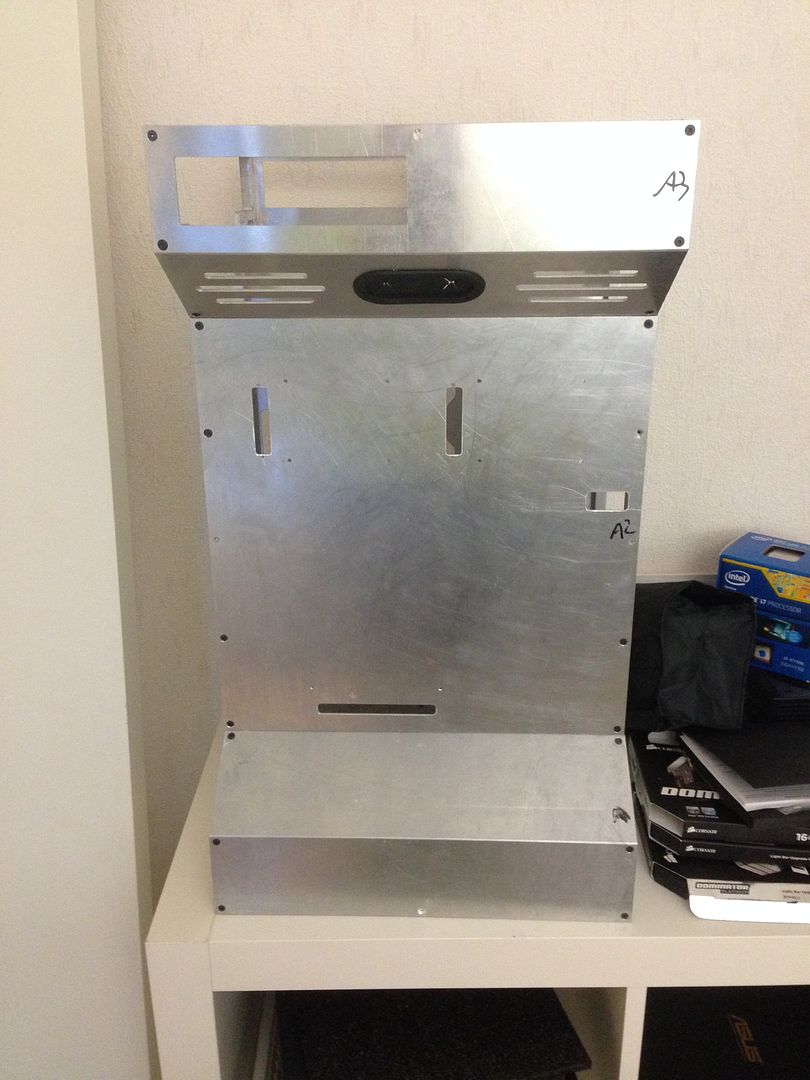
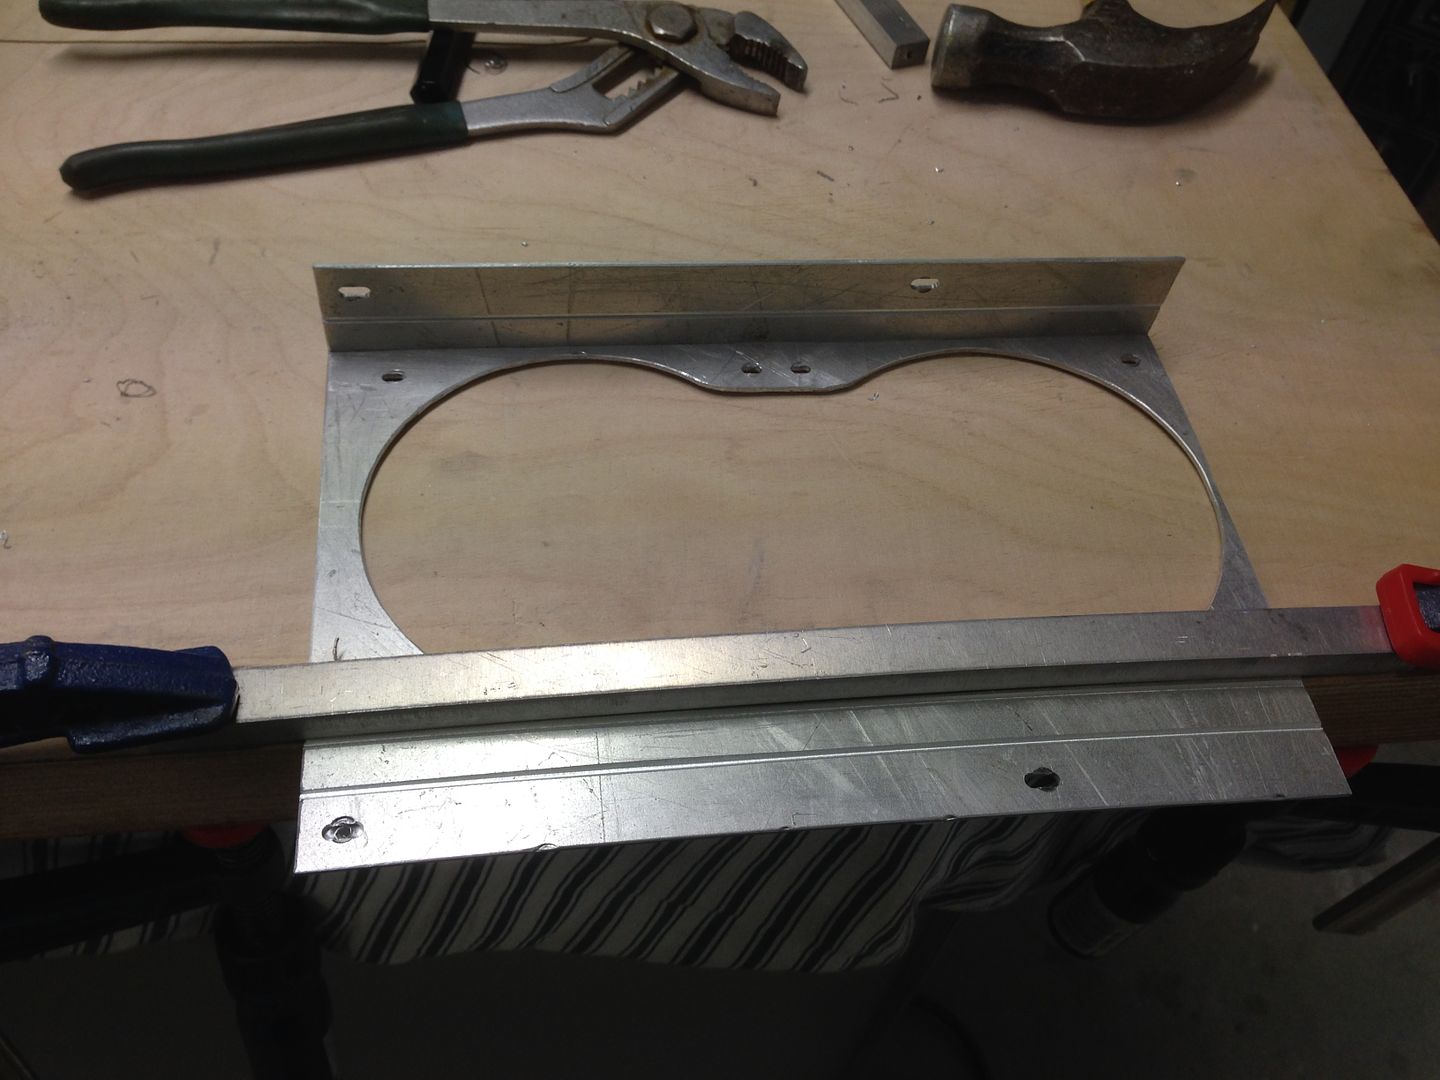
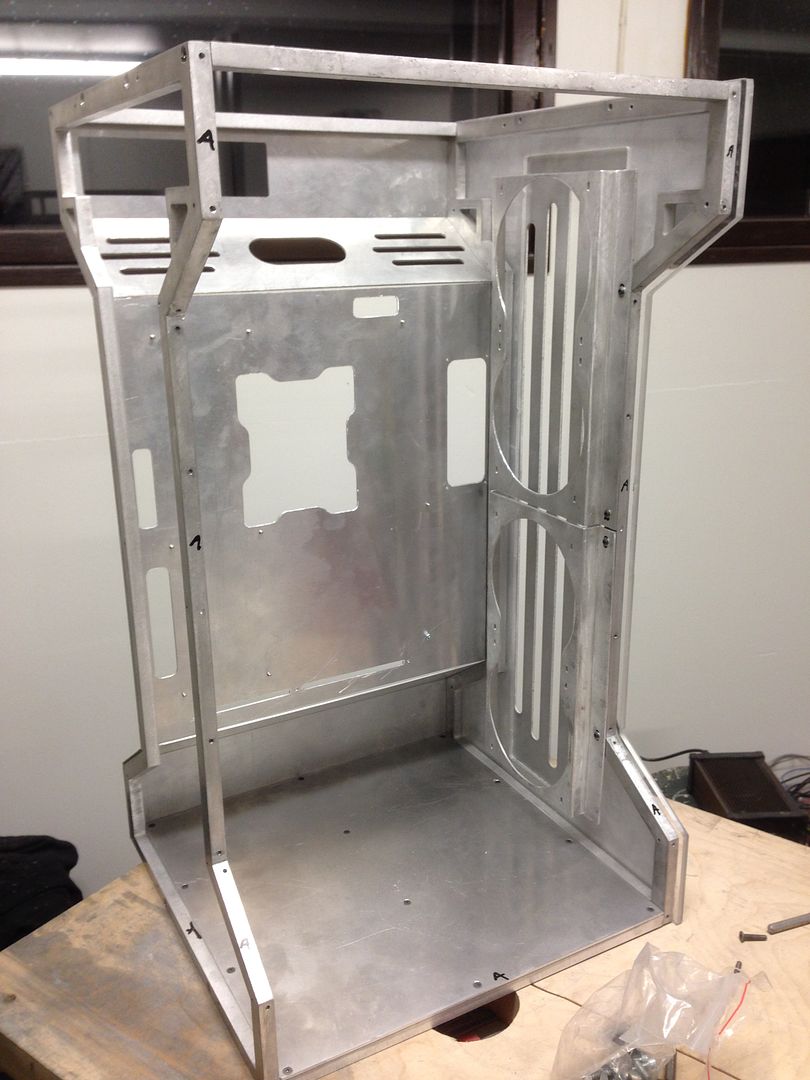
Corsair2_zpsa2877afa.jpg


So on to the case

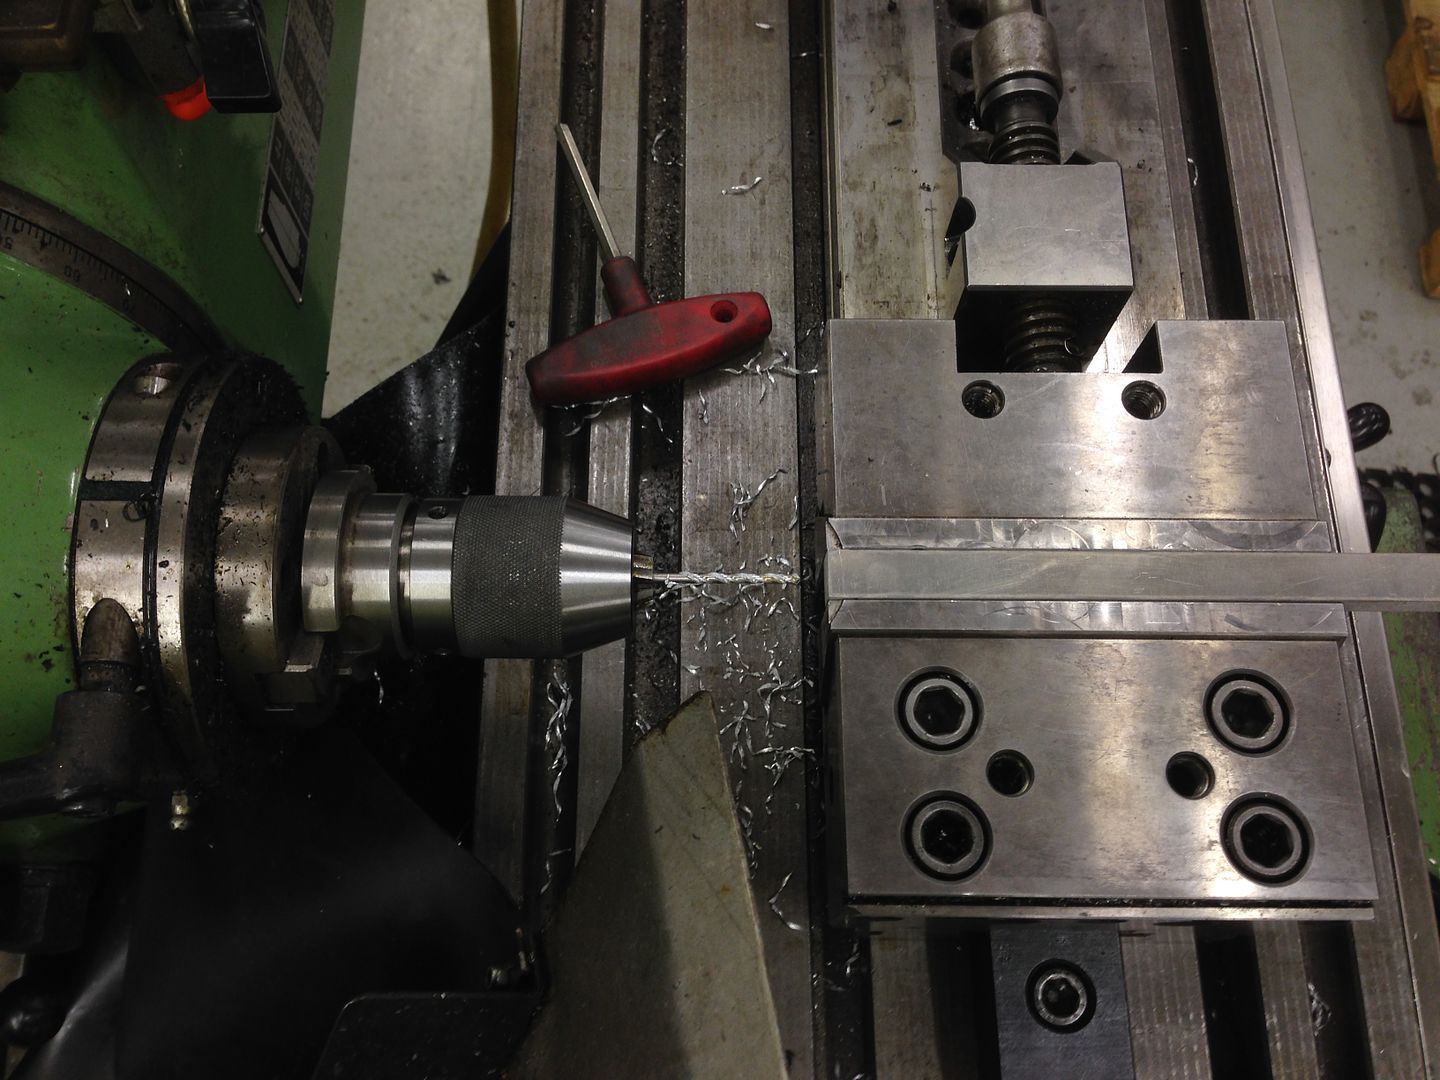
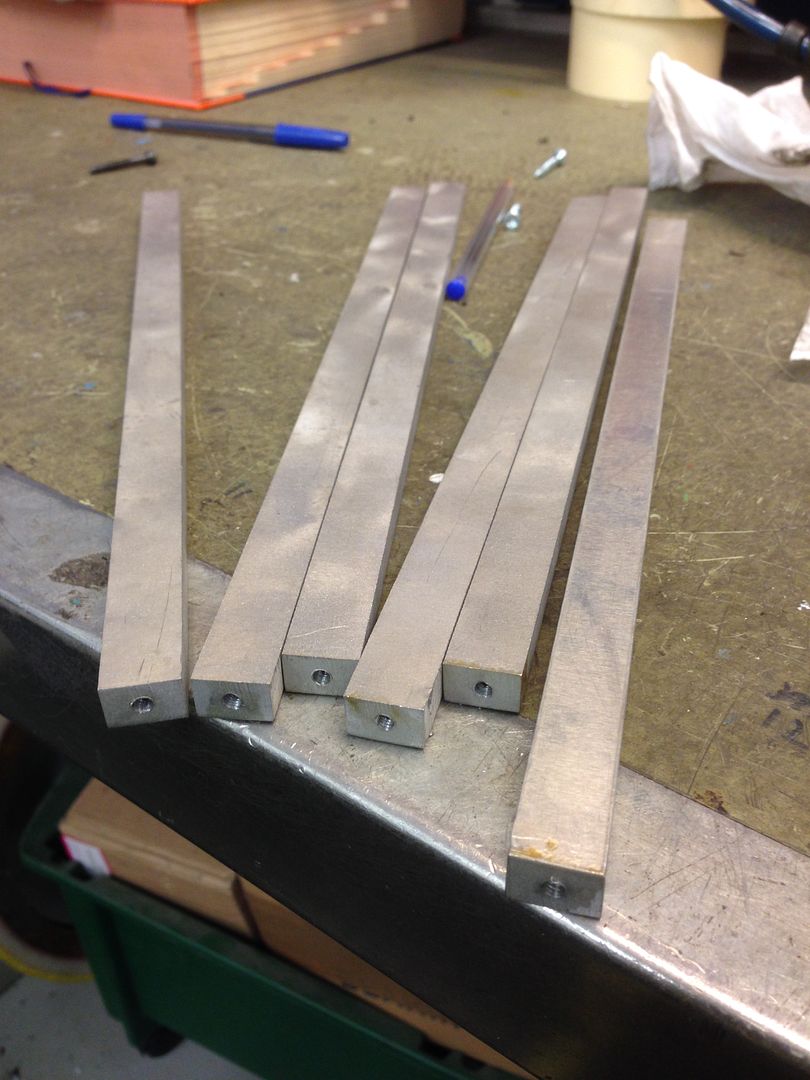
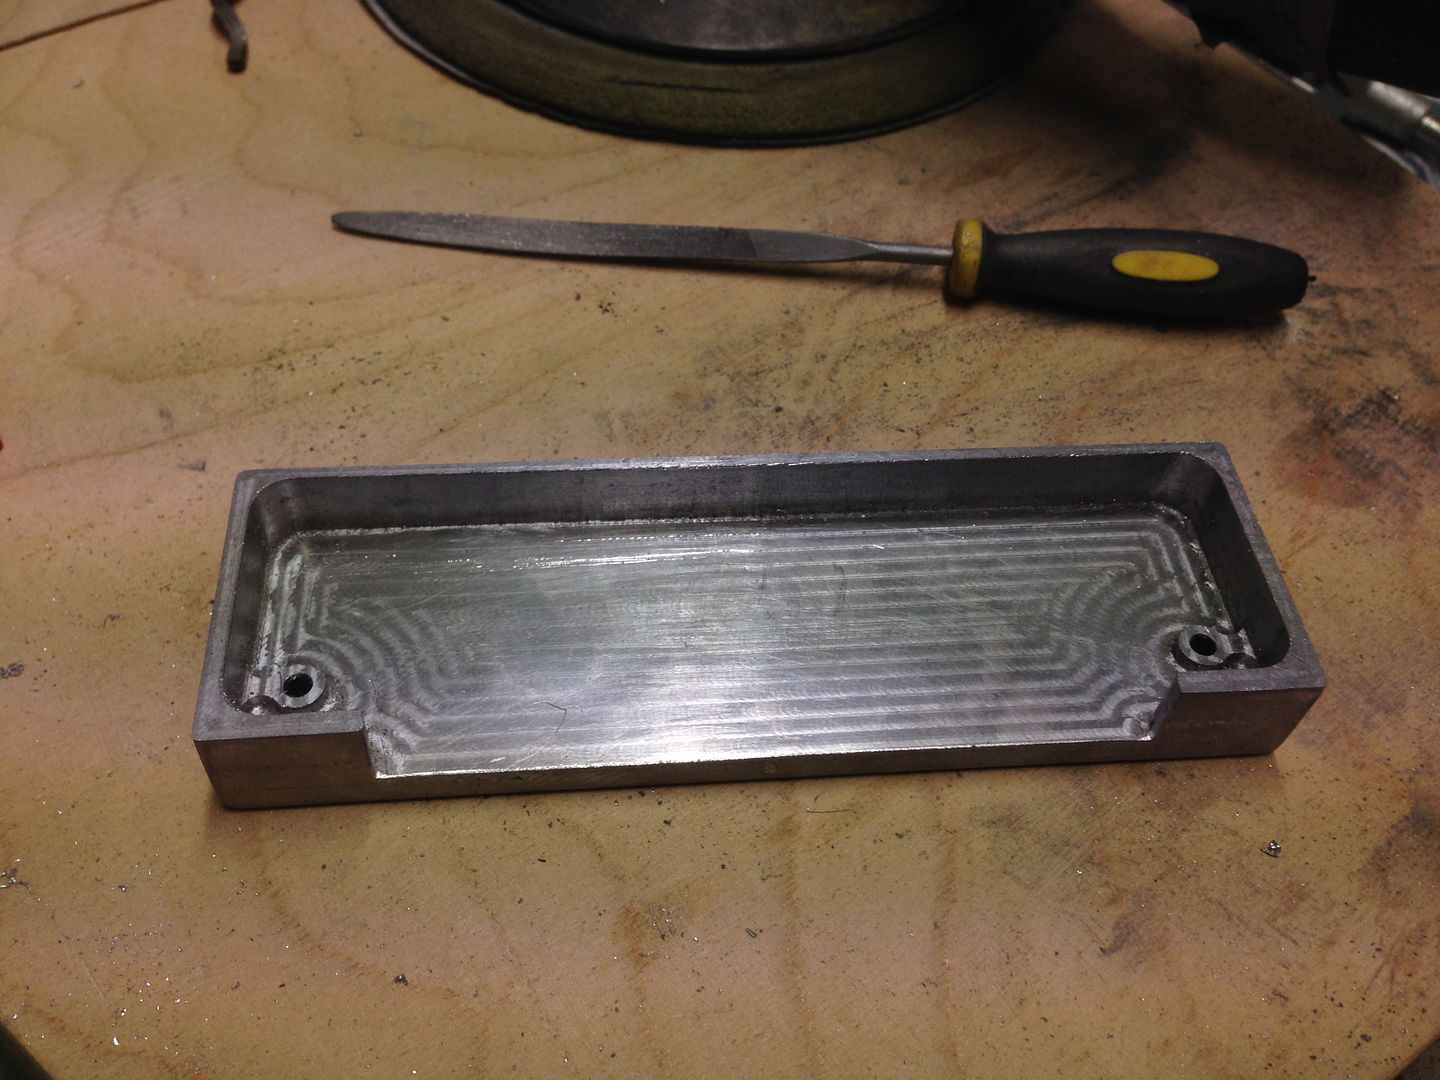
Made some fixtures to hold the reservoirs in place. Took a while before i figured out how to do it.
Res3_zpse418fbd4.jpg

Res1_zpseaf4d167.jpg

Res2_zpsbd53518a.jpg

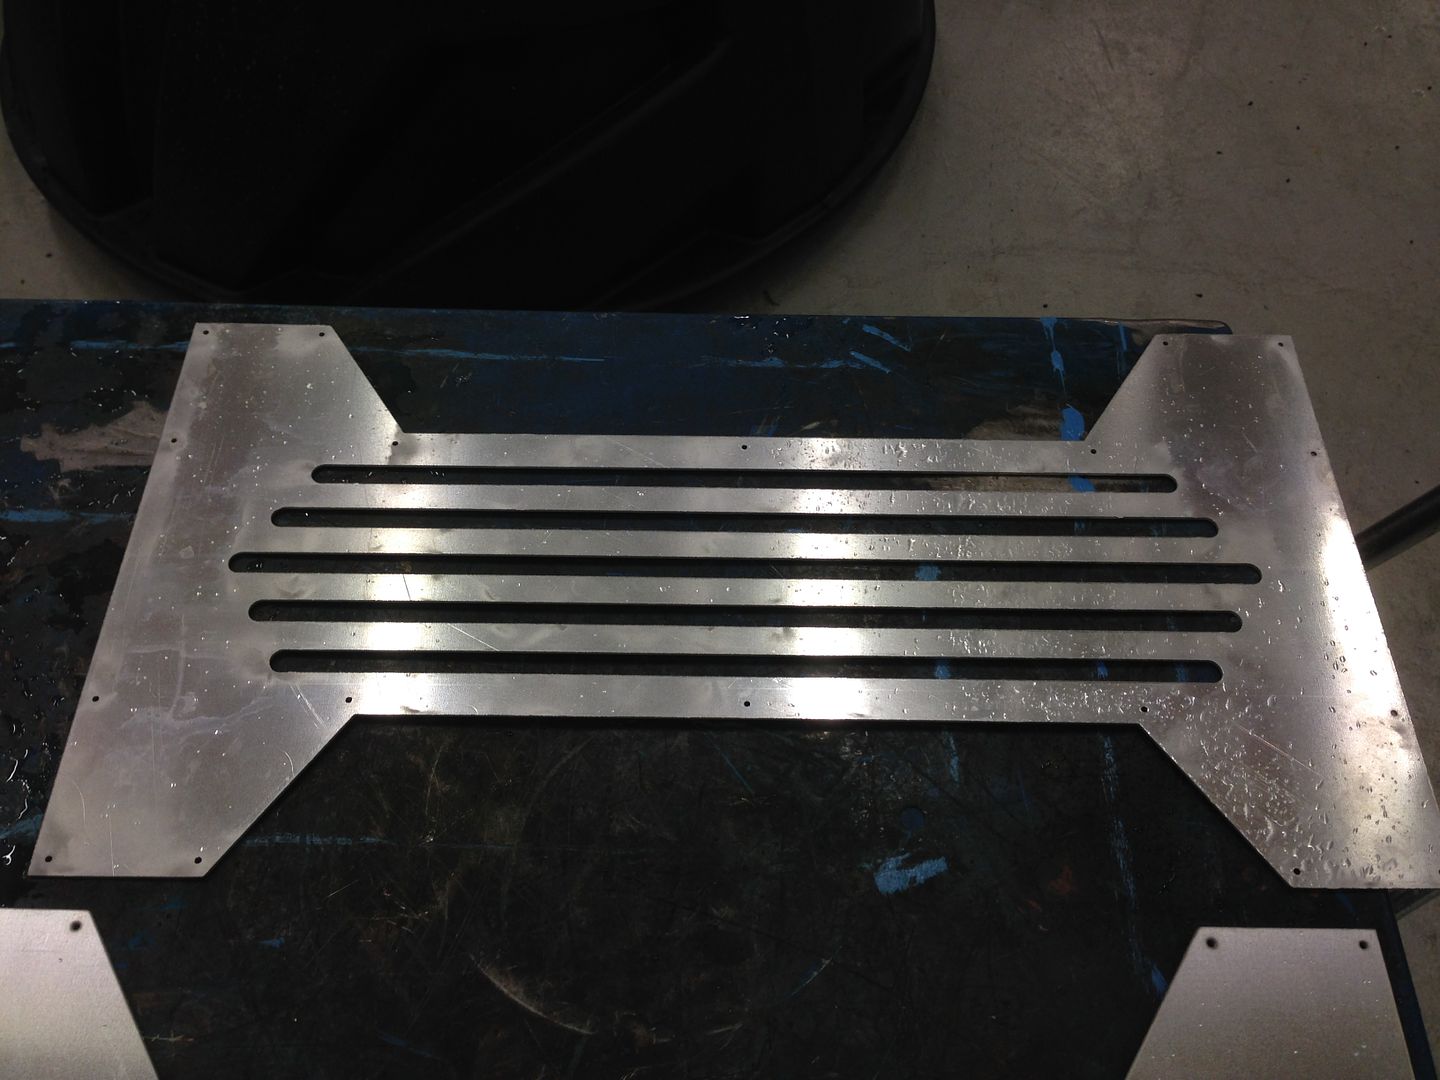
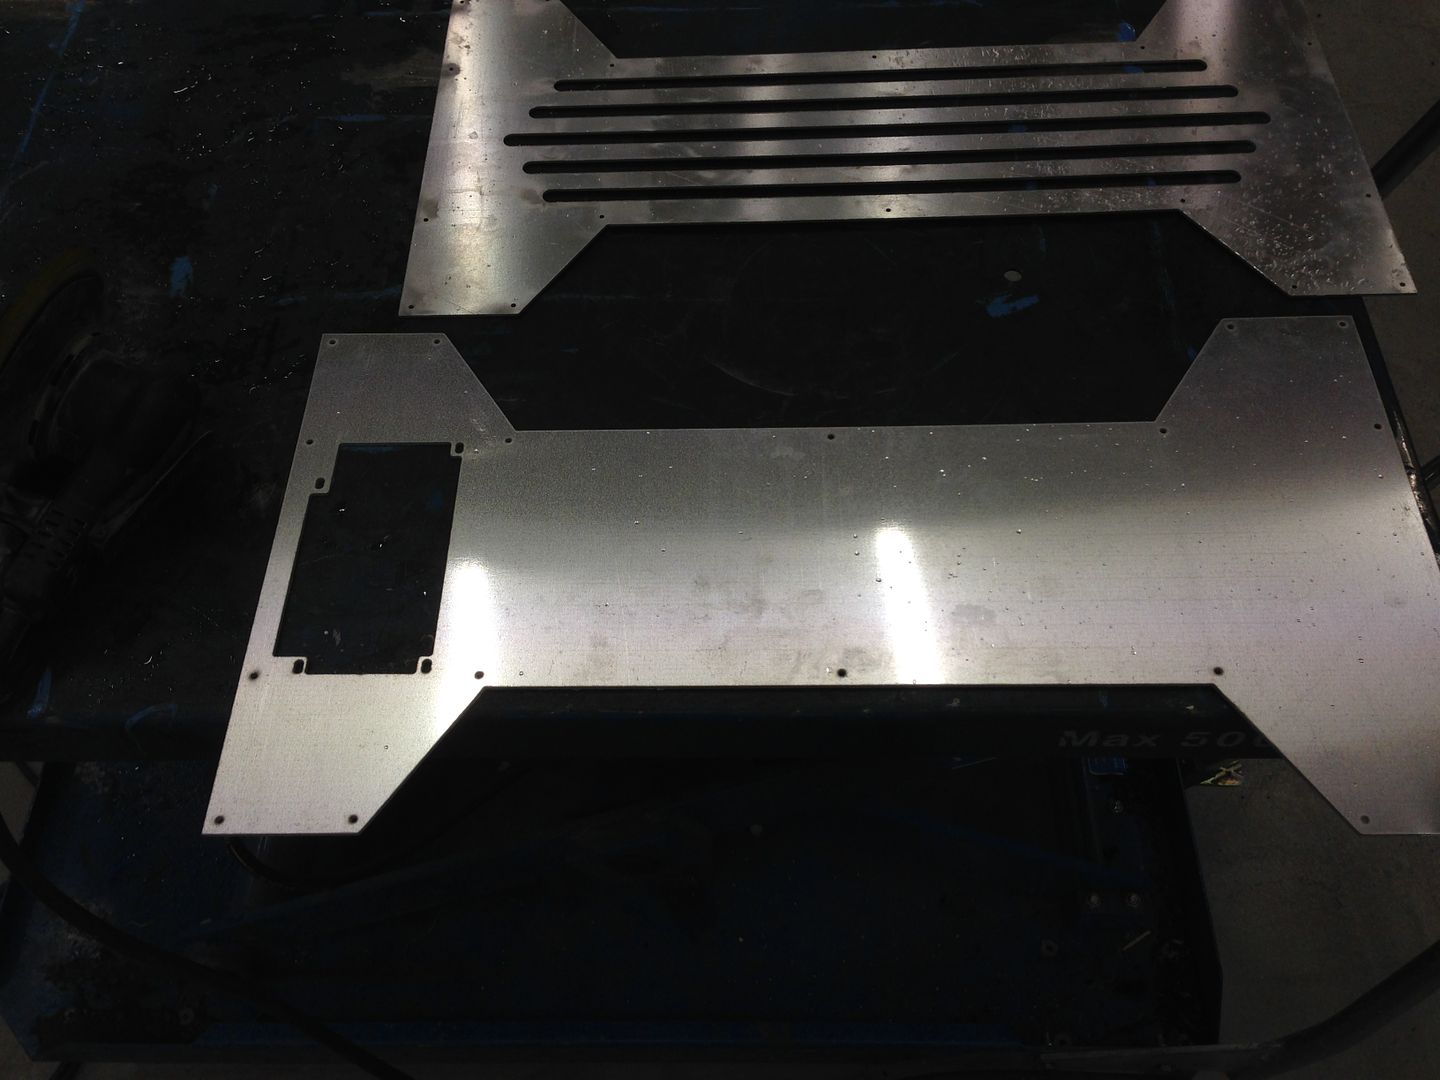
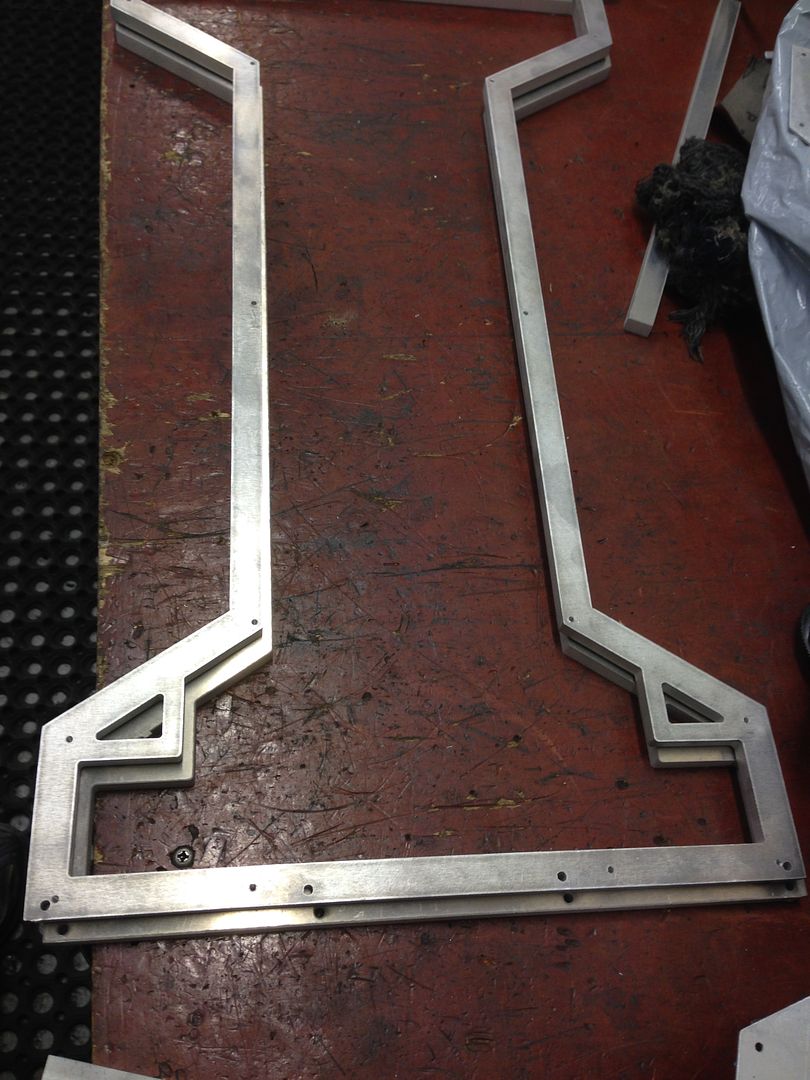
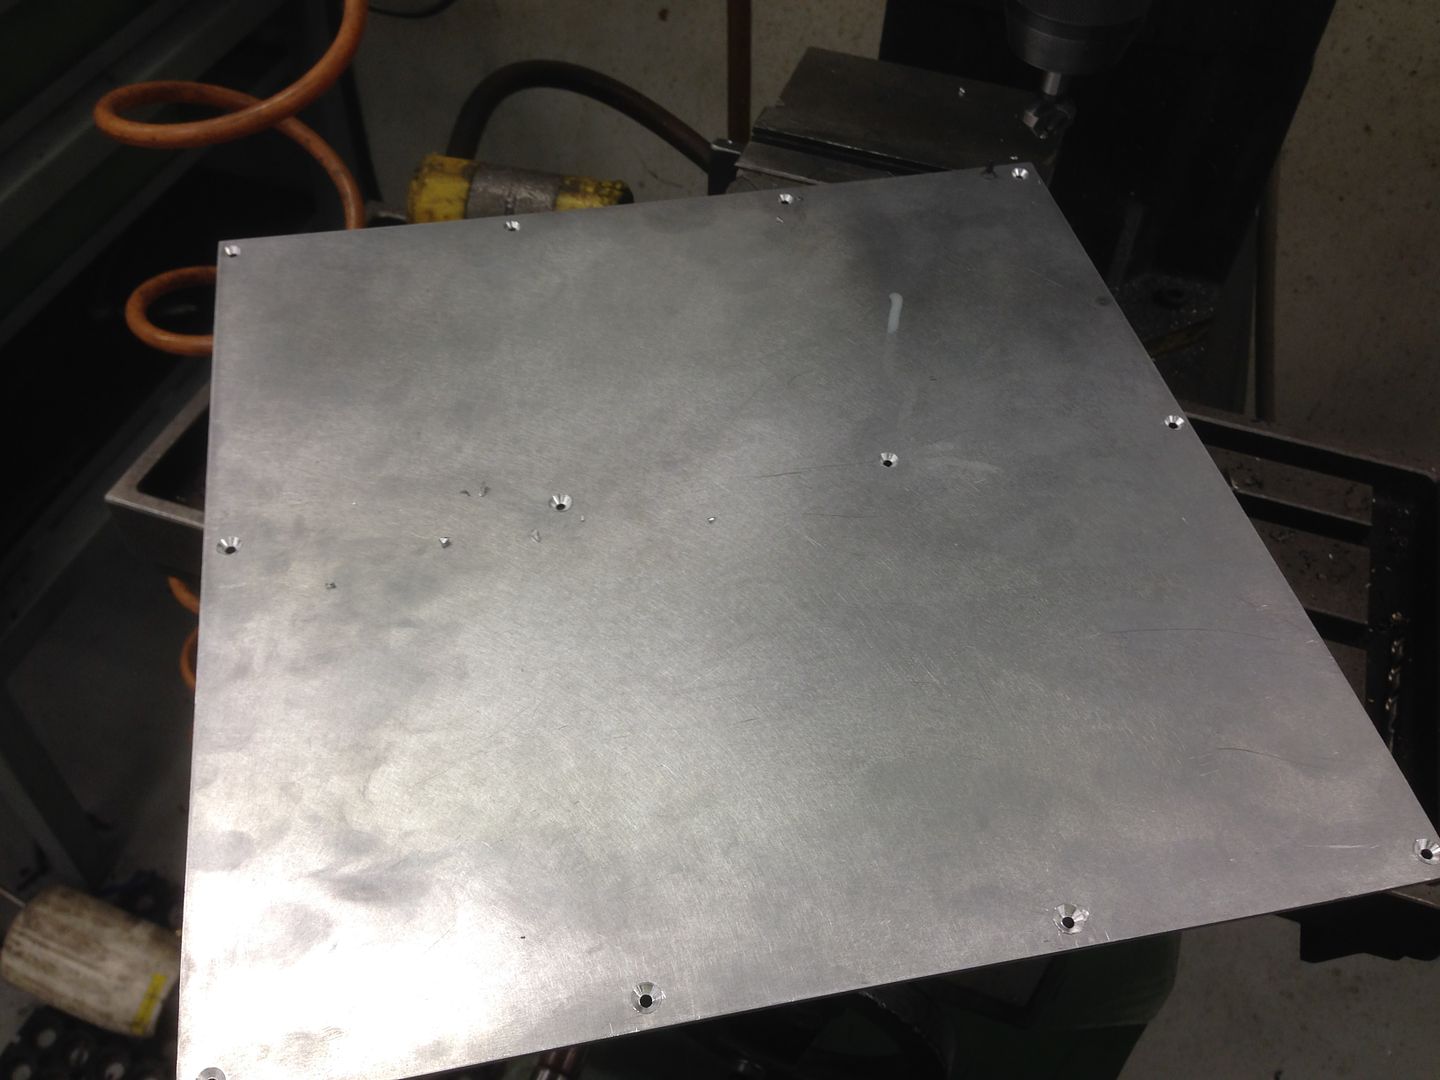
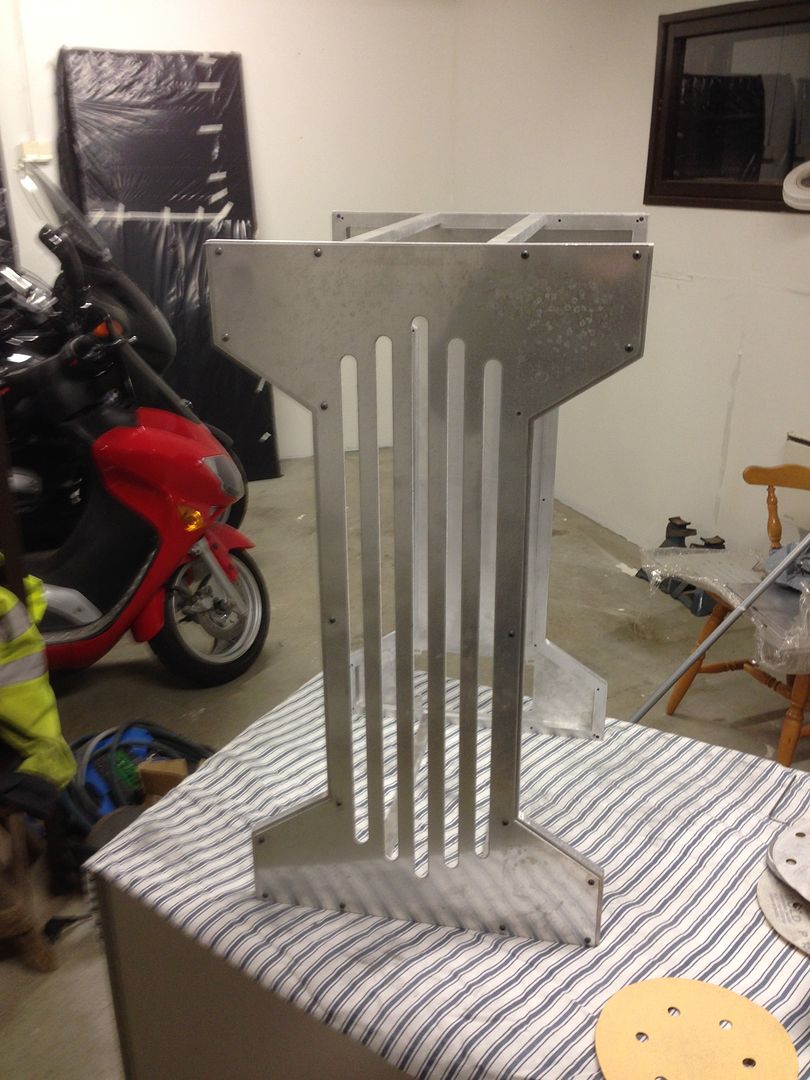
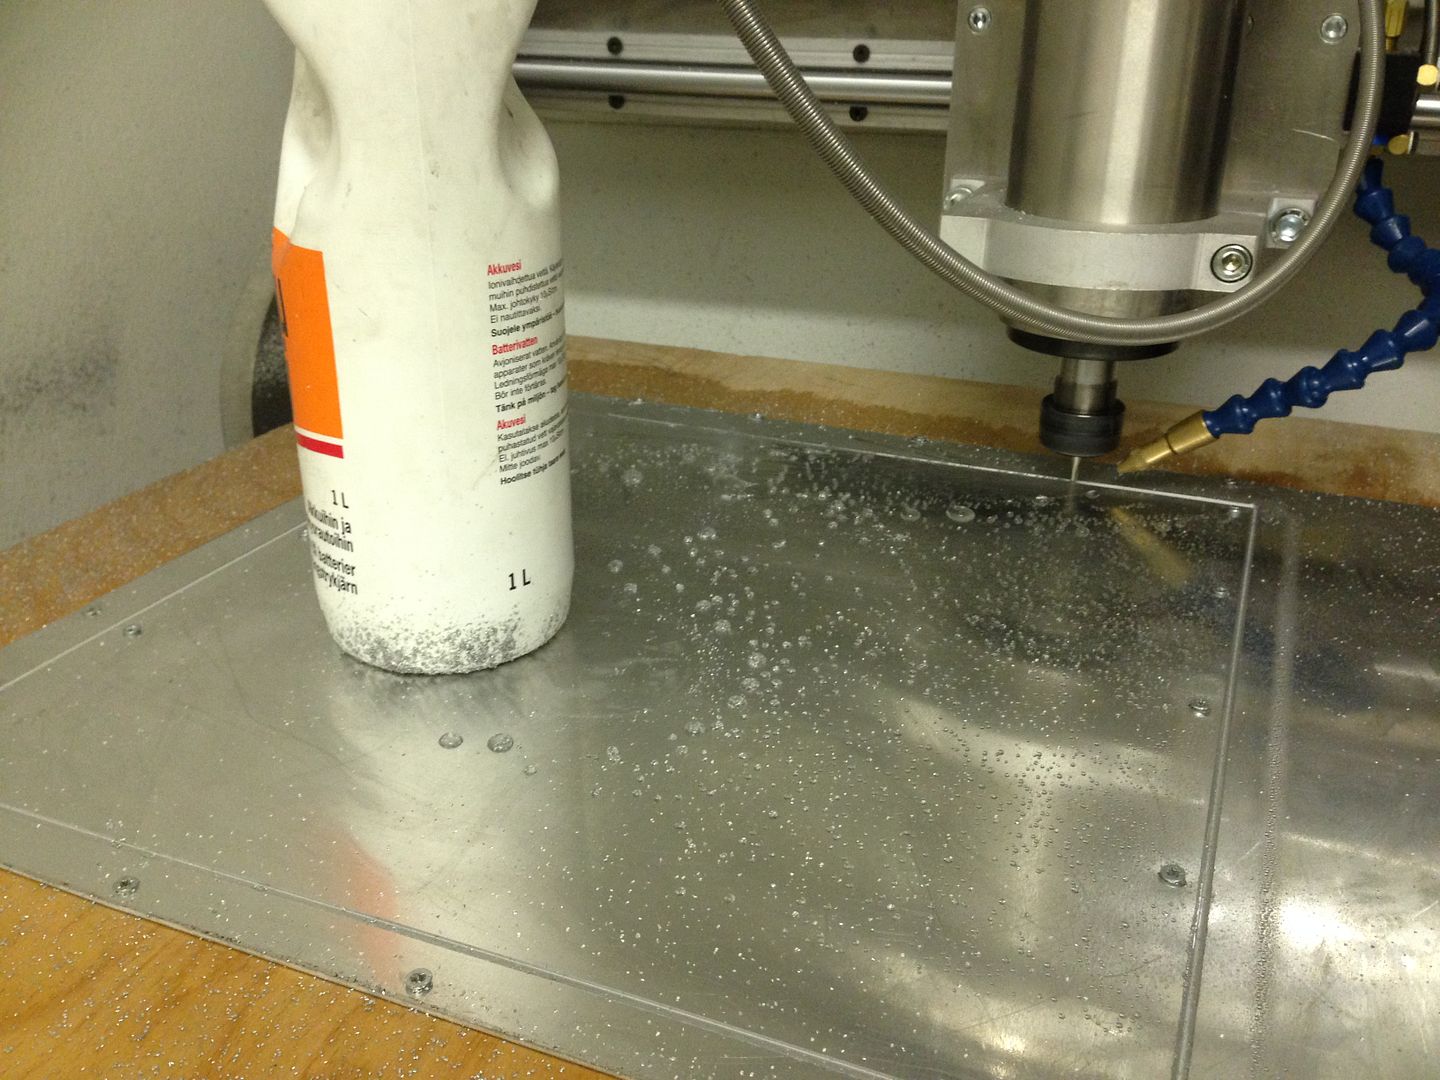
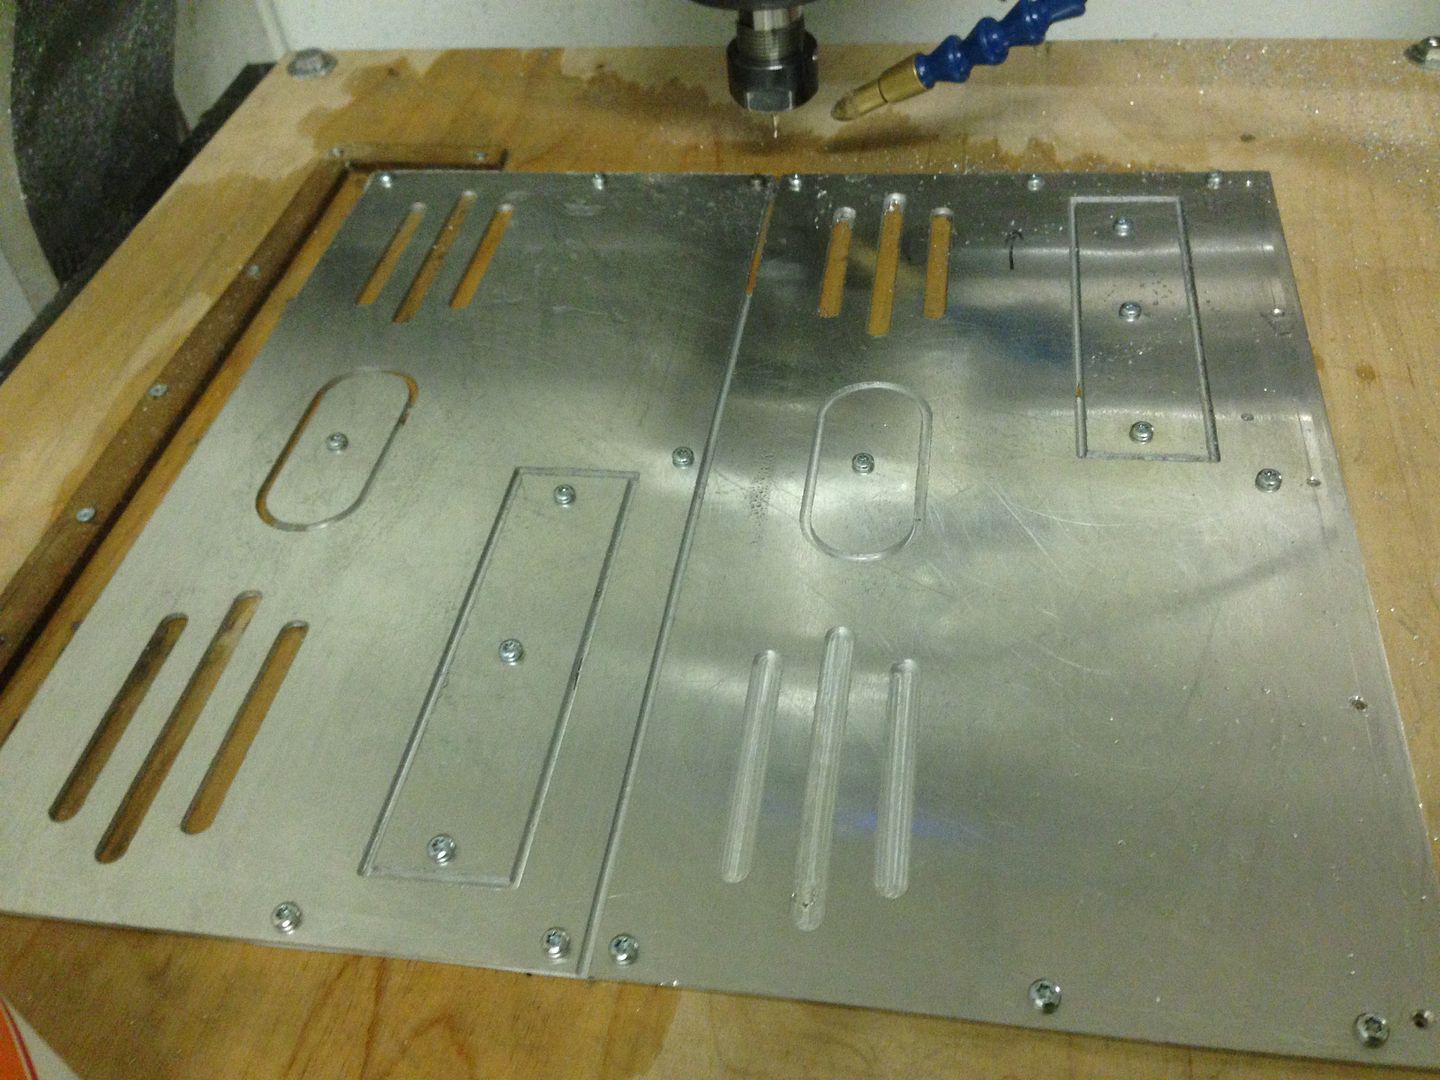
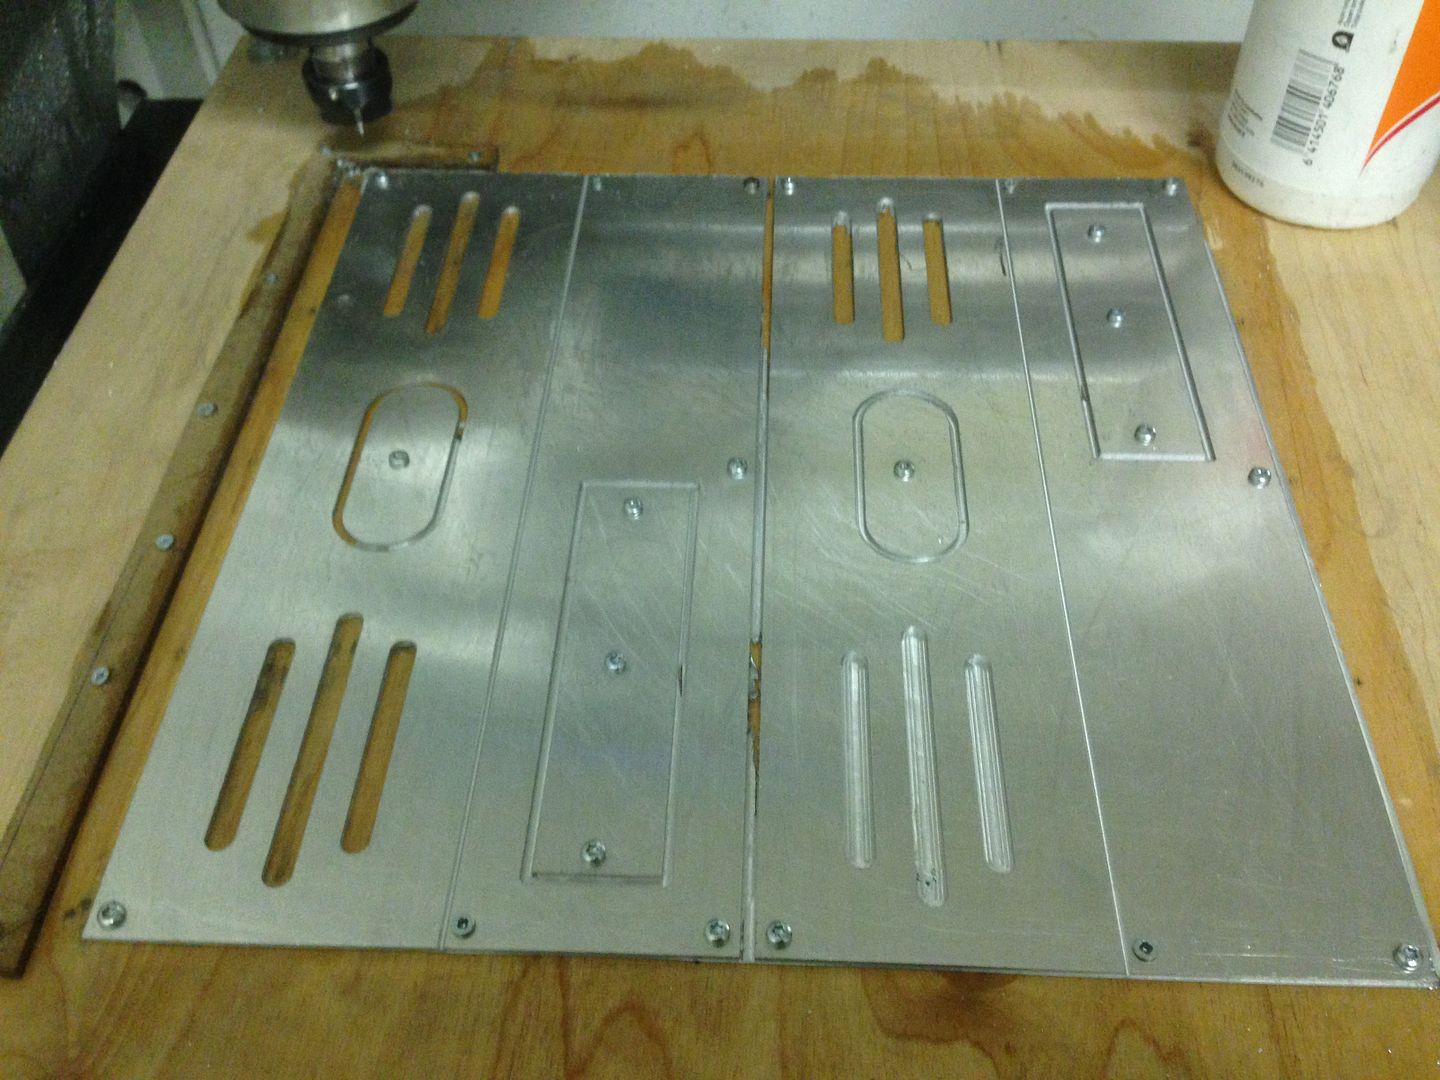
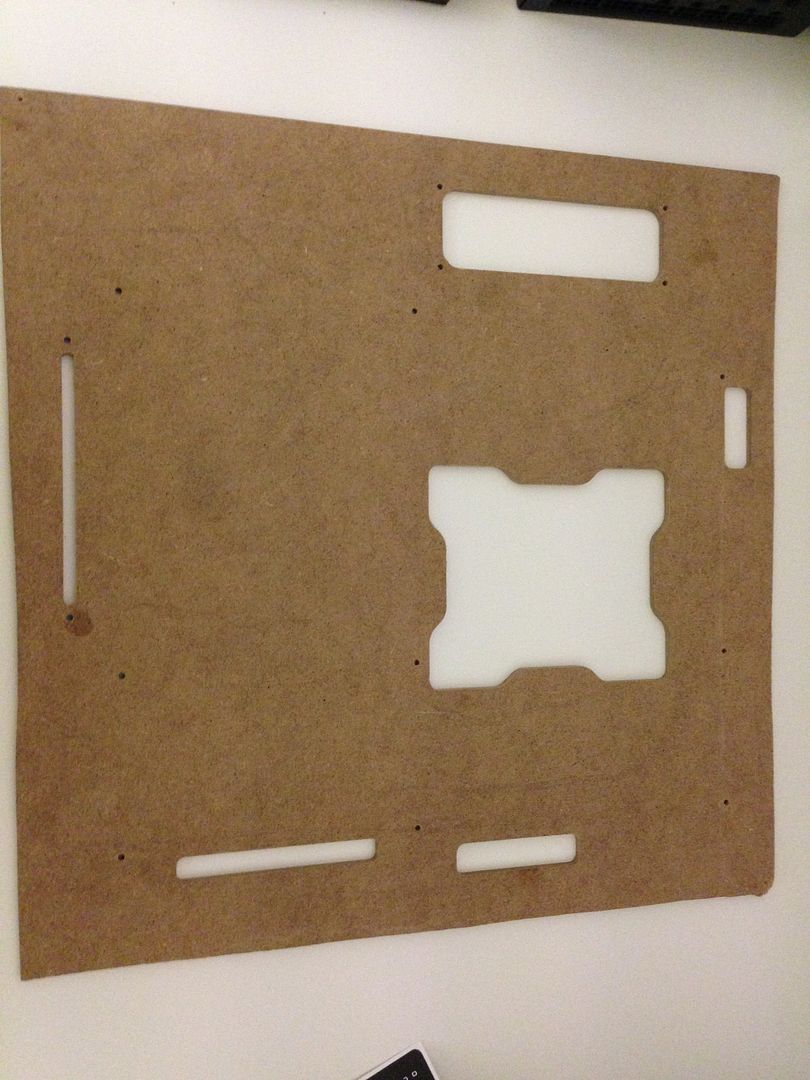
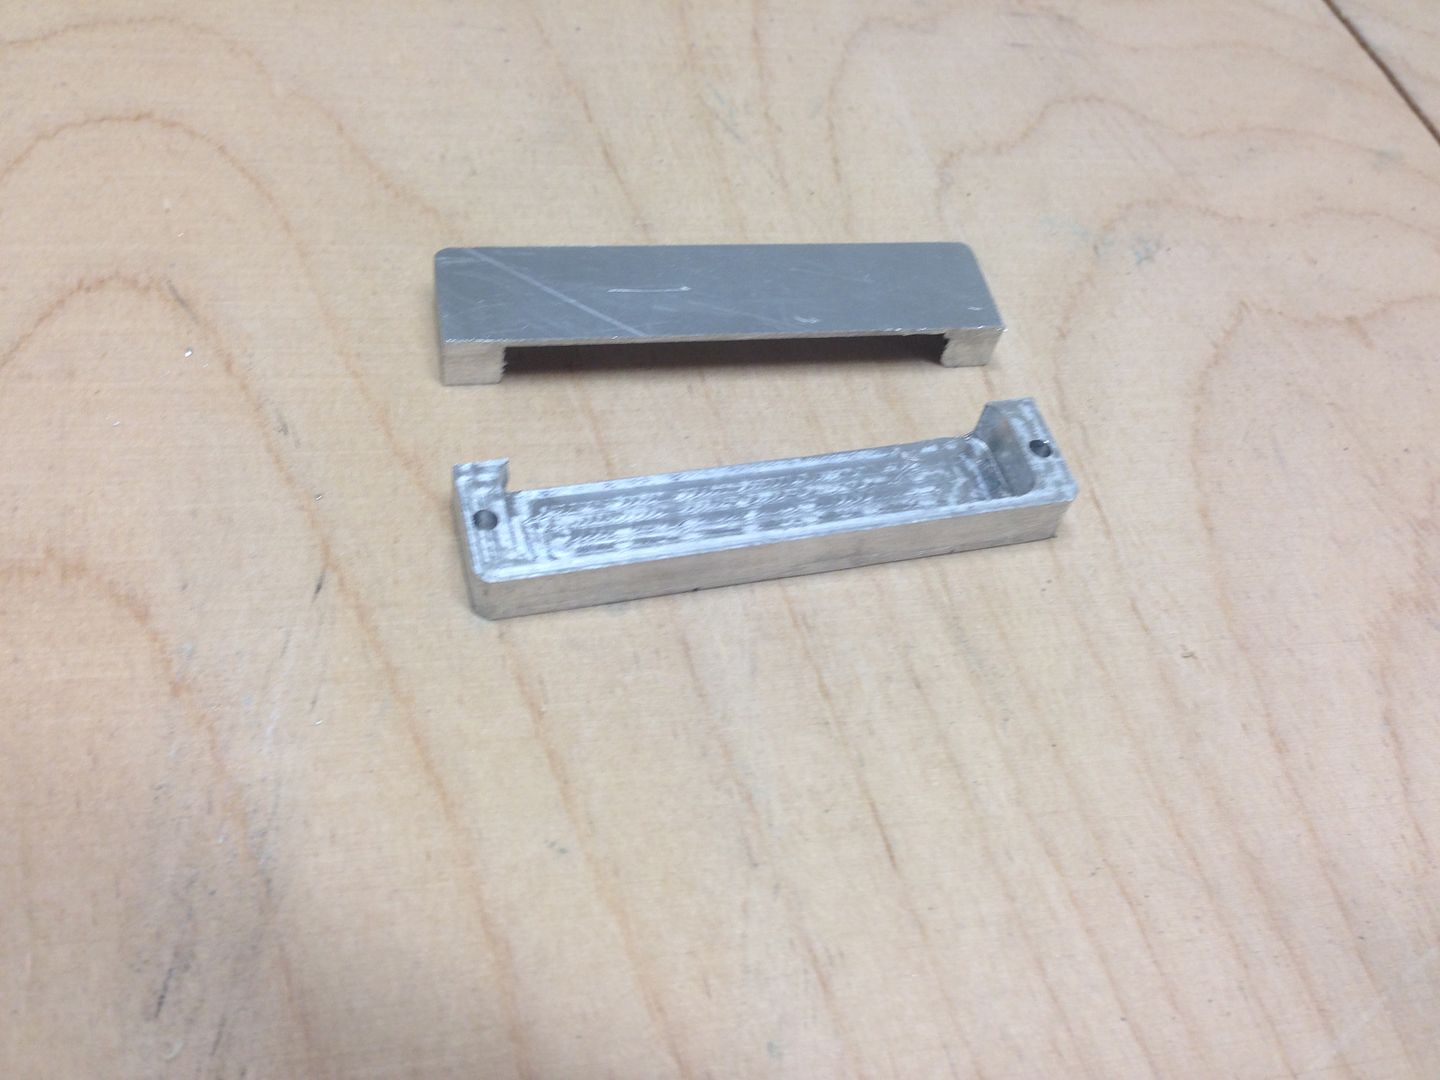
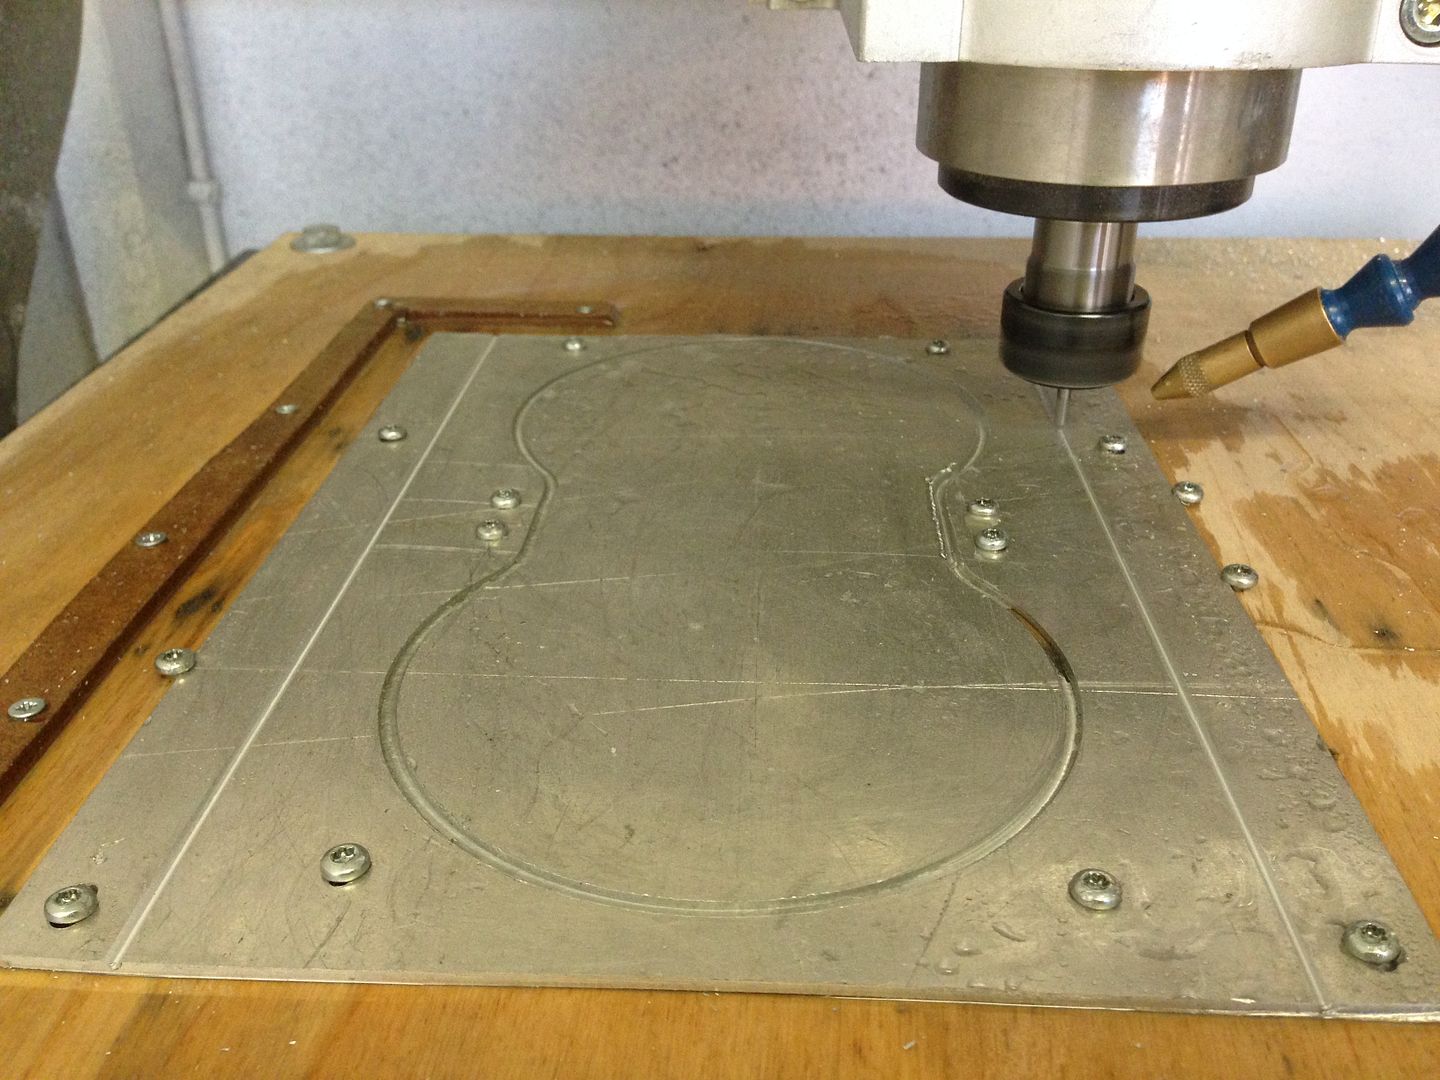
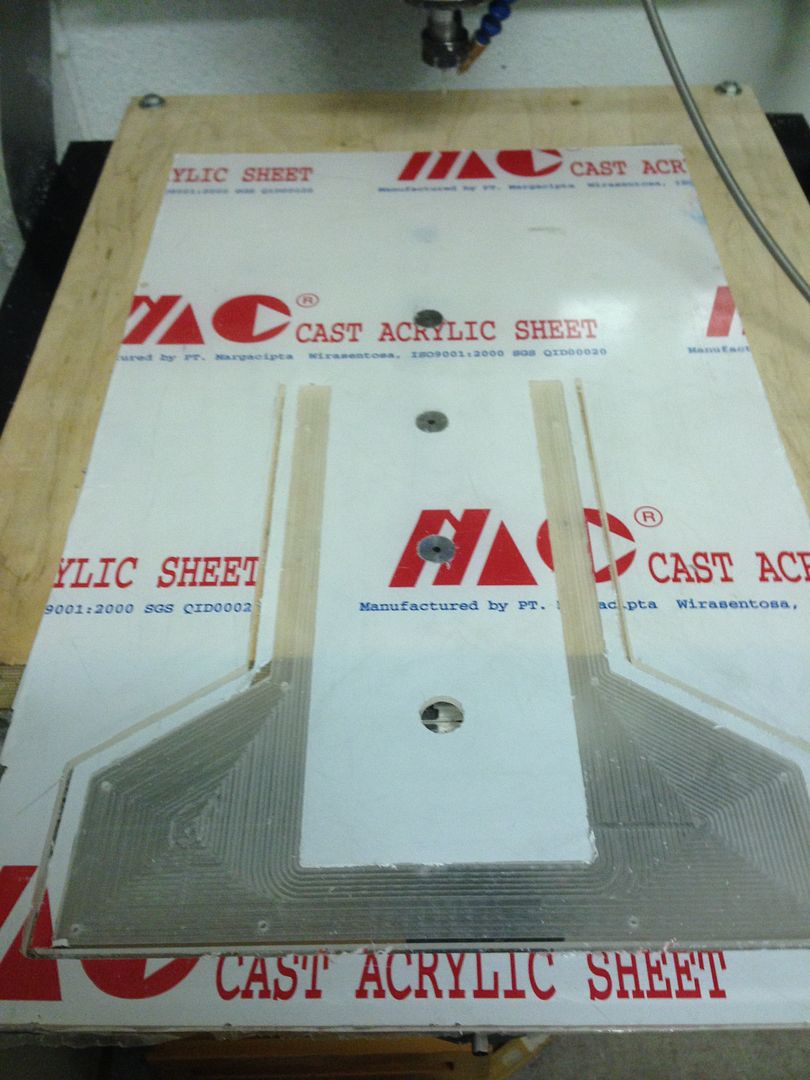
The circle pattern didn't really fit the shape of the case so i decided to make my own front. Not sure if i will sand it down to make it a bit more matte. Still need to countersink all the holes.
Newfacepanel_zps05dfaefb.jpg


Lowered the led strips into the acrylic. Since the sheet aluminum is lowered 2mm from the other side and the leds need about 2.4mm depth there is only 1,6 mm left of material in the middle. Was a bit worried that the light wouldn't spread out to the edges but seems to be working just fine. Won't show you that just yet.
Leds1_zps600281a6.jpg

Leds2_zps9dfbdbb6.jpg


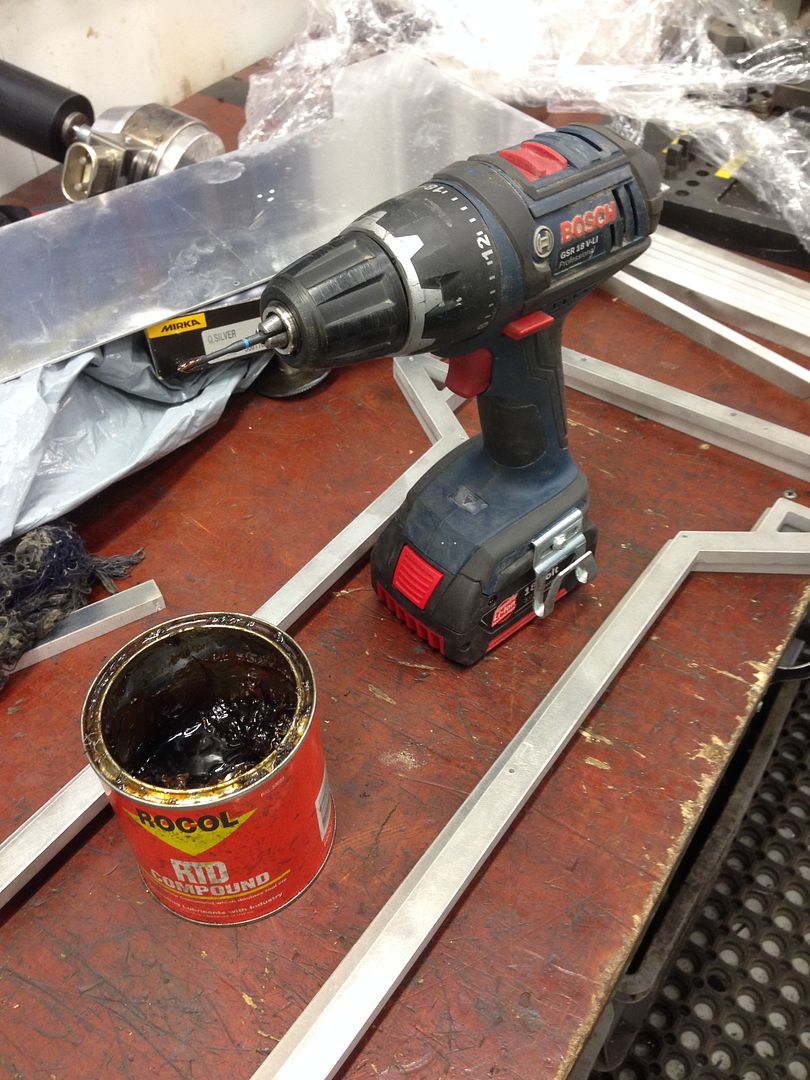
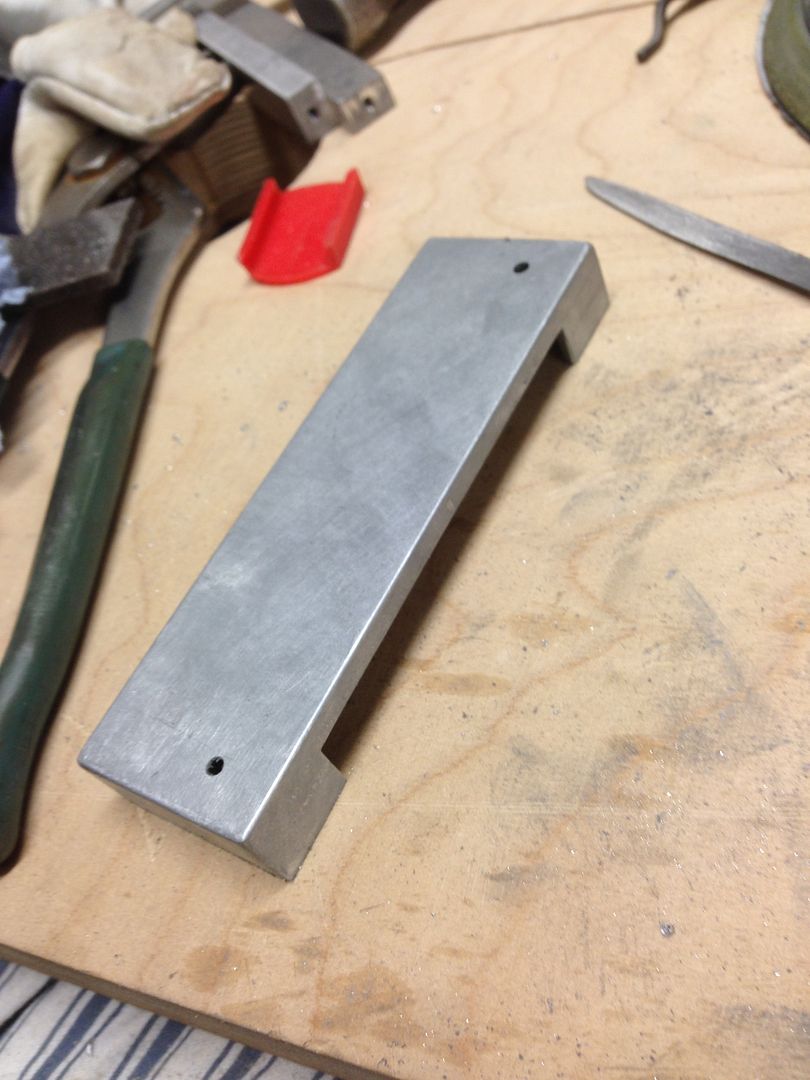
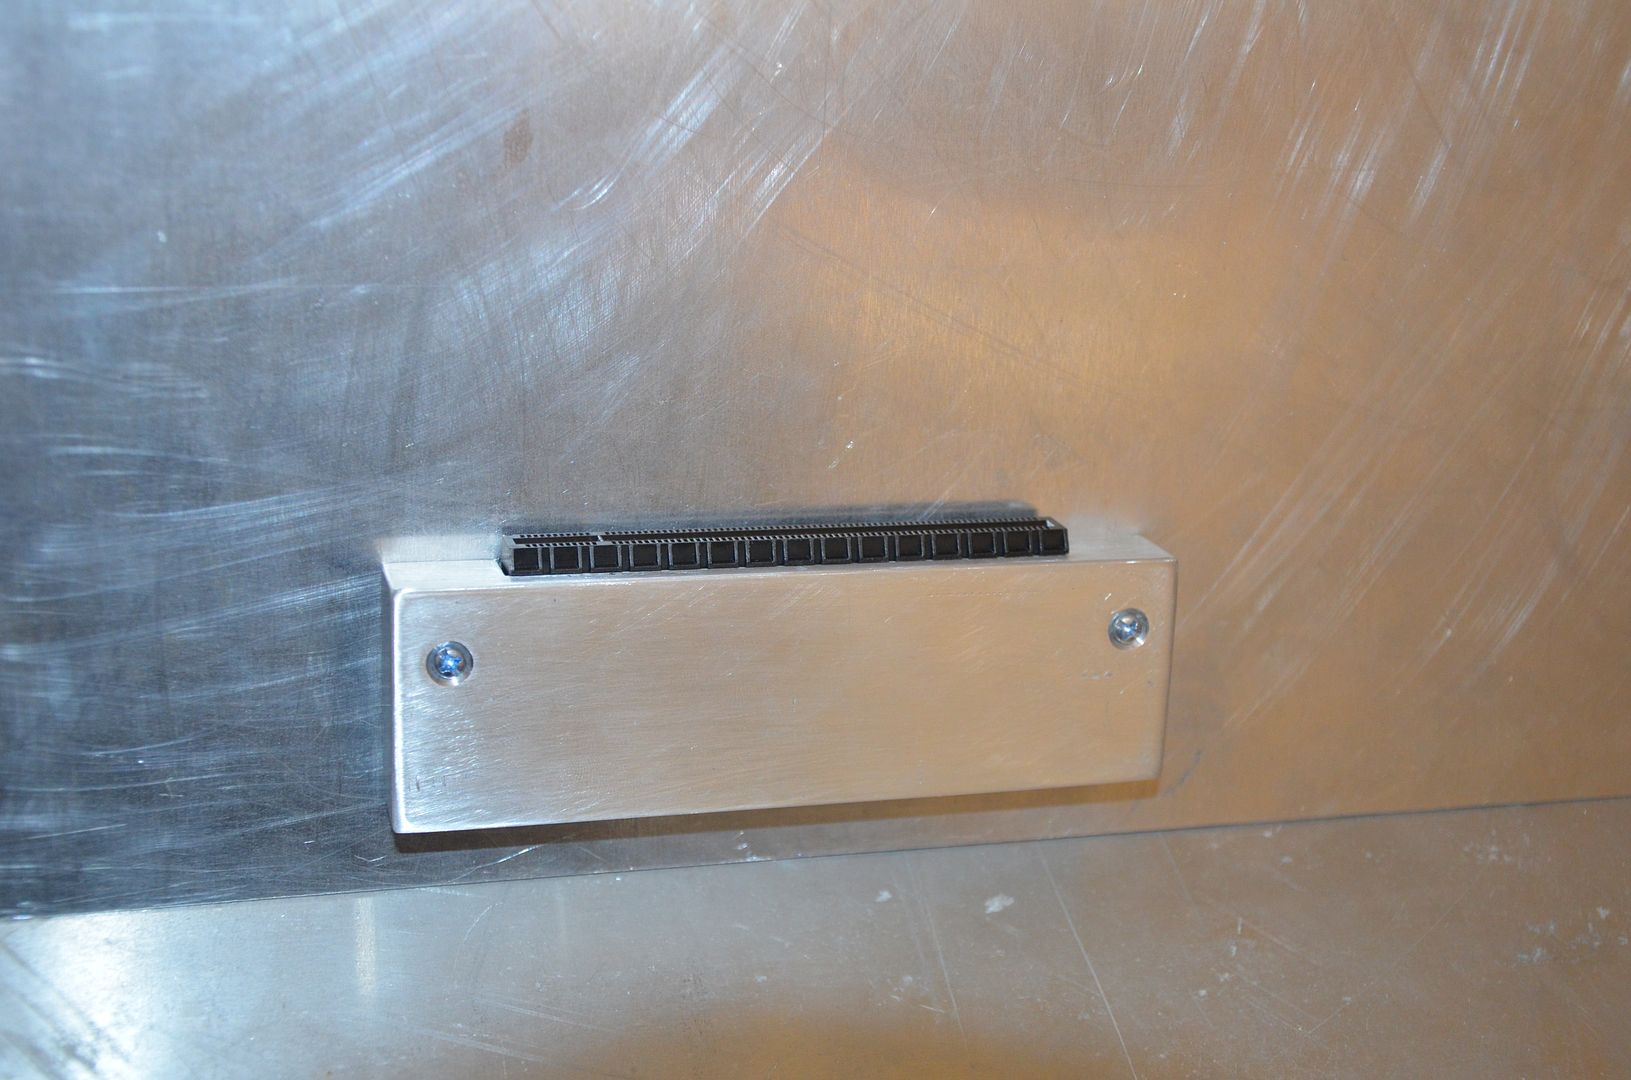
Made some adapters for the lamptron controllers so it will attach to the sheet metal.
Lamptron_zps62caa631.jpg


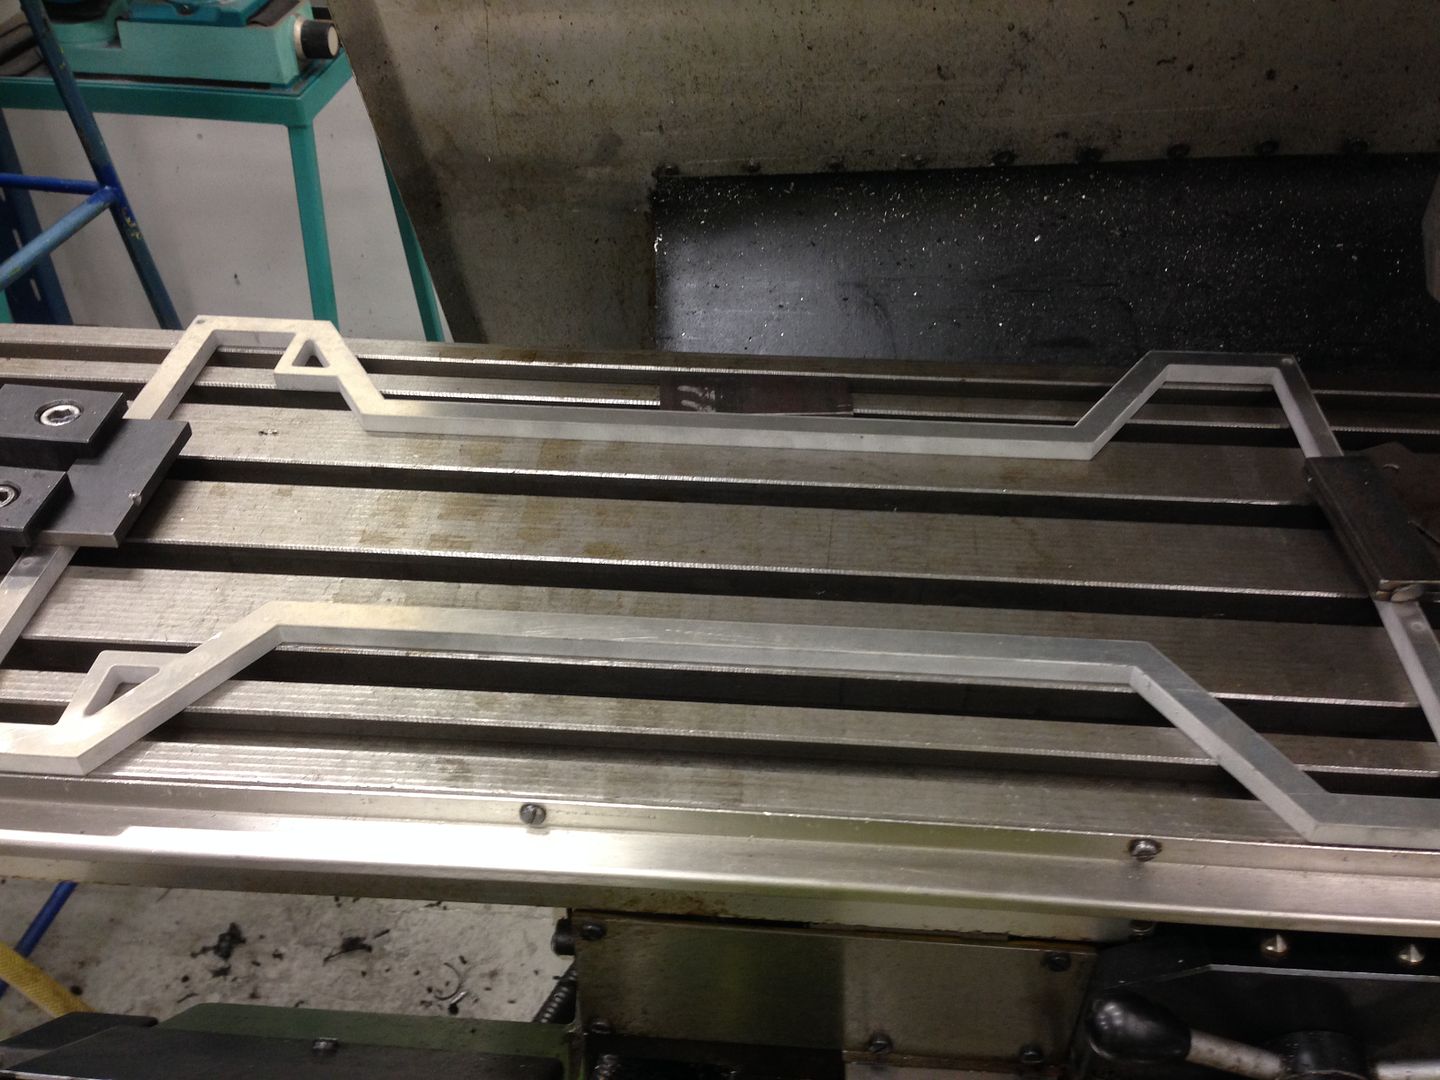
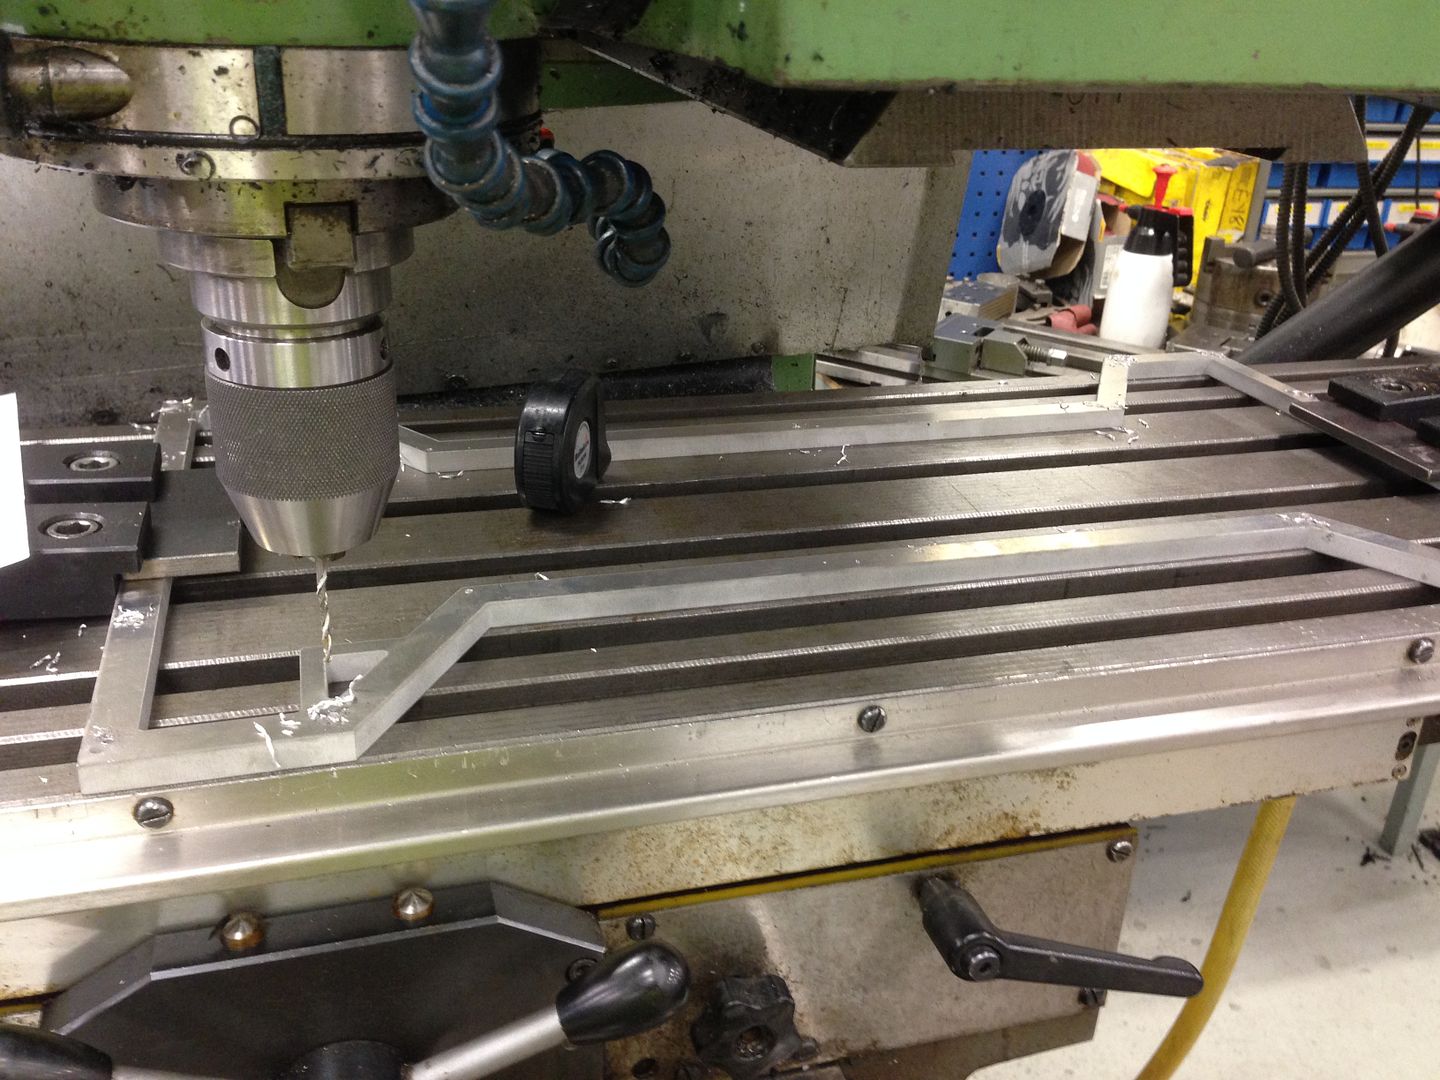
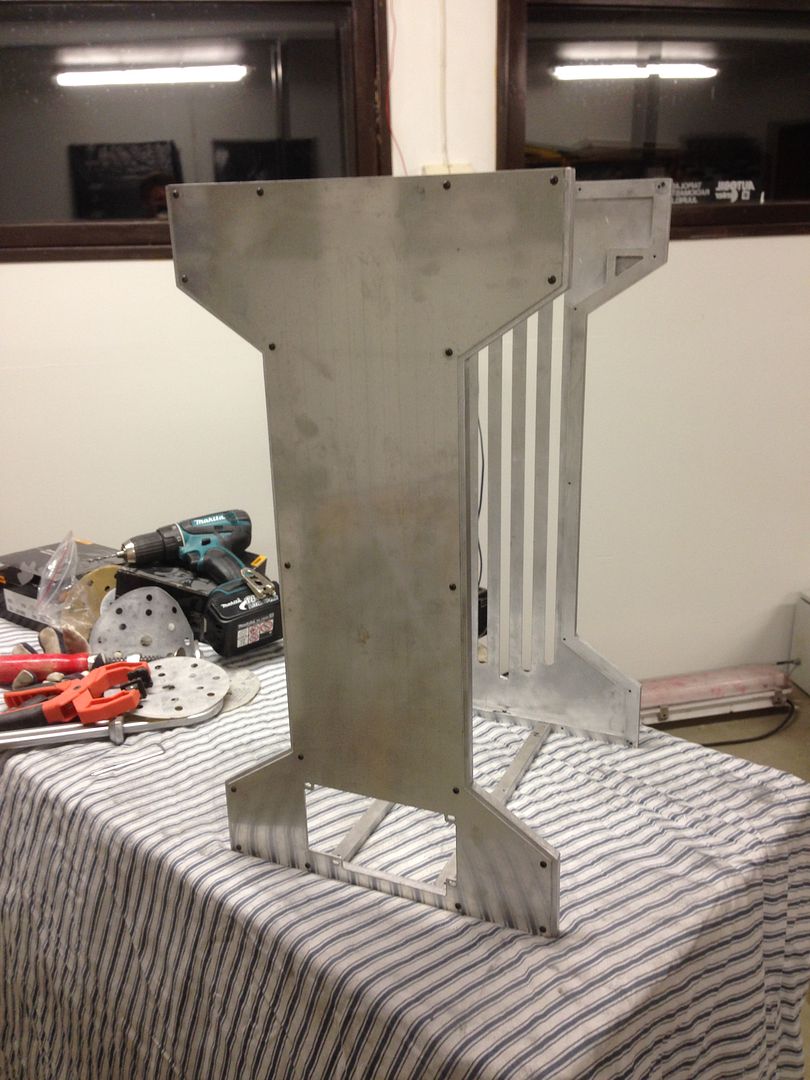
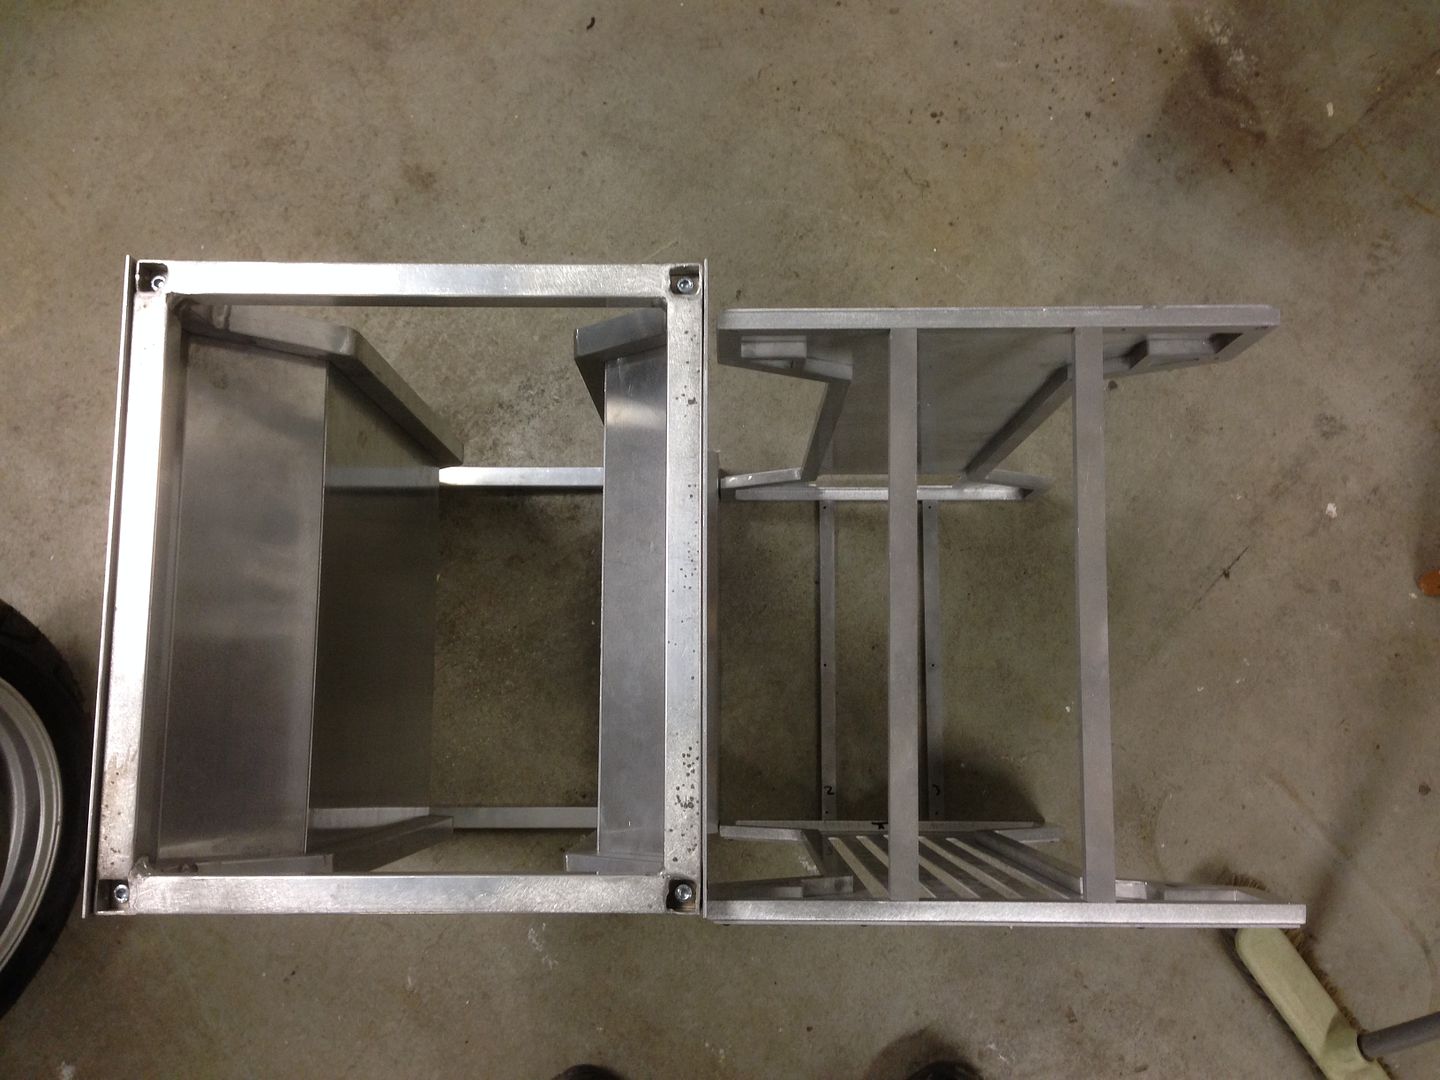
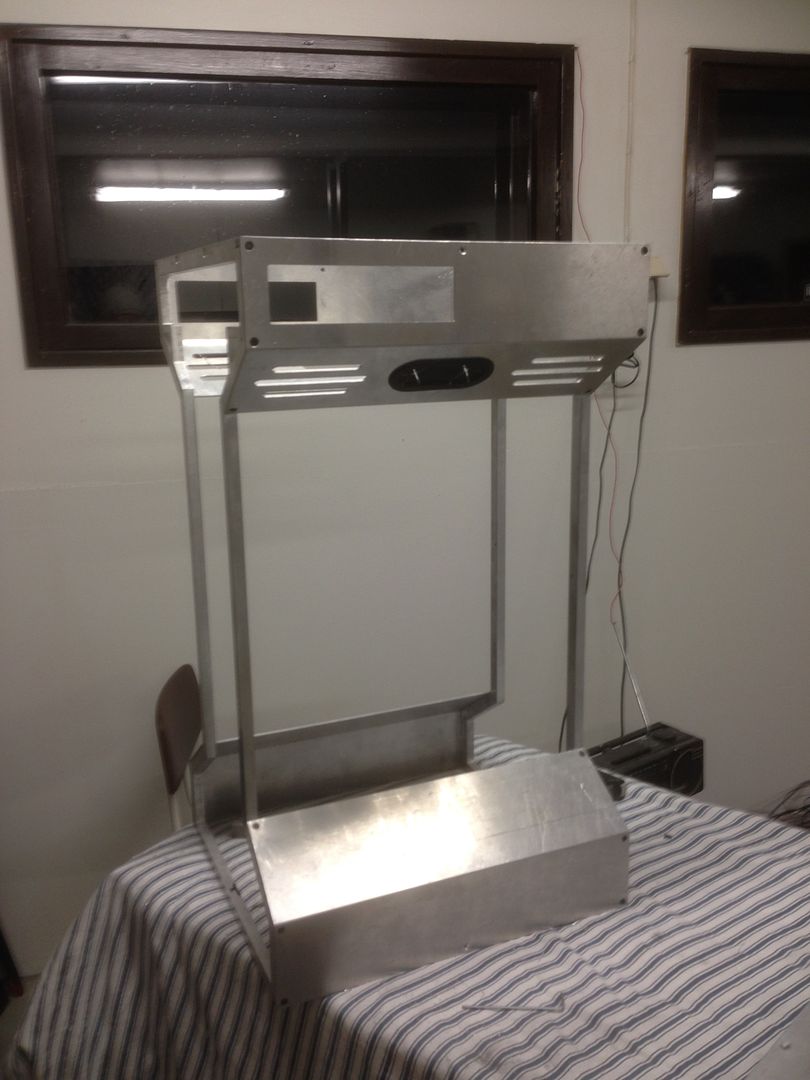
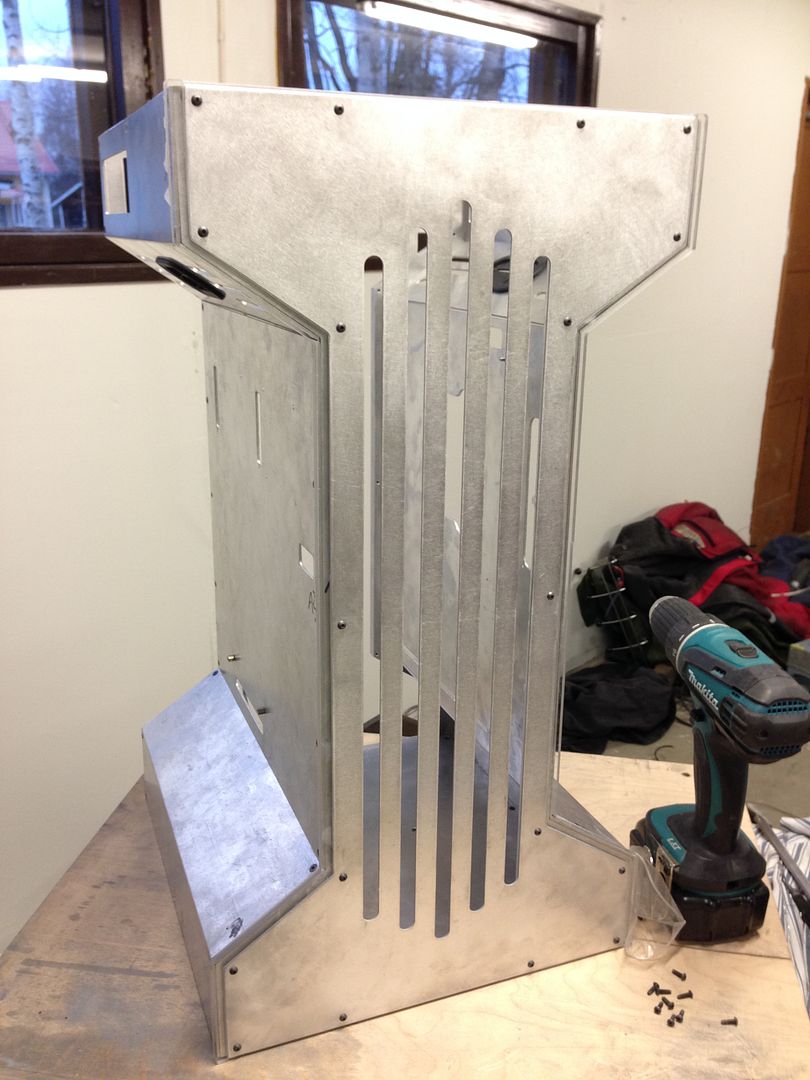
This is how its now, still a lot to do and not much time left but all the acrylic and sheet metal is sanded down now and fits great.
Comp2_zpsed6ada01.jpg

Comp1_zps2998f7a0.jpg


And a bit of bonus content,

obviously it won't fit in the computer but i do have a different plan once the case is done.
Rog1_zpsa9c63080.jpg

Great looking piece!
Rog5_zpsa0a06609.jpg

Rog4_zpse7ccecfd.jpg

Rog2_zps45d8885d.jpg


Will add more photos of it once i get it up and running, will be a bit later as i need to focus on the computer right now

Next update before the competition ends !

Sponsored by:
ocz_logo_lrg_zpsac7cfafb.png
 
Associate
OP
Joined
11 Dec 2012
Posts
90
Thx guys!

Quick update before the competition ends!

Got all bit painted so started assembling pieces

Frame
DSC_0811_zpsee8bd3b6.jpg


DSC_0813_zps9fe08b9a.jpg


DSC_0815_zpsc4343c5b.jpg


Pumps and psu support
DSC_0816_zpsb52e66e1.jpg


Lamptron controllers, had these from the old rig so was easy to make new mounts for it.
DSC_0817_zpse156ee19.jpg

DSC_0818_zps43c19195.jpg


GTX 780
DSC_0820_zps3163d660.jpg

DSC_0821_zpsa86eed8f.jpg


Test fit
DSC_0824_zps65071f8f.jpg

DSC_0825_zps8ab9bdba.jpg


DSC_0827_zps247c0c81.jpg

DSC_0828_zps70fec5be.jpg


Sponsored by:
ocz_logo_lrg_zpsac7cfafb.png


Final photos in a few min!
 
Back
Top Bottom