The Big Shell Project

A minor update: The new PCIe Riser arrived!

This one is from "Adapter World" and is sold as a Gen 3 16x shielded, flexible riser. I was expecting (from the picture online) it to be that awful medical grey they normally are, but I opened it to find the shielding on the outside which looks perfect for the build! :D
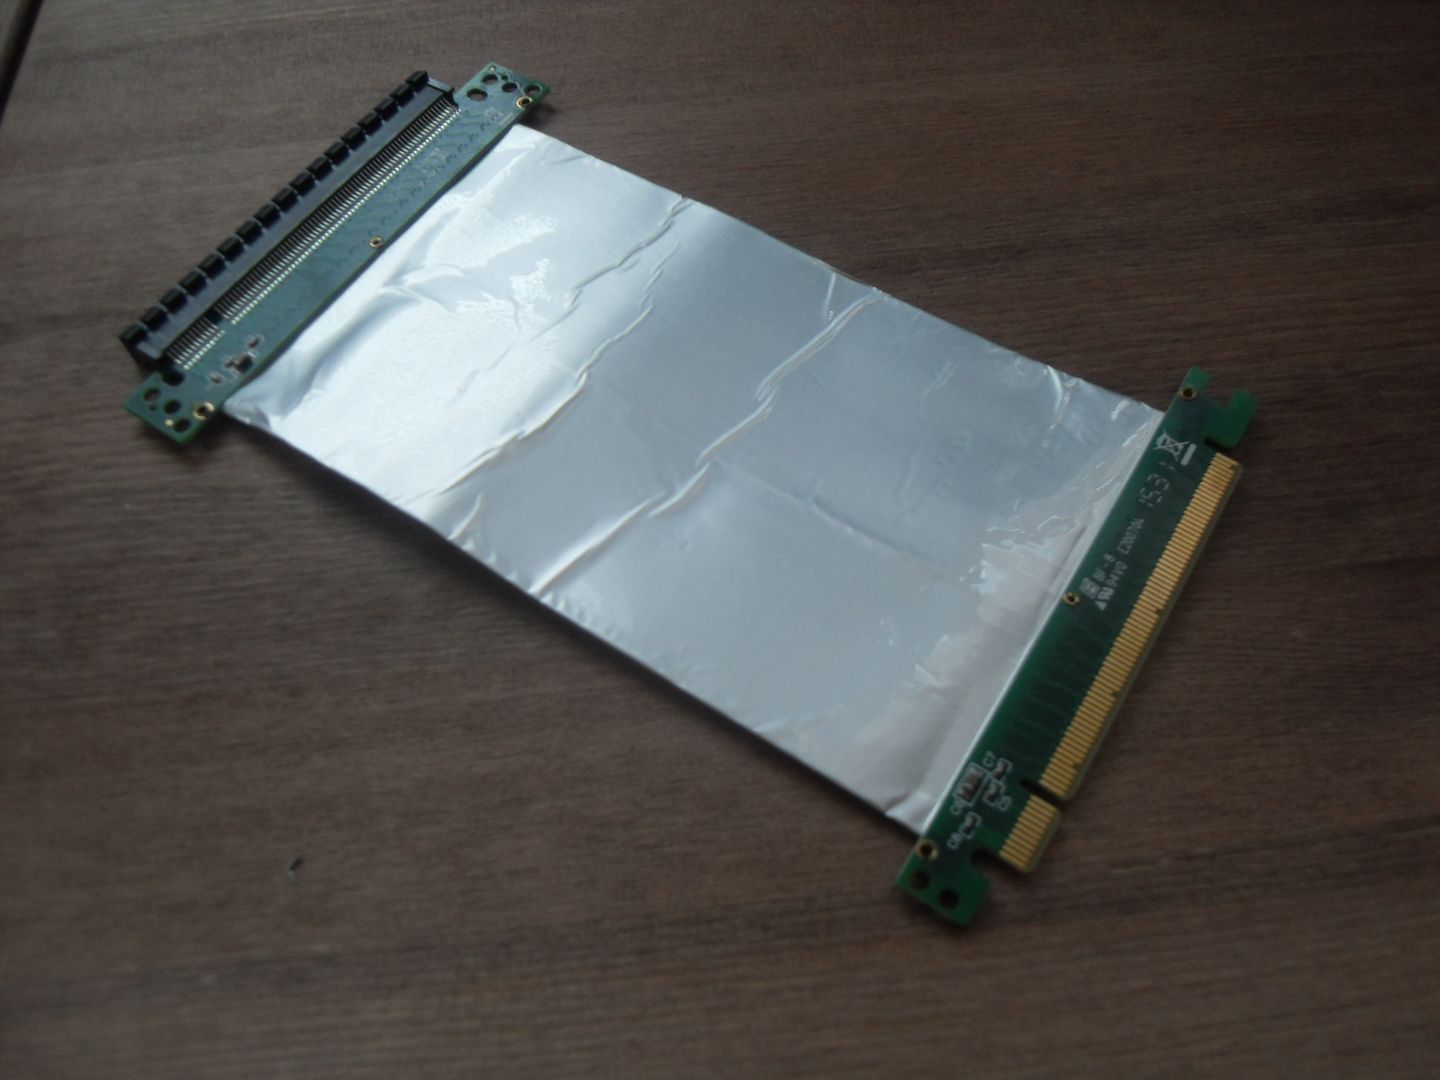
SDC12540_zps05zo0w0k.jpg


I had to test it, so I used flexible tubing to complete my loop and plugged my old SSD to get things booted.

The riser was plugged into the 3rd 16x slot on my motherboard and immediately booted up no problem. Downside is that apparently my 3rd slot is only 8x, but that shouldn't make a difference and it with be in the 4th slot when the build is complete which is 16x.

I had ran Firestrike Ultra when I was tested my component and wrote down the results to compare. With the riser in the 8x slot I got a slightly higher score than compared without the riser in a 16x slot, but this is probably because the GPU is watercooled and therefore able to stably boost higher.

What this does show is that my performance probably won't be effected by the riser and that it works fine, so I am very happy! :cool:
 
The EK blocks and backplates do look really clean and it makes them work in a lot of builds, but I think they are getting boring. Just a way to black out your graphics card instead of making it a centre piece.

I was really stuck between the Aquacomputer and Watercool blocks, I think I'm becoming a bit of an Aquacomputer nut now though... It all started with that Aquaero 5 :p
 
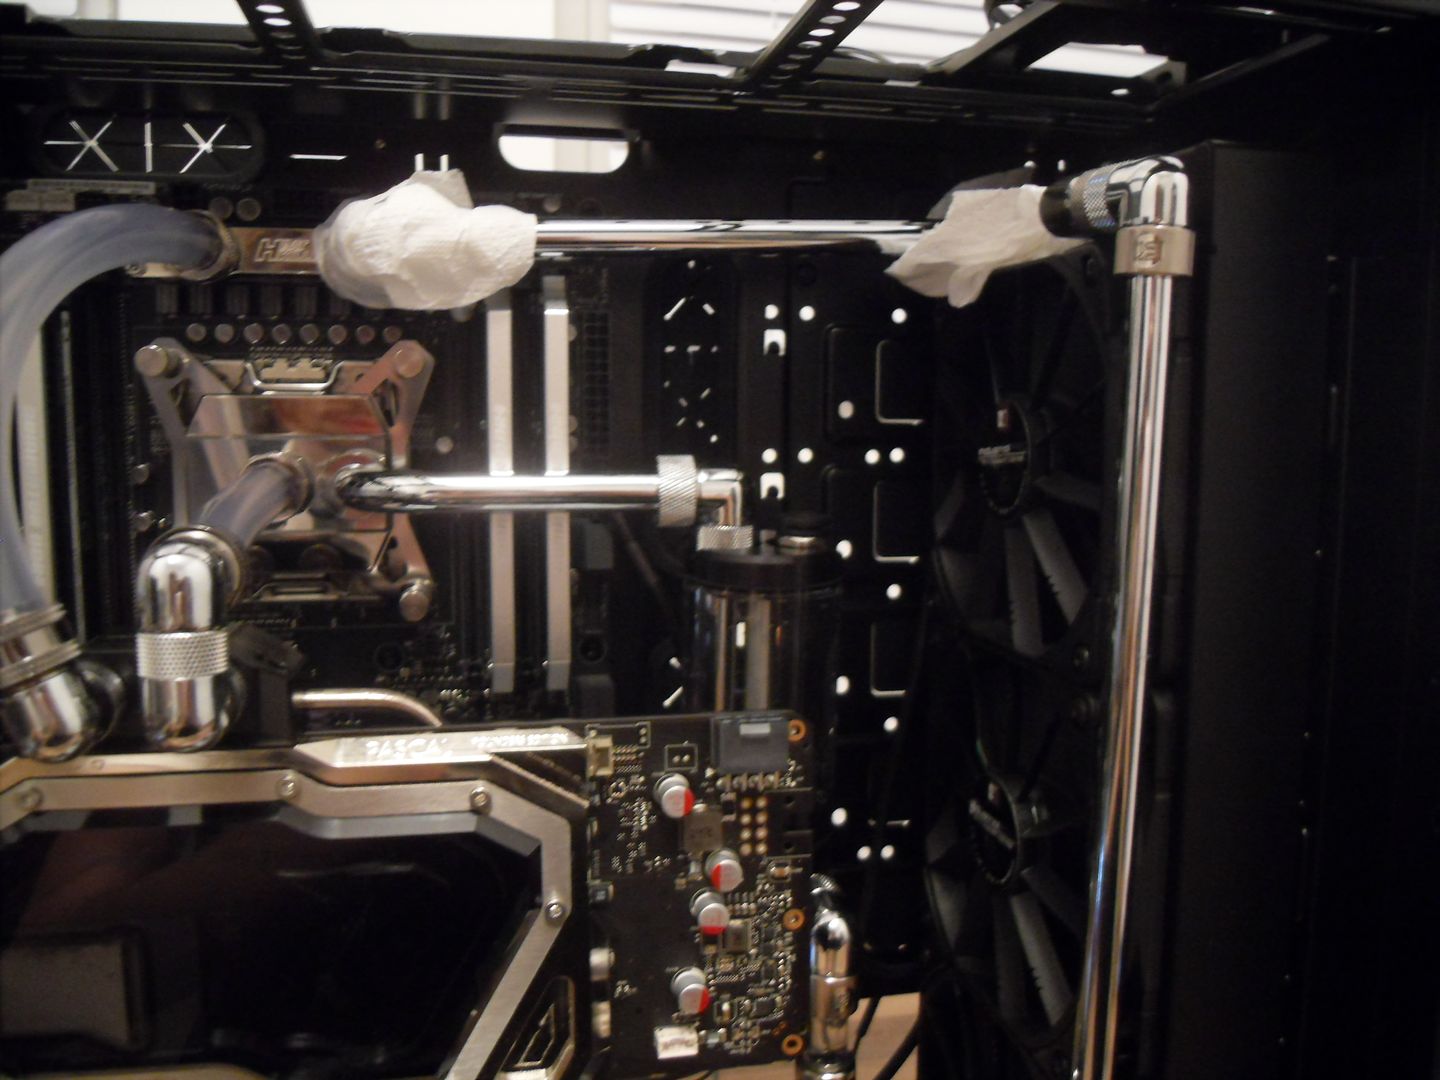
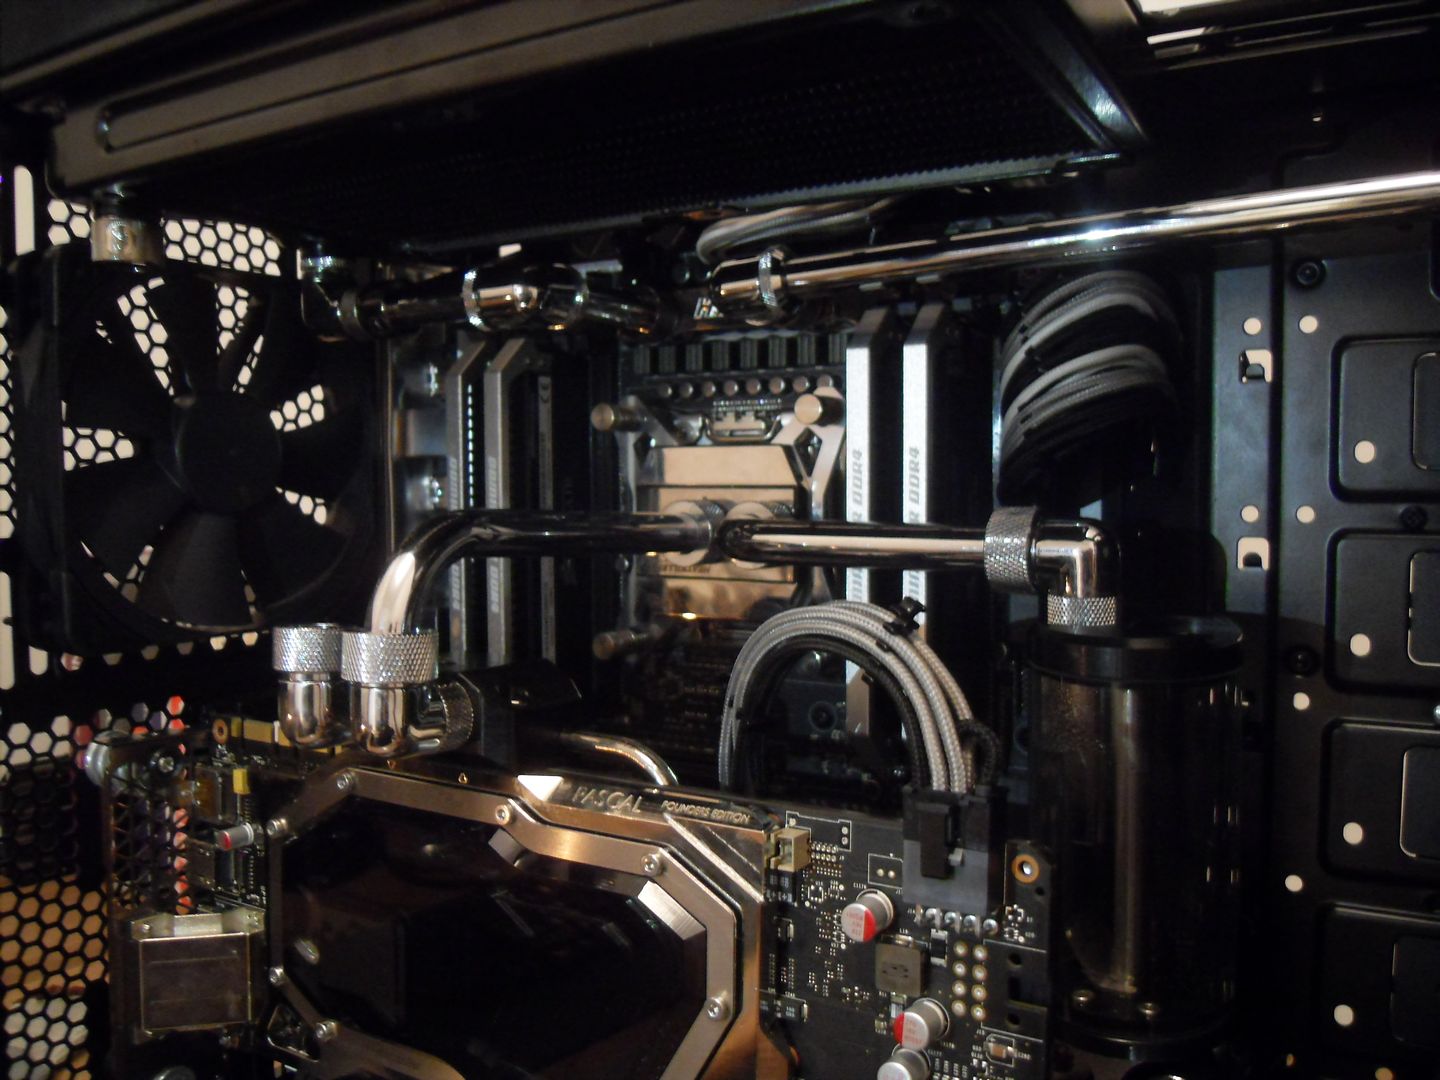
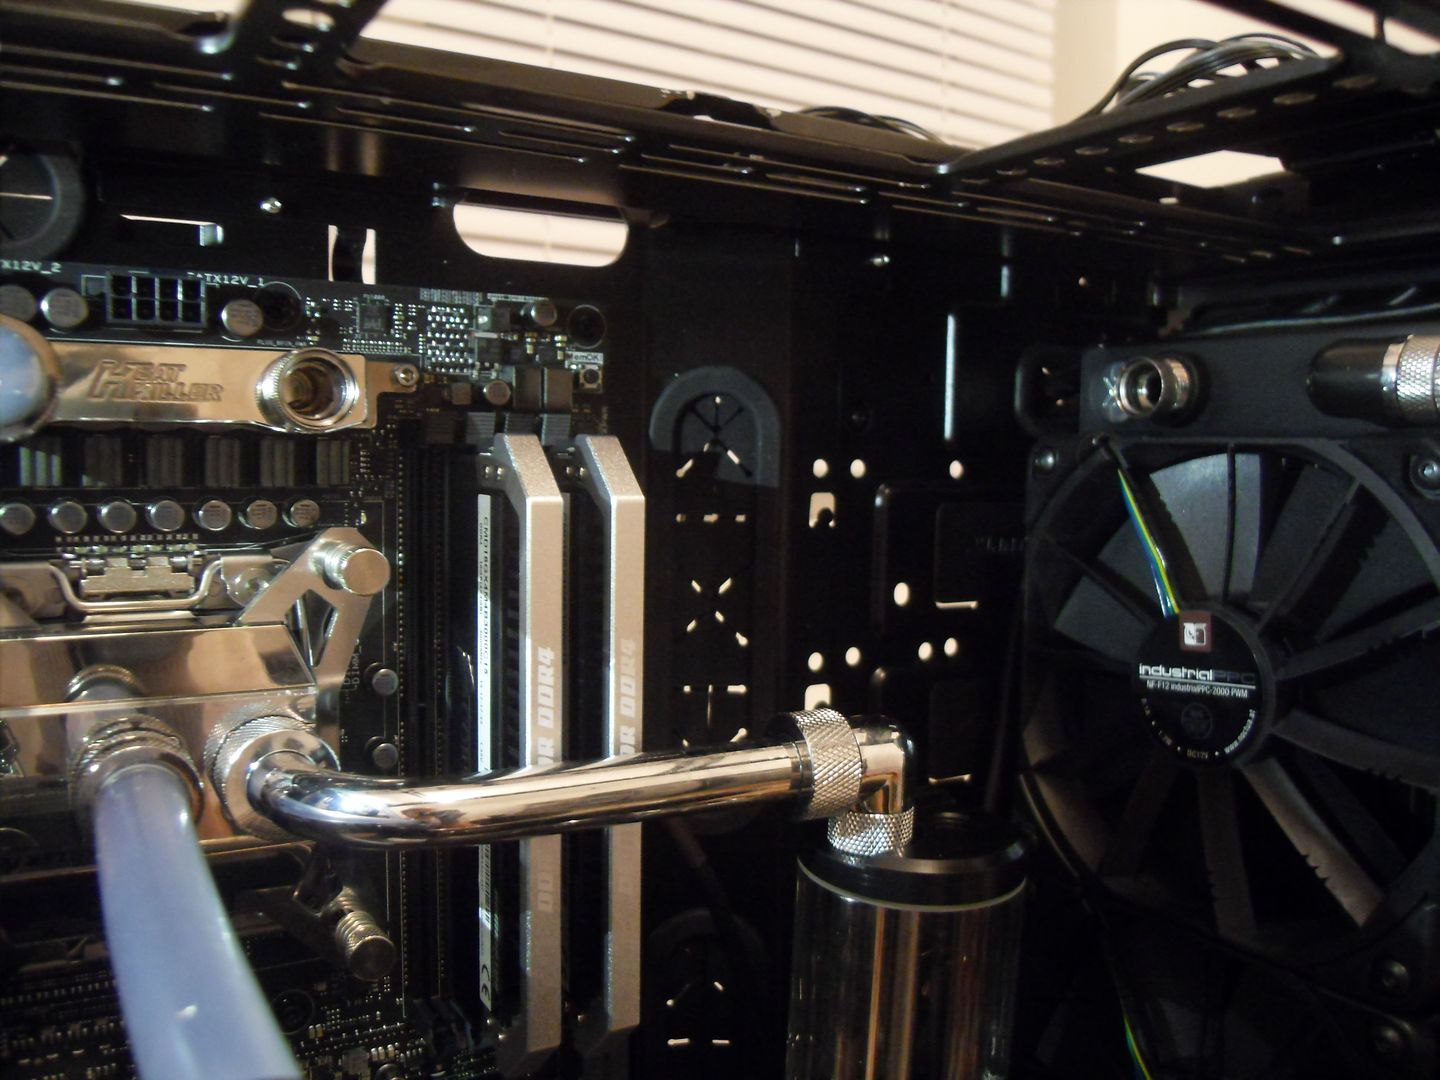
It is a combination. Most of it is Barrow 10/12mm chrome plated copper pipe and then there are two runs that use Alphacool 10/13mm chrome plated brass pipe.

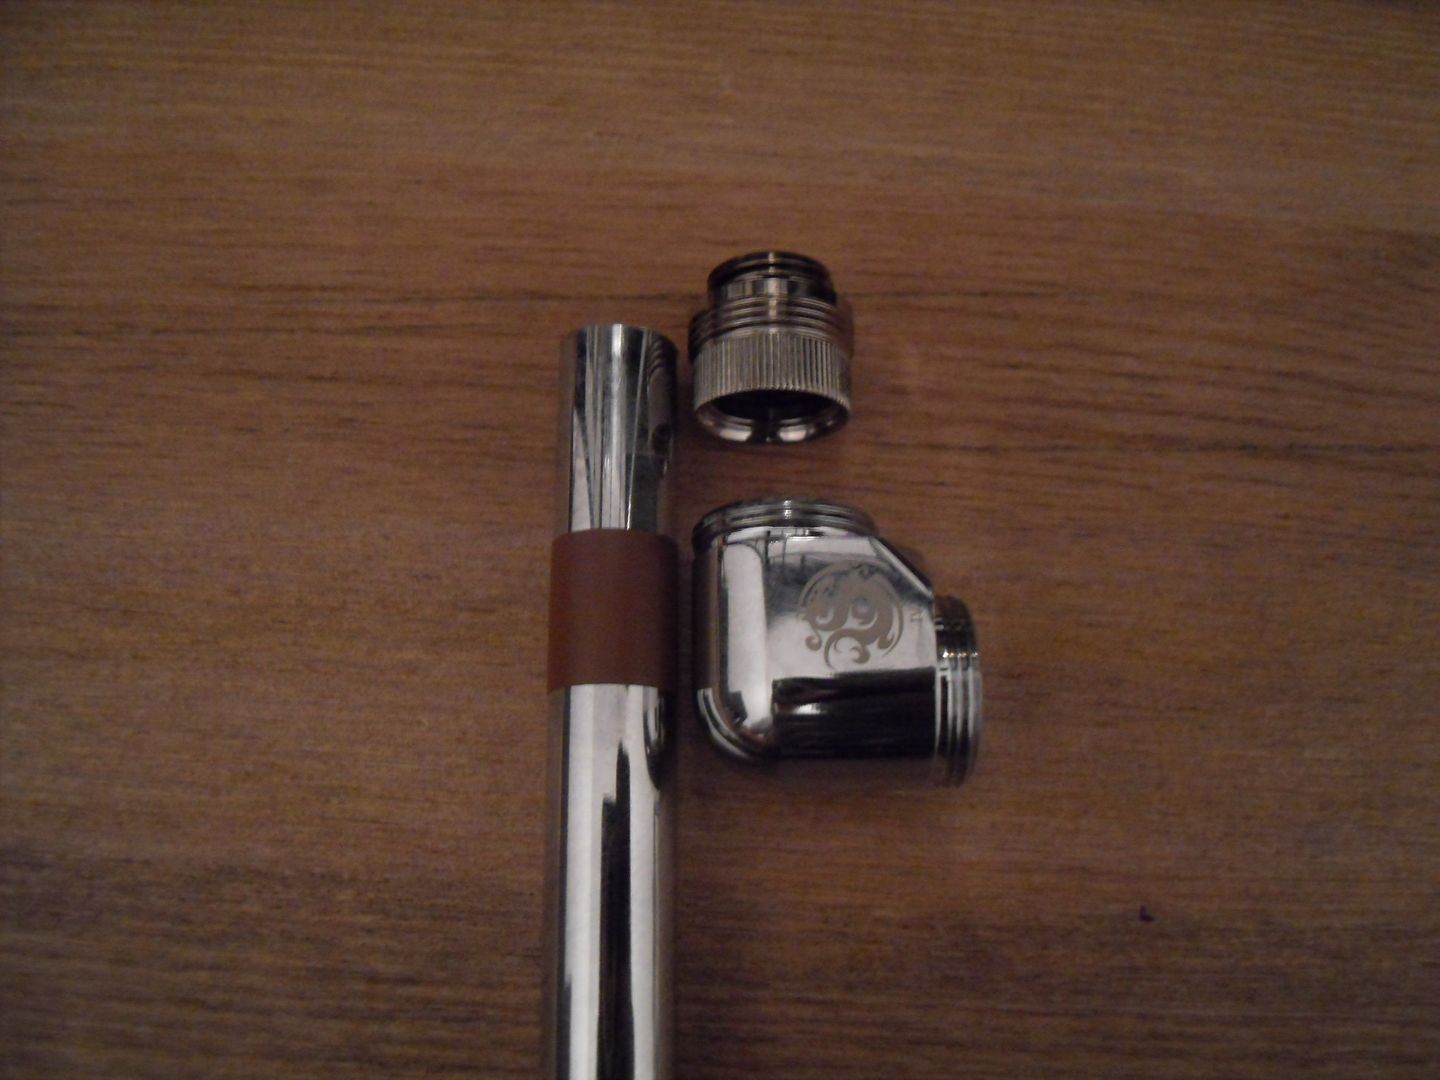
The reason for that is because the Alphacool pipe can be bought with 90 degree bend in them. It's being used for the bend from the GPU to the CPU and from the CPU to the res.
 
Horrific update: The log is probably going to get postponed for weeks...

The PE 240 is too thick to go in the top so I am having to order a slim radiator. I have settled on the Magicool G2 Slim 240mm, which is conveniently out of stock on OCUK and the website I have got it from is yet to dispatch it.

The reason for weeks though is because I go away on Tuesday for almost 3 weeks so I will probably have to pick up where I left off after I get back. There are some updates I have lined up to give, but I don't think there is much else I can do for now. Sorry.
 
Do you get any issues with the plating when forming your bends? I'm looking to use 12mm copper pipe with a polished finish but am also considering plating.

What pipebender are you using (make and model)?

Thanks

I am not bending any pipes. The Alphacool pipes come with a bend already in them and the other bends are being done just with fittings.

If you bend plated pipe it WILL crack the plating badly so you would have to get plain copper pipe, do all the bends and leak test and everything and then get it electroplated somewhere if you wanted to do bends.
 
Completion Update

The radiator will be arriving tomorrow, probably around the same time I leave for the airport :( . so the completion of this project will have to be postponed to the week of the 26th of this month so I'd sub to get updated when I start again.
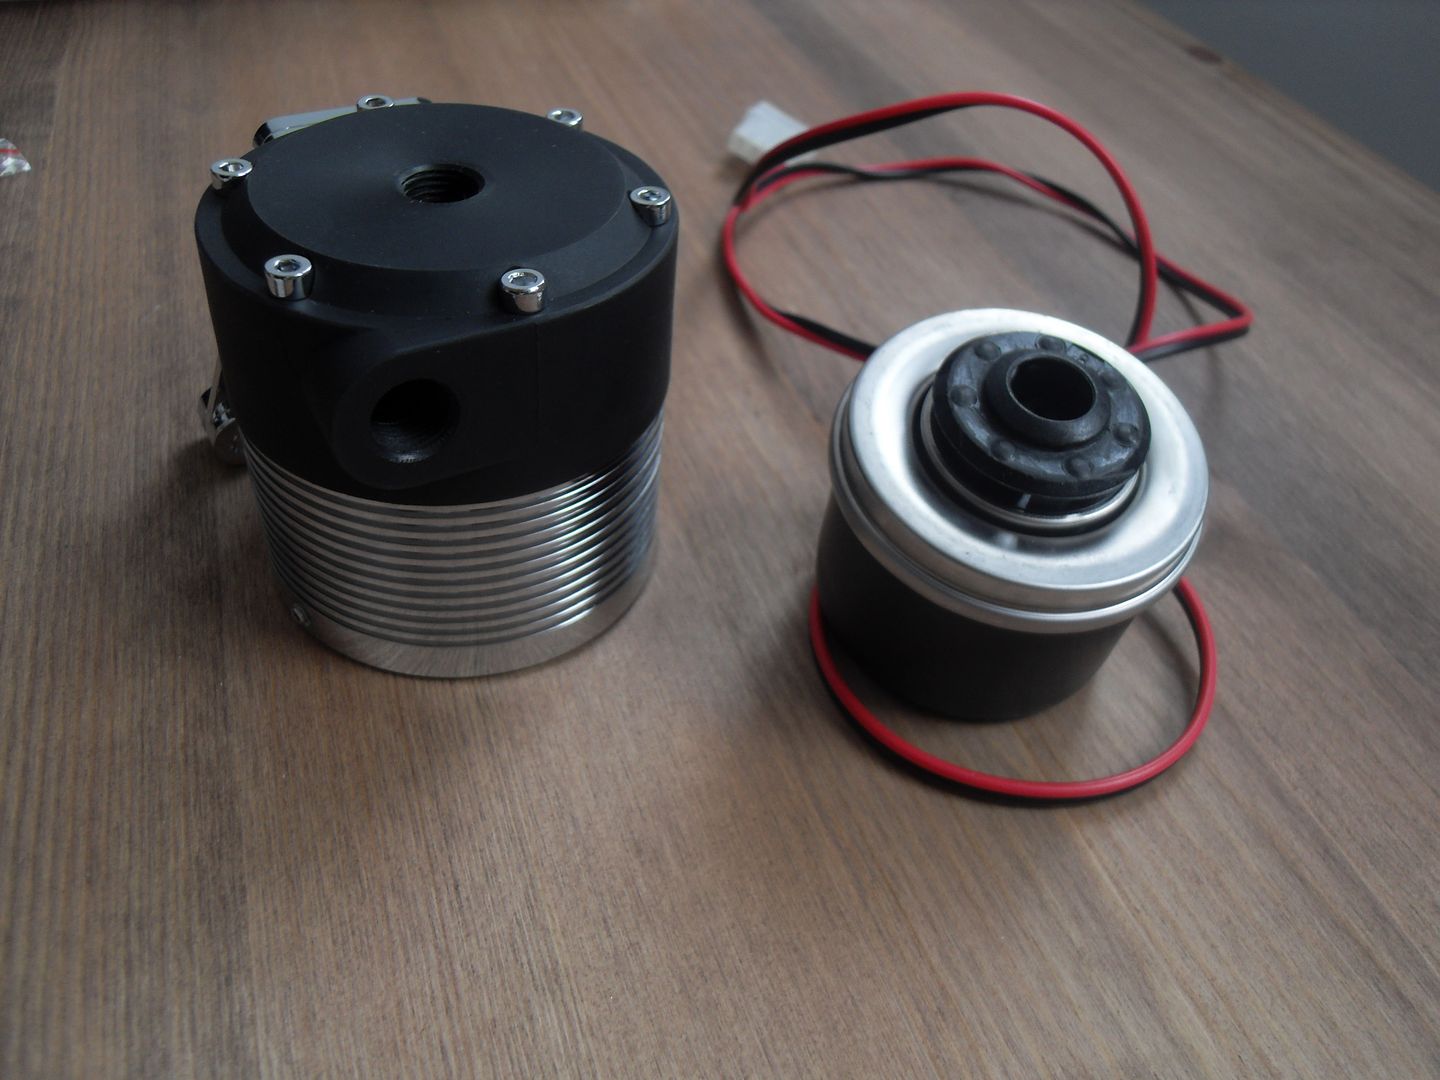
I have a couple of updates coming today though, including a pump leak fiasco, doing a pipe run from the VRM to the front radiator and a current look at the project so far.
 
Pump Leak Fiasco!
I couldn't wait to test the mods I'd made hadn't bricked my hardware and that my new PCIe riser worked, so I finished the loop with clear tubing and filled her up for a quick blast on Firestrike!

Aaaaaannndd disaster... My Monsoon Modular Reservoir System pump top starting leaking badly. I didn't realise and did some BIOS messing around as well as run Firestrike before I noticed a little puddle underneath the foam beneath the pump.

It turns out that the casing was leaking out of the bottom. The chrome part screws into the black top forcing the pump unit into the O-ring on the inside of the top. The O-ring wasn't really doing anything causing water to leak around and down the sides of the pump unit; I was lucky it didn't short!
SDC12451_zpsn3iwzfcz.jpg


I tried a different O-ring (a spare one from an old Alphacool top) that was thicker, but that didn't stop it and I then resorted to a thick flat O-ring from a Moka (I think the English word is Percolator?) and that again didn't work. I thick there is some imperfection in the pump top that is allowing the water to pass over the O-ring.

I had two options: Get a replacement, probably could have returned it easily and it might not have taken long either, or seal it in some way with a mod. Correct, I chose the stupid option again and tried to seal it.

Turns out it was an easy fix! I just used a few turns of sealing tape around the shoulder of the pump unit to seal it against the chrome cover and then used 2 loops around the thread on the chrome cover to complete the seal around the water containing area :p

And no more leaks! So yeah, I feel like Monsoon let me down a bit, but I haven't heard of anyone else's leaking on the internet, so I think I just got some bad luck and I can't really hold it against Monsoon.
 
Last edited:
Pipe Line form VRM to Front Rad

This is the final bit of pipe I can do before my new radiator arrived so here it goes.

A small bit of pipe will come out of the VRM and connect to a bitspower multilink 90 degree fitting to connect to a pipe coming from the front rad.

SDC12625_zps8a90m2wh.jpg


To measure the pipe I required to come out of the VRM I connected a pipe to the front rad with the bitspower mutlilink at the end of it and measured the distance to the VRM. I then measured the length of pipe that inserts into each fitting and added it onto the distance between the fittings to get the total length I needed.

I did a bit of mapping out of the case with a ruler to make sure I understand what the hell I was measuring :p

SDC12629_zpsryko1wgj.jpg


As you can see I mark off the length I need to cut with some electrical tape and I use a regular hacksaw to cut it.

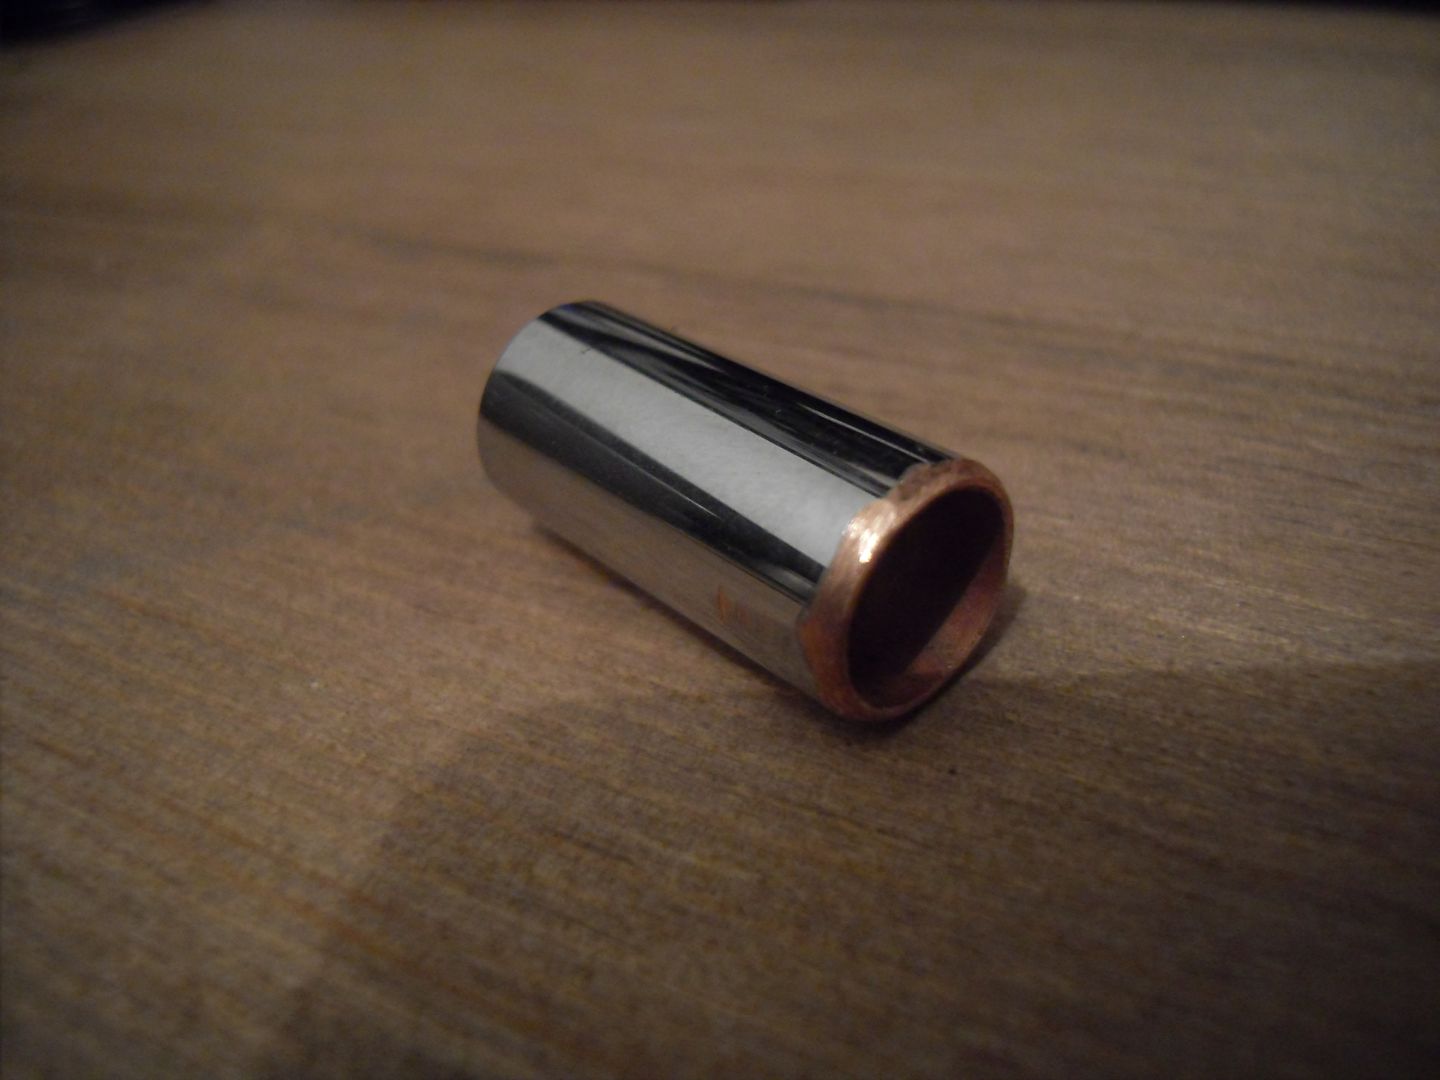
Then comes what I call end-processing. In order to not damage fittings you need to de-burr the fresh cut end with a file or sand paper when using hard tubing, otherwise you will damage the O-ring in the fitting. However, when using metal pipe you also need to taper the outside of the tube so the pipe can slide over the O-ring nicely.

I broke out the dremel again to get this done :D

SDC12632_zpskfdlhlvh.jpg


Here this insignificantly small, significant piece of pipe is installed with all the fittings haha :p

SDC12635_zpsutehfzyi.jpg


Next was pretty much the same process to run pipe from the multilink fitting to the front rad.

SDC12637_zpsorlnec3q.jpg


Not bad I'd say, looking forward to having this all in the case in a few weeks!
 
I wanted to use the built in RGD LED controller in the case to power my LEDs (despite only wanting white LEDs :p ) so I ordered two of the 40cm magnetic RGB LED strips from Phanteks that OCUK have just got in stock :D

I was super-excited and they looked and felt great when I was installing them. The magnets are powerful enough, the strips are covered in a nice rubber sleeve that feels and looks premium and I couldn't wait to get them going.

However I was disappointed to find that the white LED mode is distinctly light blue, kind of aqua. I cycled through the colours back to white, which made them appear white, but it was still apparent that they were blue so I will not be using them.

I'm going to go back to using cheap LED strips from Amazon since I've actually had decent products the last couple of times.

For anyone thinking of getting the Phanteks RGB LEDs, they are really nice, are not very expensive at all and are so easy to use with the compatible cases that they may be worth it if you aren't too bothered about absolute colour accuracies or are putting together a coloured build since I imagine actual colours will blend nicely. They are quite bright and great to use with the magnets, but I shall not be using them unfortunately.
 
Never used Phanteks LED's so not sure how much control you have over the colour, but Aqua Computer LED's when set to 'white' are also more of a light blue. All you need to do with those is gradually turn the blue channel down using their ColourWork until they're a true ice white.
Awesome build by the way, the pipework combined with those blocks is truly stunning, can't wait to see it finished with the temp tubing removed :D
Also hoping you haven't found a common fault with the Monsoon pump top as I was planning on using one!

The case control is a single button that you press for colour and hold for mode. I have heard that they work with ASUS Aura RGB LED control which I have on my board so I will be looking into that when I get back.

Honestly I might just stick to the Amazon ones since I don't need the RGB and this is becoming a hassle :p

Thanks a lot for the support, I'm glad you are enjoying it!

I had a look online and couldn't find any other leak complaints, so hopefully they are normally fine! If it does leak, return it don't be an impatient fool like me haha
 
What LED strips have you been getting from Amazon, Frank? I have some acrylic edge lighting to make up and I'm in the market for some cool white strips.

Need to be slimline stuff though, no thicker than 5mm. Have a few things watched on fleabay, but options are always good.

They are from "TopLED". My last build was all white and they went so well. They had whiter LEDs than my Corsair AF140 white LED fans, have good LED density and are quite bright and use a pass-through molex for power.

They come in a variety of lengths with a variety of cable length. If you mean width by thickness then they are wider than 5mm, but they aren't taller if that helps.

Some people have complained in the comments, but the 40mm strips I got were fantastic.
 
I'm arriving back home this evening so I can get the log going again!

Also, since my girlfriend won't be home until tomorrow I'll be staying up most of the night to get some serious work done and I'll hopefully be sort of live-logging it as I go here so you can expect some updates tonight and tomorrow :D
 
First update of the evening: That rad is just about as thick as it can get to work in this situation!

I tried just eyeballing the length of the first piece of tube and it predictably ended up being 6mm short... Oops! It made an easy guide for how long to cut the second tube though :p
SDC12651_zpslfwoctqh.jpg


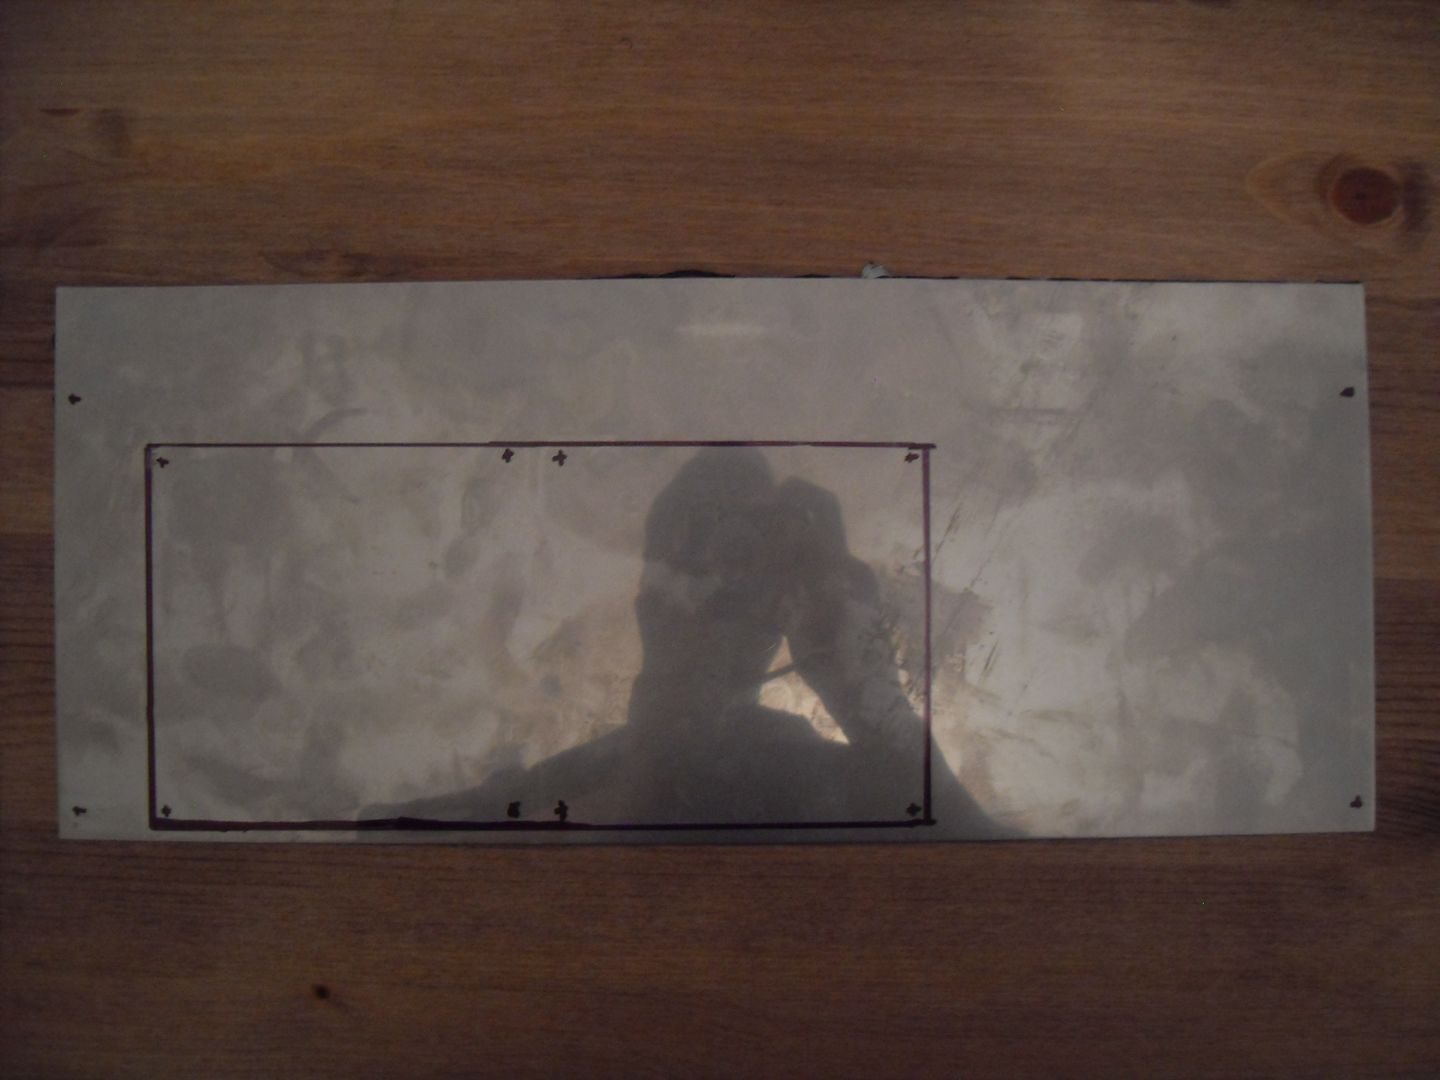
I am a lot more tired than I thought I would be (not enough sleep and too much alcohol over the last 3 weeks), but I am determined to get a couple more things done. At least one more tubing run and then map out the cutting for the metal plate that will cover the top of the case (I'll also explain what I mean by this mythical "metal plate" as well haha).
 
One more run down! I have to say, this is really starting to really take shape now. I'll get the final pipe run done tomorrow (top rad to GPU) and I can't wait to see the result.

SDC12654_zpsghoymjqg.jpg


Time to try and sort out this whole metal plate palaver!
 
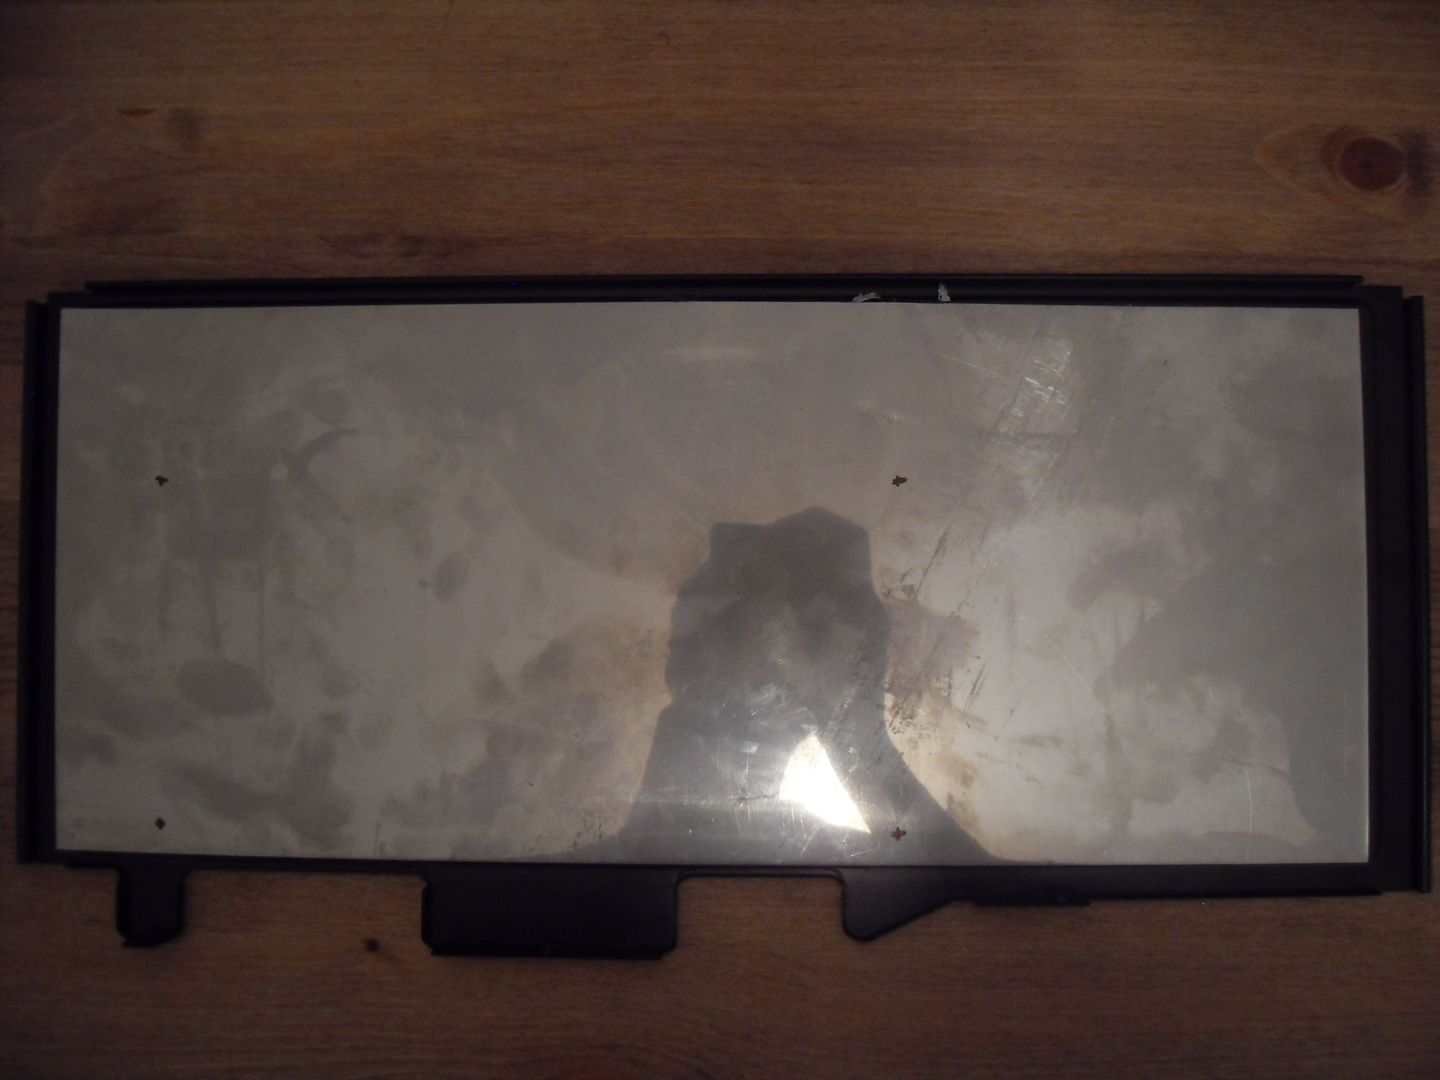
My metal plate idea is to bolt a sheet of metal to the inside of the fan bracket (between it and the radiator) to create a shiny metal interior top panel.

The original idea came from worrying about the air exhaust from the top of the case, since the fans are closer to the top than they should be, and thinking the exhaust air my regurgitate back into the case through the fan bracket.

That's where the idea of the metal top plate came from, although I do understand that it really wasn't an issue worth solving, the exhaust air coming into the case a bit wouldn't have altered performance whatsoever, I just like the idea now.

I got this piece of metal from a blacksmith friend, I just need to carefully drill the holes for the screws and cut out the large central hole to allow air to pass through. Plans for tomorrow!
SDC12659_zpssziazi97.jpg

SDC12661_zpsgb2z0wjg.jpg
 
I'll be honest, my life has gotten in the way of completing the project! :(

There are a couple of small things that need doing, but it is almost complete. All the bends are done, I have drilled and cut the metal top plate and have almost finished the wiring (updates will soon follow).

I have finally devised a drain system that I am happy with so that will be coming soon too and after that all I will have left is to install software, overclock and benchmark! :D

I want it done by Sunday, but that will likely not happen... :p
 
I finally got around to the metal plate!

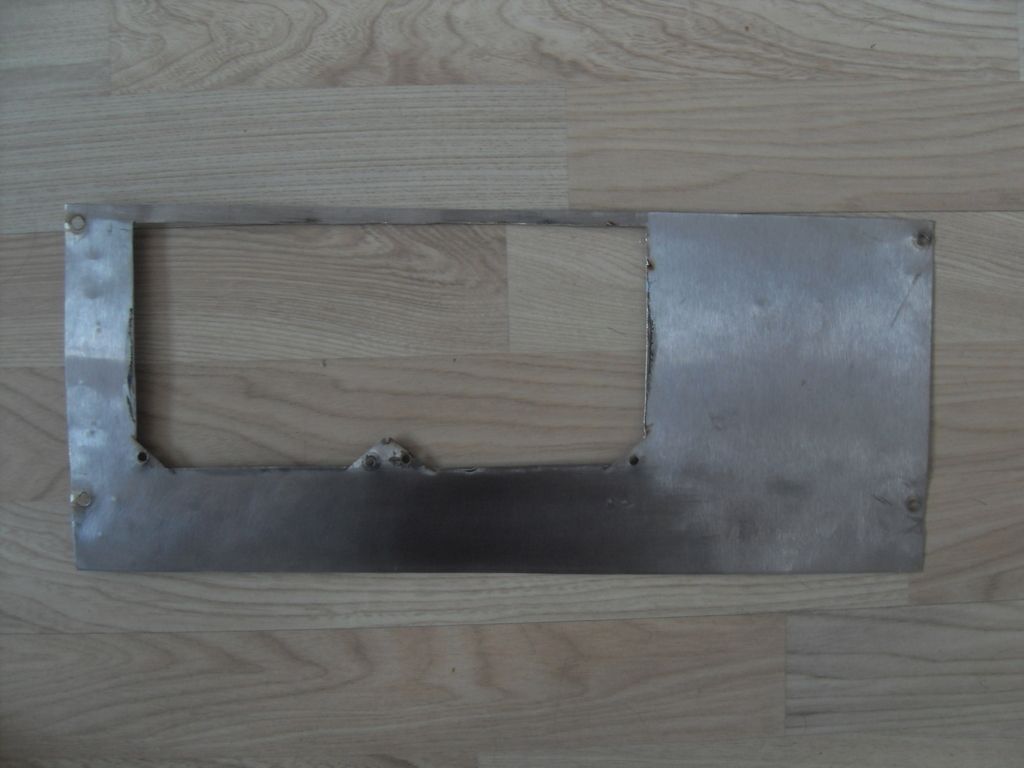
I originally wanted holes drilled for every fan screw (instead of just sandwiching the plate between the rad and the fans) with 4 screws for the corners of the plate. After losing count of the number of minutes it took to drill the first 4 fan screw holes (I believe it was in the tens of thousands, though I'm not sure) I decided to have the other half of the plate sandwiched between the rad and the fans haha.

This plate was seriously tough and I really wasn't expecting it so I busted out the angle grinder to cut the main hole. It made short work of it!

This is the semi-final product, it still needs polishing up and a bit more filing:
SDC12672_zpsljphe84w.jpg


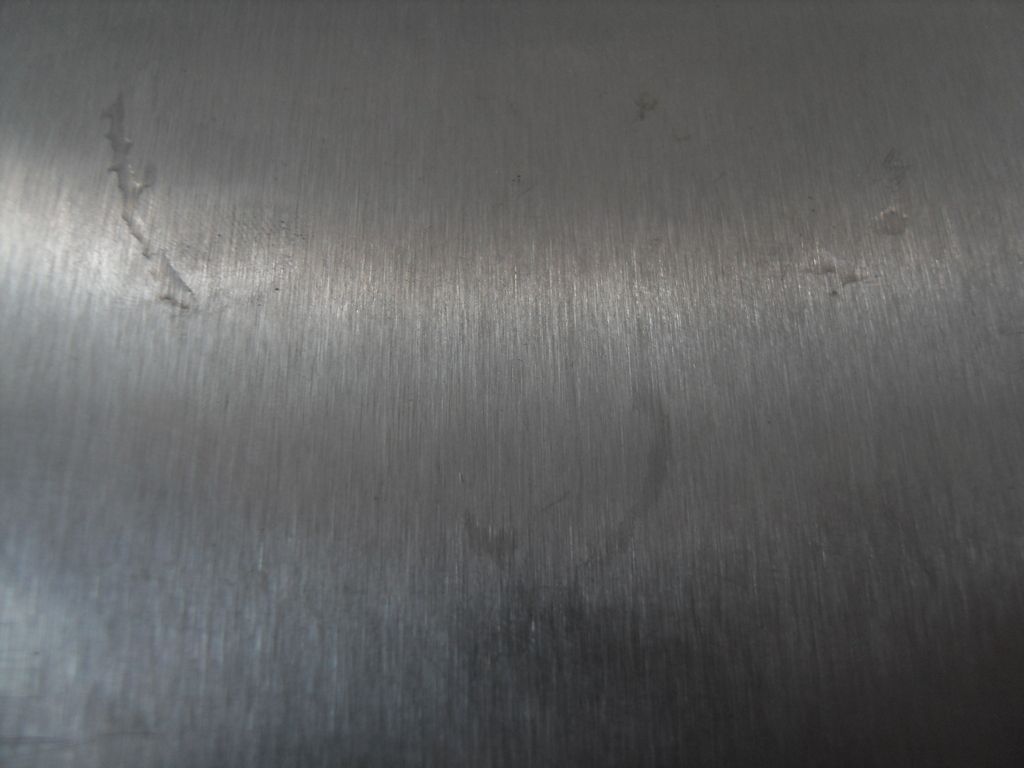
One thing I did notice that bothered me greatly was that although one side of the plate is nice and shiny, the other, which was covered in protective plastic, is brushed. I want it to be beautifully shiny so I had a go at removing the brushing.

I would have just flipped it, but I didn't remove the film until I had already cut the holes (Ironically to stop the it from getting scratched...) and since the holes aren't symmetrical I can't flip it :mad:

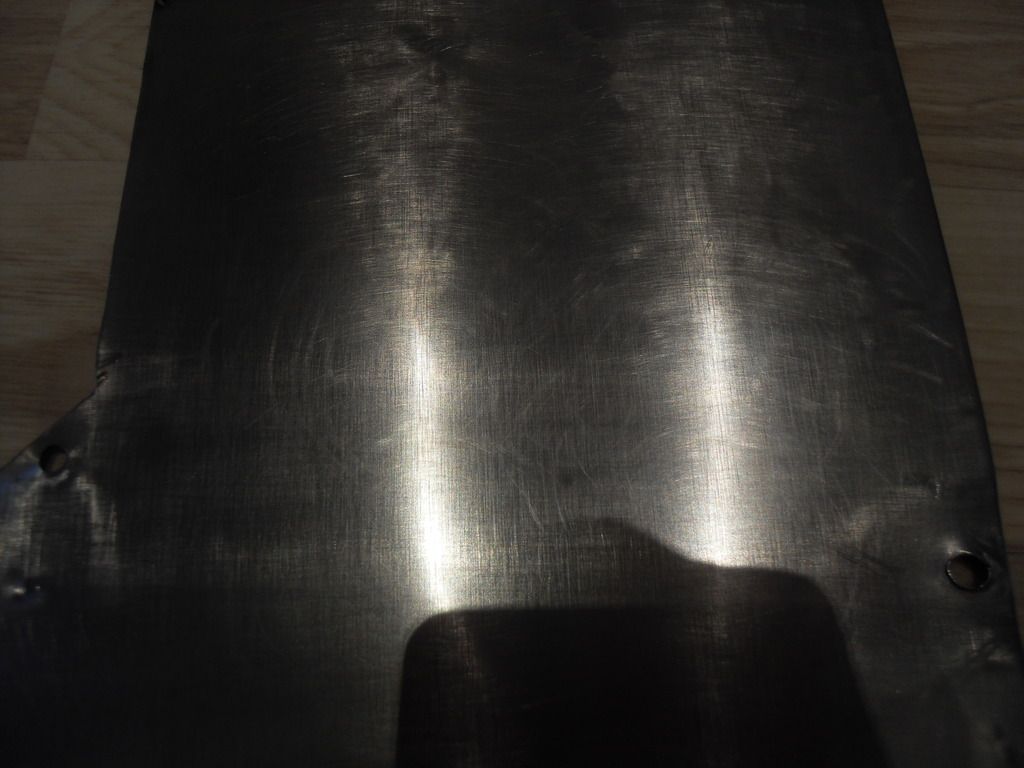
Here is my attempt at polishing out the brushing:
SDC12669_zpscltbsquc.jpg

SDC12674_zpsj2x4byxr.jpg


I started with sand paper and then used a metal polish paste. I would have used a few different sand papers of increasing grit, but I didn't have them. And as you can see, the result shows it. I may take it out and polish it more at a later date, but now it is installed I doubt it. I'll explain later with an installation picture that I am yet to take :p
 
Back
Top Bottom