Associate
Vault 111 by PEXON - Praise be unto our lord and saviour Overclockers
Hello!

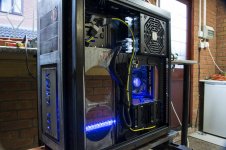
Its time for me to begin another project. I am very excited for the next installment in the Fallout series. Fallout has been one of my favourite single player game franchises for a long while, next to BioShock. I have had the idea for a while of building a Fallout themed watercooled PC. With the announcement trailer and game-play videos of Fallout 4, the idea of a Vault 111 themed rig came about. The idea behind this project is to make a PC that has been sitting in the vault research facility or overseers office for while and has been upgraded overtime with scavenged parts from inside the vault and out in the wasteland; this idea will allow me to use a mixture of different components, fittings, sleeving styles and weather/ distress different components and watercooling parts to fit in with this idea. Having rusted radiators, add on case panels and sleeving will be really cool, as if a previous item or part had broken down and a new one was scavenged and replaced.
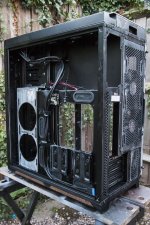
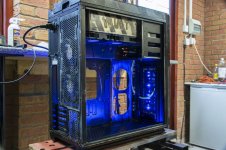
The case I will be using is something I've not seen many / if any watercooling projects with, the Phanteks Mini XL. Its a rather interesting case, allowing for a M-ATX build with a ton of room for radiator space and watercooling gear, or having an ITX and M-ATX system in the same case; I will be going for an M-ATX build with lots of watercooling options. The case is made of steel, one of the main criteria for the build and imperative for the weathering/ distressing I have in mind. I first saw a Phanteks case at Overclockers UK and I was blown away by the build quality, accessories and options for watercooling support. Thanks to Chris for pointing them out to me! The case is pretty uncommon and again, the unusual styling will, I feel fit in with the overall premise behind the build.
I am still unsure of the other main components going in the build in regards to the CPU, board and GPU, I know for certain I will be going for a full loop with the CPU and GPU blocked up. I may wait and see whats going to be released by Intel for their next CPU iteration.
I plan to have the build done by the time Fallout 4 comes out and just in time for iSeries in December.
The first batch of updates will generally be the weathering and distressing of the case and some modding of the side panels and interior.
I will be updating the OP with a list of components when I have more fleshed out, same for watercooling gear.
Project supporters:-
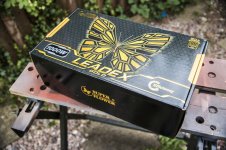
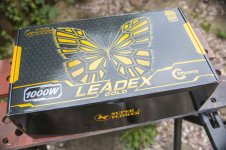
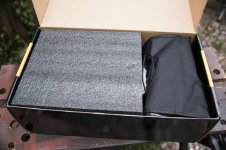
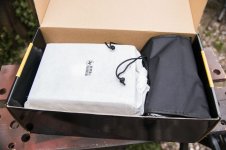
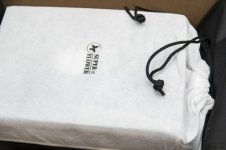
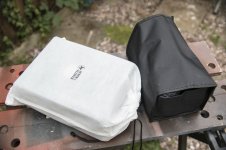
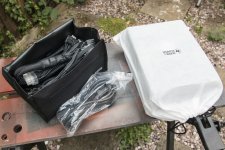
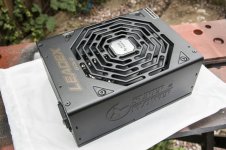
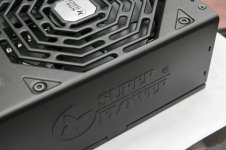
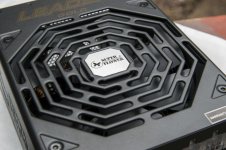
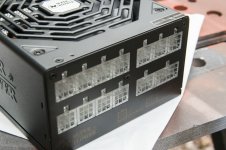
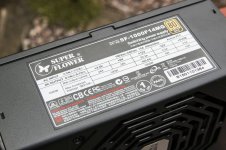
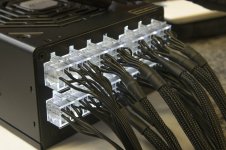
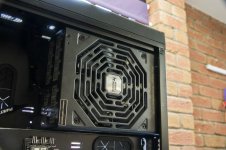
Overclockers UK supplied an awesome PSU! SuperFlower Leadex 1000W Gold!

MSI UK supplied the beast of GPU that will smash Fallout 4 to smithereens on 4K !

BIG thanks to AVEXIR for providing the RAM for the build!

Right, lets get on with the build log with some of the work I have done so far. I will be taking lots of photos as I am mega excited for this build!
I did take some pics of the case, but they were corrupted after exporting the RAW files into Lightroom! D'oh!
The first job was to disassemble the case and figure out which parts were metal and which were aluminium. Most of the steel parts will be sanded down, either in patches or in full and weathered.
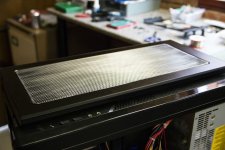
The top panel is completely removable and every part can be unscrewed, so epic that Phanteks do this, ideal if you want to paint the case or do some serious modding!
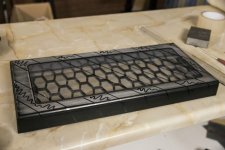
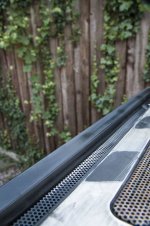
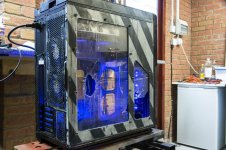
I sanded the top down with some 160 Grit paper, down to the raw aluminium and applied tape to the areas I didn't want to get hit by spray paint when applying the safety stripes.
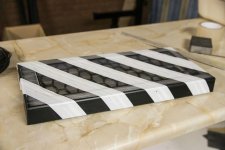
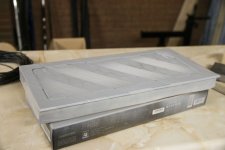
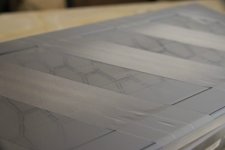
Getting a perfect finish on the paint is not important. Flawlessly finished paint with a nice lacquer applied, simply will not work on this build!
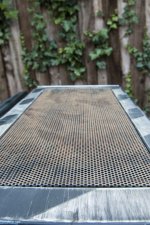
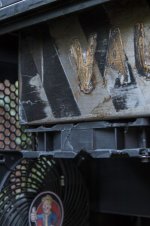
Skipping forward 24 hours, the top layer of black spray was applied, the grill removed, sanded down to the bare steel and dipped in a solution of salt and water to encourage rust to develop. I was shocked when I came back into the workshop the next morning to find 5 years worth of rust in one night! Salt water rocks when rusting!
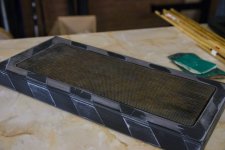
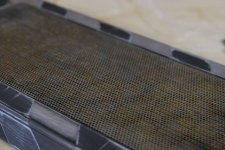
To add a little more, subtle staining, I used some Warhammer/ Citadel paint (Nuln Oil) to add some nasty streaks onto the top
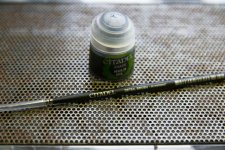
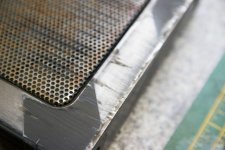
This weathering will be subtle, as further staining will be adding down the line.
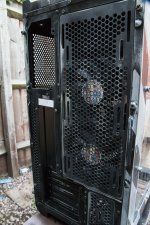
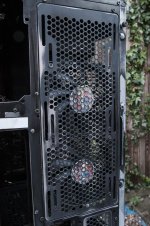
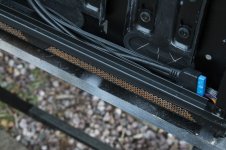
The top, side and bottom grills, which covered any intakes and pop out fan filters were removed, sanded and rusted with the salt water solution.
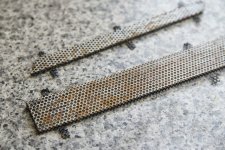
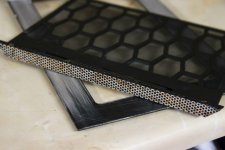
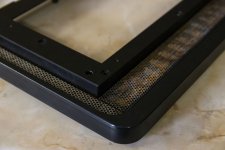
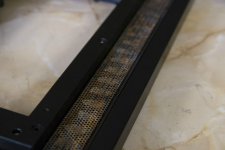
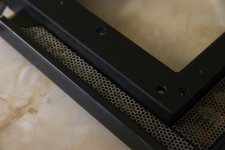
The weathering came out amazing, I'm so happy with it. Some parts came out subtle whilst others came out really rusty, just as I'd hoped.
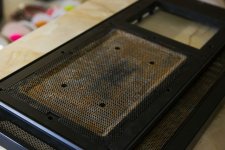
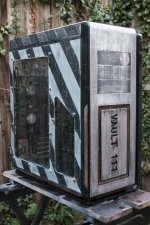
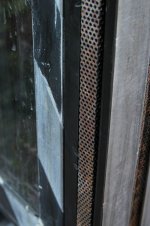
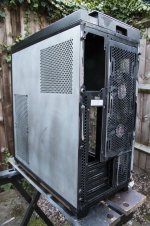
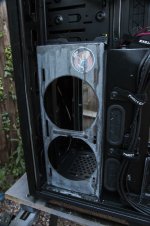
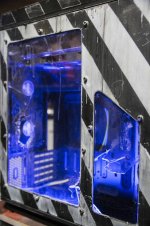
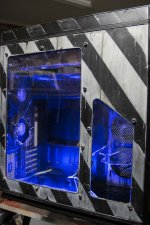
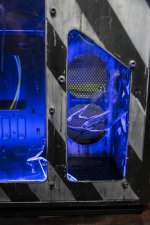
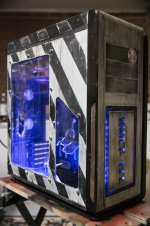
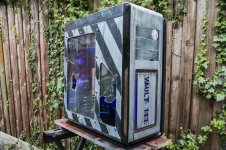
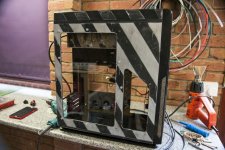
Next up was the side panel. I continued the safety style stripes down on the side panel and began the weathering by sanding the paint down to allow some of the primer to show through. Additional deep scratches were added with the Dremel, files by running a screwdriver down the paint.
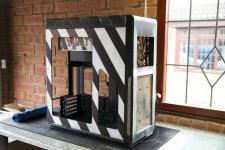
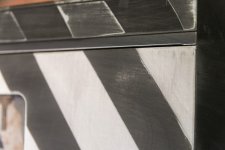
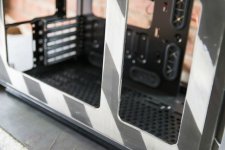
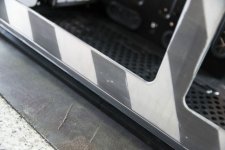
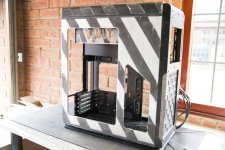
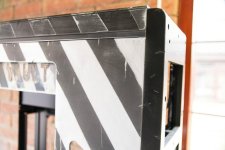
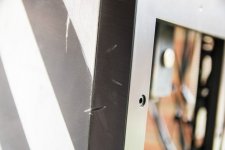
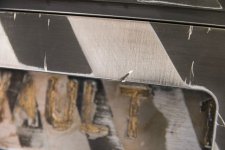
The front panel was a nightmare to get the powder coating off, testament to the quality of the finish by Phanteks. After using sandpaper for while, I looked around for a sander, but we didn't have one in the workshop, I though I did, my sisters boyfriend had one and it made the job so much easier.
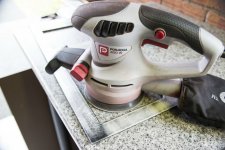
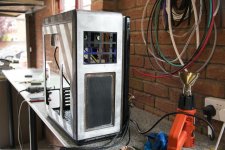
The side panel was going to have a new window installed. The frosted acrylic side is just not for me, I prefer clear. I broke the dremel out again to remove the tabs.
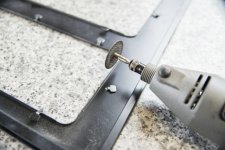
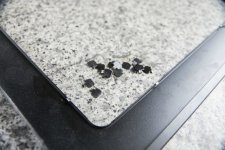
I used a large file to remove any slight bumps and then used a de-burring tool to remove any nasty sharp edges, these things are amazingly, super-epic and awesome.
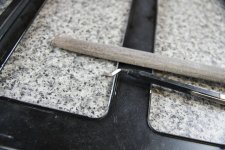
I did not protect the side panel whilst doing this, any metal flash or dust would scratch the panel when I chopped off the tabs, adding to the damage, perfect.
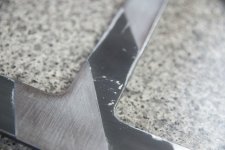
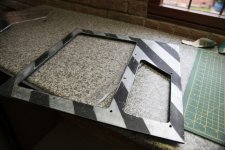
Quick and dirty chop up of some clear acrylic and the new window was sorted.
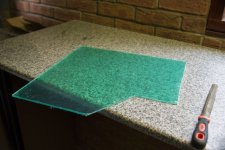
Next, I drilled the holes for the side panel.
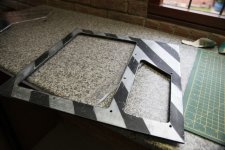
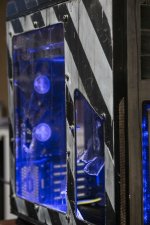
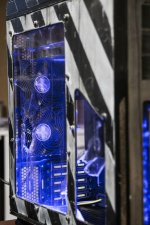
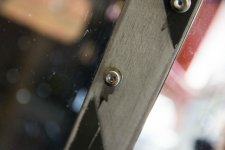
Then the acrylic for the window was installed. I used some sockets, washers and nuts to affix the window. Big chunky sockets and washers will fit in with the aesthetic perfectly. I sanded the washers and bolts to remove the surface galvanizing to allow them to be weathered down the line.
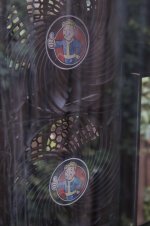
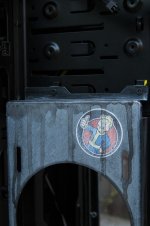
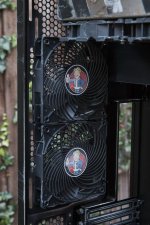
I had some ideas for the front panel, but I didn't know how to go about them. I could have got some insignia laser cut, but it would be too clean. After a little reflection, I did have some stickers for the build made up by my next door neighbor Andy.
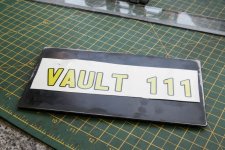
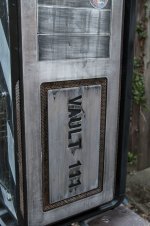
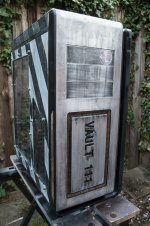
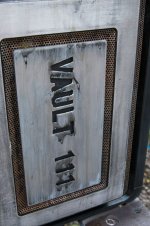
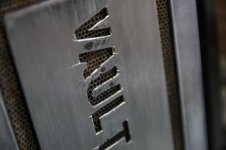
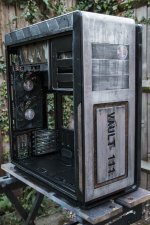
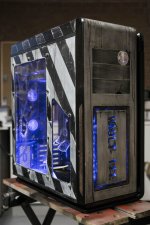
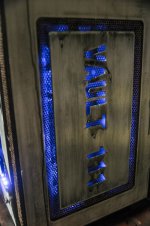
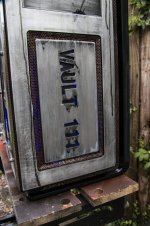
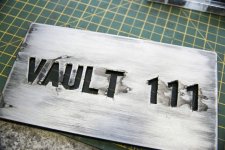
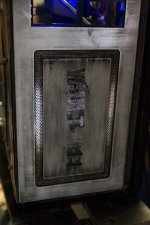
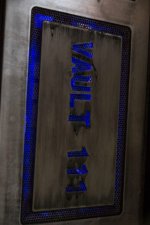
I decided to go for a cut out, illuminated front panel with 'VAULT 111' dremeled out.
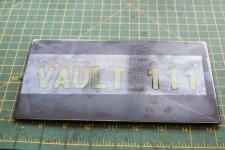
To get round the tiny edges and corners, I spent a few minutes in grinding a wheel down, super small to get into the hard to reach areas.
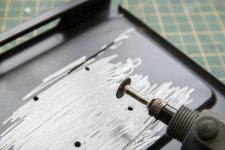
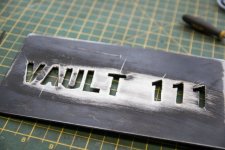
Super happy with the outcome. I dinked some of the corners, added some scratches with the sandpaper and some needle point files.
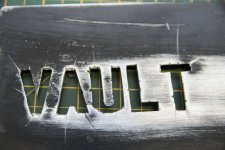
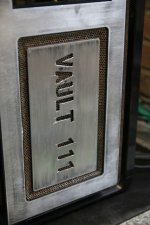
Mounted on the front, I was surprised how good it looked done by hand. It did take about 1 hour from start to finished, but I was pleased.
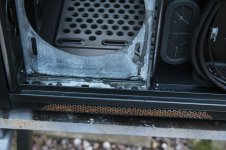
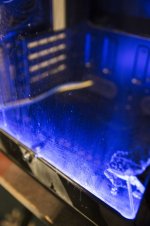
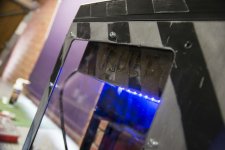
Some spare smoked acrylic came in handy from the side panel for the illumination of the front. The acrylic was sandwiched between the grill and front panel, the LED strips were applied to the grill with 3M double sided mounting tape.
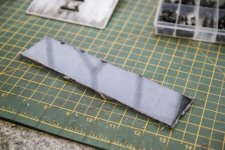
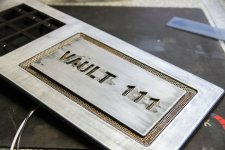
Originally, I went for 2 small white LED strips, but it just wasn't bright enough or striking enough, so I replaced them with some more powerful blue strips, I also made them slightly longer for better 'lumination.
That is basically all the work I have completed so far. Let me know what you think, I am always open to suggestions and changes. Obviously Fallout universe is set where the use of the silicon chip had never taken off, even though its set in the future and the course of events of history took a different arc, so all the gear we currently use in our PCs would not exist, but the build has to incorporate modern components, with a twist.
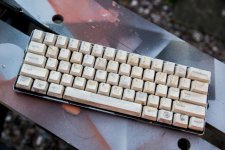
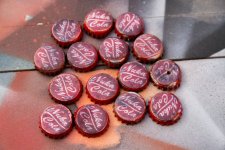
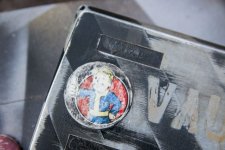
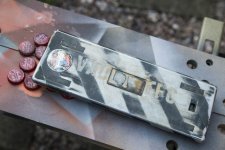
I have also made a Fallout inspired 60% keyboard to accompany the build, as well as some bottlecaps, more to come with these, I will be doing some Quantum and Victory caps, as well as some Sasparilla caps too!
Additional pics here:- http://imgur.com/a/tEi8N
Thanks so much for stopping by. As above, appreciate any feedback and suggestions! Until the next update. Pexon out!
Hello!

Its time for me to begin another project. I am very excited for the next installment in the Fallout series. Fallout has been one of my favourite single player game franchises for a long while, next to BioShock. I have had the idea for a while of building a Fallout themed watercooled PC. With the announcement trailer and game-play videos of Fallout 4, the idea of a Vault 111 themed rig came about. The idea behind this project is to make a PC that has been sitting in the vault research facility or overseers office for while and has been upgraded overtime with scavenged parts from inside the vault and out in the wasteland; this idea will allow me to use a mixture of different components, fittings, sleeving styles and weather/ distress different components and watercooling parts to fit in with this idea. Having rusted radiators, add on case panels and sleeving will be really cool, as if a previous item or part had broken down and a new one was scavenged and replaced.
The case I will be using is something I've not seen many / if any watercooling projects with, the Phanteks Mini XL. Its a rather interesting case, allowing for a M-ATX build with a ton of room for radiator space and watercooling gear, or having an ITX and M-ATX system in the same case; I will be going for an M-ATX build with lots of watercooling options. The case is made of steel, one of the main criteria for the build and imperative for the weathering/ distressing I have in mind. I first saw a Phanteks case at Overclockers UK and I was blown away by the build quality, accessories and options for watercooling support. Thanks to Chris for pointing them out to me! The case is pretty uncommon and again, the unusual styling will, I feel fit in with the overall premise behind the build.
I am still unsure of the other main components going in the build in regards to the CPU, board and GPU, I know for certain I will be going for a full loop with the CPU and GPU blocked up. I may wait and see whats going to be released by Intel for their next CPU iteration.
I plan to have the build done by the time Fallout 4 comes out and just in time for iSeries in December.
The first batch of updates will generally be the weathering and distressing of the case and some modding of the side panels and interior.
I will be updating the OP with a list of components when I have more fleshed out, same for watercooling gear.
Project supporters:-
Overclockers UK supplied an awesome PSU! SuperFlower Leadex 1000W Gold!

MSI UK supplied the beast of GPU that will smash Fallout 4 to smithereens on 4K !

BIG thanks to AVEXIR for providing the RAM for the build!

Right, lets get on with the build log with some of the work I have done so far. I will be taking lots of photos as I am mega excited for this build!
I did take some pics of the case, but they were corrupted after exporting the RAW files into Lightroom! D'oh!
The first job was to disassemble the case and figure out which parts were metal and which were aluminium. Most of the steel parts will be sanded down, either in patches or in full and weathered.

The top panel is completely removable and every part can be unscrewed, so epic that Phanteks do this, ideal if you want to paint the case or do some serious modding!

I sanded the top down with some 160 Grit paper, down to the raw aluminium and applied tape to the areas I didn't want to get hit by spray paint when applying the safety stripes.


Getting a perfect finish on the paint is not important. Flawlessly finished paint with a nice lacquer applied, simply will not work on this build!
Skipping forward 24 hours, the top layer of black spray was applied, the grill removed, sanded down to the bare steel and dipped in a solution of salt and water to encourage rust to develop. I was shocked when I came back into the workshop the next morning to find 5 years worth of rust in one night! Salt water rocks when rusting!


To add a little more, subtle staining, I used some Warhammer/ Citadel paint (Nuln Oil) to add some nasty streaks onto the top


This weathering will be subtle, as further staining will be adding down the line.
The top, side and bottom grills, which covered any intakes and pop out fan filters were removed, sanded and rusted with the salt water solution.


The weathering came out amazing, I'm so happy with it. Some parts came out subtle whilst others came out really rusty, just as I'd hoped.

Next up was the side panel. I continued the safety style stripes down on the side panel and began the weathering by sanding the paint down to allow some of the primer to show through. Additional deep scratches were added with the Dremel, files by running a screwdriver down the paint.


The front panel was a nightmare to get the powder coating off, testament to the quality of the finish by Phanteks. After using sandpaper for while, I looked around for a sander, but we didn't have one in the workshop, I though I did, my sisters boyfriend had one and it made the job so much easier.


The side panel was going to have a new window installed. The frosted acrylic side is just not for me, I prefer clear. I broke the dremel out again to remove the tabs.


I used a large file to remove any slight bumps and then used a de-burring tool to remove any nasty sharp edges, these things are amazingly, super-epic and awesome.

I did not protect the side panel whilst doing this, any metal flash or dust would scratch the panel when I chopped off the tabs, adding to the damage, perfect.


Quick and dirty chop up of some clear acrylic and the new window was sorted.

Next, I drilled the holes for the side panel.

Then the acrylic for the window was installed. I used some sockets, washers and nuts to affix the window. Big chunky sockets and washers will fit in with the aesthetic perfectly. I sanded the washers and bolts to remove the surface galvanizing to allow them to be weathered down the line.


I had some ideas for the front panel, but I didn't know how to go about them. I could have got some insignia laser cut, but it would be too clean. After a little reflection, I did have some stickers for the build made up by my next door neighbor Andy.

I decided to go for a cut out, illuminated front panel with 'VAULT 111' dremeled out.

To get round the tiny edges and corners, I spent a few minutes in grinding a wheel down, super small to get into the hard to reach areas.


Super happy with the outcome. I dinked some of the corners, added some scratches with the sandpaper and some needle point files.


Mounted on the front, I was surprised how good it looked done by hand. It did take about 1 hour from start to finished, but I was pleased.
Some spare smoked acrylic came in handy from the side panel for the illumination of the front. The acrylic was sandwiched between the grill and front panel, the LED strips were applied to the grill with 3M double sided mounting tape.


Originally, I went for 2 small white LED strips, but it just wasn't bright enough or striking enough, so I replaced them with some more powerful blue strips, I also made them slightly longer for better 'lumination.


That is basically all the work I have completed so far. Let me know what you think, I am always open to suggestions and changes. Obviously Fallout universe is set where the use of the silicon chip had never taken off, even though its set in the future and the course of events of history took a different arc, so all the gear we currently use in our PCs would not exist, but the build has to incorporate modern components, with a twist.
I have also made a Fallout inspired 60% keyboard to accompany the build, as well as some bottlecaps, more to come with these, I will be doing some Quantum and Victory caps, as well as some Sasparilla caps too!

Additional pics here:- http://imgur.com/a/tEi8N


Thanks so much for stopping by. As above, appreciate any feedback and suggestions! Until the next update. Pexon out!
Last edited:


 Can't wait to get more work done it