You are using an out of date browser. It may not display this or other websites correctly.
You should upgrade or use an alternative browser.
You should upgrade or use an alternative browser.
Vince's Repair Thread - (Console Repairs & Mods)
- Thread starter Vince
- Start date
-
- Tags
- lets repair things
More options
View all postsI need to get on that...
Yea just stock m92, Bq, max17050, PI3USB and switch charge ports please!
Another no power water damaged lite saved... this one took about 30 mins and I replaced the charge port and m92.

Still working on the grey one.... it's doing some of what it should, drawing .45 amps on a charger (a switch will do this for about 3 or 4 seconds before enabling fast charge) which the grey one isn't doing, every rail is present but at vbat its only generating 3.3 volts, vbat is generated by BQ which feeds a coil and it should be generating 4.25 volts so you would assume BQ is faulty but ive used 4 chips (all my donor chips) and all do the same so its not bq, bq24193 is fed by m92t36 so there is a chance it's not feeding bq what it should and at this point it's all a guess but I am getting closer. All of this means it won't turn on and wont go to the second fast charge/boot stage. I've replaced the fuel gauge bga max17050 already.

It had a weird short of 1ohm to ground on that coil, removed bq, short still there, removed m92 short still there. Wired up the bench supply for voltage injection, turned it on... no draw.. unhooked the supply and the short is gone (totally random). Stuck bq back on and all the readings are checking out, don't trust any of my m92 chips so I guess we won't know until tomorrow.

Still working on the grey one.... it's doing some of what it should, drawing .45 amps on a charger (a switch will do this for about 3 or 4 seconds before enabling fast charge) which the grey one isn't doing, every rail is present but at vbat its only generating 3.3 volts, vbat is generated by BQ which feeds a coil and it should be generating 4.25 volts so you would assume BQ is faulty but ive used 4 chips (all my donor chips) and all do the same so its not bq, bq24193 is fed by m92t36 so there is a chance it's not feeding bq what it should and at this point it's all a guess but I am getting closer. All of this means it won't turn on and wont go to the second fast charge/boot stage. I've replaced the fuel gauge bga max17050 already.

It had a weird short of 1ohm to ground on that coil, removed bq, short still there, removed m92 short still there. Wired up the bench supply for voltage injection, turned it on... no draw.. unhooked the supply and the short is gone (totally random). Stuck bq back on and all the readings are checking out, don't trust any of my m92 chips so I guess we won't know until tomorrow.
Last edited:
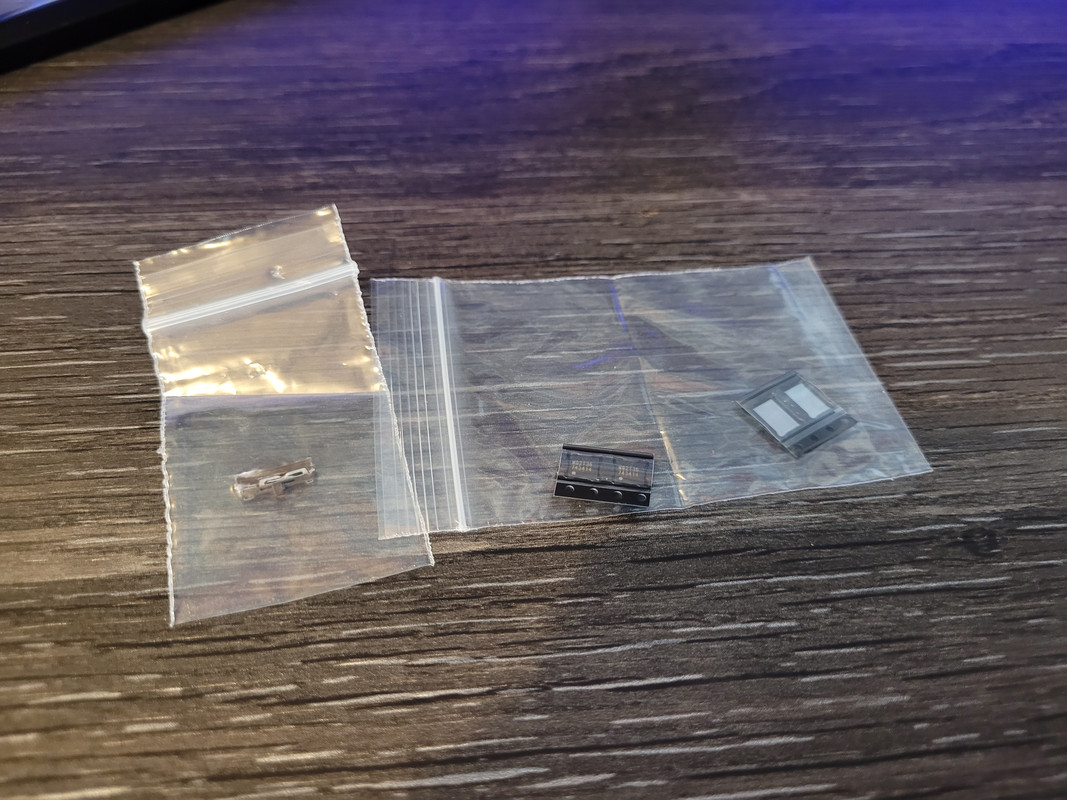
Some stuff arived!! Today we have M92 chips, Switch Lite Wifi IC's and a psp power switch...
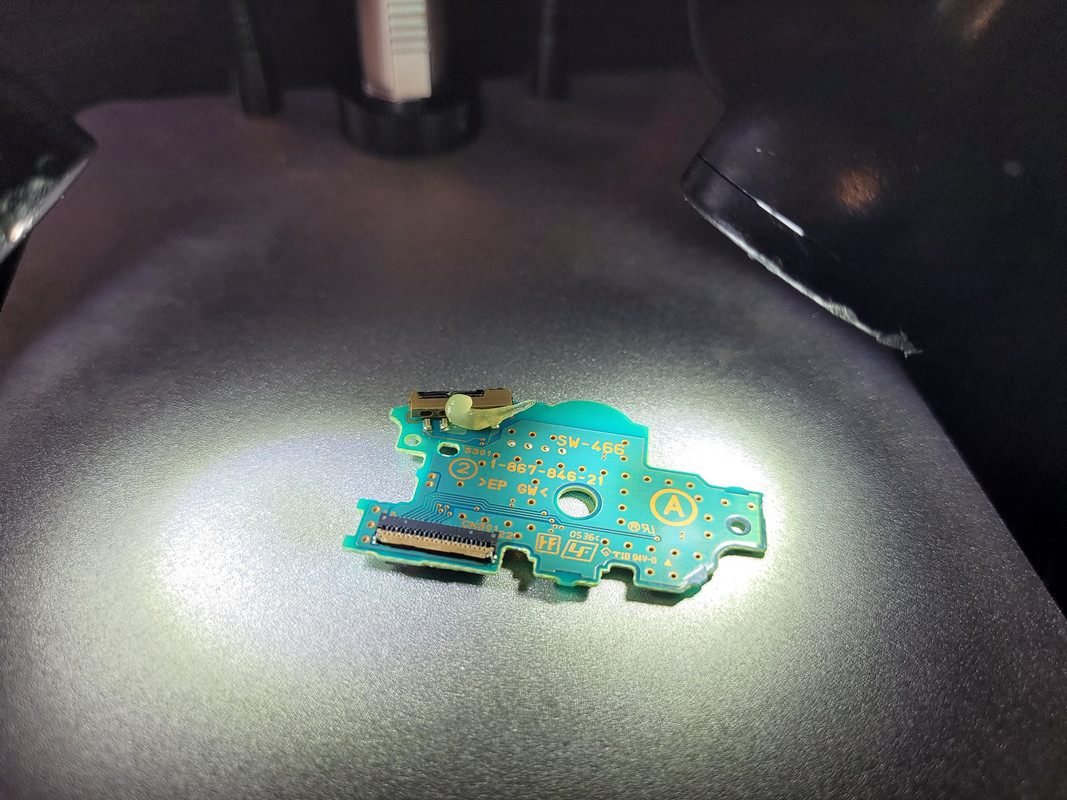
Straight to the PSP power switch on the daughter board... Some flux, lets remove this bad boy!
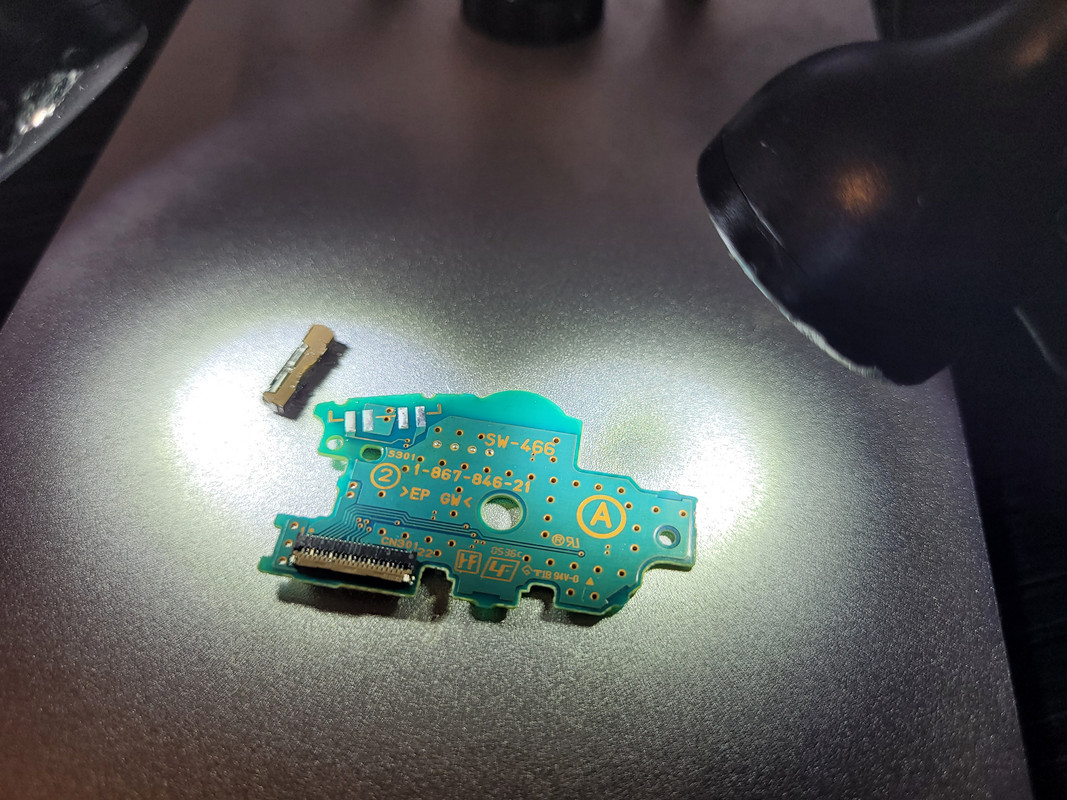
Removed!
Tin up the pads and stick the new one on! Joints look good!
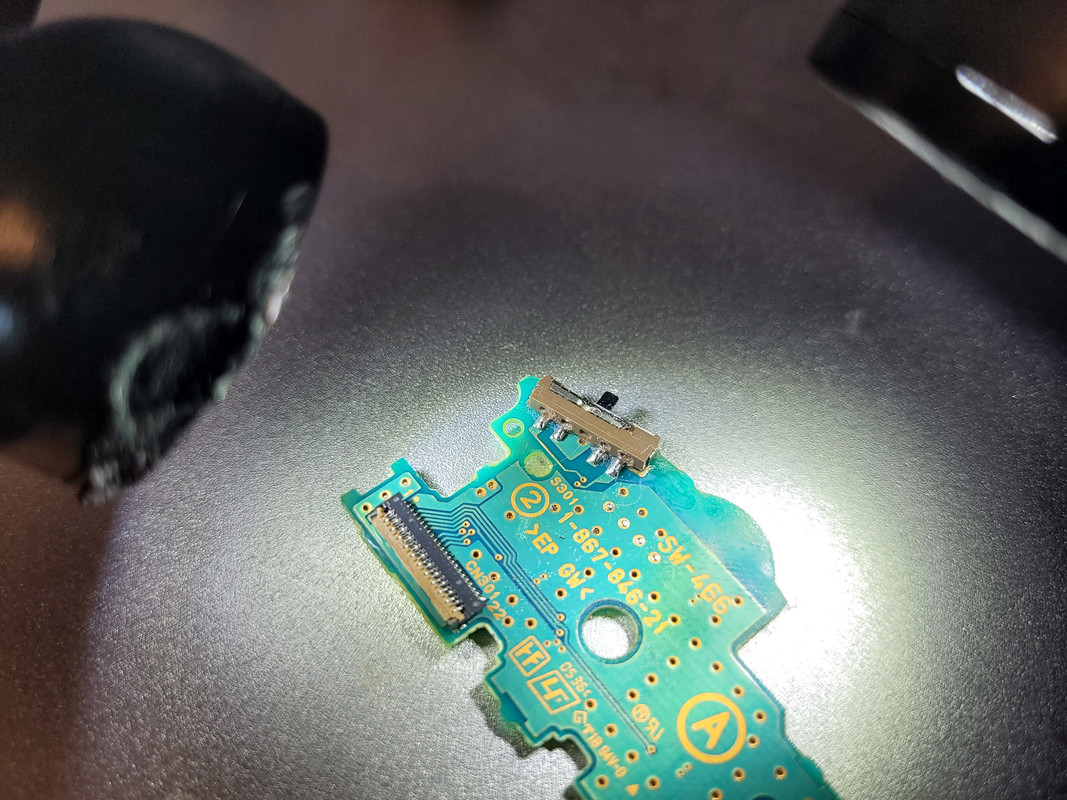
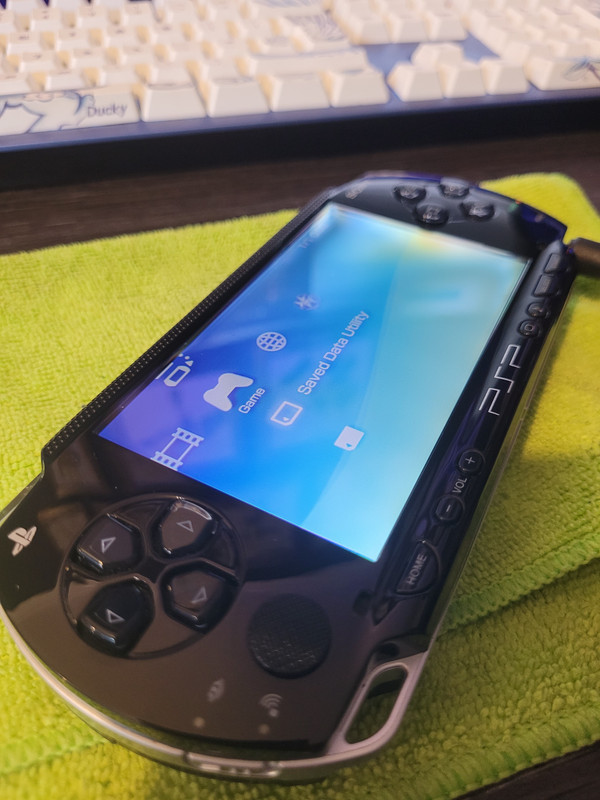
One Minty fresh PSP! (literally I use a mint glass cleaner!!) It's a beauty!
Final repair attempts on the Grey switch later! But this other one has cleaned up very nicely and is now back together bar the case screws!
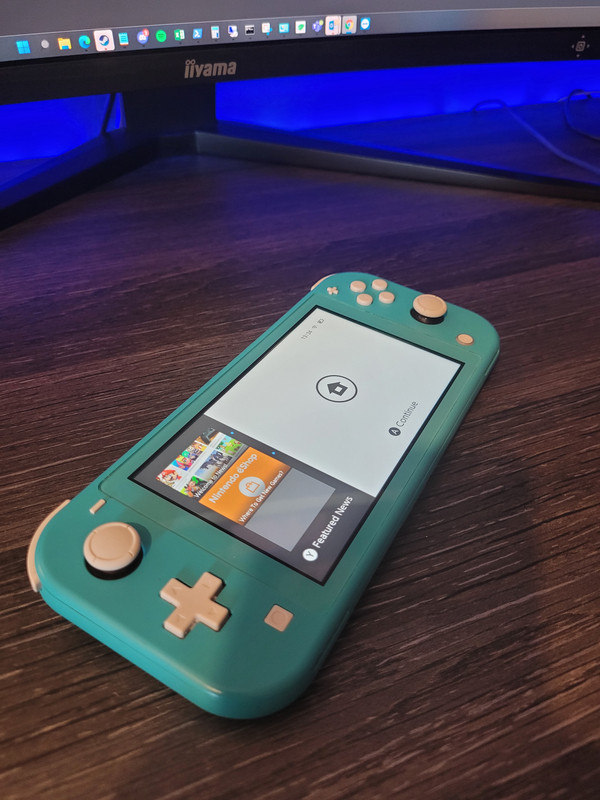
I won't lie repairing switches is super satisfying as they clearly have their design issues.. A bit like apple the engineers love putting 15v right next to low voltage/data lines so when they go they properly go and take components out with them for fun.
I've decided the Grey one I might keep so its being put in a special shell (Atomic purple clear shell or white im undecided... white would match the rest of my collection but what would you guys like to see?) its also getting a new LCD and some other new components assuming I can fix it... If not I will have a load of switch components waiting for a switch!

Straight to the PSP power switch on the daughter board... Some flux, lets remove this bad boy!

Removed!

Tin up the pads and stick the new one on! Joints look good!

One Minty fresh PSP! (literally I use a mint glass cleaner!!) It's a beauty!

Final repair attempts on the Grey switch later! But this other one has cleaned up very nicely and is now back together bar the case screws!

I won't lie repairing switches is super satisfying as they clearly have their design issues.. A bit like apple the engineers love putting 15v right next to low voltage/data lines so when they go they properly go and take components out with them for fun.
I've decided the Grey one I might keep so its being put in a special shell (Atomic purple clear shell or white im undecided... white would match the rest of my collection but what would you guys like to see?) its also getting a new LCD and some other new components assuming I can fix it... If not I will have a load of switch components waiting for a switch!
Last edited:
Atomic Purple sounds like a good shout. Not thought of rehousing my Switch Lite, I used to do a hell of a lot of the original DS and DS Lite.
I'm thinking either atomic purple or a clear blue... Ill test the m92 this evening and if it works a shell kit will be on route.
This is great. Like a lot of other people in this thread I'm hoping to do something similar in the near future once I've built my shed.
Get involved sir, the more the merrier!

Hey Vince, these still your recommendations? Does that screen require the bracket to look half decent?
Edit: can't find that screen seller.
For now i would say this replica mcwill is perfectly fine for the job and to be honest I have been impressed, you don't "need" a bracket for it to look half decent, neither of the ones I did had the bracket. the second one I did was perfect lined up etc as well. I will see if I can find you the seller on that screen and post a link!
That seller stopped selling them/has none left... here is an alix link for the same screen!
Alix Link
Cheap as well... I might order some in to re-sell! I am still available to do mods should anybody be a bit scared to rip a game gear or anything else apart themselves. Plus you have all seen my work in here so nowhere to hide

Last edited:
guess what idiot installed his IPS for GBA without testing first and has a duff screen that doesent work or light up...........
You sure you didn't just wire it up wrong?


Little update:
Gameboy - sold £50
Dsi XL - sold £50
Mega Drive is currenly at auction and is at £15 plus postage with 2 days left, I paid £12.
So far so good! I played a load of SOR4 to test the turquoise switch lite so will be listing that today as its running perfectly - I did have the weirdest fault with that after running my full set of tests... One analogue was weird and only working up and down, If I moved the other analogue it would effect the the opposite one... Really odd, ended up stripping it down and from one of my daughter board donor boards I took the main ribbon connecter off and replaced it (24 pin one) and also replaced the connector that the joycon plugs into as well as replacing the ribbon cable from one of my donors that wasn't water damaged. That made things a lot better but still interference between the joycons... Finally I replaced the same connector on the main board and the problem went away so we had a bad ribbon cable connector on the main board and daughter board. This is exactly the sort of weird issues you expect with liquid damaged devices... It's now been thoroughly cleaned and treated and is ready for its new owner! It's in really nice condition with a perfect non-scratched screen as well. Very happy with it!
The grey one, oh the grey one... I think I am giving up on it as ive sunk enough time. This will be my second no fix and its killing me, I just cant figure out why it's playing up... apart from I think its a faulty fuel gague... problem is time, I give around 2 hours to play with each device and ive already sunk 3 into that lite at which point it's gone beyond reasonable. I may re-visit but right now its in my donor pile!
Last edited:
Hahah nope , removed all wires and went to basic plug and play. Nothing. Awesome!
min good news fixed the ps1 , was way too easy tho will get pics up shortly . Was just the main video capvideo is crystal clear now
Check out AV on the master system super clean image and sound!!!
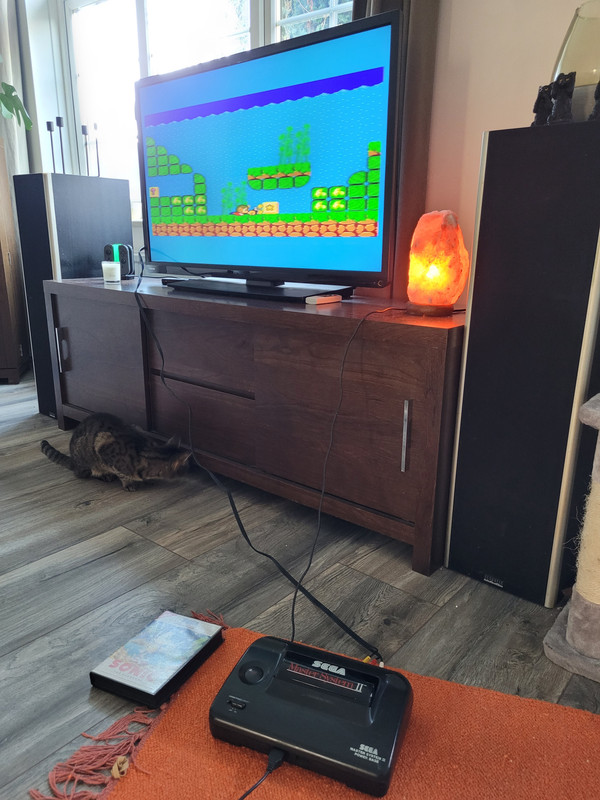
Photo I took to show it working as its been listed today. Honestly this mod makes it a properly usable machine in 2022 rather than a brick.
Switch lite was also listed... told you I'm big on the clear down to make space for the rest of it.
Original xbox and ps2 waiting on parts still!!
I can hear it!
If you could you would hear 'dum dum dum dum, dum dum dum dum, dun dun dun dun.. dun dadadun..." over and over again!!
Bet you haven't seen a mastersystem image that crispy fresh in a while!! For me it's been since the late 80's
If I was to do it again and improve further I would have taken another ground off of pin 24 and grounded the video with pin 24 and then twisted the audio with a separate ground (pin 1) to the RCA connectors so audio and video don't share a ground. Mind you not sure it can matter that much as mines working perfectly!looking sweet buddy, great job there. my RCA jacks arrived today to do the same to mine
@Vince are you interested in a free Megadrive? It has been sitting in my garage for years. It seems to be a bit mouldy, no idea if it works. But you are welcome to have it, even if it is only worth a few parts to you. Better than the bin.
Yea sounds awesome
 You can send me a PM and I can pay you for delivery at least
Last edited:
The OP hasn't posted anything that I knew was wrong
Still time buddy, still time!!
Morning, As i said repairing this ps1 slim was too easy, i prefer a challange!
If you have scrambled graphics but perfect sound , first thing to take a look at is the middle cap here :
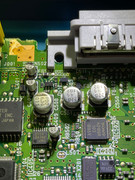
that one normal dies and causes the fault!, little bit of hot air and flux....

test the cap
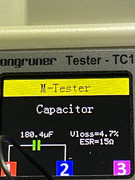
ESR is through the roof, should be around 1 - 1.5ohms. time to replace and test
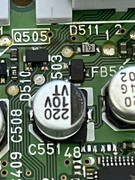
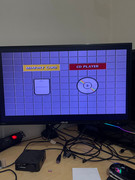
as i said, repair was so easy it was boring hehe, perfect now, My nephew is happy with his refurbed ps1

My ebay customers are loving their new toys as well. I'm surprised how well this stuff sells and the money people are willing to pay for my shoddy work

Love the little ps one need one of them in my life to fix soon!!
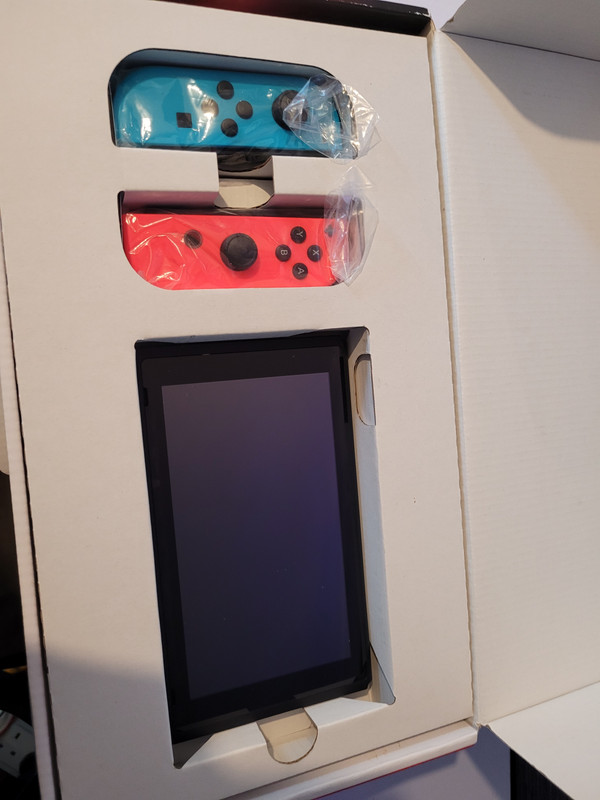
The switch arrived and the first thing I noticed when it got here.. Gen 1 exploitable fully boxed in great condition. Exciting!!
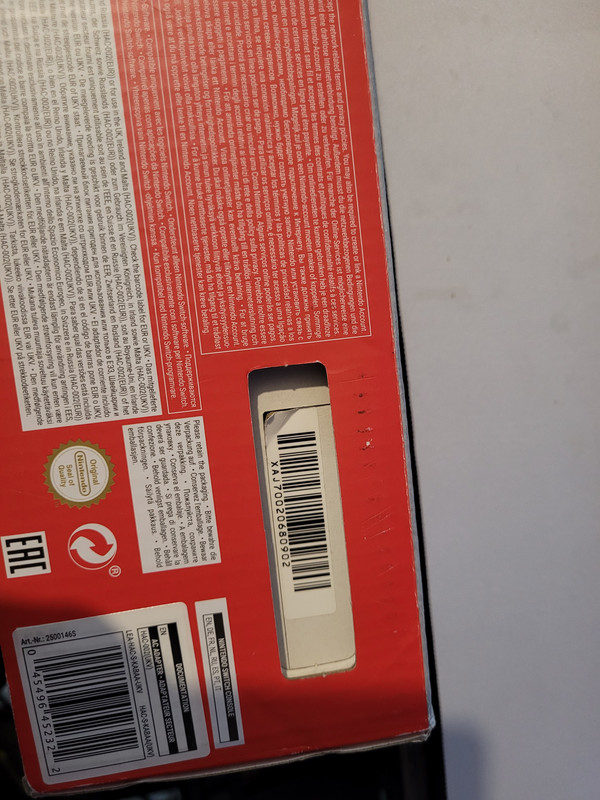
This is what nintendo said when this was sent for repair:


And out of the box!
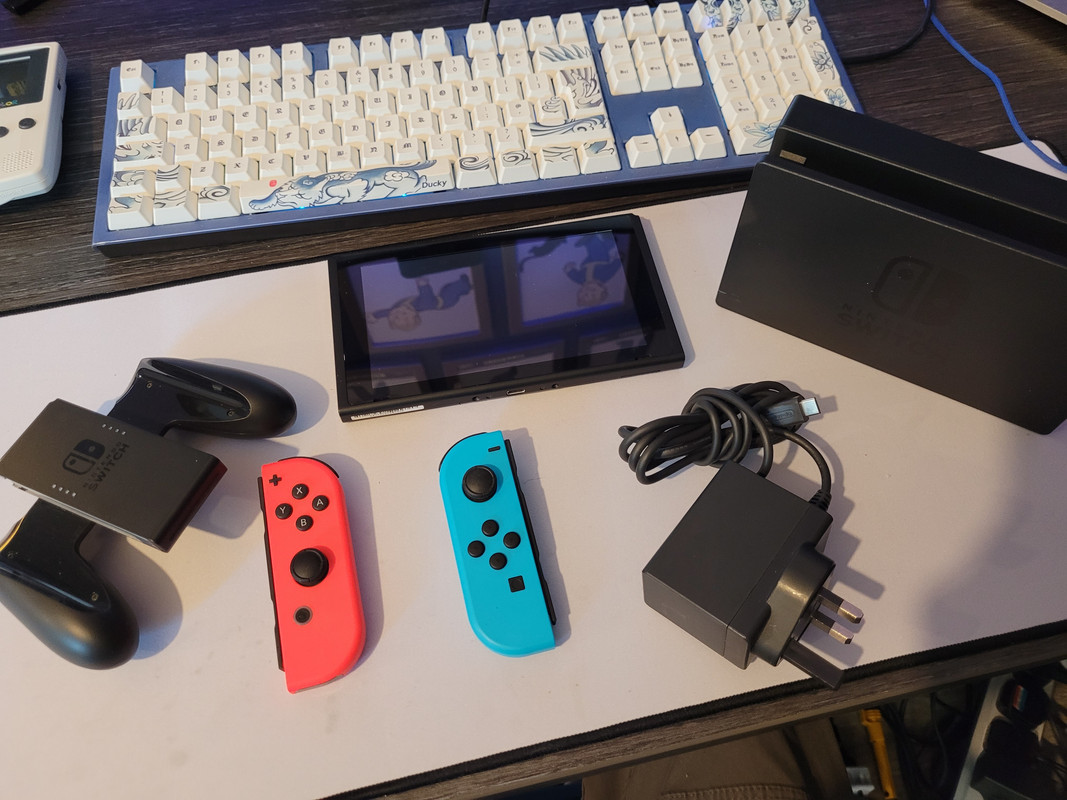
Lets dive straight in... its very clean inside! Nice, and we know we are working with port damage to both the dock and the switch, first thing I do before I even take the board out is check around m92 for shorts, first cap i check is for the PI3USB and its shorted
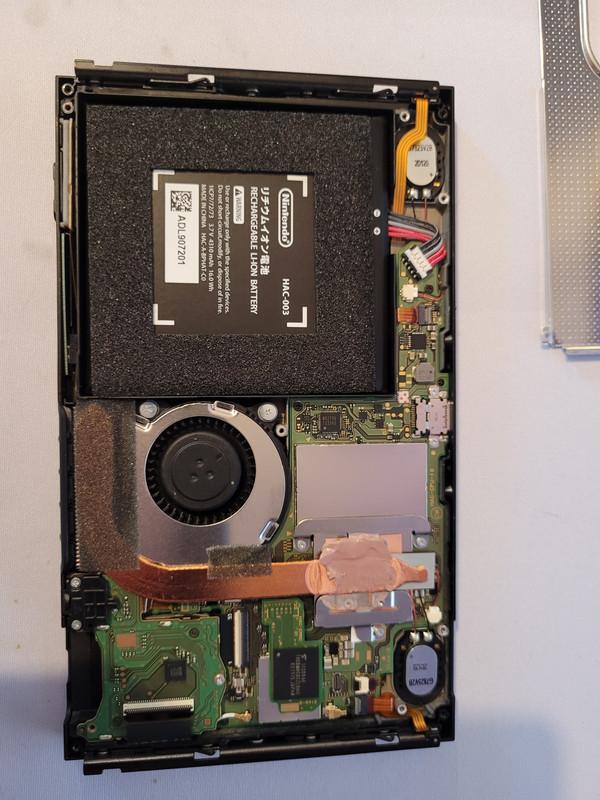
Whip off PI3USB!
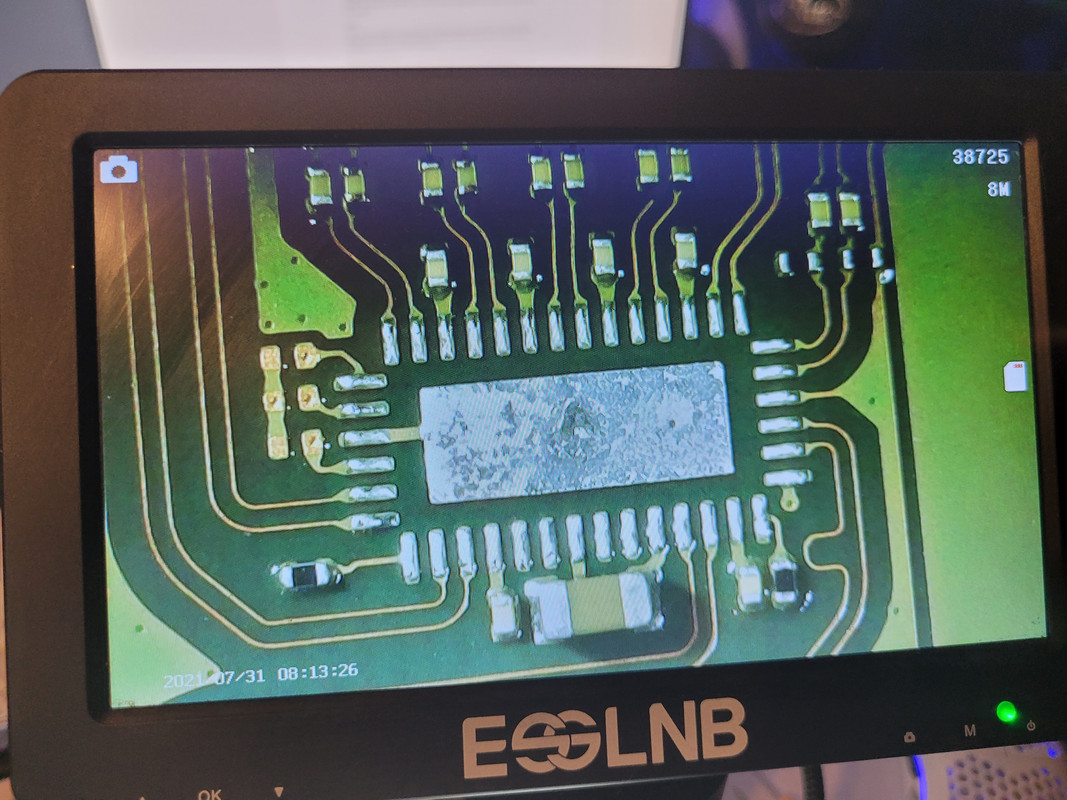
Slap a new one on!
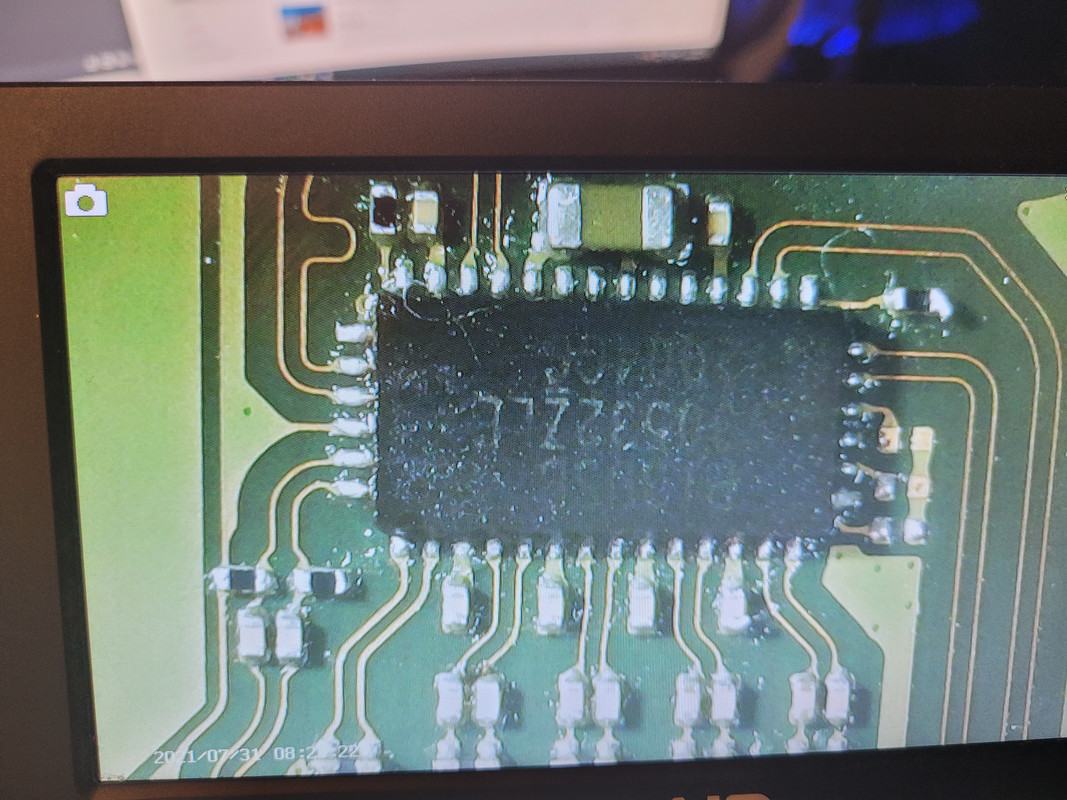
Life! But it goes to the nintendo screen and boot loops
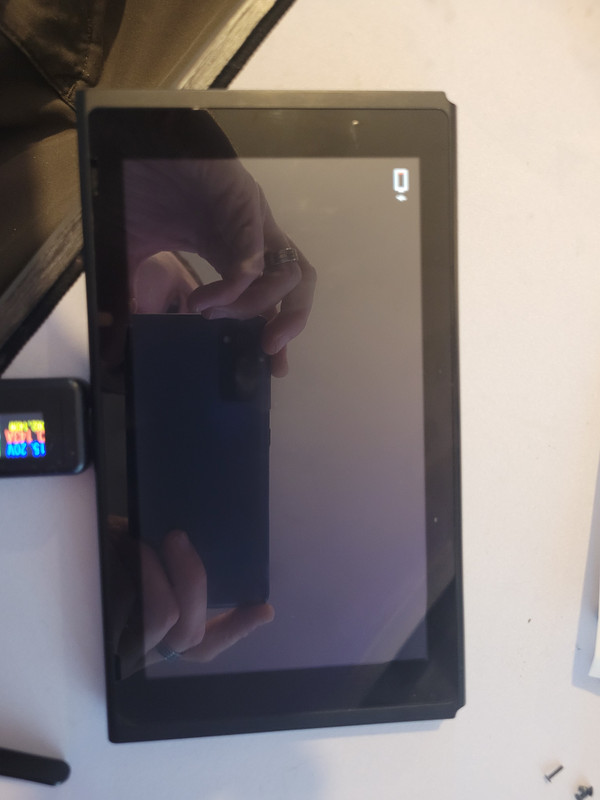
It's also not pulling the right current.
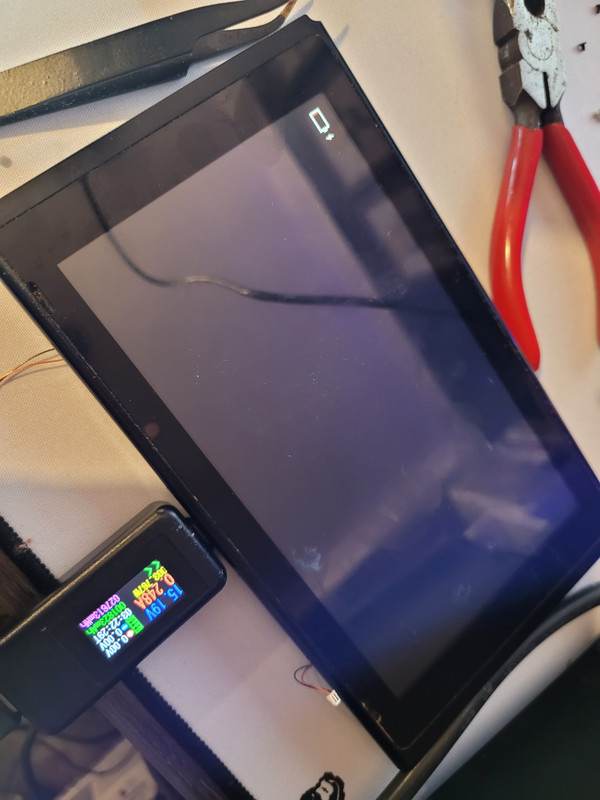
But eventually..... We have life gents! Life! Vince repairs what Nintendont! The super observant out there will notice that its not in the super clean chassis it came in and you would be right. I put it in my spare chassis, you remember the switch with the fried cpu? it finally came in useful as a donor. But because there was an issue with the lcd ribbon cable in the original chassis. I didn't take any photos but i did later swap the LCD from this into the other chassis which was a pain because you need to remove the digitizer but it was worth it.
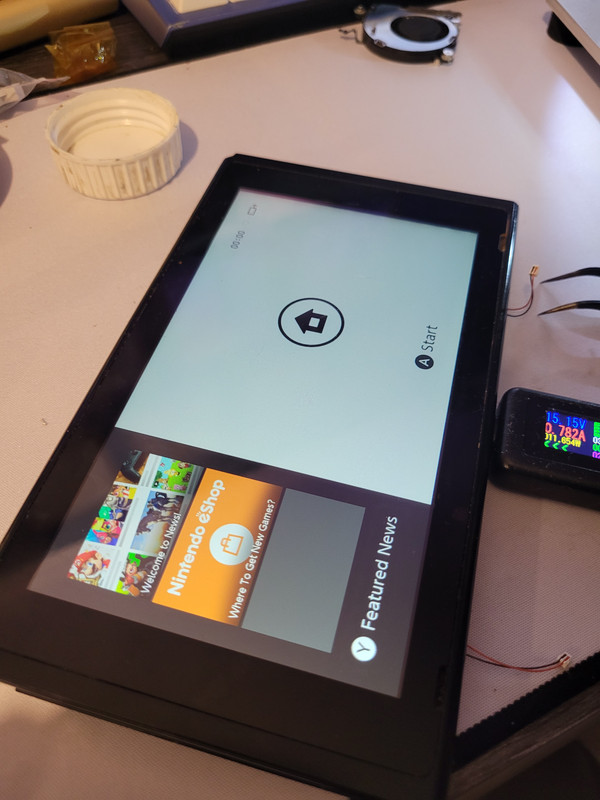
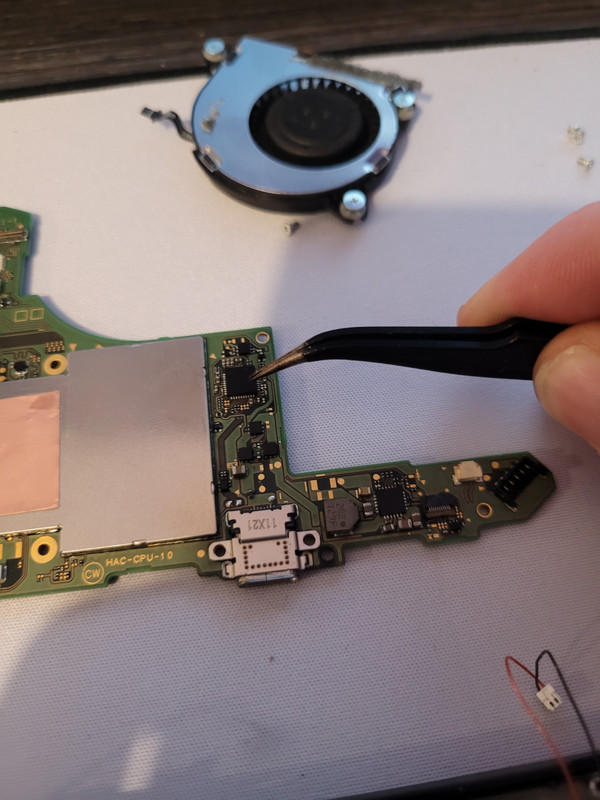
The first place we looked because not pulling correct current is M92 also because it's fragile and made of cheese so we replaced this here M92T36 (Main power IC), we had some better readings at the meter after (0.4amps draw) so again stepping in the right direction:
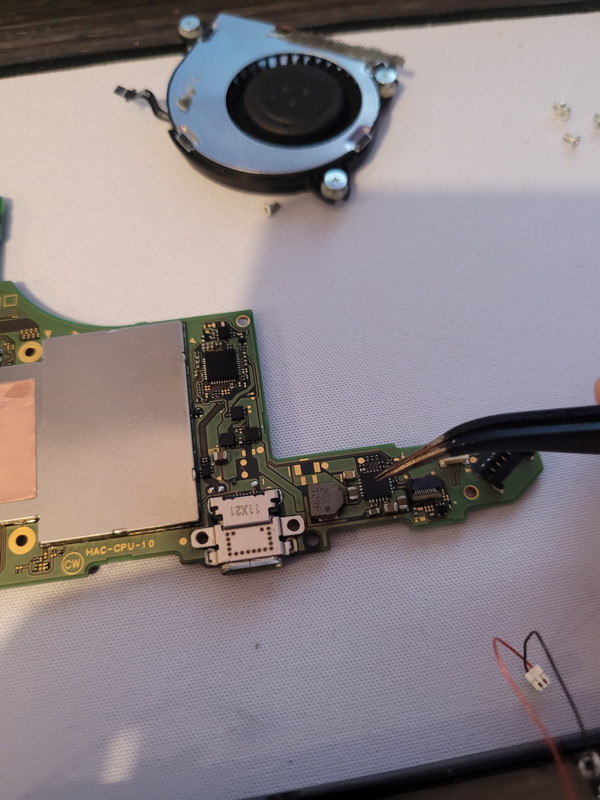
Next up I measured voltage at vbat (positive battery terminal) when plugged in and no batter connected, bq along with max17050 should generate 4.25v at the coil next to the charge port and also at the vbat test point... This one doesn't so next up we replace this here BQ24193 (Battery Charge IC)
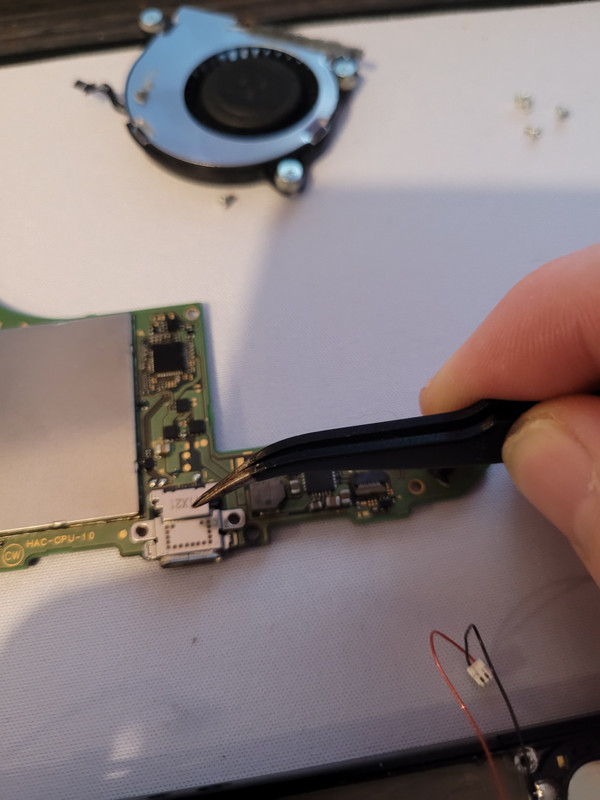
Slapped on a new port and yes they have a hidden row of pins and yes they are a nightmare, it takes some practice but having done a lot of these now I have my own method and none of this heating from the bottom near max17050 business. That's a recipe for disaster that is. I'm slowly honing my switch port skills. A port only is probably a 20 min job now tops and most of that is tearing the console down and putting it back together again.
Knocked off the fuel gauge MAX17050 doing BQ as pushed down a little hard on it to seat it down and bent the board slightly, max on both this and the switch lite is awkwardly placed so BQ on a switch is 50/50 if you knock max17050 and the charge port on the lite is a 50/50 depending on how you do the port, Anyway I re-balled Max and put it back on It's only got 9 balls so lucky it's only ever the small Max chip I knock off.
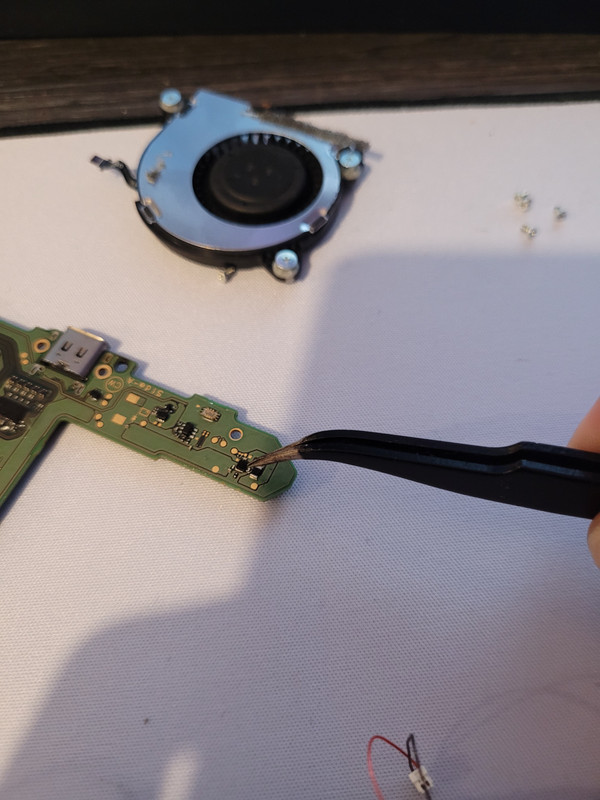
And finally back to where we started PI3USB
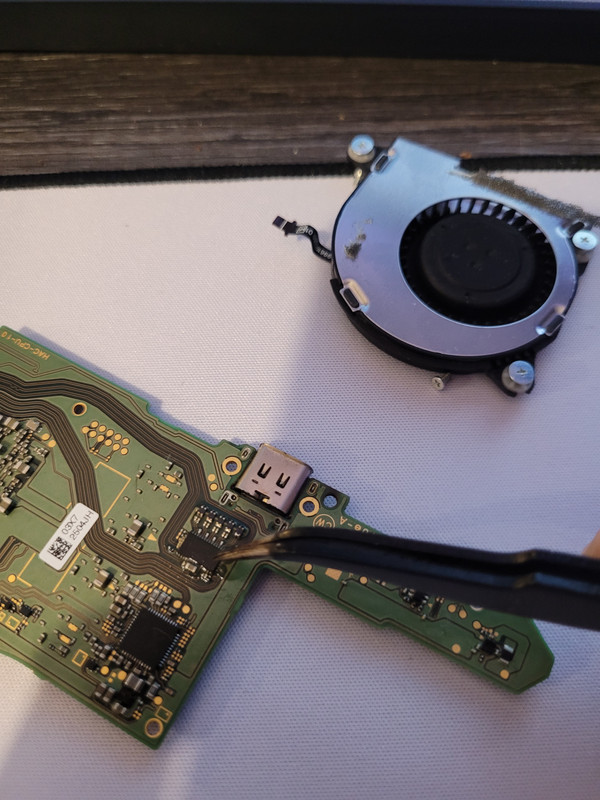
Gen 1 HAC-CPU-10 board!

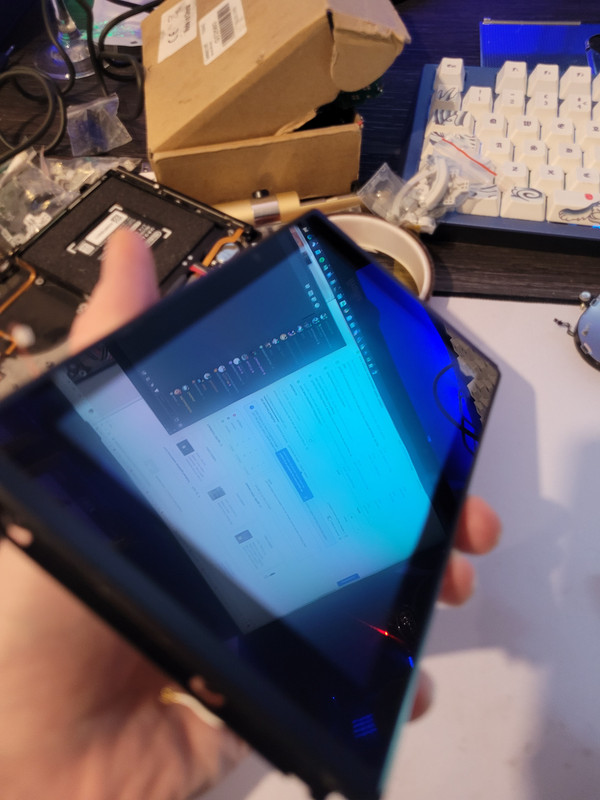
Nice screen!
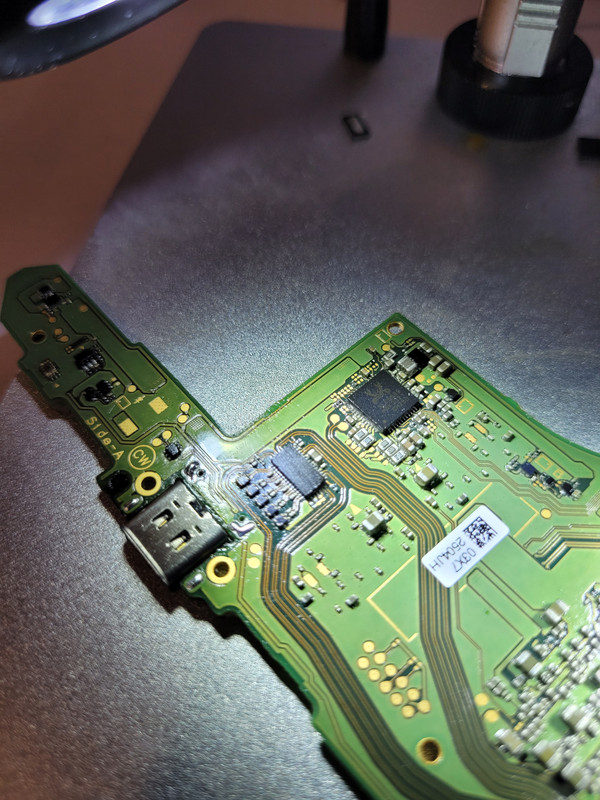
Thats not bad soldering that right there!
Before Joycon test with everything back together, charge current is looking much better! and its back in its normal chassis with the LCD from the old switch.
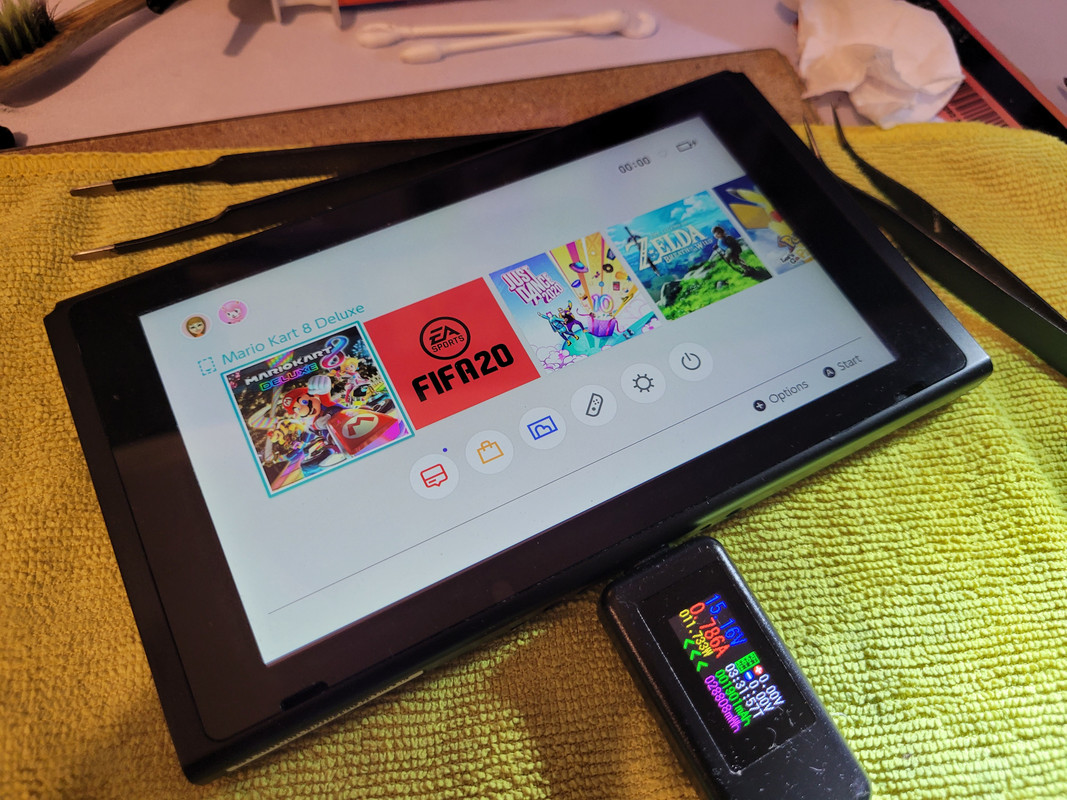
Joycons work perfectly! Everything works perfectly! Eshop is available as well so the console isn't banned! Current draw again is looking as it should and ive seen it pull the max 1.5a during some streets of rage so we know this little fella is working as it should.
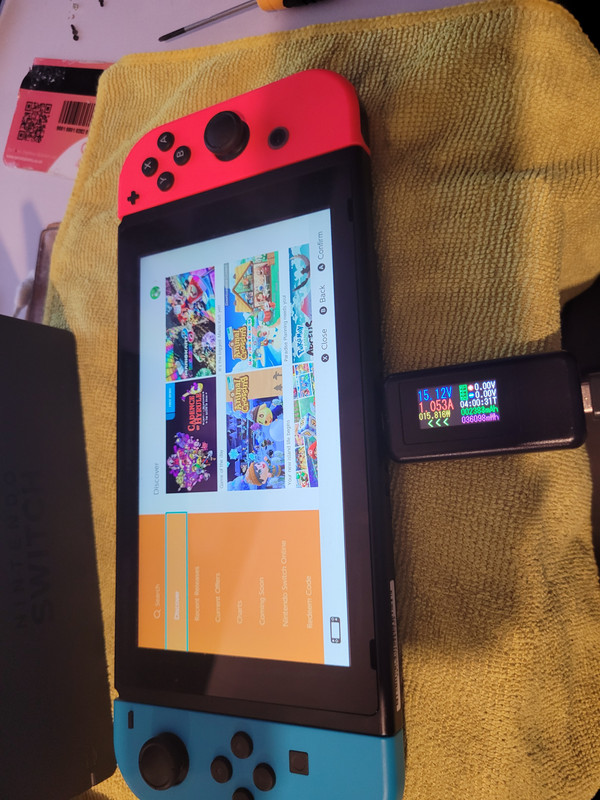
Got some parts on the way for the dock but its all done and I am very happy indeed with my £80 switch.


This is what nintendo said when this was sent for repair:


And out of the box!

Lets dive straight in... its very clean inside! Nice, and we know we are working with port damage to both the dock and the switch, first thing I do before I even take the board out is check around m92 for shorts, first cap i check is for the PI3USB and its shorted


Whip off PI3USB!

Slap a new one on!

Life! But it goes to the nintendo screen and boot loops


It's also not pulling the right current.

But eventually..... We have life gents! Life! Vince repairs what Nintendont! The super observant out there will notice that its not in the super clean chassis it came in and you would be right. I put it in my spare chassis, you remember the switch with the fried cpu? it finally came in useful as a donor. But because there was an issue with the lcd ribbon cable in the original chassis. I didn't take any photos but i did later swap the LCD from this into the other chassis which was a pain because you need to remove the digitizer but it was worth it.

The first place we looked because not pulling correct current is M92 also because it's fragile and made of cheese so we replaced this here M92T36 (Main power IC), we had some better readings at the meter after (0.4amps draw) so again stepping in the right direction:

Next up I measured voltage at vbat (positive battery terminal) when plugged in and no batter connected, bq along with max17050 should generate 4.25v at the coil next to the charge port and also at the vbat test point... This one doesn't so next up we replace this here BQ24193 (Battery Charge IC)

Slapped on a new port and yes they have a hidden row of pins and yes they are a nightmare, it takes some practice but having done a lot of these now I have my own method and none of this heating from the bottom near max17050 business. That's a recipe for disaster that is. I'm slowly honing my switch port skills. A port only is probably a 20 min job now tops and most of that is tearing the console down and putting it back together again.

Knocked off the fuel gauge MAX17050 doing BQ as pushed down a little hard on it to seat it down and bent the board slightly, max on both this and the switch lite is awkwardly placed so BQ on a switch is 50/50 if you knock max17050 and the charge port on the lite is a 50/50 depending on how you do the port, Anyway I re-balled Max and put it back on
 It's only got 9 balls so lucky it's only ever the small Max chip I knock off.
And finally back to where we started PI3USB

Gen 1 HAC-CPU-10 board!

Nice screen!

Thats not bad soldering that right there!

Before Joycon test with everything back together, charge current is looking much better! and its back in its normal chassis with the LCD from the old switch.

Joycons work perfectly! Everything works perfectly! Eshop is available as well so the console isn't banned! Current draw again is looking as it should and ive seen it pull the max 1.5a during some streets of rage so we know this little fella is working as it should.

Got some parts on the way for the dock but its all done and I am very happy indeed with my £80 switch.
Last edited:
Got a little project for in the week. Friends little boy has drift on all of these switch controllers so I said I would fix them for him. I am basically a switch repair shop at this point 
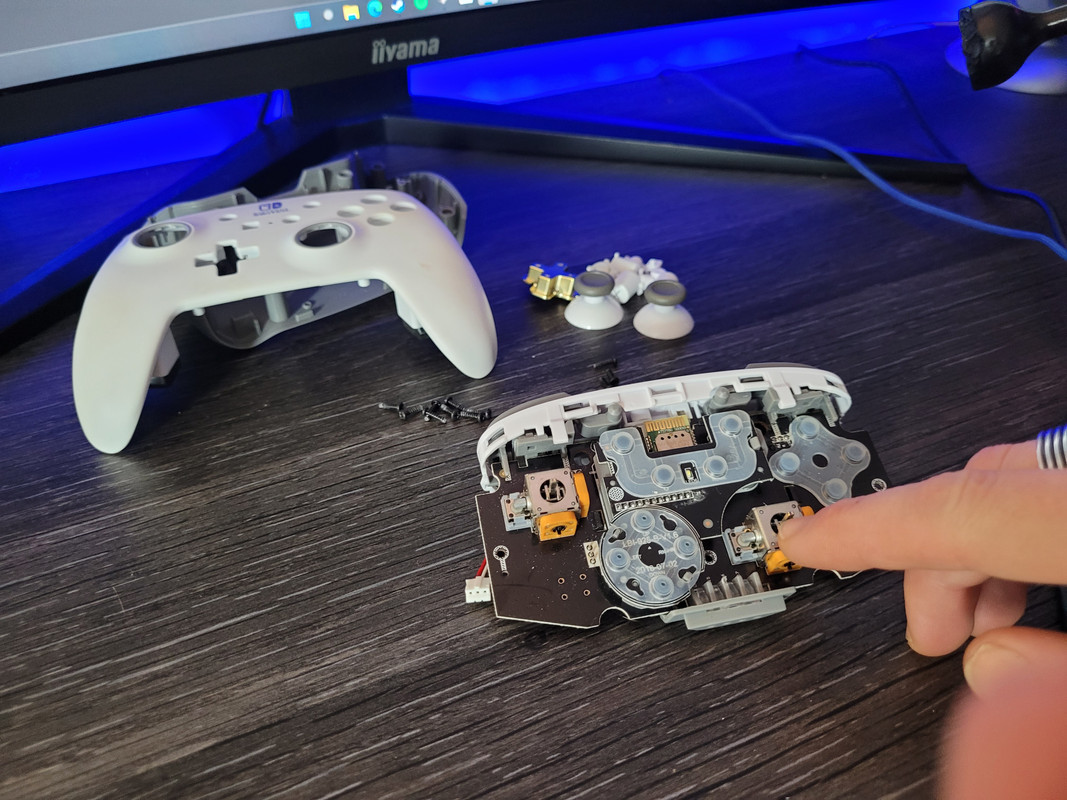
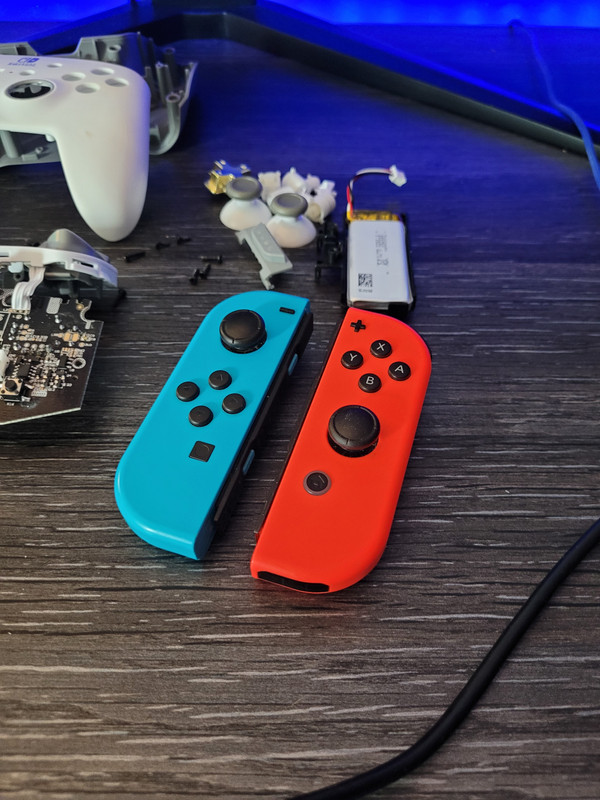
Going to replace the pots on the pro controller and swap some new analogues and metal clips in the joycons.
Waiting on some new m92 chips for the switch lite grey that arrived. Megadrive auction finished at £33 so that's getting packed up today ready to send. The Turquoise I did also sold today. Should probably add that one and the other grey one to the spreadsheet. The first grey board I was working on I have spotted what may be wrong there as well so may have another 2 lites this week... one is for my own little project
The bits to recalibrate the ps2 laser and xbox laser should be here this week as well so looking forward to fiddling with those. Not really all that much to fix again other than that so I have my eyes out for more retro handhelds really want a lynx but ebay is strong for broken lynx consoles so it's been taking a while to find one im willing to spend on.


Going to replace the pots on the pro controller and swap some new analogues and metal clips in the joycons.
Waiting on some new m92 chips for the switch lite grey that arrived. Megadrive auction finished at £33 so that's getting packed up today ready to send. The Turquoise I did also sold today. Should probably add that one and the other grey one to the spreadsheet. The first grey board I was working on I have spotted what may be wrong there as well so may have another 2 lites this week... one is for my own little project

The bits to recalibrate the ps2 laser and xbox laser should be here this week as well so looking forward to fiddling with those. Not really all that much to fix again other than that so I have my eyes out for more retro handhelds really want a lynx but ebay is strong for broken lynx consoles so it's been taking a while to find one im willing to spend on.
Last edited:
Parts are sstarting to turn up for my custom switch lite! I went with this case:
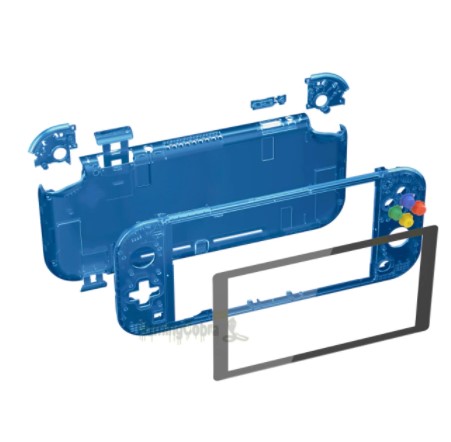
then a brand new LCD, and I need to decide which one of my donor boards I think can be fixed for it... I should be able to make at least one good one out of these when a few chips turn up this week!
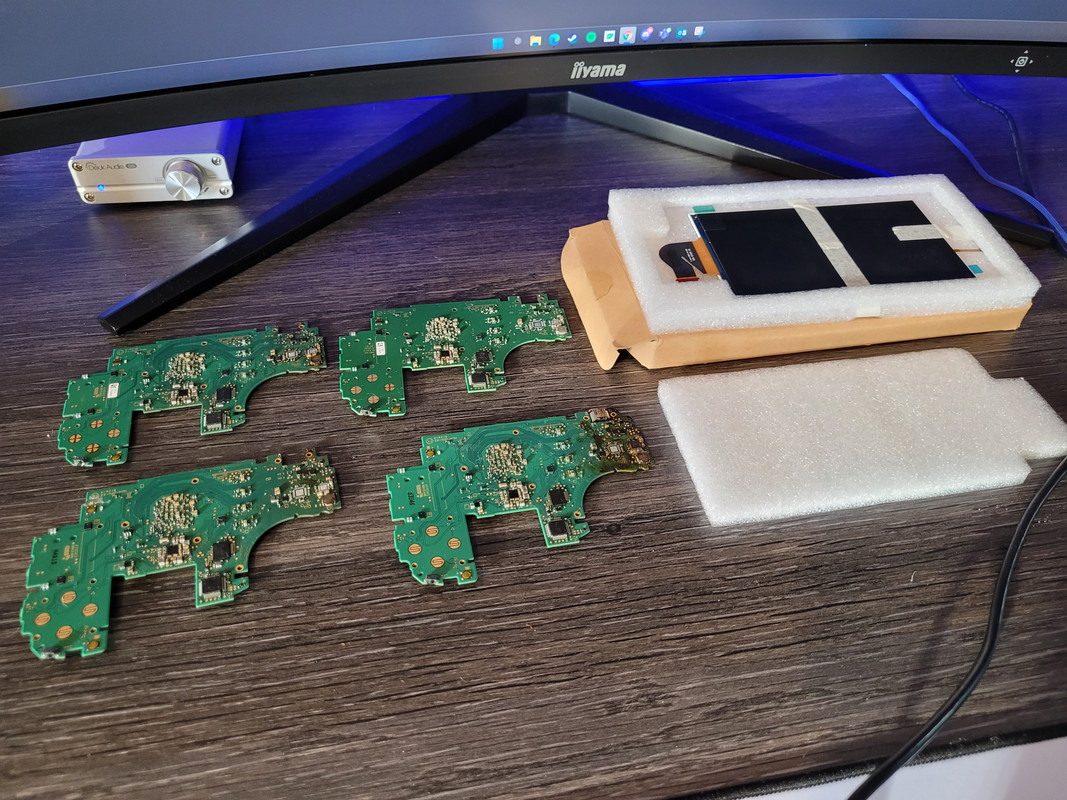
I guess I'll just run over them again and see which one if any are salvageable.

then a brand new LCD, and I need to decide which one of my donor boards I think can be fixed for it... I should be able to make at least one good one out of these when a few chips turn up this week!

I guess I'll just run over them again and see which one if any are salvageable.
I don't suppose you'd have any use in an Xbox 360 would you @Vince ? I've had one sitting around for ages, just gathering dust. I did try it a few months ago and it does still work, but the disc drive is exceptionally noisy, but if it's any use for parts you can have it if you're happy to cover postage...
I could fix it
 - poke the laser with a stick or something. Plus being a 360 you know it's only going to die next week anyway! Sounds like fun to me.
Ha! You're more than welcome to it, it was only going to get thrown out at the tip on the next trip there! So if it's useful in any way then it's yours! I'll get all the bits together and get a box and a quote for postage and I'll drop you a trust and go from there!
Sweet - Cheers dude - I shall try and fix it or something!


