Associate
- Joined
- 13 Jun 2016
- Posts
- 1,542
- Location
- UK
@Jay85 Thanks for the reply mate. The one at the bottom left is the first one I did, so I might take it apart and wipe some of the lube away / redo it.
@Jay85 Thanks for the reply mate. The one at the bottom left is the first one I did, so I might take it apart and wipe some of the lube away / redo it.
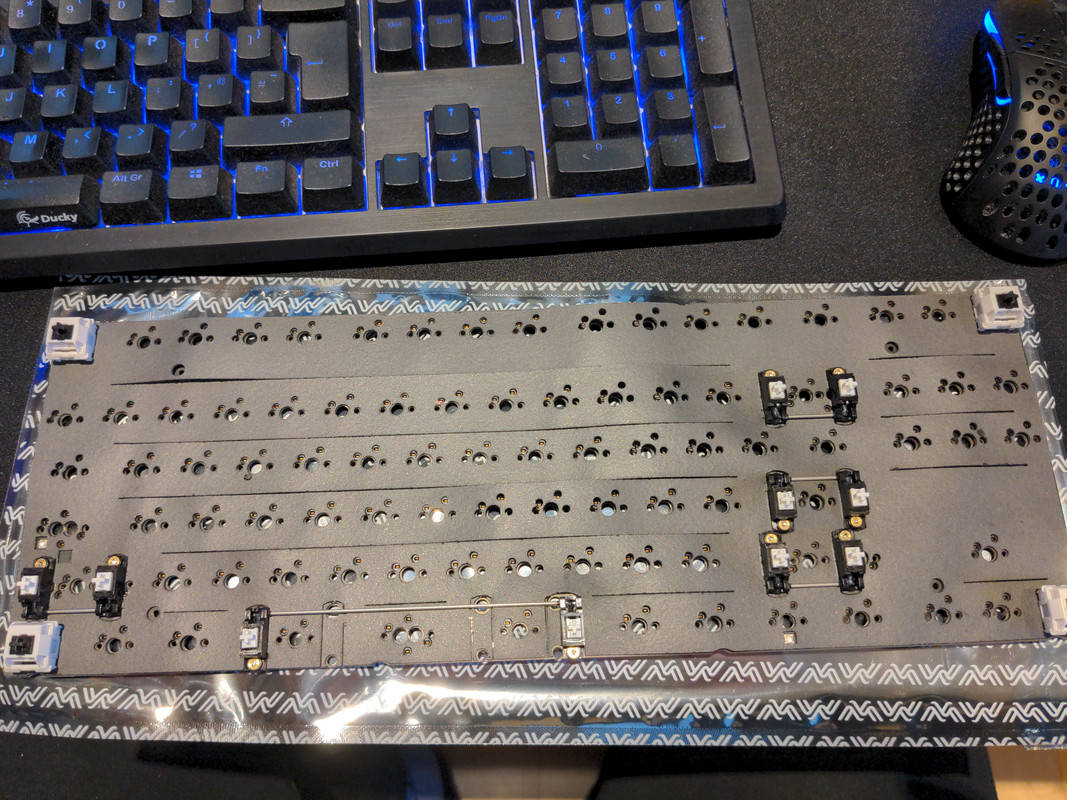
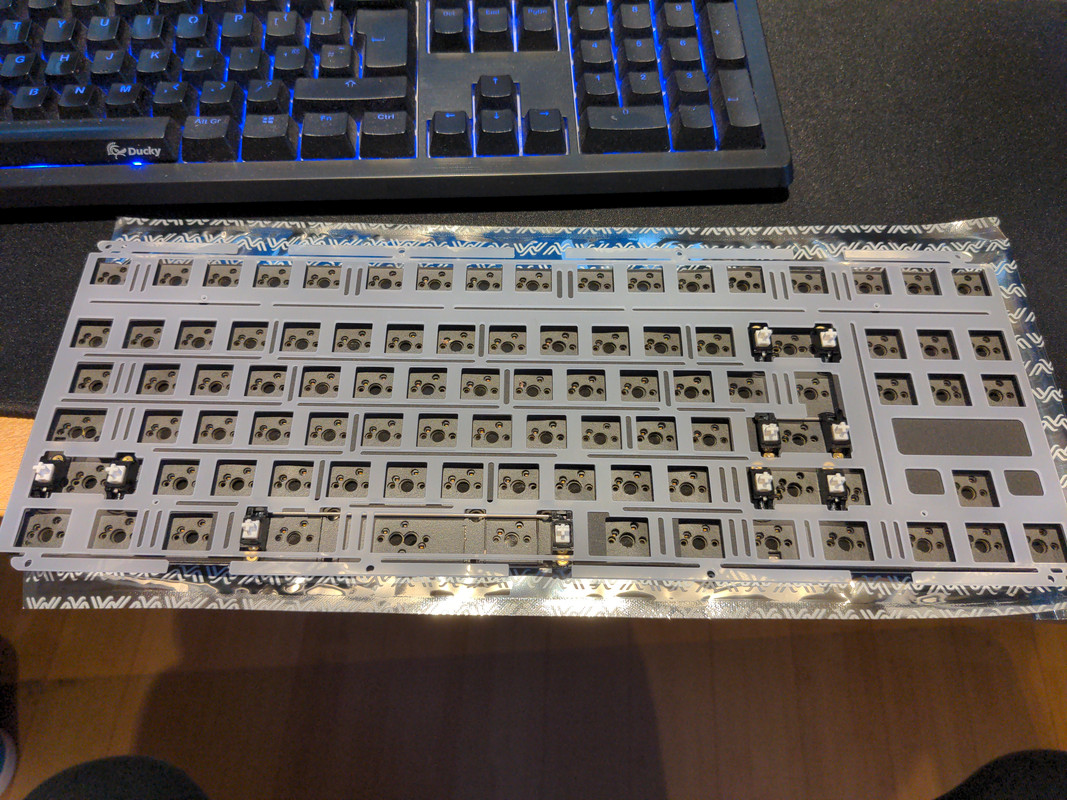
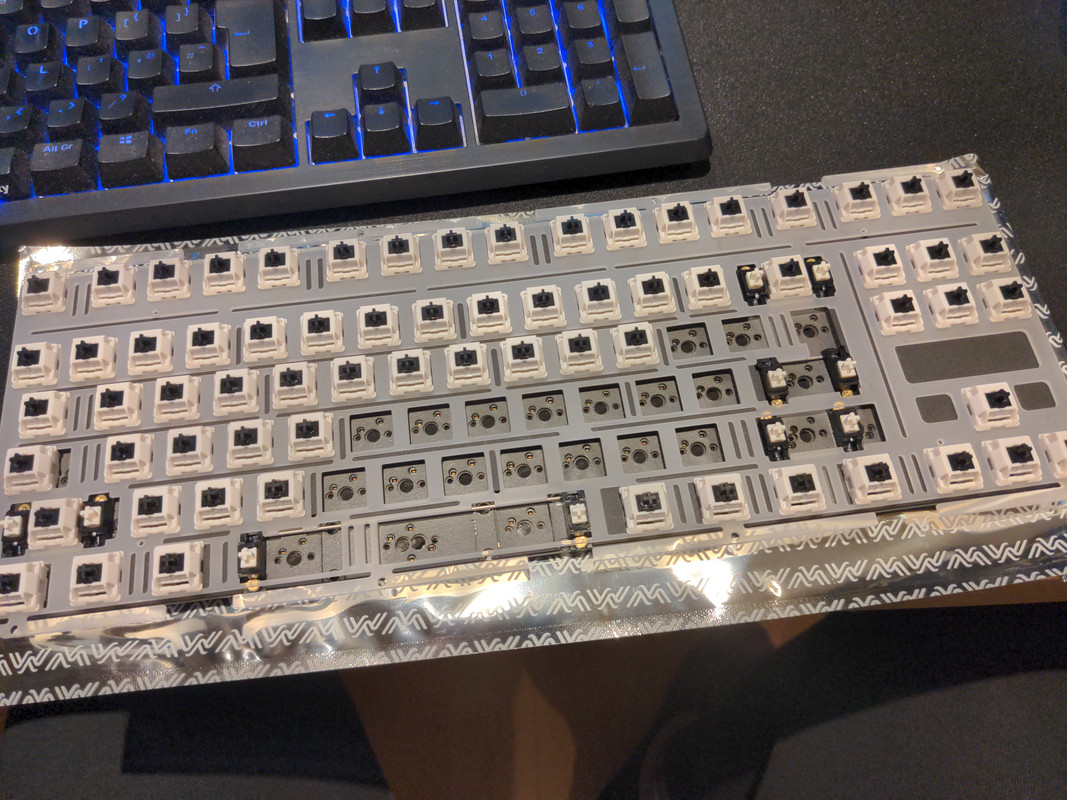
Keyboard is starting to take shape:


Not sure why I have two stabilisers left over, maybe in case you want a different size space bar (but in that case only the one space bar stabiliser was provided).
The stabiliser stems have plenty of room to move, so will definitely be filling the gap with dialectic grease @Jay85
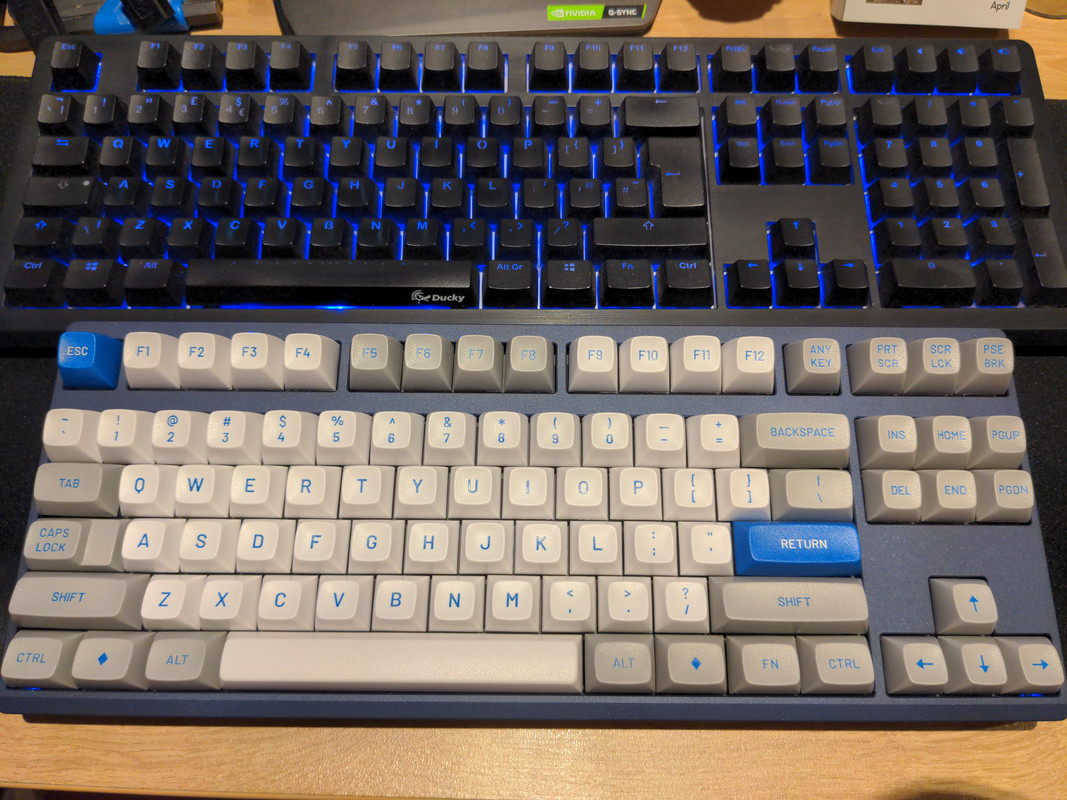
Very nice!
I wish I'd never seen this thread as I already have two Q1s (an ISO and an ANSI), a TOFU 60 and next week I should have a Monsgeek M1 arriving. Good job I can hide them in my desk drawers as my wife wouldn't be able to get her head round it....

How does the back look??Ta da!

Mate, it is REALLY shiny and a mega fingerprint magnet:How does the back look??
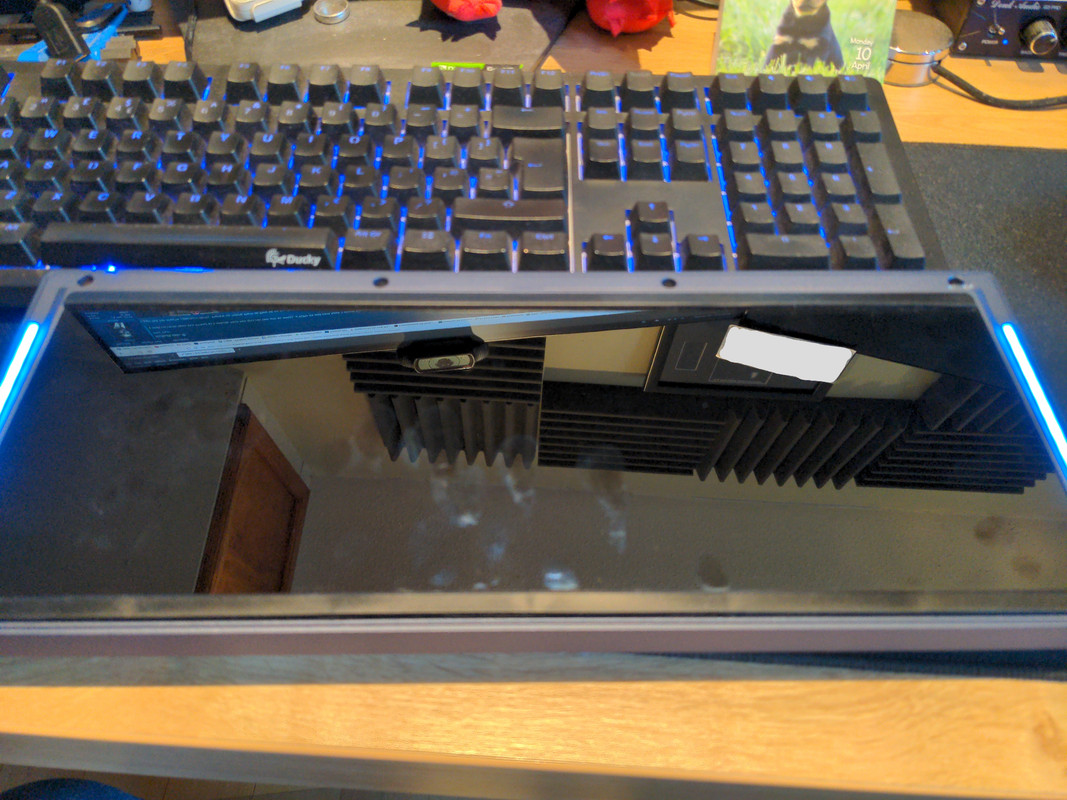
Interesting, wonder if the fingerprints vary by colour. I've got two colour options coming because I wasn't sure which would look good in realty.Mate, it is REALLY shiny and a mega fingerprint magnet:

In terms of a sound test @Jay85 I will see what I can do. The only parts I am not happy with are:
1) Stabiliser for the backspace key seems a little 'raspy' compared to others
2) Those fingerprints are on the other side of the glass, so will need remove back plate and clean it at some point - I'd recommend assembling the backplates whilst wearing gloves to be honest.
3) The black rubber feet on the bottom aren't as secure in the screw holes as I would like
4) If you look closely, the rear glass black plate caught some of the plastic wrap of the back plate as I screwed them down. Will need to disassemble and remove that 'from the inside'.
Overall, very pleased for my first custom keyboard effort. A Bakeneko 65 or similar would have been more straightforward but I enjoyed this and learnt lots doing it.
I've been trying to ignore it so thanks for nothingZoom75 GB is live for anyone interested.


I am so weak.... I caved in and ordered a Zoom 75. Went for an engraved special edition as I justified it to myself for my Astrophotography PC.....

Indeed. @scotty38 should buy two.I mean at least its a relatively cheap board in comparison to some of the other stuff in GB right now.
True I guess, but imagine looking in.... Most would think we'd lost our marblesI mean at least its a relatively cheap board in comparison to some of the other stuff in GB right now.

