What "man jobs" have you done today?

I need to make a side for the bath, i was thinking of using ply wood and them sticking some tiles on to it, i was wondering tho, how would i attach it to the wooden frame i will make around the bath? i want to have access to the underneath of the bath but didnt really want to drill through the tiles and screw it on. Would velco work? does anyone have any tricks for this kind of thing? im not sure velco would be strong enough.

hard to explain but I'd do this:

attach a second thin frame to the back of the sheet with tiles on. Into this add some screws, 2 on each side. Then use your drill to cut out holes through the main wood frame. It's just a case of lift, push and drop to put it into place.
 
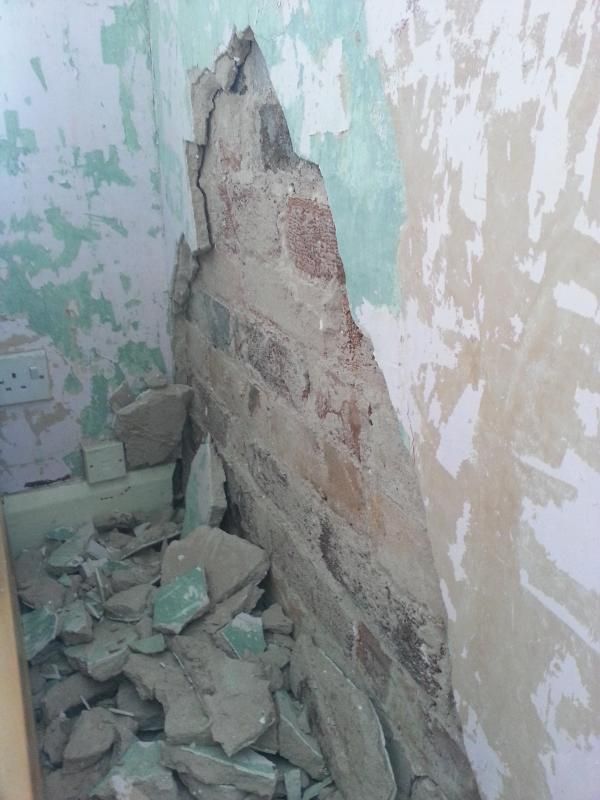
Pulled the skirting board off ready for the plasterer to come and strip the room...........


Decided to carry on and finished the whole wall.

 
Dubs, is it pretty simple to knock off the old plaster? How much, typically, to get a plasterer in to re-plaster one wall?
 
The stuff just crumbled, was like sand, so old, couple of newer bits need a few whacks with the tappy stick and bolster chisel but apart from that its not that bad, messy more than anything else.

A mate is doing the plastering so couldn't really give you a ball park figure as its mates rates.

Paid £600 to have the hall stairs and landing done 2 years ago by a "professional plasterer" and i think that was too much
 
hard to explain but I'd do this:

attach a second thin frame to the back of the sheet with tiles on. Into this add some screws, 2 on each side. Then use your drill to cut out holes through the main wood frame. It's just a case of lift, push and drop to put it into place.

Not a bad idea, but I think it would be difficult to get the panel very neat and flush with the edge of the bath with that method.

Personally I would just drill and screw through the tiles and backer board into the timber frame and cover the screws with white screw caps. Not sure why the aversion to drilling through tiles? Or is it just for cosmetic reasons?
 
Just cosmetic reason really, although it might not look that bad if i get some nice caps. AHarveys idea might work, ill take a look at that as well
 
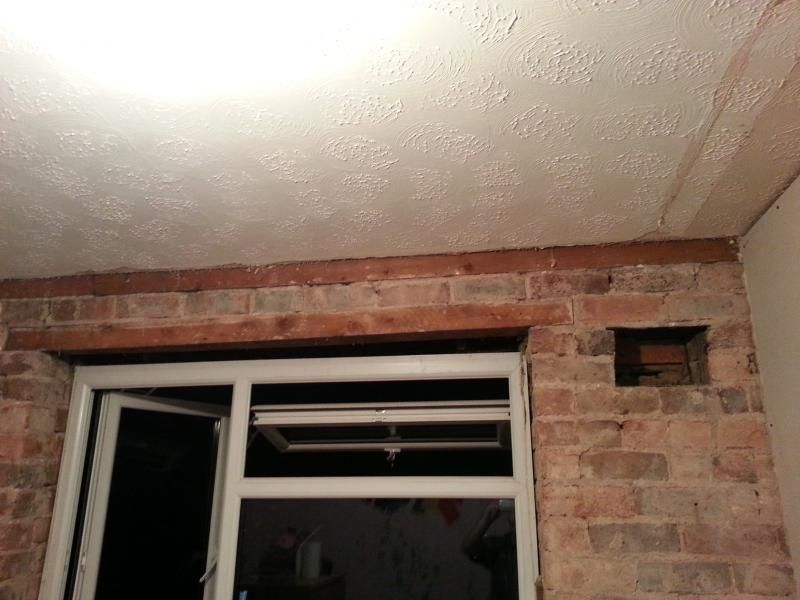
Well this weeks (including last weekends) jobs include:

Mist coating the plaster around the new larger loft hatch.
Mist coating the plaster on the ceiling in the spare room.
Painting the landing ceiling and above the picture rails white.
Painting the landing wood panelling light grey.

Undercoating the wood panelling in the spare room (soon to be nursery hence the redecorating)
Re-painting the ceiling in the spare room
Re-painting the walls in the spare room

painting painting painting.

I HATE painting.
 
Managed to completely unblock my bathroom sink in a few mins with one of them pump plunger things. I have previously tried one of them snake unblockers, various chemicals, normal plunger and all failed miserably. Really impressed for £2.99! Just took the pedestal out of the way and removed the ubend, then filled the pump with water and put it directly to the waste pipe and blasted the water through it and I could hear it dislodge whatever was causing the blockage. Might still get some caustic soda just to clean the pipe.

http://www.ebay.co.uk/itm/160884890561?_trksid=p2060778.m1438.l2649&ssPageName=STRK:MEBIDX:IT
 
fitted the frame I've been building for a couple of days then fitted these old gates:

20140924_152733.jpg


They aren't perfectly level which I find infuriating, but the gates were built by my mums husband and I rescued them when she left her house. The hinges aren't fitted equally on either side which I wasn't aware of until I fit the better side. The bad side has zero room for maneuvering the pins :(

The slates also aren't nailed/screwed/fixed into place, so my next job is to secure them in place. The string is there until my metal strips arrived so I can secure it properly to the concrete pillar.

Then, i'm going to get the power washer on the wood and give it a good clean, get as much mess off as I can before it gets painted.

Not putting too much effort in as they aren't going to be permanent anyway, I want to rebuild the entire car port and front of the house, maybe look at extending.

On a side note, the wood I purchased wasn't the correct sizes throughout, being 10mm short in some places, the car port isn't even or straight and the gates were off too. I hate dealing with incorrect measurements. :(
 
I need to make a side for the bath, i was thinking of using ply wood and them sticking some tiles on to it, i was wondering tho, how would i attach it to the wooden frame i will make around the bath? i want to have access to the underneath of the bath but didnt really want to drill through the tiles and screw it on. Would velco work? does anyone have any tricks for this kind of thing? im not sure velco would be strong enough.

I wouldnt tile onto ply. Buy a sheet of WEDI board the thicker the better. Then screw that to your frame, then tile. Try using the widest joint you can get away with. then pick 4 tiles (you may get away with 2 as they are a fair size) that you can cut out and still give you access undrneath. Cut out around the tiles at a 45deg angle inwards.

That way you can now push it back in place and silicone the "Grout joints" It'll hardly be noticable
 
I know those feels Musty Pie!

Thanks mattyg ill be taking a look at it this weekend

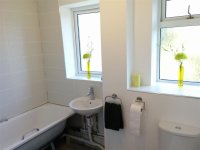
Yesterday i done the grouting and put up a few of the necessities, i need to grout the corners, i was going to silicone but decided to grout now after seeing it dry.

zOHoaCf.jpg

hrnRQ0x.jpg

xNzzKmO.jpg


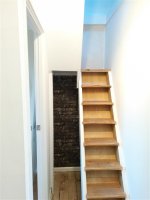
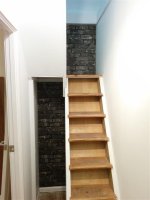
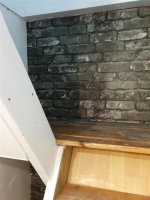
I also put some wall paper up behind the hobbit staircase. Looking for some high grip paint for the stairs now

Xxjro1g.jpg

1CoOoBc.jpg

zq3xdyO.jpg
 
Kimi, Theres nothing wrong with tiling onto ply for a bath side panel, thats exactly what I did and its still good 4 or 5 years on. Think you might have to put a coat of primer on it first, to stop the ply sucking all the moisture out of the tile adhesive too fast.

As for how to hold it in place, some ball catches would work. You would just have to use a suction cup on the tiles to pull it out.

http://www.macbuildingproducts.com/images/09CATCHDOUBBR.gif
 
Yesterday:
* cored 107mm diameter hole through the block & brick exterior for bathroom extractor fan, fitted the extension & set the sealant.

Today:
* pulled the battery out of the car for charging..
* cut ply sheeting & glued to make a box/set of shelves for drying A4 oil paintings
* cut and fitted lattice to top of fencing
* dealt with a hornet in the conservatory..
* finally connected up the tubing for the extractor fan
 
Just completed boarding the loft, looks good now and can finally store the crimbo decs for a few months :p Was hard work and my first major task. Also managed to realise why the AC door was dropping, builders hadn't put the screws in the hinges -_-
 
Last edited:
Back
Top Bottom