Xbox 360 mod project log

Associate
Joined
5 Apr 2008
Posts
1,526
Hey.
Got an xbox 360 mod in store for you....

Special thanks to shinester184 for swapping pump tops with me as mine didnt fit!


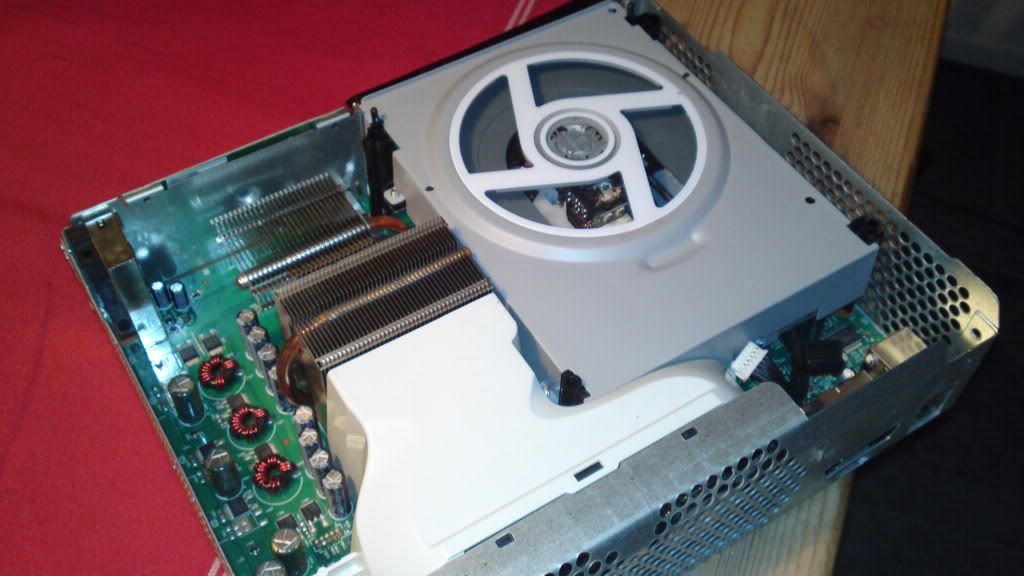
Plan is for a fully internal watercooling system using a 2 x 40mm radiator and the xspc cpu/gpu waterblock.

I have seen many watercooled 360s but hardly any are fully internally watercooled... but instead have ugly tubing coming out of them which is a mess.


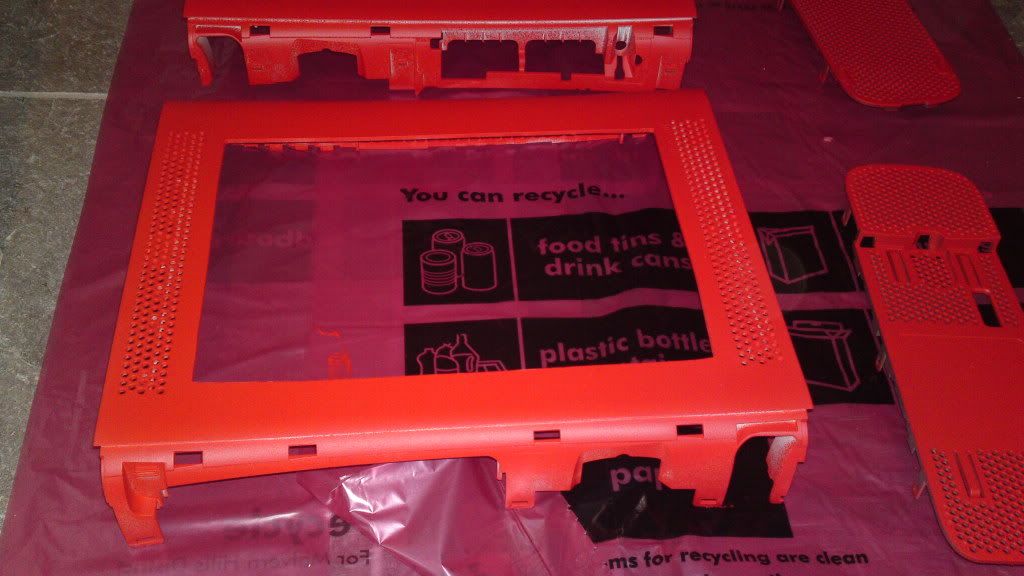
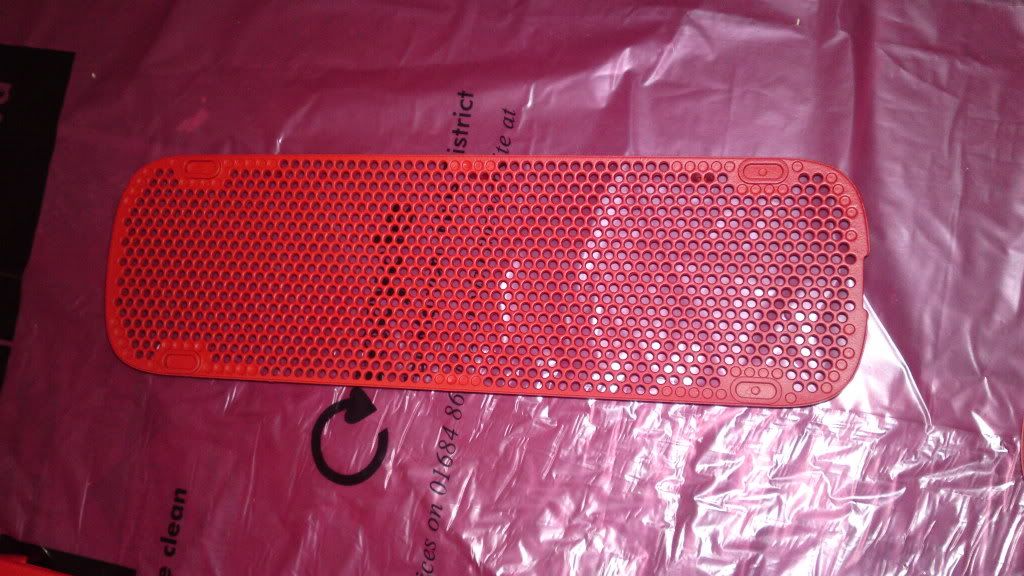
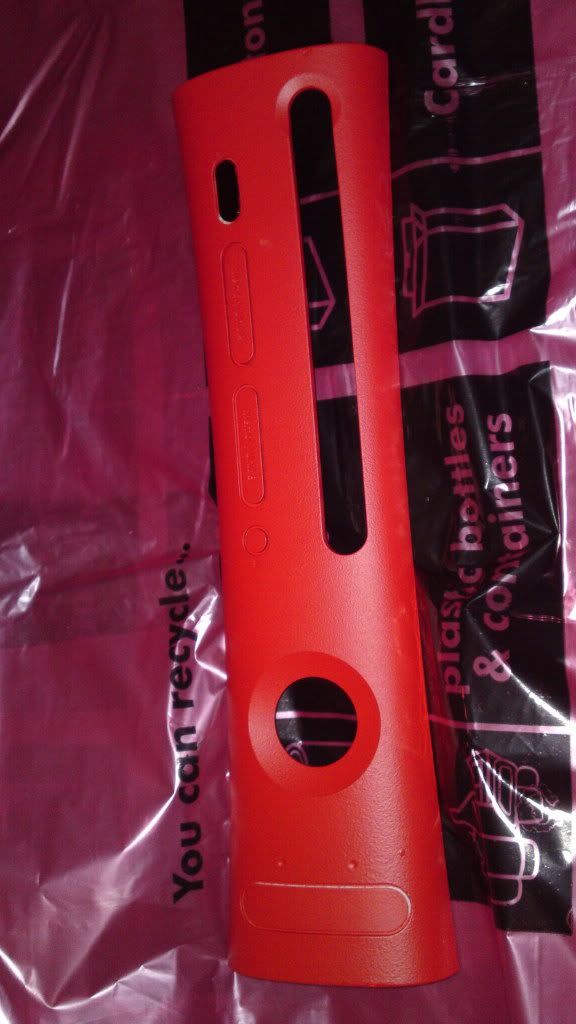
Here is my progress so far...
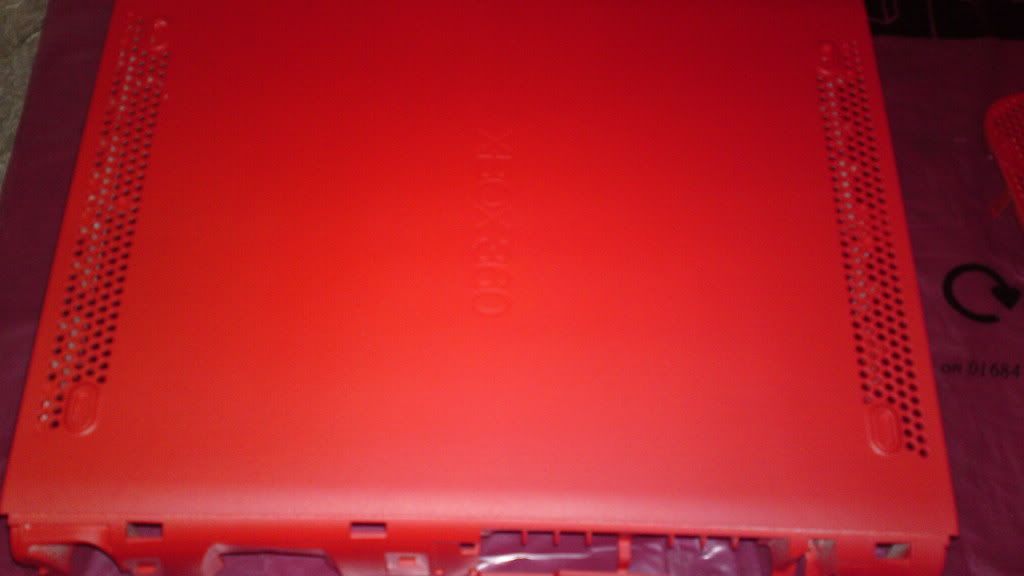
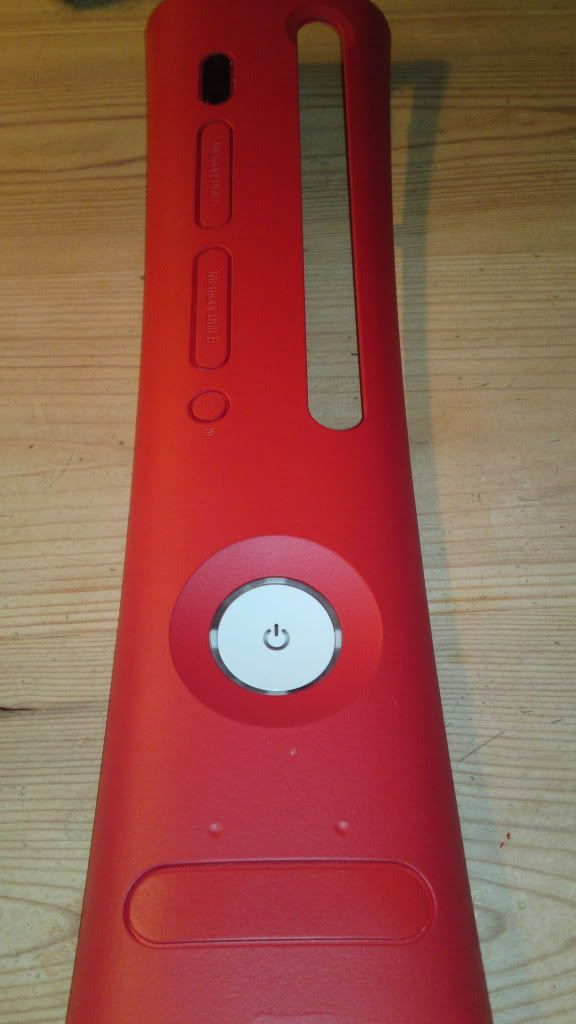
04122010174.jpg


04122010173.jpg


04122010175.jpg


04122010176.jpg


Still needs another coat of paint :)

DVD drive window fitted
04122010172.jpg
 
Last edited:
Update!! :D

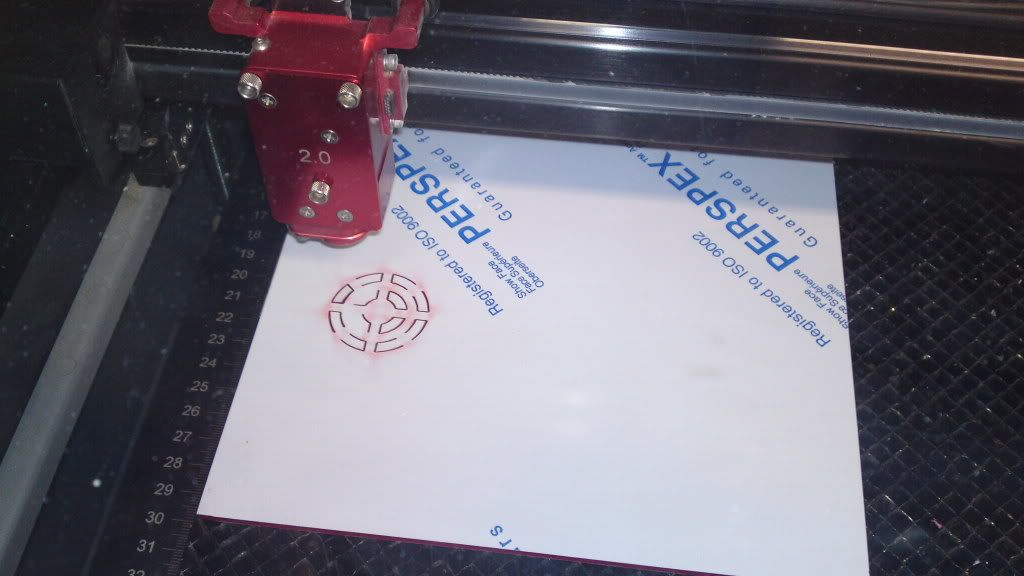
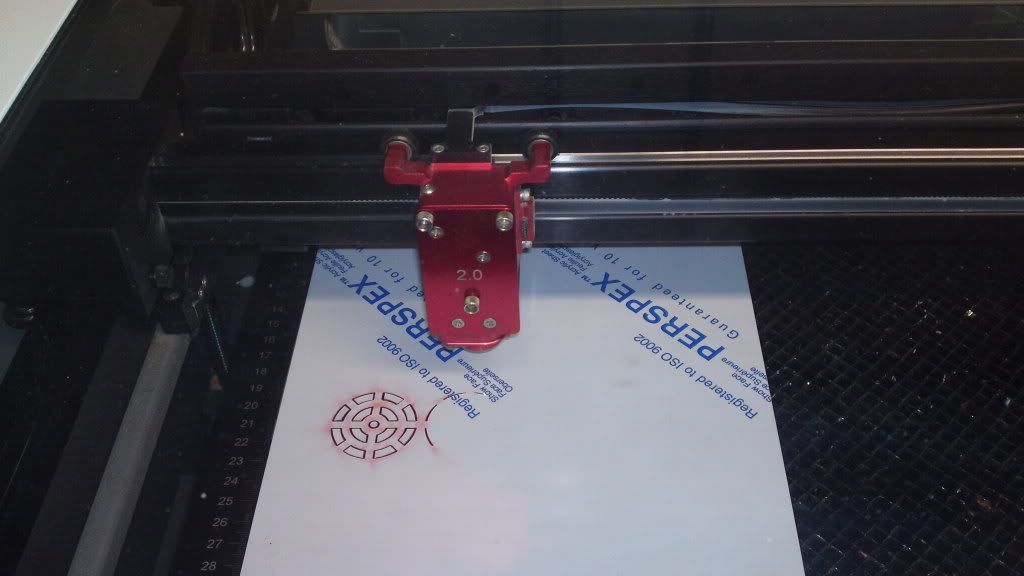
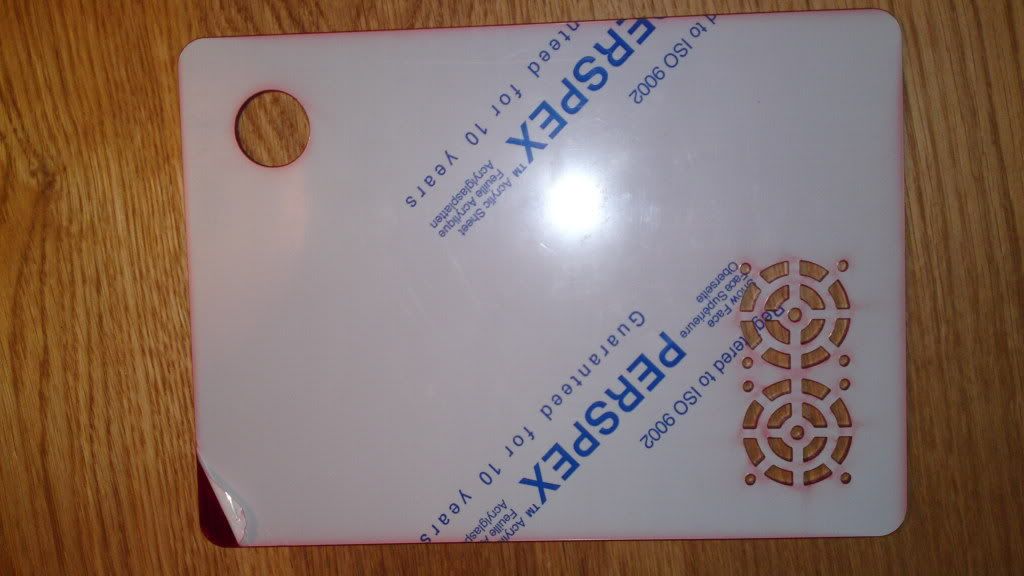
So I had the privilege of using an £18,000 laser cutter to cut out the window!!

06122010176.jpg


06122010177.jpg


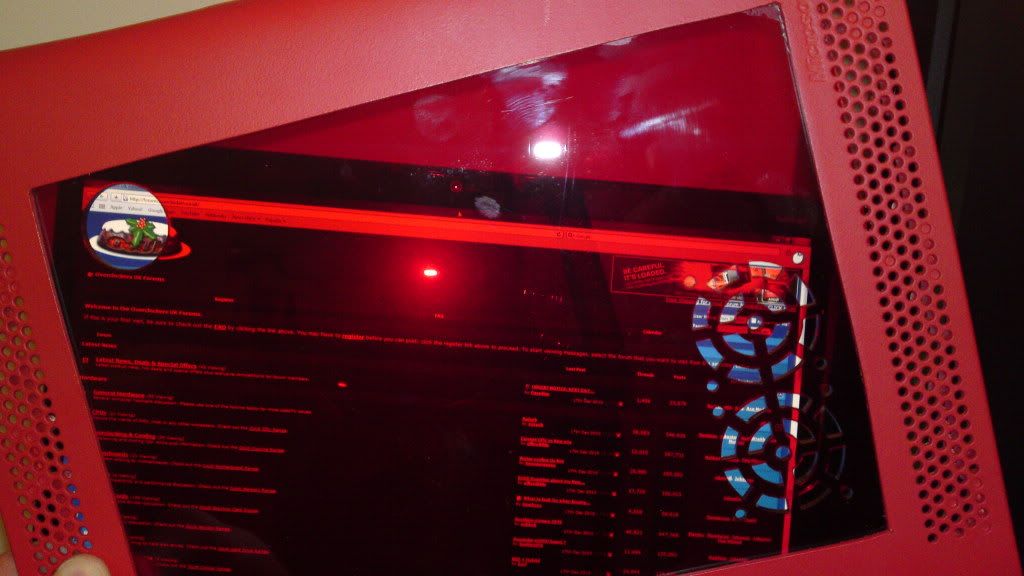
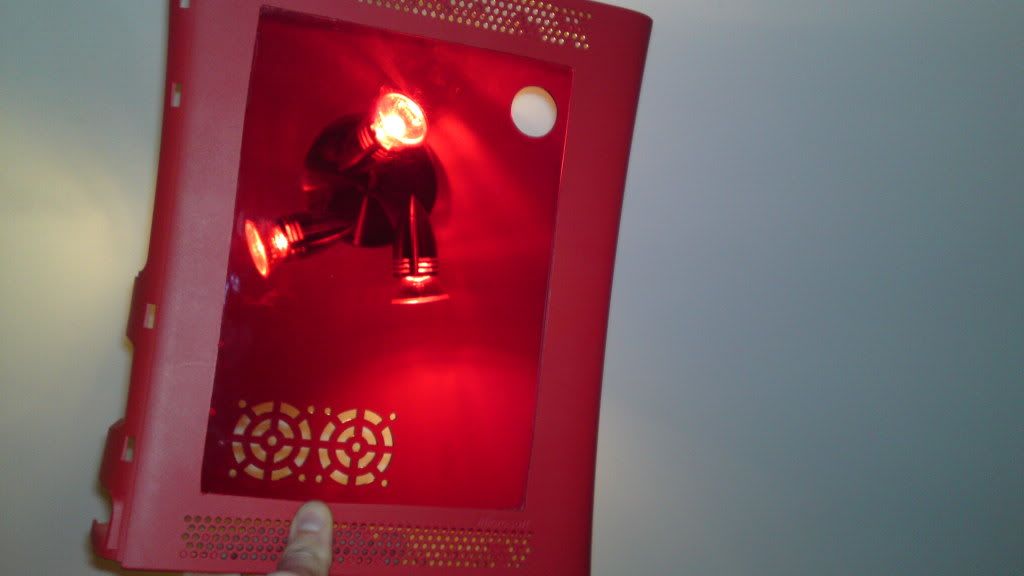
And here is the finished result :eek:

06122010186-1.jpg


Just to give a taster of the colour!! ;)

06122010185.jpg


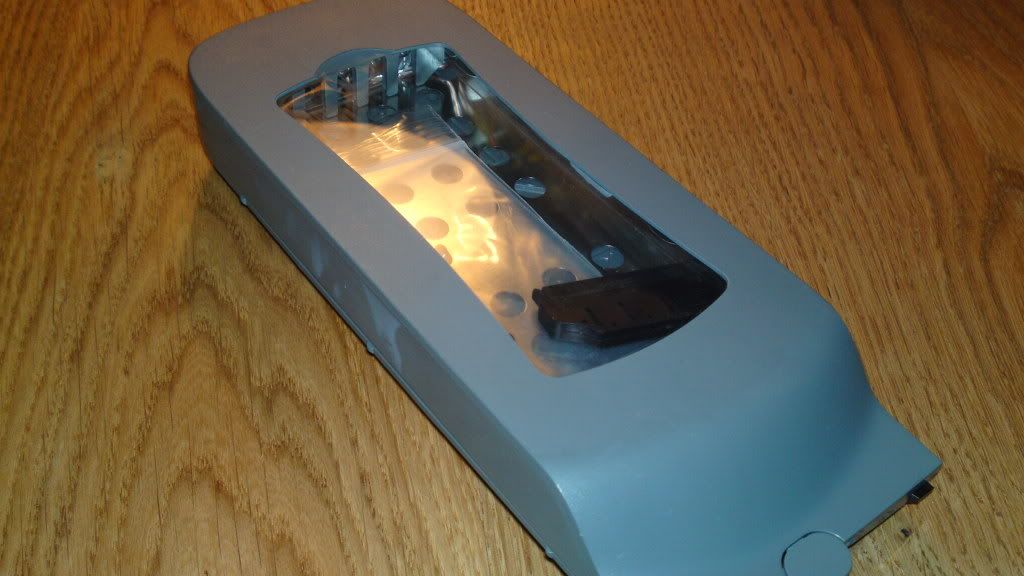
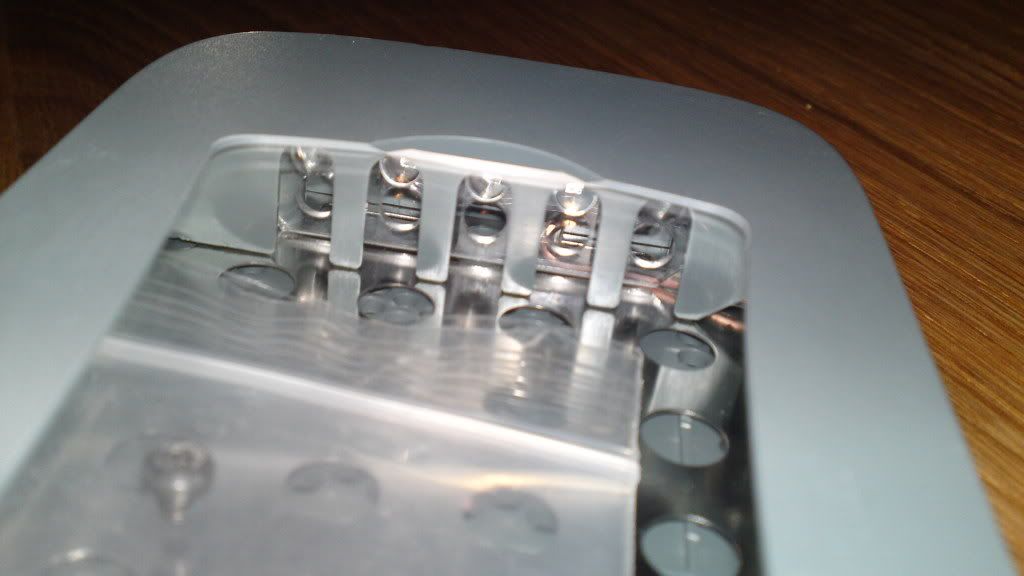
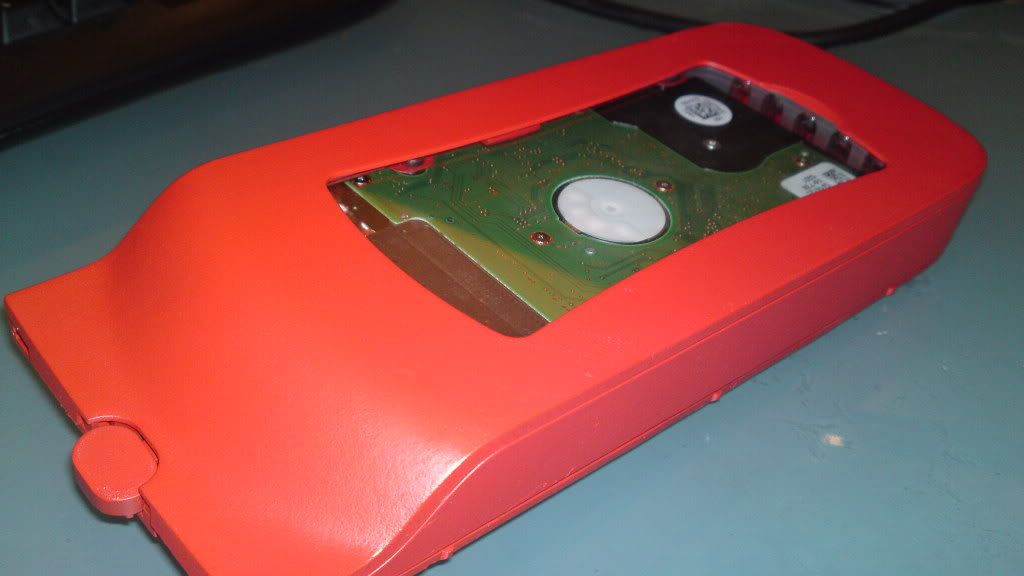
Also... Here is my hard drive enclosure with window..

06122010179.jpg


Oh but wait!! There's more!

06122010182.jpg

As you can see there are some leds in there!! Red infact.. so the hard drive will glow red!! :p


Next job... to paint the hard drive red!! :)
And another coat for the whole thing
 
be careful about painting the harddrive red, i do believe most harddrives do have openings?
so painting/spraying it may damage it. maybe check before doing it.

i've always thought about modding my old 360 into a quieter case but i think it'd be a waste as i wouldn't use it that much seeing as i have the new one :p

Im not painting the hard drive .. just the enclosure.. sorry shouldve made that more clear!

Ooooo very interested in this, was looking at the xspc block the other day too. You need to get it built quick so I can find out how well it works :p

Sorry won't be that quick im afraid.. watercooling is my christmas present!! So no watercooling till 26th december i think...
 
Paint is drying now as i... type! :D


EDIT:
UPDATE!

All looks a bit pink... it doesnt look like that in real life!!

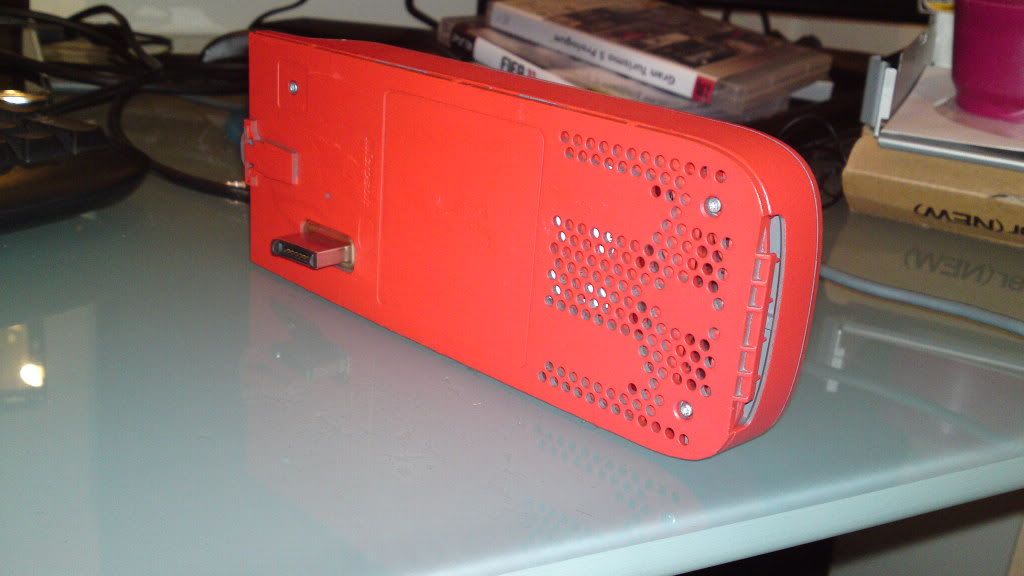
Painted and hard drive installed...

12122010199.jpg


12122010200.jpg


12122010201.jpg
 
Last edited:
How should i attach the acrylic panel... super glue or glue gun??

EDIT:
Tried hot glueing it in place... but the glue gun was broken!!

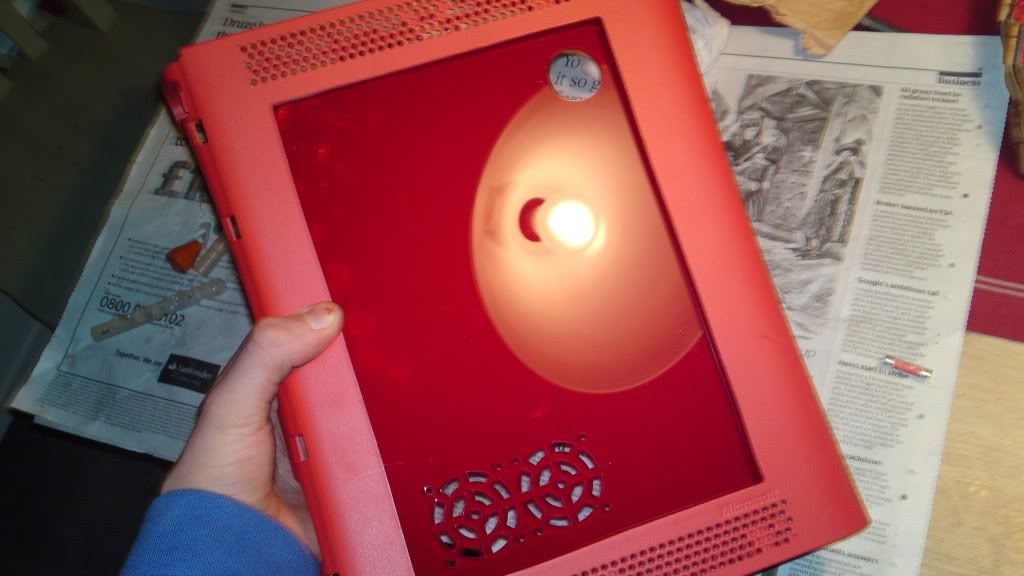
Anyway i took the acrylic cover off one side only...

here is what it looks like..

12122010203.jpg


12122010204.jpg


Wierd though how the paint looks pink on this when it looks red in real life!?!
 
Last edited:
Looking really good man, want christmas to come around just to see this finished.

Another question if you don't mind. Could you not attached a rad to the two fans at the back? The ones usually ducted to the heatsinks.

It would be tricky for a few reasons...

The fans that go in that space only clip into place so there are no screws... therefore the radiator would not have a good seal between the fans without a somewhat unprofessional seal :) I like to have reliable screws!!

Also, That is the place where I am putting the pump and i can't suspend the pump from the acrylic or vibrations could be a serious problem!
 
Update time!

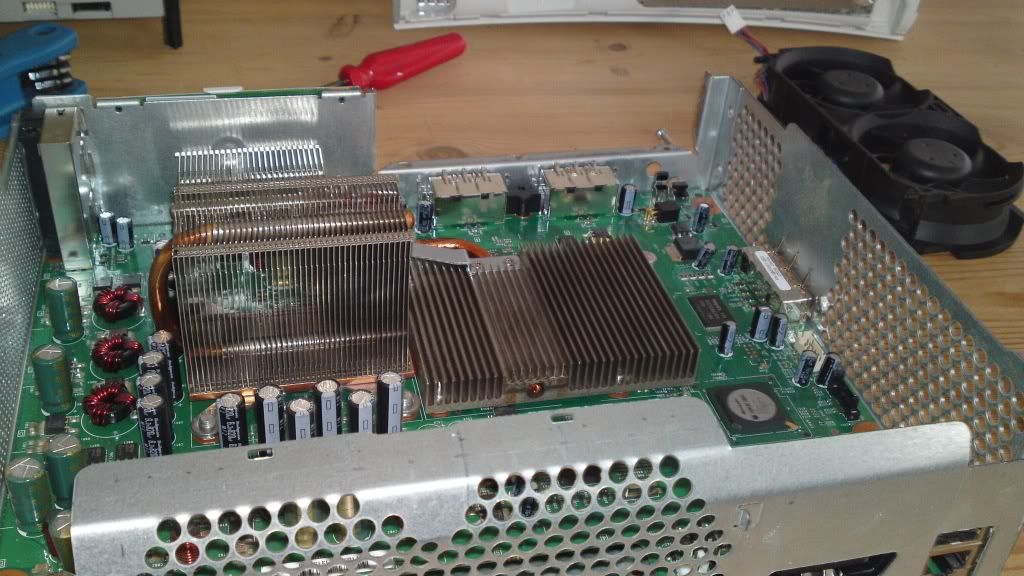
The stock cooler...

18122010002.jpg


The 'x-clamps' that have caused so many red rings of death were a ***** to get off!!

18122010003.jpg


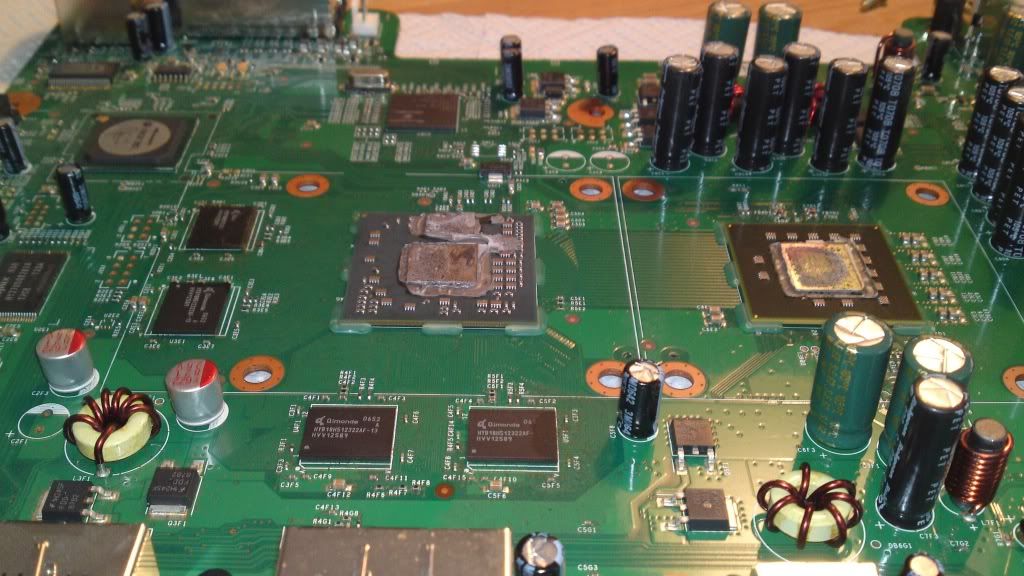
Marvel at microsoft's increadible ability to apply TIM

18122010004.jpg


I put Kooalance VGA ram sinks on all the major chips on the pcb that wouldnt be watercooled...

18122010005.jpg


18122010006.jpg


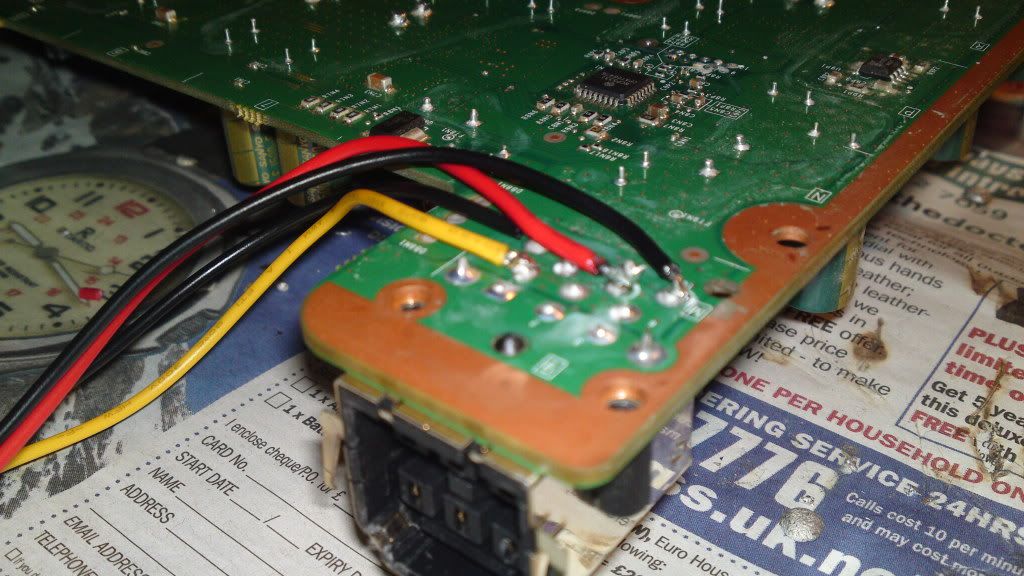
Finally, I soldered on a molex cable to the underside of the pcb...

18122010007.jpg


Christmas is getting near now.... not long till the watercooling goes in :eek:
 
Sweet as...can't wait to see what the rad will look like! Get some white cathodes in there too :D

Did you spray paint indoors? Spray painting outside at this time of the year can make the paint crack...and I'm meant to be doing it this week :O

i sprayed it in the warmer part of last week so it was ok!!

It all depends on the paint you pick really.
... special thanks to MotherMayI for the help with that.
 
PROBLEM number 1 :O

Ok... so i bought a fillport .. and on the website it said.. "cut a 1" / 2.54cm hole in the case"

I did exactly that...

Turns out that the full outer diameter of the fillport is 1" not the inner diameter of the nut that fixes it.... Ie. the website was wrong :/

So the fillport went straight through the hole i had laser cut!! :O

So... with help from my technical minded brothers! Here is my plan...

I will cut (with a laser cutter in early january) a piece of acrylic to make a kind of washer.. This will then be glued onto the back of the window where the hole is... the fillport can then be attached to that so that it lies pretty well flush with the window...

This should look really nice anyway as it will be a laser cut circle :rolleyes:

Here is what i have done temporarily out of cardboard and tape...

I made that word temporarliy stand out for all those who don't read threads!!

18122010212.jpg


18122010213.jpg
 
Back
Top Bottom