Project: Silent Overkill

Soldato
OP
Joined
4 Jun 2007
Posts
2,620
Location
Watford, UK
Thanks guys. I've had the calipers on both sets of tube and this explains it:

Mayhem glass: 11.92mm +/- 0.02mm
E22: 12.30mm +/- 0.10mm

Worth noting that the ID on the Mayhem is 7.4mm so thicker walled and narrower gauge...not that it probably makes much difference to temps at the end.

So the E22 is definitely tighter. With some heavy chamfering I have got it to go into a fitting but now it's passed the o-ring I don't think it's ever going to come out - and I mean by intention rather than accidentally. I'm also concerned about the amount of insertion force required for when I'd be connecting to things like a graphics card.
David: If you happen to be talking to E22, would you mind asking them what the nominal diameter and tolerance should be? Just wondering if it's maybe a metric/imperial thing, a bad batch or by design. Cheers.

Also, with the two of you on the EK HDCs that explains why there was a stock shortage! :p
 
Soldato
Joined
26 Sep 2010
Posts
7,157
Location
Stoke-on-Trent
You shouldn't need to use a lot of force on the tube though. Playing around with my fittings I put the outer compression part and o-ring on the tube, place the tube into the inner housing then slide then bits down the tube and over the top. So if any initial force is required then it's done while the tube is detached from everything else.

But if the outer compression part isn't even going over the tube without force then I'd say that E22 batch has an issue.
 
Soldato
Joined
17 Sep 2012
Posts
4,275
Location
Derby
Right, update for you already :D

send [email protected] giving some information (basically what you have said here) and they will replace the lot for you. They will want the defective stuff back, but they will cover the postage costs for you. They just want to check the tubing and see if they can localise the issue.

so yeah, they will sort it basically :)
 
Soldato
OP
Joined
4 Jun 2007
Posts
2,620
Location
Watford, UK
Even with the compression ring (and its easily losable o-ring) put aside, it's difficult to get the tube in - but not impossible once chamfered. Getting it out was possible when it hadn't gone in far enough to engage the o-ring but now that I've done that it's not coming back out. I had the fitting screwed into the XSPC acrylic pump top and I stopped trying to get the tube out because I think the thread in the block was going to strip before the tube came out. Will shove the fitting in a bench vice (rubber padded jaws) and have another try...but I suspect the fact I'm needing to do that indicates something wrong. Tubes came in a sleeve marked "12 x 1 x 2050mm" so it doesn't look to be a mis-pick. Although, to be fair, both ends of the sleeve were unsealed so it could have got mixed up at some point.

Replacement case has arrived and the front is solid. Having a play with it all now.

David: thanks for that. Will drop them an email.
 
Soldato
OP
Joined
4 Jun 2007
Posts
2,620
Location
Watford, UK
Heard back from E22. Turns out that some of a bad batch escaped their recall. They're going to replace it for me FoC. Also advised OCUK (by webnote) of my measurements in case they want to check the rest of their stock.

Next question. I've been looking at how to mount the Aquaero. Originally I was thinking of just cutting a rectangular hole and mounting it in that - probably bending the brackets out like ears and screwing through them. I found that there is a replacement black bezel (instead of stainless steel) available and so started hoping that I might be able to make rougher holes and cover them with the bezel. Problem is that it's a touch-screen Aquaero and just not going to work. However in peeling off the bezel, I came up with an idea that would look good but make life hard for myself. I'm thinking that if I leave the bezel off and use it as a template, I can cut out the exact shape of the Aquaero glass and mount the unit with the four corner screws. Trouble is, that the shape cut out will have to be EXACT or look rubbish. How do I do that? I've got a template and a Dremel but I just know that it'll end up with wobbles and nicks and look awful. I keep thinking about borrowing a milling machine but would that help? Anyone got any good ideas of how to do this? Laser cut?

You can see (click for larger image) the glass part that will need to stick through - although it will be slightly set back as the metal is, I think, slightly thicker than the stainless bezel. You can also see the four corner holes that I can use to mount it with and the existing bezel that can be a template.

 
Associate
Joined
22 Nov 2015
Posts
997
Location
Wales
Cracking idea on the Aquaero mounting. Toyed with the idea of mounting mine there before going with the hidden 5 LT instead but never thought about mounting it like you're planning, was going to go with the ol' 'hack a hole and screw it in method'. The mounting it flush with just the touch screen showing through is genius :)
 
Soldato
Joined
26 Sep 2010
Posts
7,157
Location
Stoke-on-Trent
Why thank you. Here's hoping I don't burn out before my project starts properly! Although all the crazy ideas are pretty much sorted in Photoshop and Illustrator.

Just a pump mount, res mount and active DDC cooling mount to design now!
 
Soldato
OP
Joined
4 Jun 2007
Posts
2,620
Location
Watford, UK
LePhuronn: That's what I feared. Was kinda hoping someone would say "Do it like this, you'll get a far neater result AND it won't be a hard slog to do"! :D

OJ46: Genius or crazy...'tis a fine line and I suspect the results will determine which!

Well, I think I'm going to have to do a JR23 and start drilling out all the rivets on my shiny new case so that I can get the PSU shroud out to work on. Hopefully afterwards I can just tap the holes and screw it back in. Gotta justify the cost of my expensive (£60) tap and die kit somehow! :D What's the betting I don't have a tap for the thread of the nice black screws that match the case! :rolleyes:
 
Soldato
Joined
26 Sep 2010
Posts
7,157
Location
Stoke-on-Trent
The nice black screws will probably be 6/32, so unless you have an imperial tap in your set then you're scuppered :D However, M3.5 is the same diameter and I *think* the threads are the same. I picked up a decent 6/32 tap and die on the fleabay for dead cheap.

But you could always just re-rivet instead of tapping new holes
 
Soldato
OP
Joined
4 Jun 2007
Posts
2,620
Location
Watford, UK
My neighbour is old-school and has a rusty tin with a mixed selection of metric and imperial. I'll see if I can strike gold :D Will also test out the M3.5 ...if my set has it. Thanks for that.
 
Soldato
OP
Joined
4 Jun 2007
Posts
2,620
Location
Watford, UK
Neighbour has a good range including 5/32...but not 6/32. M3.5 seems about the right diameter and the thread seems to be 0.8 pitch but my only M3.5 is 0.6

So, taps, diamond Dremel wheel and diamond file set ordered. Wheel supposed to be good for getting a clean cut in steel and files supposed to be a better finish (and faster cutting) for refining the finish. One of them should also be useful for scoring the glass tube to snap it to length if I end up using it.

While I'm posting, E22 were very helpful. Was emailing them until gone half ten at night - that's dedication! (...or insomnia ;)
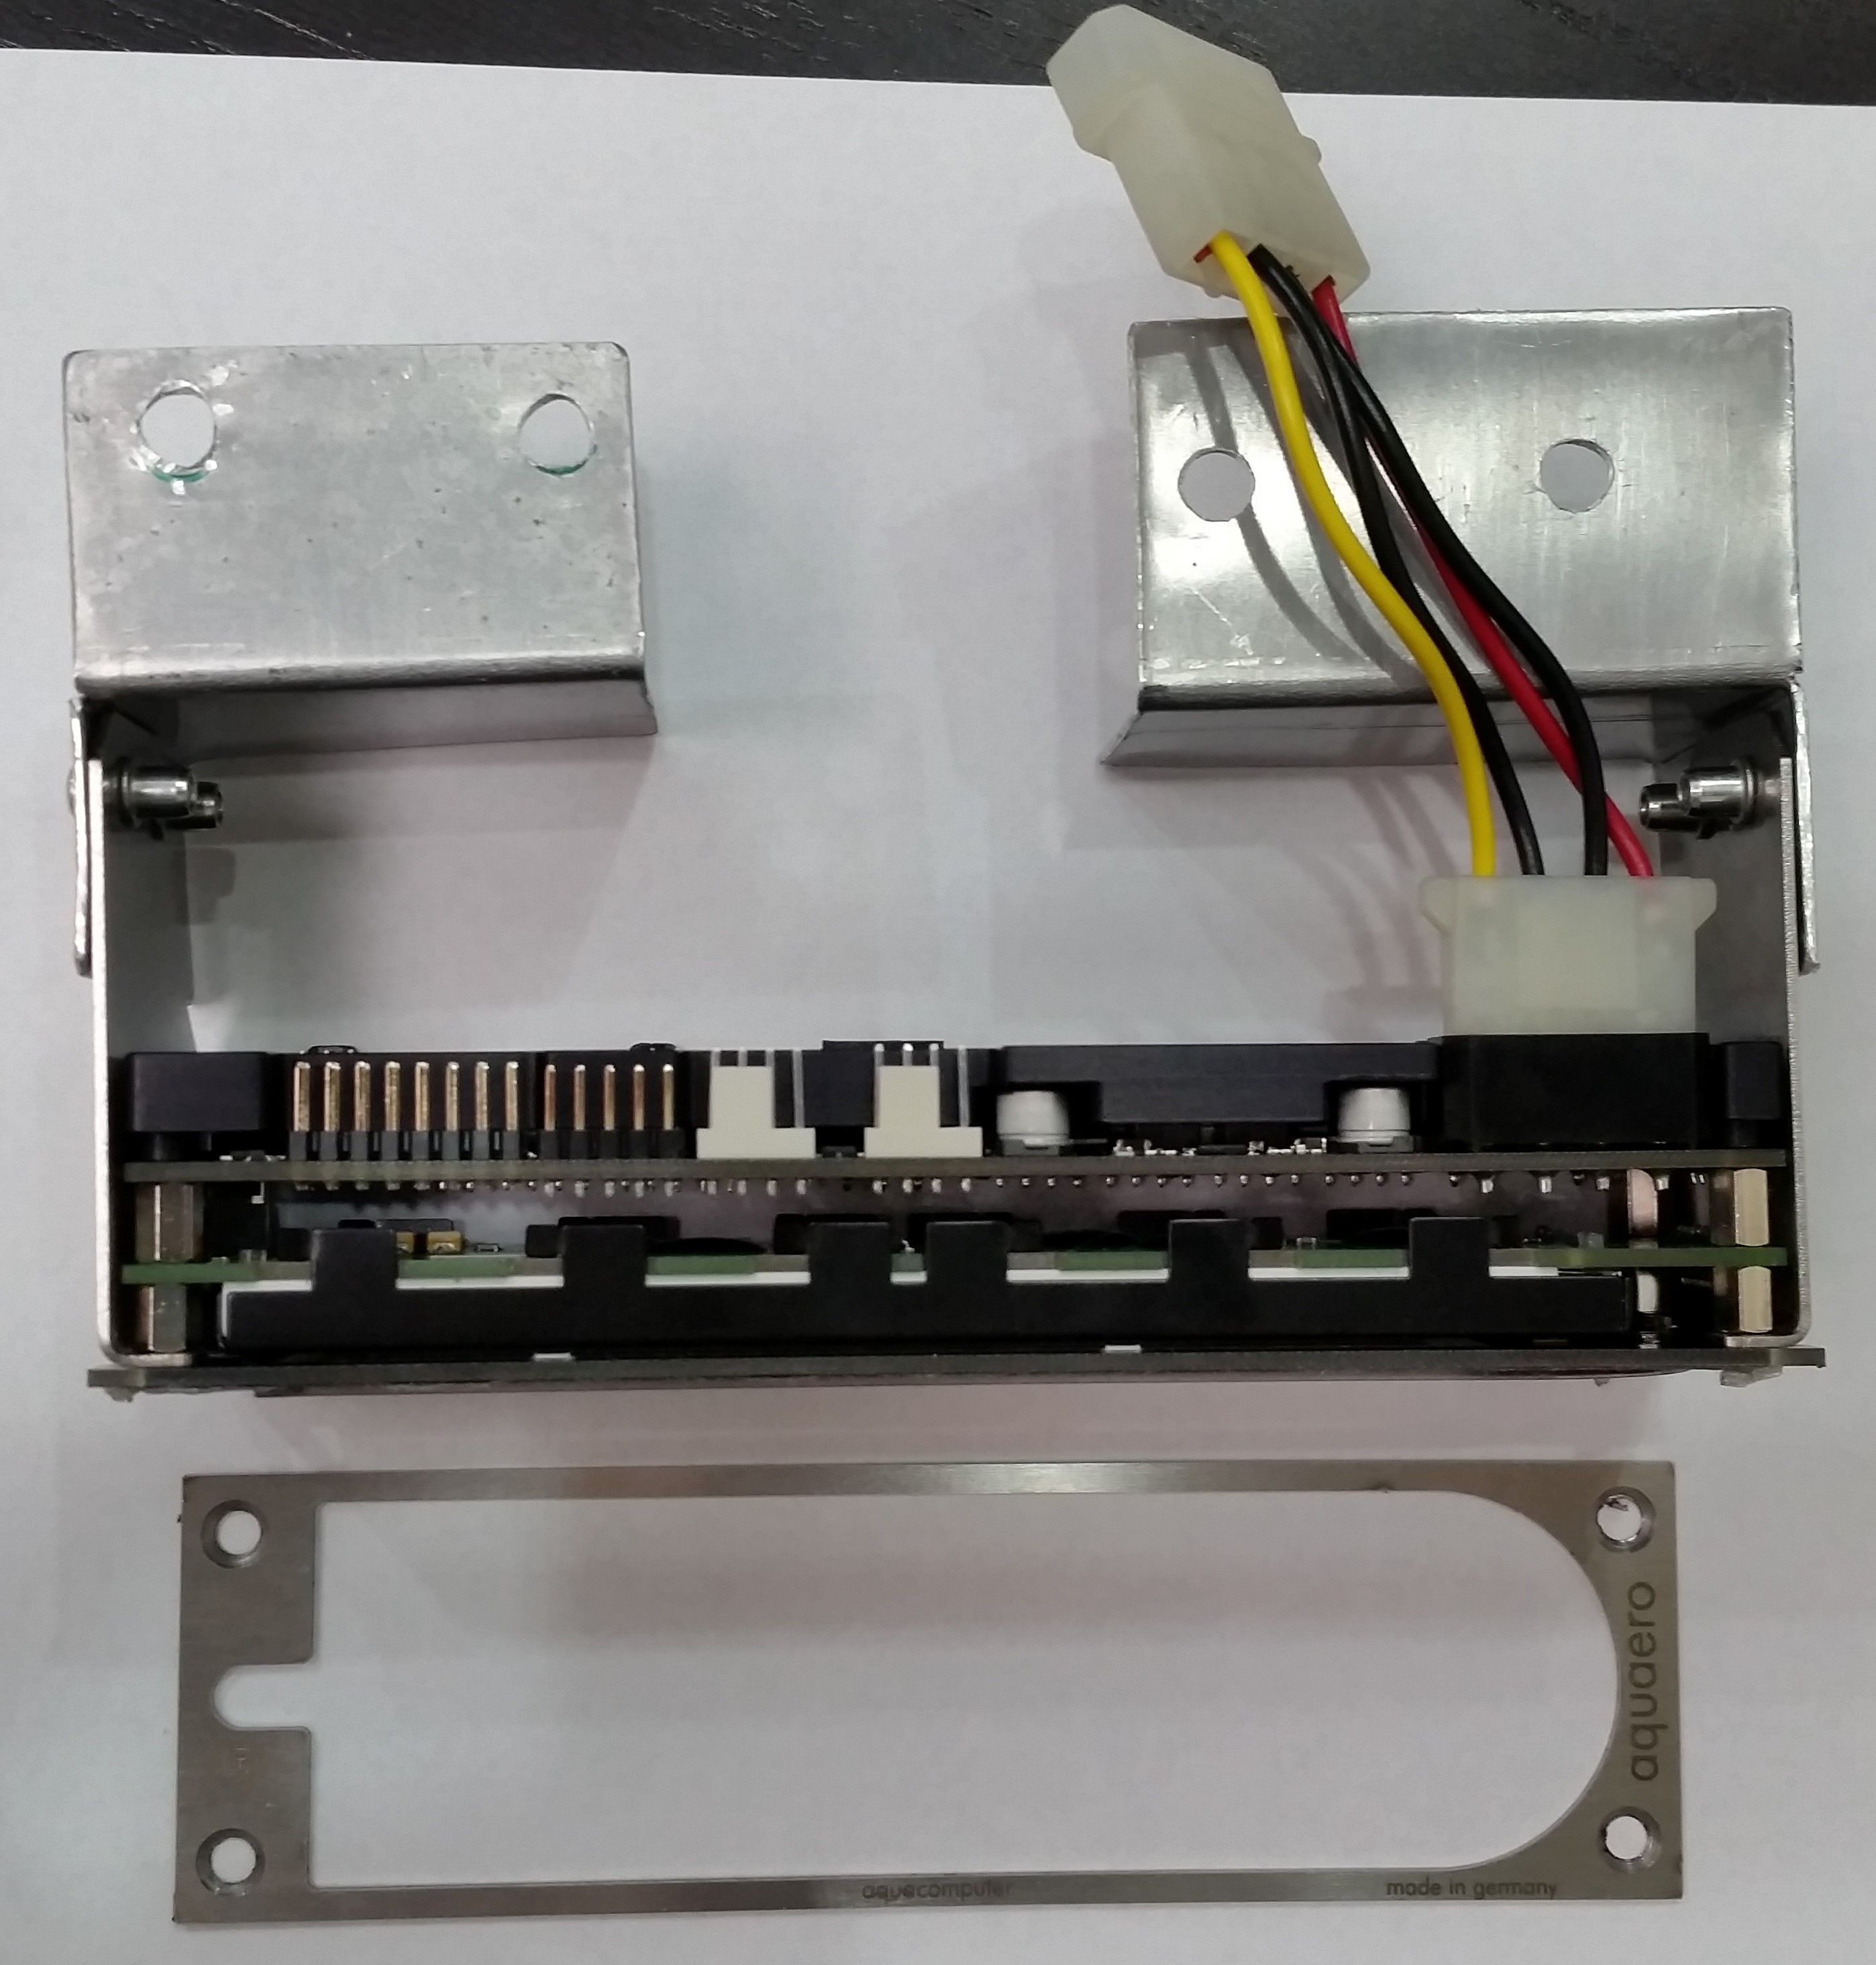
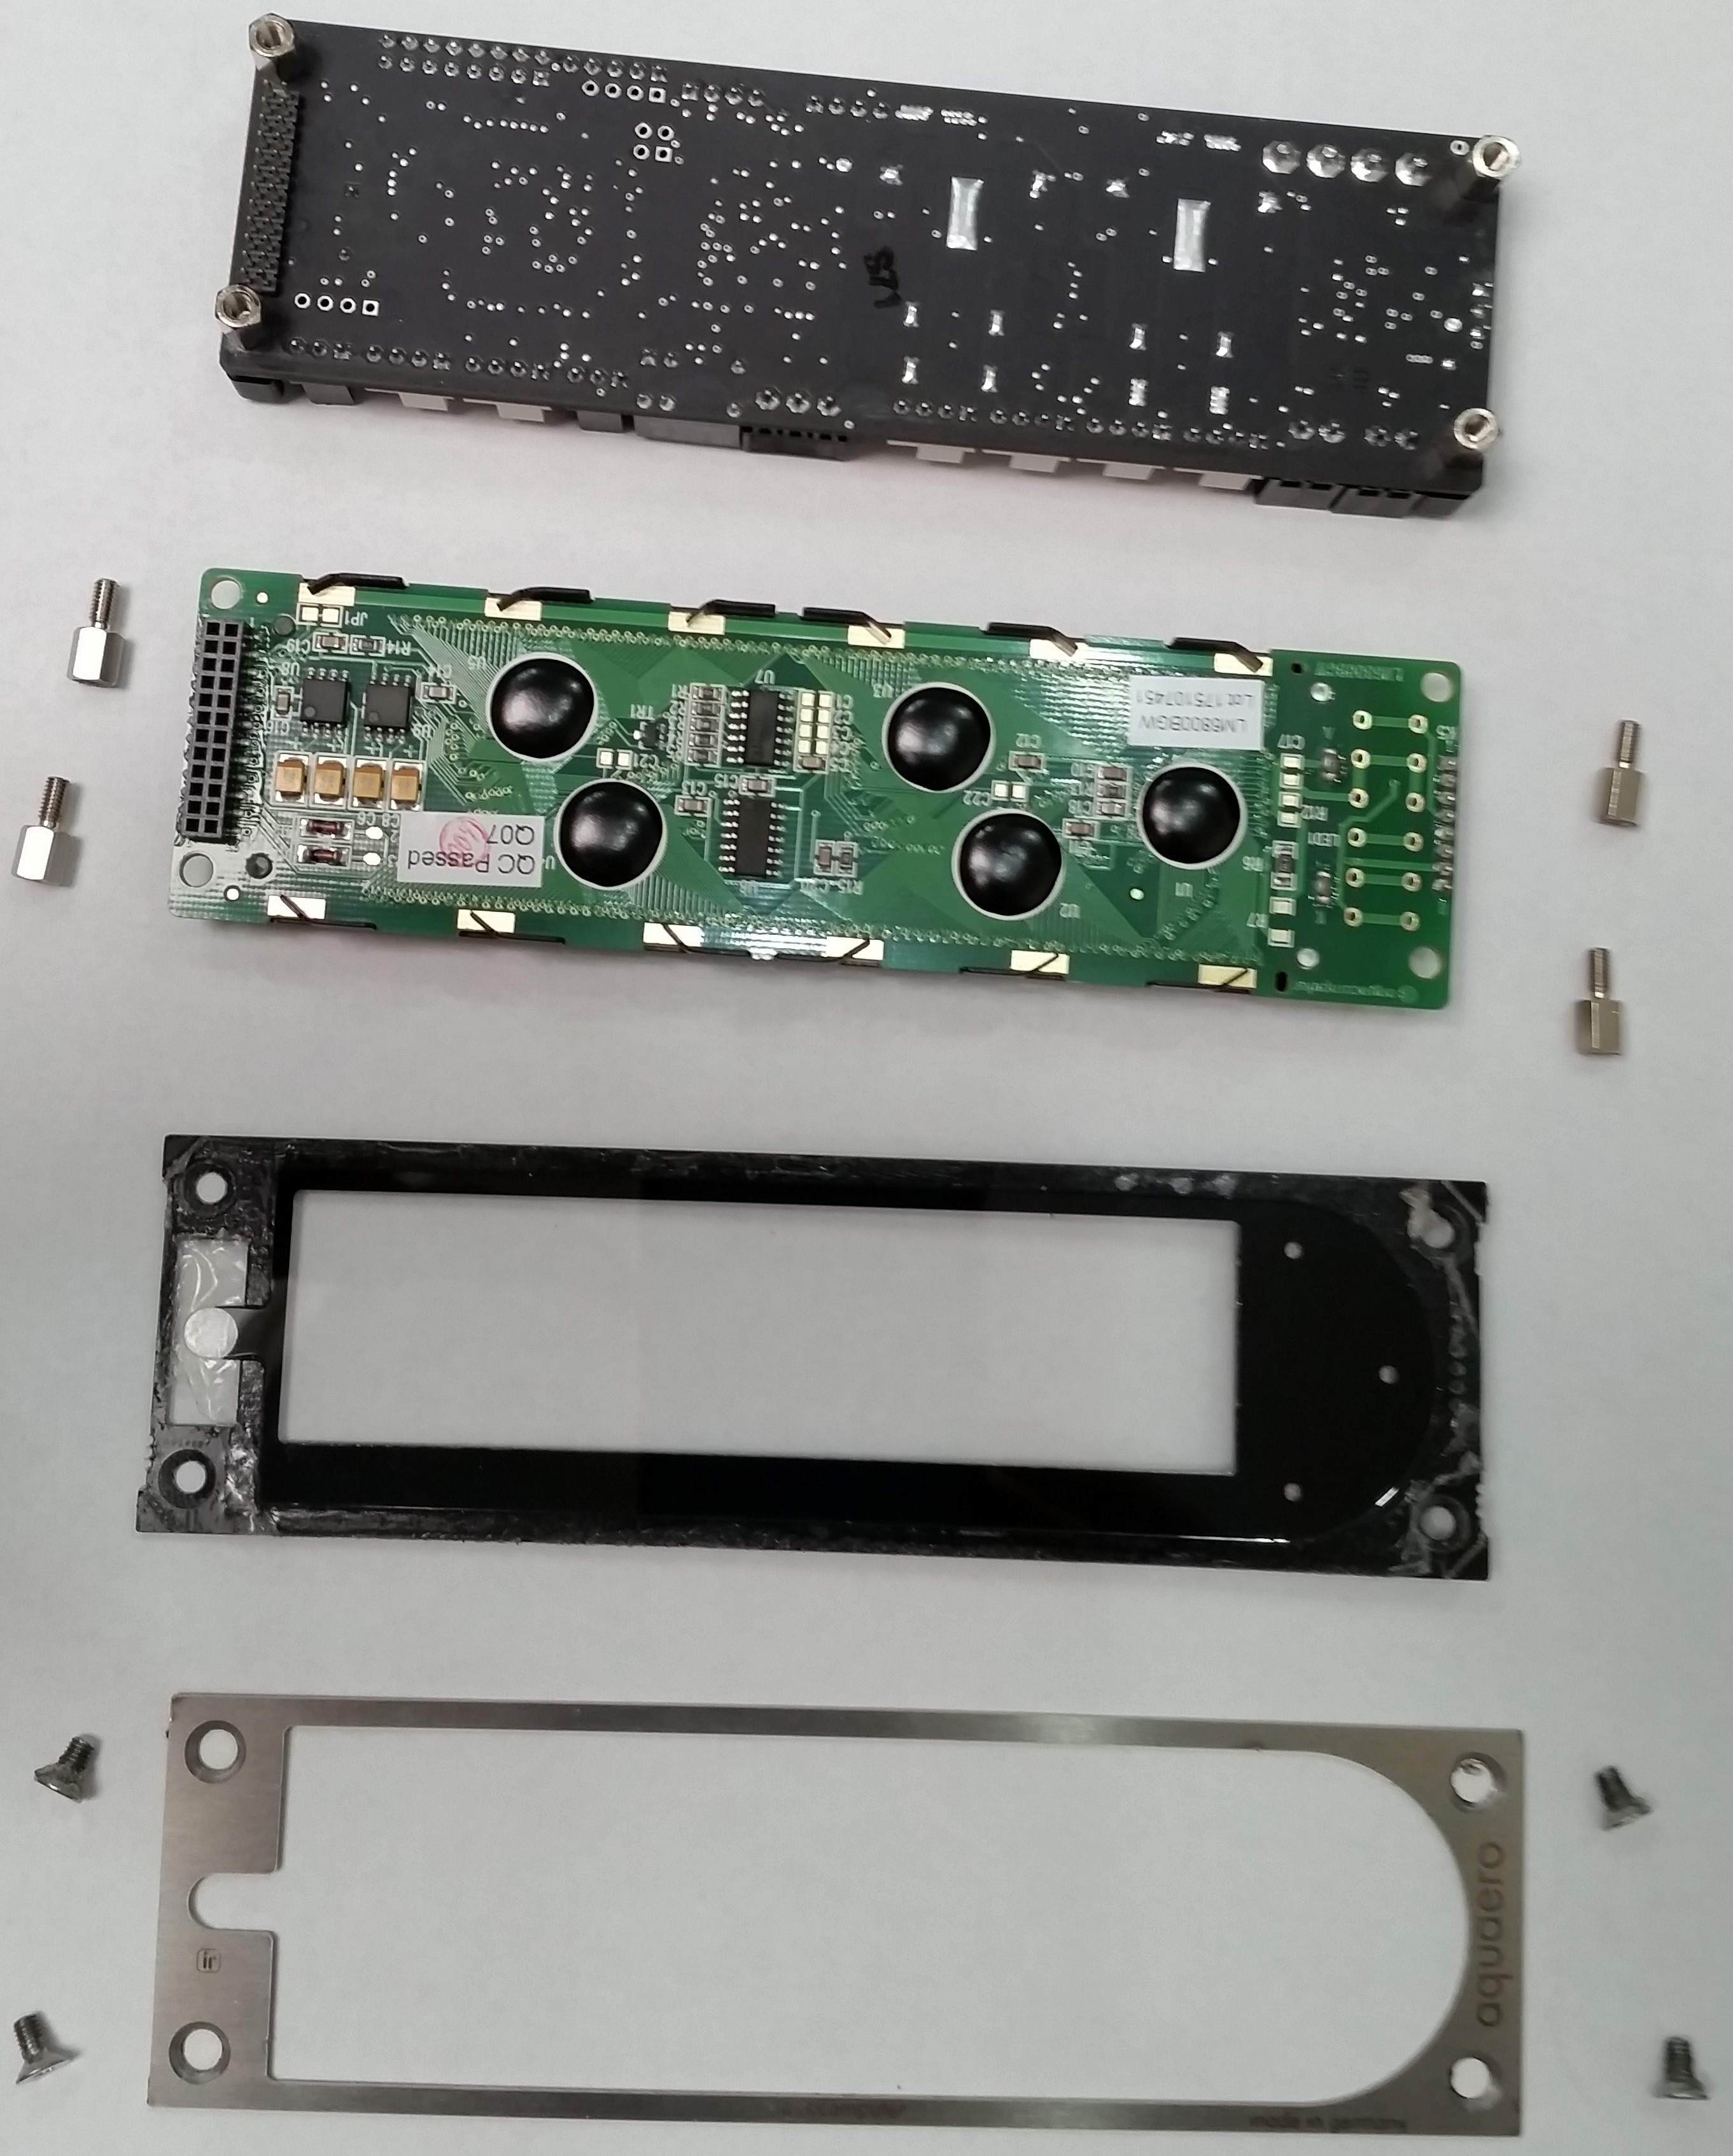
) OCUK were also very responsive and helpful. The two are currently weeding out the problem tubes so stock should be good very soon.
 
Soldato
OP
Joined
4 Jun 2007
Posts
2,620
Location
Watford, UK
Progress...of a sort. I'll stop derailing excellent David's build log with my whinging. Love the monoblock now David.

I've drilled out the rivets holding the PSU shroud in place. Remembered how much I hate drilling rivets once the first one started to spin. Don't think my drill bit is blunt (as has been suggested) as it's a brand new set of DeWalt Xtreme2 super-fancy ones. I think maybe the holes were slightly too big for the rivets. The holes left are all 3.5mm ....which rules out tapping a 6/32 thread into them and using the spare case screws to keep everything uniform. :mad: Looks like M4x0.7 for these then and the shortest I can find are 4mm long...which is a little overkill for two 0.7mm sheets. I've ordered some screws so next is to find out whether the metal is deep enough to take a thread :eek:

Achieved to date? I've wrecked my new case. Ah, the highs and lows of modding! Hopefully should start to improve from here!
 
Soldato
OP
Joined
4 Jun 2007
Posts
2,620
Location
Watford, UK
There's a fair amount of updates for you but I'm going to start by going off-topic (don't we always?!). Spent Sunday finishing putting together a PC for a friend. The reason I'm posting it is because this is the result of asking OJ46 to measure clearances in the case to mount the Aquaero LT. I'd have liked the spaghetti side to be a lot cleaner but the fact that the old 1TB disk and the 120GB SSD were required to be kept (in addition to the 4TB disk and 2x512GB RAID0 M.2 SSDs) coupled with the fact that the wiring is ridiculously thick on a vintage 1000W semi-modular PSU meant that by half two in the morning, I was just grateful we could persuade the panel to close!

Please excuse the bad quality of the pics. Cameraphone and half two in the morning don't combine to make award winning photography!


Still, it looks good from the side you can see :D

Spec:
  • Gigabyte GA-Z170 Gaming 7 EU with obstreperous dual bios
  • Intel 6700K
  • Geil G.Skill RAM DDR4-3600
  • 980 Ti
  • 2x Samsung 950 Pro 512GB in RAID0 (with VGA heatsinks attached)
  • DDC 18W pump (from old PC)
  • AquaComputer AquaCover pump top (the QDC is for a drain hose)
  • EK DDC Heatsink (modified screws due to slimline pump top)
  • AquaComputer High Flow flow sensor
  • AquaComputer Aqualis XT 100ml res
  • EK Supremacy HF (from old PC but with worrying signs of acrylic melting :eek:)
  • EK XE 360 front rad
  • Alphacool 240 UT60 X-flow top rad
  • Corsair SP120 fans
  • EK fittings
  • Koolance 30° bends
  • Tygon E3603 13/10 hose
  • Aquaero 5LT and PowerAdjust3
  • Zalman ZM1000-HP PSU
  • Corsair Force 120GB SSD (from old PC)
  • Samsung Spinpoint 1TB (from old PC)
  • WD Caviar Black 4TB
 
Associate
Joined
26 Dec 2013
Posts
580
Location
404 Not Found
Looking good.

I have a 360 rad in the front of my define S as well, and was thinking about adding an extra 240 or 360 rad in the top, that way I'll never have to have my fans go over 800 rpm.

How do you find it for noise with the top 2 vents open?
 
Soldato
OP
Joined
4 Jun 2007
Posts
2,620
Location
Watford, UK
The fans are all Aquaero controlled so although they're capable of about 2300 rpm, they're only running at about 800-1000 rpm unless they need to be - so pretty quiet. Temps are good even under gaming.

We found that with the XE360 mounted case, fans, rad, there wasn't enough space to get a 360 in the top unless it was going to be less than 30mm - and even then it was going to be tight. The tests I looked at suggested that a thick 240 performed better than a thin 360 so that's what we went for. The x-flow was for neater tube routing but it was still difficult to get a connection from top rad to front rad. Had to use a 90° bend from the bottom port and then a 30° bend.
 
Soldato
OP
Joined
4 Jun 2007
Posts
2,620
Location
Watford, UK
Next up. The anatomy of an Aquaero 6.

I've been stripping the Aquaero in order to look at mounting it in the Enthoo Evolv ATX's PSU shroud. The front bezel is screwed on with M3x0.5 screws - same as a DVD or SSD but countersunk. You then have to prise it off a bed of glue. The fit of the raised glass through the bezel is exact and a slight scorch on the edge of the bezel suggests that Aquacomputer had the luxury of laser cutting it....something I'm not going to have.


The touch screen has an 8-pin header using 2mm pitch pins. Note that this is smaller than the 2.54mm pitch of an internal USB header or fan pins.

Next some stand-offs with a 5mm hex head and M3 thread.

Then there is a 24-pin (two rows of 12) connector from the back display to the main unit. Again, this is 2mm pitch.


In case you haven't worked it out already (and why should you), what I want to do is separate the unit into two halves. This way I can have the display and touchscreen mounted in the PSU shroud but have the main body of the unit mounted on stand-offs from the case floor. This will allow me access to plug things in without having the pump in the way. I have found a 24-pin IDC plug (thing parallel IDE cable) that looks ideal. I just have to source some compatible ribbon cable and find out whether I can make the other end male by using a set of pin headers as effectively a gender changer.
I don't suppose anybody knows of a convenient source of ready-made cable that would fit this purpose do they? Just thinking of cost-saving really....that and laziness! The pitch of the pins is closer than IDE or floppy, I checked already.
 
Soldato
OP
Joined
4 Jun 2007
Posts
2,620
Location
Watford, UK
Guess what just got delivered! :D


Also got the 4x230mm fan adapter, the case mounts, a grill (which may or may not fit depending on the thickness of the fans) and some feet....just on the off-chance the case wants to tip once I load 8Kg of rad onto one side of it!

I'm working the rest of the week and then away for a stag do at the weekend so I'm not going to be able to do much until next week :mad:
 
Associate
Joined
26 Dec 2013
Posts
580
Location
404 Not Found
The fans are all Aquaero controlled so although they're capable of about 2300 rpm, they're only running at about 800-1000 rpm unless they need to be - so pretty quiet. Temps are good even under gaming.

We found that with the XE360 mounted case, fans, rad, there wasn't enough space to get a 360 in the top unless it was going to be less than 30mm - and even then it was going to be tight. The tests I looked at suggested that a thick 240 performed better than a thin 360 so that's what we went for. The x-flow was for neater tube routing but it was still difficult to get a connection from top rad to front rad. Had to use a 90° bend from the bottom port and then a 30° bend.

Thanks for the info. That's given me some ideas for my next build :D
 
Back
Top Bottom