

You are using an out of date browser. It may not display this or other websites correctly.
You should upgrade or use an alternative browser.
You should upgrade or use an alternative browser.
Project: Watery
- Thread starter AJ_
- Start date
More options
Thread starter's postsOne finished resevior.
Took far too long, and the glue I used had a lovely lable saying 'limited evidence of carcnogenic effects' which is really reasuring....
Built using 8mm acrylic that was laser cut. The inside is 20mm across, and the entire thing holds < 1.5L .
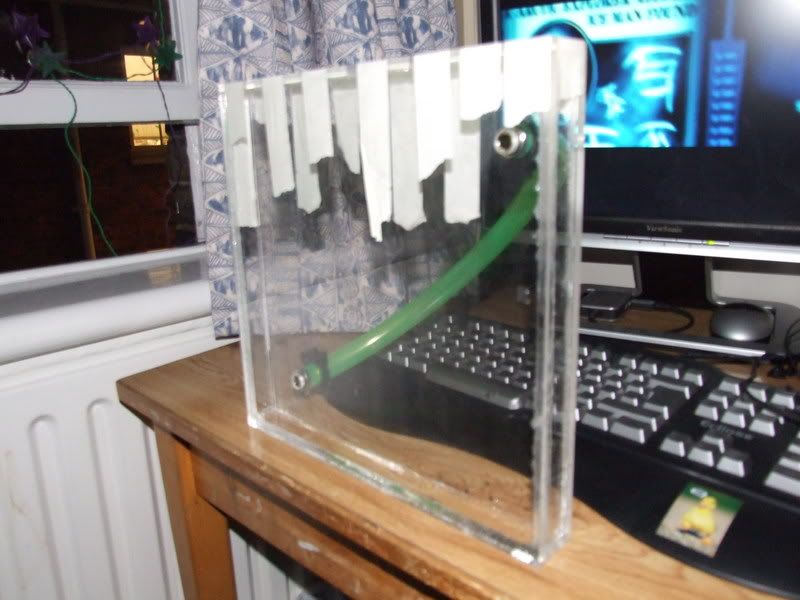
Here it it full up with Acid Green Feser One and using Feser Hose.
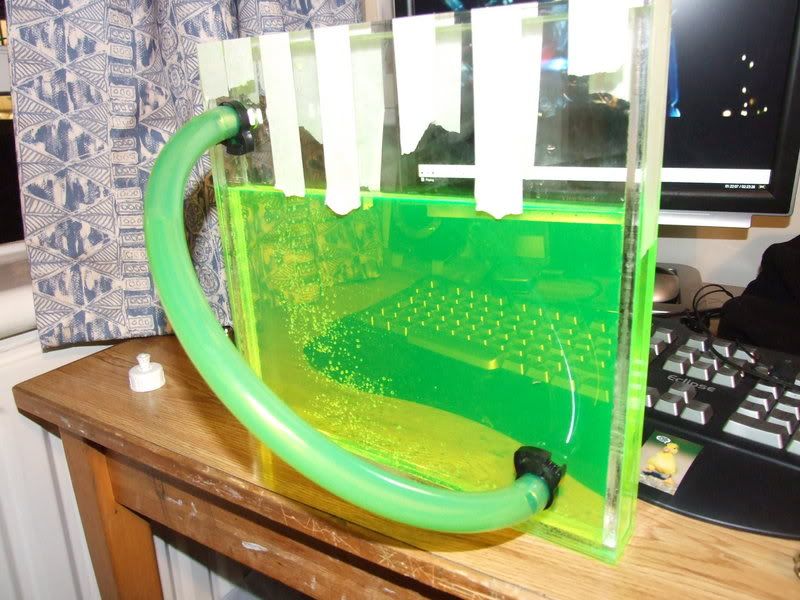
(during the filling of the res using one of the G1/4" holes as the top, and doing it with the top screwed off and not using a funnel, I managed to spill some over my phone and keyboard. Both still work perfectally. :thumb:
Took far too long, and the glue I used had a lovely lable saying 'limited evidence of carcnogenic effects' which is really reasuring....
Built using 8mm acrylic that was laser cut. The inside is 20mm across, and the entire thing holds < 1.5L .
Here it it full up with Acid Green Feser One and using Feser Hose.
(during the filling of the res using one of the G1/4" holes as the top, and doing it with the top screwed off and not using a funnel, I managed to spill some over my phone and keyboard. Both still work perfectally. :thumb:
this is going to look amazing when it's done! best of luck!
Is that a VX910 in the background and are you watching Transformers? Lol.
Good work btw!
Close
VX922 and Transformers. 100% Legal of course


Soldato
- Joined
- 4 Nov 2004
- Posts
- 3,040
- Location
- Norn' Iron'
were are the fan grills from?
there dont seemt to be many fancy ones on the likes of the well known auction site.
there dont seemt to be many fancy ones on the likes of the well known auction site.
Associate
- Joined
- 17 Apr 2006
- Posts
- 2,240
- Location
- Hampshire
were are the fan grills from?
there dont seemt to be many fancy ones on the likes of the well known auction site.
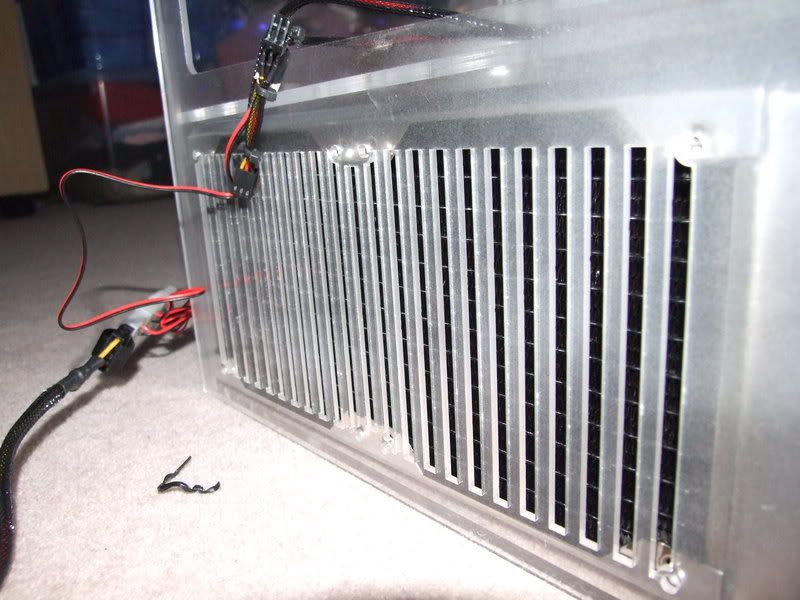
See post #12 in this thread:
It will eventually be sand-blasted but I can't ATM due to my arm. Its made of 3mm Acrylic and measures 290mm x 290mm x 3mm and was cut on a Laser-Cutter.
Well, it’s been quite a while since I’ve updated this project, but GCSE’s, work and sport have really gotten in the way of this project, which has actually been really fun to design and manufacture. My GCSE’s are primarily in May, and it looks like I have about 20 free days while I have access to the laser cutter during June, when I’m planning to do most of the work.
So, moving onto the project, I have decided for the n’th time to change back to an mATX layout, still using the two layers. Now, though, there will be the second radiator on the top level, although I am still undecided about whether to use single or dual loops for the cooling. I will be using an external DVD drive to both save space in the bottom layer and because I can then have the PC on a separate desk with the DVD drive over by my screen. Moving onto the reservoir, I was never really 100% happy with overall outcome, so I’ll be redoing that too, this time using separate layers of 10mm and 3mm acrylic, instead of using panels to construct it. The 3mm will be coloured and etched. As for hardware, most probably Intel, and I’m quite taken by the Asus P5E-VM G35i motherboard, as it has the features of an ATX board, but with mATX sizing. However, by the time I’m ready to install it, there should be G43i and G45i motherboards available, which should be good.
Anywho, thats where things are for the time being...
As always, thanks to my sponsors, who have helped me greatly throughout this project so far:
HWLabs Feser 1


Associate
- Joined
- 25 Mar 2008
- Posts
- 133
yummmmmy looking awesome, wish i was good with diy!!!!!
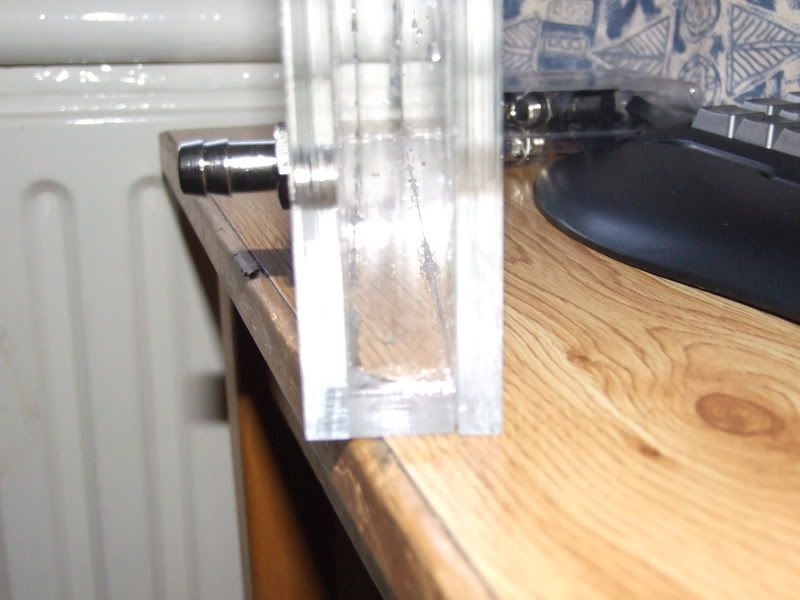
oooooh whats that bit for ?
So I can fill up the res to test its water-tightness!
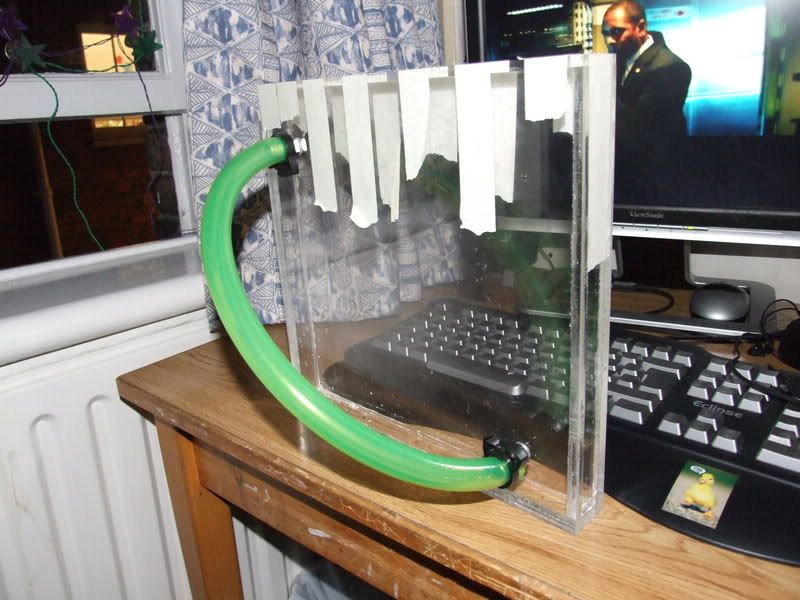
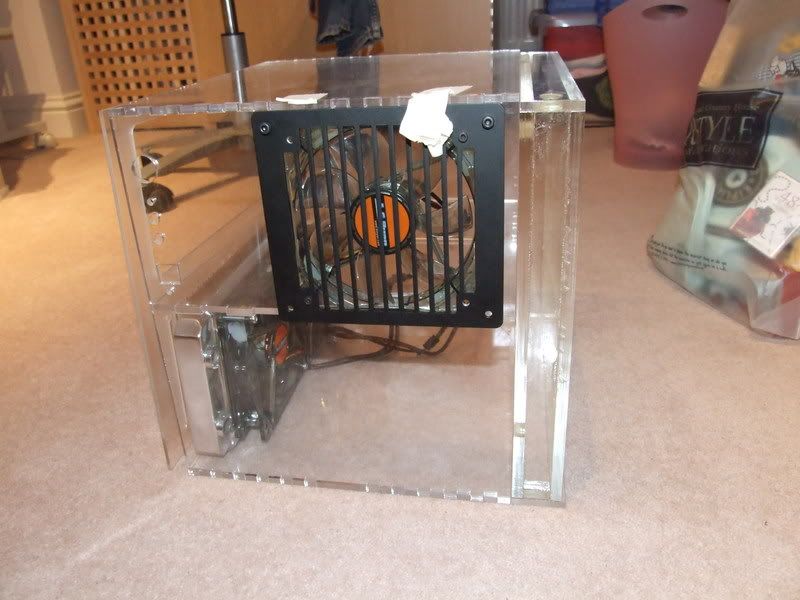
I finished of the mock-up res today..:

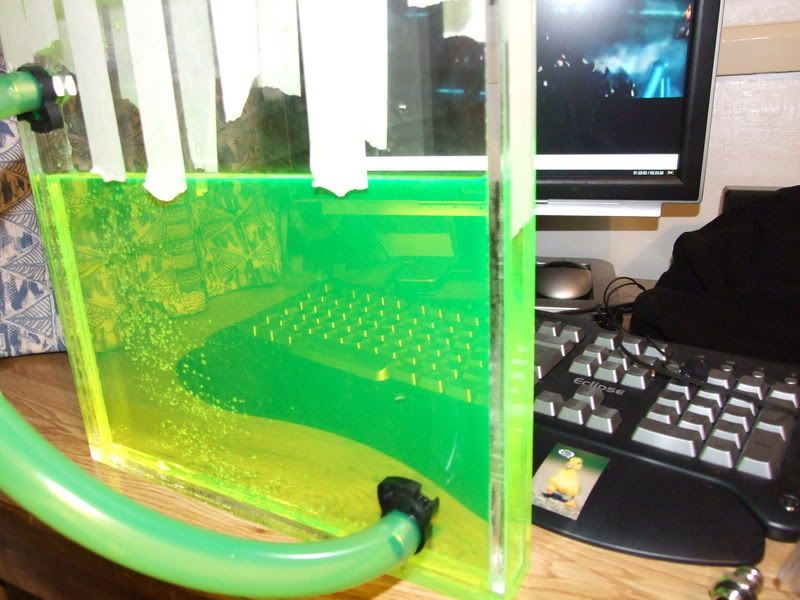
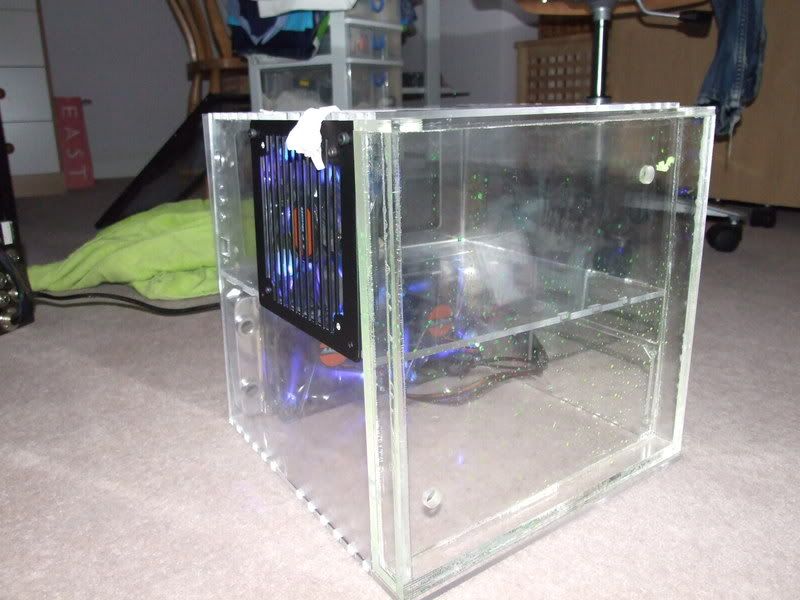
Then filled 'er up with some Acid Green!


(the liquid around the base is from my attempt to pour") SIZE]
SIZE]
Conclusion: On the real one, I'll need 3 or 4 bolts per side to apply the pressure evenly across the total res. A small amount of Acrylic cement to the outside prevents any seepage between the layers.
I also found I needed to give the acrylic a really good run over with some Meths to get it really clean so no water could get out.
So, now all I need a PSU to sleeve for the next week or so
Then filled 'er up with some Acid Green!
(the liquid around the base is from my attempt to pour
SIZE]Conclusion: On the real one, I'll need 3 or 4 bolts per side to apply the pressure evenly across the total res. A small amount of Acrylic cement to the outside prevents any seepage between the layers.
I also found I needed to give the acrylic a really good run over with some Meths to get it really clean so no water could get out.
So, now all I need a PSU to sleeve for the next week or so
Associate
- Joined
- 11 Mar 2008
- Posts
- 882
- Location
- Earth:\UK\Chelmsford
Thumbs up! Not only a fantastic build; significant time spent on constructing a mock-up res checking its water tightness.
Hats of to you. The devil is in the detail!")
Hats of to you. The devil is in the detail!
Soldato
- Joined
- 16 Jun 2007
- Posts
- 5,239
- Location
- London
subed. this is brilliant