Hello my lovelies, it's been a while. I have a bit of time off work so I can crack on with the guts of this project. Now that I have tangible progress and photographic evidence of my sheer perfect execution and all the mistakes I never made, I am happy to say it's time for me to walk you through the actual case work

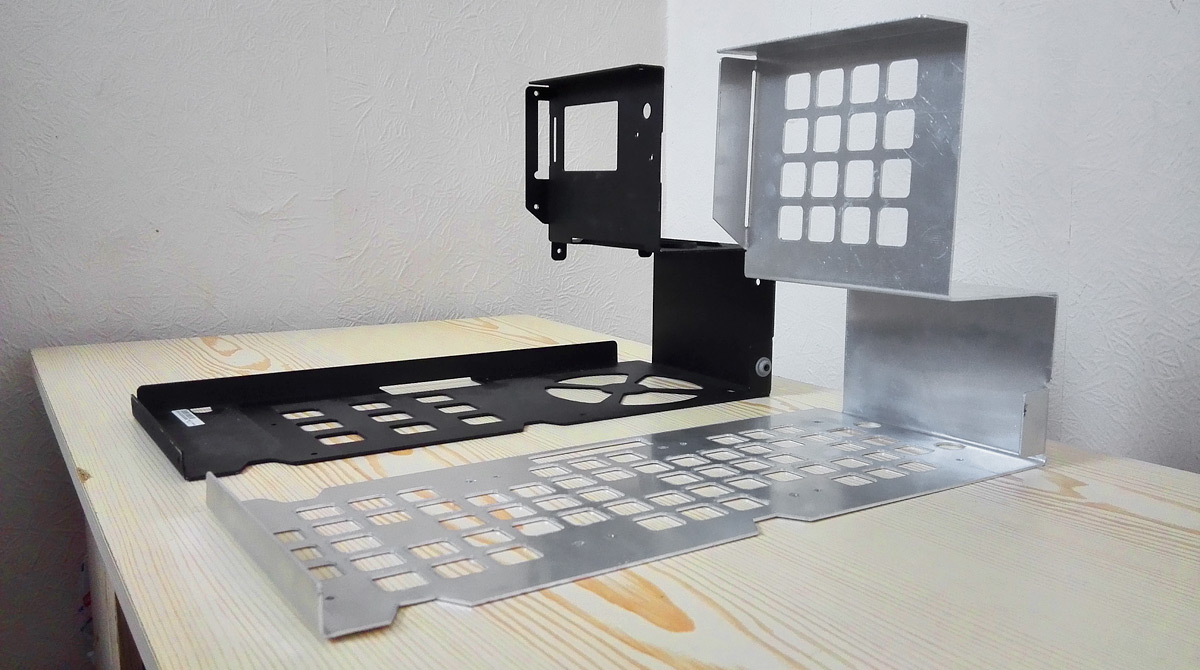
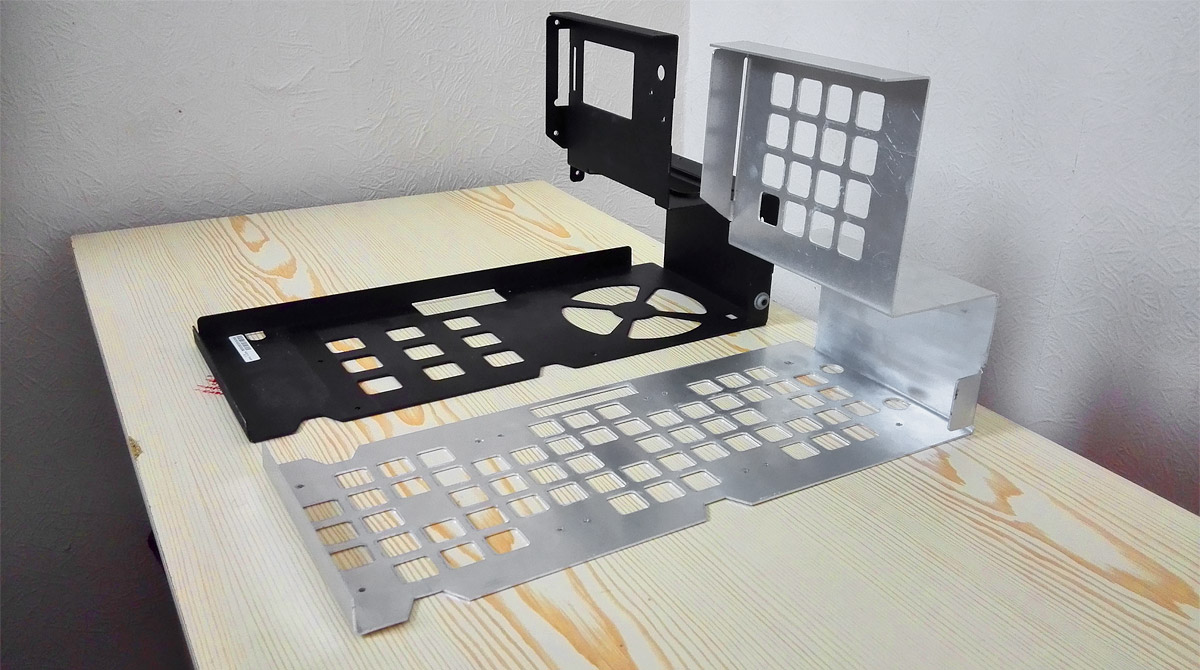
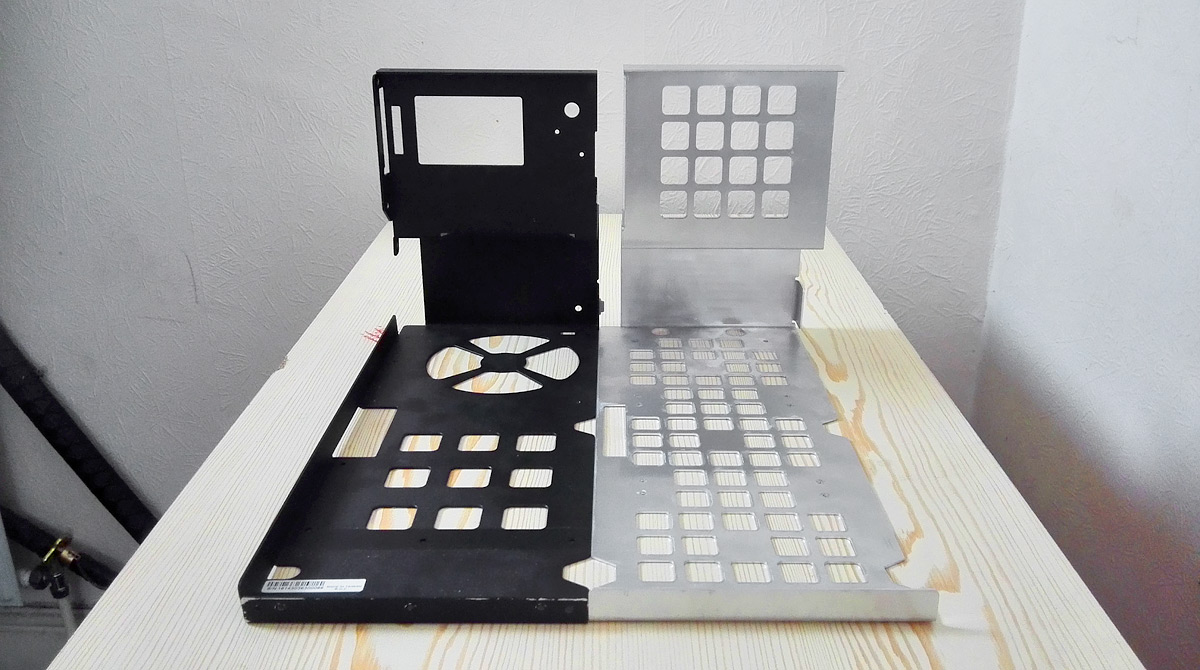
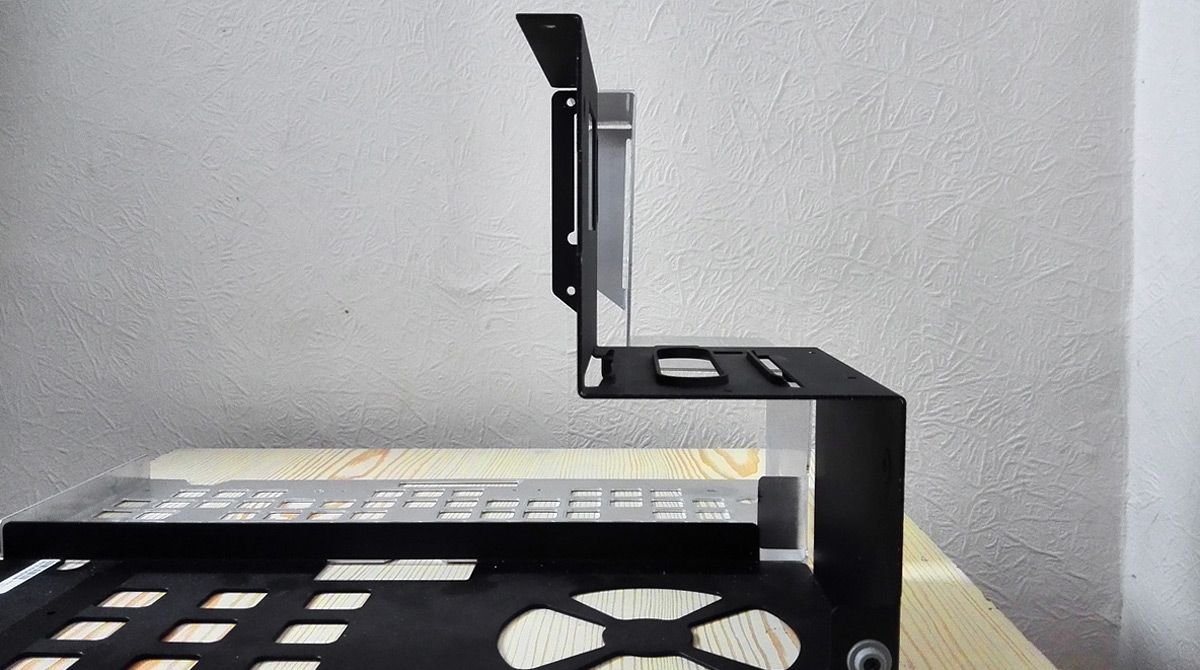
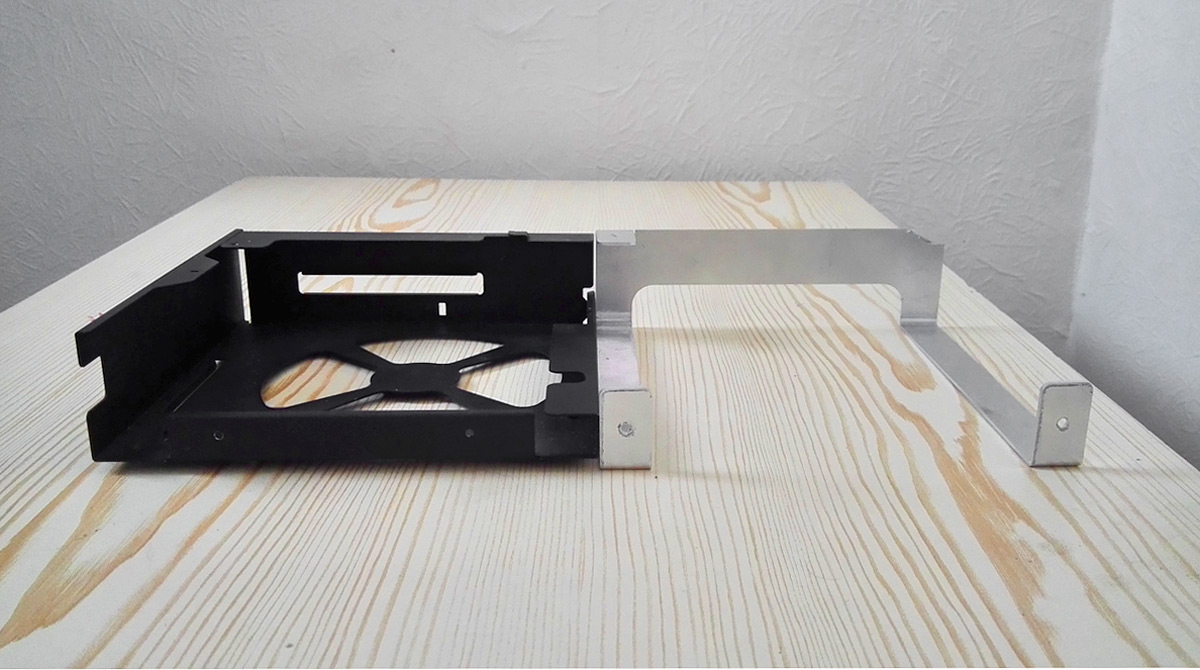
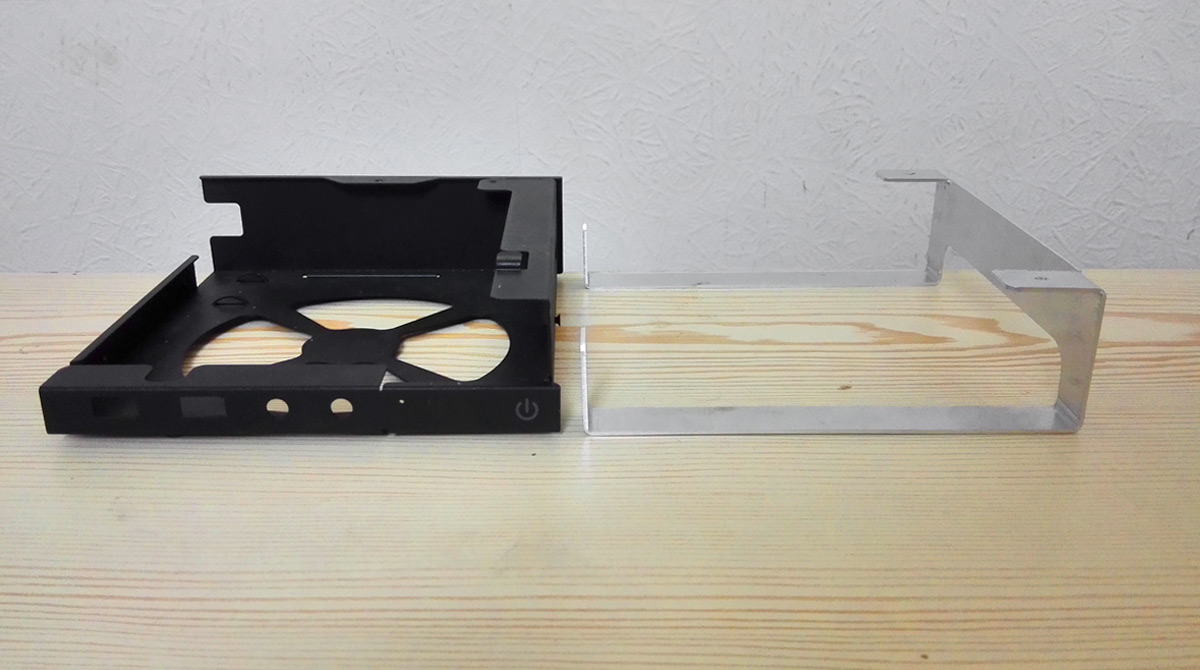
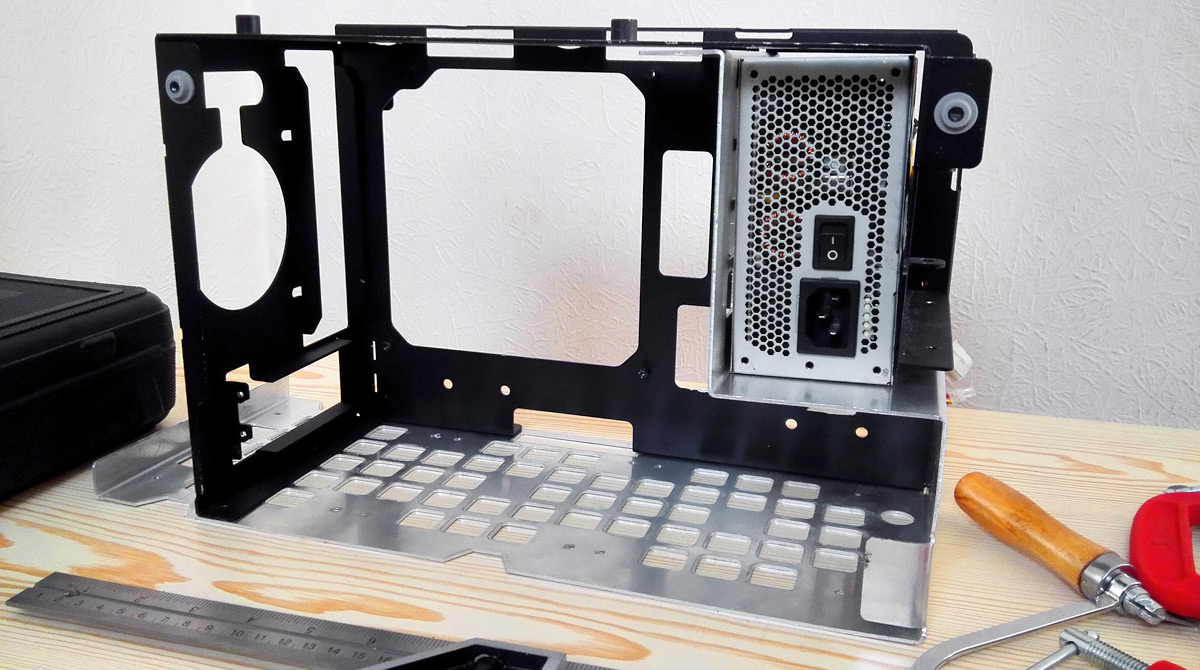
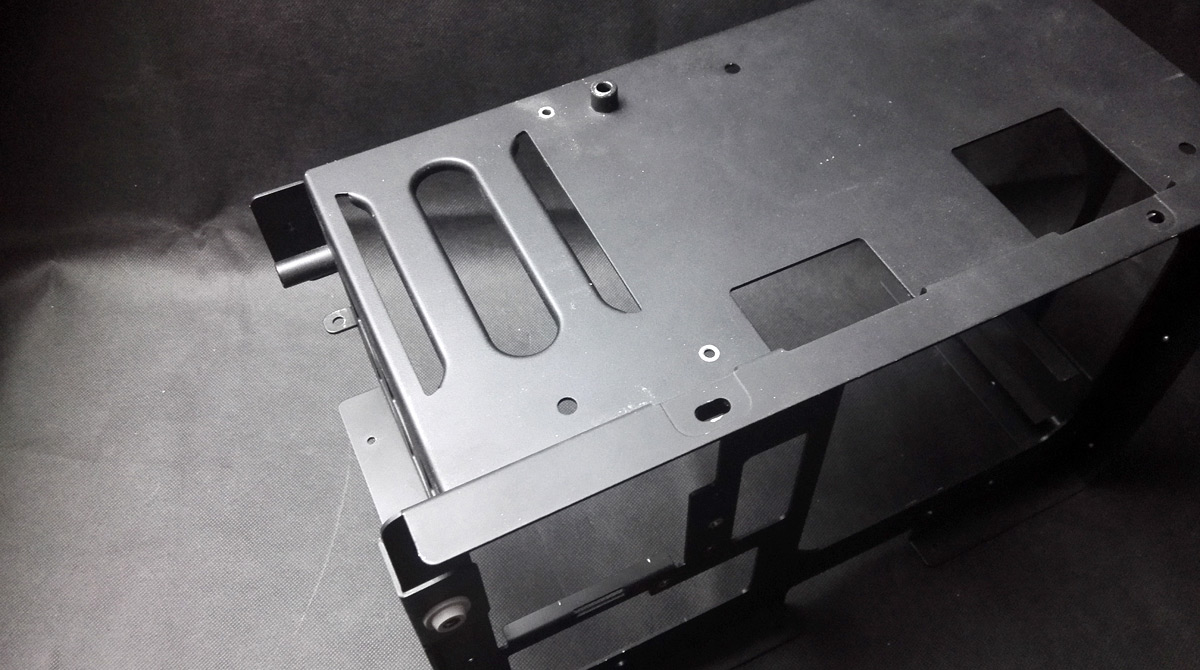
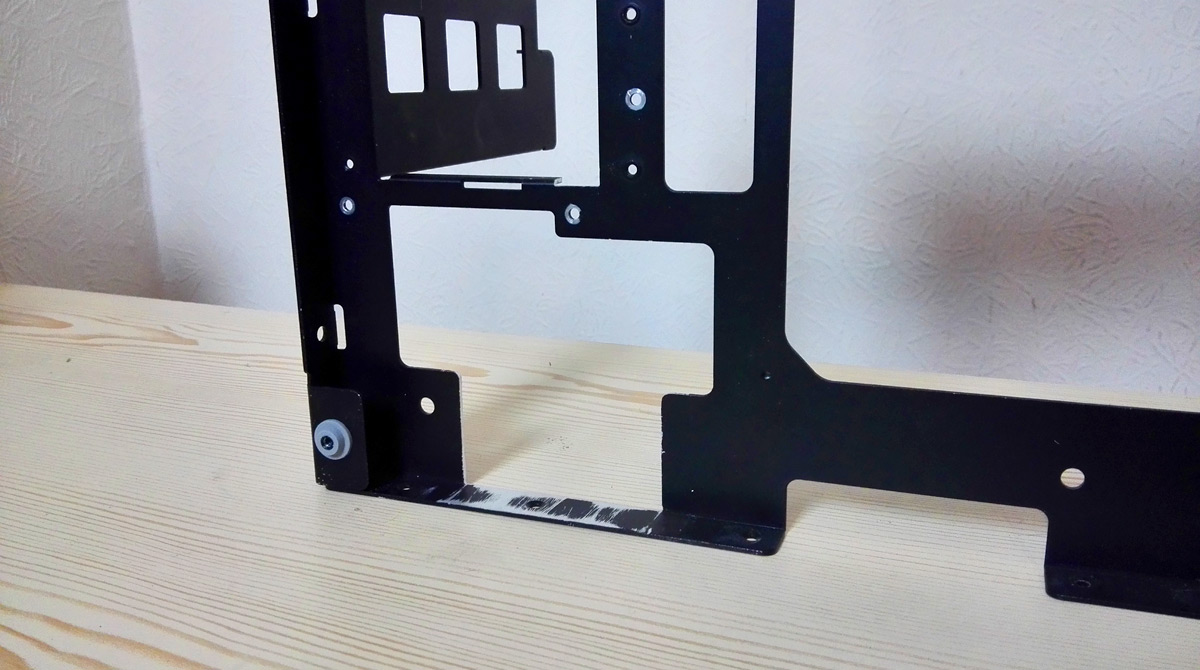
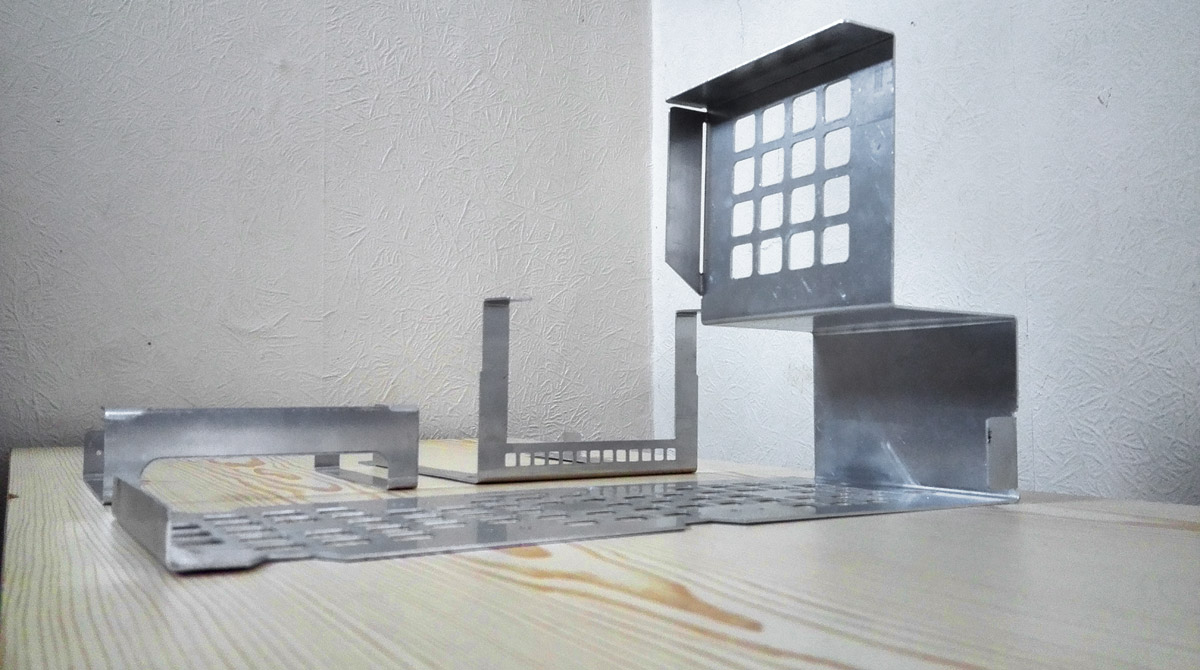
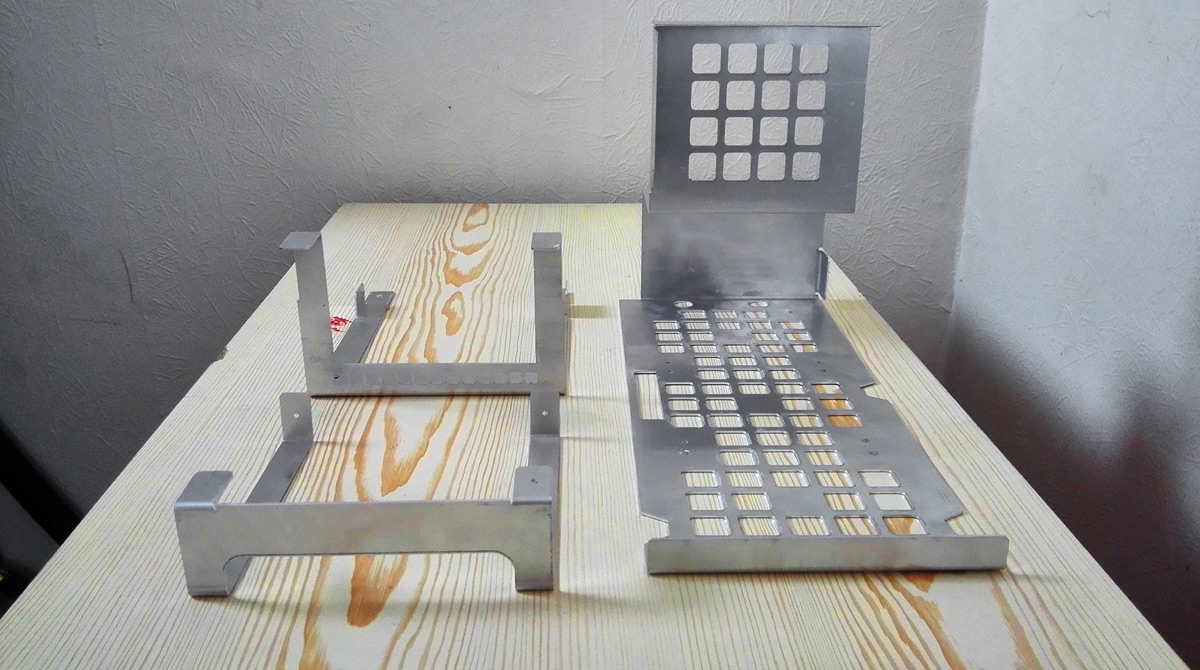
Quick shots of the 3 core structural pieces:
Laser cut 1.5mm aluminium and (eventually) folding into shape.
I've said before that a core design choice for this project was to retain as much of the stock look of the In Win 901 as possible, despite the extensive modifications made to the interior. Part of the way to achieve that is using the same thickness of aluminium and to form the structure through folding larger cut pieces just as in Win do. That's meant replicating fiddly tabs for using existing rivet holes, creating seemingly superfluous bits to accommodate mount points and support for the glass panels. Rough sketches to finished laser cut pieces was about 8 months in the end, with a lot of chopping, changing and procrastinating!
Bit of history
As I said at the very start of this log, Laine's "Clarity" project was an impressive piece of work fitting a full loop into the 901, but I wasn't enamoured with some aspects of how he achieved it, specifically the use of a pair of 120mm radiators in the bottom. Since he chopped up good chunks of the existing case, I couldn't understand why he just didn't punch through the bottom body and slide a 240mm rad in, and avoid the complications of lining them up to be level, tubing runs between the two and whatnot. After delusions of grandeur and a couple months staring at pictures and Photoshop measurements, I had a special offer land in my email for the 901 in silver at a good discount. It was my birthday too so I pulled the trigger to see what I could do with it.
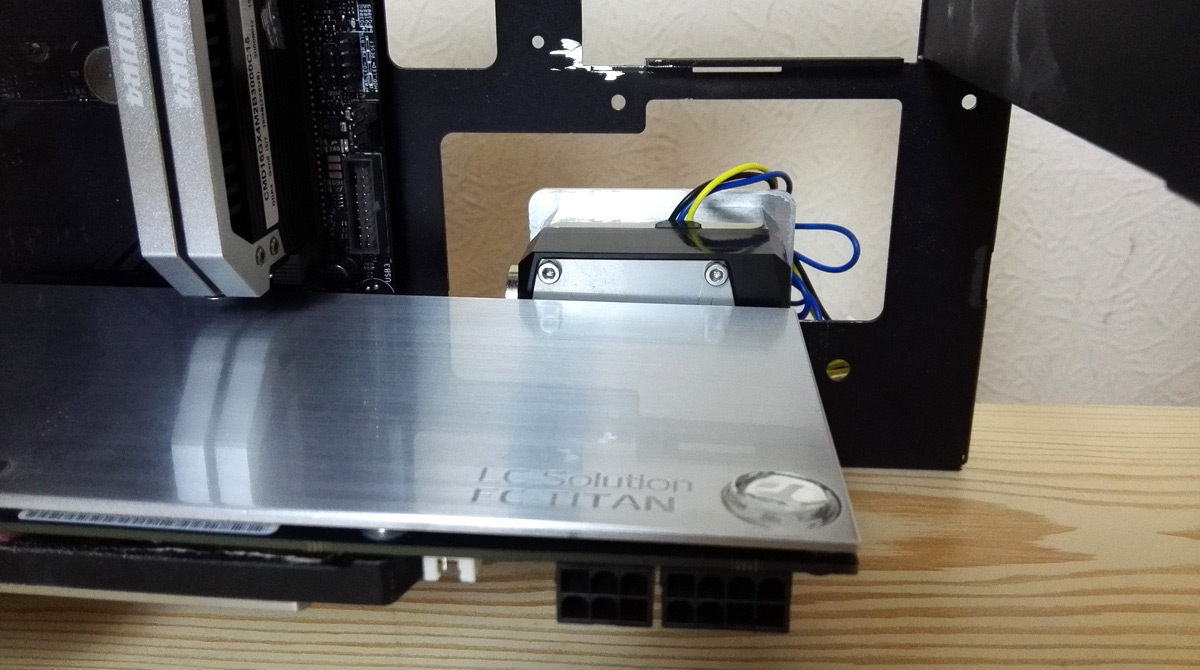
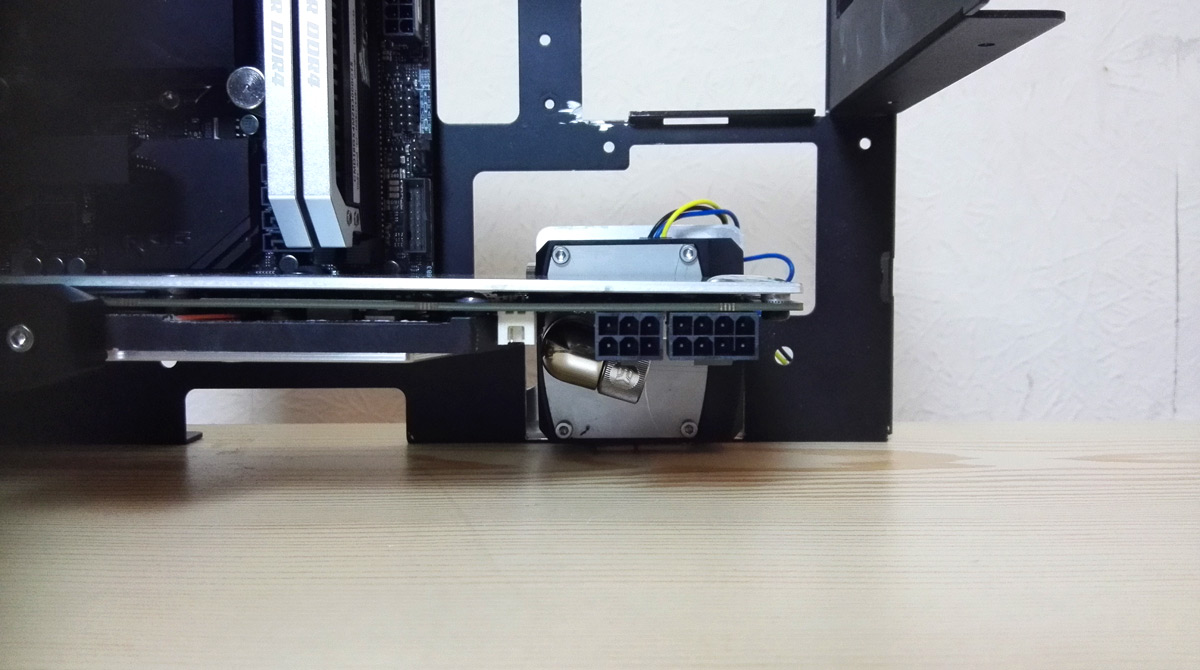
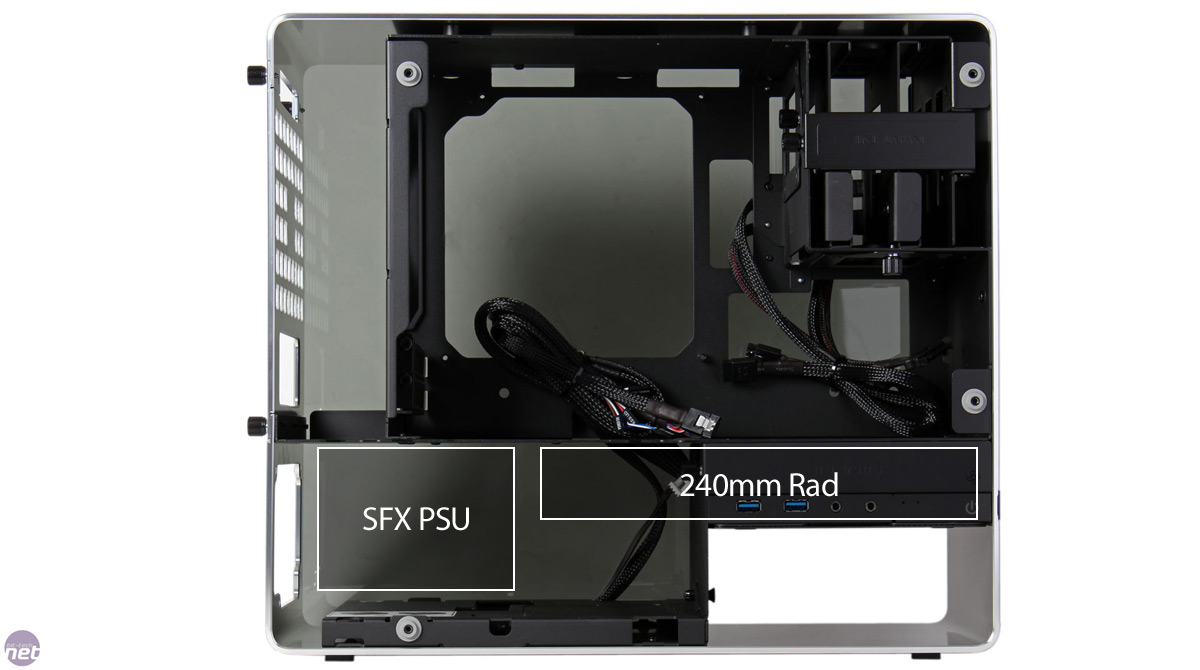
Sure enough, there was plenty of space to fit a 240mm rad in the bottom and switch over to a SFX PSU down there too - having run a GTX Titan in a Sugo SG05 for a few years I really didn't see the point of full ATX PSUs in Mini ITX cases. All that was needed was to make a large cutout area above the optical drive and lose the 120mm fan intake area.
(Credit to
bit-tech for the original photo)
I had a bit of a revelation though which changed the scope of this project; rather than refining what Laine had done I was going to try to take it up another level. Conceptually of course

there's no way I can touch that man's craftsmanship.
Main Body
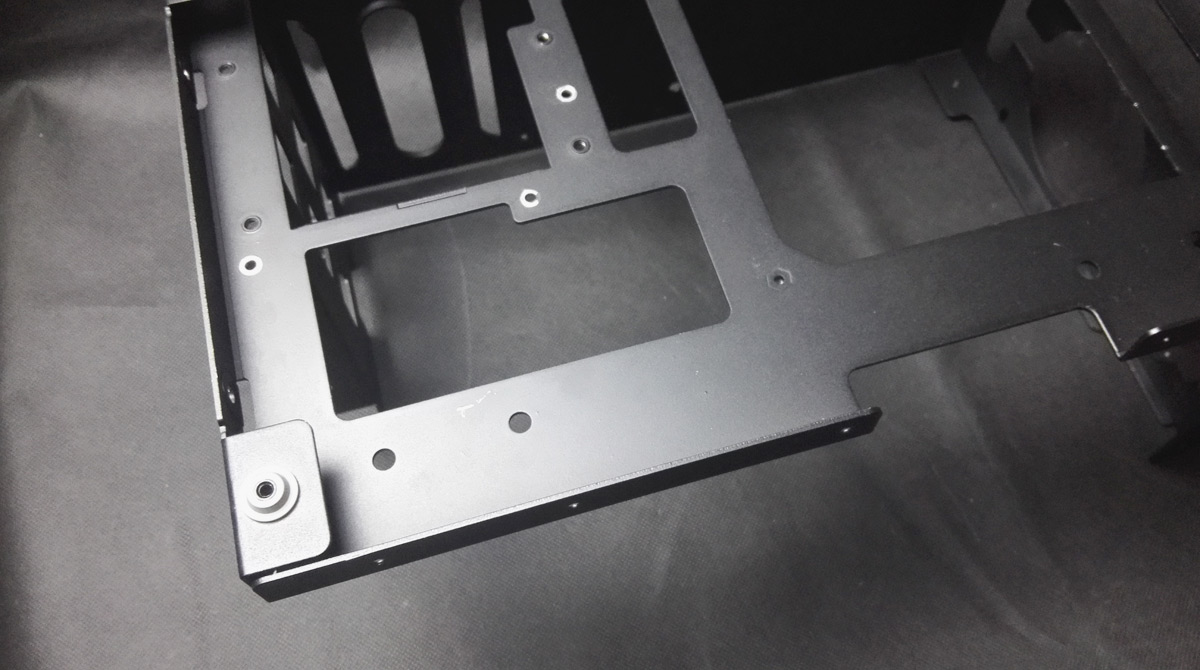
When I realised the existing 901 floor couldn't be re-purposed for decent radiator holes I had the idea of designing an entirely bespoke body. Still wanting to keep the same layout I measured up all the folds for the hard drive area and it struck me that the space In Win had created was pretty close to the size of a SFX PSU. I hadn't used 3.5" drives for a while, and moving the PSU up to the top-right would free up 100mm of space in the lower chamber.
Bam, there it was:
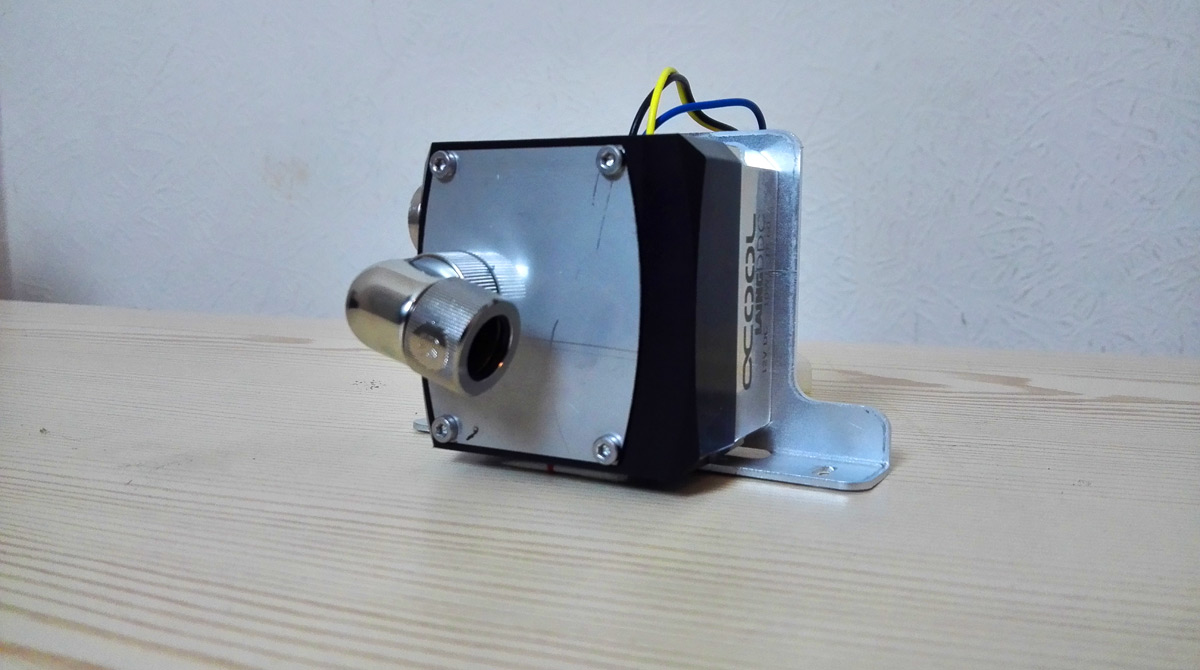
let's raise the stakes and go 360mm radiator at the bottom. Took a while to find a rad that would work, but ultimately went for the Alphacool UT60 360 as it's the perfect width to not foul on the PSU cutout in the outer skin and has a plug on the back I could use as a drain port. Messing around with sealing the front ports with Fernox LSX is a story for another time

but with position confirmed I designed a new body to fit the UT60 and SFX PSU up top.
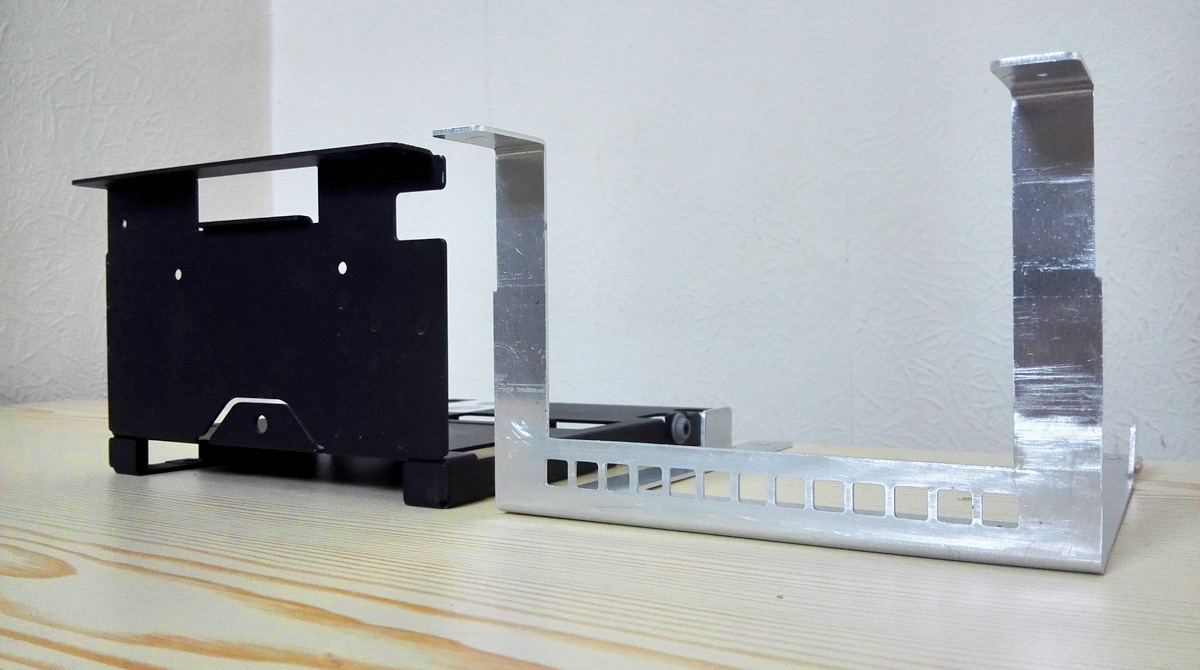
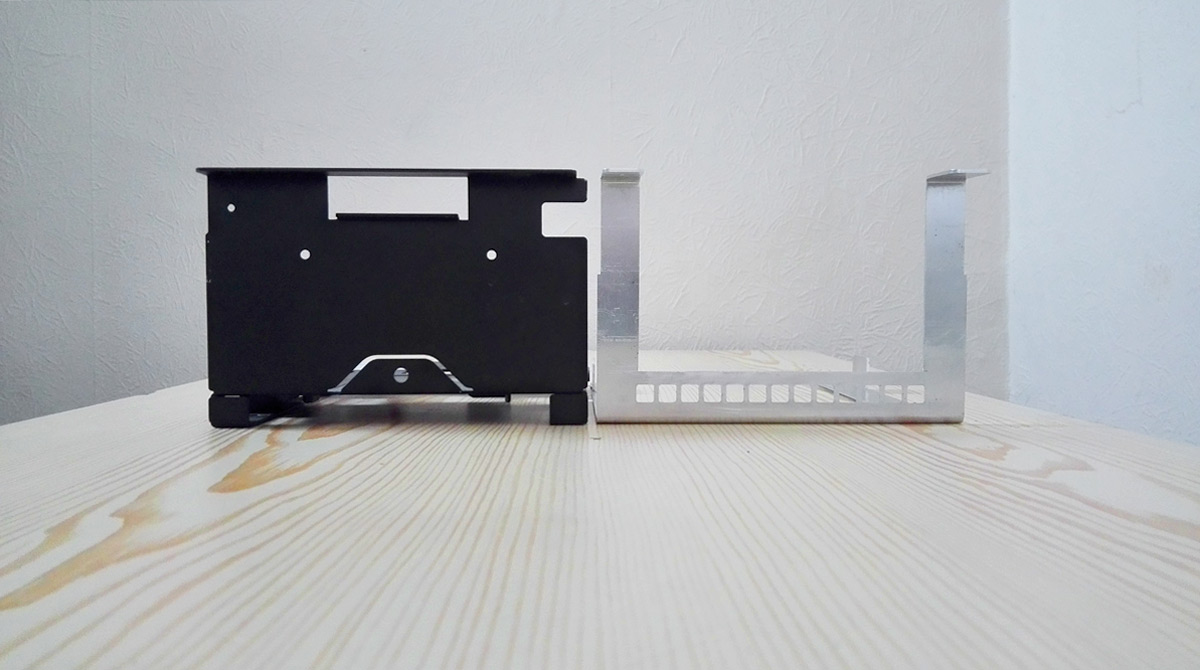
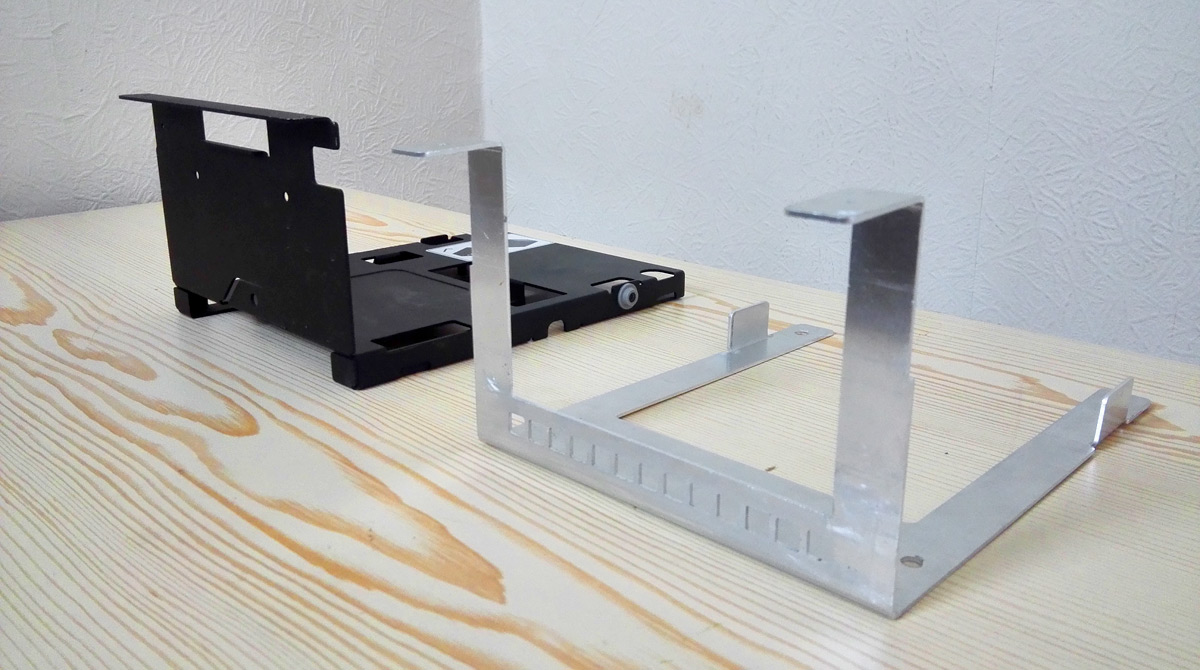
Old vs New
Replicated the tab on the upper section for extra support, and that damn fiddly tab on the bottom-right because the glass side panel has a mount there.
As you can see, there was no way I could re-purpose the existing fan and PSU holes for a radiator, especially as some of the actual screw positions wouldn't have any material above them.
In Win do have a nice square grid design in parts of the case, so I kept that style going for the rad and PSU holes. Also copied the cutouts to get to mounting screws in other parts of the case. Trying to keep things looking stock, remember?
Old HDD vs New PSU
Dropped down and pulled in but not a million miles away from the original.
Lower "L" portion
Might as well design a bespoke piece for the lower compartment too, rather than chopping up the stock case!
Again, square hole pattern for some intakes. To be honest you couldn't chop enough out of the original piece and still look tidy, certainly not with a 60mm thick rad (could that be the reason Laine didn't bother himself?

)
(although there was a time it wasn't going to be square holes

)
The stock case has some wonderful construction going on down here with hiding a slimline optical drive underneath the PSU, all folded from a single piece. I don't need all of that, but it's a shame to dump something so impressive.
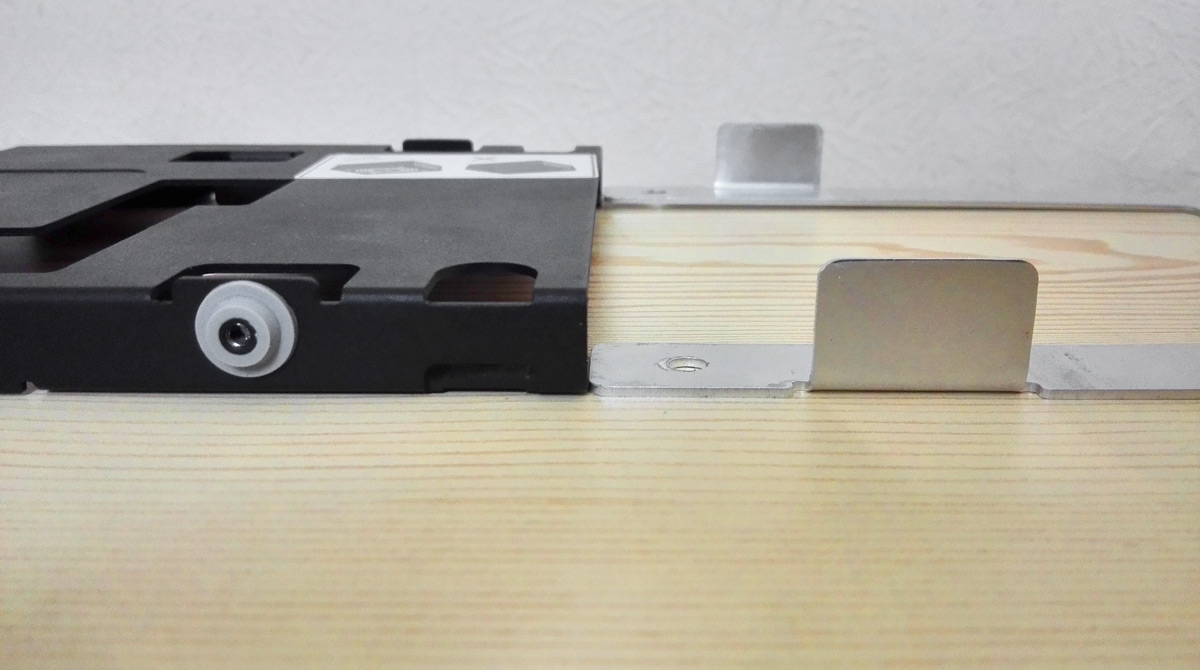
I do need something for the glass side panels to attach to, and lo and behold there's 2 tabs needed.
Fan assembly
Well, I call it a fan assembly purely because that's where the front 120mm intake would go. For me it's just a couple of strips! Crazy comparison time
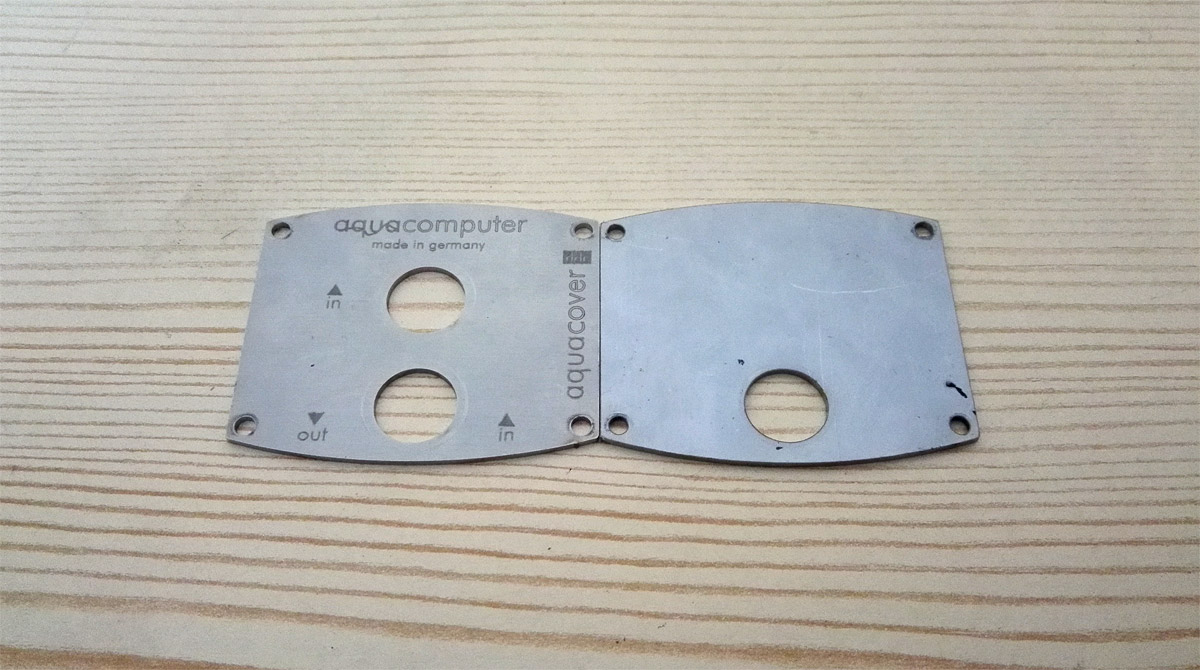
It's a purely functional piece to be fair. Power switch and activity LEDs will be strapped to it, but unfortunately there's not enough space between the edge of the case and the radiator to fit any sockets and cables to keep the I/O, so a pair of blanking plates will get bolted on to cover the space.
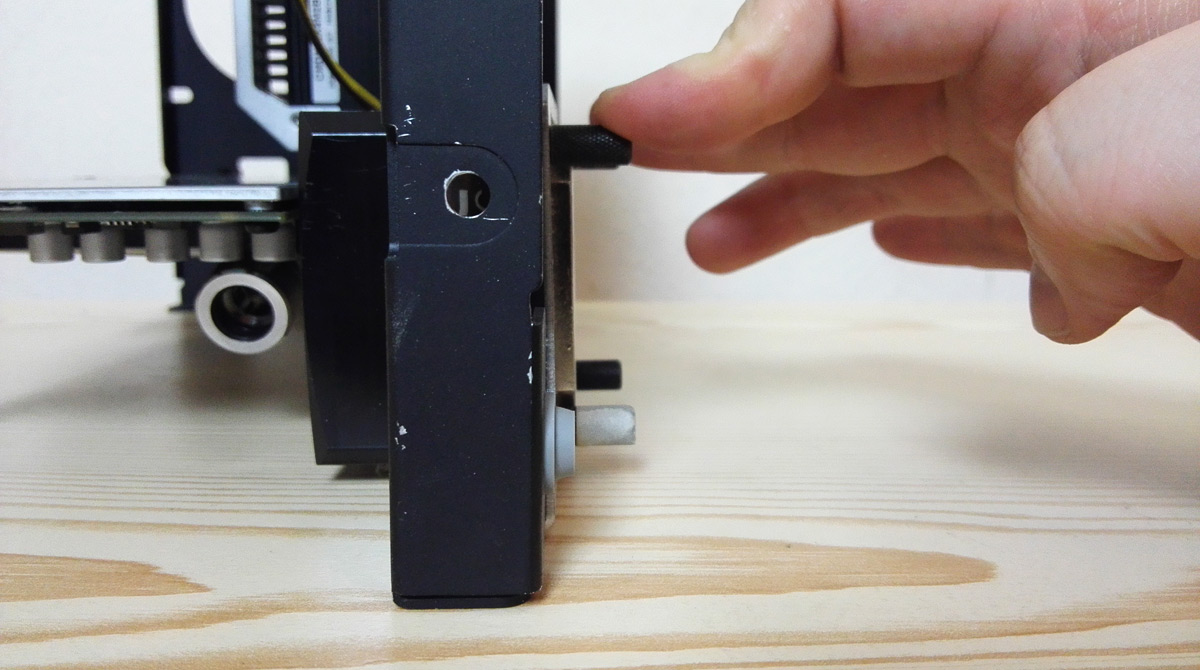
The stock power button is actually a nice tongue of springy aluminium that just rests on a tactile switch. I have a blanking plate variation cut which will hopefully replicate that look.
So there you go, a first proper post talking about the actual case work and design motivations for the project, and hopefully a slightly clearer picture of how the loop is going in.
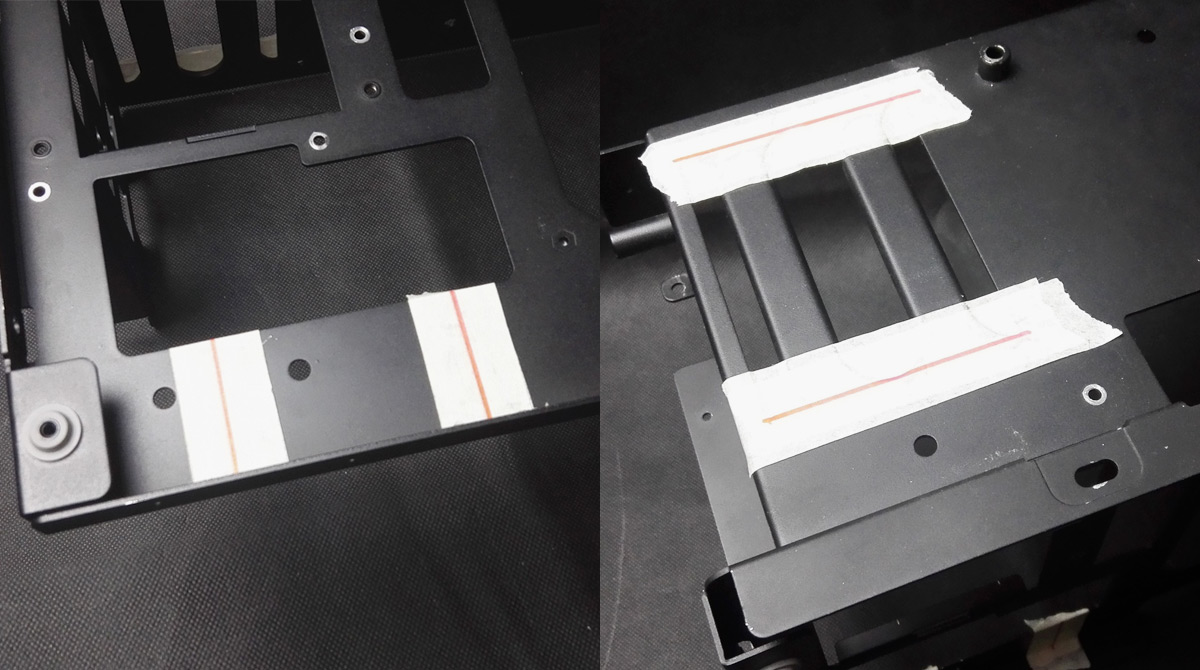
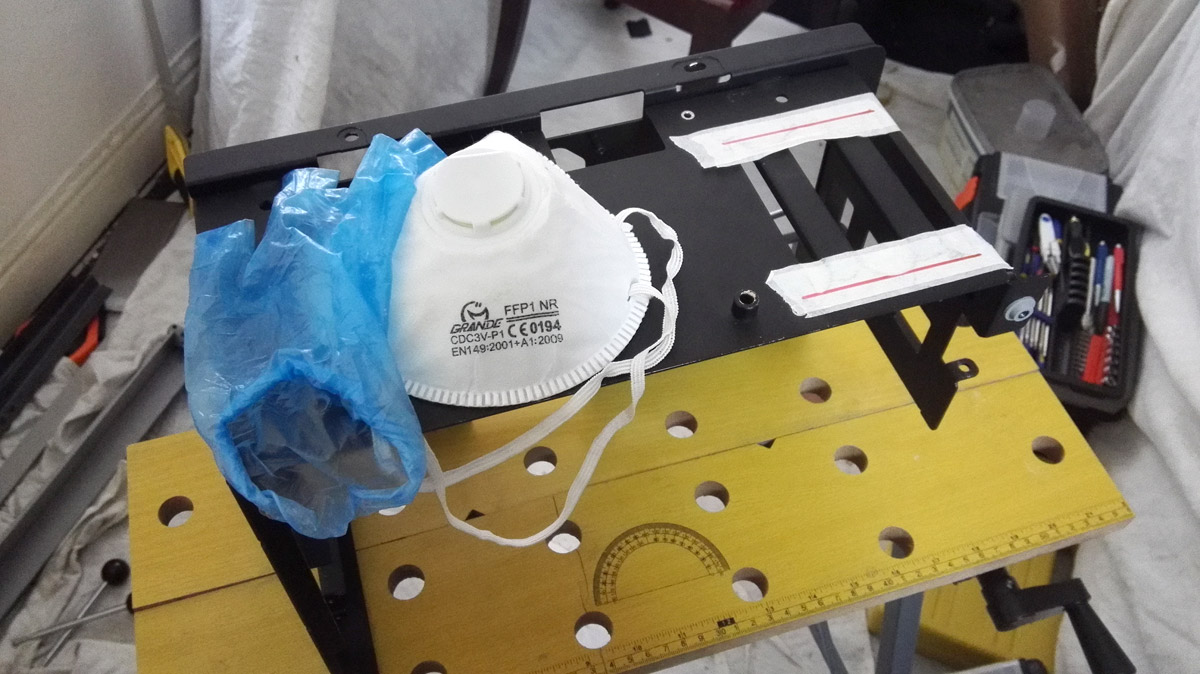
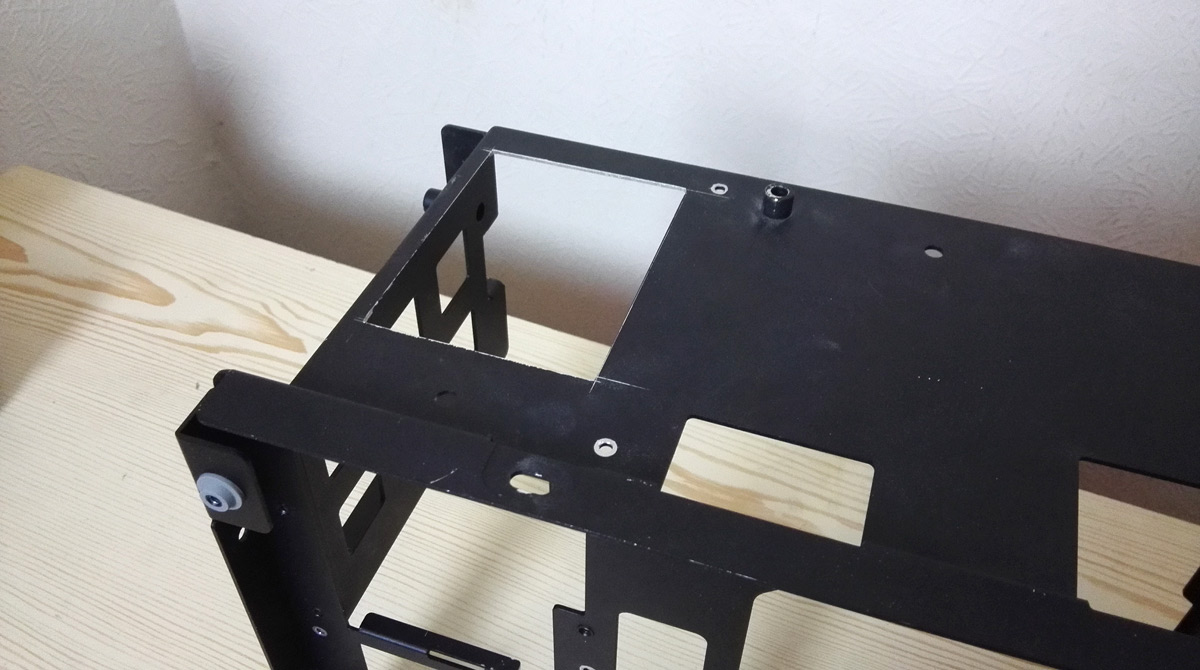
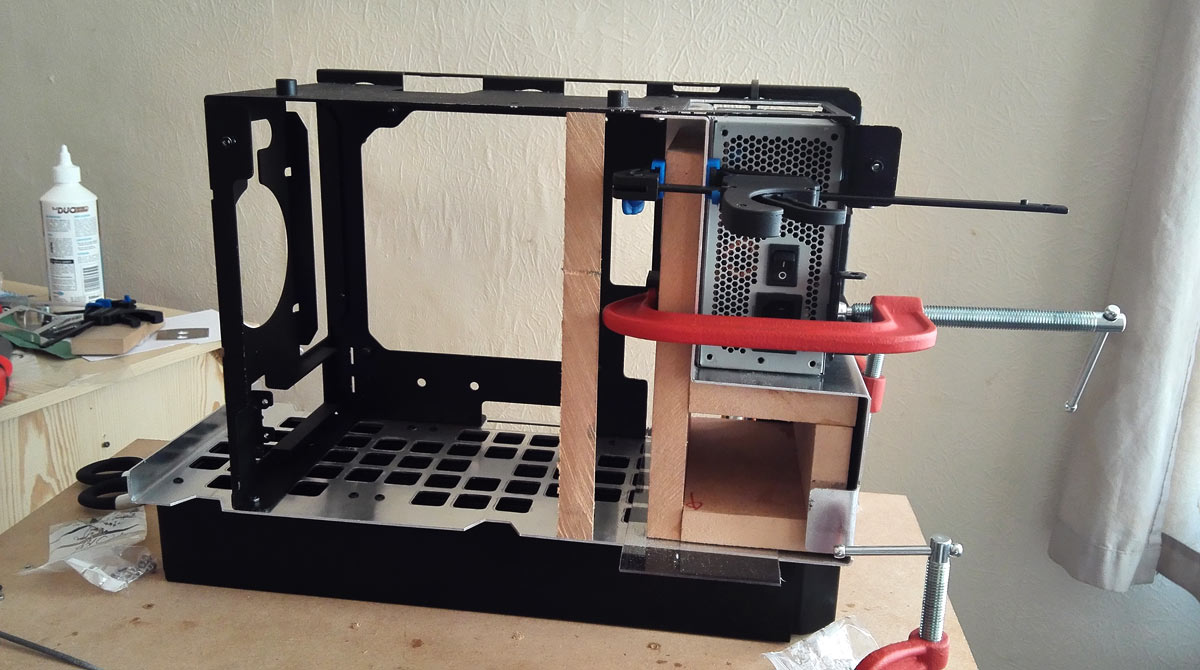
Next step is to get everything trued up a bit as a lot of the 90 degree angles have slipped a touch and to map out and drill all the holes I need to rivet and screw this thing together. There's still some chopping required on the case parts I'm keeping to ensure all this goes together correctly (which has already started), so hopefully I can sort that soon and give you another update.
Hope you enjoyed the read, back soon!


 there's no way I can touch that man's craftsmanship.