1930s Semi Refurb - Part 1 of ... (Edition: Bathroom Relocation)

won't you loose too much daytime light , versus opaque glazing units (from old bathroom ?)

... maybe the neighbour is an electrical conformity officer
It is north facing so pretty glum anyway. The Hue light fitting I put in is the same as my kitchen though, in that it tracks daylight temperature and will be motion activated. The kitchen is quite dark because of its orientation but not once has it felt dark using this method.
 
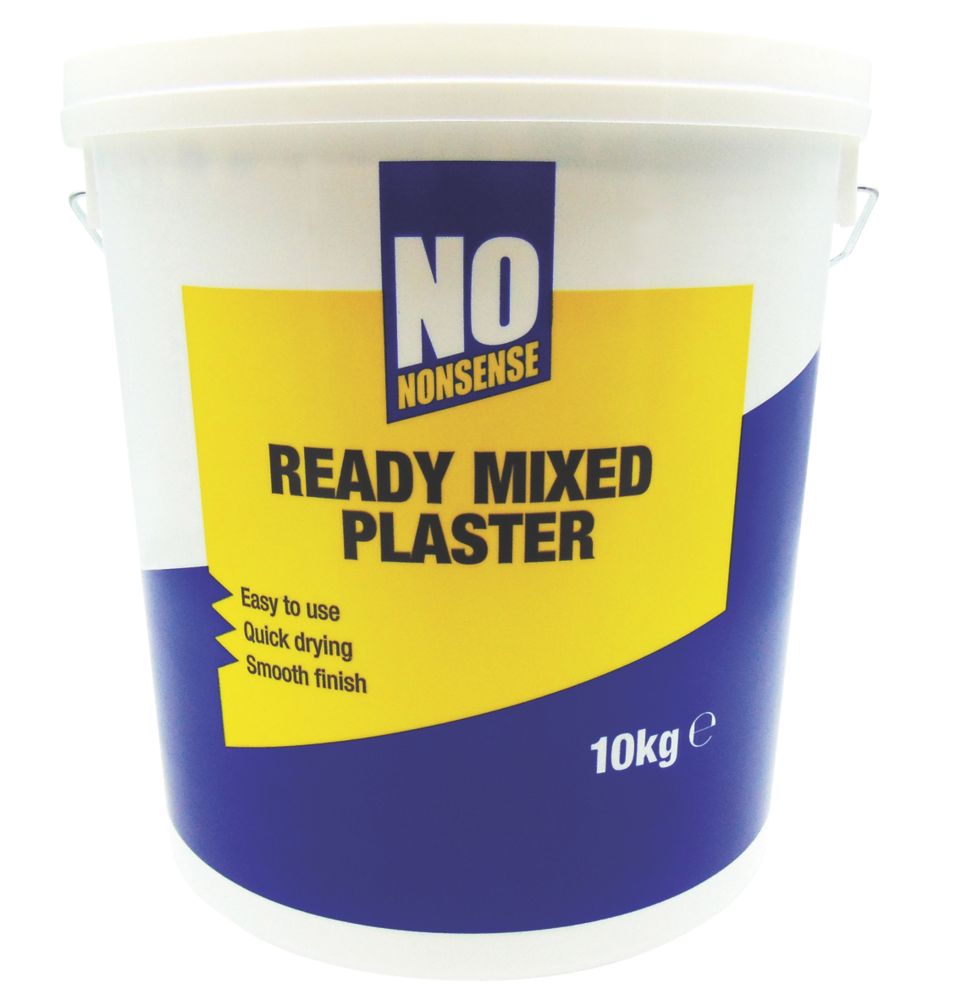
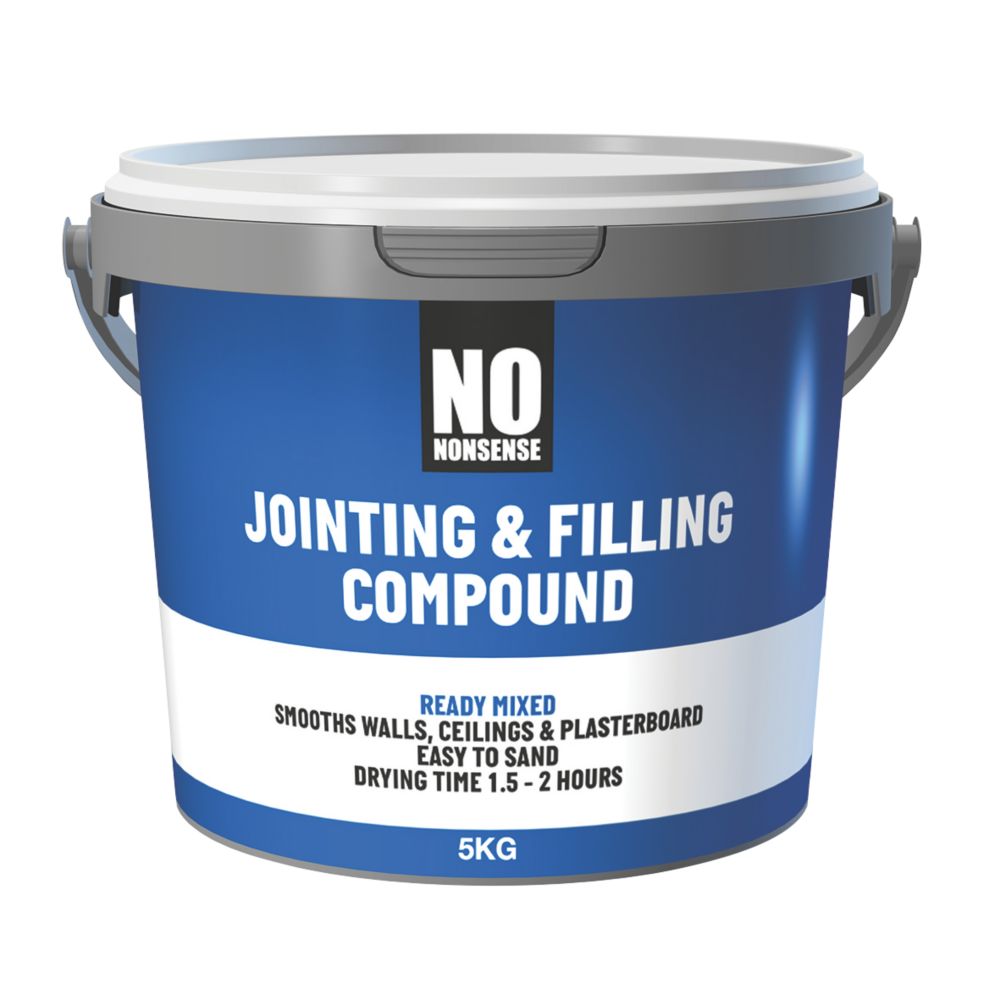
If you just skinning joints I would get

or this, which I used over a period of around a month in 2020 and was fine for all that time

for the sake of a few quid its really far far easier than mixing yourself

 
Ordered exactly that, thanks man. Quite funny - Tool Station just spent a bunch of money implementing their new club (5% discount if you spent £75 in the prior month). Screwfix just stuck their fingers up and did a blanket 10% for all of Feb lol. So ordered 2 tubs and a few other bits.

--------------
Xpost from man jobs.

Got the wiring done....managed to really hurt my thumb (broken or sprained tbc lol) so didn't get what I wanted done but almost there.

Plumber comes Friday to do the towel rail.

What I started with...
BwND8hq.jpeg

There was a stitch drill to the room behind this, which was annoying...as it meant I'd have to fix the other side NOW otherwise I'd be scuppered when I do the bedroom.

Whacked two sockets on whilst I was there...left plenty to break the ring and add future sockets when this room becomes priority. This is temporary just to be clear lol.
pbl0BJb.jpeg


Put my RCD fuse spur isolator on the outside up by the door. Not really required but I liked the idea of isolating the whole room should I need to, and RCD was an extra few pence.
hKFnnBF.jpeg


I hit some mortar made by Hercules and the socket drill wobbled a bit so I have a bit more filling than I'd have liked but no probs really - future issue!

Need to....:
1. Run my spurs to defogging mirror and towel rad
2. Fill and paint the walls
3. Fix my broken thumb
4. Fill and paint the door
5. First fix plumbing
6. Lay insulation and floor
7. Overboard floor and fit bath
8. Finish false wall and toilet
9. Tile
 
Plumber came and did the radiator pipework so I can finish this wall now.

EU2Ys7u.jpg


We then stood outside pondering the roof situation; really he needs his dad to do the job -- and hes tied up. I then realised I do have a spot in the roof I can JUST about get to - from memory at least.

A6lEAEk.png


^^ circled above.

So I think may check out access and see if I can tackle this myself..........as then the rest of it is pretty straightforward (waste, soil, joining up the 22mm).
 
When i move (next few years), i think i'll avoid 1930's houses lol
:cry: Honestly, without evidence they'd had the underfloor insulated I probably would too. My friend just moved into a cavity wall 1930s house (so should be lightyears better) and his energy bill over winter was NUTS.

Defogging mirror. :cry:

Don't forget the heated toilet roll holder.
:cry: listen lad, some of us have gentrified alreet.

----------------

Not much progress today - I was looking after the little one. I managed to run the hot/cold feeds to the vanity, which meant cutting off some of my excess in the attic. The ratchet pipe cutters are about 10^billion times better than the manual cutters, thank god I invested the £23.

Everything underfloor is now done -- other than fitting an outdoor light (or backing myself it'll work perfectly :D). So will proceed to screw and glue the boards down, and then onto finishing the wall filling/jointing and taping.

N.b. I also swapped the tileboard over. The one side had the covering coming lose which seemed super suss. I have a feeling I put it on "backwards". This side has the branded too, so that gives me a tiny bit of confidence this is now correct....

wsMFKGx.jpg


KEY Q please!
I have bought the rear exit adaptor for the wall mount toilet. It is 90mm. I need to go out of the wall and then turn 90 degrees, with a 45 degree angle, before hitting a gentle drop.

Opt 1 - I exit 90, do my turn, then run 110 to the waste itself.
Opt 2 - I exit 90, go upto 110, then exit the wall in 110.
Opt 3 - I keep it 90 the entire way.
 
Brief update/x-post. I am now at this stage. I am not 10000% on the ceiling but it is the absolute best I could do. Maybe I will fix it later :) :
905dvvM.jpg


I just need to attach the tileboard to floor, fit the soil/waste and attach up the plumbing and I am golden.

---

Tiles ordered:
XOrcxLd.png


jU6xcyZ.png


£600 light but it could have been worse.
 
Back
Top Bottom