1930s Semi Refurb - Part 1 of ... (Edition: Bathroom Relocation)

yJHj54Q.png


Nuylly6.png
Going to get started soon chaps. Any thoughts on where to start?

Zf9AuHJ.png


I figure I channel the wall for 15mm shower fittings, and then use a normal shower bar rather than a button. I'm quite happy with that setup; having done it in this house temporarily and in the past one.

Alternative - I build a small false wall and house the shower gubbins.

------------

Floorboards run shower to bath, so waste can pretty easily leave the external wall (right hand side).

------------

22mm drop for the bath, as I hate waiting for baths to fill. T off for toilet, sink.

------------

Key q - do I rip the plaster off of the external wall (bath/ shower walls) and put insulated plaster board? In the FULLNESS of time, there is a chance I do a double story side extension.

The issue is this room is north facing, so often freezing.

Thanks all :D

Edit: I might build the wall out a bit to fit a niche/shower gubbins so a switch panel shower may be back on the cards.

iEw2jeO.png


Just need to size up and purchase the right quadrant shower. They are so expensive!
 
Last edited:
Are you sacrificing bath length to fit in a towel rail?
It's still a full length bath, so 'no'. I'm cramming it up the one corner to make the vanity less cramped. Haven't decided on a bath yet. What were you thinking?

Only comment is fitting/maintaining the bath taps in the position they're in could be difficult. Flexis?
Not set on having them there, broadly dependant on bath I guess. Has added pipe placement to my 'mindful checklist' versus auto piloting them to the middle lol.
 
Wildcard - how difficult would it be to achieve something like this?

3W65O0m.jpeg


I think removing the tray in this instance will make quite a difference given the space. And the enclosures are so expensive I could even save some cost? (Not that that is the major priority but still).
 
I'm just thinking the bath will look better central to the wall, either tiled in or freestanding.


You wont save cost, the prep work will be considerably more than a standard tray setup. Also will depend how floor runs, joists etc. Very achievable though. Also it will raise the entire floor height which may or may not bother you.
I agree -- the original design had it central but it kept giving me a nagging feeling I'd lose too much useful space in an already 'cramped' room :(. At least if I do it the way I've most recently proposed I could swap that rad for a storage unit or something.

Re: curbless. I think the joists are in my favour (they run left to right on my diagram above). I'll have to do some reading, I think the prep will be acceptable timescale-wise as I will be building this whilst the other bathroom is serviceable. I believe you can get trays that replace the floorboards in that space? Do you need special tiles/ does it limit tile selection?
 
Cheers chaps. What's the crack about 'fed from above' @gingergundog - I didn't quite get that statement?

Also, need to consider:
- ventilation - I want something overspecced I think. Because of the hip roof I'll need to vent out of the roof tiles. Is there any kits I can get? Will be engaging my famous plumbing duo to tackle this (the dad is a roofer/carpenter and they did my loft boiler).

- underfloor heating - the wet system isn't on enough to feel the benefit (heating rarely on), so are electric systems ok in a space this size? I could ask Alexa to boost it before a shower or put it on timer?
 
If you look at the last picture you can see how its set up re the plumbing.

A Mira option

They are quite modern though...you might prefer something more traditional looking.
Ah!! That's badass - I do quite like that :D Will get murdered by wife though I think. Let me do some research :D
 
Mira are great - just one shower pipe down from ceiling with pumped supply and (puck) remote controlled mixer valves in the loft above;
parents have had to make some call outs for those valves which didn't like the low loft temperatures in last years freeze - warranty essential.
Interesting! That may be a game changer. Can you wrap/insulate the unit itself? My loft gets brrrrrrrrrrrrrrr.
 
they did improve the insulation, but hasn't, subsequently, been as beastly cold
... but the initial no you can't have a shower - error code XXX on the puck was confusing, for them.
I think the risk of that happening has totally put me off :cry:


So two follow up questions for everyone:

- ventilation - I want something overspecced I think. Because of the hip roof I'll need to vent out of the roof tiles. Is there any kits I can get? Will be engaging my famous plumbing duo to tackle this (the dad is a roofer/carpenter and they did my loft boiler).

- underfloor heating - the wet system isn't on enough to feel the benefit (heating rarely on), so are electric systems ok in a space this size? I could ask Alexa to boost it before a shower or put it on timer?
 
Last edited:
ProWarm underfloor heating. Yes absolutely fine in that space.
Go with an inline fan system for the ventilation :)
Thanks!

Just made me think about tail heater/radiator now.............. electric or plumbed? I have an option of a plinth heater too.

The reason I am edging away from a wet system is purely due to the fact the towels are wet often when the heating isn't on!
 
Regarding the towel radiator being electric or plumbed, do both. You can get electrical elements for towel radiators so they are still warmed during the summer as required. Search for towel radiator element.
You can get dual fuel elements for towel rails so you can use the electric element or normally fed by boiler. That's what I have.

Id recommend a stainless steel radiotor if you want to avoid rust, but then I hate gold sanitary ware/ironmongery..
Mega, cheers chaps. Didn't realise they did dualies.

I'm not sure on the gold colour either; it puts you into a right rabbit hole on all the other fixtures/fittings too.

Just noticed they do bath fillers
Need a lottery win now lol.
 
Yeah you can do that. (picture here not that I am recommending this website :cry:).Any decent porcelain tile will be fine really, its your ability to cut them accurately that will be the issue around the drain. May need a good wetsaw etc.
Would you recommend a system like that? Any thoughts on where I can go to learn the process? I'll leverage @Buffman's thread regarding tanking...spankers...etc.

I think I'll start with..............

1. Remove plaster on walls that will be tiled
2. Strip wallpaper from walls that will be painted.
3. Strip paper from ceiling; tidy up what I can and paint.
4. Lift floor/assess
5. First fix plumbing
6. First fix wiring (remove sockets/extend the ring to the attic for the shower*/fused spur for the towel heater**)
7.

On * and ** (electrics) - I guess I run fused spurs with RCD rather than extend the ring?

At Step 7 - I guess I need to get my head around this tray/base situation for the shower. I presume I fit the base for the shower first and then board around it?
 
1) Yes, or mechanically over board with 6mm backer boards.
2) Yes.
3) Panel over with pvc boards instead.
4) Yes. Careful, they like to put pipes right on the floor.
5) easy
6) While its not an electric shower per se if this shower has power at the controls inside the wet area then it will be notifiable work.
7) Decide if going full wet room or not, length available for shower will determine, you may get away with just a side panel with return. Shower tray and floor will need to be at same height, wooden floor will need overboarding with e.g 4/6 6mm marmox depending on tray thickness.
1) I know its only ~10mm but I don't think I can afford it! I was thinking insulated backer as its an external wall, too.

3) It's a hipped roof so has a bend in it. Not found something to convince me it won't look like a static caravan yet. That would solve a big headache though.... will research again, thanks.

6) I think the controls are CANBus/ethernet, the wire feeds up the shower head "holder" - so the fused spur just needs to be in the loft. I might break every rule and extend the ring into the attic, to give myself some sockets and a fused spur. :D

You can also get wireless controls.

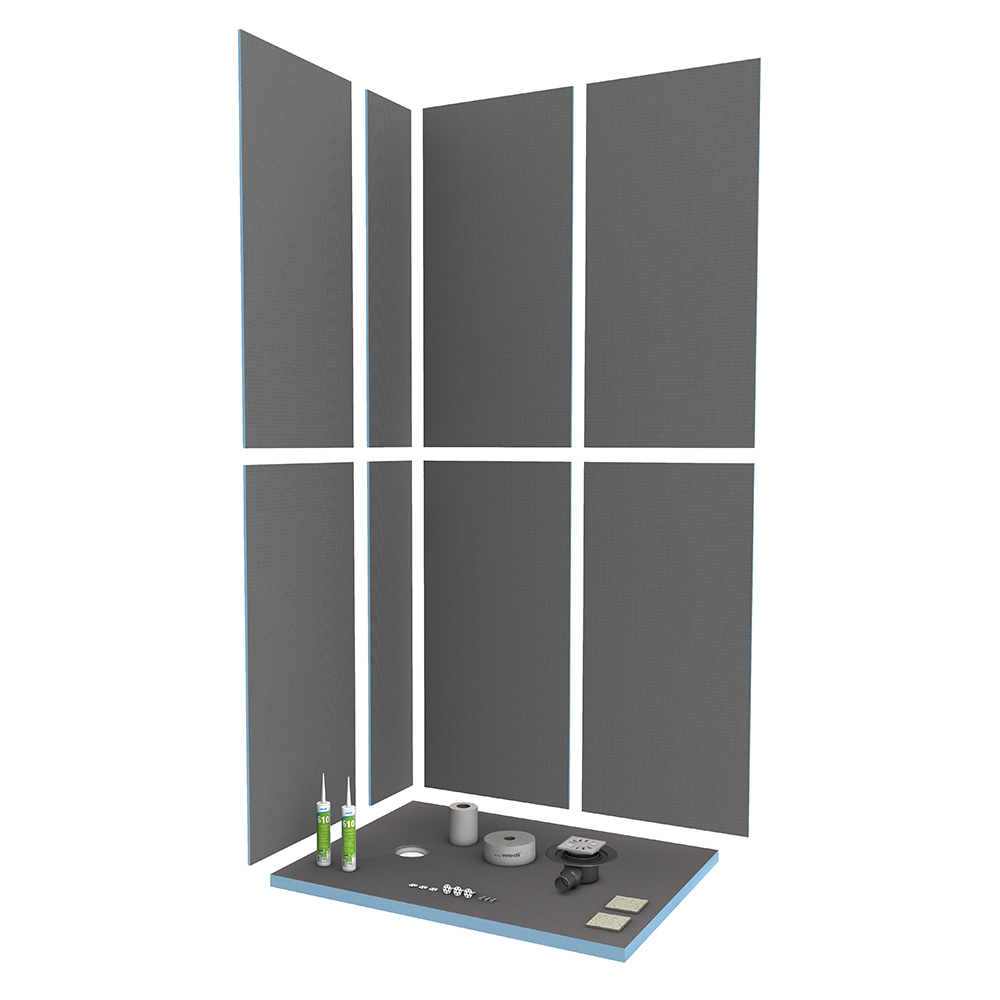
7) I am thinking I just get something like this? Maybe not as a kit -

I was concerned I would need to tank a wider area, but I presume I can use a lesser level of waterproofing for the splash zone?
 
Normally you'd be looking at a 1400mm length minimum for a walk in shower to avoid tanking the entire room, then using a side panel with return. You can easily do the same as that link with your own boards and tray.


Avoid the wooden effect stuff it looks crap, the matt or gloss white is fine.
Thanks, sorry to keep bugging you (several pints waiting when you visit to get cracking) but what board/tanking gear do you recommend? I have no preferred supplier... I got my tile backer from TileExperience. They do these:

Also, where do you get your cladding from?
 
Brill thank you. @200sols the 35mm sounds a bit of a non-starter; is it practice to adjust the joists/reinforce them? Or use a thinner tray?

There is quite a thick carpet outside of the room so I have some flex....
 
joist strategy ?
Yeah this is my plan - seems pretty straight forwards - lots of videos showing exactly that method which is reassuring. I just need to make sure I don't end up with a massive step - so ideally looking for a 20mm tray.

Fyi I'd just use washers and rawlplugs rather than those plastic spankers. If you want a box of the 10mm plastic ones I'm happy to send it for the delivery cost but I feel like they don't engage /depress into the boards as well as the metal washers.
Thanks for the offer! Will drop you a DM once I get close to that stage :cool:
 
Last edited:
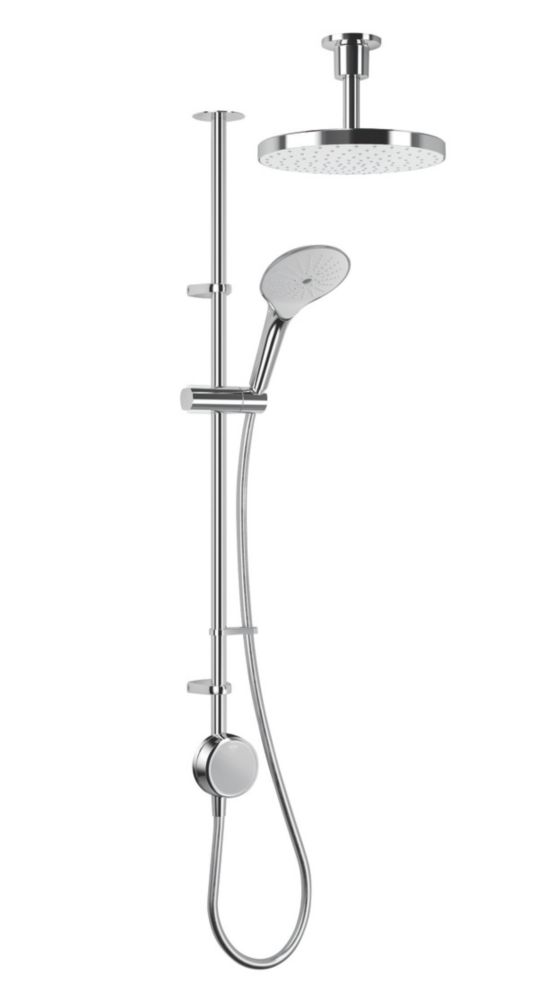
Right, started to get bits sorted now.... For the shower I am thinking this:

It gives me ultimate flexibility as I won't need to install till the very end, and all of my plumbing is in the attic already.

For the tray,

Not many come in 800. I'll hold off buying this until I check out the floor, but I guess I'll be lifting the boards to lay 22mm chipboard so 20mm is the right thickness.

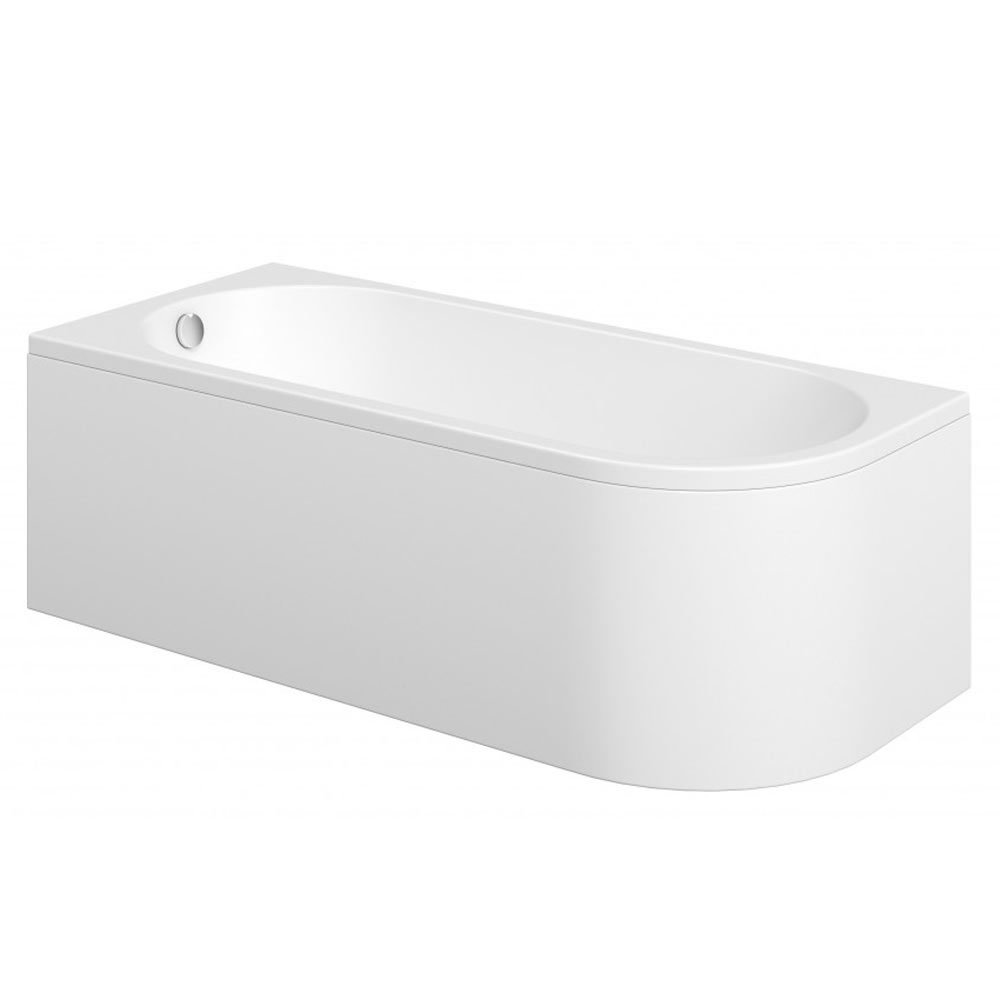
For the bath, they all seem same-same, so this,
 
Shower you posted looks nice!

Fyi for a wet room on joists typically I believe you would put 18mm ply between joists and then the tray former on top.

Personally I think it can make it complex/point of failure but they do look nice when done well, just a lot that can go wrong!

Remember to get an inline loft fan. They're much better than axial fans
I'll assess the floor situation firstly I think - I've seen people box the joists and no overboard, but perhaps with 20mm I should be careful.

Definitely looking to get an inline loft fan, as annoying as it'll be because I have a hipped roof! Going to get the plumber to fit a chimney.
 
Back
Top Bottom