700D carbon fibre build: Blackbox II

ta nibbles.

not a competitor to ocuk no, uk based phenoptix.com, they are good guys and ship out fast. all their led stock is quality.

yeh i had thought about mobo backlighting for ages and im sure a guy on here was gonna do it but never saw it finalised?

ordered some white cathodes and sheet aluminium. need some more cf too.

anyone got access to a milling machine in notts?! need to take 1mm off the rear fan grill as it protrudes and stops the side panel sitting flush to the case. luckily it can still close though...

thinking i may have to sand that 1mm off! ouch...
 
cheers basil

I've added another white cathode, 30cm to the shrouds where it reads 'phobya'.

I really like the extra light diffusing into the case now and will balance out the UV tubes that little bit more.

was meant to cut the window today but bought speakers for piano instead lol.

maybe tomorrow, i'll find my way
 
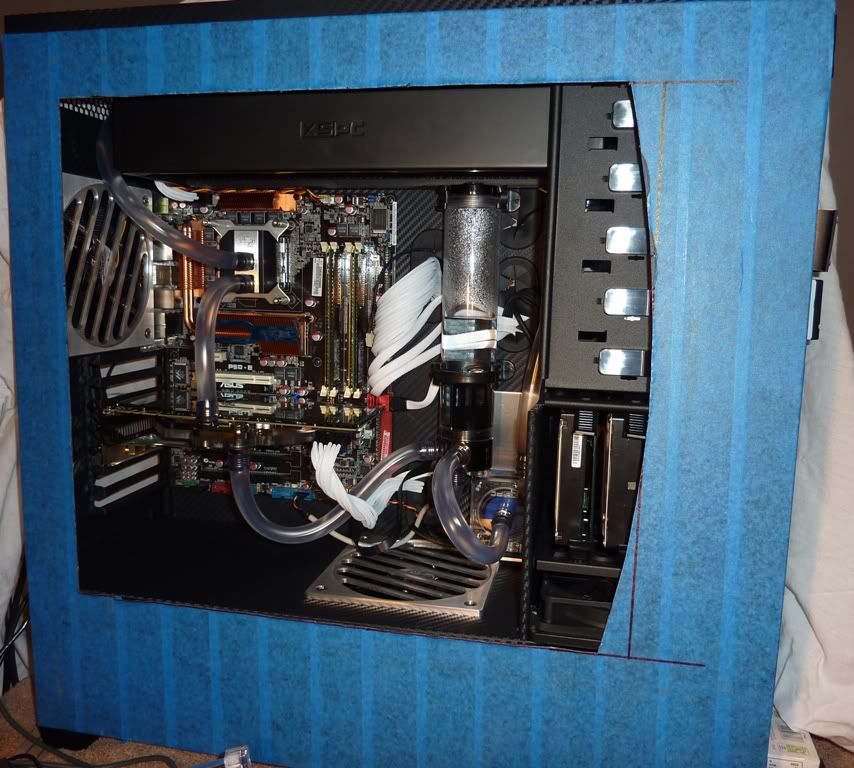
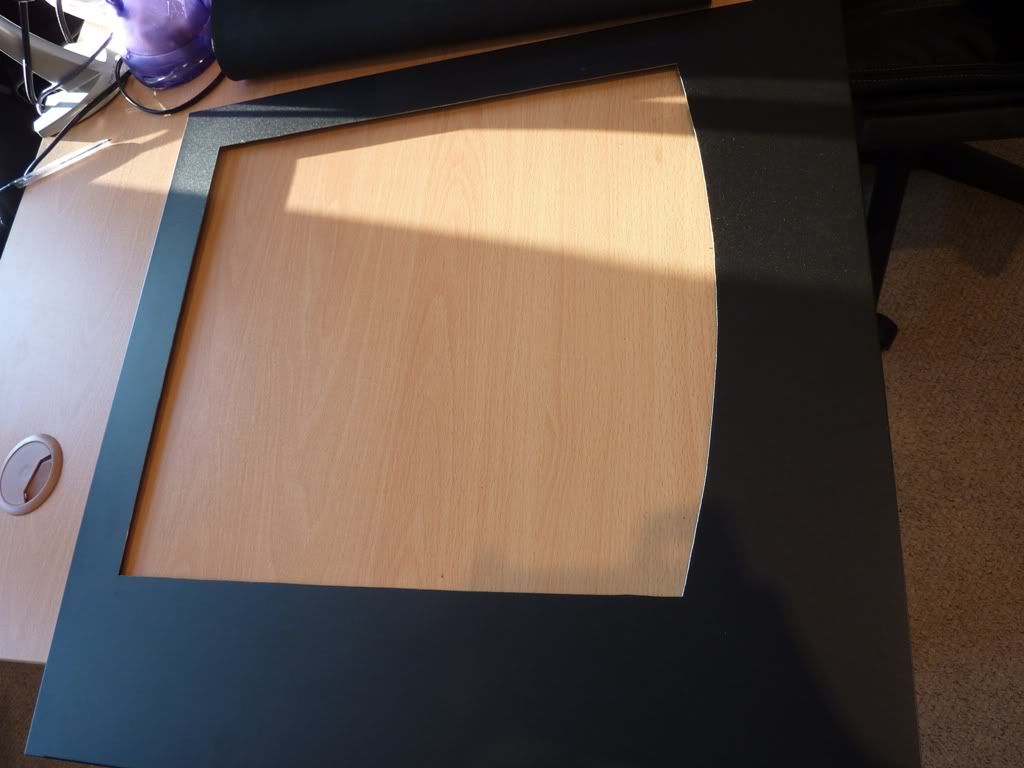
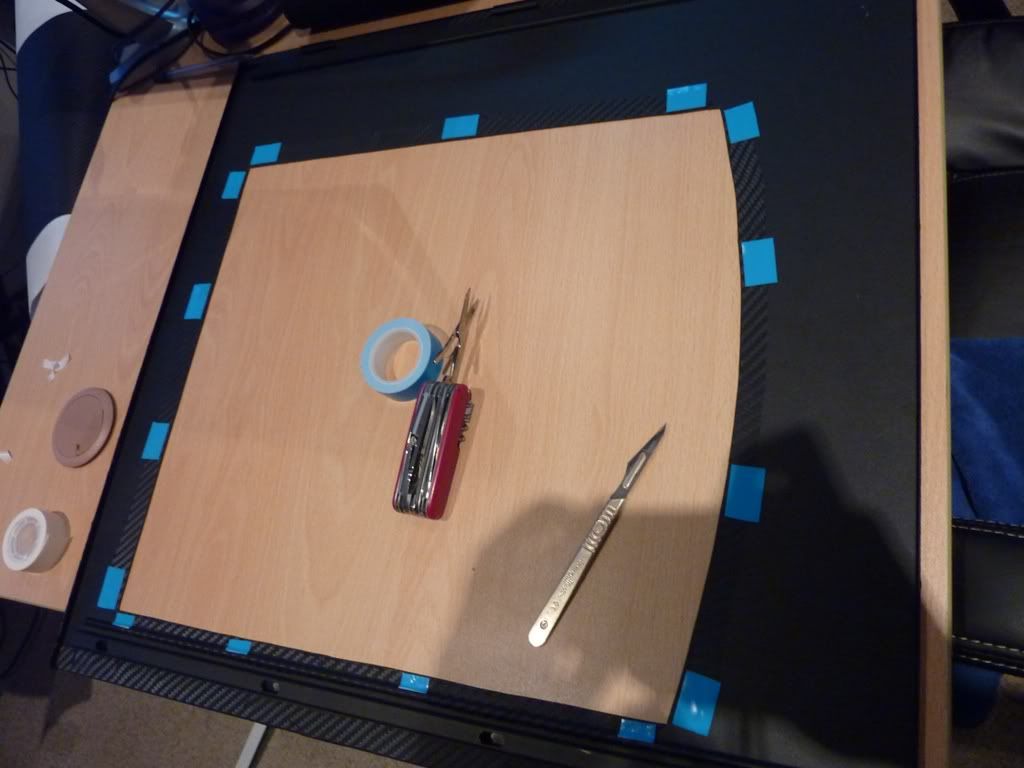
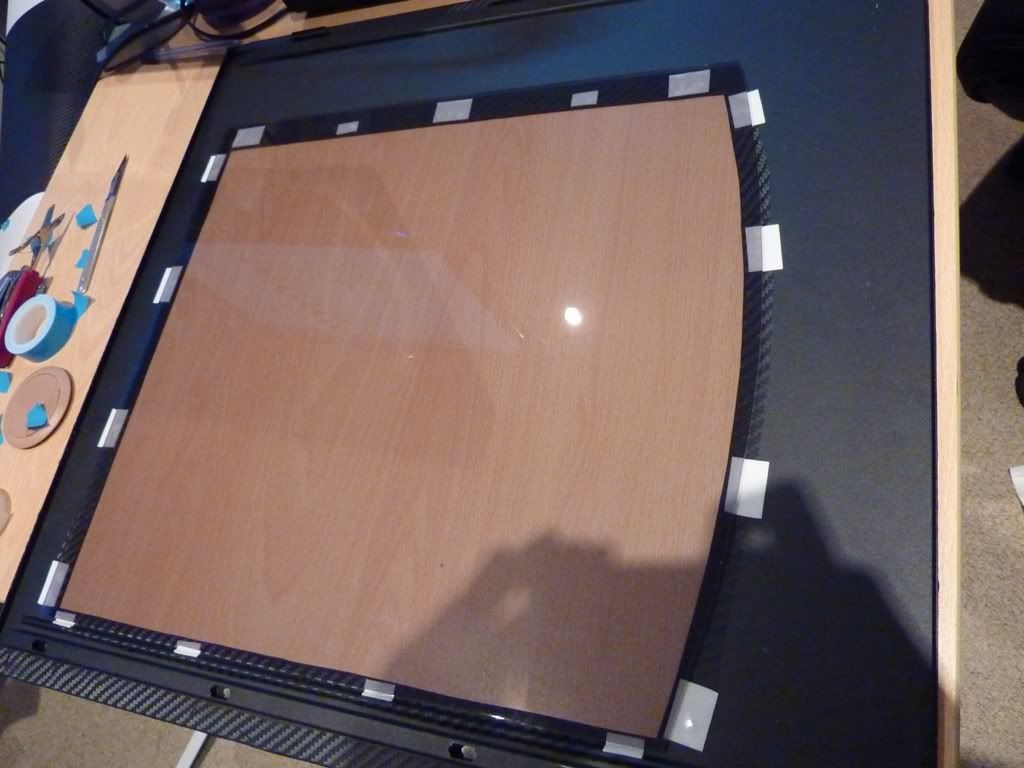
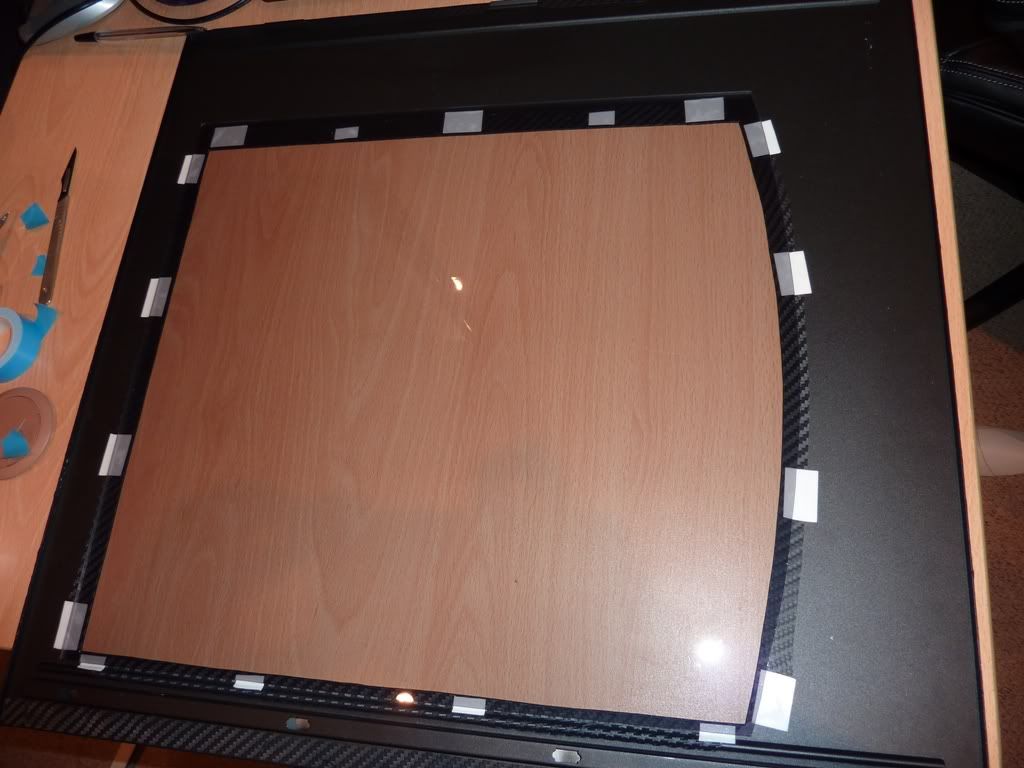
well cut the window out and sorta did an epic fail:(

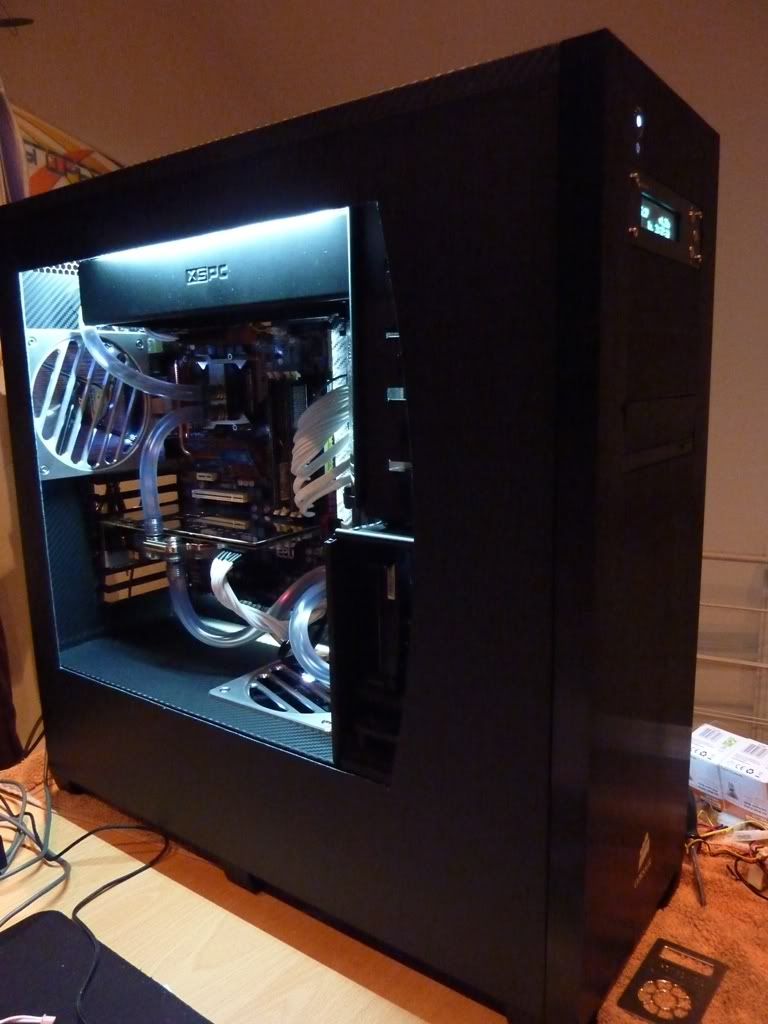
I got so caught up in making a nice curve that I didn't even place it at the right depth. So now I am showing the drive bays, not my intention.

Not much I can do now as obviously I can't add material back.
Stil going to apply the perspex and see how I get on with it, make the best of a bad situation.

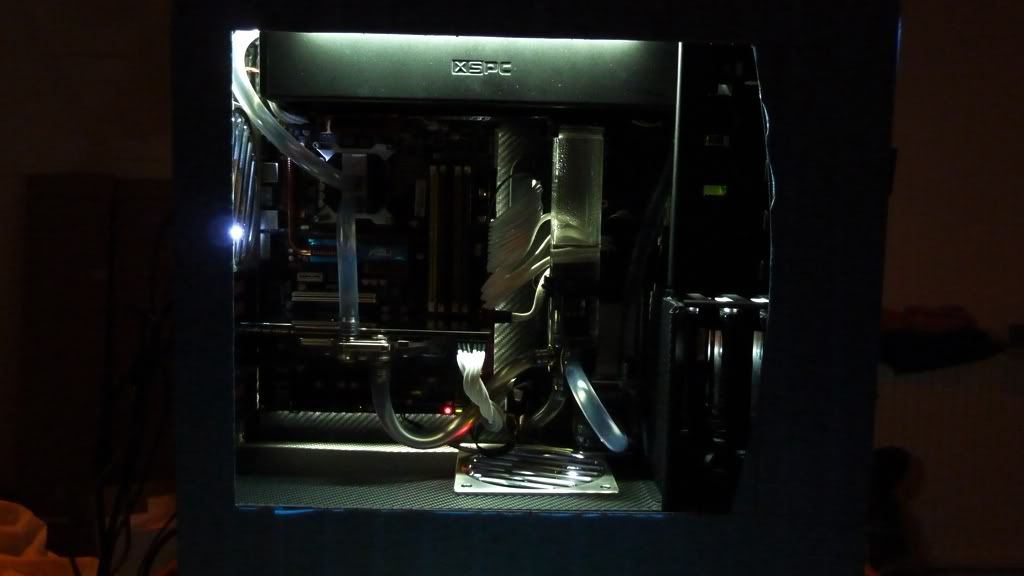
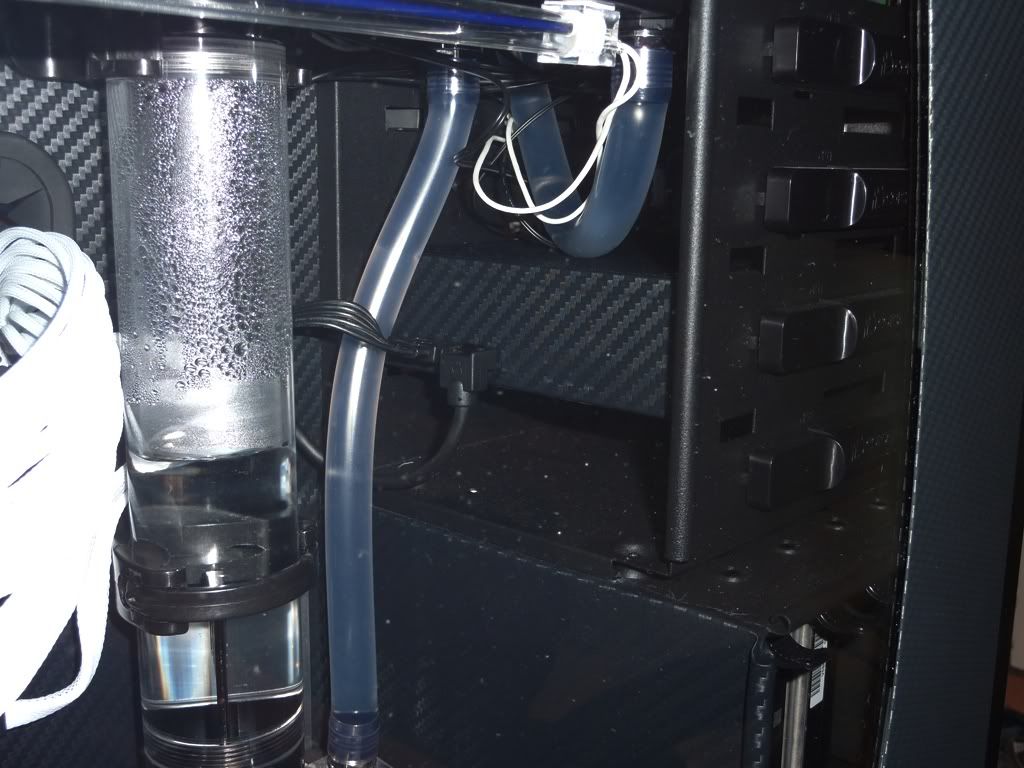
I've put two 4'' white cathodes behind the hardrives and it looks alright illuminating the little 'box' they are in.

What do people think? Shall I bother contacting Corsair UK for another panel to have a go again?:(

P1010979.jpg


P1010983.jpg
 
just back from pub, drowning my sorrows lol

I couldn't believe it when I put the panel back on, that it was so wrong.

It's because I had measured and marked the MID POINT for the curve, but not its DEPTH relative to the front bezel. In the end I forgot this and took the mid-point mark as also being correct for depth when it never was.

I'll use my clear acrylic for now and save the tinted for later.

I probably could glue the old piece on but a new panel will be easier:)

I think I will need to e-mail corsair as I can't see anywhere in the uk that sells em.

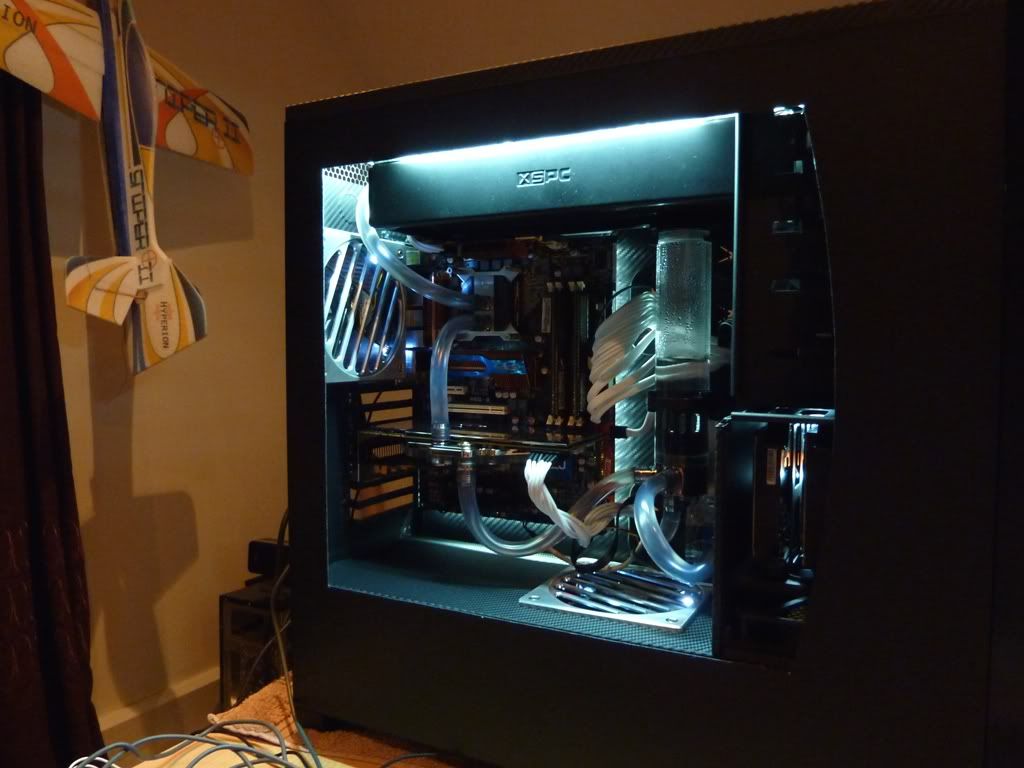
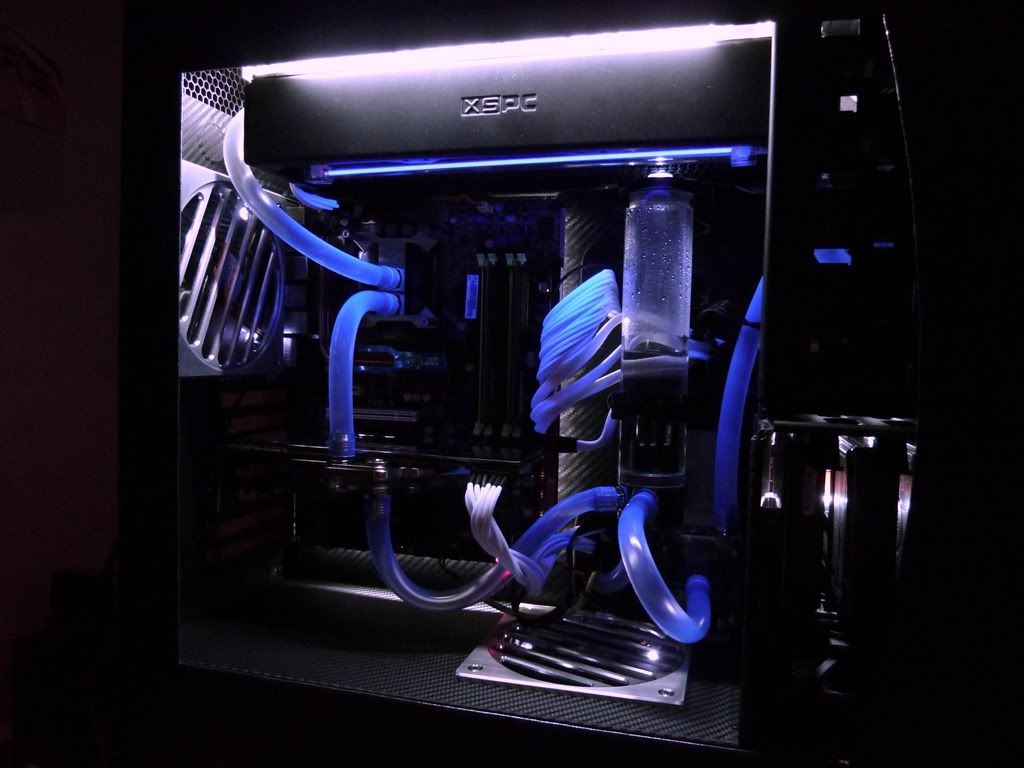
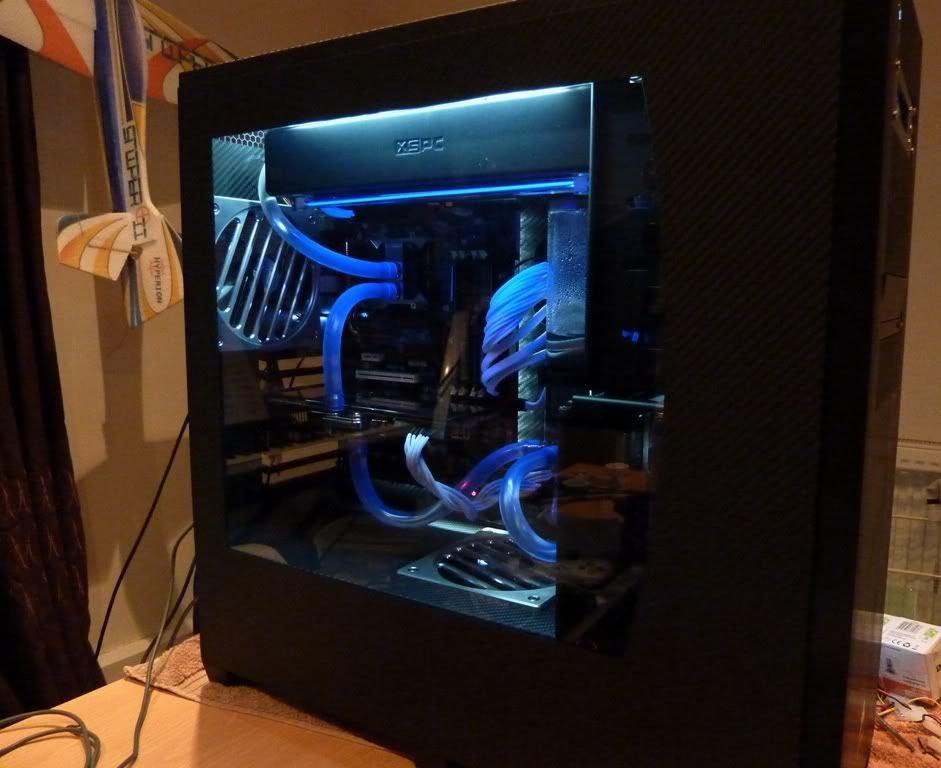
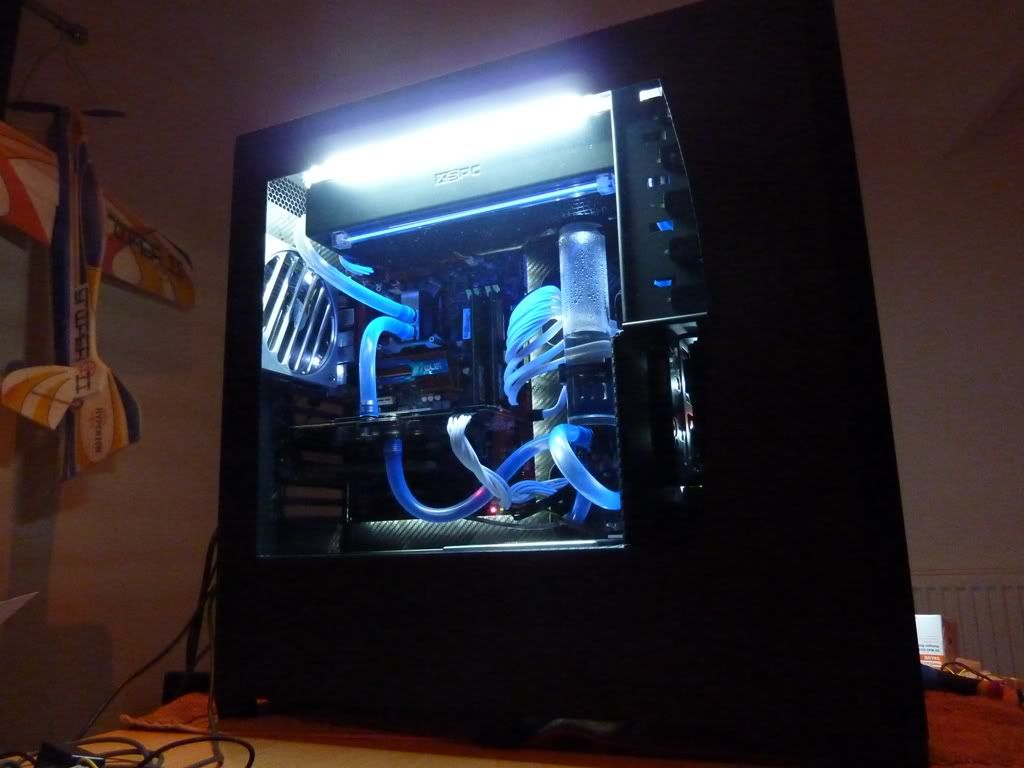
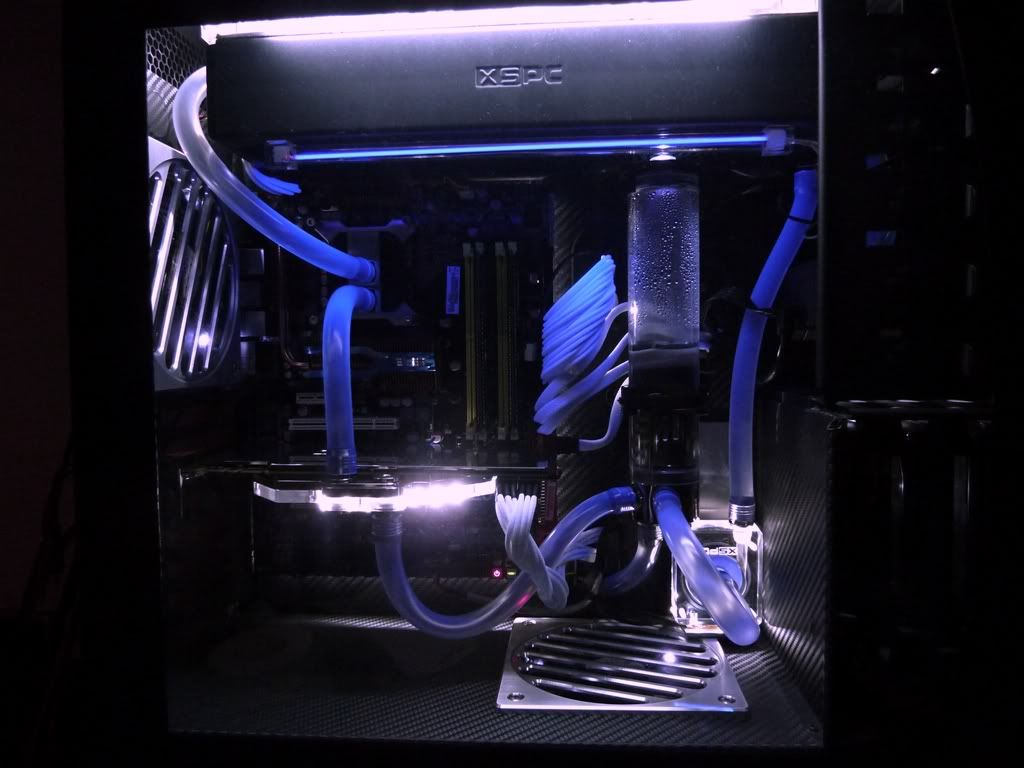
As for the rad issue, I was originally going to end the top of the window with the bottom of the rad. However the rad acts as a nice 'foreground', introducing the eye into the rest of the insides in a step-wise fashion. The 'XSPC' is lit up well from the cathode above and it is a talking point to newbies, 'here is the heatexchanger/radiator etc...'

I'm pretty pleased with my cuts though, was hot, noisy work
 
well I am used to it now and having taken the tape off it looks soo much better.

guys when the tinted acrylic is on, surrounded by carbon vinyl, with the pump and GPU block glowing white, surrounded by glowing UV blue tubing, I think you will find it looks fine (i'm hoping) and forget about our turbulent past;)

P1010985.jpg


P1010989.jpg
 
Last edited:
ta reflux, you'll need to do me a nice sig when she's finished;)

i've yet to braid the aquaero usb wire, mobo/case wires and the two case fan wires.

then it will be icy clean:)

if I had cut the curve at the correct depth, from where I sit on my desk, I wouldn't be able to see the res or the mobo 24pin connector, i.e. not much at all. so am getting more and more used to it...
 
well you've all been supportive, so, i've added some more lighting...

Bitspower 1/4'' crystal lighting stop fitting with white LED, connected to the aquaero (I can adjust brightness, looks nice on 50% as well as 100%, or get it to change intensity to temps:))
P1010993.jpg


P1010996.jpg


P1010997.jpg


P1010994.jpg


ohh my lens is dusty, how do I clean it?!

one UV cathode, I haxed in a small amount (looking at it it's TOO much but heh) of purple on microsoft picture thingy to try to emulate the small amount given off by the cathode that the camera can't detect. the colours are more accurate i'd say now...
P1020001.jpg
 
Last edited:
well try buying and using real carbon and get back to me on how it went!

I've got the side panel on now:D

Covered in vinyl with the tinted perspex in place.

Photos can't 'get' it at all:(

do people still wanna see?:)

in person it looks...well nice enough that a girl thought it looked nice...
 
Last edited:
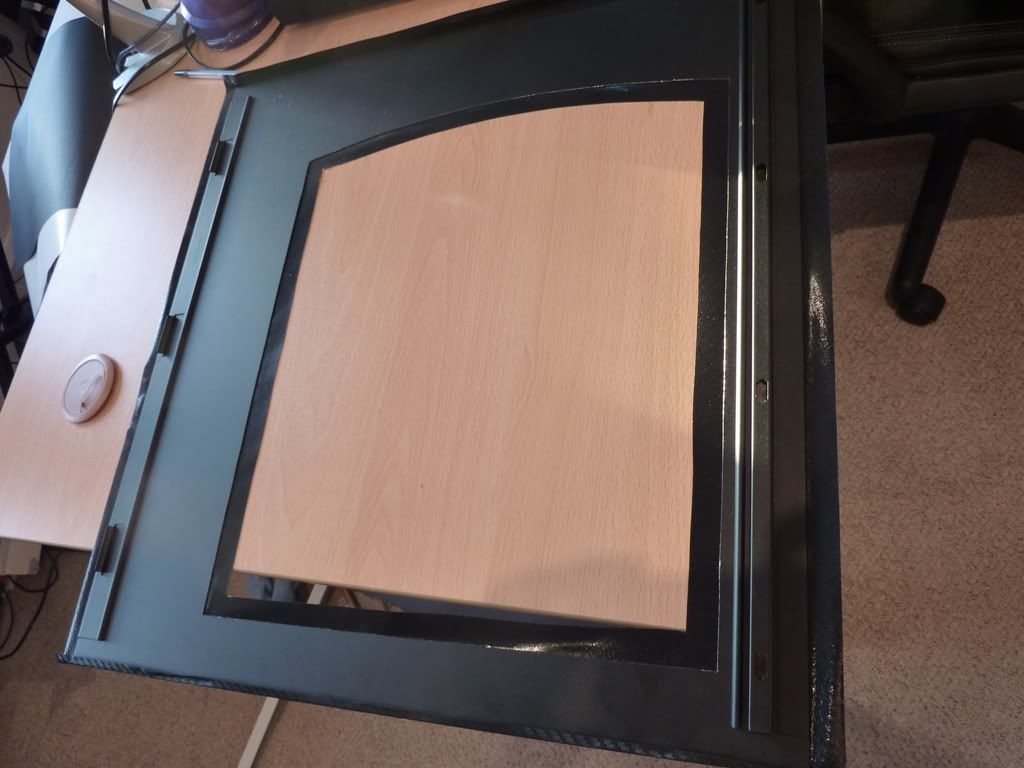
window cut with metal bladed jigsaw, it was soo clean, perfect tool for the job people:
P1020004.jpg


P1020005.jpg


vinyl time:
P1020006.jpg


no more nails 20kg 'blue roll':
P1020007.jpg


stuck down:
P1020008.jpg


this stuff is beast:
P1020009.jpg


hard to get a photo of the window, its very classy IRL:
P1020011.jpg


P1020017.jpg


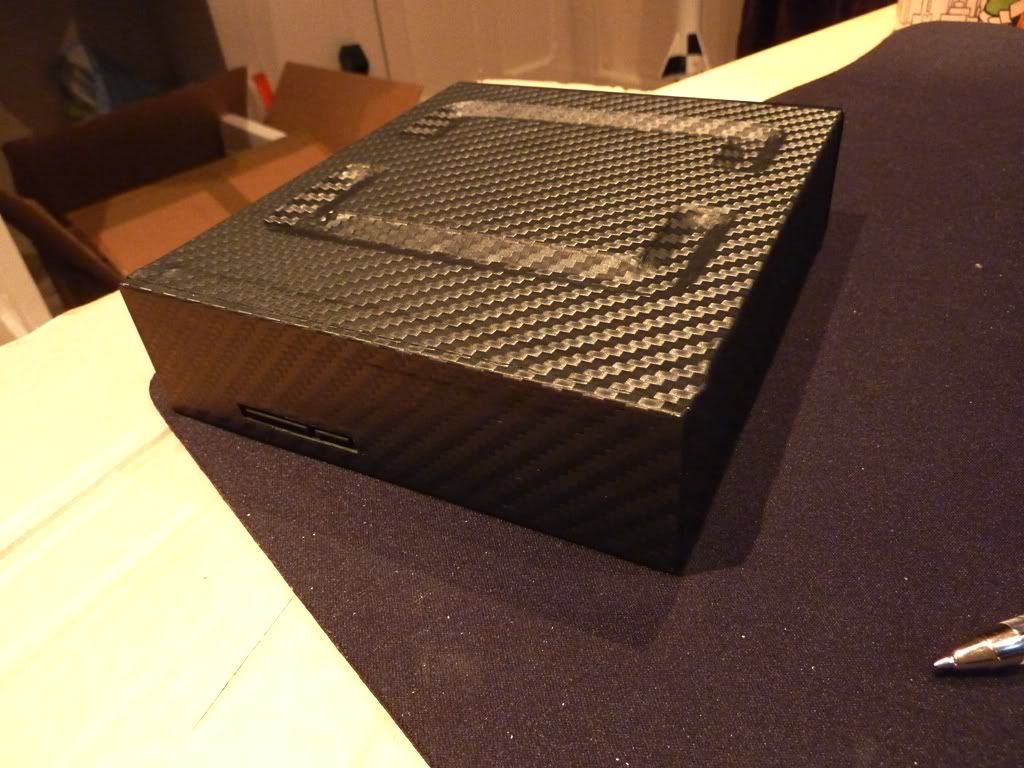
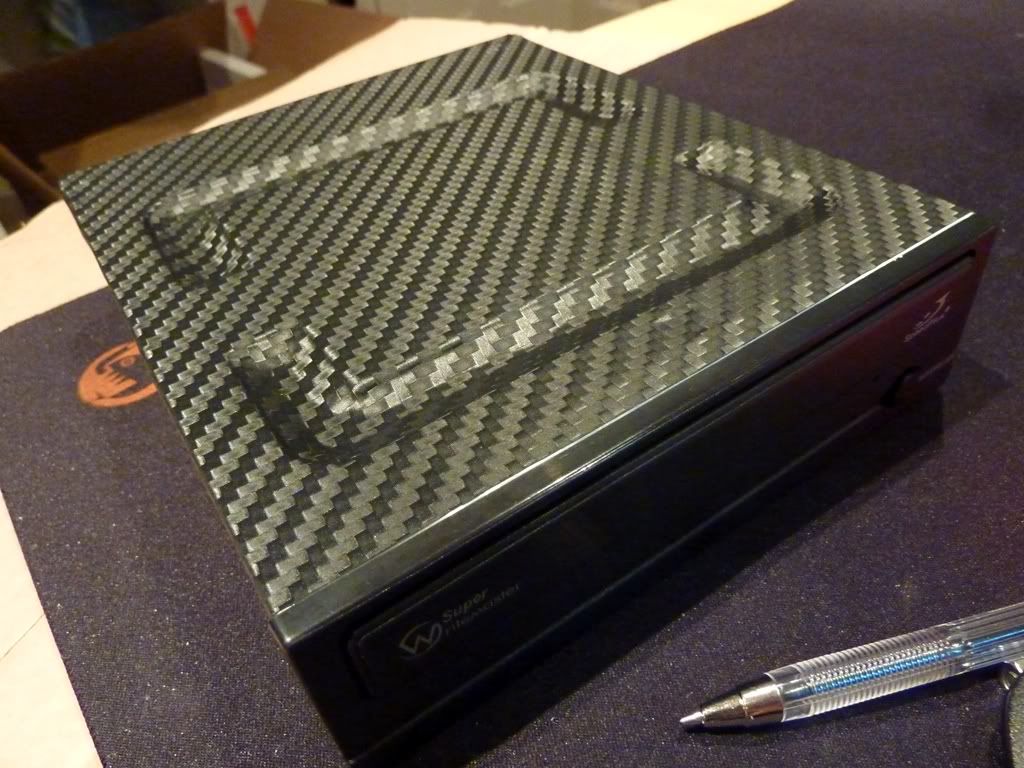
vinyl on the optical drive:
P1020023.jpg


P1020025.jpg


here she is:
P1020030.jpg


nicer in there now:)

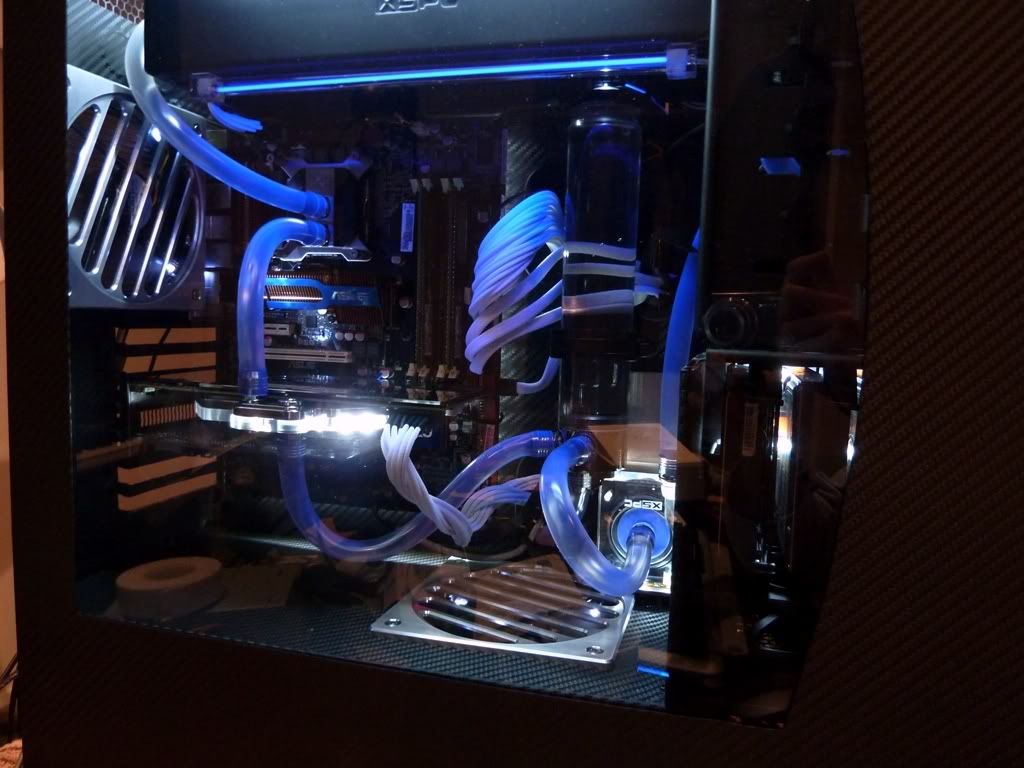
just trialed the pump and GPU LED's, it is going to MAKE this build put it that way :D

more later
 
Last edited:
i've got these lights doing a very slow pulse effect, like it's 'intelligent'

in short it looks absolutely sick:D

P1020036.jpg
 
cheers, I kept the panel as is, cba changing it

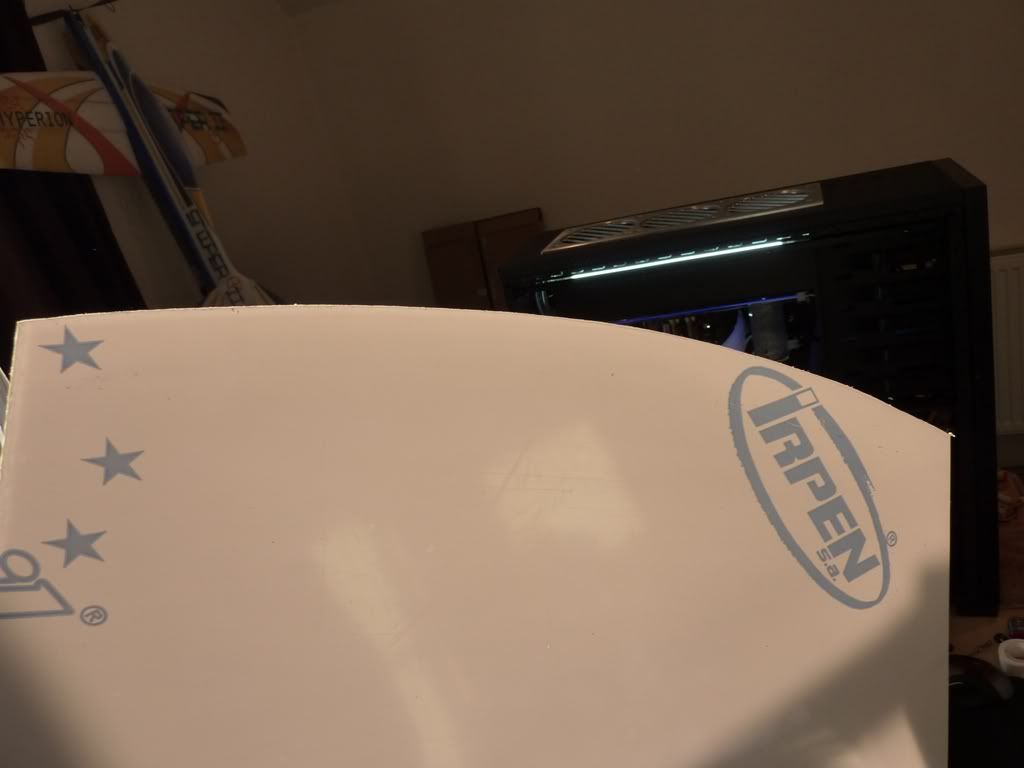
trying to acquire light-tinted 2mm acrylic with no luck, as the side door doesn't quite sit flush with the front bezel due to the 3mm stuff being too thick:(

thinking now I need a brighter reservoic LED hooked up to my controller, with three components and the mobo backlighting doing their thing it will look really dynamic in there:)

pre-wired ultra bright white LED ordered from phenoptix, 27p ea or something:D
 
Last edited:
thanks geezers,

I would say I am 'medium' at vinyl compared to the pros you can see on youtube, however having a heatgun does allow you to do far more challenging things with it such as compound curves etc

not to say it's easy doing curves, its not, its really stressful! haha

Right small update, i've hooked up ALL LED's to my RGB controller, so the backlighting is now also doing a slow pulse-fade effect.
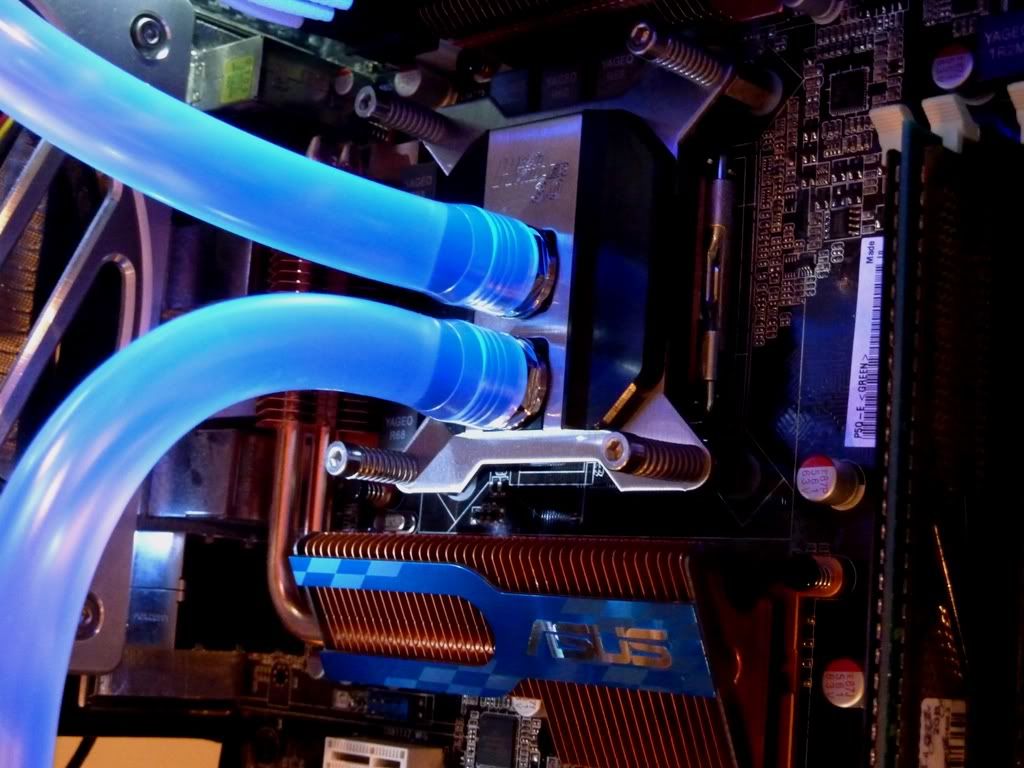
I've added an LED to shine on the CPU block as it was very dark there, I like how it turned out, it's subtle but works.

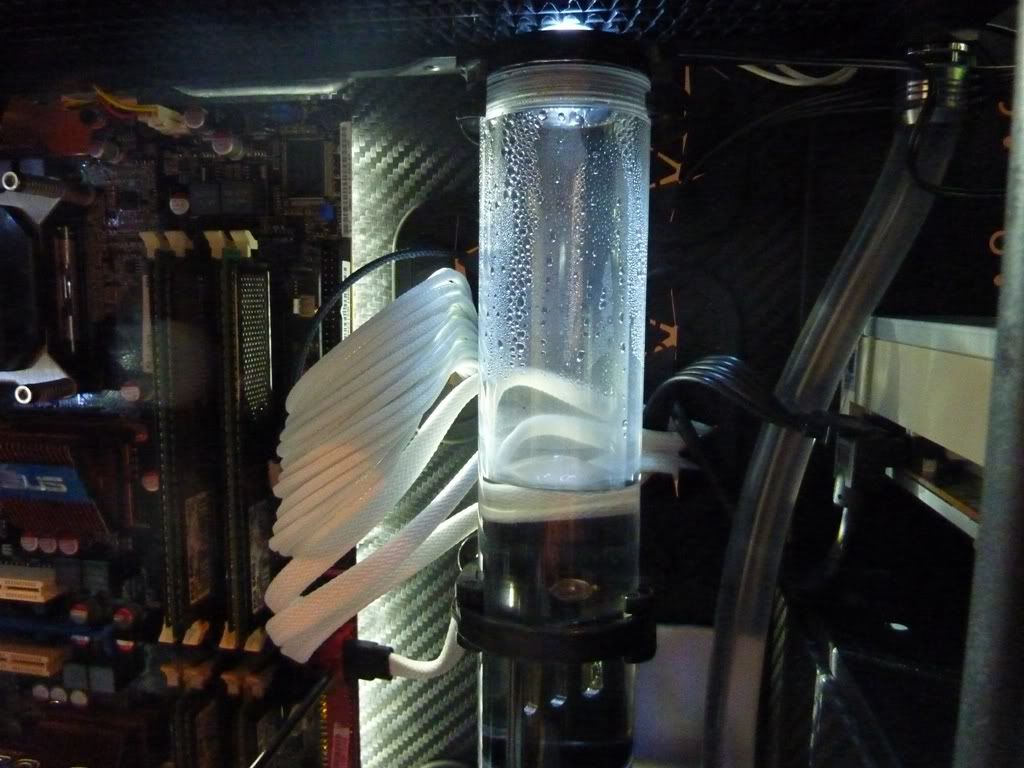
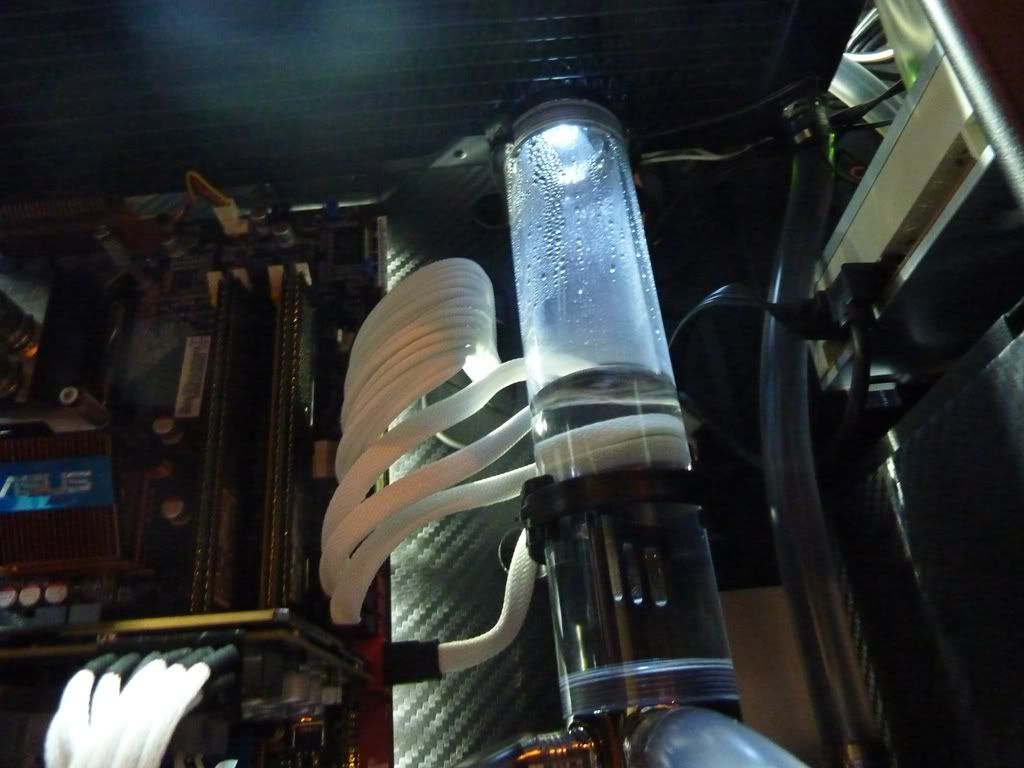
I filled the res up with more water, but it was the condensation that was catching the light. Oh well its just not as bright as I had hoped...

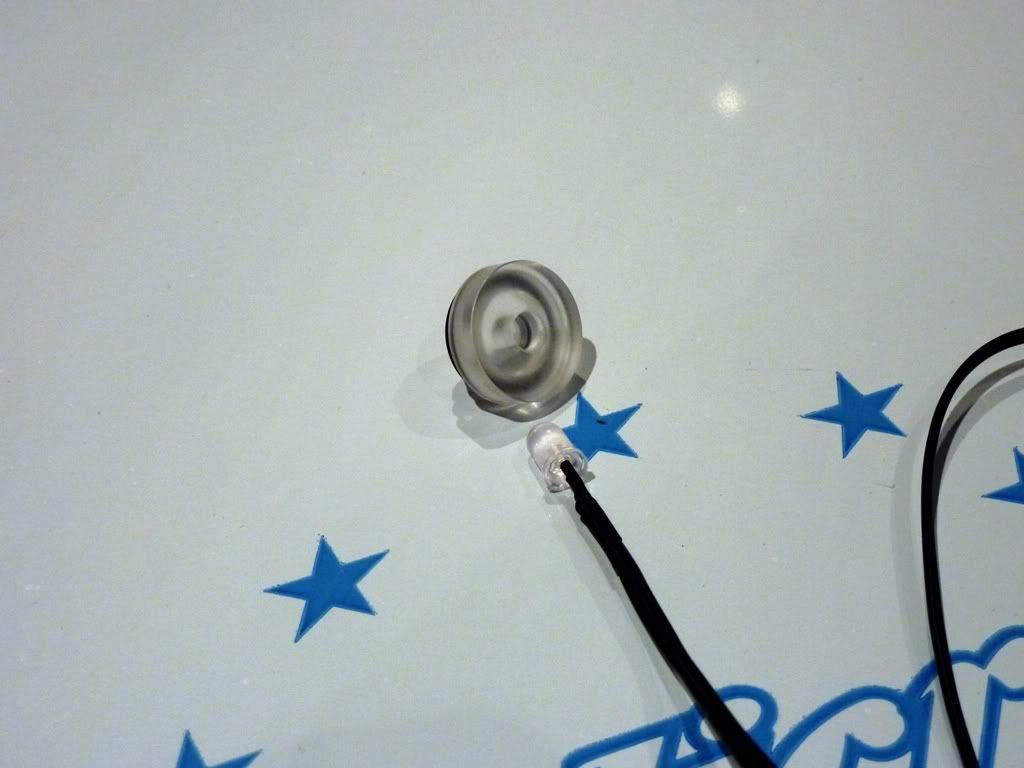
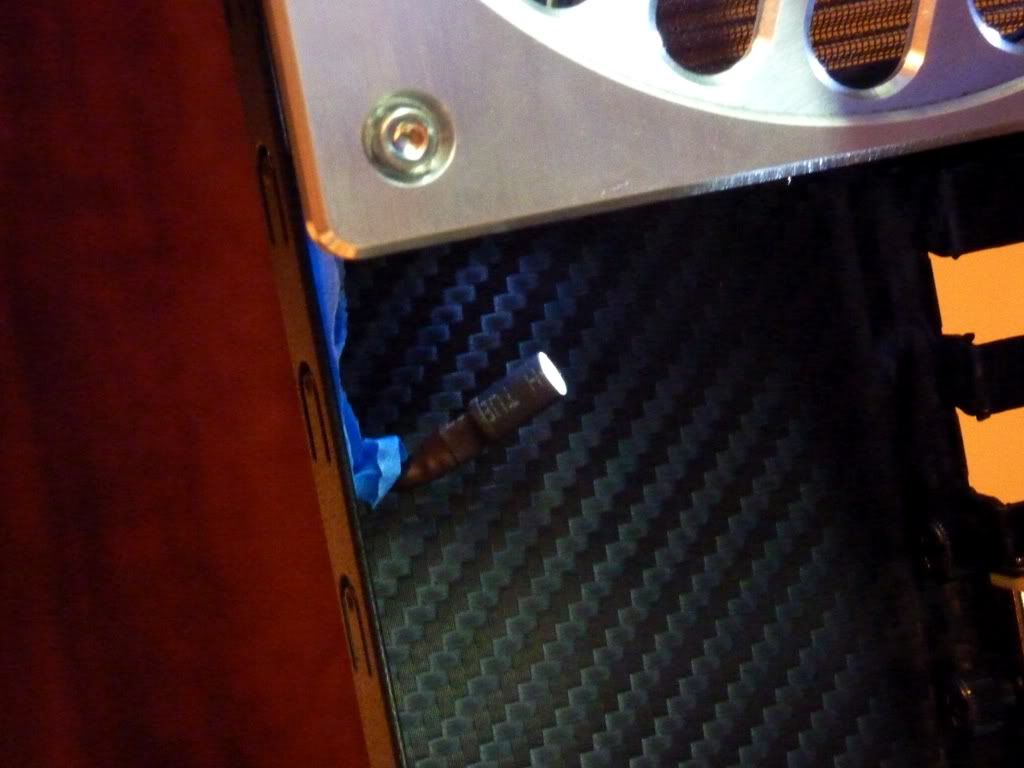
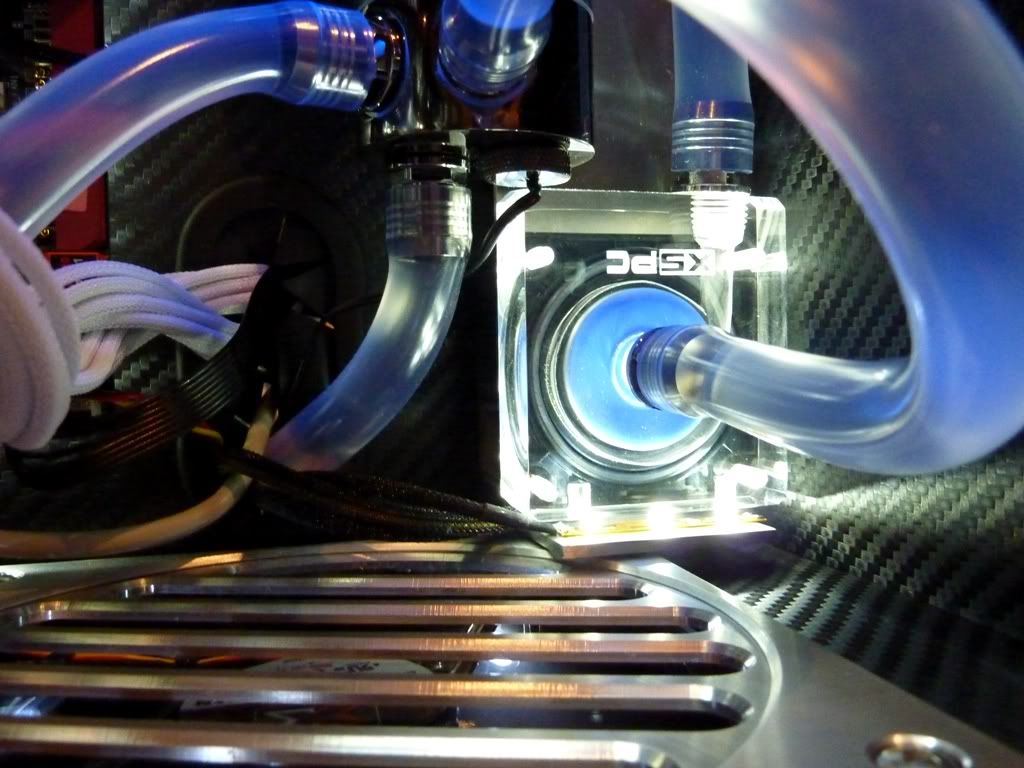
Here is the LED, I put a piece of heatshrink to elimate the 'torch' outer ring you get from such LED's, also side on, it is not blinding to the eye at all, I think its rather clever hehe. it will be secured better than masking tape soon!:
P1020043.jpg


Close up of the CPU block:
P1020044.jpg


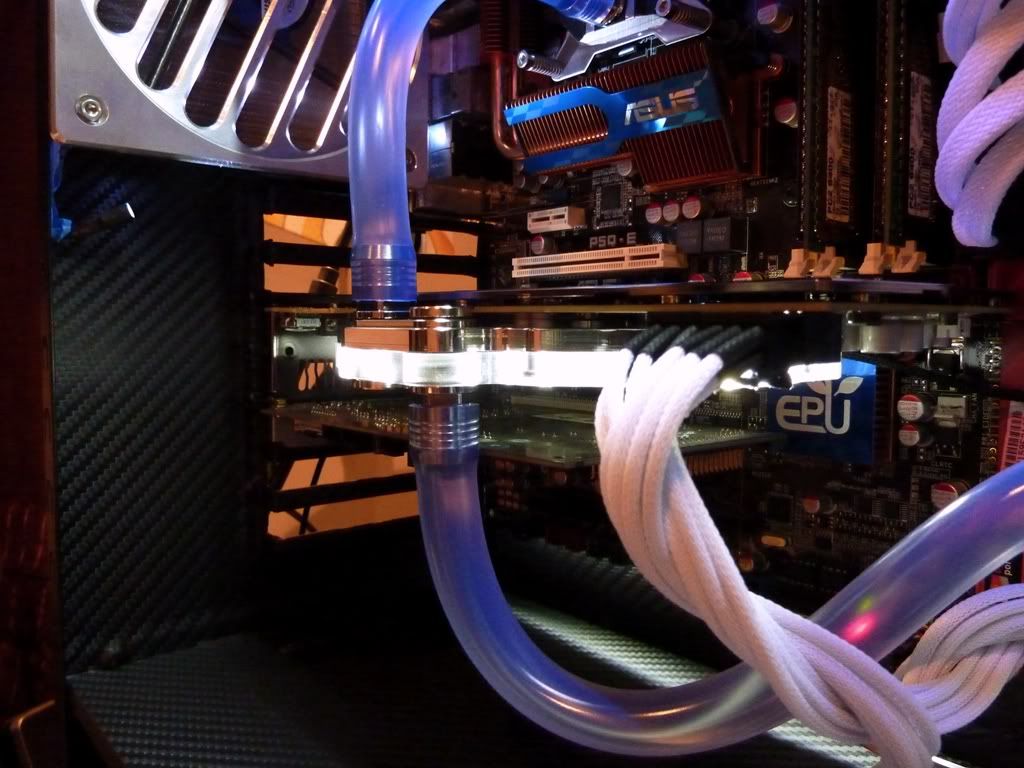
GPU block:
P1020045.jpg


Pump:
P1020046.jpg


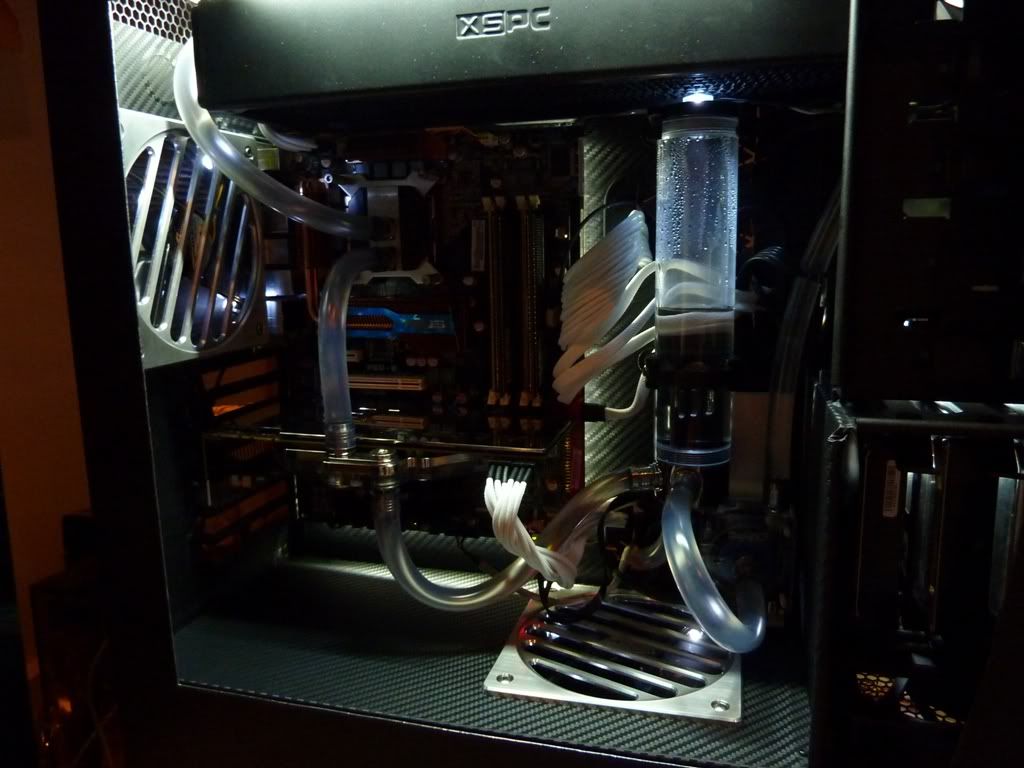
Overall so far:
P1020042.jpg
 
Last edited:
leaves no residue

undergroundgraphics.com

60x60cm is £20

I have £100 of the stuff on this build! that's as much as some people's cases!

then again so is £170 on grills

HOLY adding that up plus the 700D LOL, that's only the case!

very happy with it
 
cheers fellas:)
just wish I had two cards in sli doing the pulse effect, warp core madness!

skyline check out phenoptix.com

I shot a video for you guys but lighting is poor and its basically gash so i'll do another soon.

Having real trouble clearing dust off the acrylic as it builds up an immense static charge with cotton or microfibre and as soon as the panel is on dust is stuck to from the inside!

Maybe I need to earth the acrylic to the window? It was never a problem on my tsunami dream, RIP
 
Last edited:
Thanks guys, guests are rather WTF about the PC haha:)

Got an aquacomputer cable coming so I can finally hook up the pump and control its speed. Should make the system really nice and quiet I hope.

Got some NZXT front panel white braided extension cables too, to make another 'bundle' of white wires at the bottom of the case, should look cool.

Gonna add in one more 6'' UV cathode, the tubes aren't blue enough at the bottom.

Will also try to braid the remaining USB cable for completeness.
And finally I gotta cover the back panel in carbon and squash ALL those wires down! yes I have been running without an entire side panel for months...

Interestingly 3M have just released 'wet look' carbon called 1080 or something. You could do a select few parts in fibre, maybe three or more parts for some kind of consistency.
 
I know what you mean about soap and water from model planes. No you don't do that here, it wouldn't work its pretty tacky but it does give you second chances. Best bet is a cheapo heatgun to make life easier that's what I did:)
 
cheers.
I like hardware but have never gone 'all out'
becomes a bit all consuming, the 470 crunches everything 2D or 3D
 
Build is lovely! Great job.

Just 1 question though, where did you attach the LEDs to on the GPU block?

they are a strip of the surface mount led tape, un-glamourously stuck onto the GPU block acrylic! keep it simple

grills are from the US, all of them £170 delivered inc customs £30 so...
but its makes the build:)

heatgun was from b&q I think, own brand.

Pump is running at 60% power, shuts down below 40%. Taken a nice edge off sound wise:) in fact my old $^*"£% maxtor HD is resonating this case like the tsunami dream! gonna axe it and replace it with some terabyte goodness.

I STILL plan to somehow make little discs of aluminium sheet I have to cover the fan hubs. Then it will look ubah-bespoke I think. Gotta gett off my a$$, OH, and put the other side panel on and cover it in the vinyl I have lol! someone slap me silly
To all the dreamers, plan out then plan some more.
Then DO IT, really worth it. Only you are holding yourself back
 
Last edited:
Just an update.
The internals are going to be upgraded with:

2500K
Asus P8P67 Deluxe
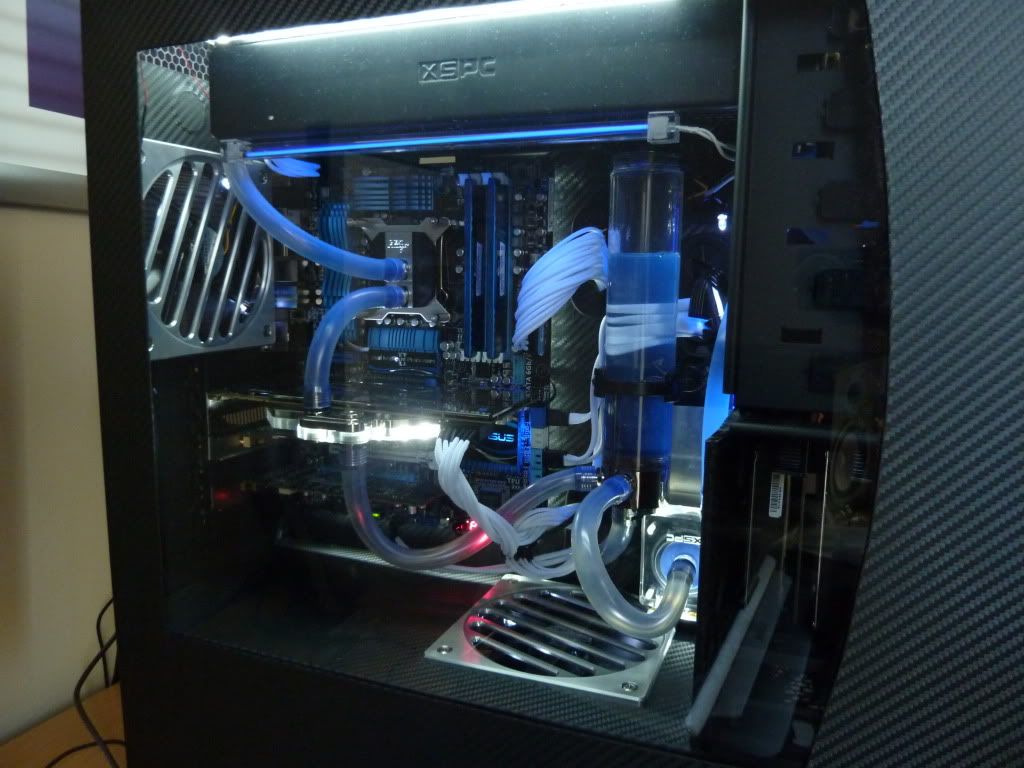
8GB Corsair Vengeance in blue (they really look great and match the asus heatsinks!)

Can't wait to get it all in.
Got some more NZXT braided cables coming too.

I'll update when she's ready:)
 
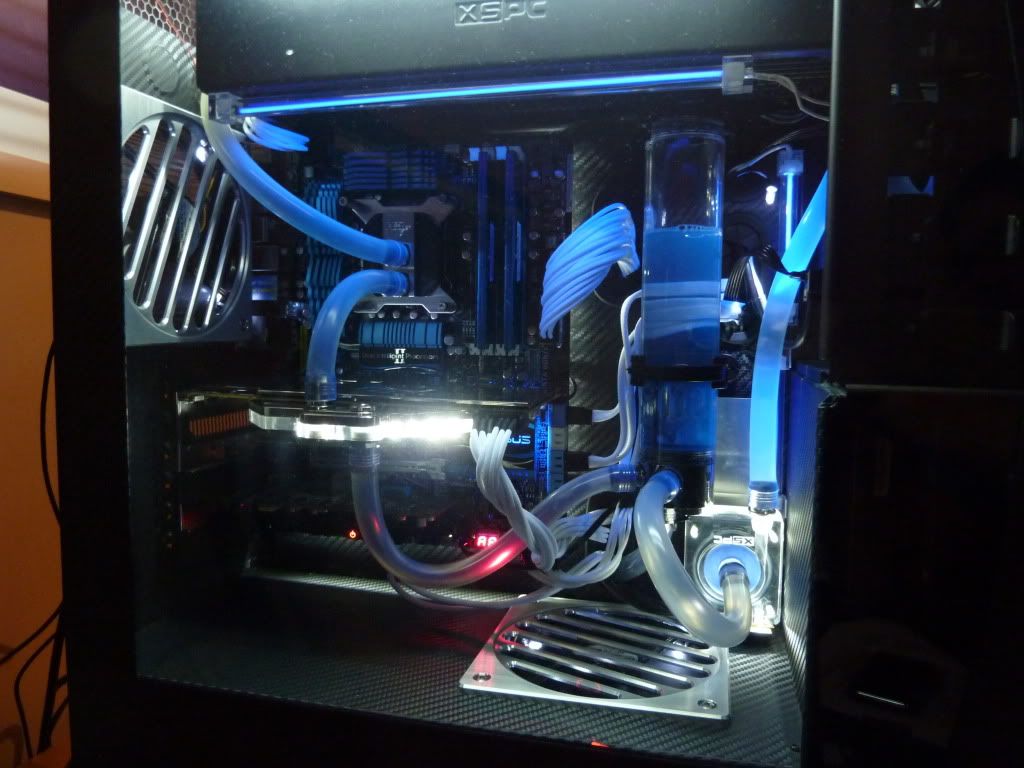
Pic of the new gear guys, i'm really happy with it, it looks epicly co-ordinated in person and just looks like tech inside the case hehe:

P1020577.jpg

at night:
P1020581.jpg
 
Last edited:
Back
Top Bottom