A Window To Wales

First up I'd just like to take 2 minutes to personally apologise to JR. I just assumed, completely wrongly, that Parvum were doing all the work for you to get some quality builds knocked out to drum up some publicity. After seeing some of your builds I could completely understand why they would but I really shouldn't have jumped to conclusions when I didn't know the facts, so I apologise for any hassle that I have caused you because of this. Next time I'll keep my gob shut unless I know, 100%, that what's coming out of it is right!

As I have said numerous times on here and also directly to the guys at Parvum, the anger wasn't due to the time taken to produce the case or because of the delays, it was 100% down to the lack of communication regarding the delays. A simple 'sorry, we're having problems getting this cut, it'll be another 3 - 4 weeks' and everything would have been tidy, but when you have no idea why the case still hasn't been posted and your emails aren't being answered, that's when you start getting a bit wound up and wrongly take your frustration onto the forum.

Right, back on track: So basically it's perfectly safe to remove the capacitors completely, I just wont be setting any records for 'worlds smoothest power supply'. Stupid question (I am a complete noob at this after all!) but after removing the capacitor do I then join the 2 cables that led to it together, just without the cap?

Was hoping to just sleeve the stock cables rather than get into the added expense / hassle of making completely new ones. I did look at getting them ready made but the price was just a bit crazy for some pieces of wire, so thought this would be the cheap / easy option... Well I was right on one! :D
 
Definitely don't join the wires together! If you do, you'll be shorting out a voltage line (eg 12V) to ground so sparks or smoke may follow (or just a blown fuse).
You want to check on the splits and combines though. An 'easy' PSU would have one wire from each pin at the PSU to each pin at the plug. These days it seems fashionable not to make it that simple. You can either research whether it can be rewired straight through or you can sleeve them from both ends so long as you can hide the joins somewhere.
 
Ah, won't be doing that then! Looks like sleeving from both ends could definitely be the easiest option, guessing a small dab of glue on the join could keep things fairly tidy and be more than good enough if it is hidden just behind the MoBo :)

A PSU with simple, straightforward cabling would have made my life far too easy lol

Should be here Monday cheers Mads, really appreciate the response from Parvum this last week and it has definitely restored my confidence in them. Can't wait to get started on it now!
 
I see by the tracking it says monday, a lot of work has gone into the case as you will see, but i understand it does get frustrating at times but there is only a few of us there so trying to split ourselves between emails of which we have loads everyday then cutting packing, designing, which sometimes takes up all the day then back and forth emails for amendments so that can take a few weeks to finalize, so sometimes we just cant reply to a email that day if we have lots to pack up and get ready for shipping, Even my personal build has taken its time because customer's case's come first and always will, but im glad you are happy now, and its moving forward for you, hope to see plenty of pic's of your case. :)
 
A PSU with simple, straightforward cabling would have made my life far too easy lol

Aye, I would have returned the Corsair in all honesty.

Also avoid Cablemod cables. They are very, very thin and thus incompatible with most of the combs I have, or have used in the past.

TBH with what you have spent I would have been tempted to get Shakmods or Pexon on the case.

Well, unless you are completely happy with braiding it all yourself. It's a thankless task tbh. Very boring and very time consuming hence why I usually switch between doing it myself or just buying cables in.

Touch wood all of the braiding on my latest creation was all done before haha.
 
guessing a small dab of glue on the join could keep things fairly tidy and be more than good enough if it is hidden just behind the MoBo :)

I'd probably go with a short length of heatshrink on each of the arms of the Y to keep it in place and the a longer piece to go on the stem of the Y and cover the heatshrink on the arms too. Keeps the sleeving in place on the stem of the Y and also covers up so it looks like one piece rather than three.
 
I see by the tracking it says monday, a lot of work has gone into the case as you will see, but i understand it does get frustrating at times but there is only a few of us there so trying to split ourselves between emails of which we have loads everyday then cutting packing, designing, which sometimes takes up all the day then back and forth emails for amendments so that can take a few weeks to finalize, so sometimes we just cant reply to a email that day if we have lots to pack up and get ready for shipping, Even my personal build has taken its time because customer's case's come first and always will, but im glad you are happy now, and its moving forward for you, hope to see plenty of pic's of your case. :)

Glad to see the case is arriving soon mate! @Mads, can you give a good idea on realistic ETA if say I placed an order for an L1 tomorrow? Not had any response on my emails...
 
You want to try my Nesteq Xero ASM. Nice, straightforward single wires...but they've glued the pins into the shells! Took me ages to work out that I wasn't just hopeless at getting even one pin out! When I eventually persuaded one to come to, it shot out at such speed that it took a chunk out of my finger as it passed. Plan to just cut the ATX plug off and re-pin :D
 
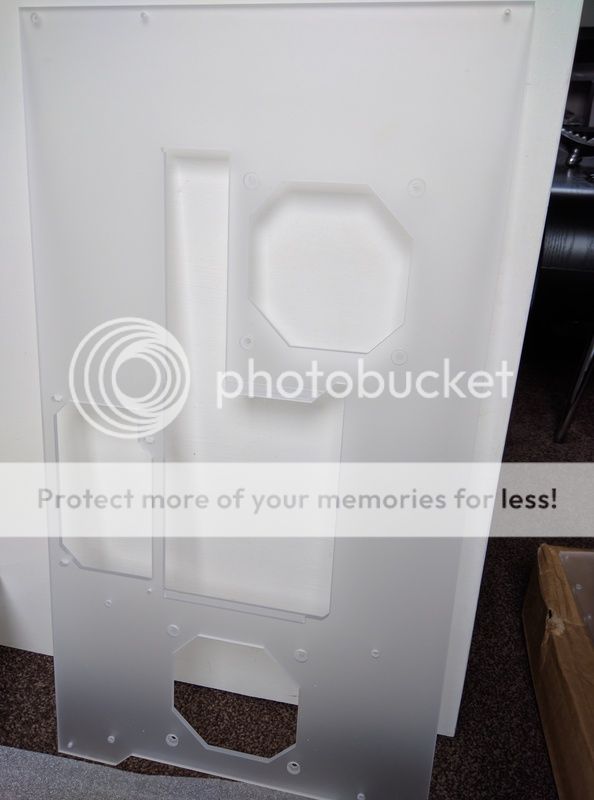
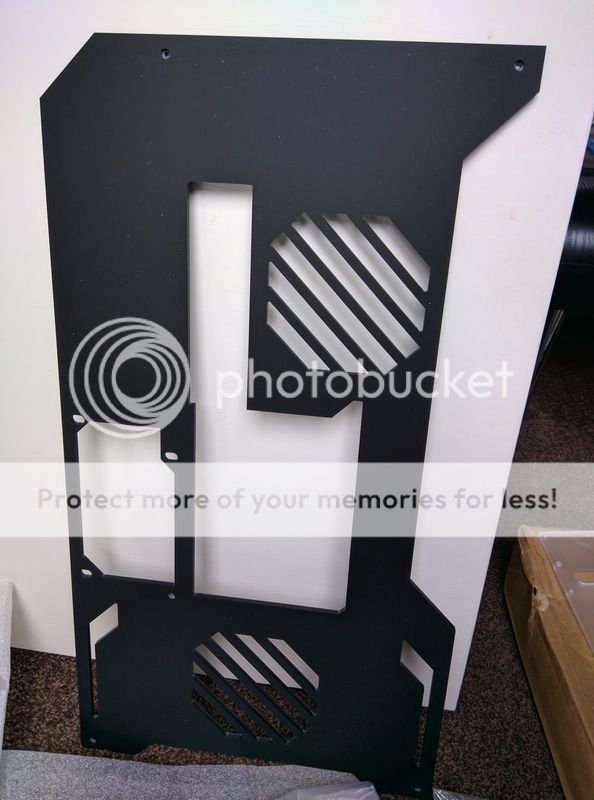
Good news, a little something arrived in the post today! To say I'm happy with how it turned out would be a massive understatement, looks so much better than I ever thought it could :D

With all the detail the guys have engraved into it it's easy to see how this caused them a few headaches :p

IMG_20161114_124541.jpg


But as you could probably imagine with the luck I've been having, that's when things started to go a bit wrong...

IMG_20161114_124744.jpg


IMG_20161114_124818.jpg


IMG_20161114_124845.jpg


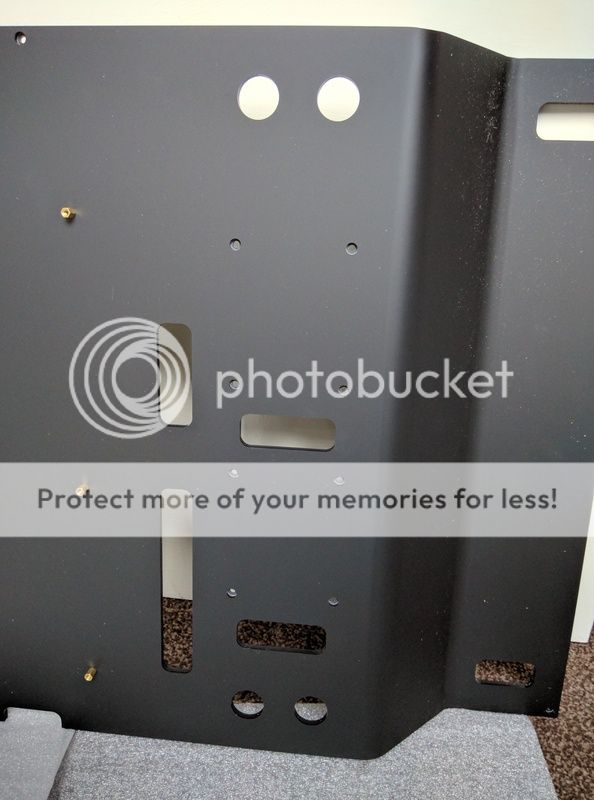
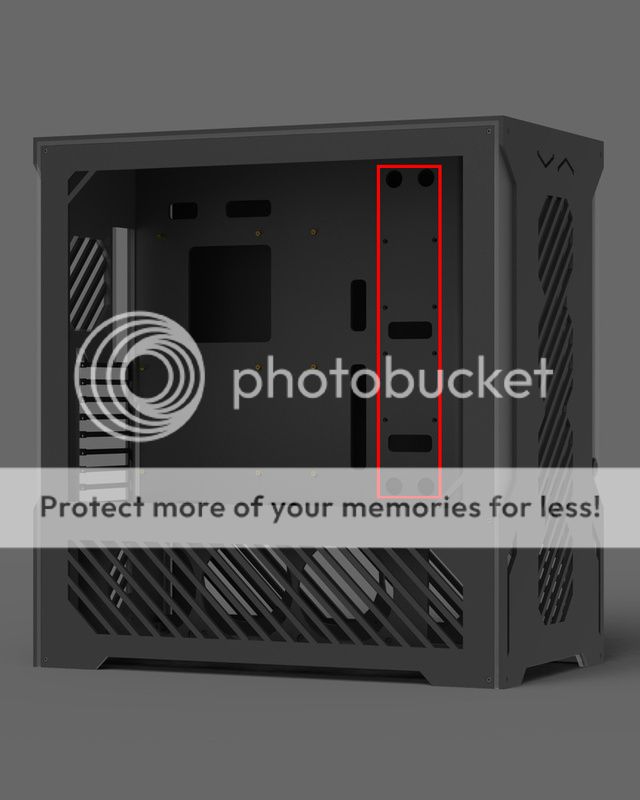
The rear fan was supposed to have been removed (this isn't an issue, I'll happily keep those panels and just put a fan there) but all the reservoir / pump mounting and cable routing holes were also supposed to have been removed as per the pic below :(

ParvumWalesInt.jpg


Guess that means more emails and more waiting for the replacement to be cut and shipped, but never mind, that front panel more than makes up for any delays waiting for a new motherboard tray :D

Also gives me more time to figure out this braiding malarkey... Cheers for all the tips guys, much appreciated :)
 
Not heard anything back yet mate, but guessing I'll have to wait until next time they're cutting a batch of them.

Never mind, all these delays might be a blessing in disguise as it's now very tempting to wait until the Z270 / Kaby Lake CPU's and motherboards are released in the new year before making a start on this, which could then possibly make it worth waiting for the 1080Ti depending on release dates... :)

Oh yes, and does anyone fancy an EVGA SuperNova G2 750W '80 Plus Gold' Modular Power Supply on the cheap? Still determined to braid my own cables but this thing is bloody ridiculous so will offload it and get something a bit simpler like the Silverstone JR recommends. Have removed the braiding from the 24pin and, if I remember correctly, one GPU cable, meaning I can't really return it... Cheap to a good home! :D

EDIT: What's the general consensus on the PSU below? And before I mess up again... Simple to braid?!

My basket at Overclockers UK:


Last edited:
MOAR Deliveries, also contained much (now eaten) Haribo :D

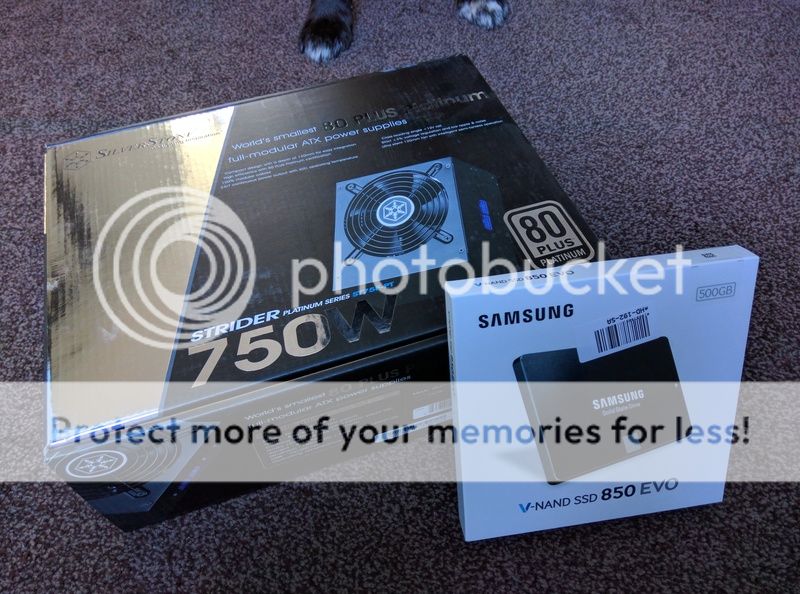
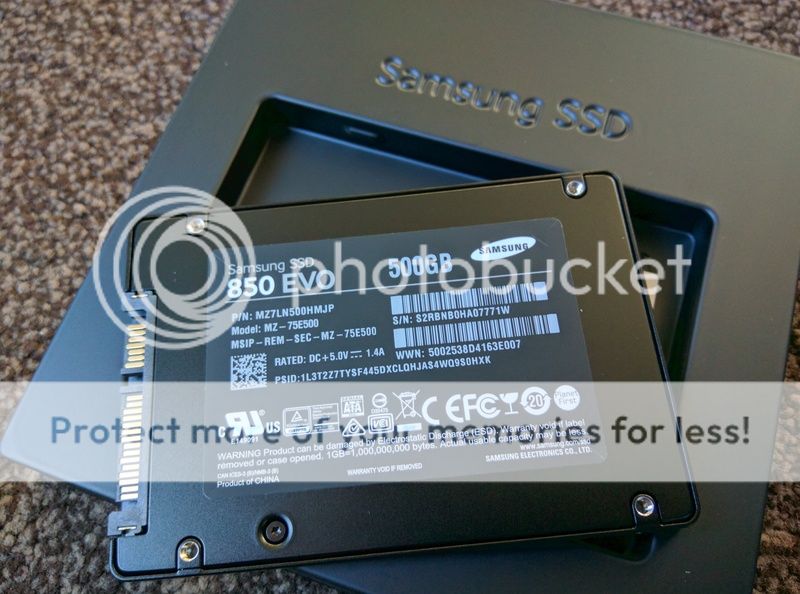
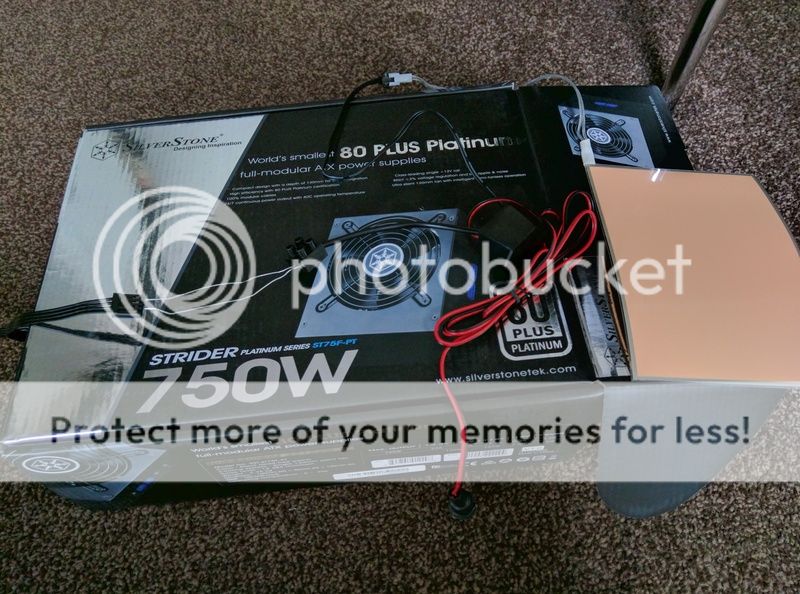
First up a new PSU to replace the PITA EVGA unit, and a Samsung 500GB SSD for storing games.

IMG_20161118_102310.jpg


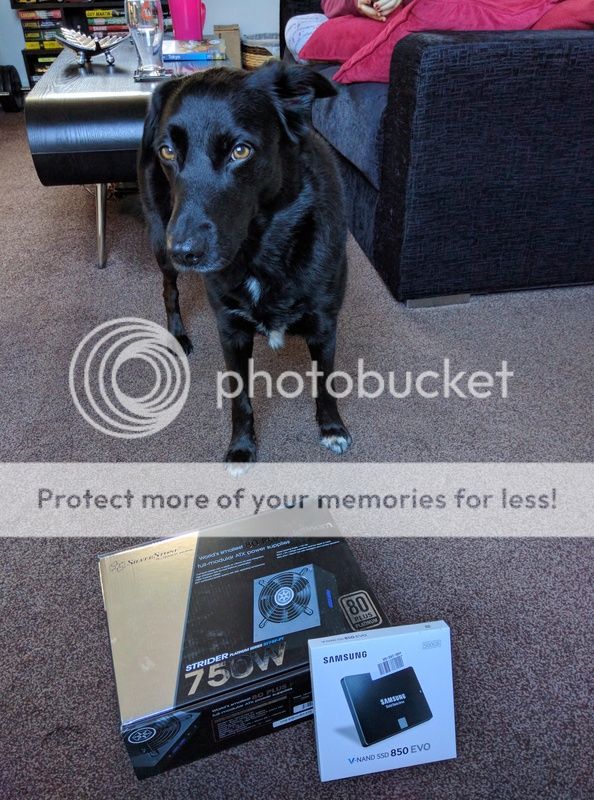
No Sez, not every single parcel that enters the house is food for you... #GreedyMutt

IMG_20161118_102250.jpg


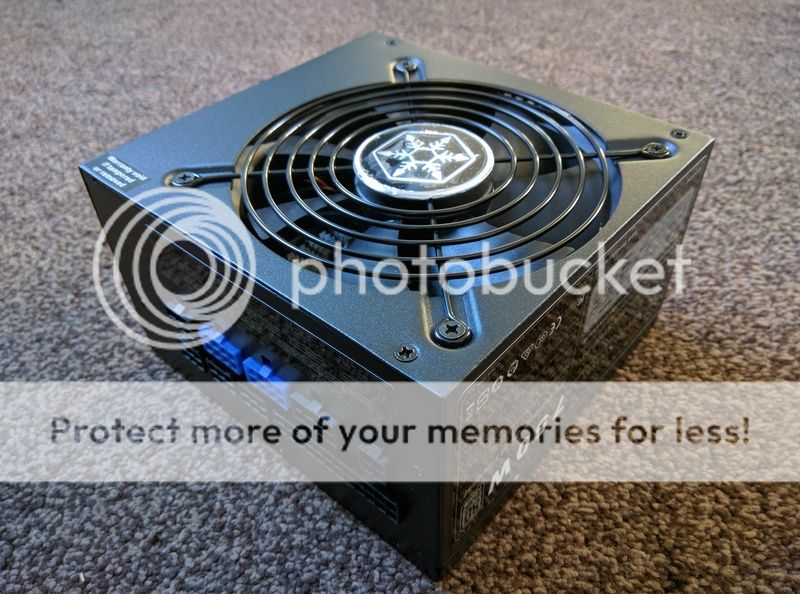
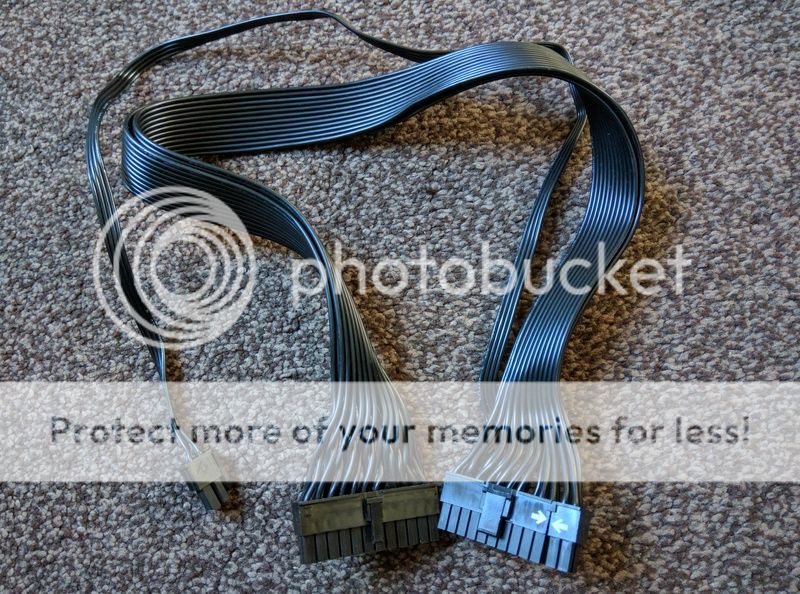
Impressed with how small the Silverstone PSU is. Also, the reason for the change, SENSIBLE CABLES! :D

IMG_20161118_102810.jpg


IMG_20161118_102559.jpg


Mmmmmmm, 500GB of SSD goodness

IMG_20161118_103029.jpg


IMG_20161118_103052.jpg


Now onto the bit I need help with... I know I know, always needing the help of people less stupid :D

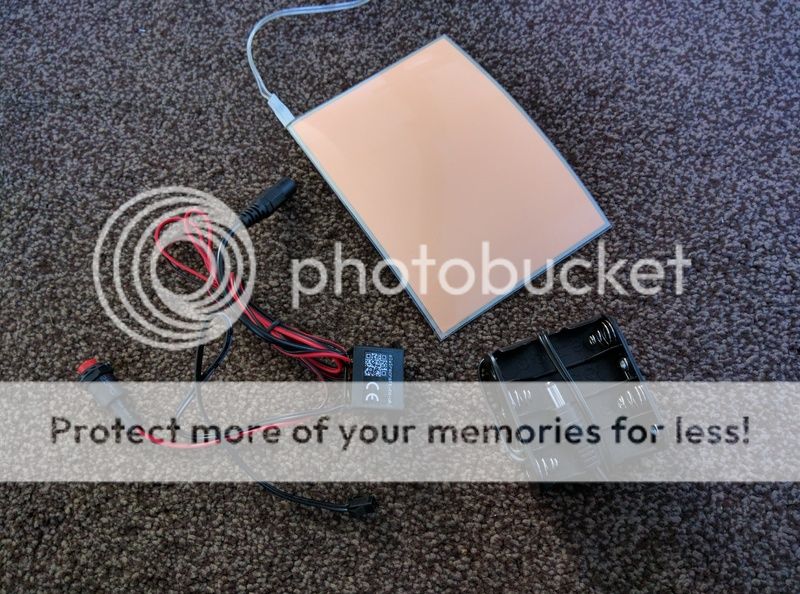
Got a small EL Panel to try, just need to wire it up with a Molex connector now...

IMG_20161118_101328.jpg


IMG_20161118_101419.jpg


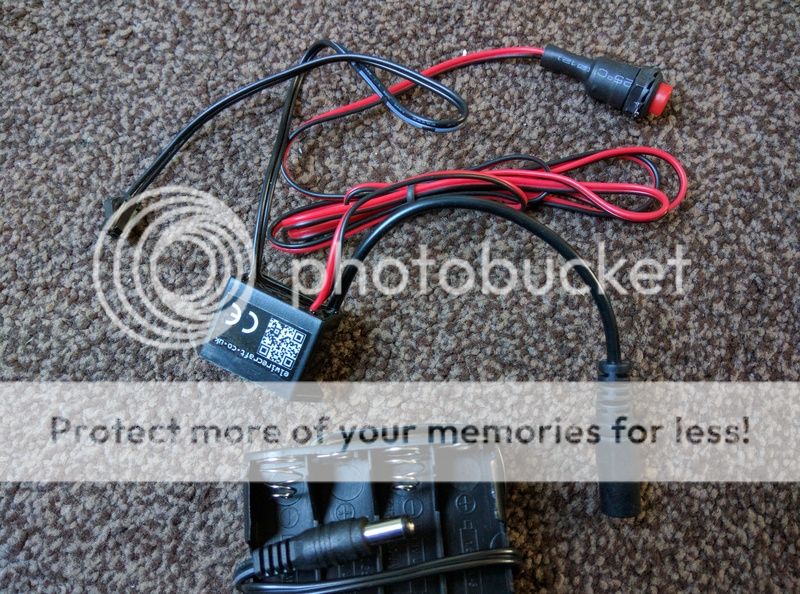
...Am I right in thinking that I just need to cut the bottom right connector off (bottom picture), then put a Molex connector on that end? Pretty sure I've got it right for a change but always safer to check! :D
 
Bloody hell, I got one right! Figured that was correct but just thought I'd check before ruining it with stupidity :)

Now to see if they're bright enough to work through the frosted acrylic before ordering a big one for the floor panel...
 
Right, so now Andy has kindly confirmed I'm unlikely to blow anything up it's time to run a quick test, just to see if my ideas are plausible...

First up a bit of ghetto wiring using paperclips. Happy to say both the PSU and EL panel survived and are both still in good health :D

IMG_20161118_140644.jpg


Then time to check out if it would give off the right amount of light to make the dragon glow without it being unbearably bright...

IMG_20161118_140938.jpg


IMG_20161118_141004.jpg


SUCCESS! That's the power light sorted then :D

Just wish I'd bought a slightly bigger EL panel to use as a tester, for obvious reasons :(


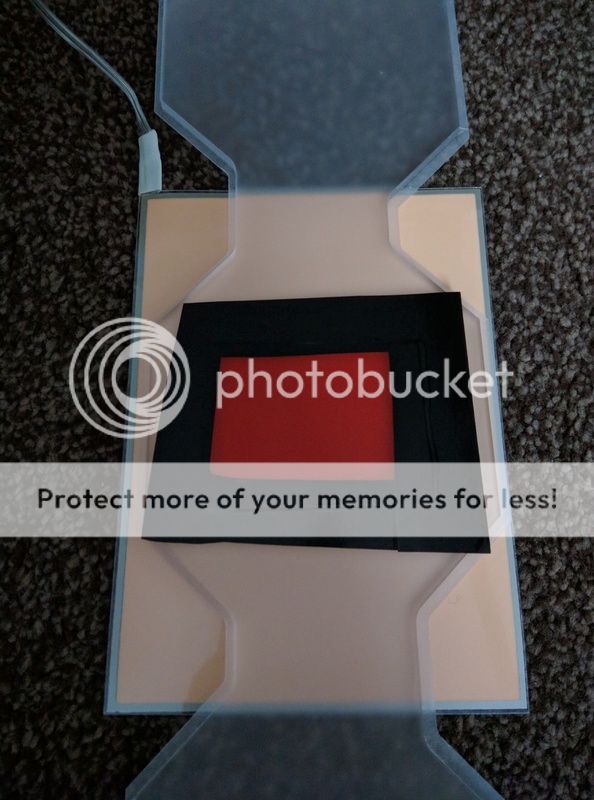
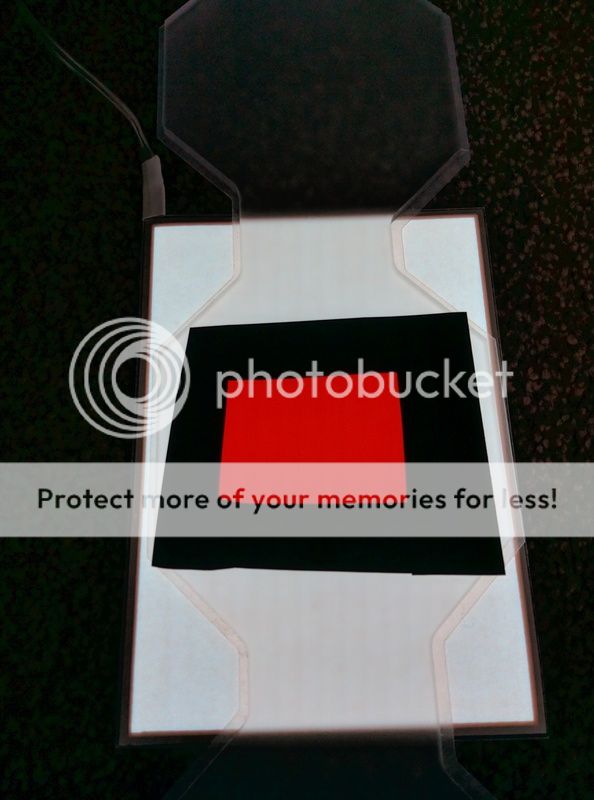
Then to use one of the off-cuts Parvum threw in to check if the floor design idea was going to work...

Floor_1.png


IMG_20161118_141539.jpg


IMG_20161118_141550.jpg


Oh yes, quite happy with how that worked out. Also have a deeper red vinyl that will be used for the actual floor as this tester was just a bit light. Not quite as light as the pictures show, but still, deeper red would definitely look better.

Now to save up for the horrendously expensive larger EL panels...
 
Then time to check out if it would give off the right amount of light to make the dragon glow without it being unbearably bright...

Surely you'd want the dragon to scorch your face off! :D

Looks nice. Glad nothing went bang with the ye-haw'd paperclip job. Was going to reply earlier but saw ALXAndy had beaten me to it. Blasted customers keeping me busy with paid work! ;) :D
 
Haha cheers mate, you wouldn't believe how massively happy and ****ed off I was at exactly the same time when the dragon looked awesome but the test panel was millimetres too small... :D

There was a bit of coil whine as well like you warned there could be, but luckily I don't think it's enough to actually hear from where the PC will be placed. If it was an ITX or MATX build going to sit on the desk next to me I'd say don't do it, but for a PC sat on the floor under the desk I reckon a couple of fans running 600rpm and you're not going to hear it...

Now just need to grow some balls and order the components needed to get this done, too caught in 2 minds atm re Z270 & 1080Ti... Will be highly intoxicated next Wednesday as my local is closing so hopefully that will swing it lol
 
Back
Top Bottom