A Window To Wales

Always a dangerous combo! :D

I believe (in my ignorance) that there are two different type of transformer for EL panels. Potted and non-potted (IIRC). Potted have been set in resin so I think it quietens them but they're a bit bigger and heavier. Might be worth a read-up.
 
Will definitely have a look into that one cheers mate, although with the price of the larger panels there's a good chance I might just go 'cheap'! The other thing I thought of, if they're going to be out of sight anyway, was to make a little block out of expanding foam to deaden the noise... Sure someone will tell me why that's an awful idea but in my head it's worth a go :D
 
From the 30 seconds I spend playing with the small EL panel they're good mate, and if they don't overheat in 30 seconds then they won't in 30 minutes will they... :D

...2 chances and we'll soon find out!
 
From the 30 seconds I spend playing with the small EL panel they're good mate, and if they don't overheat in 30 seconds then they won't in 30 minutes will they... :D

...2 chances and we'll soon find out!

Supposedly nail varnish or better hot glue gun on capacitors reduces whine... I've never tried it despite my old 980Ti screaming like something not appropriate for the forum. Glue gun is cheap as hell and I can see how it would deaden the noise, also peels off pretty easy if you find it doesn't work
 
Will give that a try on my little test one next week cheers Smffy :)

Now onto stupid question number 164818: Why am I finding it extremely easy to remove the pins from one end of the PSU cables, but impossible to remove from the other? They're lose enough and wiggle about but I can't seem to get a single pin out of the one end... Will paint my face red in anticipation of the probably extremely simple thing I'm doing wrong :D
 
Never understood why all modular PSUs aren't like the Strider - same plug on the PSU as on the motherboard.

My Nesteq PSU rather helpfully has the pins glued in or something. If that's the case, you can get them out provided you're willing to assume you've got the tool in enough and properly positioned to depress the wings and then pull hard enough to break the glue....but the risk is that the wire breaks free from the pin or that when it suddenly breaks loose, it shoots out like a bullet from a gun and lacerates any part of you that may be in the way. This is why I bought a crimper, some ATX pins and some new ATX plugs. Because mine is only semi-modular, I plan to just lop the pins and shell off the end of the wire, re-pin, sleeve and re-shell. Its also going to be a 24-pin ATX plug rather than the 20+4 plug. I did the same as with the PCI-E power plugs; started as 2x 6+2 and is now 1x6 and 1x8.
If you do go this route, because yours is fully modular, you may as well chuck in some 18AWG wire in black or white and an extra shell so that you can make it up in your own time and to the length you want rather than breaking the computer until you've finished. For ATX pins, I can recommend the E22 crimper.
 
Awesome, cheers Cenedd. Will try a bit more brute force but if they do break will do as you said and order a crimper, some new pins and a plug. Was hoping it wouldn't come to that but never mind, always good to have a plan E :D

Would like to use the original wires just to cut a tiny bit of the expense, but IF they break when trying to remove them I'll use this as an excuse to cut the wires a fair bit shorter as well :)
 
In exactly the same boat mate, it sounds stupid but I binned my cheap tools and just bought the MDCP ones and it makes a real difference. Some are easy some not, the ones in the not camp I pretty much pulled out by force (stick some grippy gloves on to save your hands!). If the molex gets stuck in it you can take a small screwdriver and just push it out from the front down, i'm doing the same I think reusing the PSU wires and connectors.

The place I got my stuff from (not the usual) sent a guide from MDCP, the main tips from referencing that/experience/swearing at it would be:

  1. Try to keep the connector and wire flat so you are pulling stright out not at an angle (avoids the various pokey bits digging in)
  2. Never use force on the molex tool, the MDCP tool has a stepped end so you know its in as far as it should be everytime
  3. Stubborn pins I personally found if you push/pull to check its loose, make sure its sitting nice and square in the socket like [] and then push it forward (should move about 1mm) then insert the tool and pull out flat

But yeah some of them are tough as hell... If you break the wire its not a problem because mostly they are way to long anyway!
 
Still not found the time to get on with the braiding unfortunately as thing's have been a bit busy the last week or 2, and doesn't look like it's going to get done until nearer Christmas... Hopefully this side of it though! Will keep those things in mind when I do finally make a proper start on it cheers Smffy :)

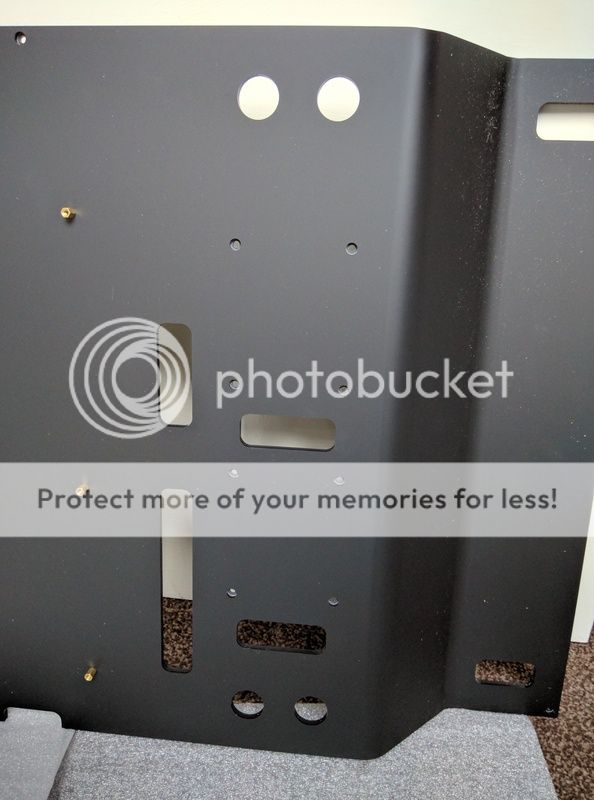
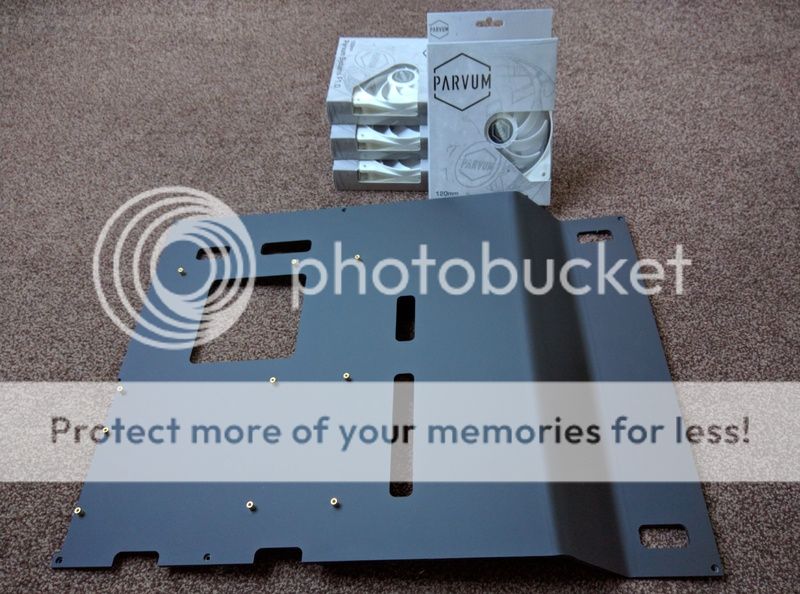
One small update from today: New panel arrived from Parvum and also included some free fans. Cheers guys :D


OLD:

IMG_20161114_124744.jpg


NEW:

IMG_20161128_140602.jpg


Ahhhhh, much smoother! Hopefully things will start moving along a bit quicker in the new year, especially if OcUK have some bargains in the sales :)
 
Things I learned today...

IMG_20161130_135424.jpg


IMG_20161130_192351.jpg


IMG_20161201_100201.jpg


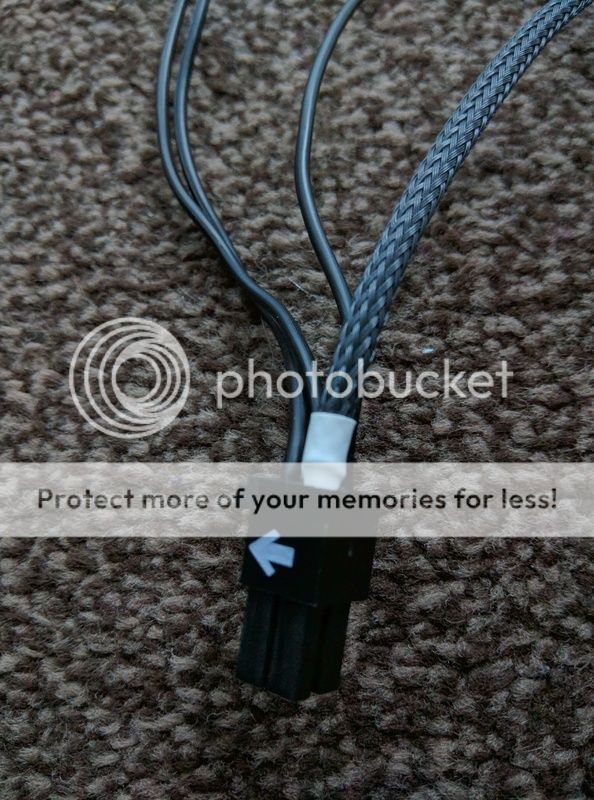
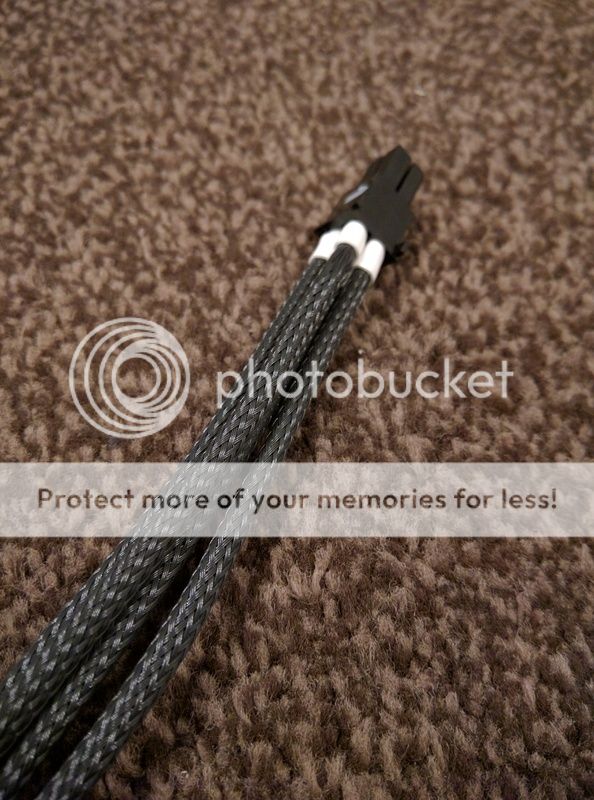
1: Don't braid cables when drunk if you want them to be tidy. Looks like I'll be re-braiding quite a few of these :(

2: Order enough braid to do ALL of the cables, especially when OcUK are low on stock... Gotta wait for more stock to arrive now before I can fix the mess and complete the job :mad:

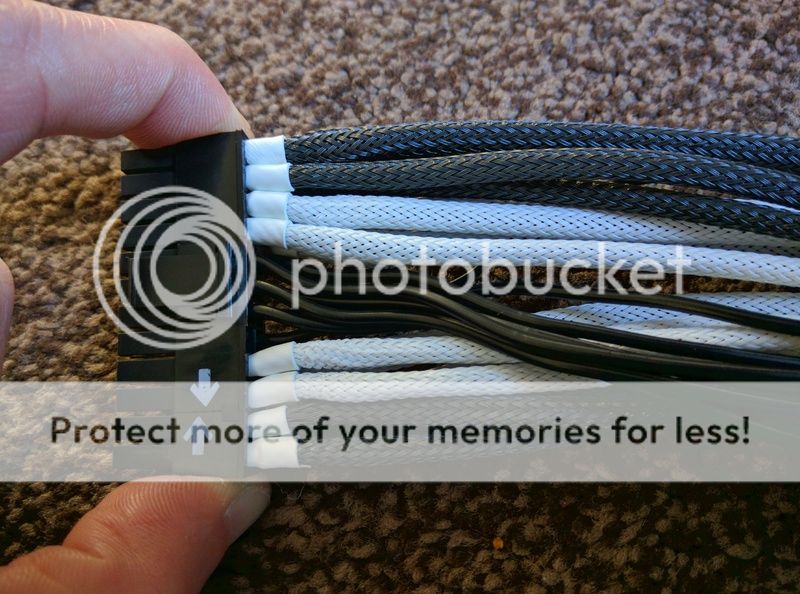
I know the white heat shrink won't be to everyones taste, but fancied doing things a little different :D
 
Some look a little twisted but that's probably the orientation of the pin - or the shrink around it.
If you didn't do it drunk, you'd never do it - these things only seem like a good idea when you're half-cut! ;) :D
If you can't get the heatshrink all the same length, try the shrinkless method. You can either heat with a lighter and squish it into the end of the pin with your fingers or JR23 says he does it with a bit of heatshrink that he then trims off afterwards leaving the melted end of the braid squished into the end of the pin.
 
I actually quite like the look of the heat shrink, thought I'd go with white instead of the usual black just to be different and add a bit of interest to an otherwise boring part. Definitely going to have to redo a couple of them though so they're the same length, probably should have marked them so it would be easy to get them the same but logic doesn't work after a few beers! Don't think it helps that some have a pair of wires in, made it a touch more difficult to get them looking identical to the others. Also going to look odd where there's a wire missing so might have to put a false one there just to make it symmetrical :)
 
I can see why some have gone a bit uneven, notice the weave is coming apart a little? As soon as you trim the sleeve just toast the end ever so slightly with a lighter - if you don't it just wants to come apart and you end up with an inconsistent width which effects the shrink size.

Not sure how you did it but if you strip the wire back a bit longer you can crimp the sleeve in the second set of fins, melt the sleeve a little with a lighter to neaten it down (not needed though) then you can heat shrink it once you've done all the cables. To be 100% clear, instead of crimping the wire insulation in the second set the cable is trimmed a bit further back and you crimp the sleeve instead to get a nice neatly gripped sleeve.
 
Top tips cheers mate, will give it a go once I've got my hands on some more sleeving :)

This build is definitely going to be a learning curve, just wait until I start on the loops... :D
 
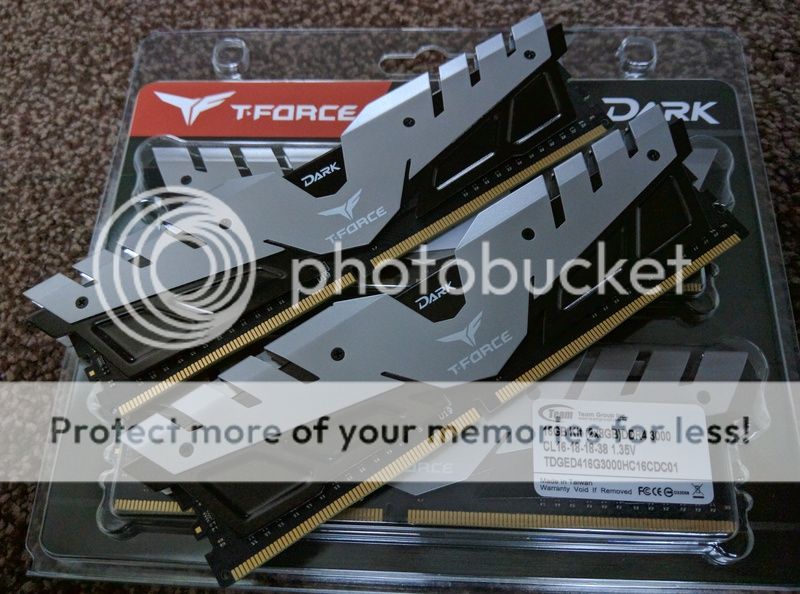
Not had the new sleeving delivered yet so unfortunately that's still on hold, but Santa (Jeff @ DPD) was nice enough to bring me a little gift to drool over while I'm waiting...

IMG_20161202_151213.jpg


IMG_20161202_151148.jpg


IMG_20161202_151338.jpg


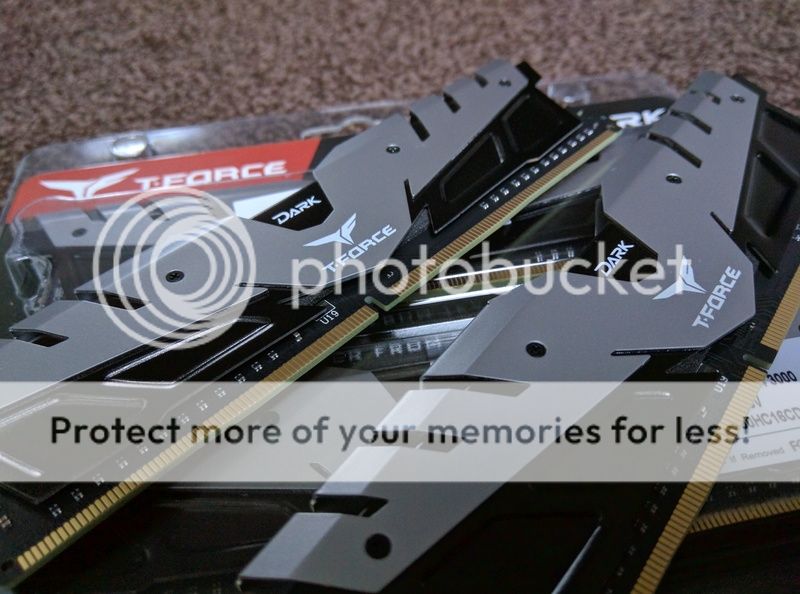
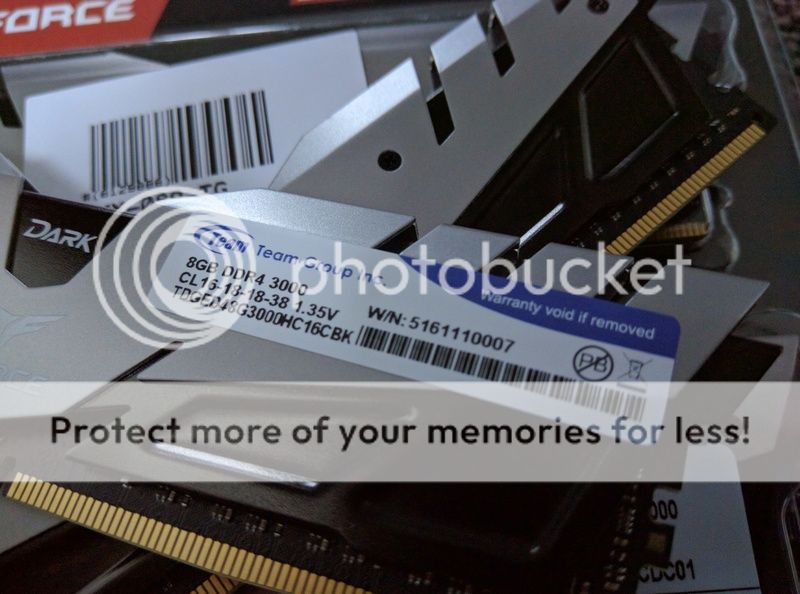
32GB of sexy 3000MHz DDR4 RAM :D

Was originally planning on using 32GB of 3200MHz Corsair RAM but OcUK had these beauties on sale and I couldn't resist hitting that order button :)

Will be painting the 'wings' white once they've been tested, so bye bye fugly warranty sticker. Also, if it voids the warranty to remove the sticker, why do they have to use such an awful sticker? Seems a bit mad to completely ruin the look after designing such a nice heat spreader.
 
I've got some similar RAM in my system because I bought it for a friend's build and it was too tall. Good RAM but just check that in your [imfamous] case it doesn't hit the top rad. You've probably got more space and that looks a little shorter....but worth a check before you go painting it.
 
Yeah there's a ton of room in the top of these cases mate, even in push/pull it should clear easily and I'm only going with push :)

Must admit I'd never really paid much attention to Team Group but after looking through their RAM on OcUK I'm impressed with the looks, now to see if it performs! Certainly makes a nice change from the same old Corsair like normally use :D
 
I bought an 8gb kit of 2100mhz DDR3 from Teamgroup ages ago for a project. Any way it ended up in my Xeon rig and I like it. Straight to XMP and no issues with stability or anything else.

Corsair always used to be my "go to" ram but it's gotten pretty expensive.
 
That's good to hear, have always defaulted to Corsair myself as well but always nice to try something different. Only once in the past have I moved away from Corsair RAM (think it was to Kingston) and it failed, so RMA'd it and went back to Corsair! Hopefully have better luck this time...
 
Back
Top Bottom