A Window To Wales

Not really any point in using thermal tape tbh as the 'heat spreader' only really touches a tiny part of the chips anyway, so it's worse than useless heat wise. If it wasn't a theme build I'd almost be tempted to leave em off, might have to do a 'tech' build next time with naked RAM :)
 
That is thermal tape and believe it or not the thinner it is the better. Ram doesn't really need spreaders per se, they just put them on to make it look better.

At least you got them all off without damaging any chips :D

For future reference use some vinyl backing to cover the tape, then you can re-use it :)
 
Never would have thought of that but that's a top tip, will remember to save the leftover backing next time I'm using the plotter!

Yeah I was a bit worried about using too much force but luckily with a bit of heat they came off very easily, so not much threat of pulling a chip off the board :)

Surely with so little of the heat spreader actually touching anything it isn't really doing a lot even with thermal tape? Just assumed it would have a flat surface to properly cover the chips.
 
The max contact you can have is the area of each chip - so not a lot. The tape will hold the sink in place and aid transfer of heat by filling the gap. Shinyness doesn't necessarily mean good; what you want is flat and the two are not the same (think mirror ball; shiny but not flat). Thermal paste (or in this case tape) should fill the irregularities to get best contact. You need thicker tape/pad to fill bigger gaps or less flat surfaces but if both are flat, the thinner the better as the paste/tape/pad isn't a perfect conductor of heat, just designed to fill the ripples to transfer heat between the parts that don't make contact directly.
 
If it won't stick then stick it down with masking tape dude :) it stops anything else sticking to it.

I had some Team Group sinks for ages and ages in orange then at some point realised I would never use them again so I binned them.
 
Aye, just found it very strange that the heat spreader had those bumps on the rear, meaning a lot of the chips area wasn't even in contact with the spreader. Very odd decision and it would probably run cooler naked with better airflow than being blocked in but not actually in contact with the spreader.

Left em all sticky side up for now hoping they'll remain sticky enough to reuse, just need to keep the dog away from them! No big deal if the tape does need replacing though, just adds another small delay to the build... Getting used to those! :D

100% guaranteed you'll be needing those heat sinks now, happens every single time without fail!

Talking of orange themes, I'm really liking the look of these ASRock boards for a future black & gold / orange build... Asrock Z170 Extreme4 Intel Z170 (Socket 1151) DDR4 ATX Motherboard


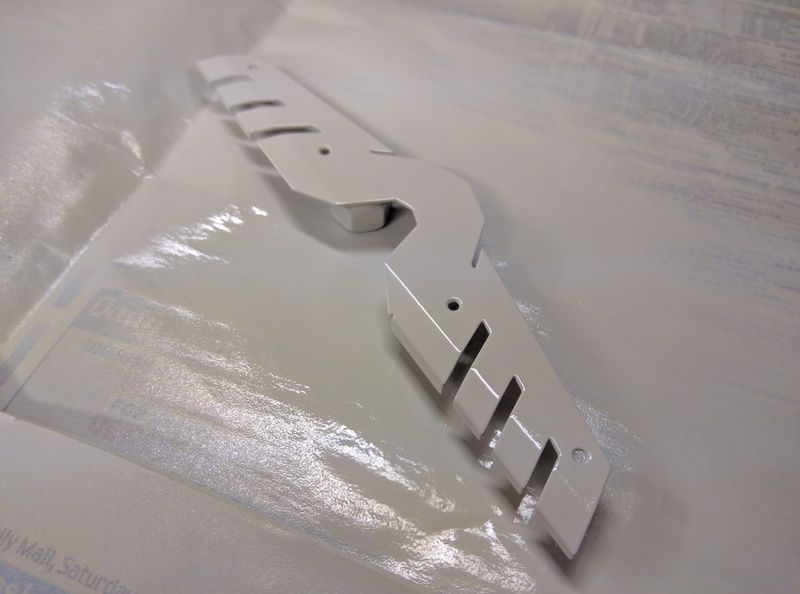
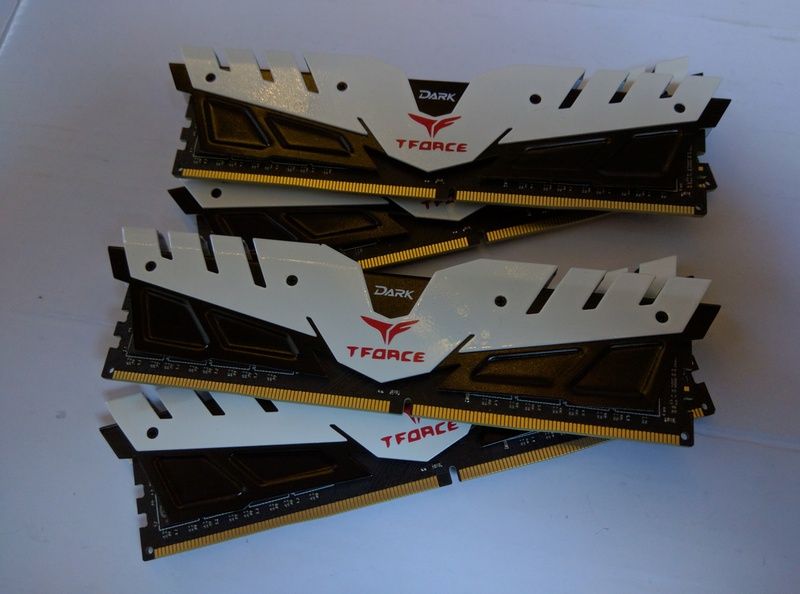
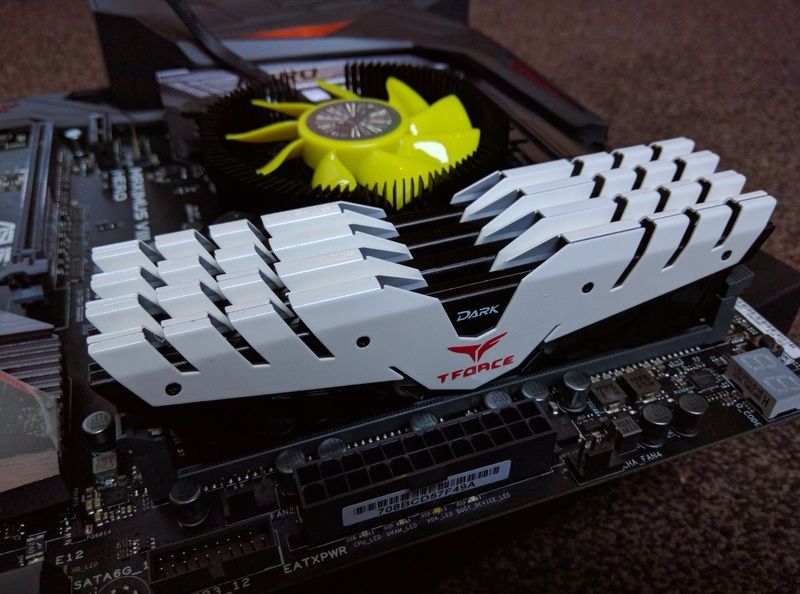
Not had time to paint the motherboard parts yet, but did find just about enough spare time to get the RAM finished...

Shiny paint is shiny :cool:

IMG_20161211_160833.jpg


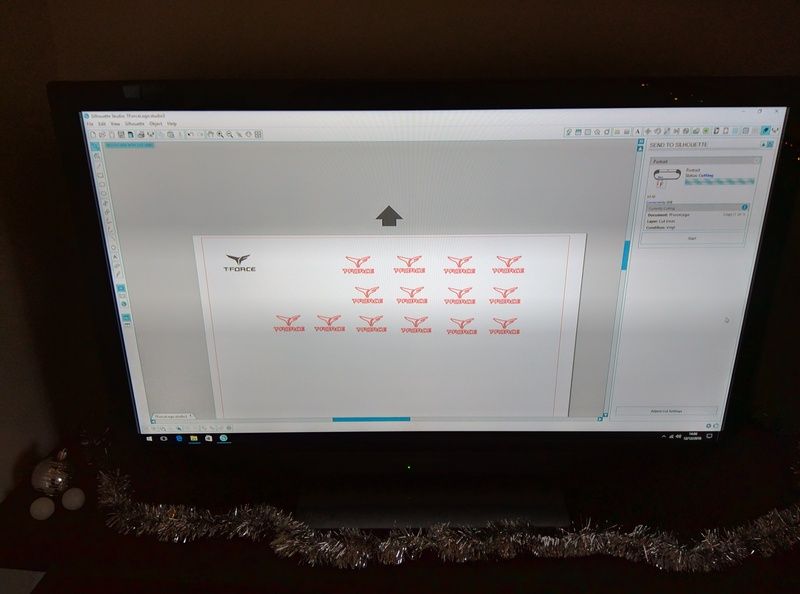
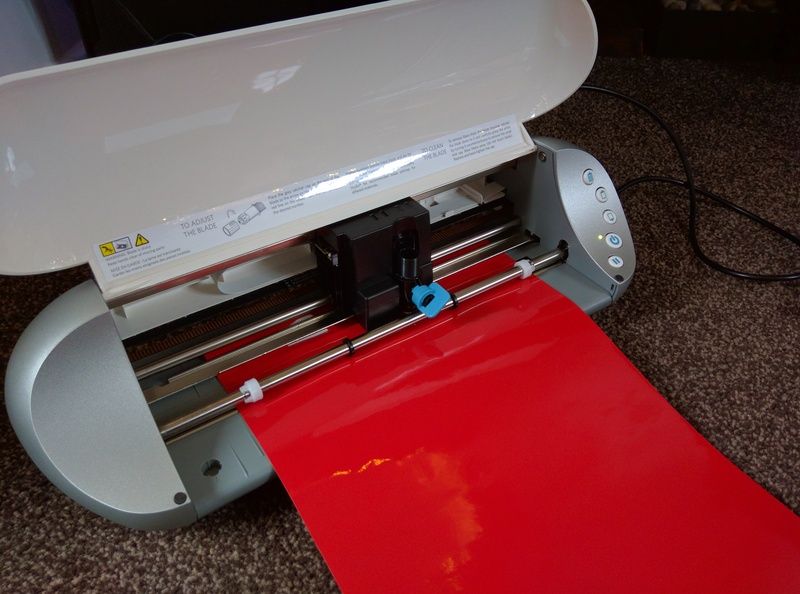
Now for the 'fun' part, cutting and fixing some extremely small stickers. Only needed 8 but you just know a few are going to get broken, so cut some spares!

IMG_20161212_140818.jpg


IMG_20161212_140830.jpg


Not perfect, but both the plotter and my eyes really start to struggle once things get this small.

IMG_20161212_151507.jpg


A few on the wonk so it's lucky that only 2 of them will be visible, wonky ones will be placed out of sight in the middle slots :D

IMG_20161212_152235.jpg


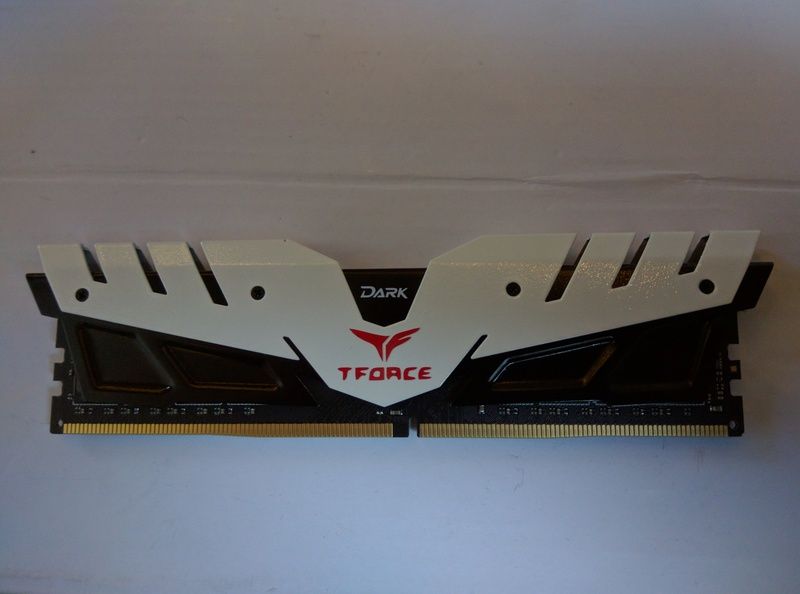
Yep, overall I'm quite happy with how these turned out. Once the motherboard cover is painted the same and the proper CPU cooler is used it should look pretty decent :)

IMG_20161212_152658.jpg
 
Whats T-Farce? Just kidding ;)

Looking decent mate, looking forward to seeing the rest of the board painted up! Stripping mine down again later on so spray paint all round!
 
Haha cheers mate, not sure what struggled most between the plotter and my eyes but happy with how it came out in the end. Was a nightmare to get the vinyl on straight as there isn't a single straight edge that can be used to centre / level it up, so was a few 'chuck it on and hope' moments :D

Surprised you're not in a padded room hugging yourself by now after all the times you've had to strip and rebuild, must have the patience of a Saint!
 
Some news I'm sure none of you were expecting: I've done something a bit stupid! :D

TP.jpg


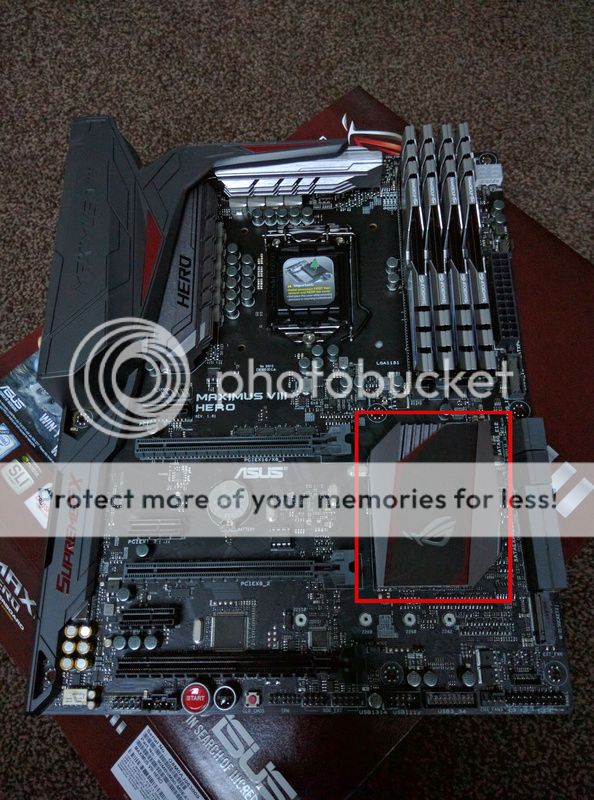
Does anyone know what thickness of thermal pad Asus use for that heatsink? Took the heatsink of to paint and kind of lost the thermal pad... And no, I have no idea how that happened either!!
 
Not going to be definitively helpful....but I'm very trying! :D
It's presumably a fairly flat surface? Assuming that, normally you want the thinnest possible pad so that it makes good contact. If it's totally flat and the heatsink makes good contact, I'd have thought it'd be using paste rather than pad. If there's multiple components being contacted, it comes down to the variation in height between them - that ought to be what the pad is for, to absorb the height difference so that the heatsink makes contact with all. In that case, if the height difference is within ½mm, a ½ mm pad should do. If not, a 1mm. The thinnest to absorb the height difference.
 
Nice explanation cheers mate :)

Was definitely a pad on there rather than paste, just have no idea where it has gone! :D

Will order a ½mm Thermal Grizzly pad for the M.2 drive and see if that fits, but I'm pretty sure the one on there was quite thick so was wondering if it was maybe 1mm or even 1½mm thick, but as the surface is flat and it's only for 1 chip I'm guessing that rules out 1½mm?

Really have got to start being more careful with things, spent have the time reassembling the RAM looking for those tiny black screws on the floor!
 
The other consideration is mounting the heatsink. It could be adhesive - in which case you'd need to find an adhesive pad. It could be screwed - in which case, you need to check if there's a minimum thickness of pad required or whether you can just do the screws up more to narrow the gap. In other words, do the screws bottom-out leaving a 1mm gap (½mm pad therefore no good).
 
It's screwed on so definitely no need for adhesive. I've got to go chuck another coat of paint on it soon so will check out if the screws bottom out on anything. If it will screw tight I guess it's good to go with the half mil, if not I'll order some 1mm to be safe. Cheers once again for your help and sorry for all the stupid questions :D
 
Sometimes stuff happens. Just replaced an Aquaero for that reason. Turns out the three-legged capacitor that split down the middle was important for making the touch-screen not rapidly click in an irritating fashion. Irony was that I was trying to bend its legs slightly so it wouldn't get crushed by the heatsink.

Besides, you know what they say: you can idiot-proof something....but there'll always be a more talented idiot! :D
 
Ouch, that's a lot of expense for one tiny capacitor :(

Can you remove the screen from the broken one and use it as a slave, or would it still kick up issues?

Thank God there'll always be us modders to test their idiot proofing skills to the limit :D
 
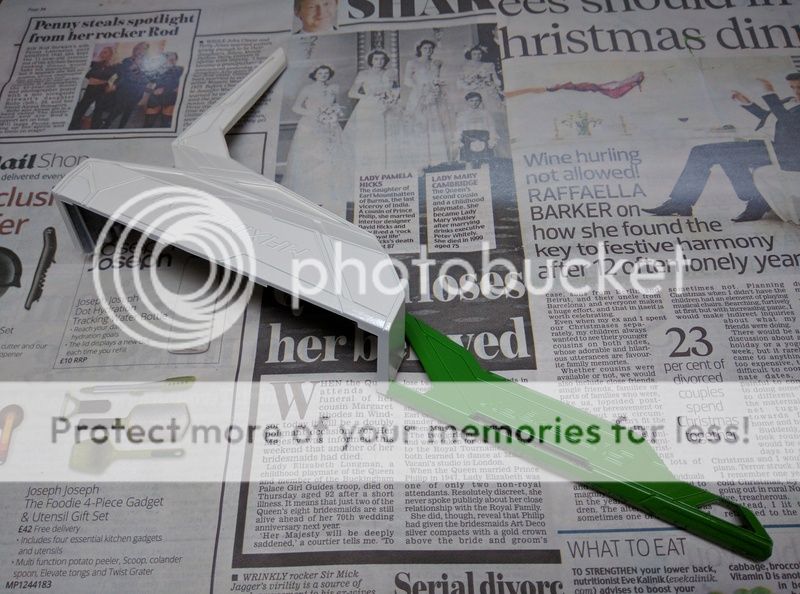
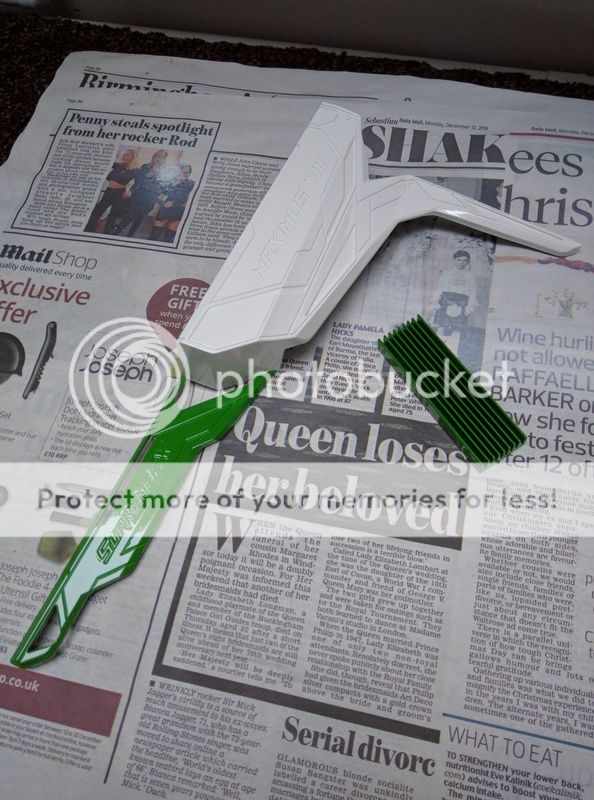
Another small update: Bit of painting done.

Unfortunately when the 'paint room' is a freezing cold and extremely dusty / dirty garage it can be quite challenging, but think these came out fairly well considering... :)

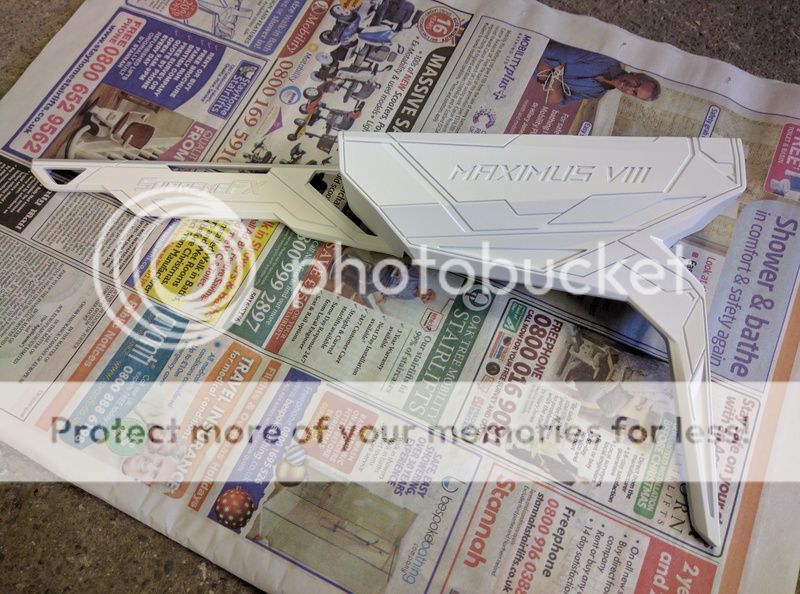
Bit of primer thrown down. Almost wishing I'd bought a matt white paint now instead of gloss as I really liked the finish on the primer!

IMG_20161213_140844.jpg


Never mind, shiny thing make it all better :D

IMG_20161214_144838.jpg


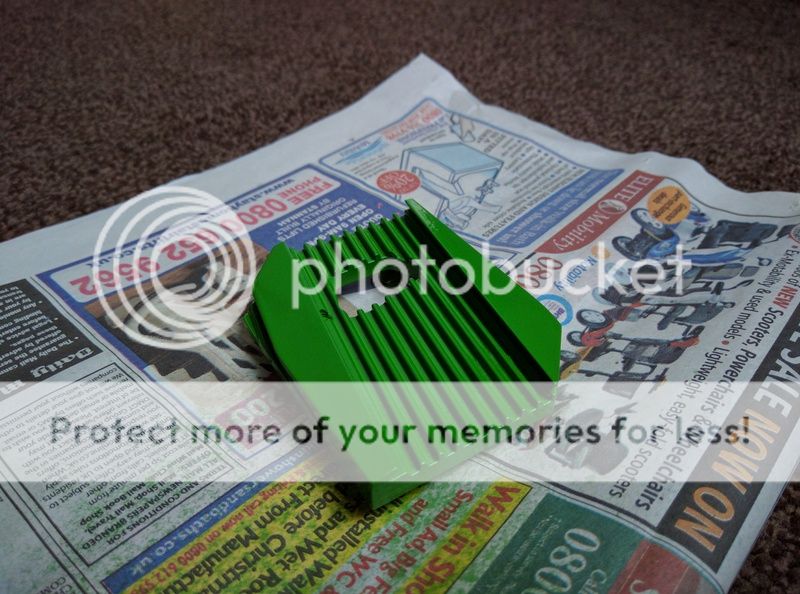
M.2 heatsink done green to match...

IMG_20161214_144745.jpg


...And the southbridge heatsink the same.

IMG_20161214_150816.jpg


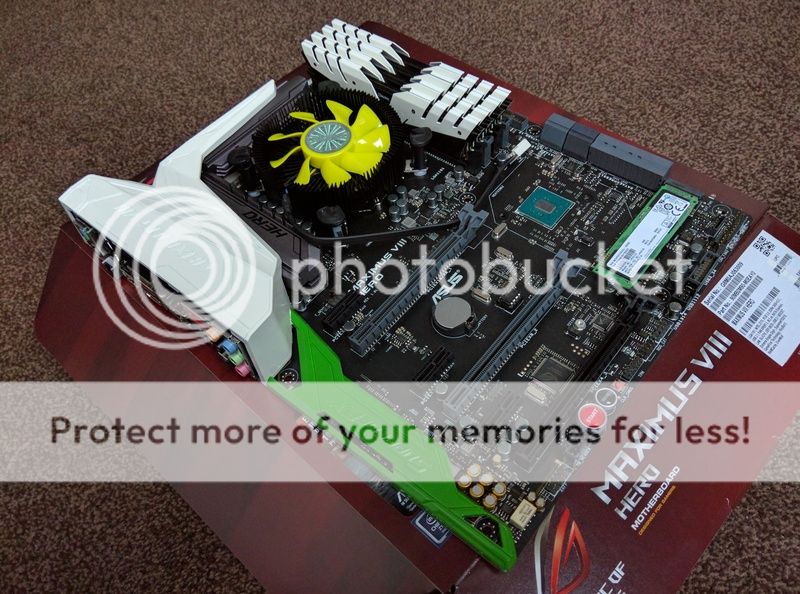
Be rude not to at least balance it on there to see what it looks like...

IMG_20161214_145249.jpg


The 2 heatsinks were still a bit damp and I also need thermal pads, so will hopefully have those by the end of the week so they can be attached :)

Only decision I've got to make now is whether to paint the 2 red triangles back onto the white part or leave it pure white. Got a nice metallic red paint here but will see what it all looks like with the proper CPU cooler before making a decision on that one :)
 
Back
Top Bottom