A Window To Wales

Associate
OP
Joined
22 Nov 2015
Posts
997
Location
Wales
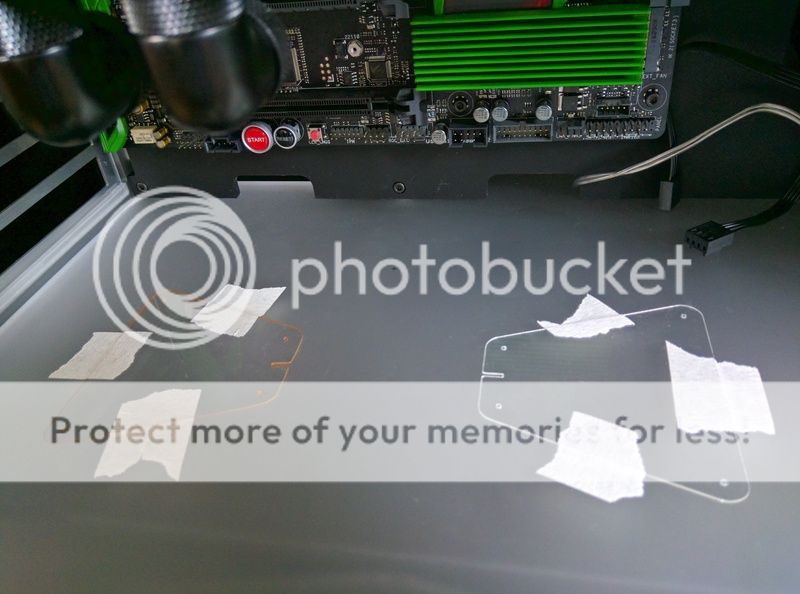
It probably would be...but you won't do it for the same reason that didn't go for the '[more than] good enough' 1070 or the 'good enough' 3.5mW/K EK thermal pads. Once you mask off the contacts on the top of the cpu (green board part) there's nothing else to short out for quite some distance. It would have to escape the confines of the IHS, travel across the cpu, find its way out of the socket, onto the motherboard and then be enough of it to bridge some traces...which are probably insulated by the top-coat on the board anyway. If you've put that much too much paste on the top of the die, you're gonna have problems getting the IHS back on the top!

Haha that's very true, this will be my last build for a very long time so determined to do things properly :)

Will definitely be stealing your idea of using clear nail varnish just to make sure!

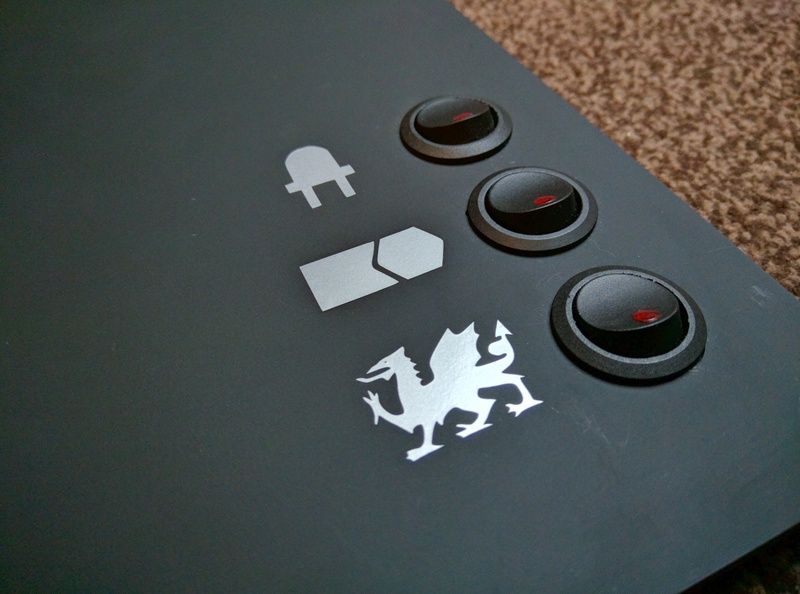
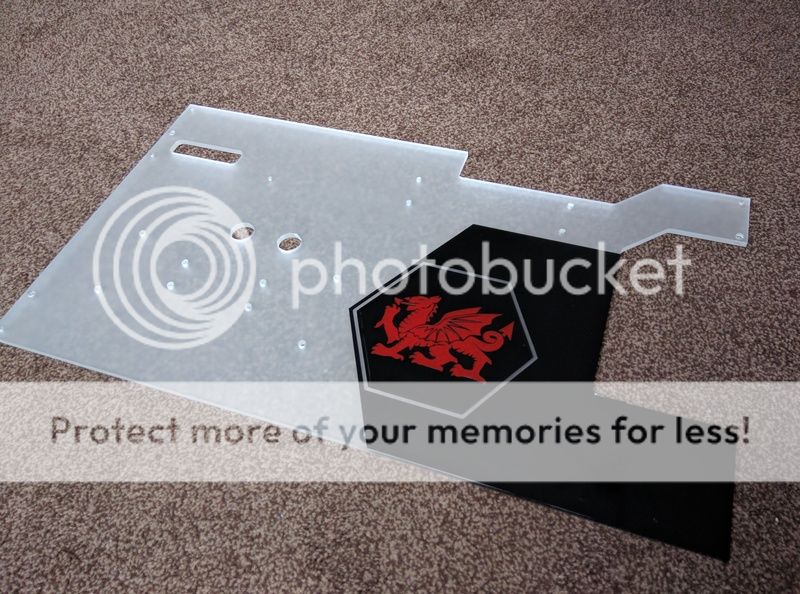
Think you had trouble with the fans looking the wrong colour in pics before. As long as they look good in the flesh fin, it's all good. Dragon looks really nice.

That's true, just slightly irritating that it doesn't look as good in the pictures as it should do. Might have to cheat and alter the colour balance with GIMP for the final shots :D

Thanks, I love how the added details show up so well when it's lit up :)

Most of them will honour the warranty if you block up a card. As long as you've not obviously done something stupid, that is. They'll probably want the original heatsink and fan back on it - whether that's for completeness, their testing or a knowing plausible deniability I'm not sure.

That's good to know, although obviously hoping it isn't needed! Heard MSI are one of the better companies when it comes to warranties so fingers crossed.

They ditched the metal frame around the GPU? :eek: I'll admit that it was a pain to clean the goop out from the edges and the corners...but it looked sort of cool. Different from just another CPU/GPU/APU/FPU.

This is the first one I've ever 'blocked' so no idea :p

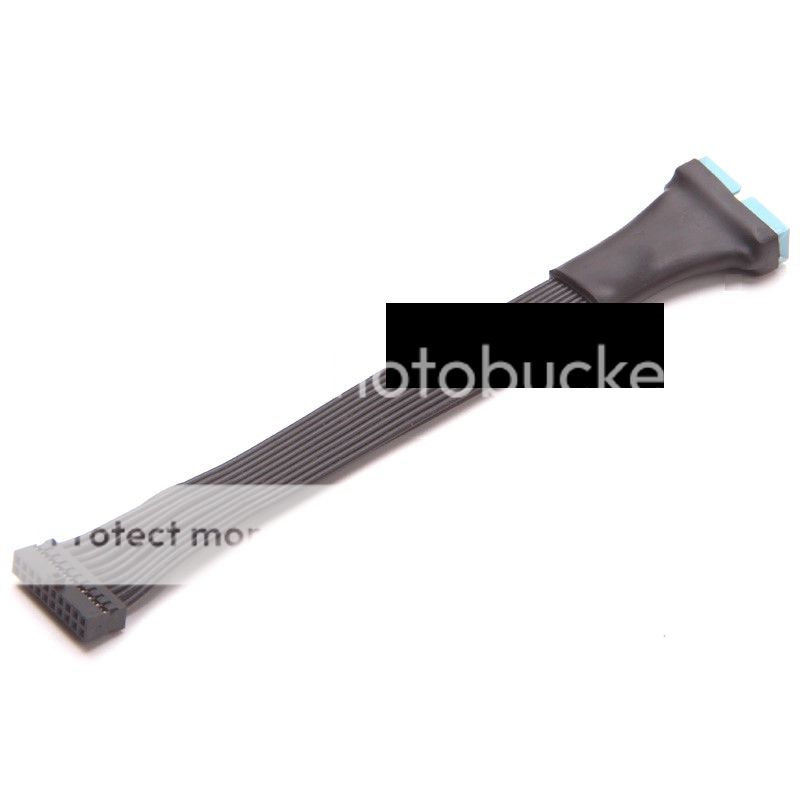
Cool. Hadn't spotted those existed. There are 'better' ones available but the price gets ridiculous. Looks like those are a good balance between cost and performance. Two different thicknesses presumably....unless the block for the 1080 only requires one - it was 0.5mm and 1mm for the 980Ti.

Yeah the small squares are 0.5mm and the long piece is 1mm. Not the best thermal pads you can buy but as you said, they're better than the EK ones and aren't stupidly expensive, so well worth the cash for a small upgrade.

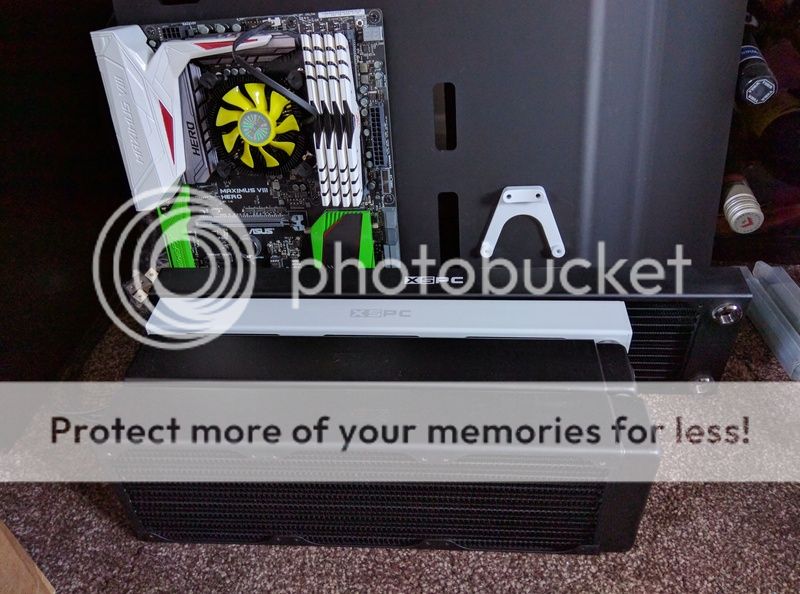
Because the heatsinks and fans are so big....and we've all been conditioned by Apple (and others) to see slim and clean as beautiful.

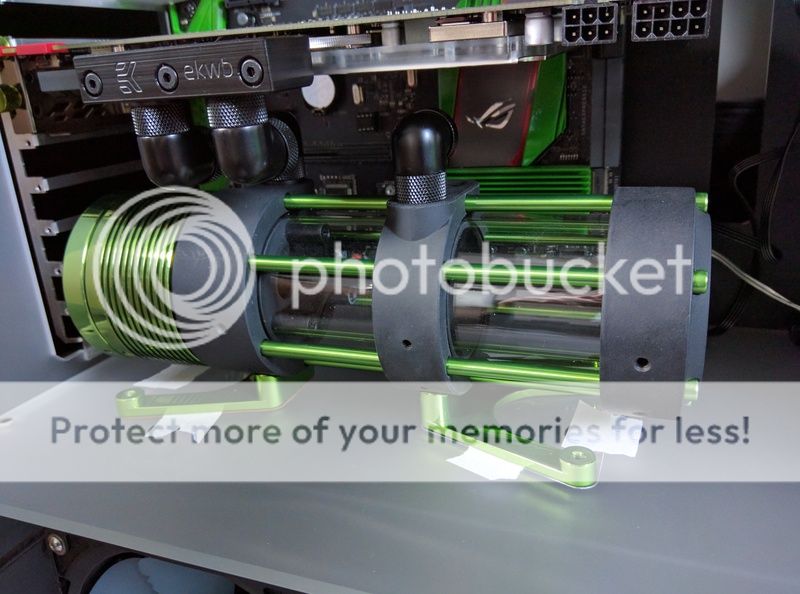
Must admit I was quite surprised at how big the stock cooler was, looks so much sleeker with the EK block on :)

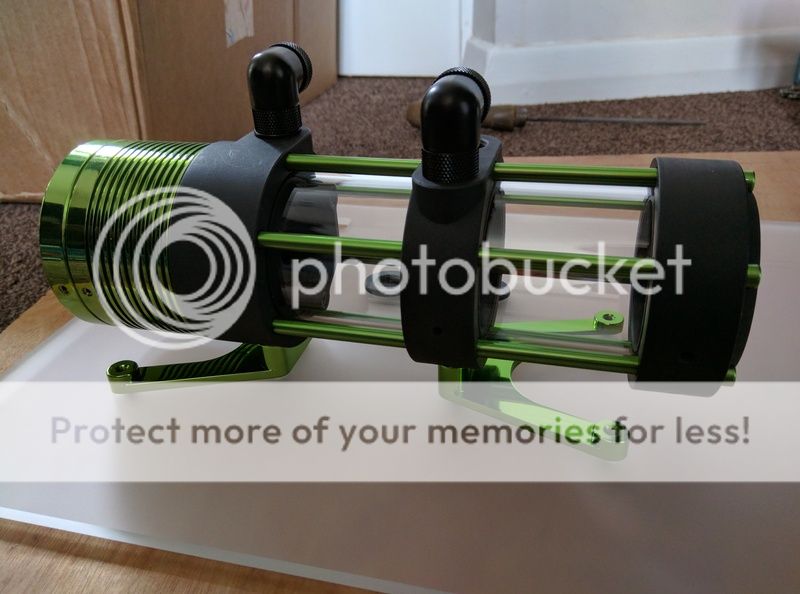
Did you try the third way which would be to have the legs spread (no innuendo intended)? Like this > <
Otherwise, the first one.

I did mate but wasn't overly keen on it, think the first pic is definitely winning!

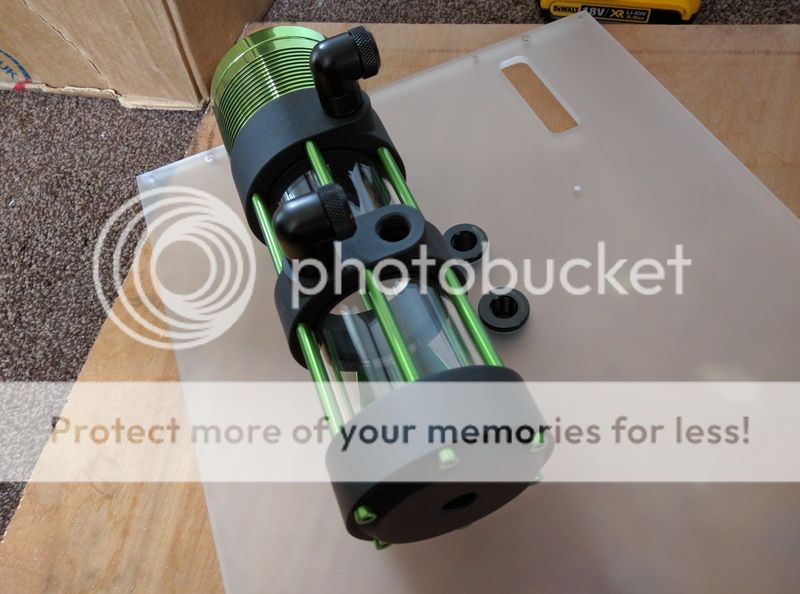
Nope. Not unless you were going for a more industrial look....and then the green pump cover would need to be black or chrome. Look at me talking colours like I've got a Scooby!

Think they could look good in the right build but like you said, doesn't really go with this one so going to stick with the lower, more interesting mount :)

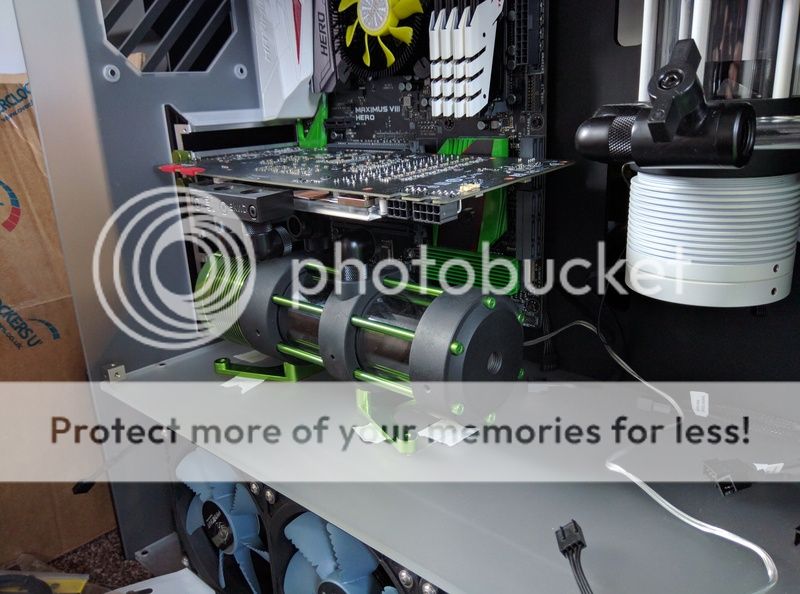
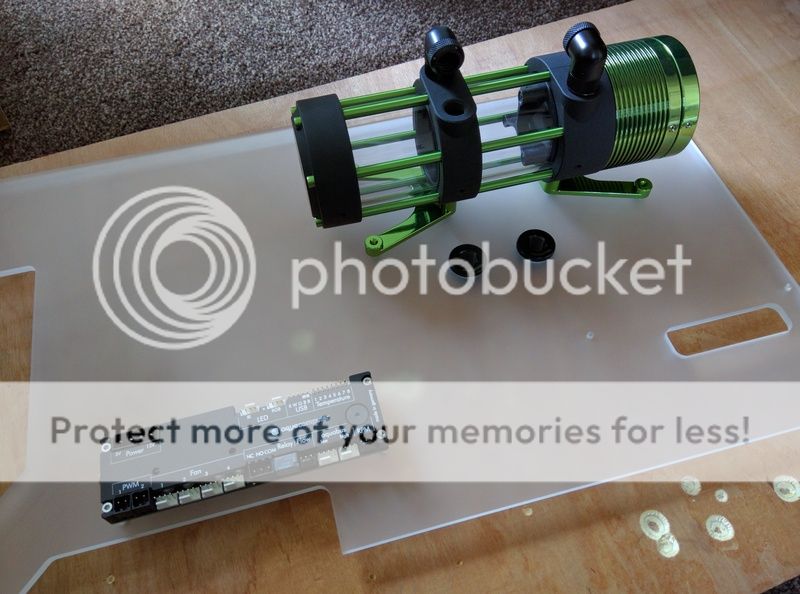
I think I understand what you mean. You might want to consider soft tube from pump to gpu - with the same 90's as you've got. It'd just give the pump some vibration isolation and you wouldn't see it anyway - or if you do it'll be straight and clear and you won't notice the difference. You'd need some rubber under the feet or between the feet and pump/res too. Depends how much the noise irritates you - me, it's a fairly personal vendetta.

Luckily the PC will be on carpet under my desk, so pump vibration noise isn't really much of an issue for me. Soft tubing would be easier and add some isolation from pump vibration but I think it would always irritate me that it wasn't exactly the same as the other pipes, so I'll have to go with the noisy option. Planning on using soft tubing in the bottom compartment though where it doesn't show :D

If you have the exit pipe from the gpu running horizontally across the case, it will match up with the other horizontal pipes that are parallel. When it then bends 90° downwards, it'll be parallel (bends willing!) to the drain tube's downward section.
The tube from lower compartment to res will presumably follow this in parallel. Looks like there will be pass-throughs and step-drills on your shopping list!

That was actually my initial plan, but unfortunately the radiator in the bottom is right where the pipe would need to pass through the floor so I decided running them all parallel towards the motherboard was the neatest / easiest solution. Not quite as fancy but should look OK if it all goes to plan :)

Yep, definitely better lit up :D

 
Soldato
Joined
1 Dec 2015
Posts
18,514
Keep the high stand !
Like a warp core ;) and will be able to get a clearer view with it being raised off the ground, maybe some water reflection patterns as well will show ?
 
Associate
OP
Joined
22 Nov 2015
Posts
997
Location
Wales
I'm not too keen on the taller mounts at all tbh mate, lifts the reservoir too close to the GPU. It would also mean another play on the 'which way will the non rotary fittings point' lottery :D
 
Associate
OP
Joined
22 Nov 2015
Posts
997
Location
Wales
After playing about some more, leaving the legs pointing different directions and giving it more thought I've decided Cenedd was right. And I was wrong. Again. Going to have the legs like this now... :p

IMG_20170210_135309.jpg


IMG_20170210_135328.jpg


The left hand pipe goes straight between pump and GPU, then the centre & right hand pipes both stay parallel with it towards the MoBo > 90° bend and down through the floor. Can you guess where the right hand one lines up?

IMG_20170210_135426.jpg


Yes, that little cross. Smack bang in the middle of the only awkward connection: The massive bloody front USB!

IMG_20170210_135501.jpg


Luckily, after a small amount of yellow star words were uttered, I found this:

t1ehjwfo4cxxxxxxxx-0-item-pic.jpg


Problem solved :D

Now the proper fun begins, as it's time to strip the entire case back to a flat pack, clean all of the radiators, mount the bottom reservoir, sort the lower compartment (soft tubing, I'm bored of bending this hard stuff!), sleeve the GPU cables and then rebuild the whole thing again. Oh yes, forgot I also need to paint the GPU backplate, make the vinyl floor, sort all of the lighting, get the faulty EL panel replaced etc etc. Could be quite some time but will leave it until I get a decent sized update before posting again, so see you all in a few weeks / months / years time!! :D
 
Associate
OP
Joined
22 Nov 2015
Posts
997
Location
Wales
There is mate, but unfortunately it would leave the hideously ugly beast of a cable protruding out into the case, and then where the case has 2 massive holes for cables to go through I bet you can guess where the USB falls... Yep, right between em :D

With the small connector it should now be completely out of sight behind the reservoir, just got to wait for it to arrive now to check before ripping everything apart. I know it's 99.9% guaranteed to work but somehow find myself being so much more cautious with this build it's actually starting to scare me :D
 
Soldato
Joined
4 Jun 2007
Posts
2,620
Location
Watford, UK
OJ46;30490860 said:
After playing about some more, leaving the legs pointing different directions and giving it more thought I've decided Cenedd was right. And I was wrong. Again. Going to have the legs like this now... :p
Please tell my wife this....she makes out this never happens!

Of course it fouled the USB3 plug. It would have found something more awkward to foul if you'd given it the chance!
Those USB3 extensions are quite good. Got one for mine to hide the cable from next to the ATX. Don't think there's as much heatshrink on mine though, the end is the same as the smaller end with a set of male to male pins to connect to the case plug. Should be out of sight anyway.

I like the way you casually throw in reference to a bend here and a bend there. Anyone casually reading would be forgiven for underestimating the amount of swearing that will go into said bends! :D
 
Associate
OP
Joined
22 Nov 2015
Posts
997
Location
Wales
You honestly think that would help? I'm not sure any woman has ever told a man he was right about anything, it's just a series of words they all find impossible to link together :D

That's true, as annoying as it was (and could have been if I hadn't found an easy solution!) it could definitely have been a lot worse. Worst case was leave the front USB unplugged, which as I'll be spending most of my time using a Linux distro that seemingly hates front USB ports isn't really an issue. Could come in handy for chucking a controller in quick when gaming though...

For some reason the actual bending hasn't annoyed me in the slightest, just wish I'd get the odd one in the right place and/or in the right direction. Good thing with the bottom loop is they should all be out of sight apart from the right hand side one... *Bodge job in coming!* :D
 
Associate
OP
Joined
22 Nov 2015
Posts
997
Location
Wales
Didn't have to take the missus into town for a driving lesson today, so had a spare hour that I wasn't expecting to have and couldn't resist another little update...

The result? Where the PC once stood we now have this sad looking collection of parts...

IMG_20170213_145840.jpg


Yep, fully torn apart with the radiators lined up ready to be flushed later :(

Also got the reservoir mounted, the pass-throughs done and the bottom Aquaero mounted. Not too bad for a random spare hour :D

IMG_20170213_133234.jpg


IMG_20170213_133120.jpg


IMG_20170213_144425.jpg


Hoping if I can get work finished on time there might be another spare hour tonight to get some vinyl done... Hopefully, possibly but probably not! Laters :)
 
Soldato
Joined
4 Jun 2007
Posts
2,620
Location
Watford, UK
Surely a random spare hour is what you expect it to take...rather than the 6 hours it usually turns into!

Pass-throughs are looking good. I'd be tempted to do them in metalwork...but that's 'cos I've expended all my bending-related colourful language! :D
 
Associate
OP
Joined
22 Nov 2015
Posts
997
Location
Wales
Cenedd;30500347 said:
Surely a random spare hour is what you expect it to take...rather than the 6 hours it usually turns into!

Pass-throughs are looking good. I'd be tempted to do them in metalwork...but that's 'cos I've expended all my bending-related colourful language! :D

For the first time since the build began not a single thing went wrong today... Thinking about it I probably should have pulled an all nighter and got it finished while the going is good :D

Just hope they line up now when the GPU is fitted. Measured it all a dozen times so there's hope lol you mean chrome pipes? That's an idea I'm not sure my sanity could take, getting the PETG right makes me swear enough!

LePhuronn;30500361 said:
that acrylic is sick

Thanks, hopefully it'll look even better once it's lit up! A new inverter was supposed to have been posted today, so hopefully it'll be here this week and I can get the EL panel done :)
 
Soldato
Joined
4 Jun 2007
Posts
2,620
Location
Watford, UK
OJ46;30500597 said:
For the first time since the build began not a single thing went wrong today... Thinking about it I probably should have pulled an all nighter and got it finished while the going is good :D
Know how you mean...but maybe stopping when you did was the final thing that went right :eek:

OJ46;30500597 said:
Just hope they line up now when the GPU is fitted. Measured it all a dozen times so there's hope lol you mean chrome pipes? That's an idea I'm not sure my sanity could take, getting the PETG right makes me swear enough!

Not metal piping. More - how can I put this ...ludicrous chains of fittings taken to the point of insanity. As an example, I give you my res to flow-meter debacle which can be seen towards the back of the case. It's got more convoluted since! :D
 
Associate
OP
Joined
22 Nov 2015
Posts
997
Location
Wales
You might be right mate, although if I'm having one of those days it usually starts hinting at me to quit about 3 minutes in when I notice blood dripping onto something :D

Ah, now I get ya. Just looked and Barrow do extenders up to 40mm long, so could easily do extenders from the pass-throughs, then a 90° > straight pipe into reservoir / GPU... Damn you, that's actually sounding like it could look OK! Will try it with PETG first but might give that a look afterwards just to see :D
 
Associate
OP
Joined
22 Nov 2015
Posts
997
Location
Wales
Decided I'd flush the 2 bottom rads out last night and it left me more confused than anything. It's the same model I used in 'Dripping With Style' and on that build it was near perfect from the first flush, this time however...

This is from the first flush of the one rad:

IMG_20170213_194647.jpg


Absolutely full of junk, and after 6 flushes I still feel it needs more before use.

The confusing part? The second identical radiator was nearly free from rubbish, but rather than bits of junk the water came out with coloured bubbles as if an oil was present. So 2 identical models bought at the same time: 1 full of junk and the other looks like it has been cleaned with washing up liquid. Only thing that's concerning me now is if whatever was in the second one causing the bubbles will react with the Mayhems coolant... Looks like more hours of flushing to be sure! Either way it's not too confidence inspiring :(

Second moan of the night? Yes, there's more! After years of using Western Digital HDD's without problem I thought I'd try this:

IMG_20170214_120717.jpg


You can almost feel the flimsiness from the picture.

IMG_20170214_120824.jpg


I know it was cheap and I knew it would be fugly (got plans for that ;)), but damn, it feels like the dash of an American car. Even pulling the equally cheap sticker off the whole thing was bending as if it was going to snap. On the plus side it is also VERY light... :D

Seriously though, if you're thinking of getting one don't, spend the extra couple of quid on a HyperX Savage instead :)

Don't worry, there was a positive... I now know what the switches are going to do :D

IMG_20170214_163022.jpg


Then back to a negative: Was going to fix the fugly SSD but can't find the vinyl I need... Time to get on the 'Bay and order some more knowing it'll probably reappear tomorrow morning :D
 
Soldato
Joined
4 Jun 2007
Posts
2,620
Location
Watford, UK
Would it look better without the case? Could you de-case it and then slap an unnecessary* slab of alu on it as a heatsink?

You sure that picture's the result of rad flushing and not an empty can of paint?! Why is it too much to expect a rad to come ready-to-use these days?!

*probably
 
Associate
OP
Joined
22 Nov 2015
Posts
997
Location
Wales
Would it look better without the case? Could you de-case it and then slap an unnecessary* slab of alu on it as a heatsink?

That's not a bad shout at all mate, will see what it looks like once I've replaced the awful sticker with some vinyl but if it still looks cheap & crap then removing the case could definitely be an option. Either that or hiding it behind the motherboard where the far better quality Samsung will be...!

You sure that picture's the result of rad flushing and not an empty can of paint?! Why is it too much to expect a rad to come ready-to-use these days?!

All the XSPC rads I used when doing the last build were brilliant, but it looks like they've taken a dozen steps backwards since then and have given up even attempting to ship clean rads.

It really can't be that hard for a large company making radiators to clean them before shipping. Just set up a system that blasts hot water through at a fairly high pressure and job done. Quick rinse with distilled water when it arrives and good to go...

Just waiting on the EL inverter to be replaced now so I can crack on with re-building. Was supposedly shipped Monday but no sight of it yet, and I don't really fancy cutting the panel up until I know it works! Never mind, should all go together quite quickly and smoothly once that arrives... He says, knowing he's now doomed the build :D
 
Associate
OP
Joined
22 Nov 2015
Posts
997
Location
Wales
One sheet of black vinyl to play with. Couple of glasses of wine drunk. An hour or two to play with. Sounds like the perfect combination for a perfectly executed vinyl for the floor, right? Well it started OK...

Got floor?

IMG_20170215_151316.jpg


Yeah, I got floor :cool:

IMG_20170215_151408.jpg


But then he remembered something... THE RESERVOIR!

IMG_20170215_153748.jpg


BOLLOCKINGHELL. Yep, all went 100% perfectly to plan. All, that is, apart from the fact that this muppet forgot that the reservoir overhang the mounting holes that I was using as a guide... Whoops! :mad:

More vinyl ordered for take 2, now back to twiddling thumbs waiting for deliveries :D
 
Soldato
Joined
26 Sep 2010
Posts
7,157
Location
Stoke-on-Trent
I'm not looking forward to cleaning my rads, especially as they're both 2nd hand and I went Fernox LSX crazy sealing up my UT60 with grub nuts rather than proper plugs. You could always go top-end killfest and grab a Mayhems Blitz kit to give those rads a good pummelling, I don't like the look of either thing that came out personally!
 
Back
Top Bottom