A Window To Wales

Out of interest roughly how much does it cost to get custom tempered glass cut? No worries if you'd prefer not to say, just wondering whether it was on the 'cheaper than you'd think' end of the scale or the 'I burned the receipt to avoid a divorce' end :D

I'd say cheaper than you think, doing some final measurements but roughly speaking the 510mmx597mm is about £50 for 4mm tempered glass with smoothed edges and 4 holes drilled. The extras are what costs you, glass is roughly £22.50 per square meter.

It felt like it had crushed ice in it sat next to it... building a new desk and platform for it so need to get that done now it's sorted!
 
Wow, that's really not a bad price at all. Not going to make any changes to this build but at that price it's tempting to do things a bit differently on 'Dripping With Style'. Thinking maybe a tinted glass front panel, edge lit with temperature controlled RGB LED's...

Ooh, another build log going to be appearing soon then? Look forward to dreaming up some more expensive and awkward ideas for you :D
 
Haha, finish this one first ey? :)

Will be ordering mine later on so we will see how it looks when it arrives...

Right you two, enough of the love in.....get some decent pc nerd pics up :p

Good news for both of you: The dog has gone, the PC (in a thousand pieces...) is back out of the cupboard and I have a few spare hours this week, so we should finally see a bit of that extremely rare but beautiful thing called progress :D

Actually got the EL floor panel cut and mounted late last night and must say the dragon looks pretty damn good. One slight issue but nothing that can't be fixed! Hoping to get the bottom rads / bottom of the case done today, then get the paint cans out again as well if there's time :)
 
Get some dragon pics up then mate before you make a mess of it all with paint... I'm firmly in slacking off mode this week while work is crap.
 
Good luck. Still think you could have passed off any tooth-marks as the dragon's! ;)

Cheers mate, think we'd need a slightly bigger dog for that though :D

Get some dragon pics up then mate before you make a mess of it all with paint... I'm firmly in slacking off mode this week while work is crap.

Haha not starting on the painting yet so there's still a microscopically small chance it could go well!

Need a break now and again to keep your sanity mate, trouble is getting motivated again afterwards :D

Now the news literally nobody was excited for: A SMALL UPDATE!

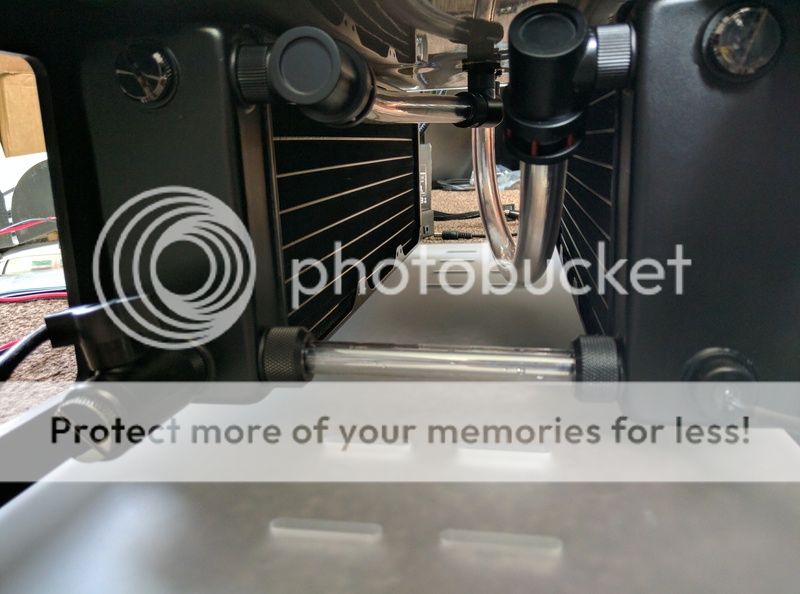
Cheated a bit under here and used left over soft tubing and fittings... Too damn fiddly to be messing around with hard tube when it doesn't even show :)

IMG_20170301_111720.jpg


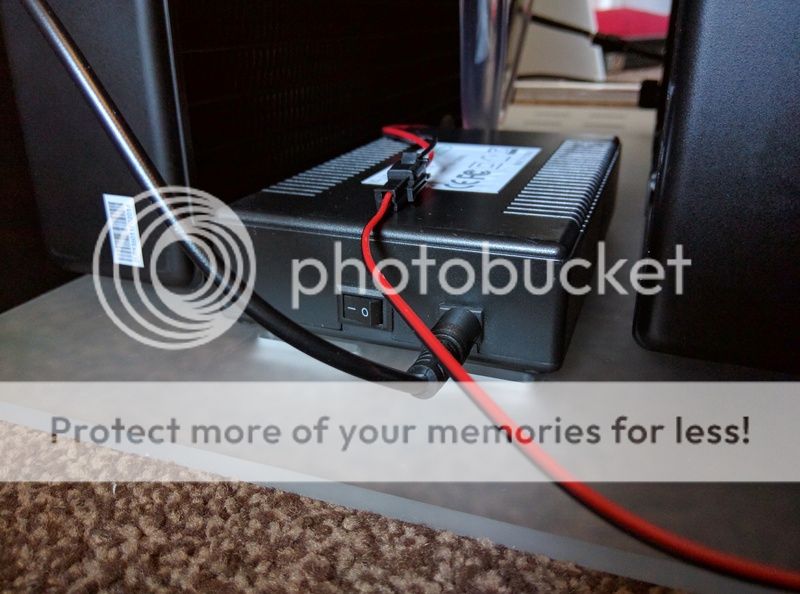
Inverter for the floor panel mounted between the rads. Should get some nice airflow now to keep it cool.

IMG_20170302_104100.jpg


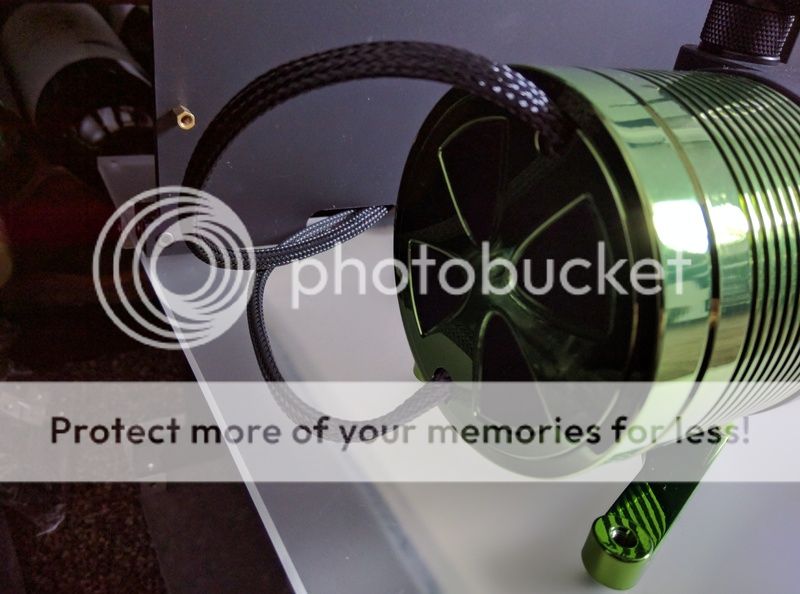
Power cable for the pump sleeved to stop it from being quite so fugly.

IMG_20170301_113915.jpg


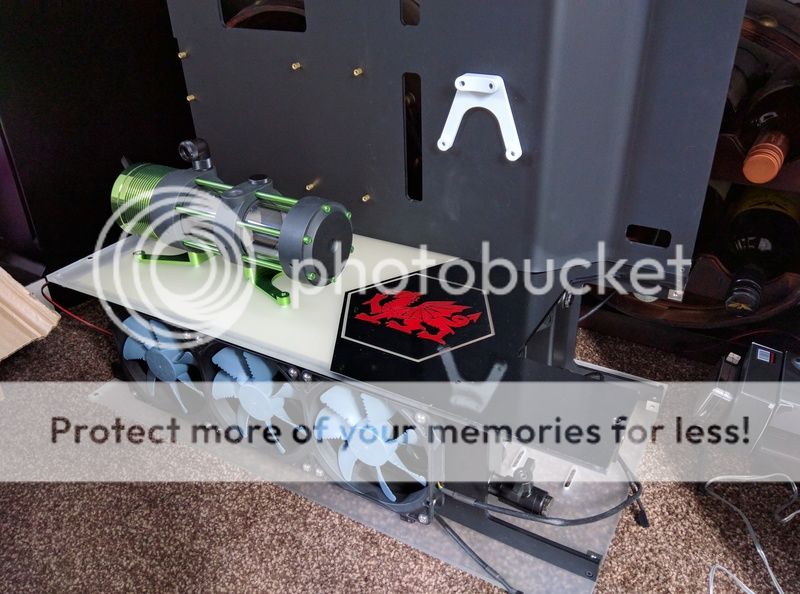
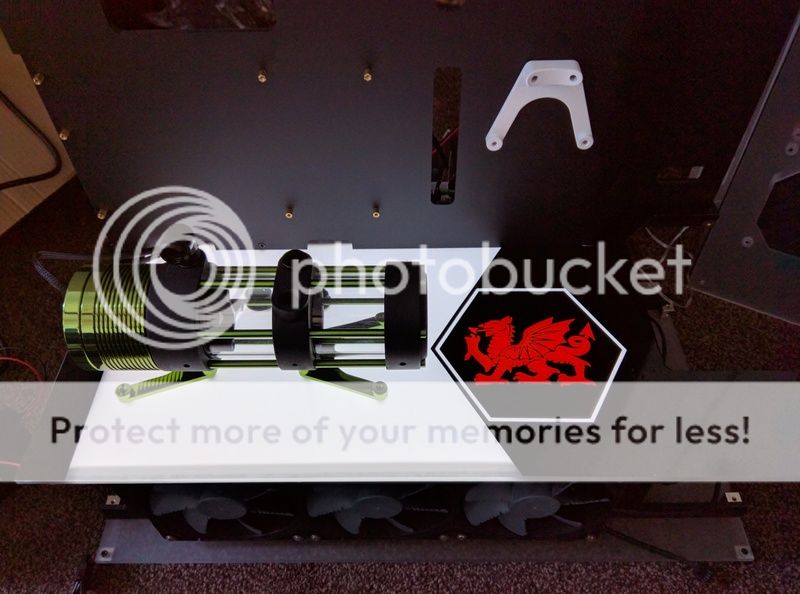
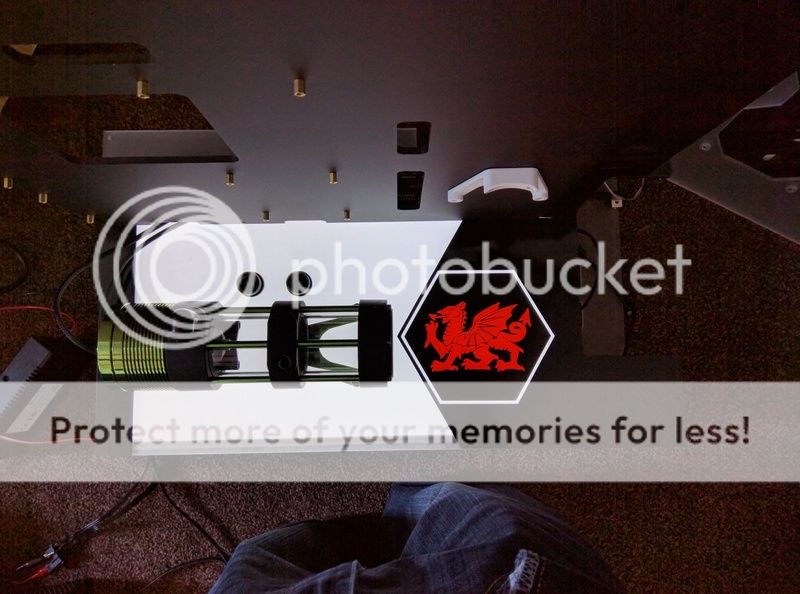
There be dragons!

IMG_20170301_113935.jpg


The dragon all lit up. Pity I couldn't get a custom sized panel but had to make do, so got a black strip down the left hand side :(

IMG_20170302_095857.jpg


Still, quite happy with how this has turned out. Have turned the brightness up a notch since this picture was taken :)

IMG_20170302_095908.jpg


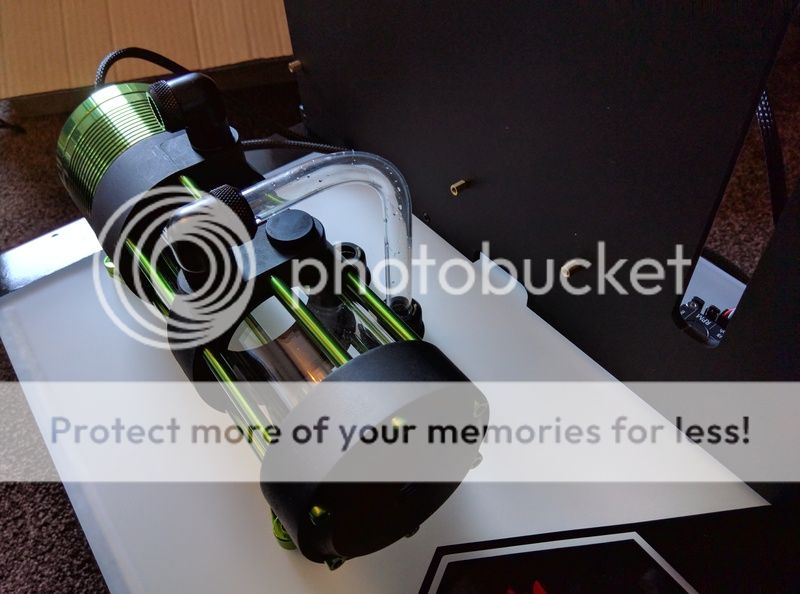
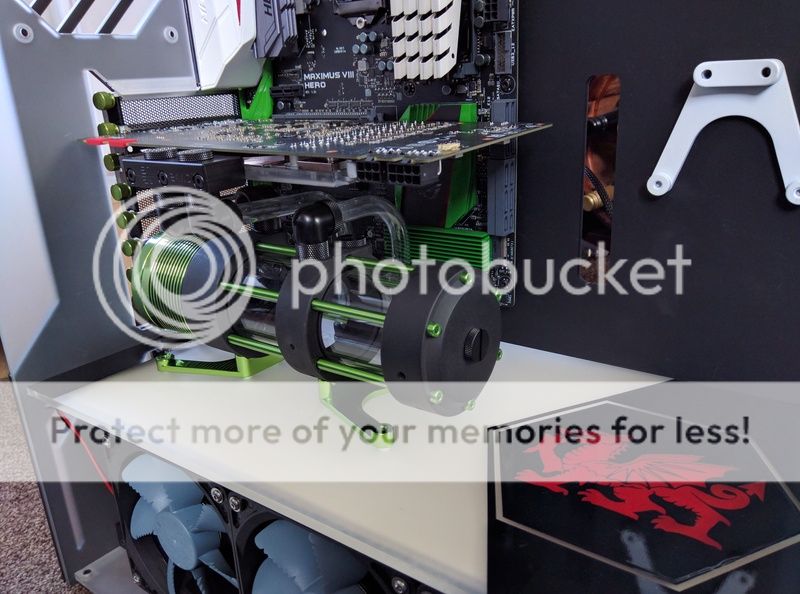
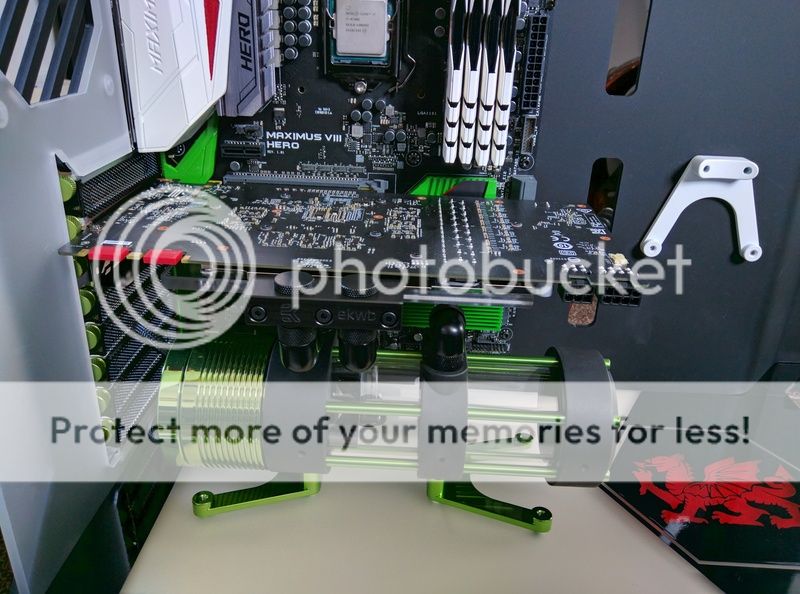
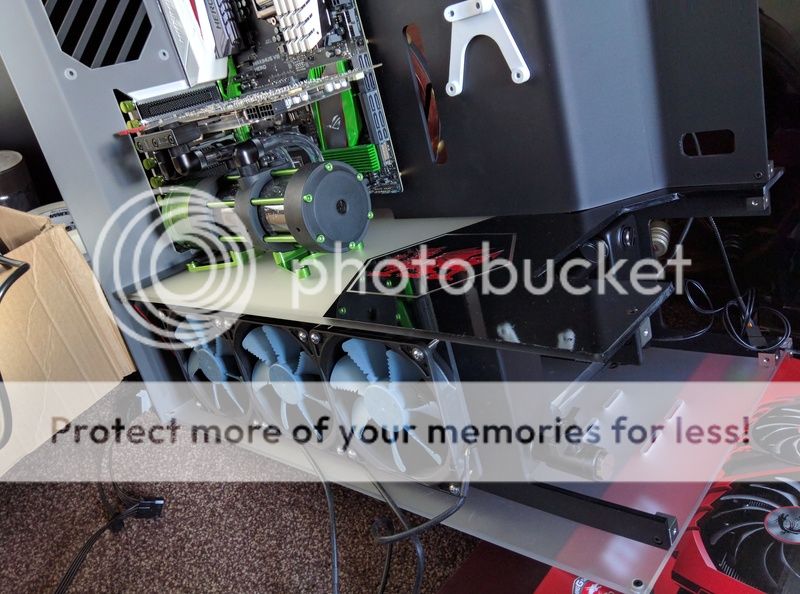
Time to plumb in the reservoir...

IMG_20170302_104049.jpg


Guessing this setup won't be to everybody's taste but must say I'm very happy with it, turned out just as I'd hoped :D

IMG_20170302_115551.jpg


IMG_20170302_115606.jpg


IMG_20170302_115619.jpg


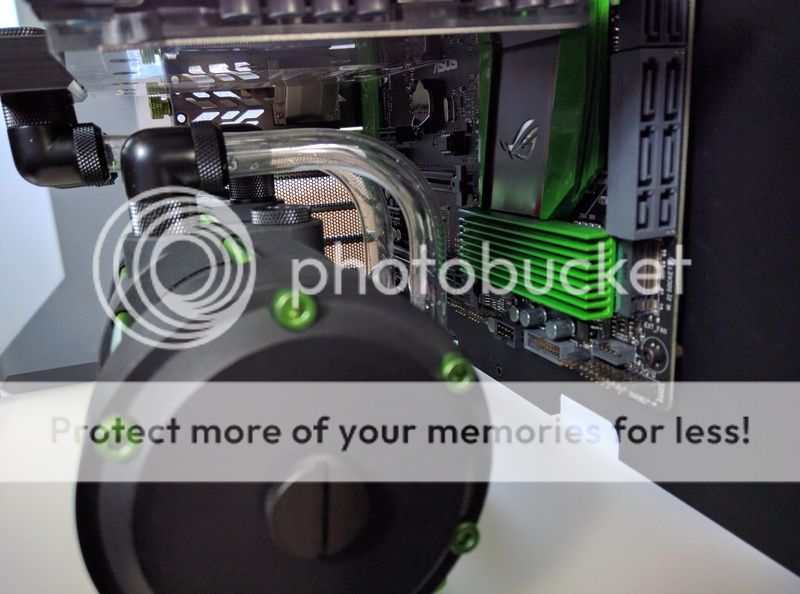
Should hopefully look pretty decent once the backplate is on and the top loop is done :D

IMG_20170302_115709.jpg


Now a small update just for Cenedd... You can stop calling me a pansy now, I've manned up!!

IMG_20170302_095210.jpg


Doubt I'll have any spare time to do much else now until next week, but at least it's a start!
 
It was out of stock at Overclockers for ages unless you spent a fortune on a large one, finally came back in so grabbed one quick!
 
.Pity I couldn't get a custom sized panel but had to make do, so got a black strip down the left hand side :(

Looks great. The black strip will be where the PCI-E slots/bracket or side window bezel cover or shadow it anyway.

Guessing this setup won't be to everybody's taste but must say I'm very happy with it, turned out just as I'd hoped :D

Looks nice, neat and parallel to me. What more could you ask for?


Now a small update just for Cenedd... You can stop calling me a pansy now, I've manned up!!

See, it's that personal touch that keeps me coming back. Nice to feel special :-D
You'll be fine with it if it's anything like the CLU. On paper it's better conductivity-wise. I think I didn't go for it because it was just out and there wasn't any experience of how well it'd last or stay put whereas there was for the CLU.
 
Looks great. The black strip will be where the PCI-E slots/bracket or side window bezel cover or shadow it anyway.

Cheers mate, would prefer it lit to the edge but unfortunately that was the only option I could think of that didn't look awful!

Looks nice, neat and parallel to me. What more could you ask for?

Neater and parralleler :D

See, it's that personal touch that keeps me coming back. Nice to feel special :-D
You'll be fine with it if it's anything like the CLU. On paper it's better conductivity-wise. I think I didn't go for it because it was just out and there wasn't any experience of how well it'd last or stay put whereas there was for the CLU.

Knowing how good their normal TIM is I thought I'd give it a go, but guessing performance wise it'll be pretty much identical to the CLU. Only one way to find out for sure though...!
 
That black stripe on the board....what has been seen, cannot be unseen :(

Outside of that, good job :)

I'm definitely going to look at other options for tidying up that end of the floor, I wanted a custom sized EL panel to avoid this issue but unfortunately they'd only make one that size if I ordered 15 of them.... Not sure I could justify the cost of 15 panels when I only have one PC to build! There are a couple of other ideas floating around my head though so hopefully one of them will look a bit nicer than the black strip :)
 
Just enough time to fill her up and run a quick leak test this morning. Spoiler alert: It leaked :(

First job: Tip the case up so I can use the end port of the reservoir to fill her up.

IMG_20170304_094325.jpg


Got a nice little lean on :D

IMG_20170304_094336.jpg


All looking good up here...

IMG_20170304_100649.jpg


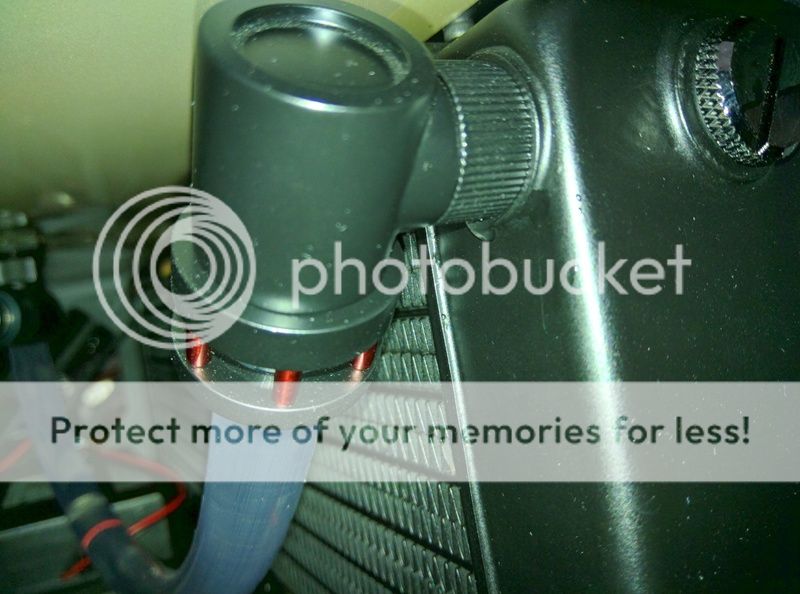
...****. One of the 90° fittings leaks where it's screwed into the radiator. Guess it could have been a lot worse so not going to complain too much!

IMG_20170304_095533.jpg


Only a tiny drip but quite annoying all the same. Oh well, I guess that's why we leak test these things!!


In better news I'm liking the effect of the water returning to the reservoir. Reckon once it's dyed green and lit up it should look pretty good :)


Will order a couple of Barrow 90°s to replace the 2 in the radiators and hopefully they'll be here for the start of the week, can get it filled properly then and make a start on the top loop.
 
Don't worry, I'm not just dossing around waiting for the 90° fittings... Made a start on the painting :)

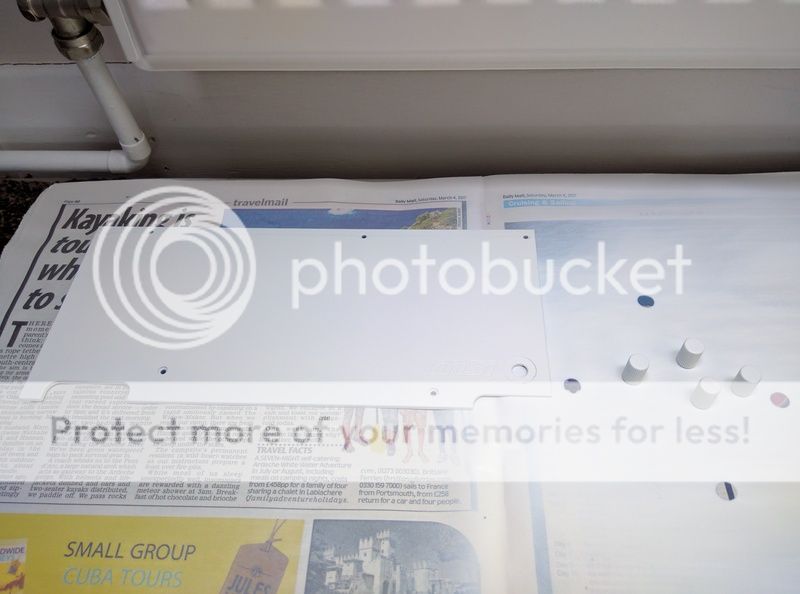
Undercoat:

IMG_20170305_144752.jpg


Shiny shiny! :D

IMG_20170306_160921.jpg


Once the white has dried properly the green will be painted, then will add the logo start of next week once it's all solid. Don't want to get the logo wrong then have it pull the not quite dried paint off when I remove it :D

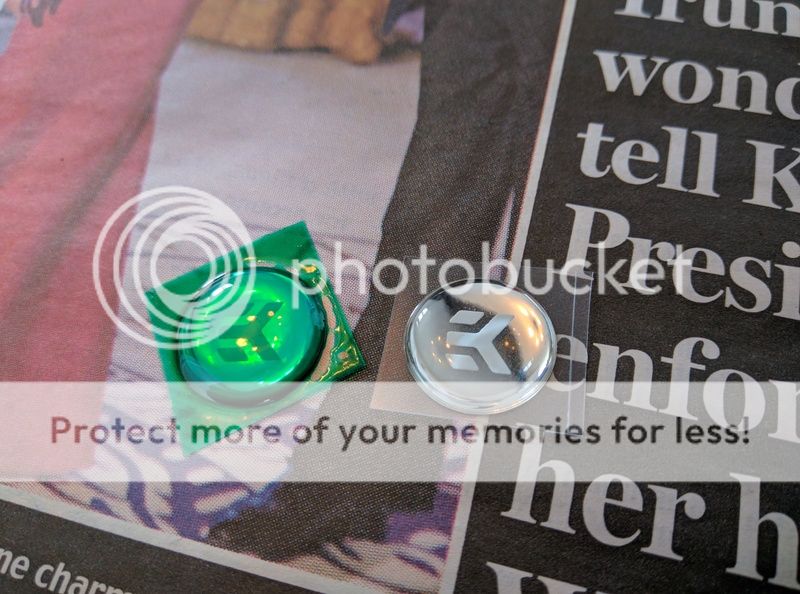
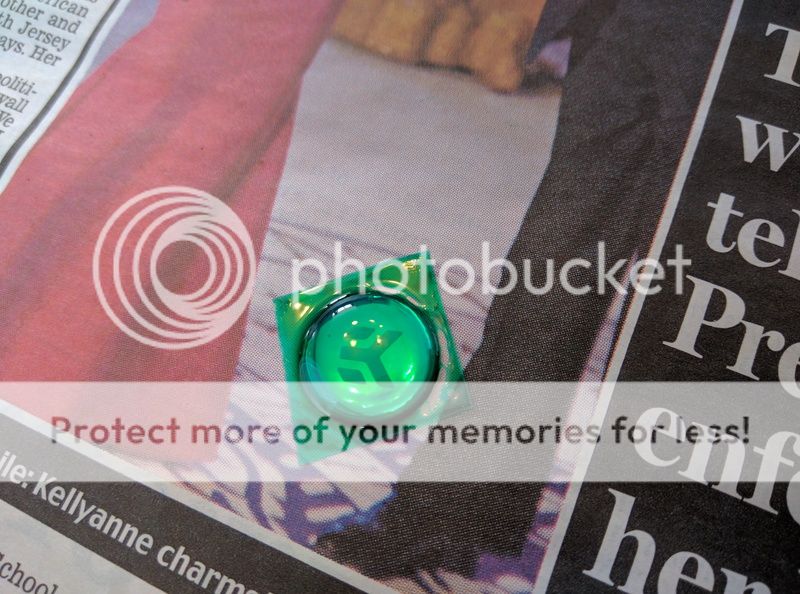
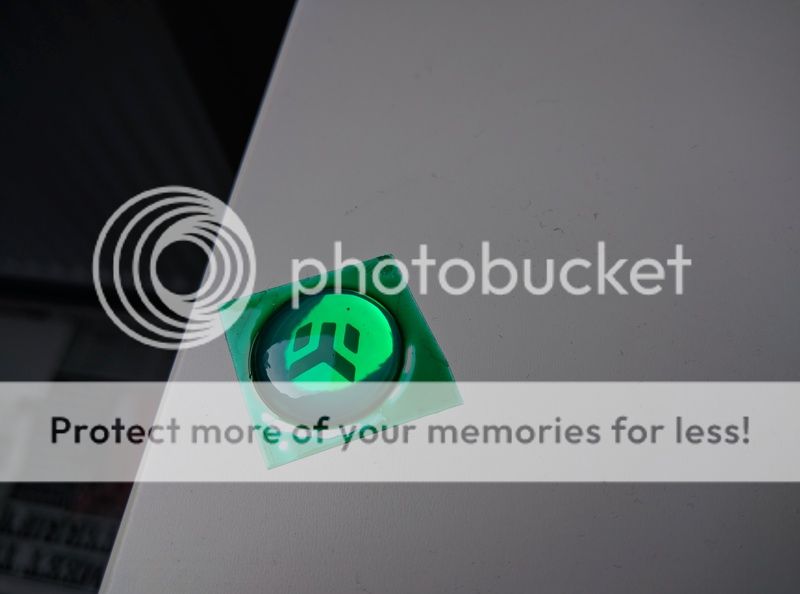
Also got a pack of these to replace the original sticker. It's so much better looking I really am baffled why this isn't used as the 'standard' sticker...

IMG_20170306_182019.jpg


With 4 spares to play with I might have a play at painting one with a light coat of the green window tint paint I used on the fans. Might be awful but cant hurt to see how it turns out :)
 
Nice leaky build mate, you making a shower or a pc? :D

I'm quite sold on swapping out the O-Rings for the bitspower version, slightly thicker and gives a better seal for about £4 for 10. Even the EK ones are pretty thin.
 
That reservoir looks great. Looking forward to the finished product! GL.

Thank you :)

I just love how different the Monsoon looks to the other 'off the shelf' reservoirs, especially if you get a bit creative with the way it's put together.

Nice leaky build mate, you making a shower or a pc? :D

I'm quite sold on swapping out the O-Rings for the bitspower version, slightly thicker and gives a better seal for about £4 for 10. Even the EK ones are pretty thin.

Well we did have the shower ******* water through to downstairs not that long ago, so guessing this is a sign I should stay away from both! :D

I did think about that mate, especially as I have some spares already sat here, but used it as an excuse to switch the 90°s out so they'll all be he same. That one worried me to start with tbh as the fitting is very loose, but I wasn't expecting it to leak where it screws into the rad.
 
Small update with some minor miracles:

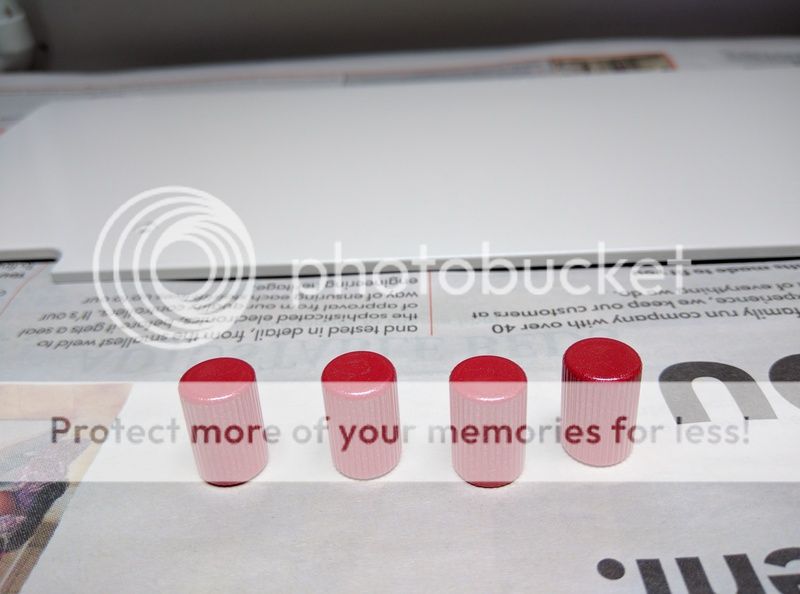
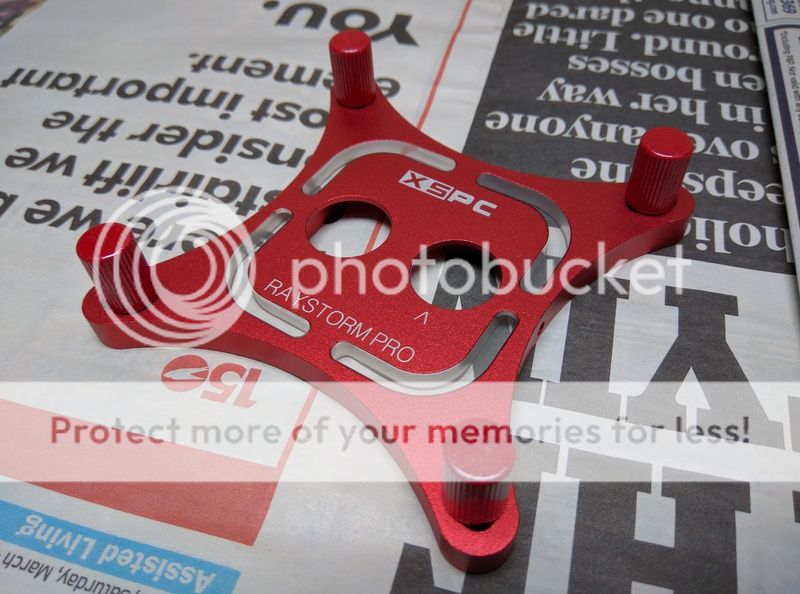
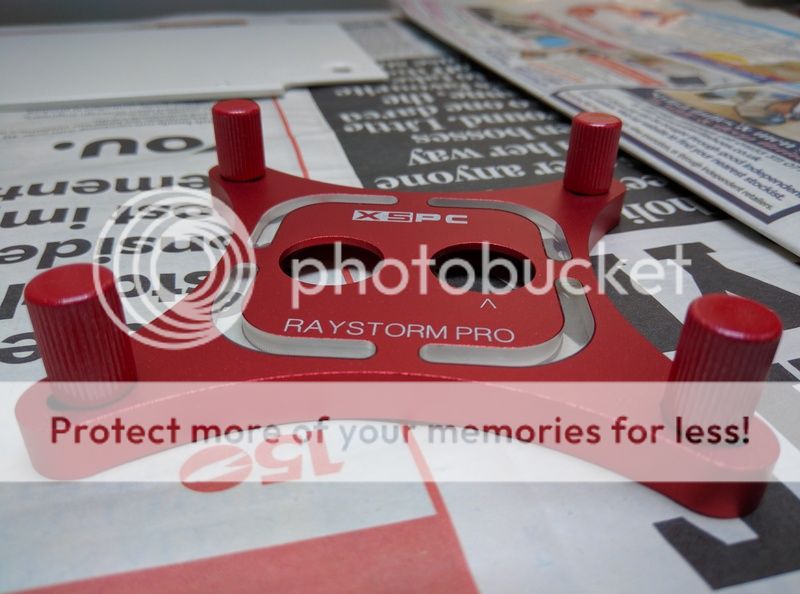
First up, the metallic red paint that I bought to do the small triangles on the motherboard turned out to be absolutely perfect for the CPU block nuts :)

IMG_20170307_082513.jpg


Much better than the fugly black lumps.

IMG_20170307_082600.jpg


Then I tried some of the window tint paint used on the fans on one of these, expecting sheer awfulness:

IMG_20170306_182019.jpg


The results were extremely difficult to photograph properly using a Nexus 6, but in reality it looks brilliant :D

IMG_20170307_114401.jpg


IMG_20170307_114211.jpg


IMG_20170307_131537.jpg


So pretty much the one day I never thought we'd see: A day of successful painting!! :D
 
Back
Top Bottom